air filter box removal xj series II
#1
 06-06-2014, 07:19 AM


Hello people
Just looking at doing a engine bay tidy up and would love to get rid of the big air box and replacing with a couple of round filters directly off the carburetors. Anyone has experience of doing this pitfalls etc and what should I be looking for I have included a pic I found off the web
Thanks
Just looking at doing a engine bay tidy up and would love to get rid of the big air box and replacing with a couple of round filters directly off the carburetors. Anyone has experience of doing this pitfalls etc and what should I be looking for I have included a pic I found off the web
Thanks
#2
06-06-2014, 08:40 AM

Senior Member
I bought a pair of round filters off of ebay for stromberg cd175 but haven't put them on yet. They look just like the ones XKs unlimited sell, but a bit cheaper - $45 for the pair. This is the Xks version:
17-0885 - Air Filter Foam Type; 1-3/4" Zenith/Stromberg
There was a post on here, can't find it at the moment, with some discussion of using these and pros/cons versus the air box, including hotter air using the dual filters. The general consensus was thumbs up if I recall. I'll see if I can find it again.
The following users liked this post:
Anfield Dreaming (06-06-2014)
#3
06-06-2014, 09:22 AM

Join Date: Jan 2014
Location: Delaneys Creek,Qld. Australia
Posts: 28,381
Received 6,327 Likes
on
4,370 Posts
No experiecne but the picture makes me want a pair for "Fireball"
Keep us updated with a part number,link or ebay listing when you find something. I don't think I'll be far behind you.
Although that original is a good looking piece of kit too.lol
If you don't know why my car is called "Fireball" (long and drawn out saga),see link below.
https://www.jaguarforums.com/forum/a...m-fire-115245/
Last edited by o1xjr; 06-06-2014 at 10:08 AM.
#4
06-06-2014, 10:08 AM

Veteran Member
Join Date: Jul 2012
Location: Walnut Creek, California
Posts: 6,796
Received 2,399 Likes
on
1,880 Posts
Those sure do look much better than the air box. I think the air box did have some functions. Cooler air, sound and possibly carb balance.
Well, my lump wears a cone type dry filter in the bay. Balance not an issue, but sound and air temp are. But, on balance, I like it. Unless, i have my ears on, makes no difference as to that.
Now, way back, little filters were available for multicarb after market manifolds for V8's and sixes of various specie. some studies indicated these looked good, but breathed poorly.
Might consider the restrictive aspect, how, I dunno!!!
Carl
#5
06-07-2014, 01:46 AM

Senior Member
That's my car!!
I had the same thoughts when I put them on. I have twin HS8 carbs with K&N filters. I had to fabricate a spacer in the same shape as the carb gasket to align the securing nuts/rods. I had the leaper and lettering laser etched onto the covers. It's all pretty clean.
I cut up and rewelded the top of the core support where the rest of the tubing goes through but in hindsight I think a series I core support is a bolt on without the protrusion.
The following 3 users liked this post by Napoleon Solo:
#7
06-07-2014, 05:24 AM
Join Date: Jan 2014
Location: Delaneys Creek,Qld. Australia
Posts: 28,381
Received 6,327 Likes
on
4,370 Posts
Trending Topics
#8
06-07-2014, 07:16 AM
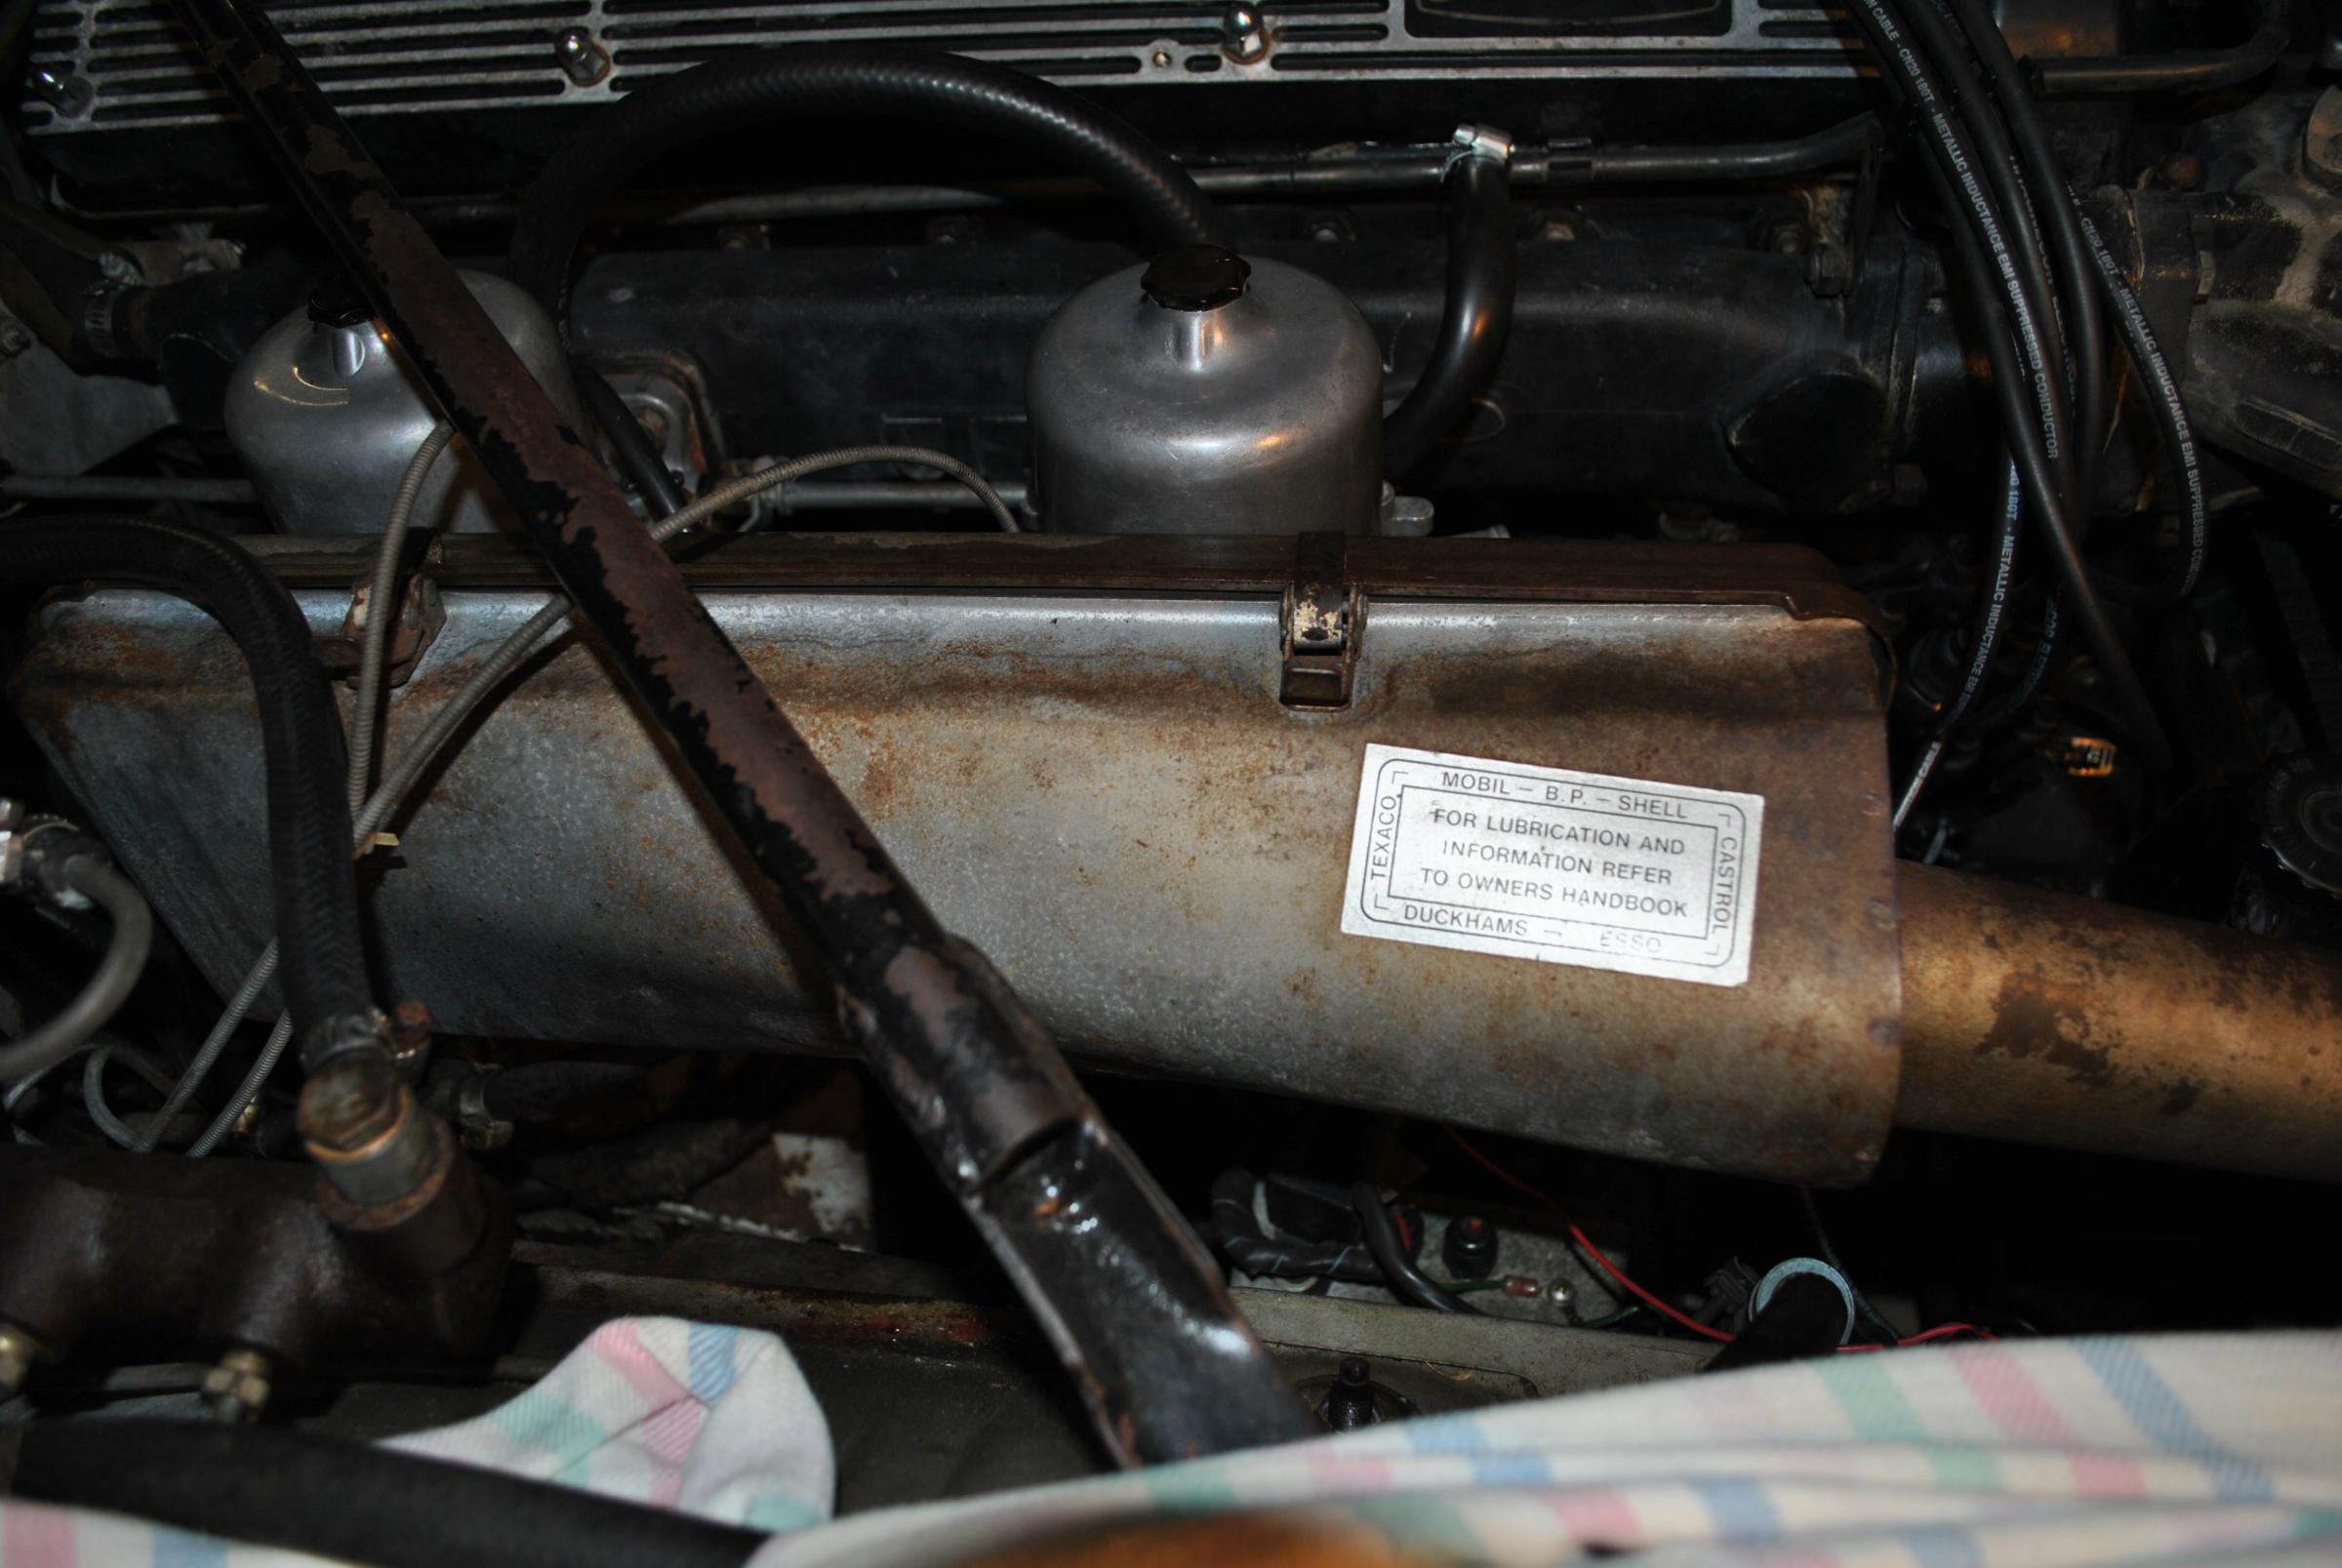
Cheers for the info I think its definitely on the to do list what did you do with the various hoses that are connected to the airbox Napoleon? Also another thing I noticed my engine has a "brace" over the head in the centre of the block yours doesn't did you remove it?
Last edited by Anfield Dreaming; 06-07-2014 at 08:45 AM.
#9
06-07-2014, 11:08 AM
Senior Member
Cheers for the info I think its definitely on the to do list what did you do with the various hoses that are connected to the airbox Napoleon? Also another thing I noticed my engine has a "brace" over the head in the centre of the block yours doesn't did you remove it?
I don't really remember any hoses attached aside from the corrugated pipe feeding air in. There aren't any vacuum lines or anything of importance there from what I remember.
#11
06-07-2014, 10:38 PM
Senior Member
#12
06-08-2014, 02:23 AM
Join Date: Jan 2014
Location: Delaneys Creek,Qld. Australia
Posts: 28,381
Received 6,327 Likes
on
4,370 Posts
#13
06-08-2014, 04:31 AM
#14
06-08-2014, 01:21 PM
Senior Member
The following 2 users liked this post by Napoleon Solo:
Anfield Dreaming (06-08-2014),
o1xjr (06-09-2014)
#16
06-09-2014, 12:06 AM
Senior Member
Presently my 4.2 is apart waiting for a rebuild (cylinder wall cracks) which may be awhile since I changed focus to my Oldsmobile coupe.
Those exhaust manifolds have been blasted and coated with high temp paint. Next time it will be ceramic coating to try and keep the heat down. Perhaps phenolic gaskets too...
Those exhaust manifolds have been blasted and coated with high temp paint. Next time it will be ceramic coating to try and keep the heat down. Perhaps phenolic gaskets too...
#17
06-09-2014, 01:39 AM
Join Date: Jan 2014
Location: Delaneys Creek,Qld. Australia
Posts: 28,381
Received 6,327 Likes
on
4,370 Posts
#18
06-10-2014, 12:42 AM
Senior Member
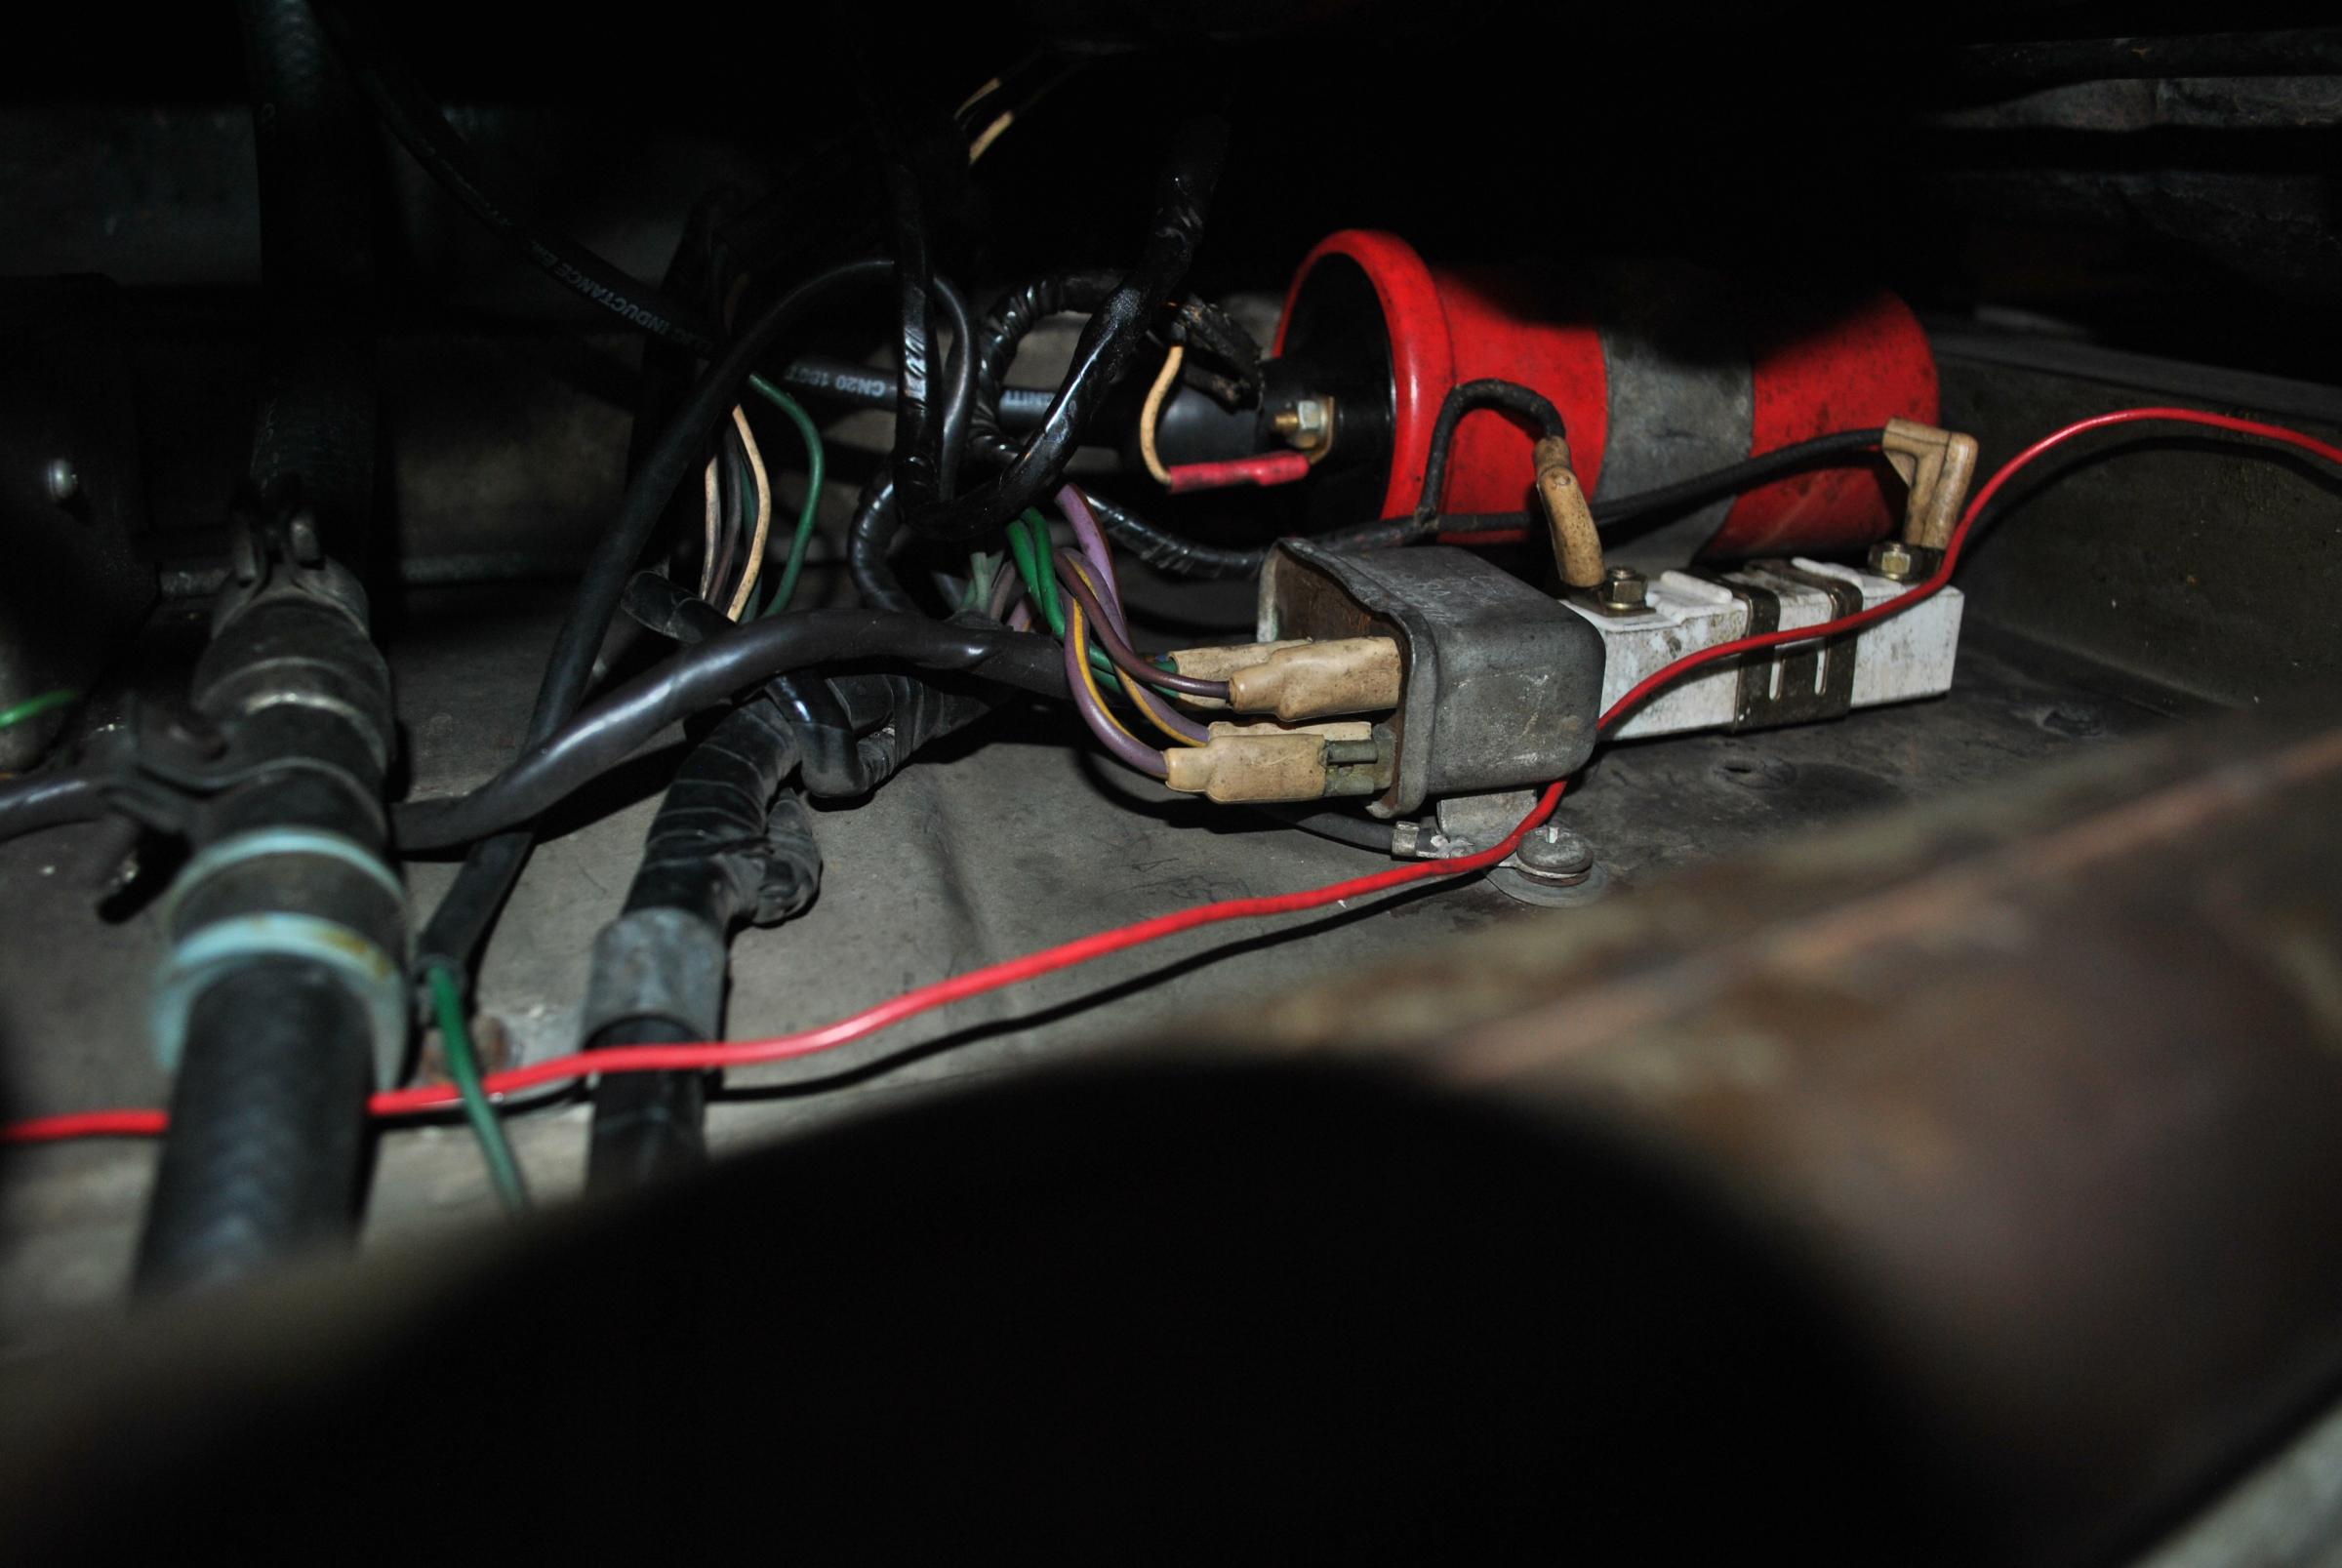
That blue HT lead was an afterthought when I was setting things up. I never liked how the HT leads crossed over the Jaguar logo on the cam cover so I custom made my own wire separators and cut my own HT leads bringing them through the center. I blasted and powdercoated the cam covers then had the machine shop mill a mm off to reveal the aluminium. As on the K&N filters I also had the leaper laser etched on the cover where a sticker normally goes.
Little personal touches. I must have miscut my red HT wire but had a blue handy...
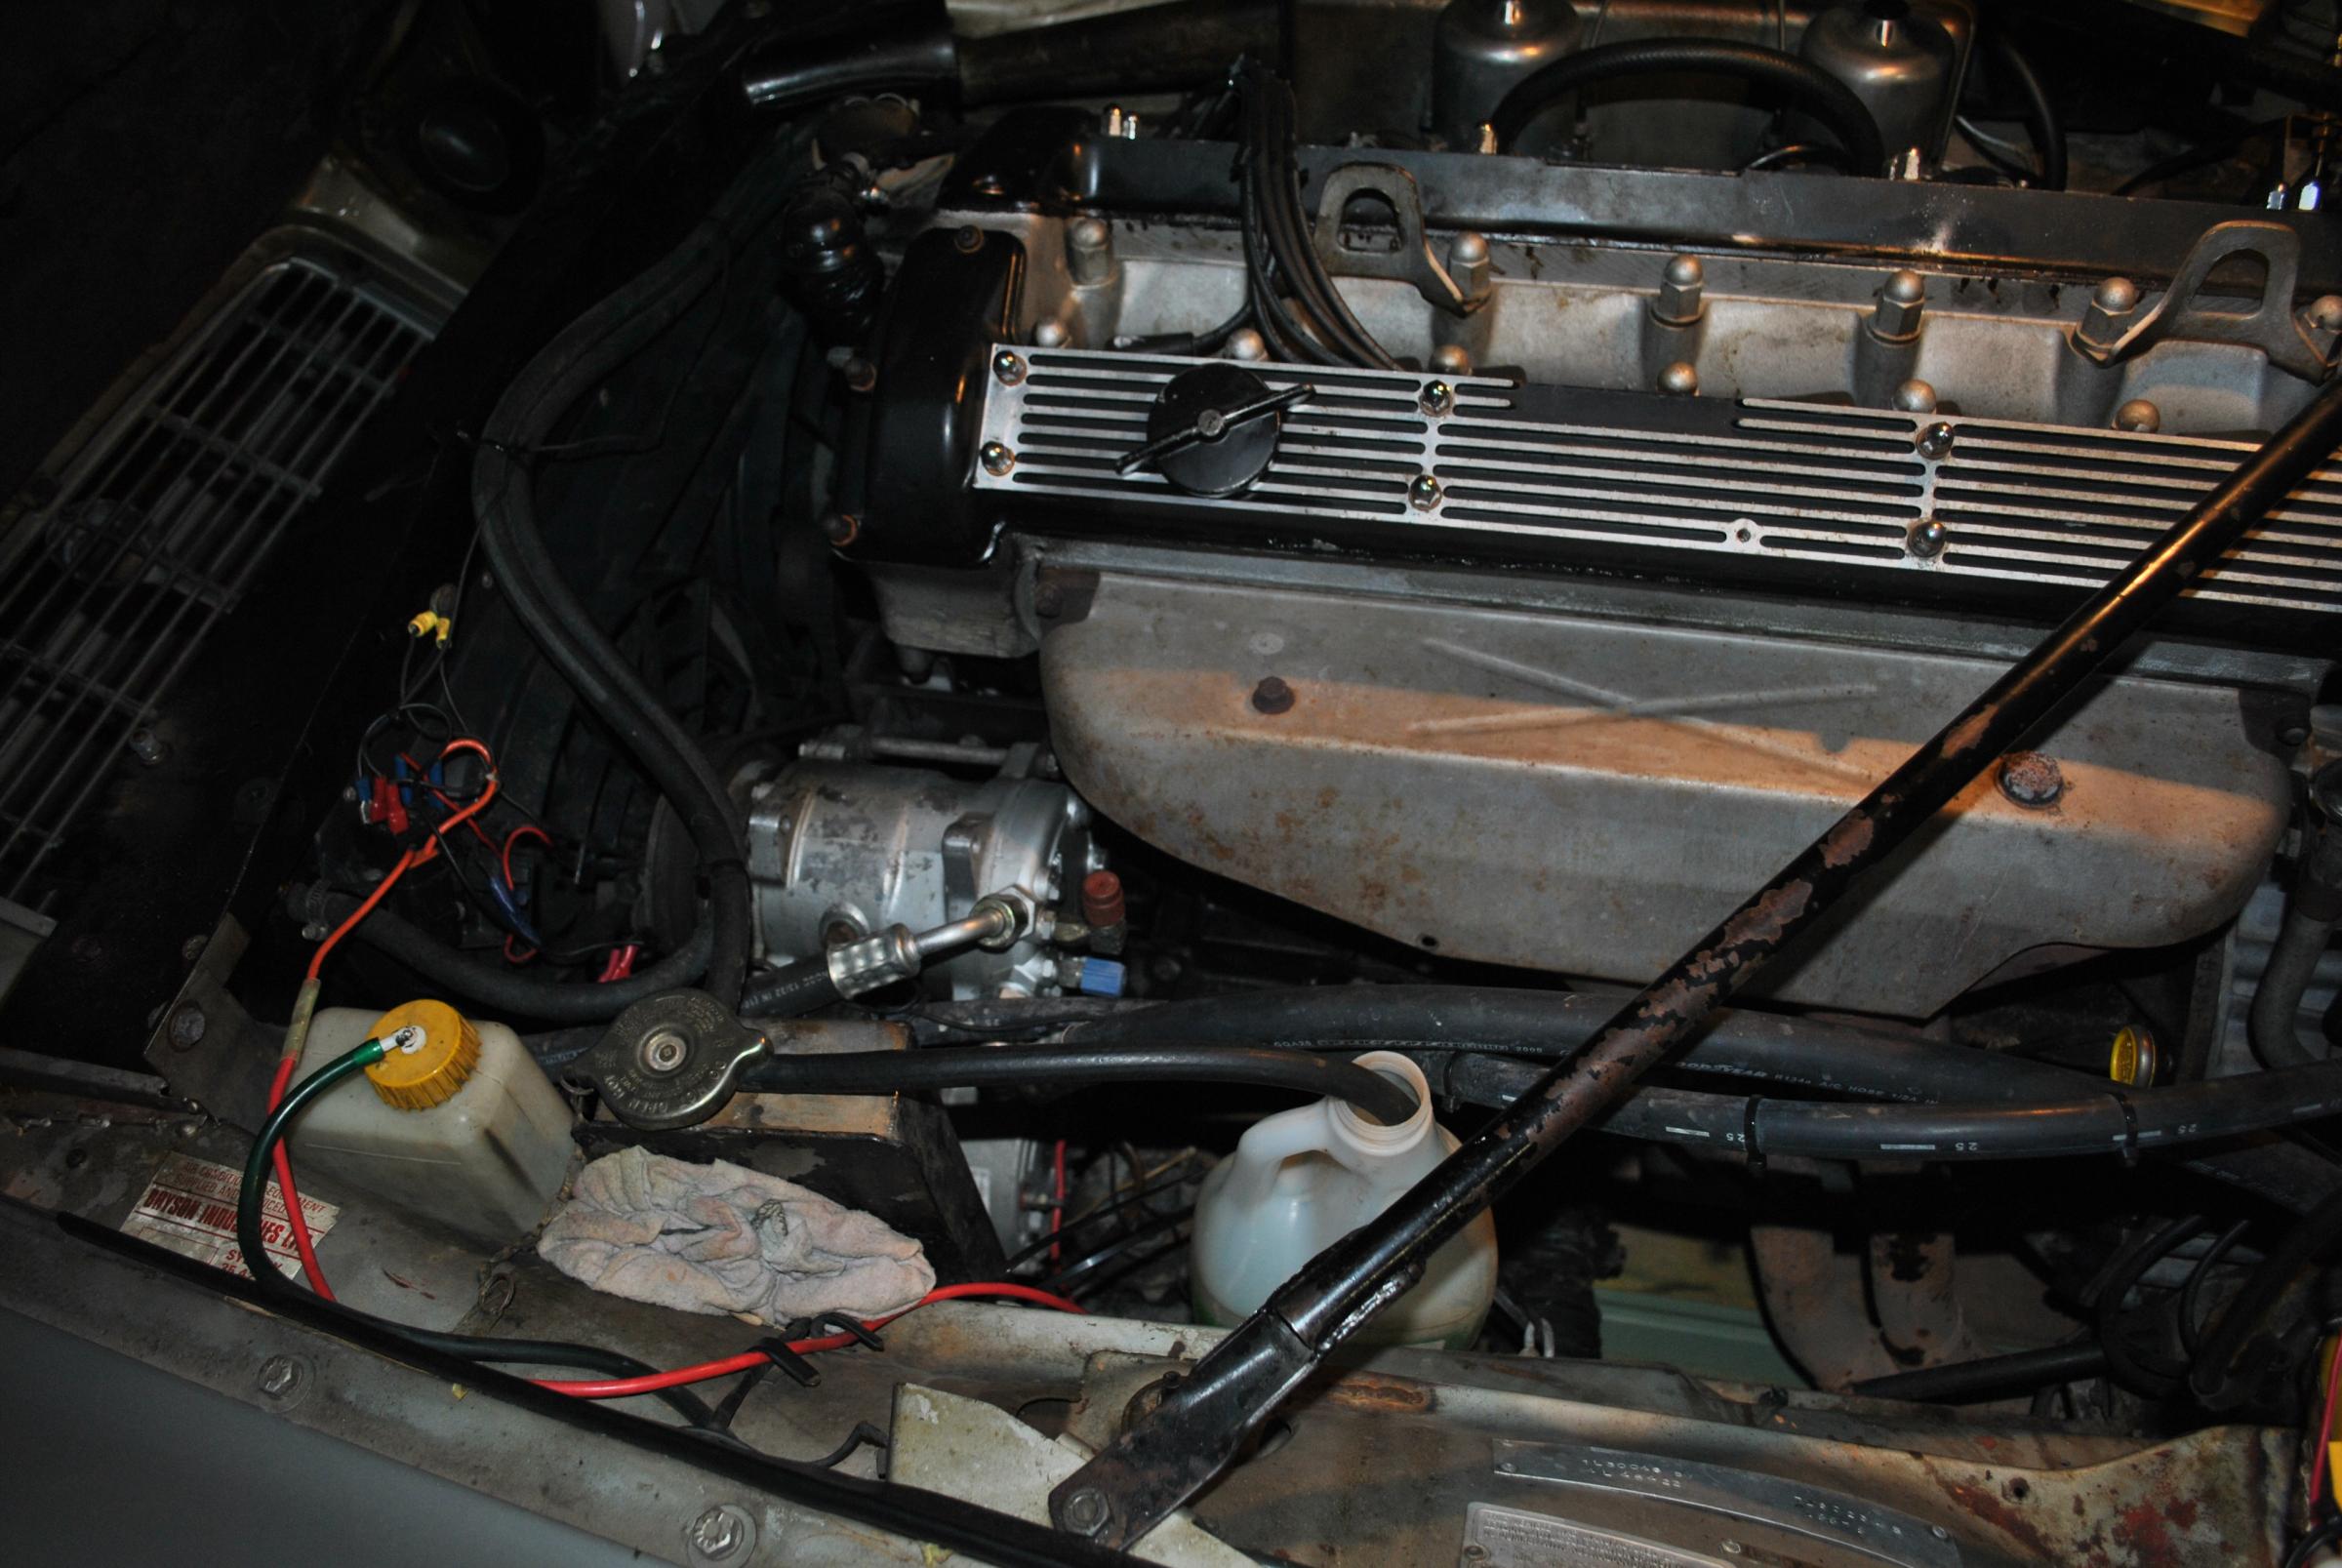
My engine bay when I bought the car was fairly grody...
Little personal touches. I must have miscut my red HT wire but had a blue handy...
My engine bay when I bought the car was fairly grody...


#20
06-11-2014, 01:44 AM
Join Date: Jan 2014
Location: Delaneys Creek,Qld. Australia
Posts: 28,381
Received 6,327 Likes
on
4,370 Posts
That blue HT lead was an afterthought when I was setting things up. I never liked how the HT leads crossed over the Jaguar logo on the cam cover so I custom made my own wire separators and cut my own HT leads bringing them through the center. I blasted and powdercoated the cam covers then had the machine shop mill a mm off to reveal the aluminium. As on the K&N filters I also had the leaper laser etched on the cover where a sticker normally goes.
Little personal touches. I must have miscut my red HT wire but had a blue handy...
My engine bay when I bought the car was fairly grody...
Little personal touches. I must have miscut my red HT wire but had a blue handy...
My engine bay when I bought the car was fairly grody...
This is what my engine bay looks like after I have had a tidy up of gunk and wiring. Still a lot to do but I drive it every day so for now it is staying that way.