When you click on links to various merchants on this site and make a purchase, this can result in this site earning a commission. Affiliate programs and affiliations include, but are not limited to, the eBay Partner Network.
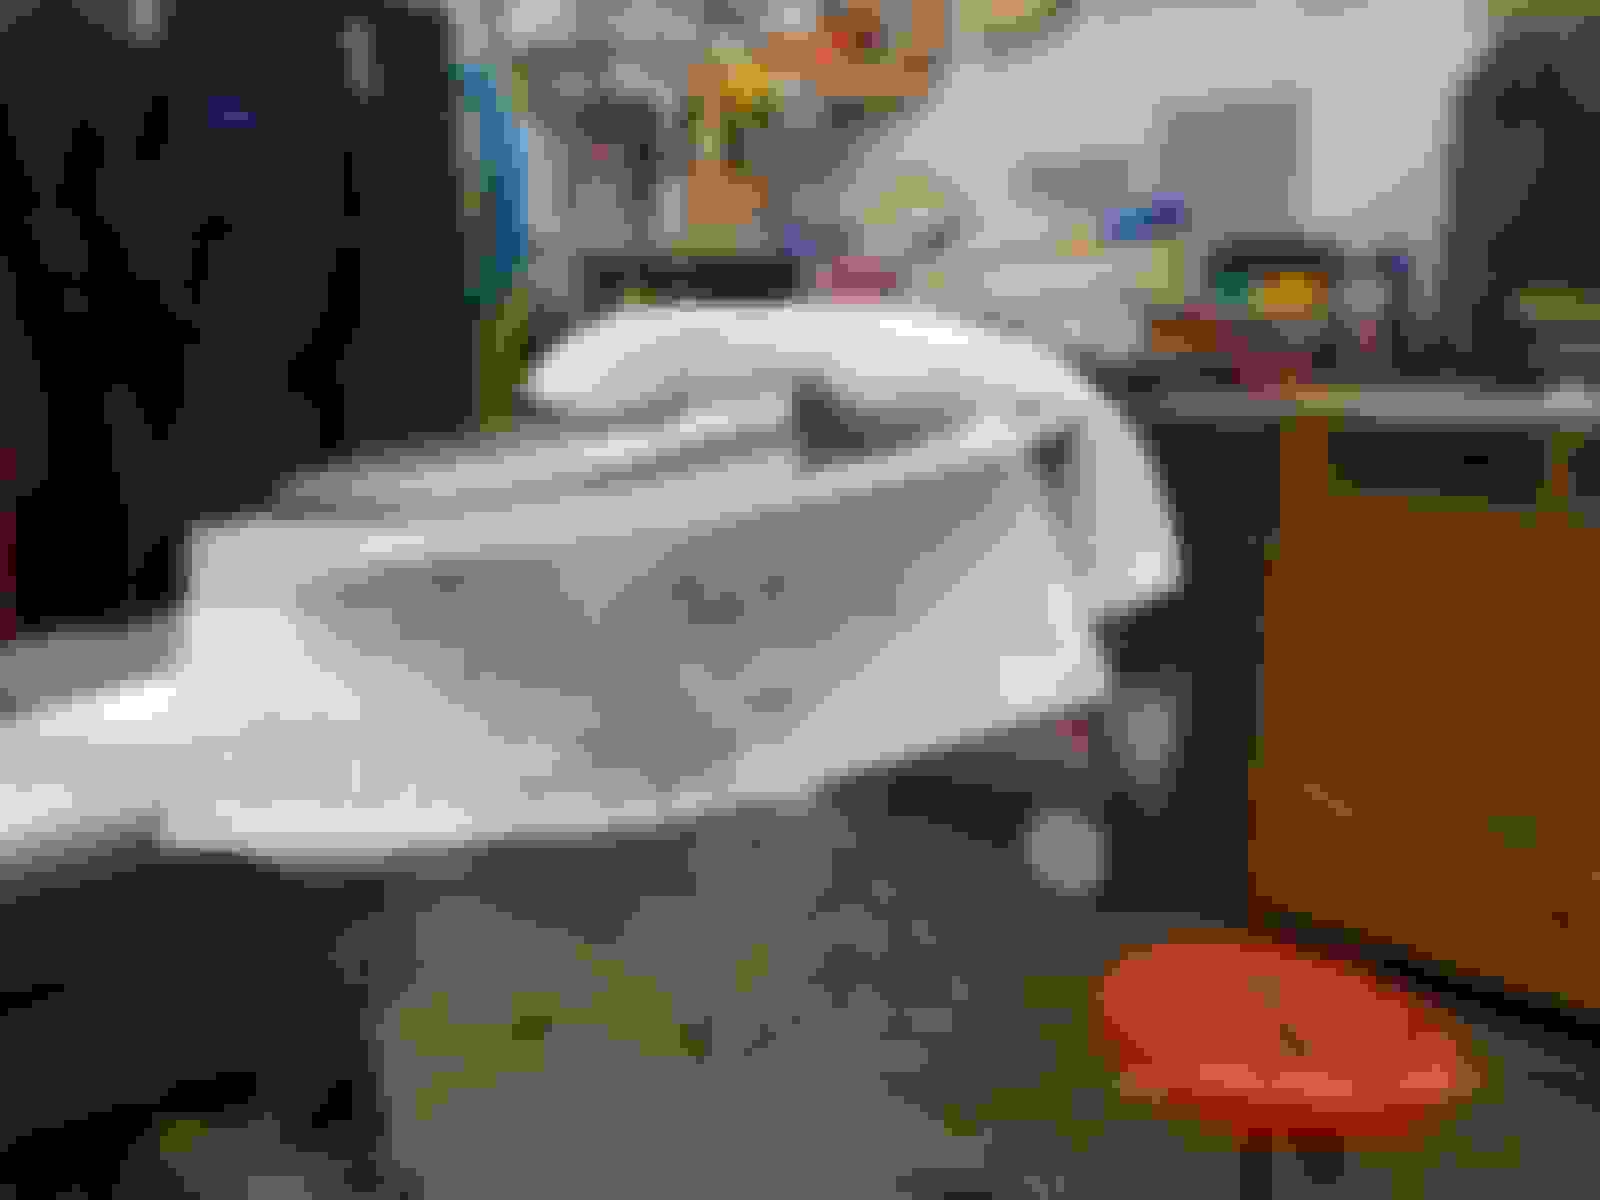
Since the last post, the front and rear windscreens have been installed, complete with trim pieces. Bolted the drivers seat in place and had my Wife and Son push me out of the shop and over to the small storage area under the house (100'). Yes, all I did was steer (all down hill) and confirm the brakes worked. First time behind the wheel. I'm going to have to do something with the position of the seat.
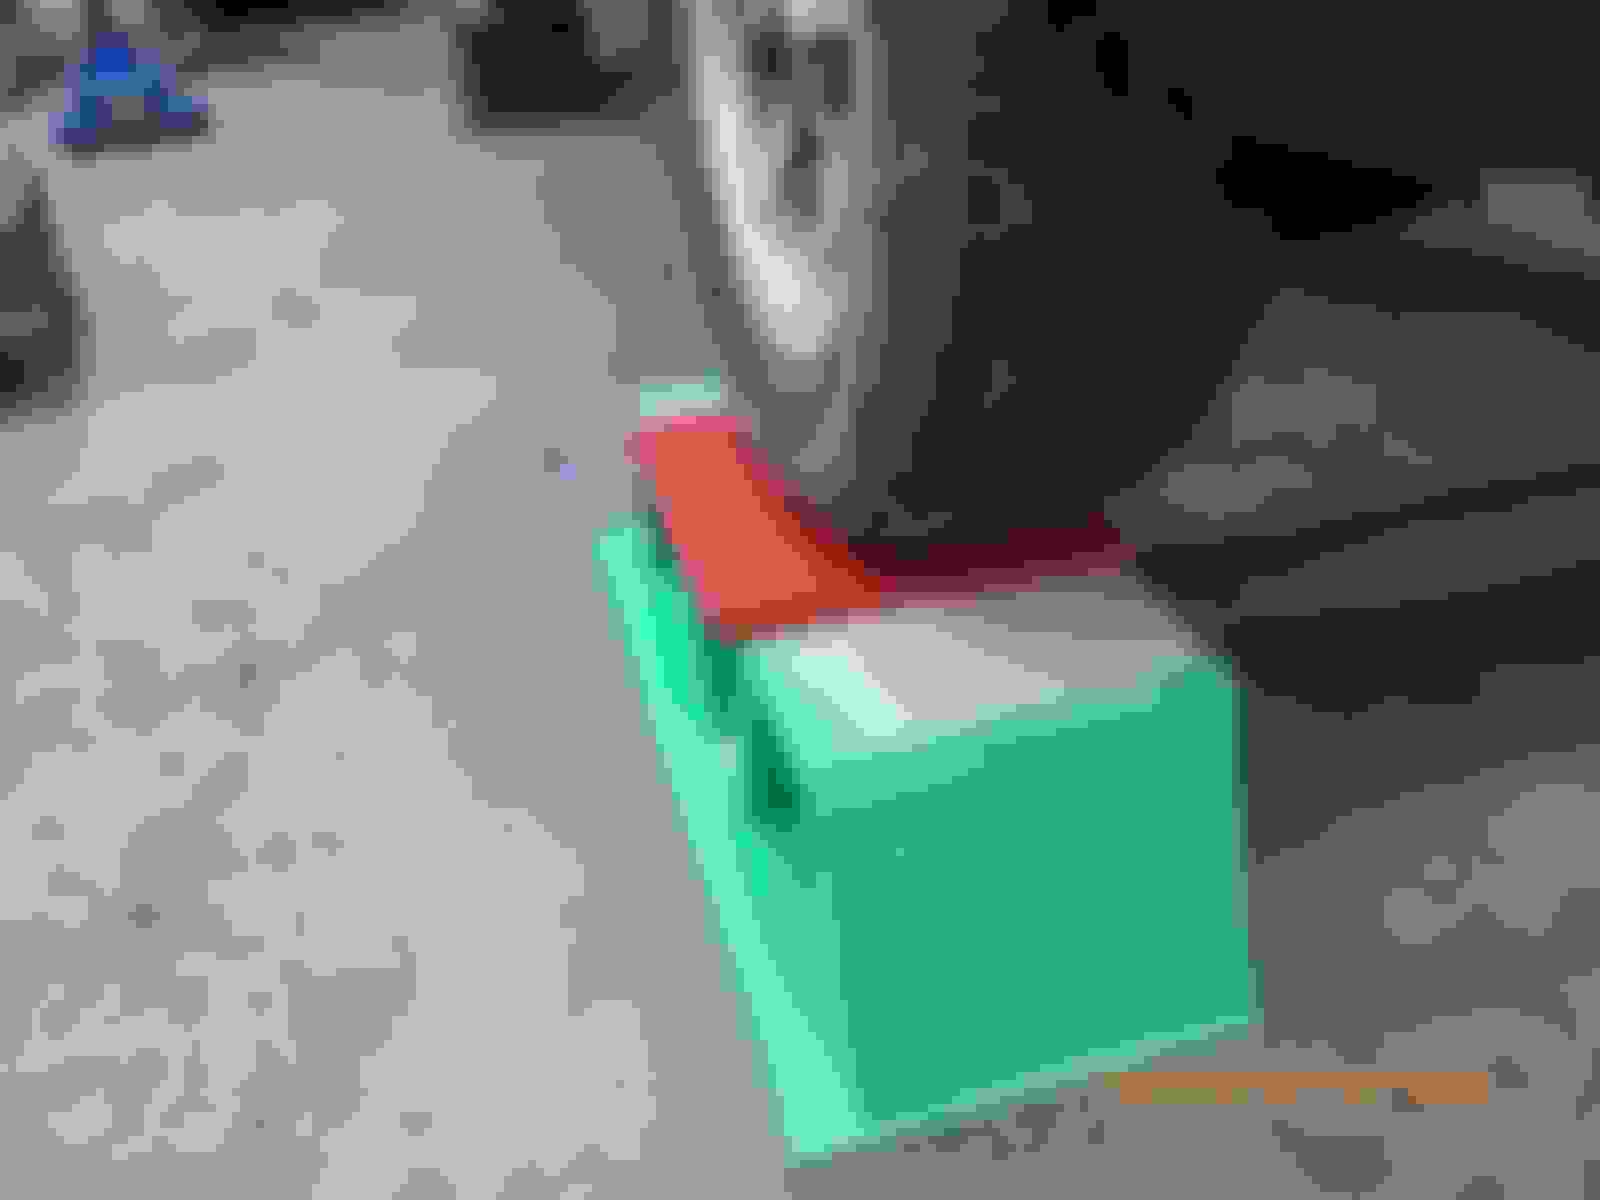
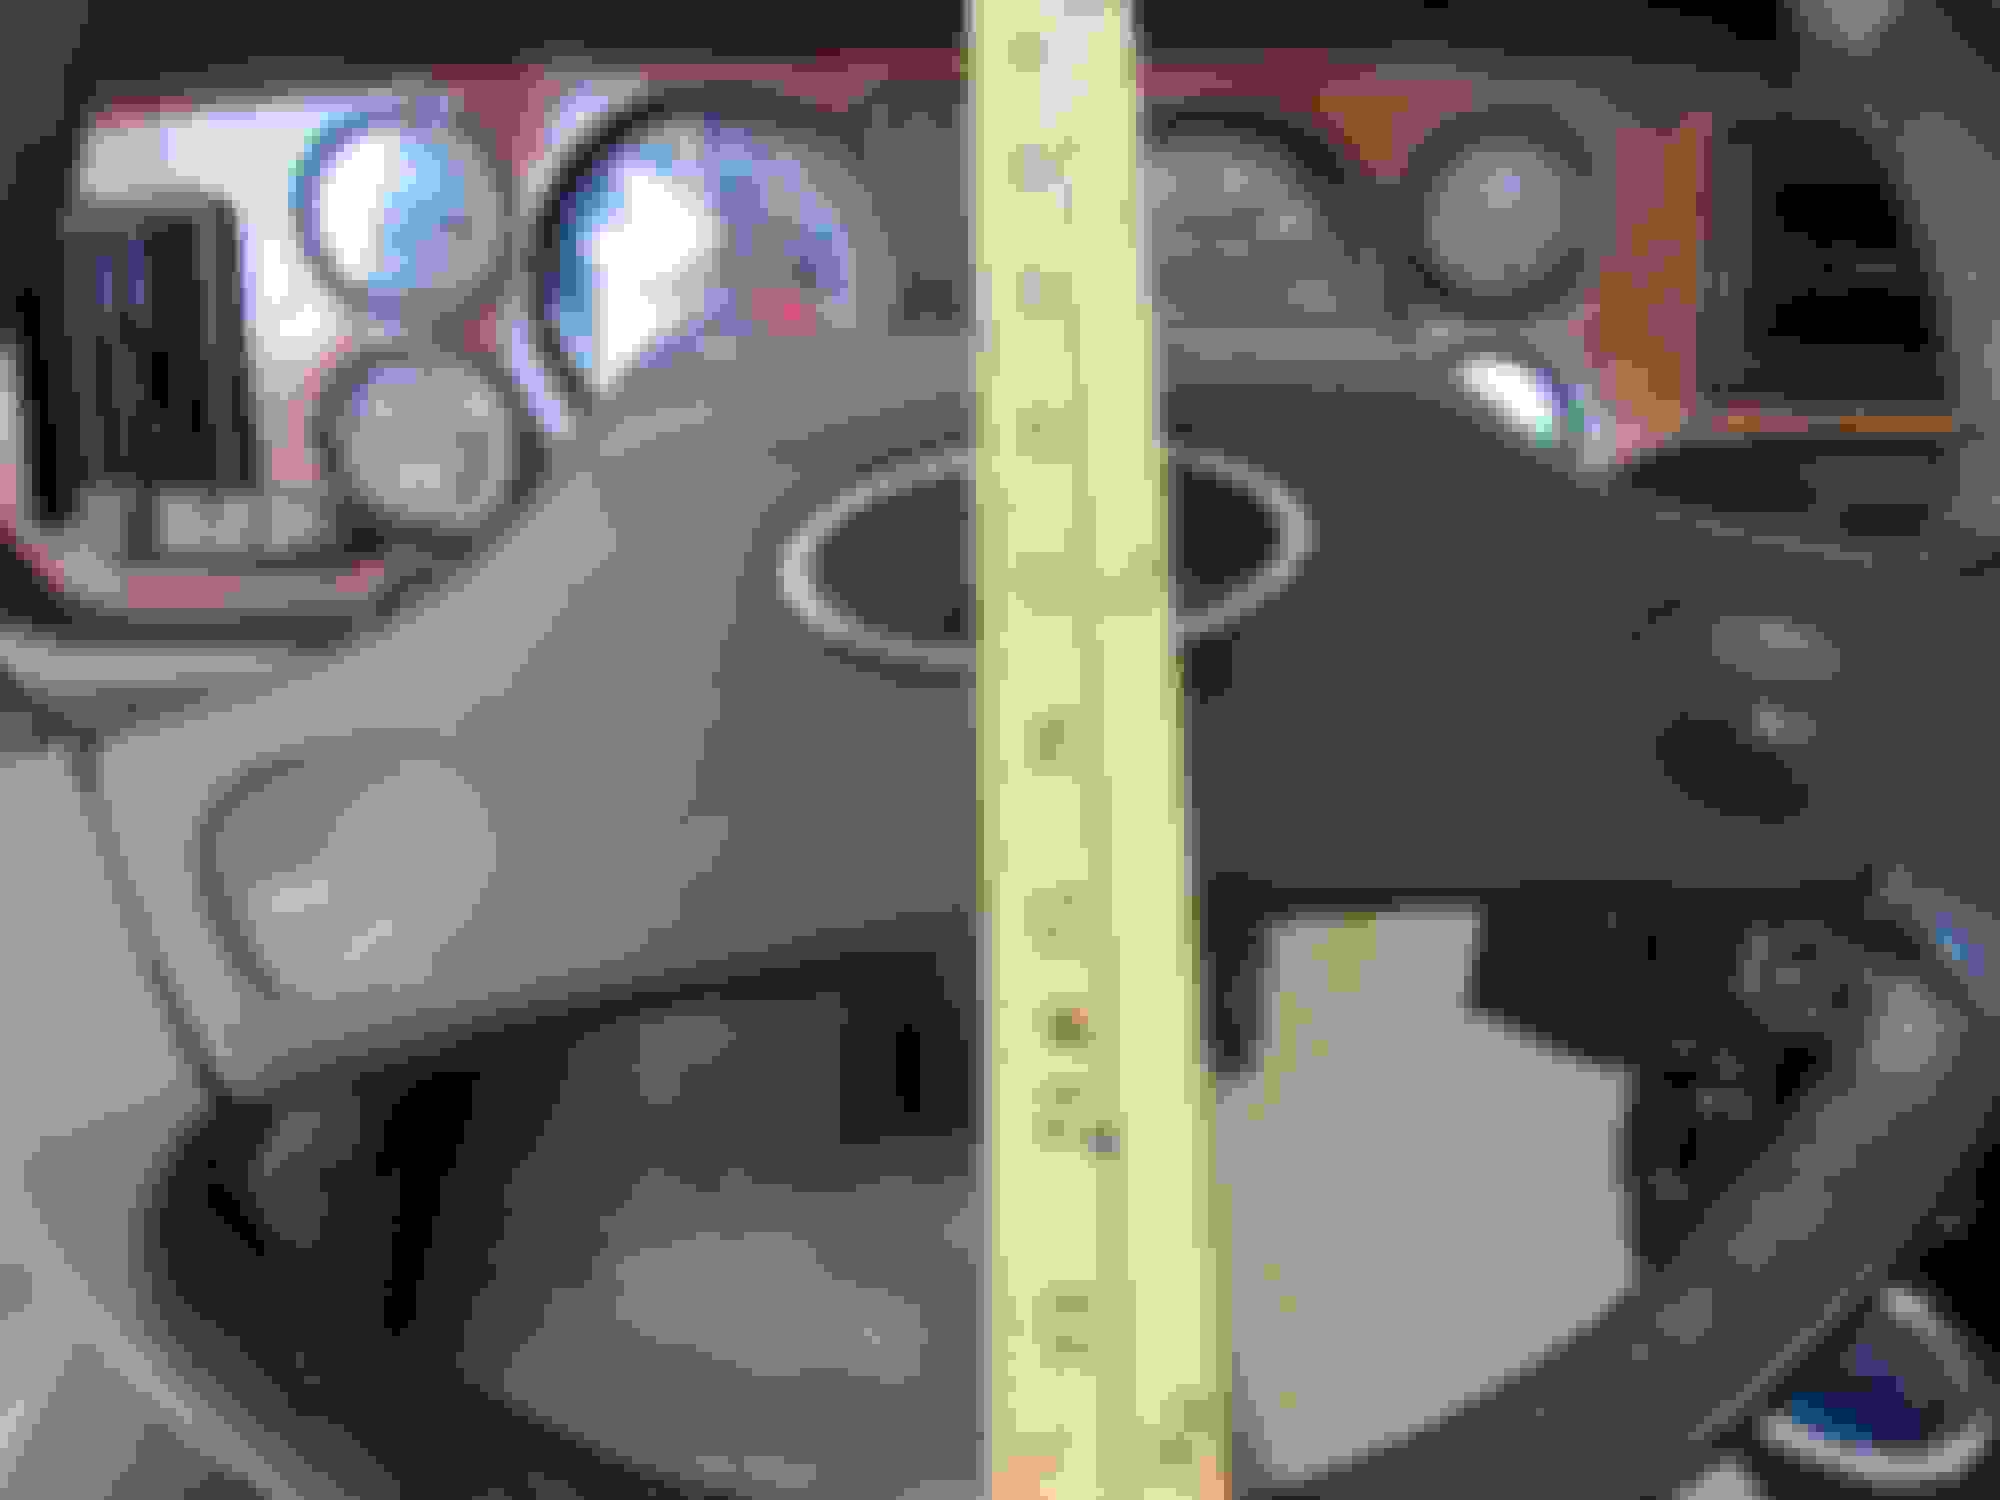
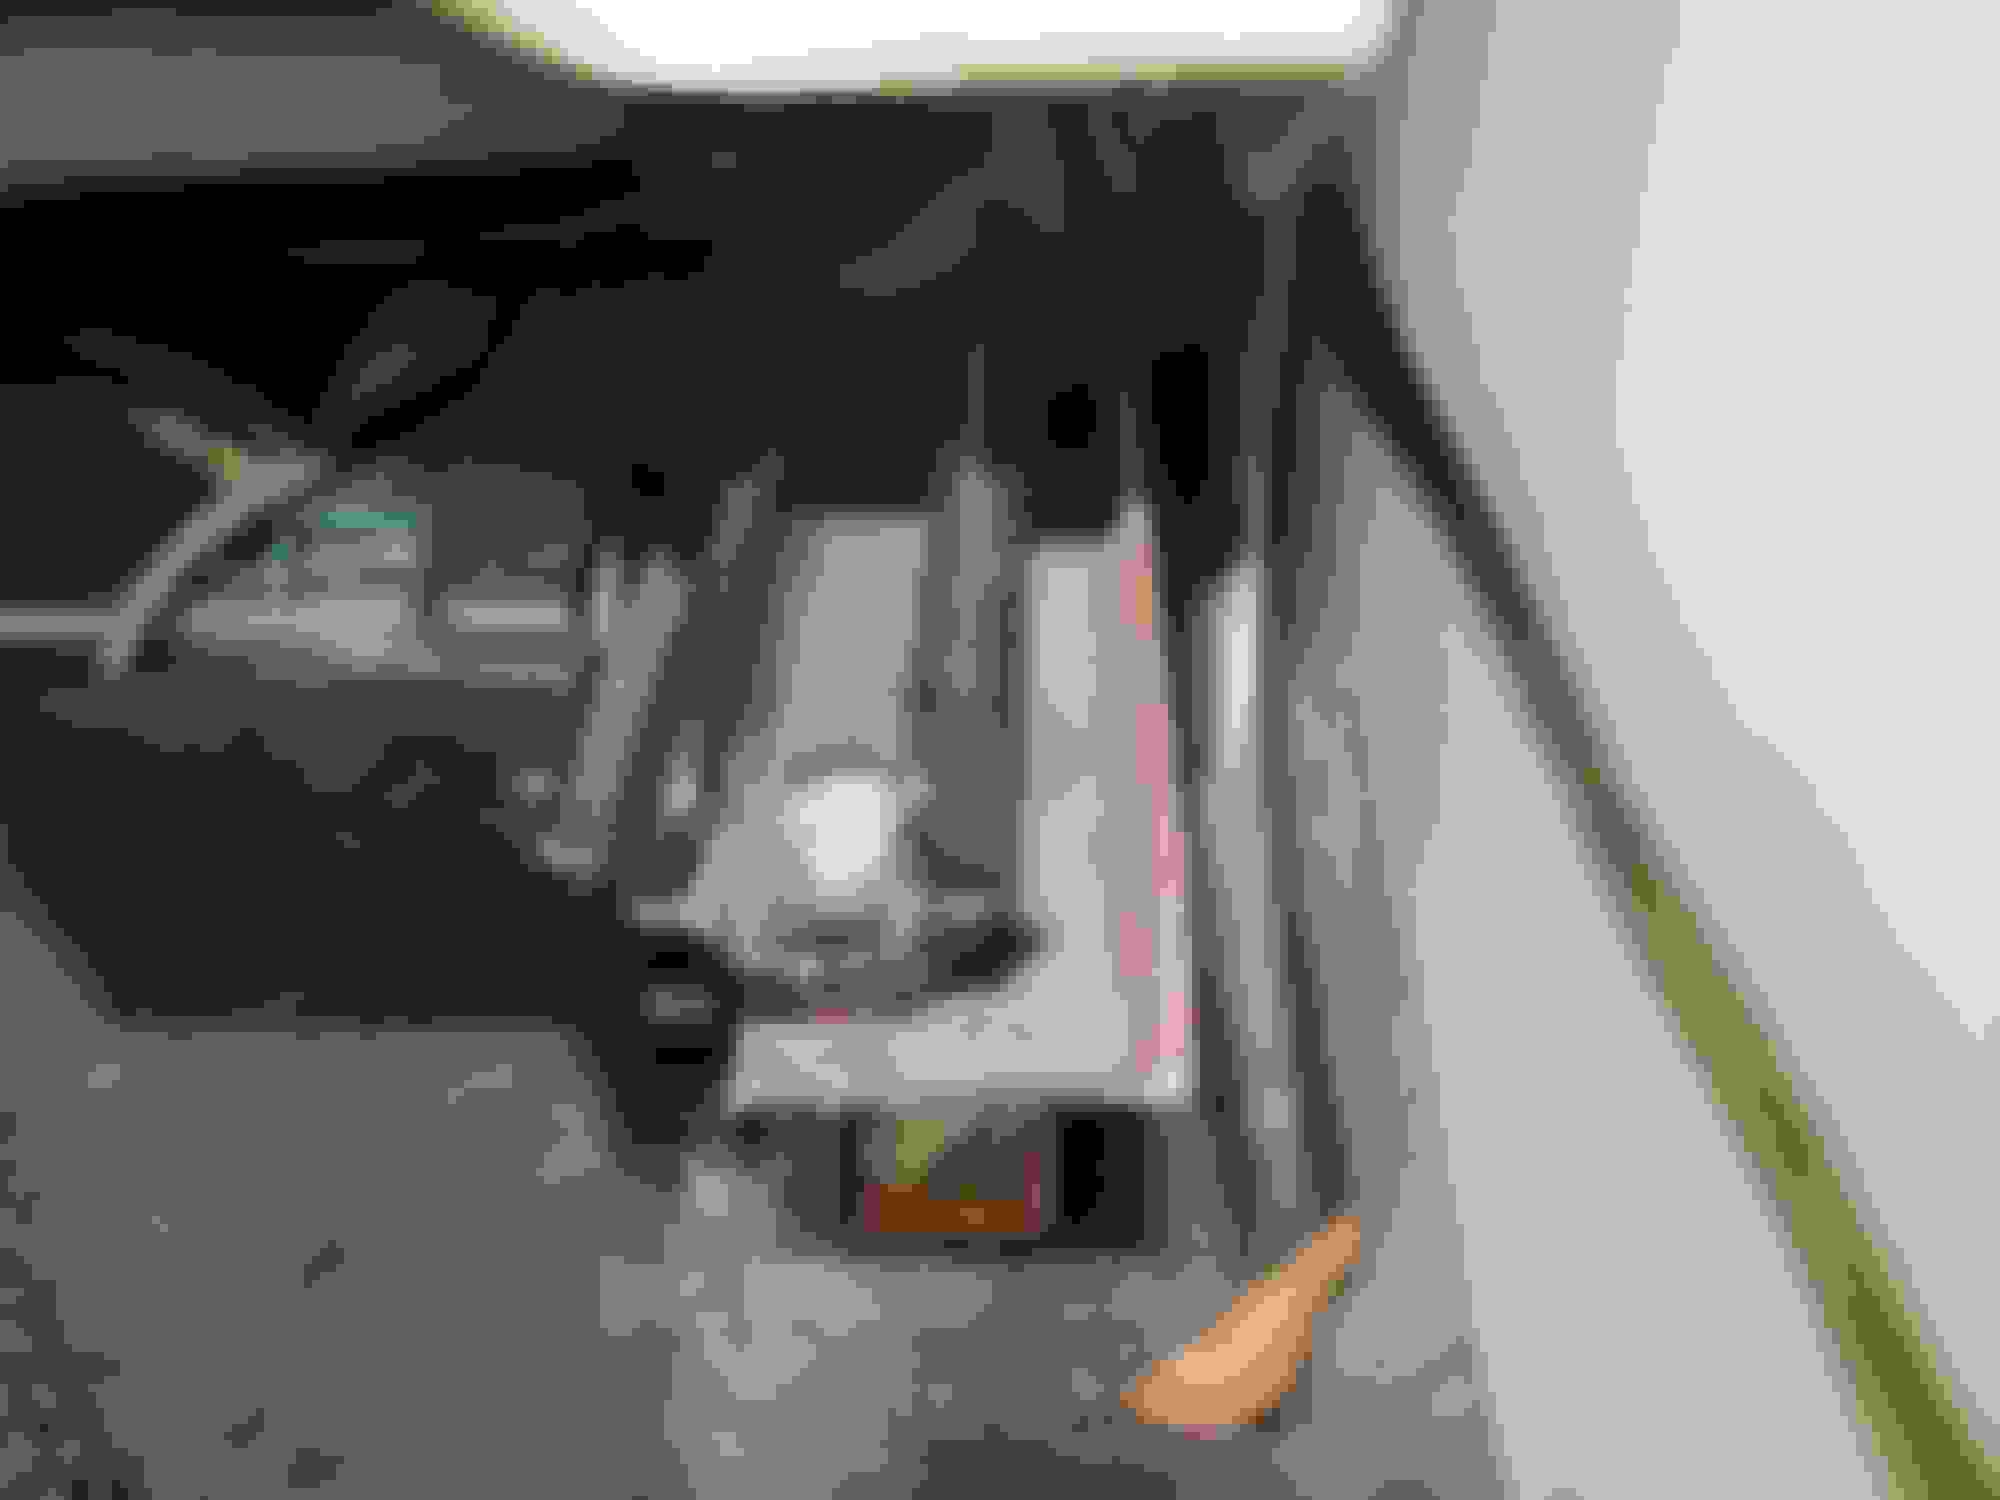
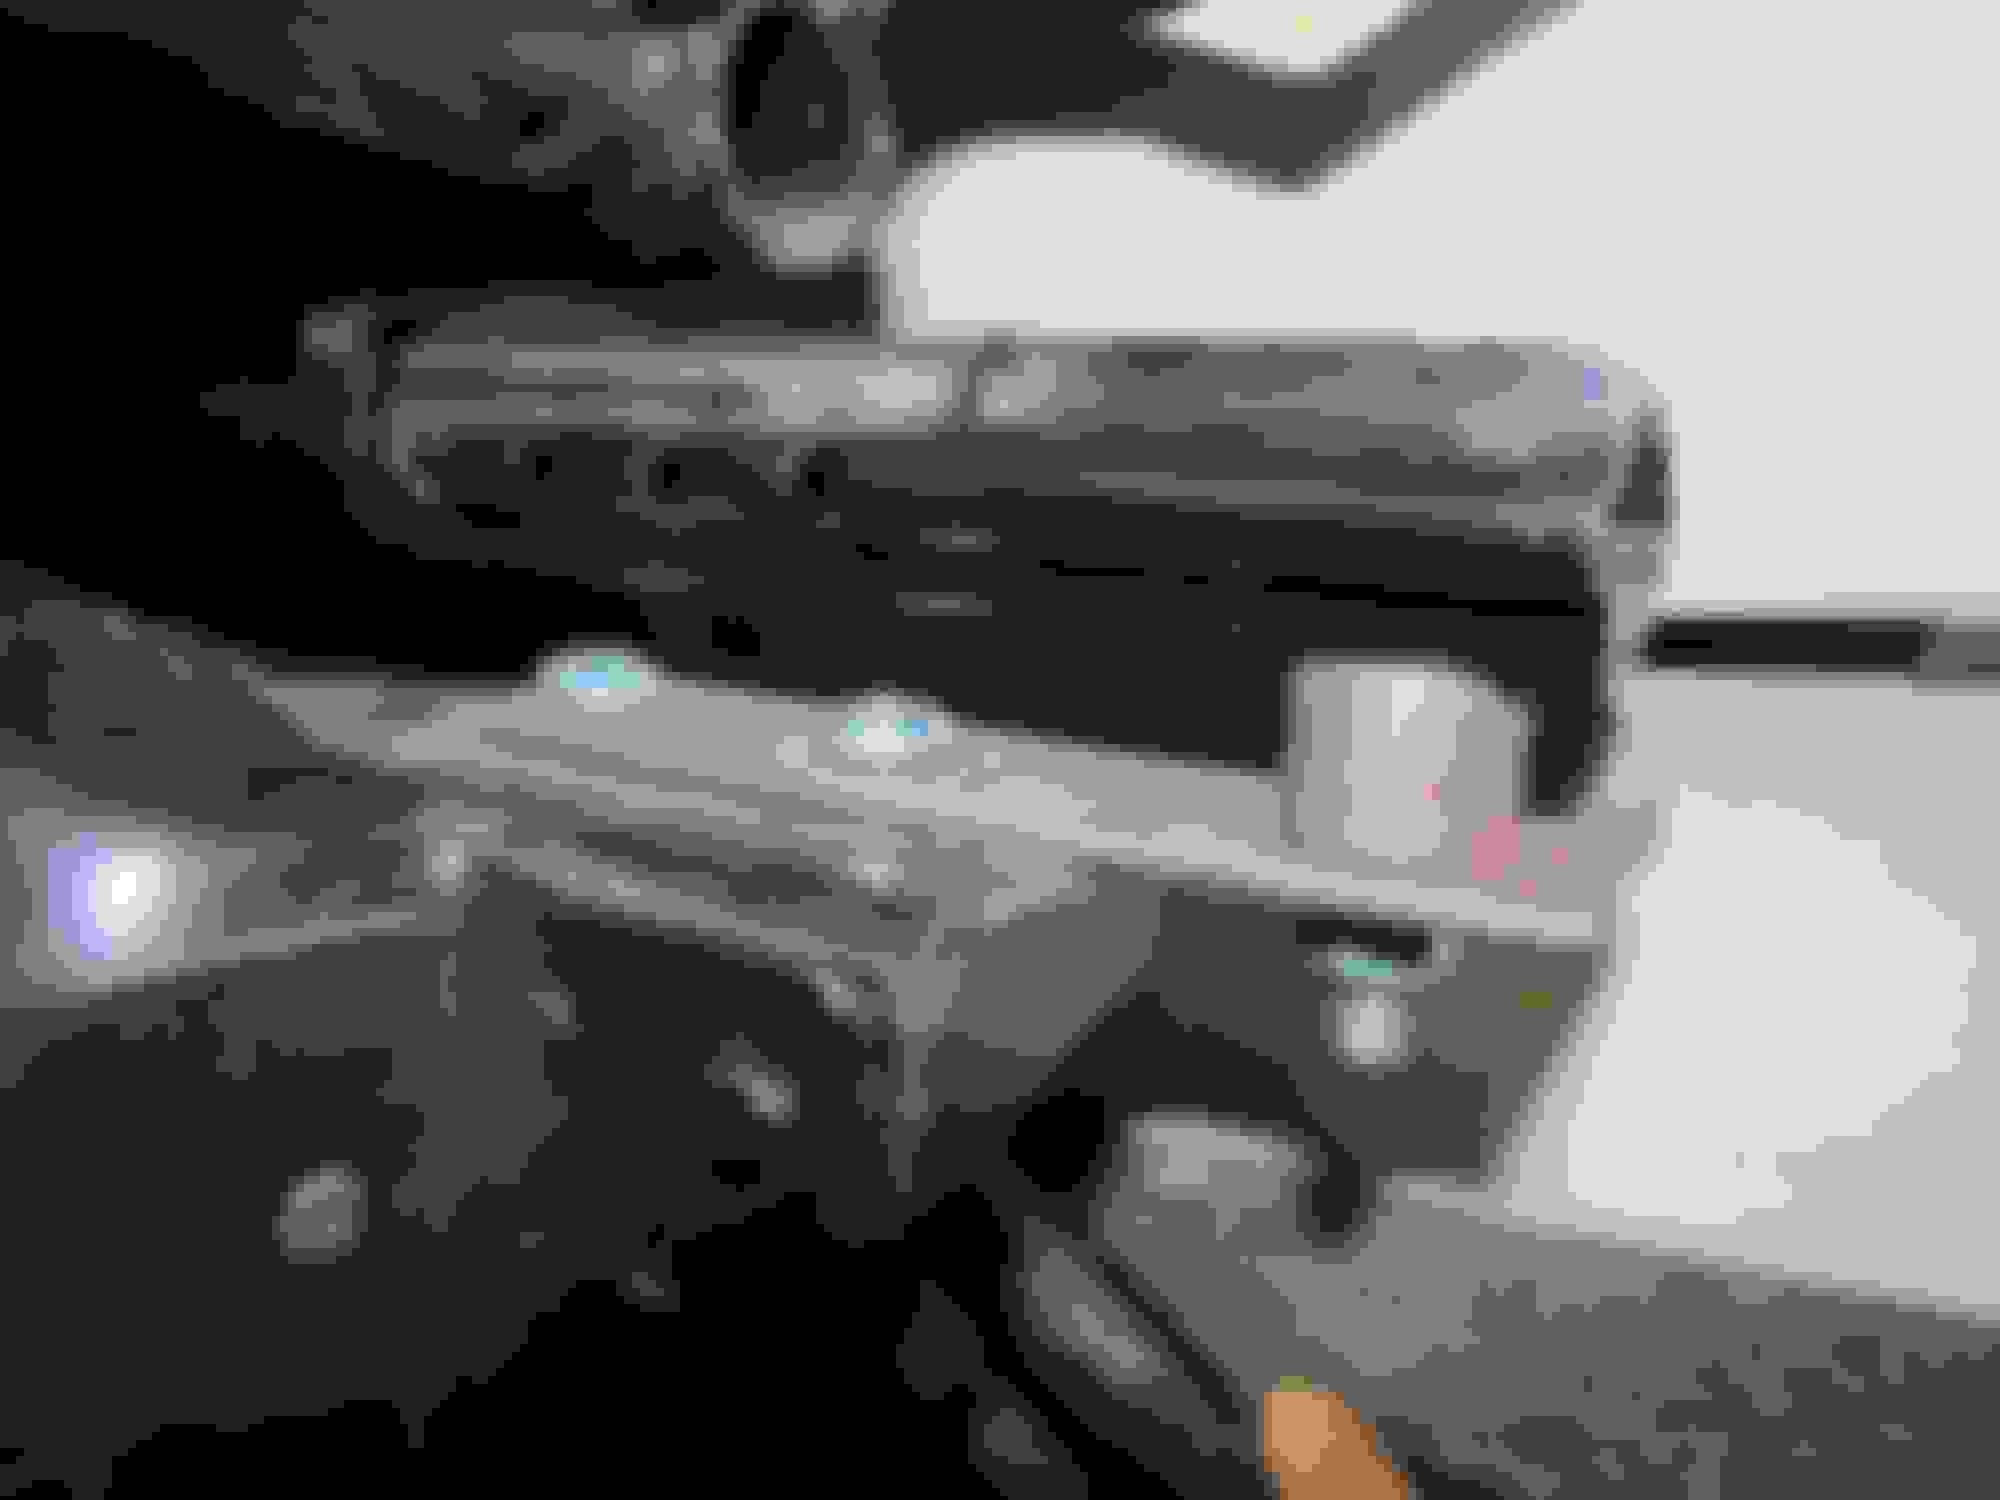
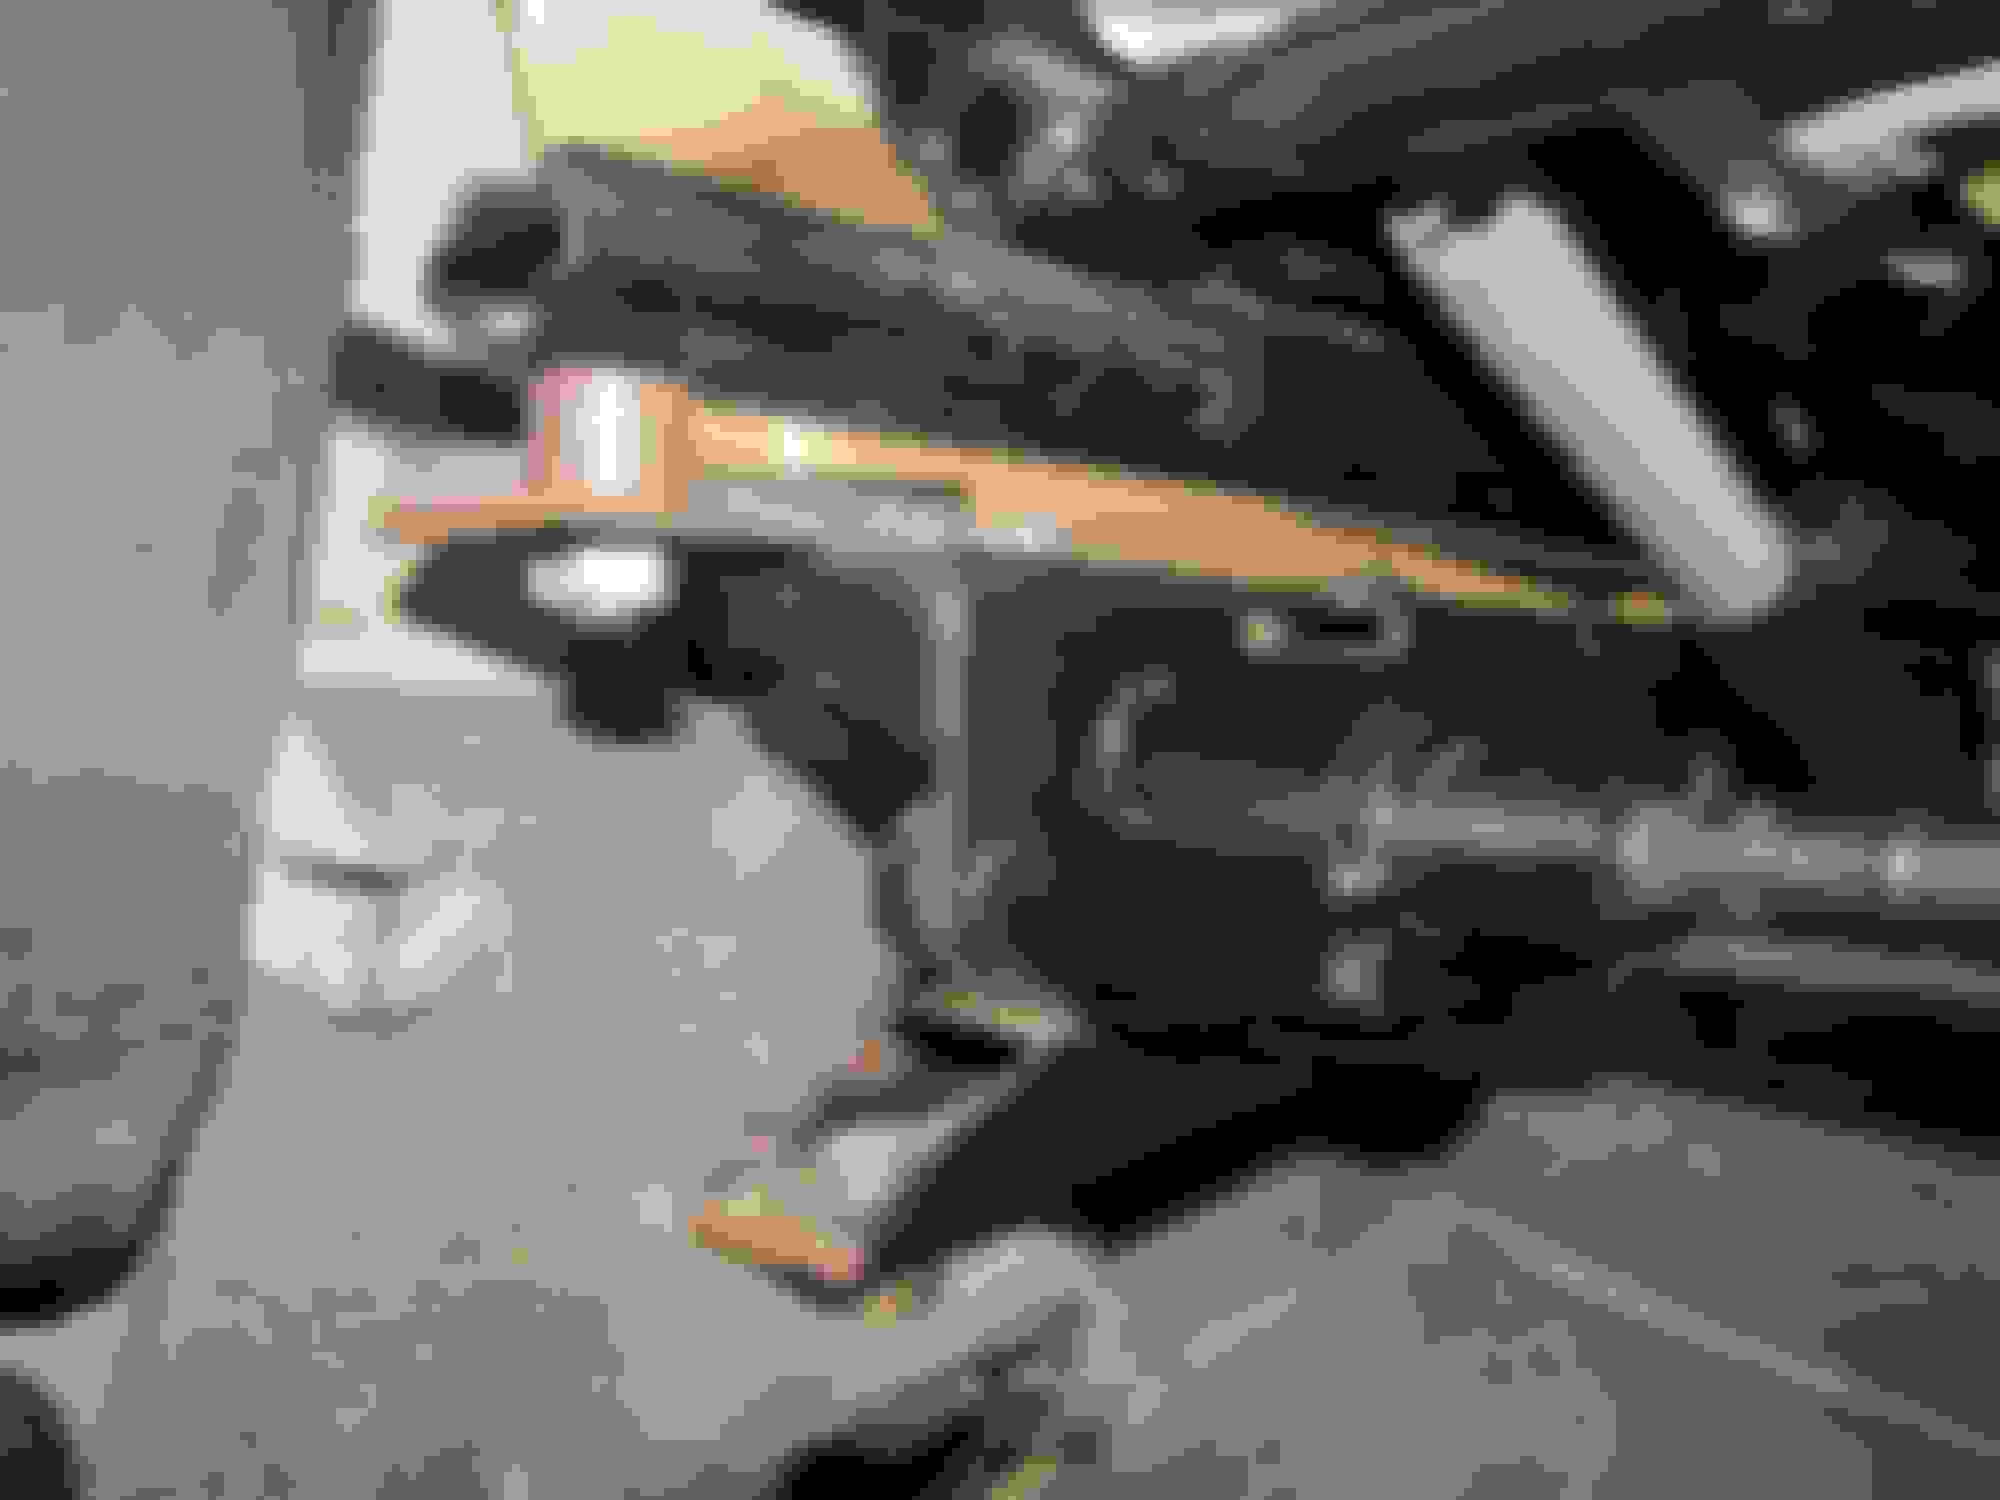
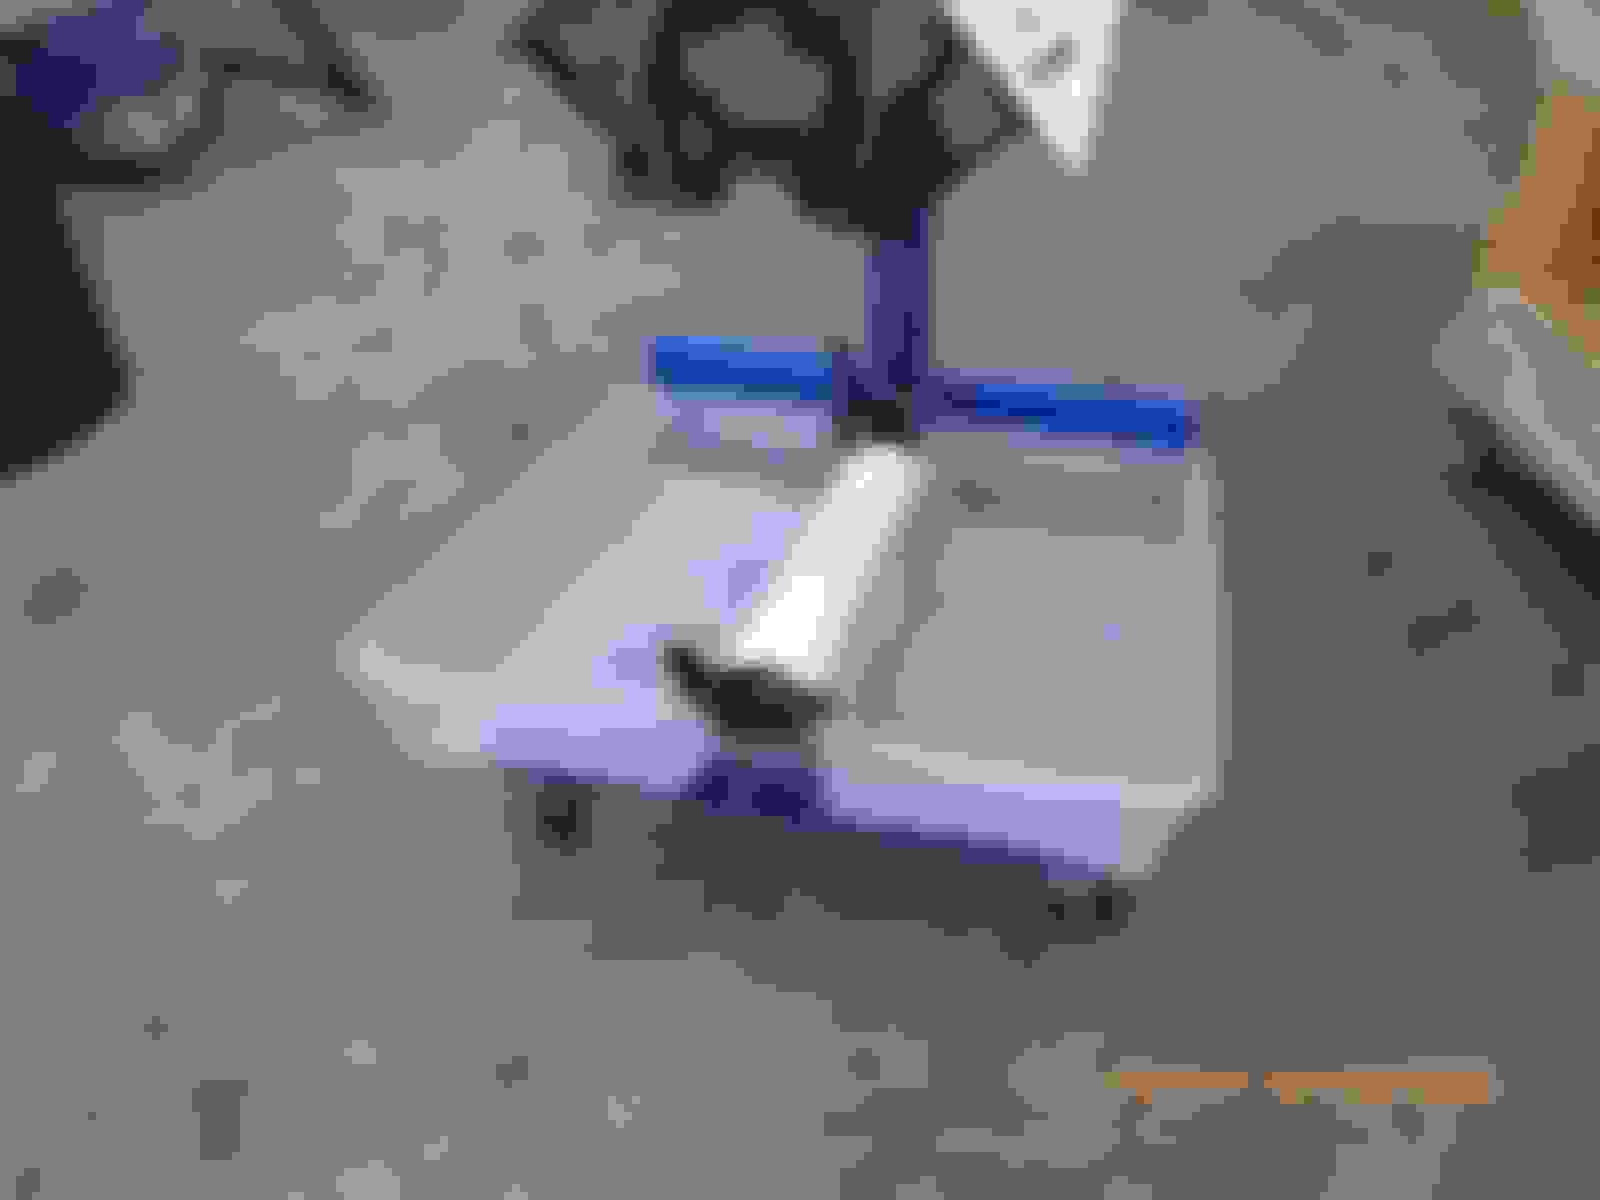
Before it left the shop, I built the 4 "supports" to elevate the car on it's wheels and get ready for the alignment project once the engine/trans is in place, slip plates also. I wanted to pull the rear suspension down to ride height and tighten some of the bolts, but there just wasn't enough weight back there. So, once again, I made a couple of "tools" that worked fine, pictures attached. I left off some of the interior trim around the windscreens until next spring when I can spray water around the glass and check for leaks.
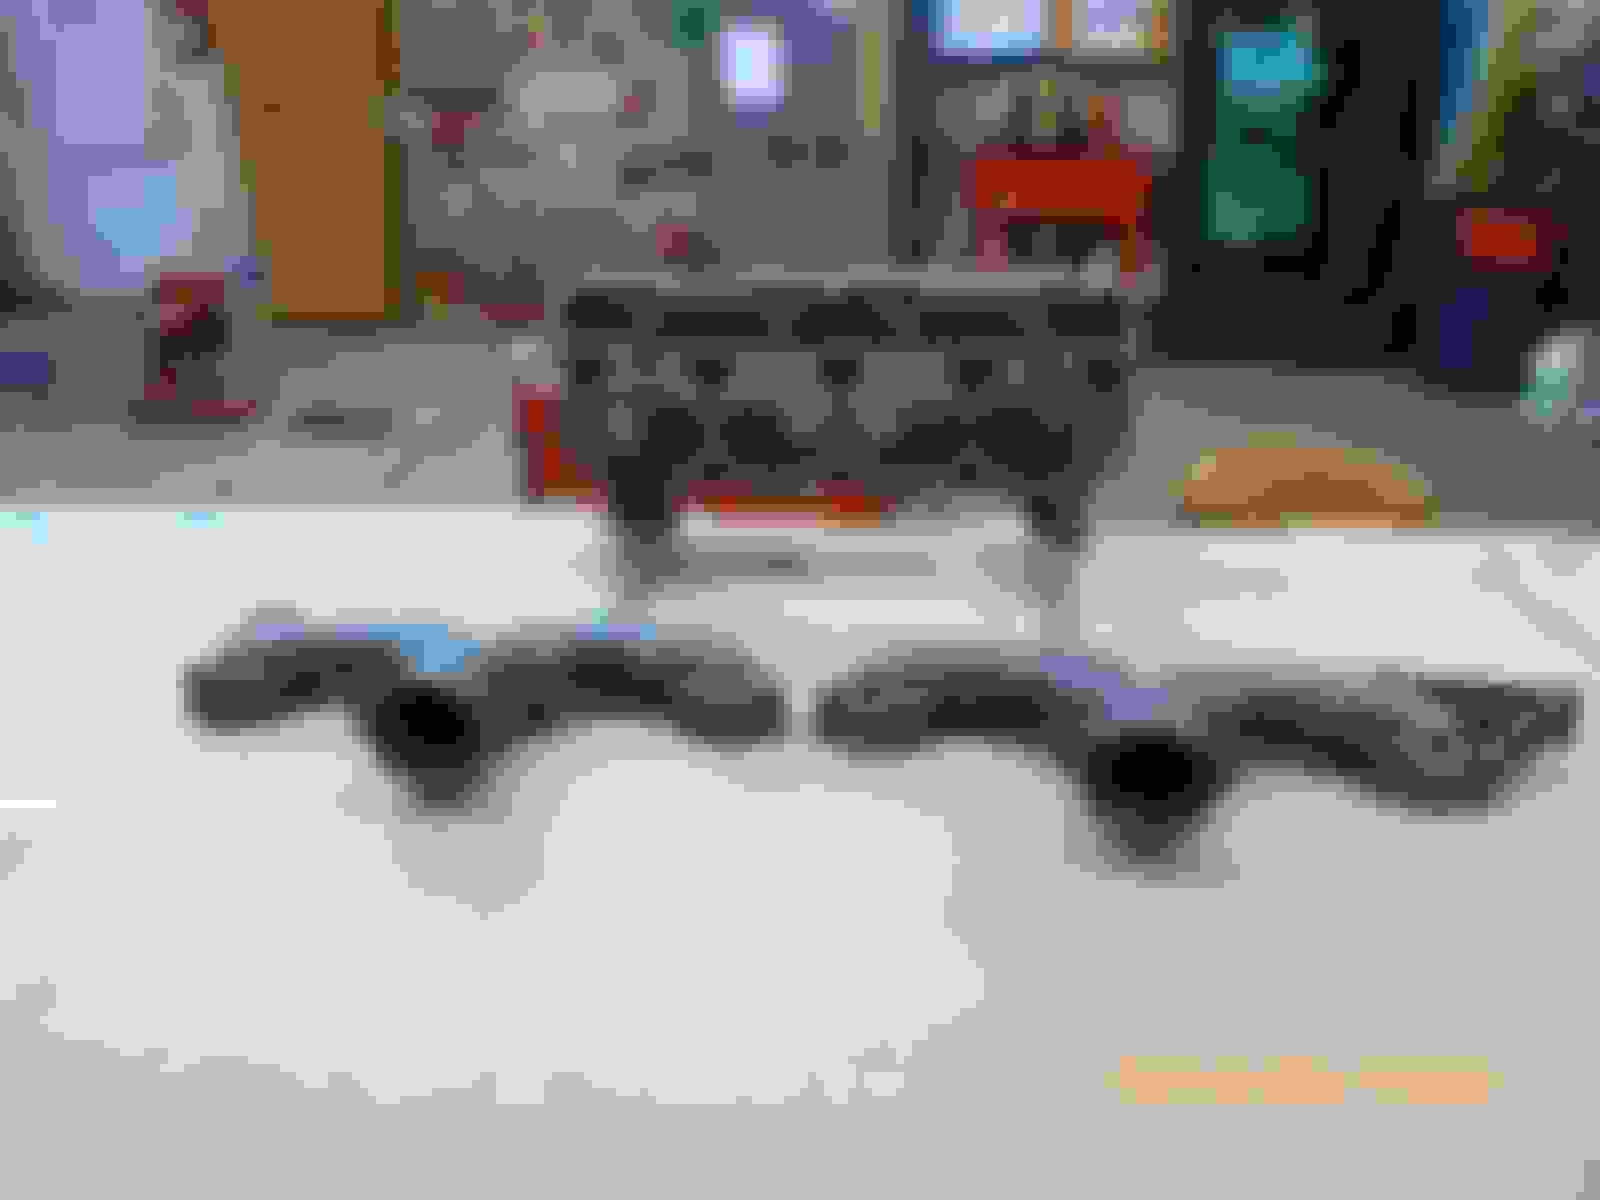
I have now turned my focus 100% toward the engine/trans. I will get the PCM back from the tuner next Tuesday. I sent it to Sinister Performance, Ryan was great to work with. I was also lucky enough to find a set of spotless 1962-1963 Corvette rams horn exhaust manifolds with 2 1/2" dumps.
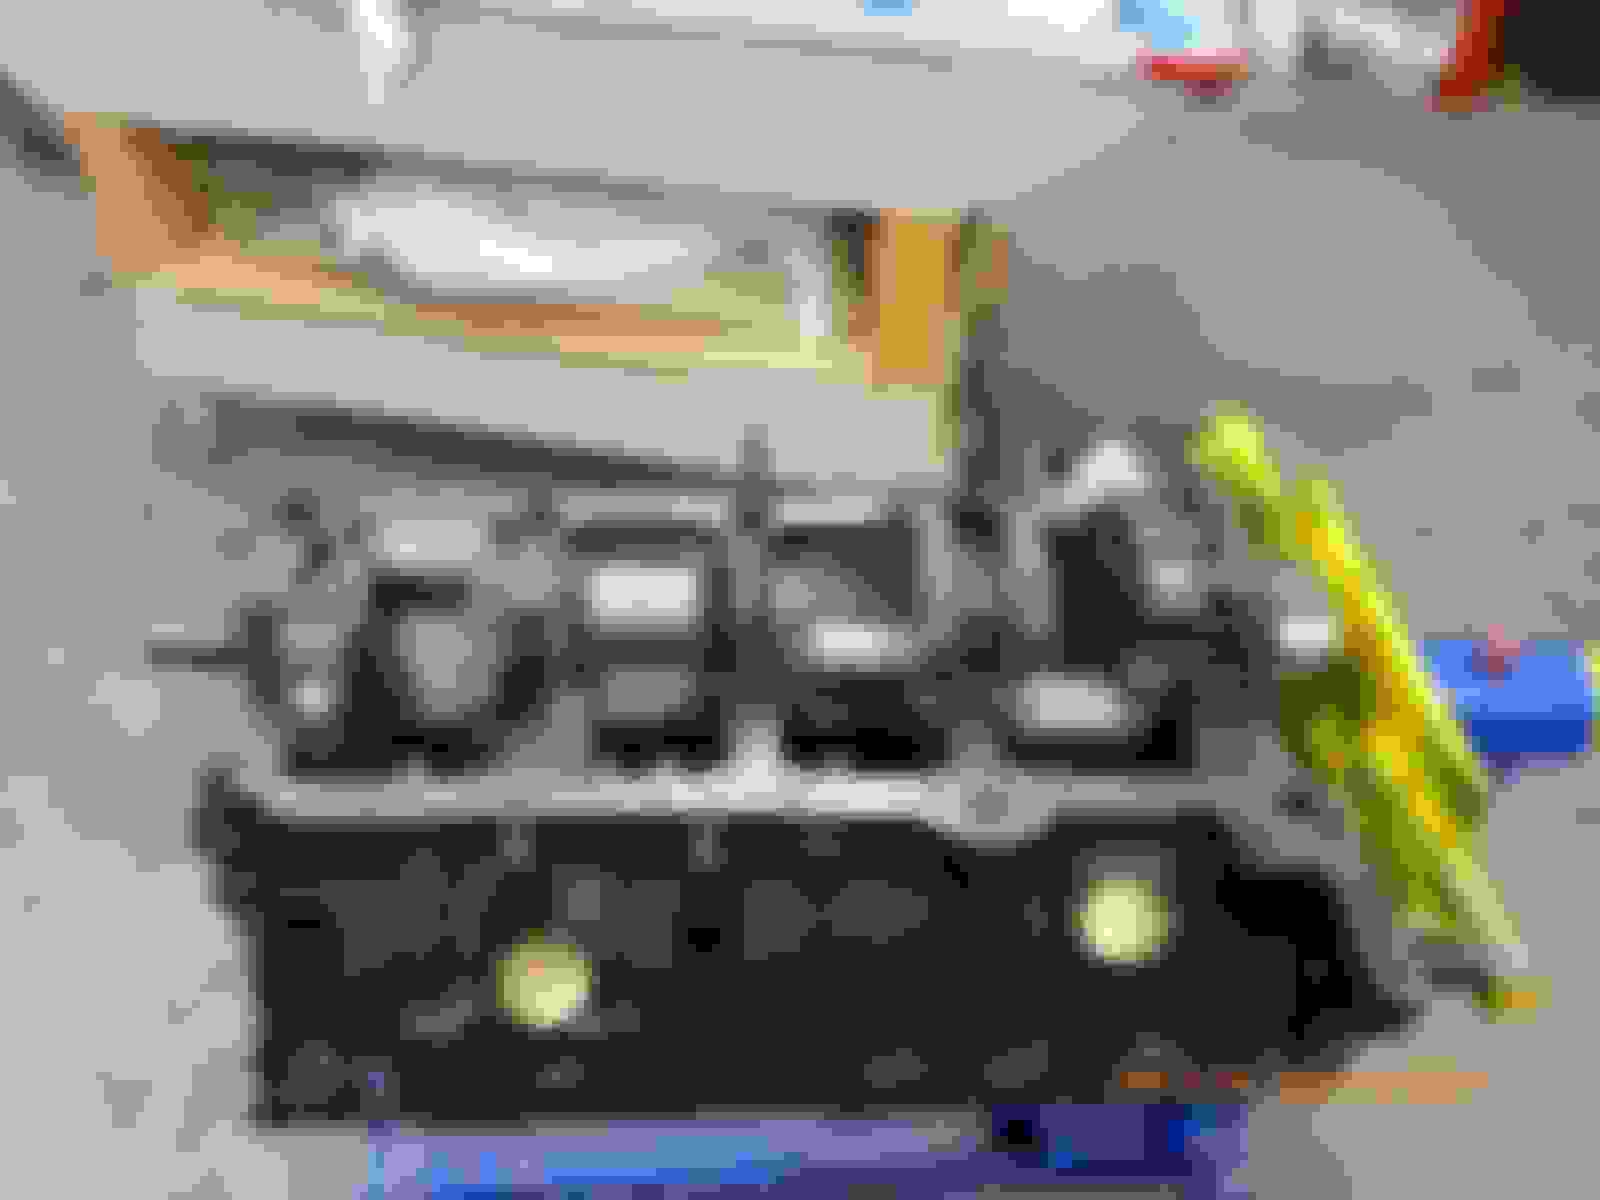
The first order of business will be to deburr the heads and block to help oil flow back to the oil pan. A year and a half ago, I bought a Comp Cams Kit complete with springs, lifters, retainers, and keepers. I have run into a couple of ripples in the pond, but my local machine shop will have no problem ironing them out. Because both heads that came with this engine were cracked, I bought two rebuilt heads (proper casting numbers) and am very pleased with the machine work. I filled each intake and exhaust runner with alcohol to check valve/seat contact. 16 for 16 with no leaks!! Unfortunately, the springs, retainers, keepers, and seals are being replaced with the Comp Cams pieces in the kit. I have "wrastled" a few cylinder heads around the workbench in the past, but this time I thought I would duplicate a pair of head stands I had seen online. They are working better than sliced bread.
I also found out that I have a 1994 engine/trans, not a 1995 as I had thought. When Ryan from Sinister Perf. read the serial number in the PCM, I had to cross-check a few things to verify that the transmission was really a 1994. Otherwise a 1995 tune would damage the '94 trans. The initial fly in the ointment was the trans serial number starts with a "5" which should mean a 1995 model year. However, three other hardware checks prove it to be a '94.
See you next time.
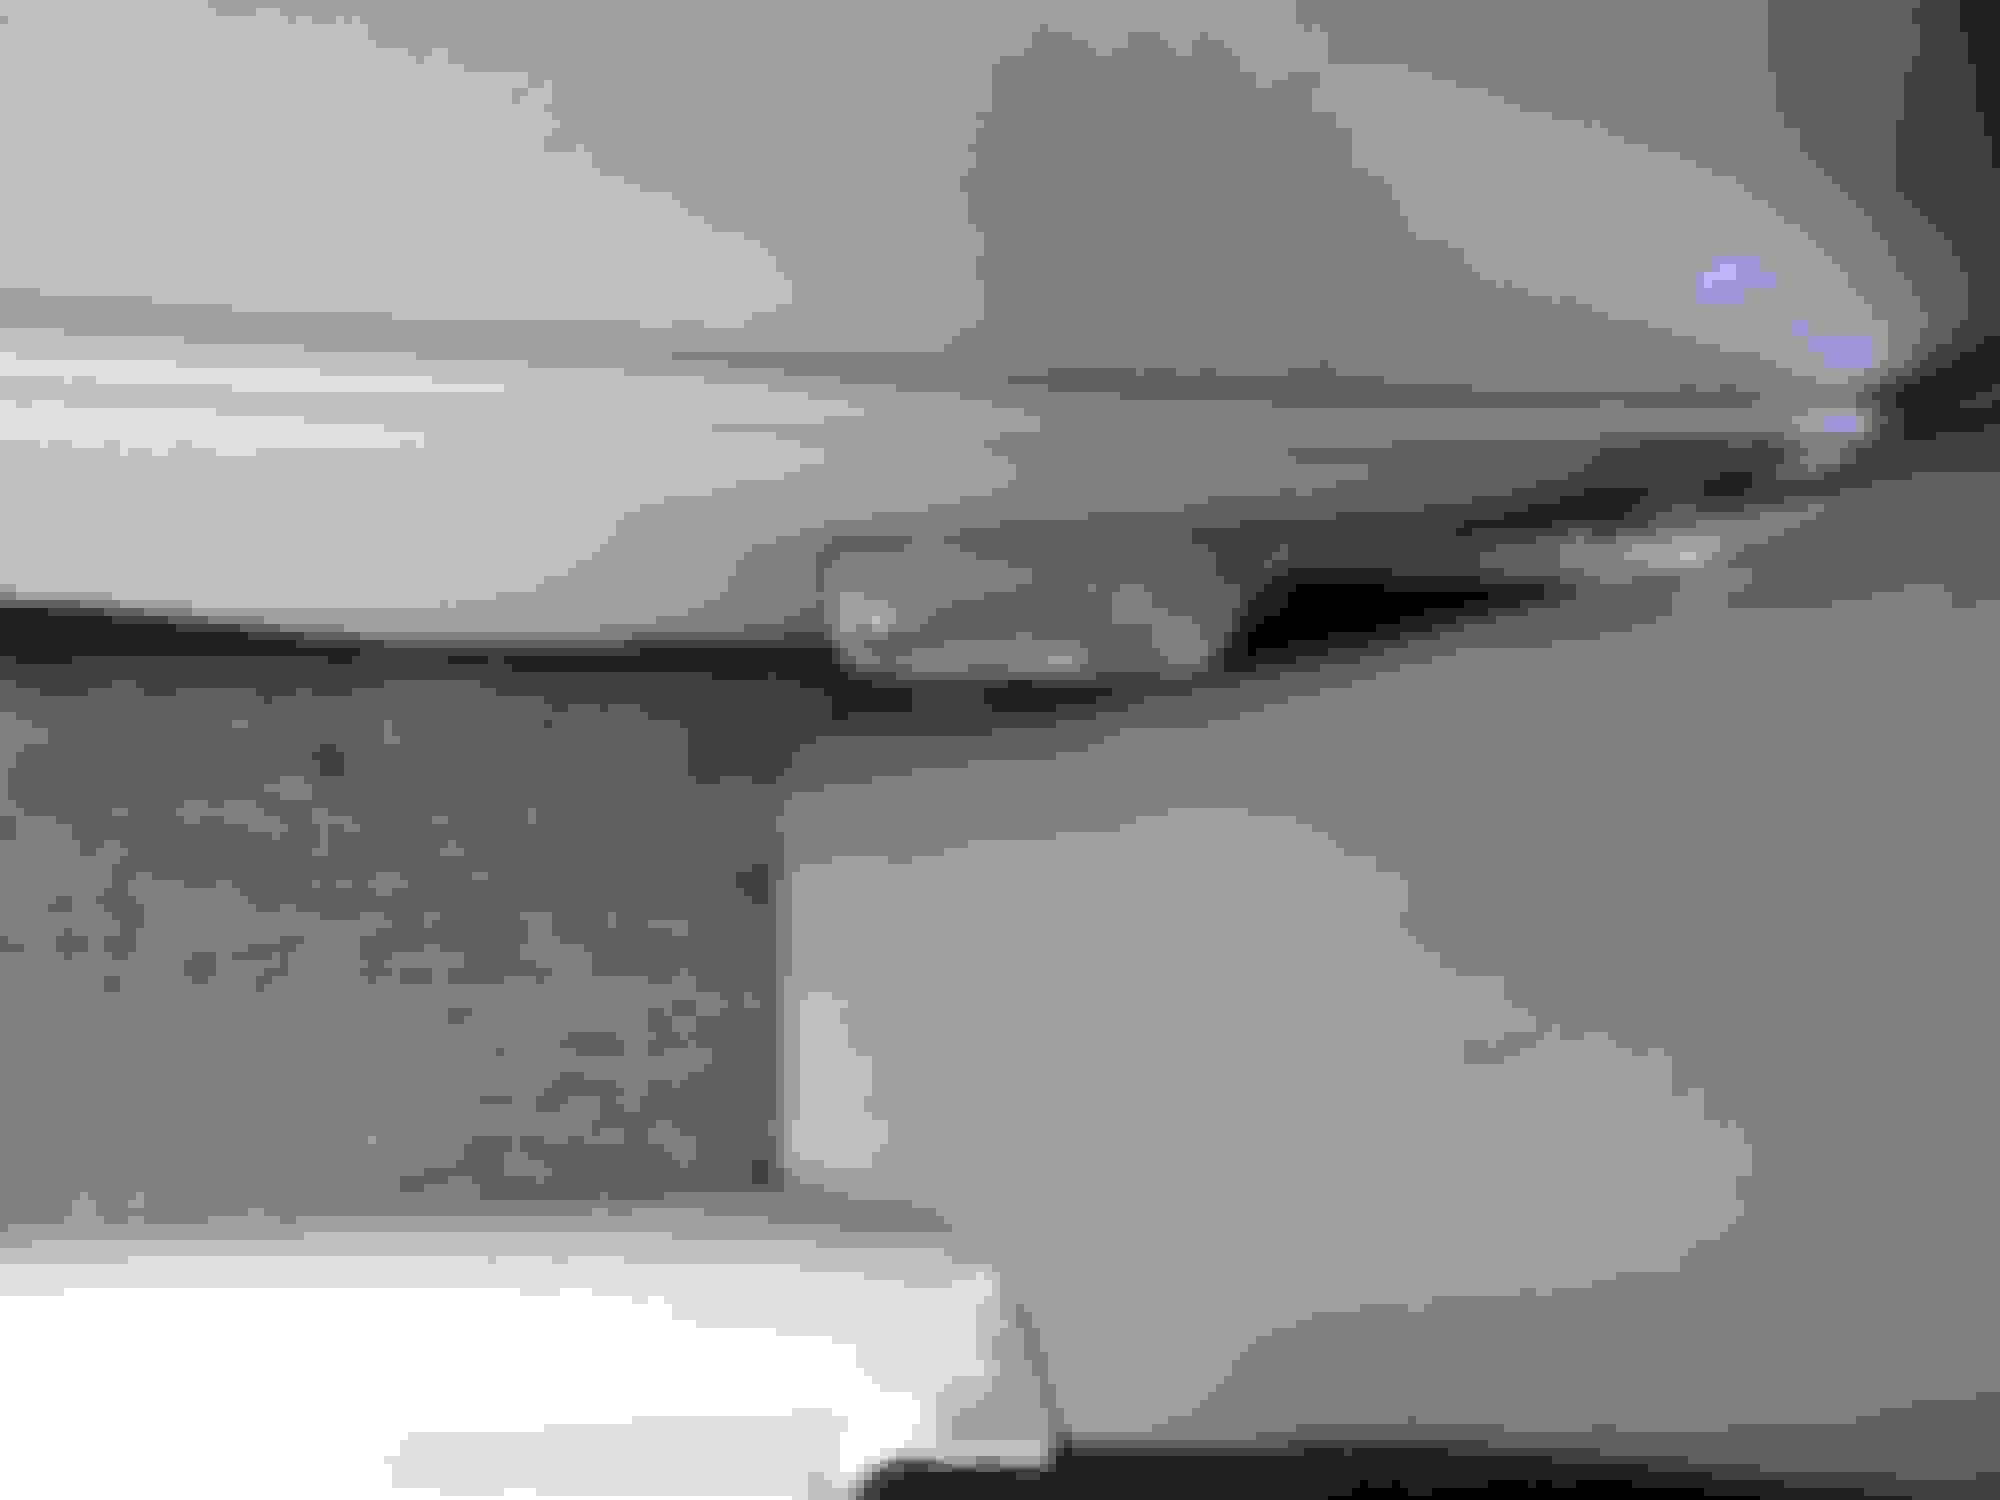
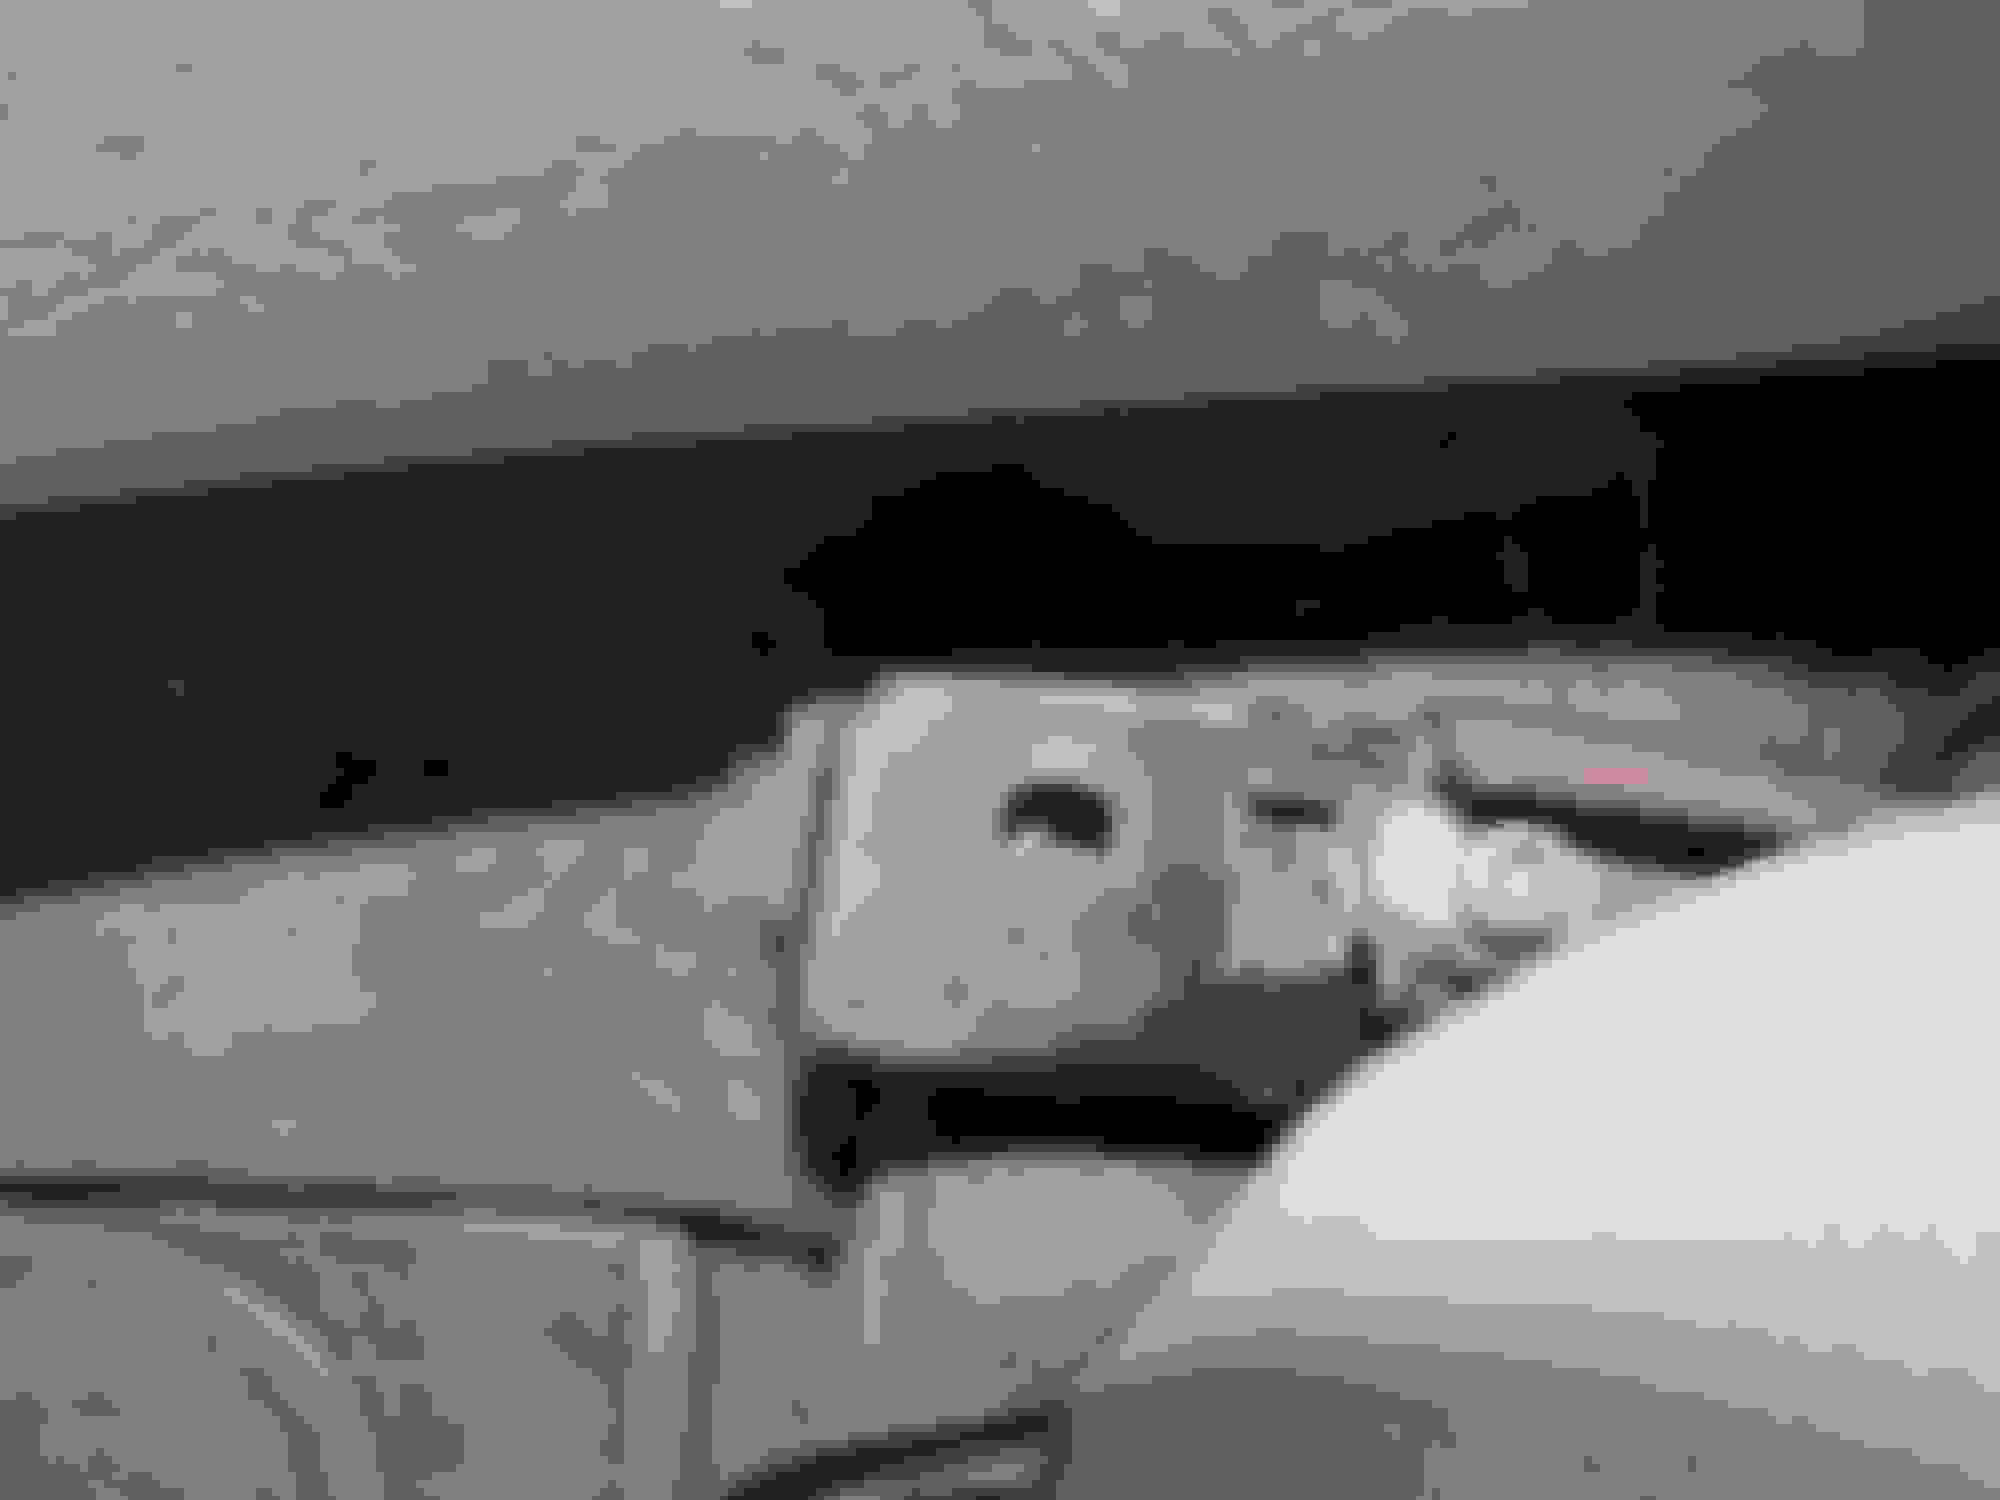
Dave Loop under outer fulcrum, outboard of the shock mount. Hooks in upper cage/frame bushing holes.
On the drivers seat position, Remember I am six foot, two in height. I removed the lower cushion, unbolted the seat and placed two pieces of one inch angle iron in such a way to find where to drill four holes to bolt the angle iron in place. put the drivers seat on top of the angle iron and marked and drilled holes with the drivers seat about 1 and a half to two inch's back of of the old location. Took some finagling too get it right but you will like it unless you are taller then I.
Thank you for that advise Larry. That is exactly what I had envisioned having to be done when I get to that point. I'm glad to hear that someone else has been able to improve the seating position for taller folks. I was 6'3" when I was younger, now I am 6'2". How was the seat height for you? Not having a steering wheel that can be tilted is a bit strange to me, but I will try to find a happy medium with the seat.
I assume you do not need that alternator mounting extension on the right hand Ram Horn manifold. I cut mine off and ported them
to match the exhaust manifold gasket hole size.
It won't go as easily as the two sentences make it sounds. Find a Mustache steering wheel from a XJS for the most comfort you ever spent money on. Any aftermarket steering wheel has a big thick adapter which brings the wheel toward you works the wrong way. When I get home from Thanksgiving I will send pictures.
Hello Roger, It's been awhile. Both of my manifolds have (had) ears and the PO has cut one off. I do plan to cut the other one off and smooth the ends. I haven't looked at the exhaust ports and how they match up yet, but I plan to. Did you take material out of both the heads and manifolds or just one or the other?
Got home from the Outer Banks. N.C. and took pictures of seat moved back about 1 and 1/2 inch. I separated the upper seat frame from the lower track and in the front I only used spacers to raise the upper from lower with longer bolts. The rear is where I used a 4 inch length of angle iron to lengthen the frame. The obstacle that you will run into is the lever for the seat back against the "B" pillar. I Measurement Measurement. Obstruction. Right front Right front Left rear Right rear. Right rear Left rear. 1985 Jaguar Sovereign. Claradon blue with Doeskin interior. Polished Pepperpots.
suppose you could go further back if you removed or modify the lever. That is a 1985 Jaguar Sovereign, Claradon blue with Doeskin interior.
You went above and beyond, those are terrific pictures Larry. Very neat work, I had to study the track pics a little just to see what wasn't original. You have made my job much easier and I appreciate it. That is a very fine looking Jaguar.
Another update.
As I said in the last update, strictly engine work now, and it's going a little slower than expected. I was reacquainted with a couple of old injuries around Christmas time and my shop time has been limited. Enough with the excuses.
De-burred the valley and return holes in the block as well as return holes in the heads. I had to figure out how I was going to do the final clean on the block, not having the luxury using a pressure washer and soap out in the driveway. Break Clean (non-chlorinated) and spray nozzle with catch basins, worked very well. Installed cam bearings and all casting plugs and tapped the front oil plugs for 1/4" NPT.
The valve springs I'll be using are stiffer than original, so I had the machine shop install screw-in rocker studs and mill off the slight casting flash around the spring pockets for better fit of the springs. Also found out that when I bought the over haul gasket set over a year ago, the included head gaskets were not the right ones-too thick. Had to order the correct ones.
I put the crank in the block two days ago plan to put the heads together today, degreeing the cam will come next. Couple of pictures here to take up space, see you next time.
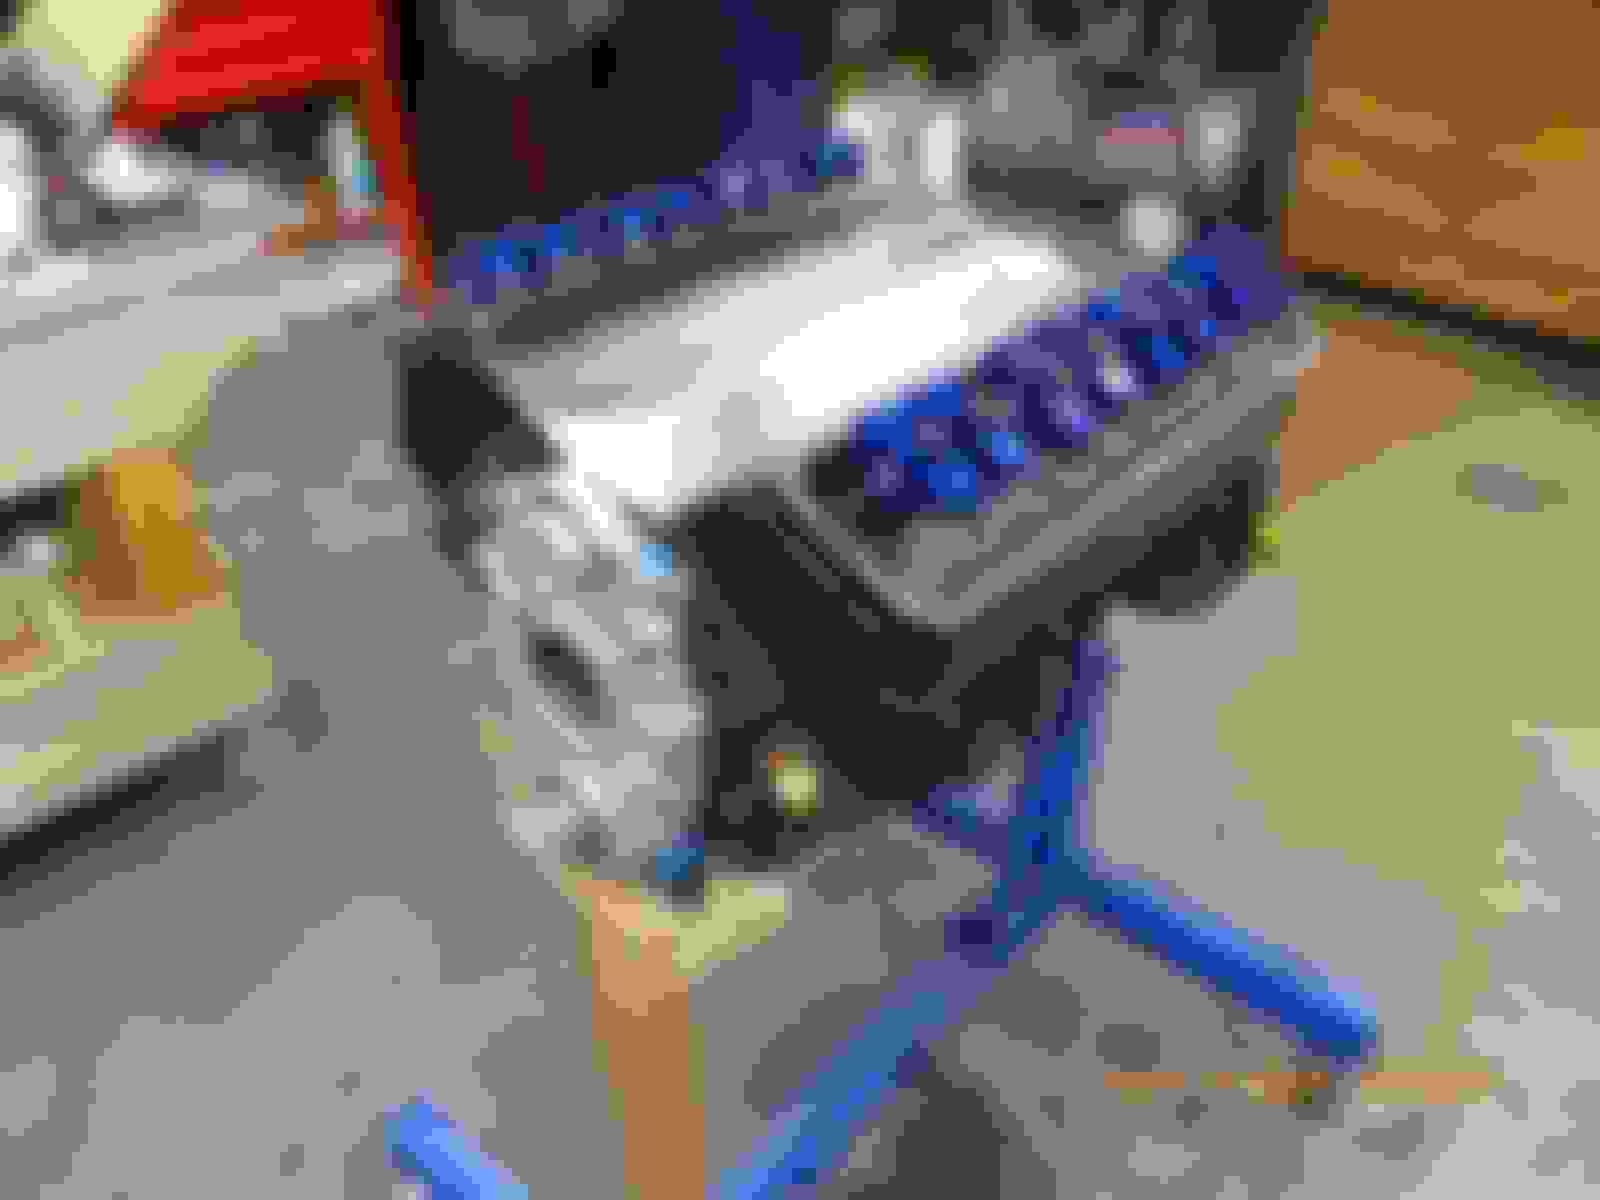
Just a note of interest, Could you please support the front of the engine with a board to take the load off the rear. I know a guy that had a engine stand break on him at the rear and lost part of a foot.
Point well taken, I have always had a chill down my neck when I have an engine on the stand, but I think it appropriate for some kind of front support on this last build. I'll post a pic of what I come up with.
Ready or not, I guess I'd better own-up to what I've been doing.
Old injuries have come home to roost, big time. Going in for back surgery on 4/9 and for steroid shot in the knee tomorrow. I have a life-long aversion to any drugs/pills, but there isn't any alternative right now. On to the work at hand.....
The engine has changed shape and is now a long-block, but not fully "dressed" yet. Got the valve train installed today and the valves set. Prior to that, I had many exasperating days of waiting for different parts, multiple bits of machine work, and making tools. I learned a couple of things along the way, which is a plus. Interesting to me was the correct way to measure a push rod, the way the manufacturers do. That way you are assured knowing just what length you need while talking the manufacturer's language. I also learned a new and quick way to adjust the valves with hydraulic lifters, very quick and accurate. I was also reminded of the need to stick the oil pump drive shaft on the pump before bolting it to the #5 main cap. Luckily I'm using reusable oil pan gaskets.
One issue I could see down the road was how to mate the "EGR pipe" from the back of the intake manifold over to the right hand exhaust manifold. The "rams horn" exhaust manifolds don't have a provision for this, of course. I removed the "choke tube" from the right manifold and plugged the bottom hole and opened up the upper hole to 1/4" NPT. It looks like a factory outlet and even points back toward the rear of the engine. At the intake manifold, I made a plate (I didn't get the stock pipe) for the opening and will drill/tap for a JIC coupler to connect a braided stainless steel hose between the two. It should look nice. BTW, for you youngsters, the really old American cars used "choke tubes" with the automatic chokes. On the carburetor was a big bi-metal spring inside a housing on the side of the carburetor or in the exhaust cross-over at the center of the manifold, that was connected to the choke butterfly. Cold temps closed the choke plate and heat opened it. That heat came from a 1/4" tube that ran through the collector of the exhaust manifold, which heated the air in the hollow tube. In the choke housing, there was a small hole that allow a slight amount of venturi vacuum to suck the heated air from the exhaust manifold into the housing and heat the spring. The rest is history.
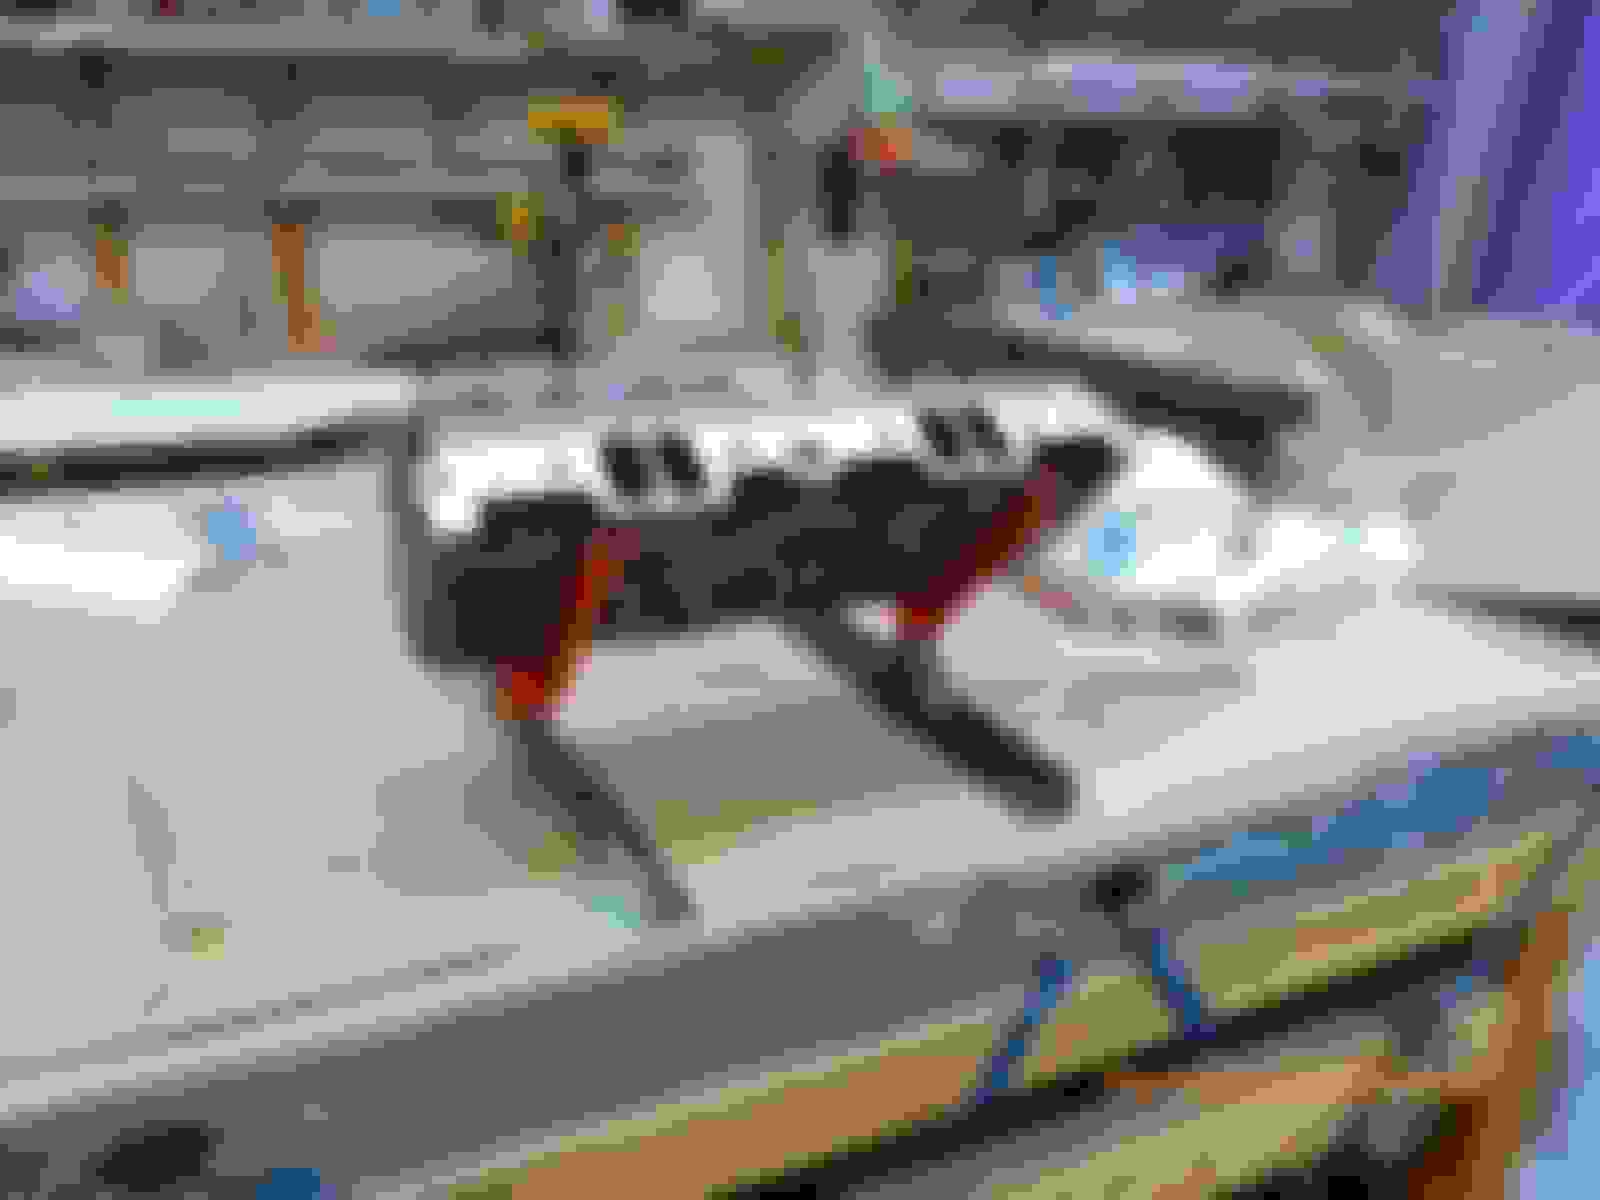
Tools: The strange looking aluminum contraption I use to remove the caps from the rods after new rod bolts had been installed and the rod balanced and resized. Impossible to separate by hand. The wooden thingy with steel rod is my priming tool until I bolt the intake manifold on. Made from oak closet rod and the judicious use of my drill press. Now that the engine is oil-tight, I am going to prime it to see if I get the expected results. I'm still a couple of months away from first startup, so I will have another method of priming once the manifold is on. Safety support on front
of engine-self explanatory. Added a picture of my method of setting oil pump pick-up from the bottom of the oil pan.
Not many interesting pictures, if you've seen one engine, you've seen them all.
...
Not many interesting pictures, if you've seen one engine, you've seen them all.
Dave
That might be true, Dave, but it's like baby pictures (which Totally escape me);
They're all the same as you say, but at the same time they're all special, especially if it's yours.
And yours is a thing of beauty.
(';')
I "inherited" ram horn manifolds with the engine/transmssion package I bought from a recycler aka "junk yard" !!! No "dip" in the center, although they are center dump !!
I had to grind along the inboard top to clear the valve covers. Mine also included four ports each for the air injection. I used an old set with a bit of alteration. I just could not bring myself to drill the larger hole to accept the Cadillac injection tube. l would have been a bit neater...
I did grind a flat spot on the right manifold at the rear Drilled three holes in the flat. the center one for the Cadillac EGR tube and the two outer ones for the fasteners. Tapped the outer ones for fasteners. A near perfect emulation of the original GM method...
Thanks Carl, sometimes a workout of the ole grey matter makes these projects fun, sometimes not.
I didn't get any exhaust manifolds, but I did get the big air injection tubing that wraps around the engine a couple of times. I decided to leave the air injection off because of TSB from Chevy that officially said it was useless. I am keeping all the other emission apparatus. When I looked at pictures of the stock EGR pipe I saw how it was attached to the exhaust manifold, but I just don't have enough real estate to use a hold-down bolt like they did. Tapping directly into the manifold with a male pipe thread fitting on the SS hose is as simple as I can get it. I'm with you on drilling the hole for the air injection fitting, too unnerving for me.
 11-22-2020, 09:54 PM