When you click on links to various merchants on this site and make a purchase, this can result in this site earning a commission. Affiliate programs and affiliations include, but are not limited to, the eBay Partner Network.
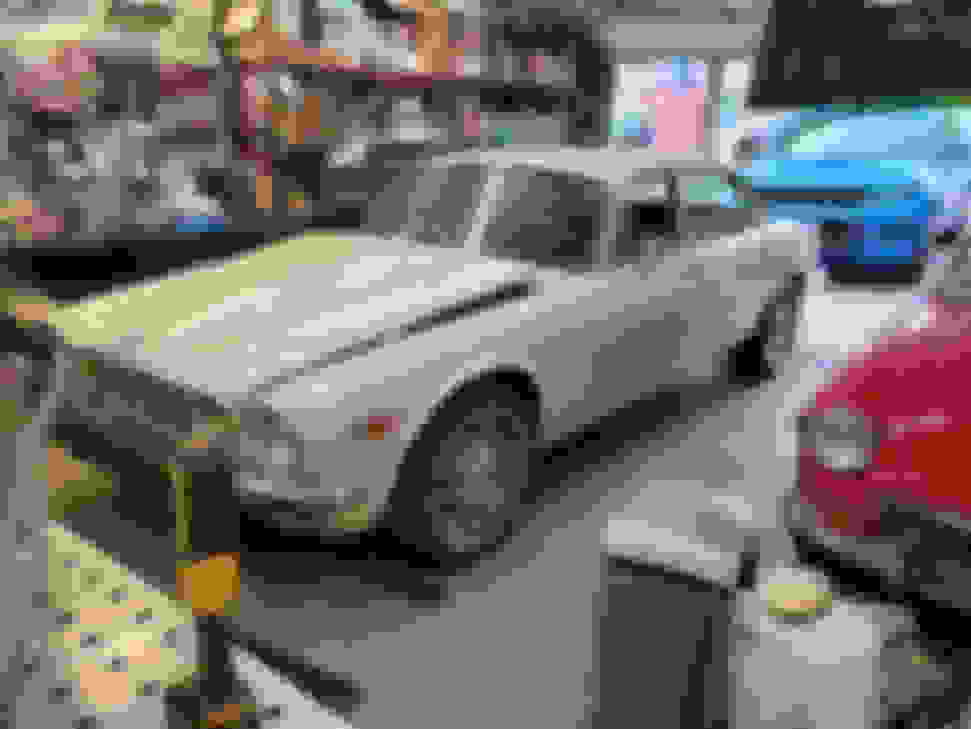
After owning an S1 XJ6 about 10 years ago, I've been on a tour of other Jaguars and have come back to the XJ's, this time with an S2 XJ12L.
Things are a little different this time around as the Jaguar V12 is missing and a small block Chevy with a TH350 is in it's place.
My goal is to leave that alone until I address the other issues, but I'm thinking that a supercharged AJ16 from a mid- to late-90's XJR would look good sitting there.
First things first, I got her cleaned up and put on a couple coats of wax to get her shiny.
I also ordered the 7" outer head lamp kit. I can't stand the small outer lights.
Next up was to defuse the old tires that were at least 25 years based on the date codes. I think the spare was 35 years old.
It definitely needs all 6 shock absorbers replaced and I think I will rebuild the front brakes while I am here. Rear brakes were recently rebuilt.
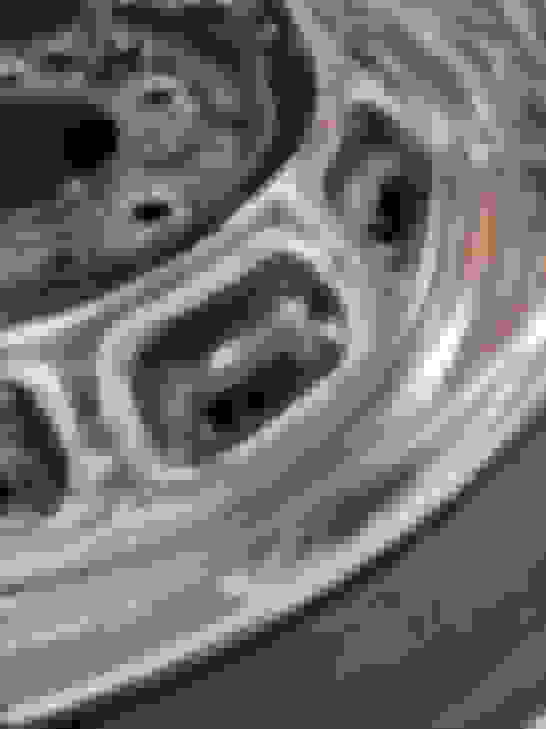
This is also time to freshen up the wheels a bit. The chrome is generally OK...
but the black painted sections need some love. I'm hoping there is a paint mask for the holes because I like the look of these wheels.
Other things I need to address are the complete lack of a hazard switch, intermittent turn signals, and a complete inability to switch the headlights from high beams to the low beams. I am hoping I can rebuild the turn signal switch and that will take care of that issue. The next pressing issue is the wipers only move about an inch every 30 seconds. I'm guessing the motor and rack needs a rebuild.
On my 1967 420 that I just sold, I resisted the urge to over-restore everything. This time I'm not holding myself back. I pulled off the left rear bumper strake to get to the power antenna and I couldn't in good conscience put it back together with the bracket looking like that.
After a trip though the sand blaster and a couple coats of paint.
In closed areas like behind the finishing panel I like to protect the metal with Wool Wax. If you're familiar with Fluid Film it's very similar; Wool Wax has the advantage of being thicker so it's resistant to washing out. It also lacks the smell that Fluid Film has. I buy it by the gallon.
Here it is brushed on the inside of the finishing panel.
I'm also trying to decide if I replace the fuel tanks while I am here so I never have to worry about them again.
I also started diagnosing my HVAC woes. The fans only blow on low speed and there's air flowing from all the vents all the time. I hear the servo whirring so that's a good sound but when I pulled the left hand tunnel cover I found disconnected wiring and clipped wires. Someone has been in there before and I am afraid of the mess they made. I'm going to have fun correcting all that.
I had a busy but relaxing evening in the garage. The UPS man brought me a shipment of nuts and bolts and I was able to put the bracket on the bumper. I'm a huge fan of zinc yellow chromate plated hardware for the look and the corrosion resistance. I put a little bit of anti-seize on the bolts before getting them started.
When removing the battery to get to the wiper motor I came across a poorly done patch under the battery tray. I removed the patch and the original pieces of the tray and will make a new one.
I also flushed the cooling system and refilled it with my anti-freeze of choice - Zerex G05. The radiator funnel makes it easier to get all the air out of the system.
Pulling the wiper motor was easy enough. The problem I was having was that the wipers were EXTREMELY slow - I never let them finish but it would have taken in excess of 3 minutes for one swipe of the windshield.
Disassembly showed nothing broken. I was expecting the grease to be hard and dry but it was not.
I fully stripped the motor down and cleaned everything. The motor can got a couple coats of zinc-rich paint. The wiper case was soaked in a bath of denatured alcohol to clean all the old grease.
I ended up with some success. The wiper motor will work on one speed - I think it's high - but not low speed. The brush for low speed was in poor condition. https://www.youtube.com/shorts/ar_FxpAfCF4
This looks like a pretty common Lucas wiper motor. Does anyone know if a wiper motor from another car would fit? I know MGB used a similar style motor. Otherwise I will see what the usual suspects have to offer.
Finally - it looks like I need to clean out the wiper wheel boxes. I pulled the fresh air vent at the base of the windshield but there's no access to them. Is that a dash-out-of-the-car job?
Pull the inner cable out of the outer sheath between the wiper unit and the wheel boxes, clean it and re-grease with a cold weather (grade 1) grease and reassemble. I had to replace the mounted brushes under the end-cap of the motor. Found a place in Great Britain. 29W wiper motor brush set. RTC198A. This place has them as well as eBay. https://www.ukmgparts.com/product/mi...-motor-rtc198a.
Thanks for those links, Dave. I'm still waiting for my wiring diagram but what I am assuming is the low speed brush (with the yellow wire) looks like it comes with an odd-shape. Maybe there's nothing wrong with mine.
I read the link for the relay upgrade for the wipers and that's a great idea. Did anyone ever come up with a PDF of the wiring schematic?
It's good to see you in our playroom, Thomas!
Having followed your adventures with that XJS, I *Know* your work on this Series 2 (the most Beautiful Jag ever to roll off the line! I freely admit my bias) will be better than factory when you're finished and even better than Concourse quality.
I will be following with interest. EDIT:
By the way, you do have to remove the Crash Roll to access wiper gears. :/EDIT
(';')
Thanks for those links, Dave. I'm still waiting for my wiring diagram but what I am assuming is the low speed brush (with the yellow wire) looks like it comes with an odd-shape. Maybe there's nothing wrong with mine.
I read the link for the relay upgrade for the wipers and that's a great idea. Did anyone ever come up with a PDF of the wiring schematic?
I didn't take pictures of the wiper motor overhaul, but the odd shaped brush rings a bell. I think it has something to do with the "parking" process. It's kind of jerky movement of the wipers, depending where they are when when you turn them off.
The RTC198a brush set did not work on my wiper motor. The RTC198a has the brushes mounted in the middle of the board and mine had them mounted on the top of the board. This caused the brushes to bind up and they were not able to move. I went shopping for a set of universal brushes with the shunt attached but at the end of the day I decided to buy a rebuilt motor from East Coast Jaguar.
With that problem out of the way, I took today off work and decided to fix the rusty panel underneath the battery. First up was wire brushing the rust and painting it with a rust-converting paint.
While that was drying I pulled out the new brake rotors and painted the hats and edges so they won't rust.
The paint on the braking surface will all be gone by the end of block.
Here's the start of the new panel under the battery. Measure twice and cut once.
The old battery hold downs came out and I decided to install a battery box. I cut the mounting feet off and smoothed the cut metal before painting the raw edge. The battery in the car was a group 65 and I traded that in for a group 24.
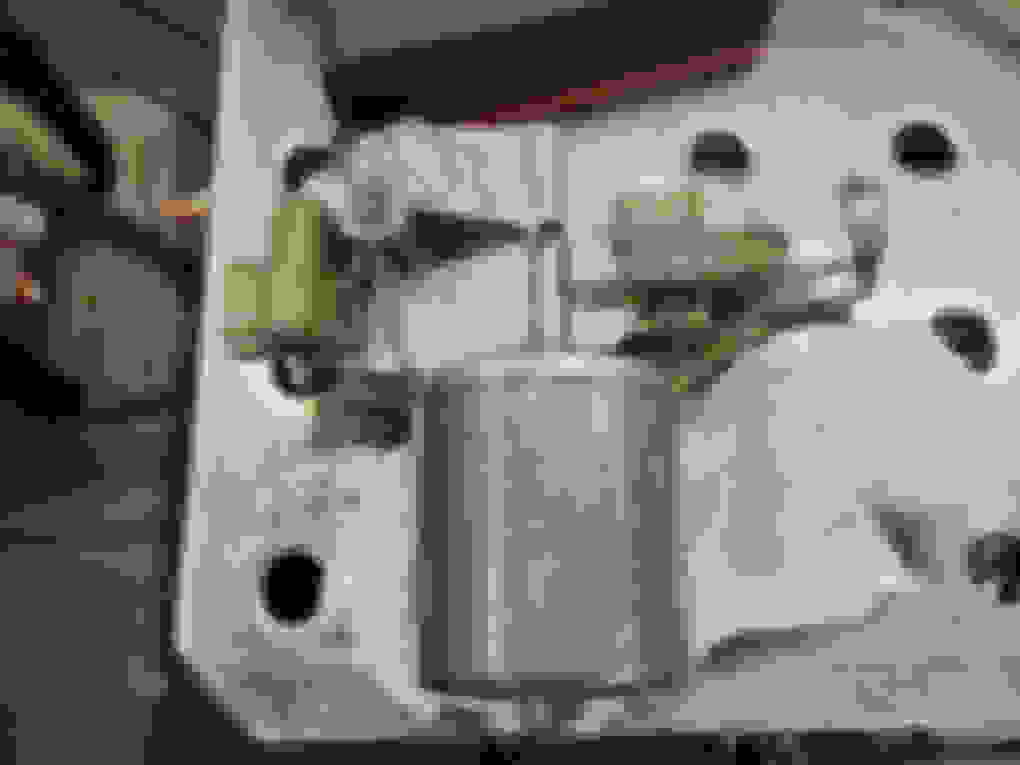
While that was drying I decided to see what was going on with the electric fuel pumps in the trunk. The 350 has a mechanical fuel pump (which is going away) with the two tanks joined together but I'd like to get back to electric pumps. There was an old SU pump and an AC pump - I've never seen one of those before. These will both be replaced with a new set of Hardi pumps. My change over switch also needs to be replaced.
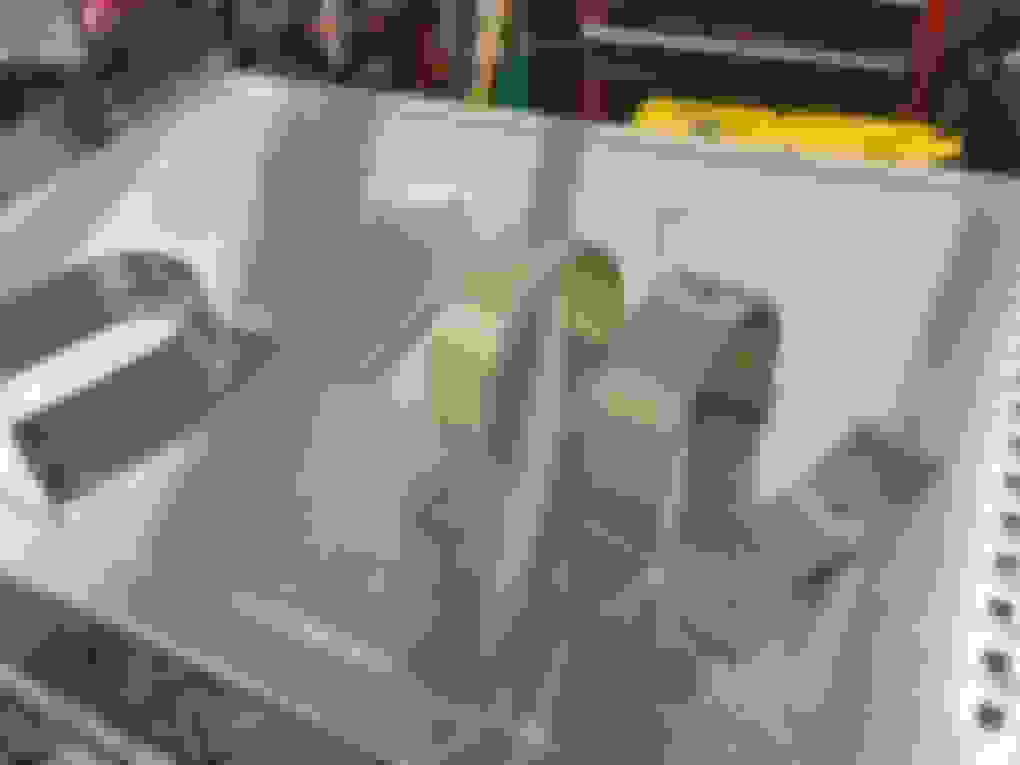
At this point I had a collection of parts that were grubby and needed some attention. There were two fuel pump brackets, one fuel pump bottom bracket, the wiper motor bracket, and the wiper motor plate. This is how they looked coming off the car.
After a trip through the sand blaster
Here they are in the powder coat oven getting a base layer of chrome.
After the chrome flowed out I let it cool, the put on a coat of spun gold. The spun gold is translucent and shows off the the chrome below which gives it a zinc yellow chromate effect. It's not the same but close enough for brackets no one will ever see
This is a little blingy, but the radiator overflow was a plastic bottle that the fan belt had chewed into. The stainless steel water bottle is a little more compact and I expect it to be more durable.
Here's the shot of the new battery mounted in place. I ran new 2 gauge cables from the + side of the battery to the starter. I ran 4 gauge lines from the starter to the firewall post and from the alternator to the firewall post. On the - side of the battery I ran new 2 gauge cables to a 300 amp battery disconnect switch then to ground. I also ran a 4 gauge dedicated ground cable from the alternator.
It's a little overkill but I like not having to worry about it.
I spent the last 2 days in the garage with not a whole lot to show for my efforts. I started with replacing the hazard switch and the turn signal switch as both were broken. It took me a couple hours to make sure they were wired correctly but I am happy to report i now have hazard lights and turn signals that work.
Next up was replacing the fuel tank selector switch as the current one would not latch into place. I consider myself luck to have a found a NOS switch for sale.
Next up was replacing the wiper motor with the rebuilt one I got from East Coast Jaguar.
I was somewhat surprised when I hooked it up, flipped the switch, and nothing happened. It looks like the terminals were fairly corroded. Nothing a few minutes with a piece of emery cloth can't fix but slightly frustrating given the price I paid for it.
After I was sure it worked I popped the back cover to put my cable in.
And back home inside the fender.
Next up was completing the headlight conversion. On the left is the stock 5.75" outside light and the yellow fog/hi-beam. On the right is the new 7" outer light and a 5.75" hi-beam.
All done.
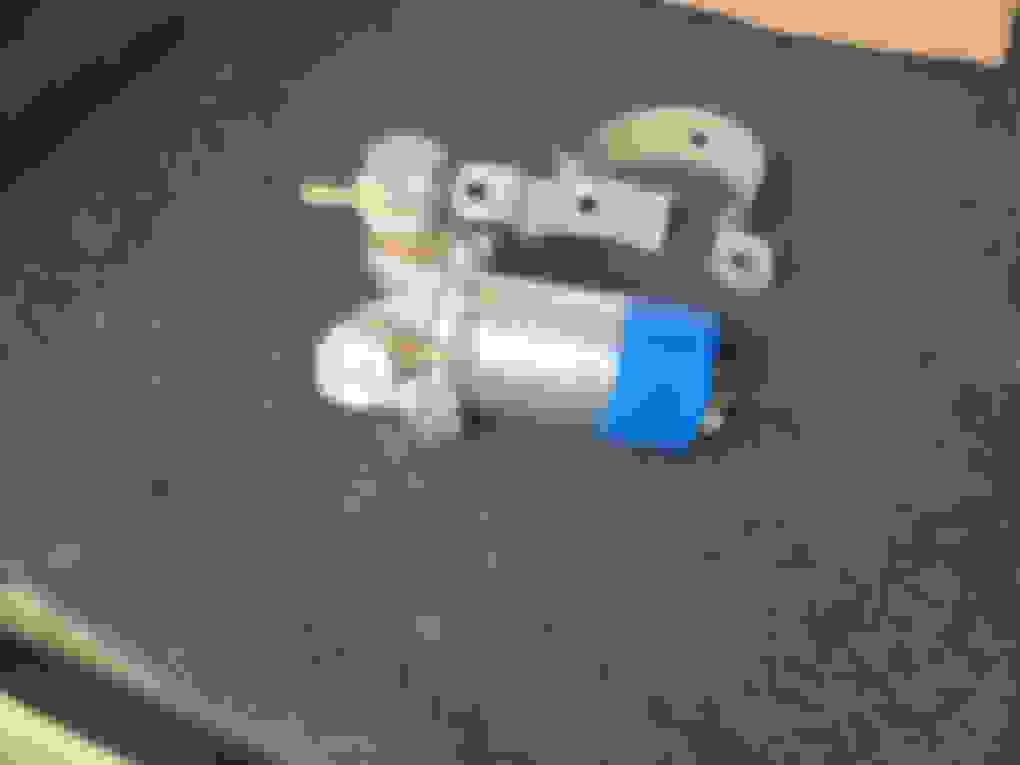
Last up were the new Hardi fuel pumps and making sure the banjo bolts and fittings from the old pumps work on the new ones. I need to order some sealing washers and hose clamps for when I plumb this up.
Next up is replacing the headlight relay and re-wiring the headlights.
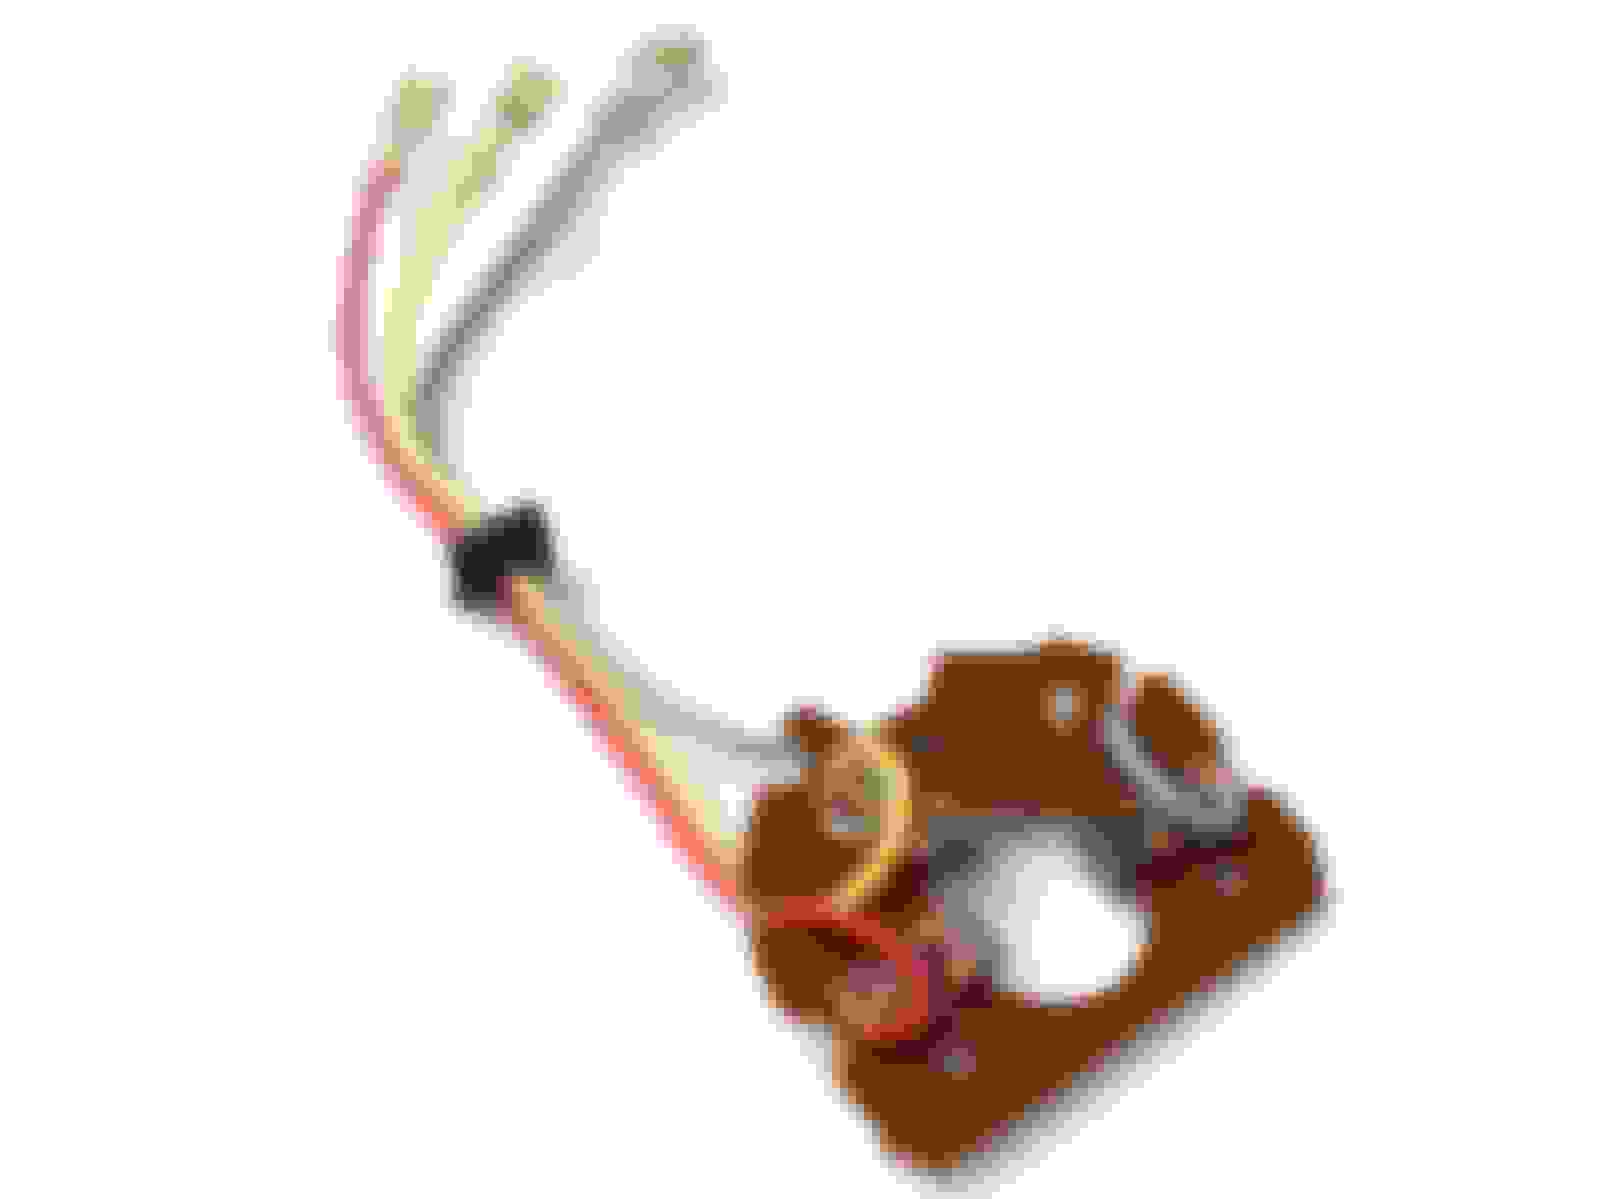
So I'm confused about the two plugs and jacks on the wiper motor. The P&J assembly, which are presumable switches, appear to be adjustable. What do they adjust? The throw of the wiper arms in both directions?
Thorsen - WOW! Many thanks. I will add that link to my vast database of Jaguar files. I've quick read it and it seems exactly what I'm looking for. The only main difference I see is that Jaguar added a relay in-between the steering column switch(s) and the actual motor. Again, thanks.
While I have been not so patiently waiting for the State of Illinois to send me a title and a set of plates, I have held off working on the car in the event there was an issue with the title. The good news is that I was notified today the state approved the title and I should be getting the license plates via FedEx tomorrow morning. That means after 3 and a half long weeks I can finally drive the car!
To celebrate I finished wiring and testing the headlights tonight. I also drained and refilled the rear diff as well as lubing the rear end. Nothing really picture worthy to see.
Tonight I got to drive her for the first time and while I was impressed with how smooth and quiet the drive was, I could not ignore the heat blasting me from the vents. I was expecting that as the heater valve had a vacuum hose attached and the other end of the hose was flopping around the engine bay.
I dropped the underdash panels on both side and removed the cheek panels. I was initially concerned when I saw this amplifier plug was just kind of laying there but then I noticed there was another amplifier wedged underneath the tunnel carpet and was plugged in. So I am guessing the original amplifier (that looks like it is under the unit) died and someone replaced it and abandoned the old amplifier in place. Not the end of the world.
I connected the heater valve vacuum line to the firewall pass through but the heater valve is not getting any vacuum to close it. I also do not have high fan speeds but I think I can trouble shoot that easily enough.
The best news of the night is that the AC system still has a charge and was blowing cold air once I connected the +12 volt wire to the compressor.
 06-25-2023, 02:31 PM


 ) will be better than factory when you're finished and even better than Concourse quality.