When you click on links to various merchants on this site and make a purchase, this can result in this site earning a commission. Affiliate programs and affiliations include, but are not limited to, the eBay Partner Network.
Tonight I put the engine back in the car to check the alignment of the transmission mount and to see how much (if any) massaging the transmission tunnel needed.
Before I could do that I had to put on the Jaguar Specialties rear transmission mount.
That's the slip yoke that came with the transmission, I'll be using something different.
I thought this was a great time to put on the oil pressure senders. On the left is the sender for the new gauge and on the right is the switch for the light.
This was also a great time to replace the transmission pan. Nothing too fancy this time but I did want something with a drain plug.
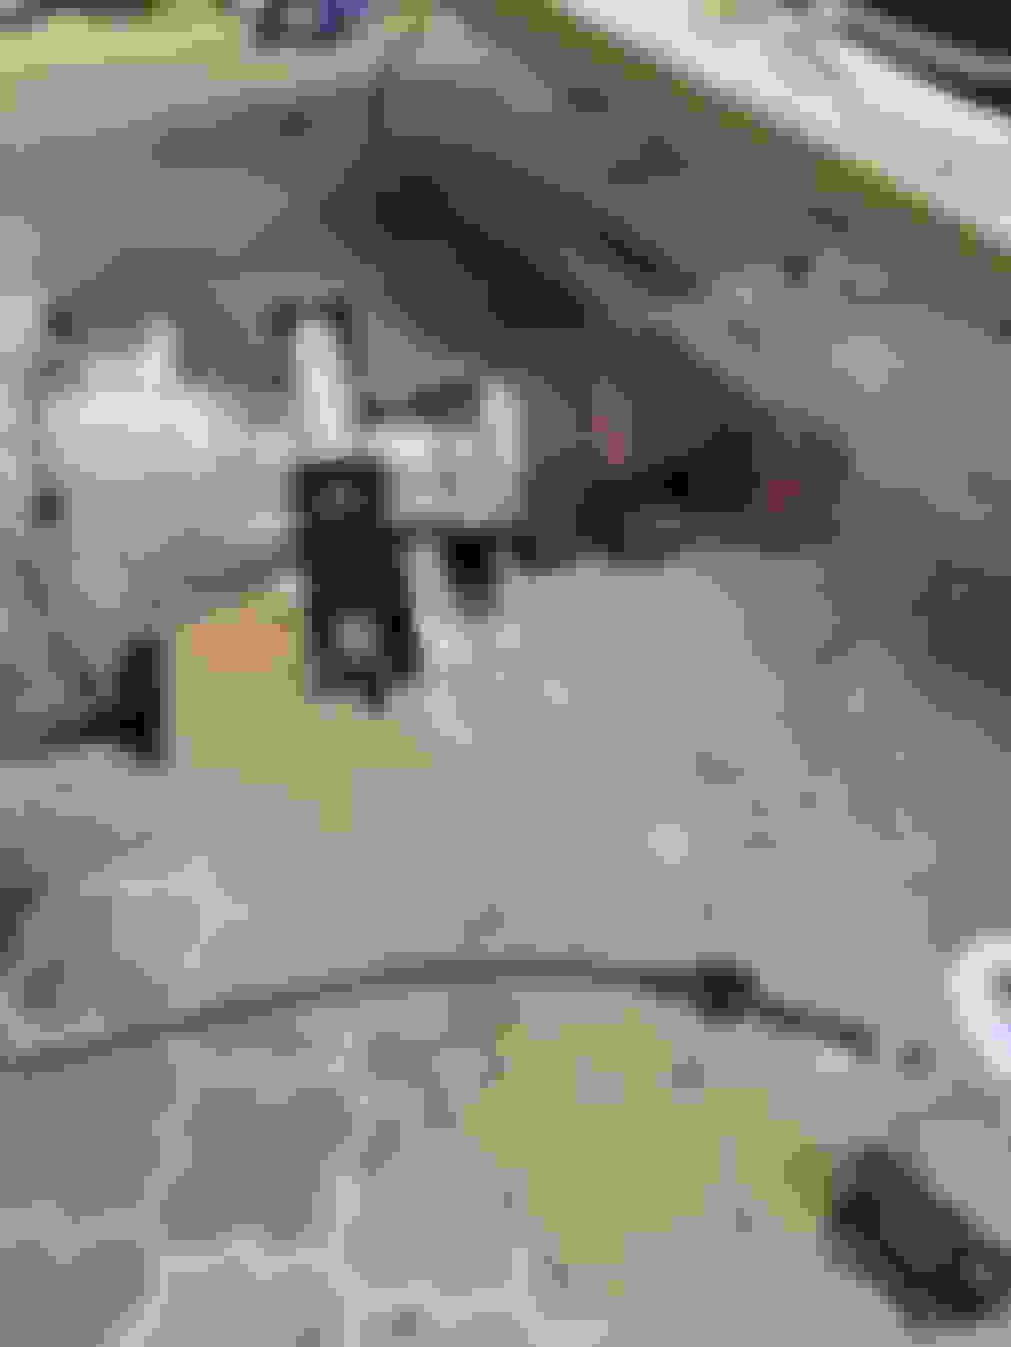
The UPS guy is bringing me my new transmission mount tomorrow so I spent a little time this evening with the engine wiring harness. I'll be cleaning it up and removing unnecessary wires.
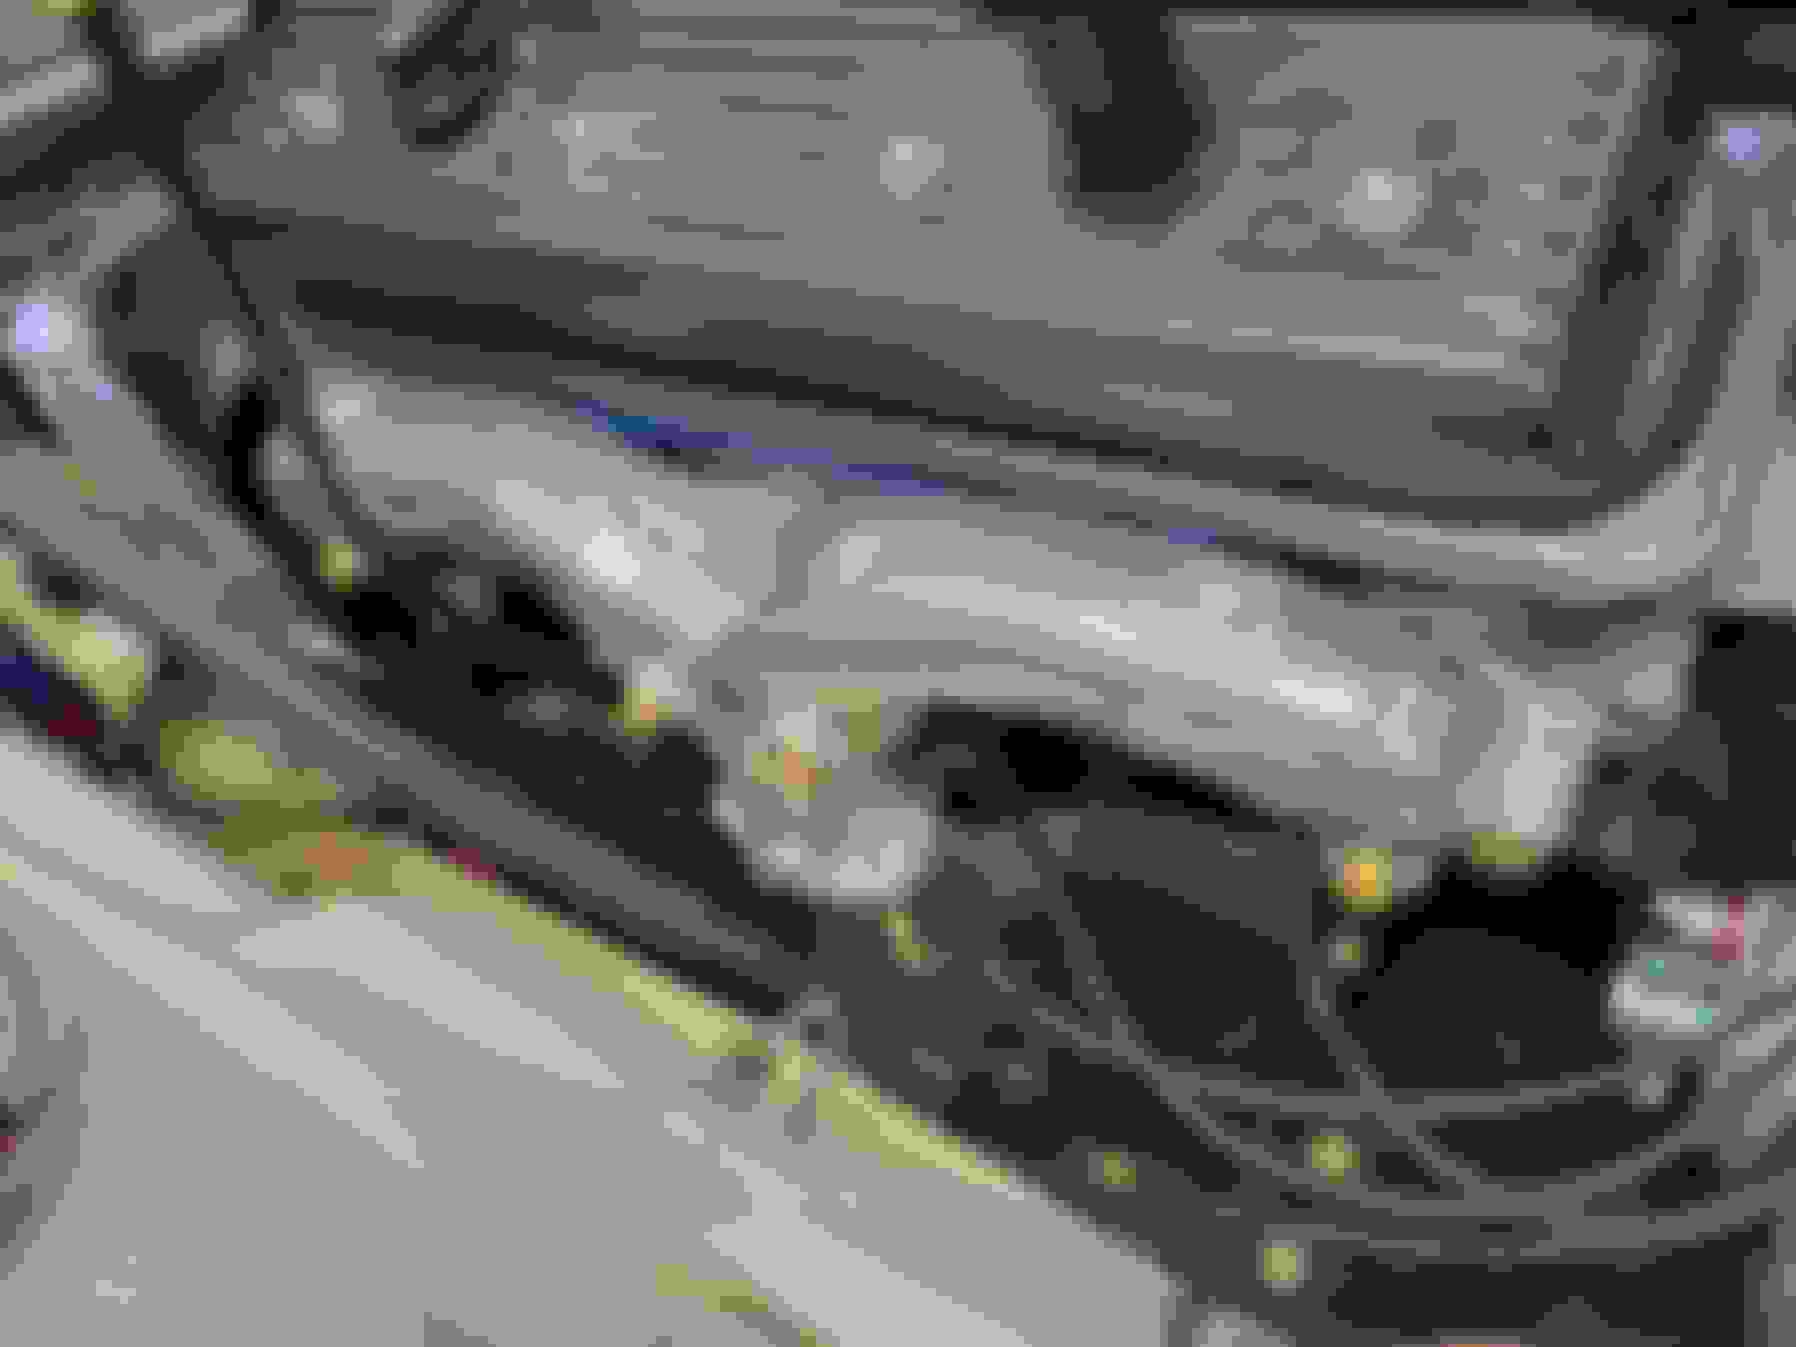
This evening the engine went in for what is likely the last time. Maybe.
I started with installing the new transmission pan. I started using the Lube Locker gaskets on my XJS a few years ago and really like them. They seal really well.
New zinc yellow chromate bolts are a nice finishing touch. I'll tighten them up once I attach the shifter linkage.
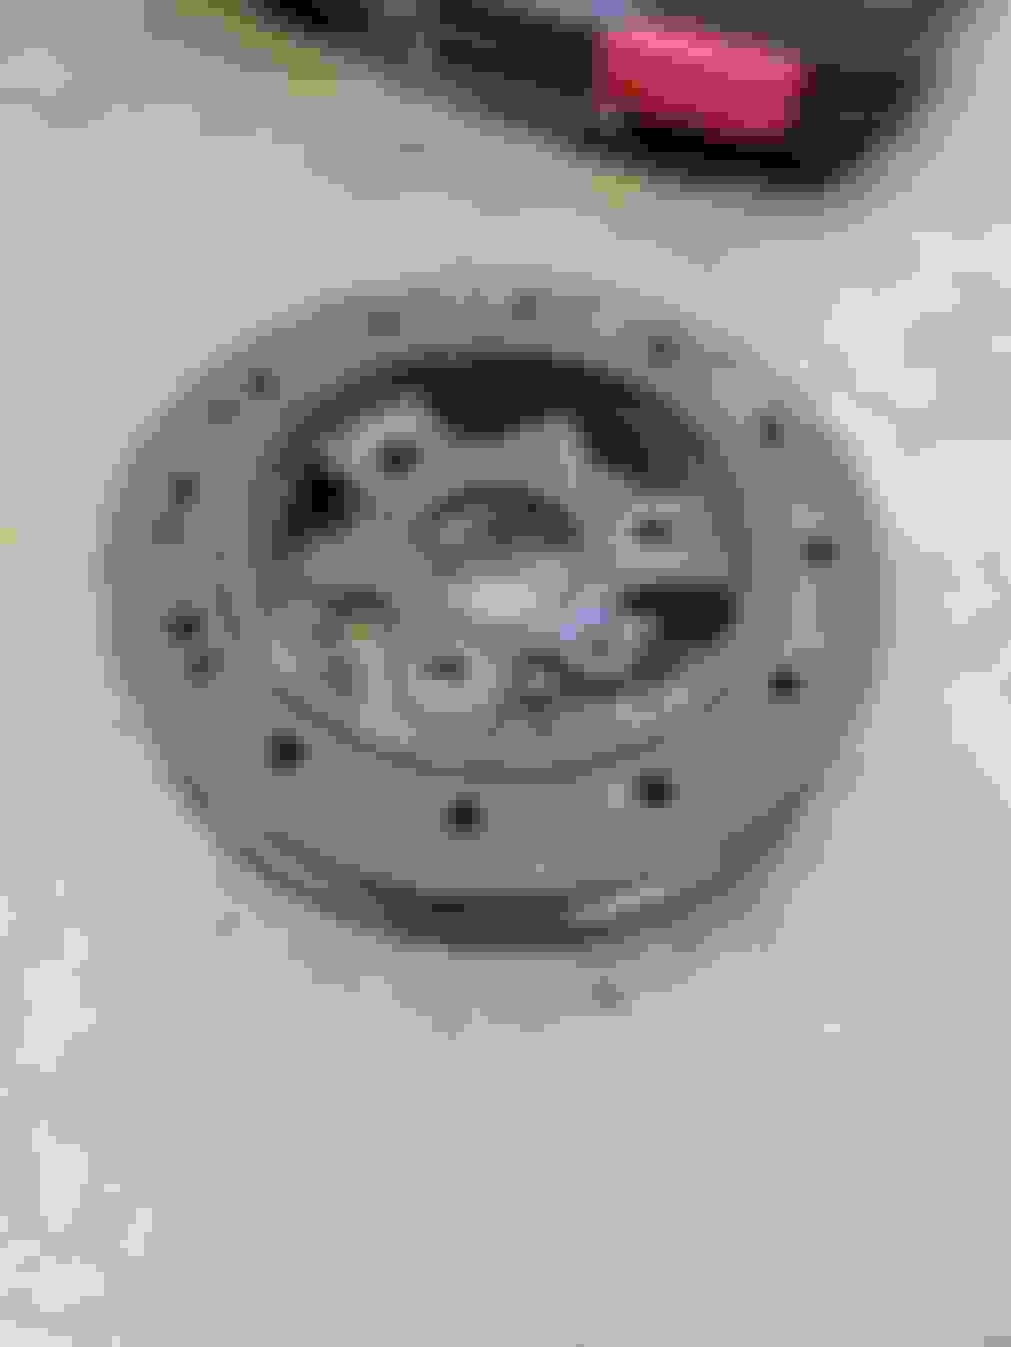
The harmonic balancer looked a little ratty and since they don't last forever this was as good a time as any to replace it.
New balancer bolted into place.
I picked up a new AC Delco AC compressor but instead of using the factory hoses I found a pair of adapters that use standard #8 and #10 hoses. This will make it easier to plumb the refrigerant circuit.
Test fitting the accessories on the front of the engine. New alternator on top and the new AC compressor on the bottom.
The new power steering pump I picked up did not fit so I'll re-use the original pump.
The water pump on the LT1 is pretty interesting. Instead of running off the serpentine belt it runs off a jack shaft driven by the timing chain.
The downside is that when the water pump starts leaking through the weep hole, it ends up on the distributor causing problems.
This is the back side of the water pump showing the splined jack shaft that drives the impeller.
After doing some research I decided to keep the original water pump but replace the engine driven impeller with an electric pump.
Yes, it introduces a different failure point if the electric pump stops working but I think I can manage that with a pump failure alarm.
To convert to the electric pump I had to press the impeller and jack shaft out of my original pump.
Here is the jack shaft, bearing, and impeller.
I threw the water pump housing in the blaster and bead blasted it to clean it up.
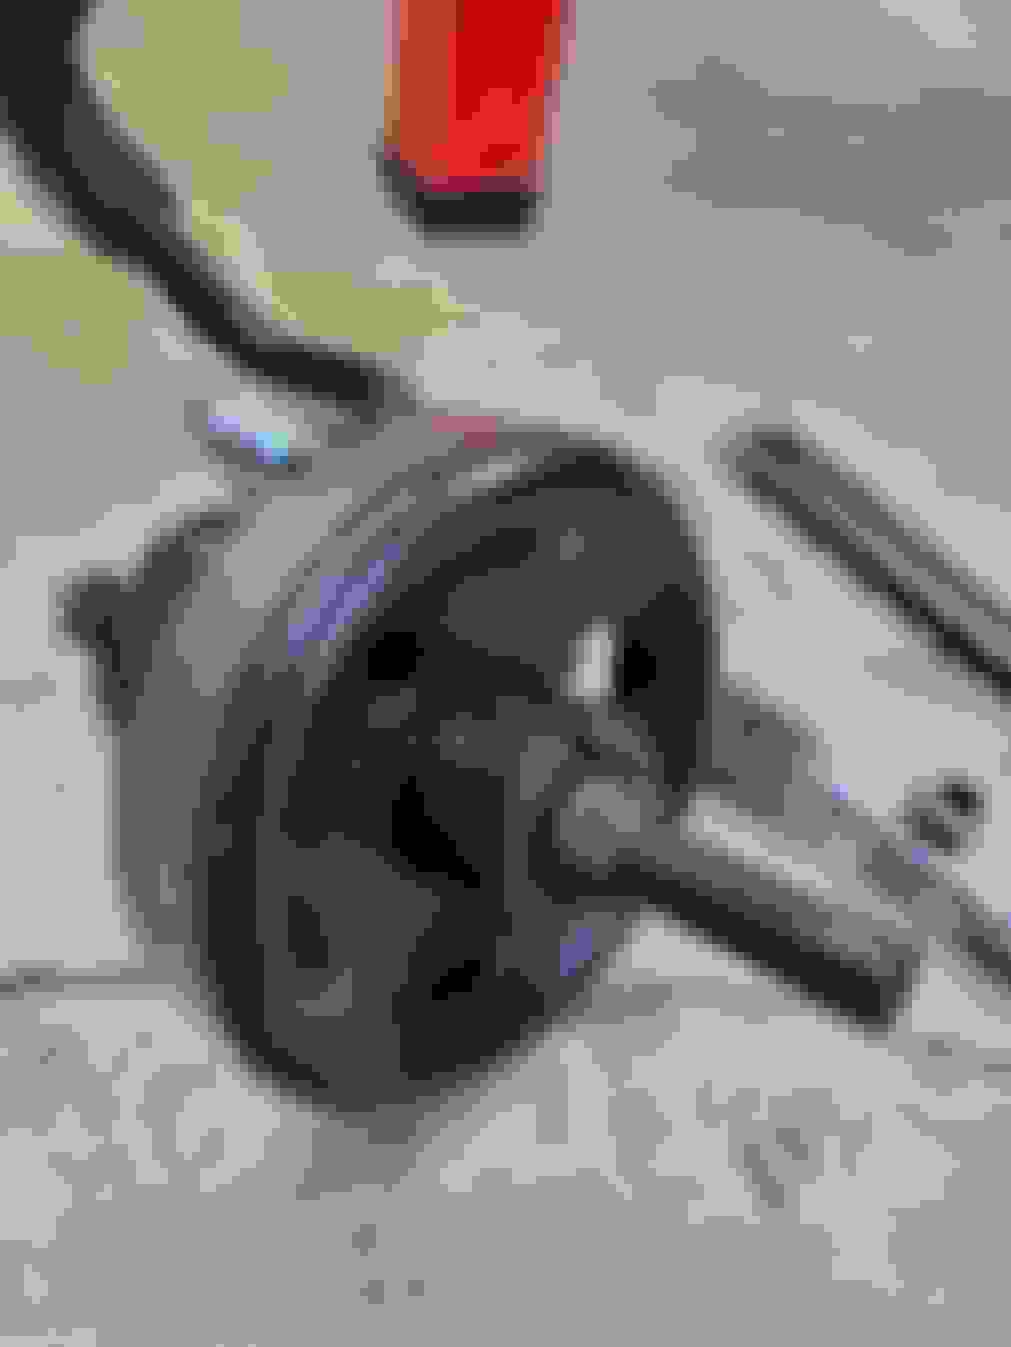
While I had the blast cabinet out I decided to pull the pulley off the power steering pump and clean it up too.
The passenger side exhaust manifold needed to go on next. New manifolds are relatively inexpensive and I spent some time cleaning up the casting flash before I sent them to get Jet Hot coated. New zinc yellow chromate bolts and plugs in the emission ports.
I just realized I sent the manifolds out almost 5 months ago. It's been a long time since I have gotten to drive this car.
With the right side manifold in I can now install the accessory bracket and the AC compressor, PS pump, and alternator for the final time.
In this picture the PS pulley is being pressed back onto the pump.
New serpentine belt and tensioner. I'm not planning on needing to touch any of this for a long time.
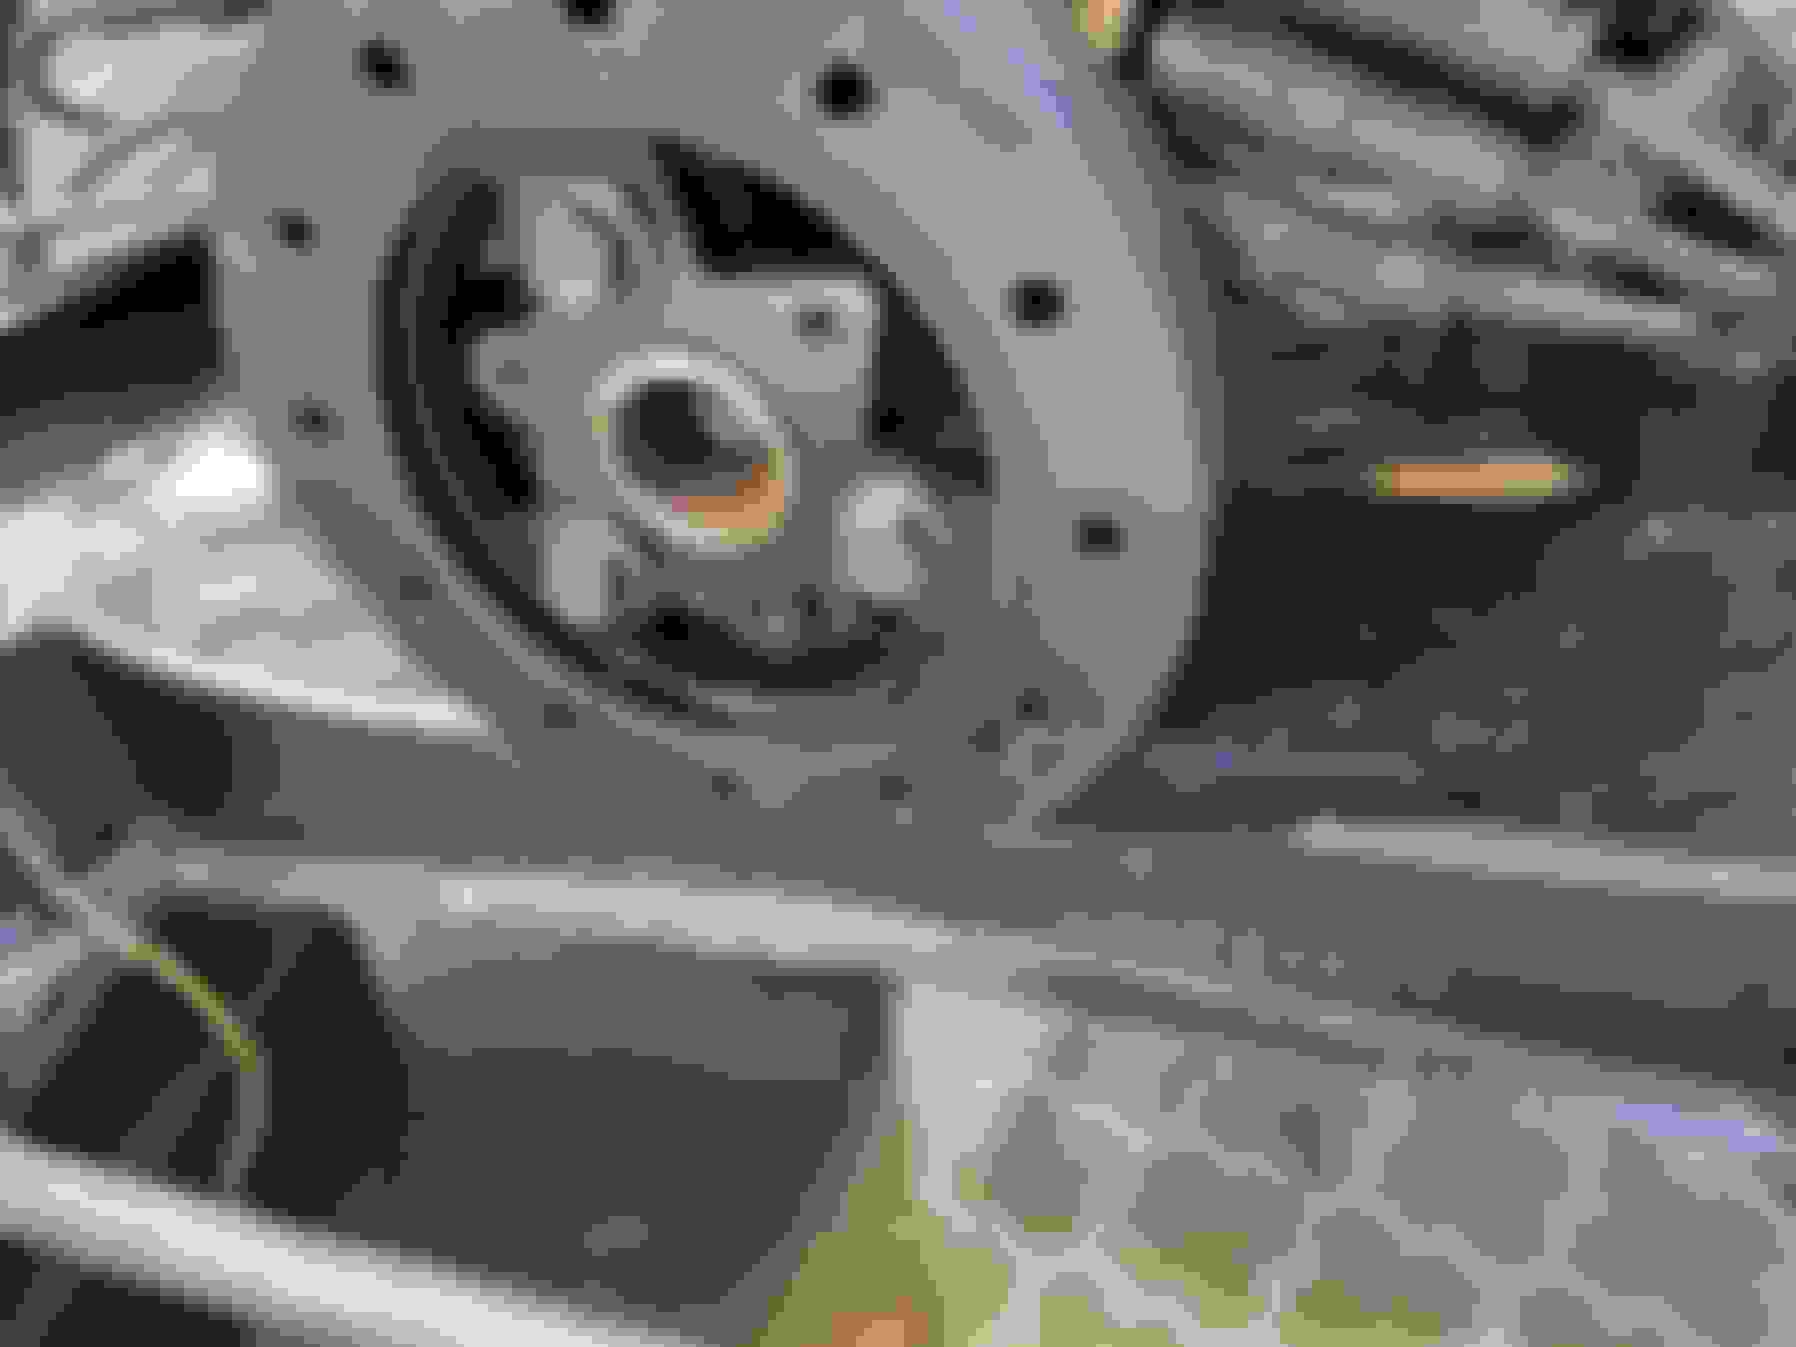
Here's the cleaned up water pump housing loosely bolted into place patiently awaiting the electric water pump.
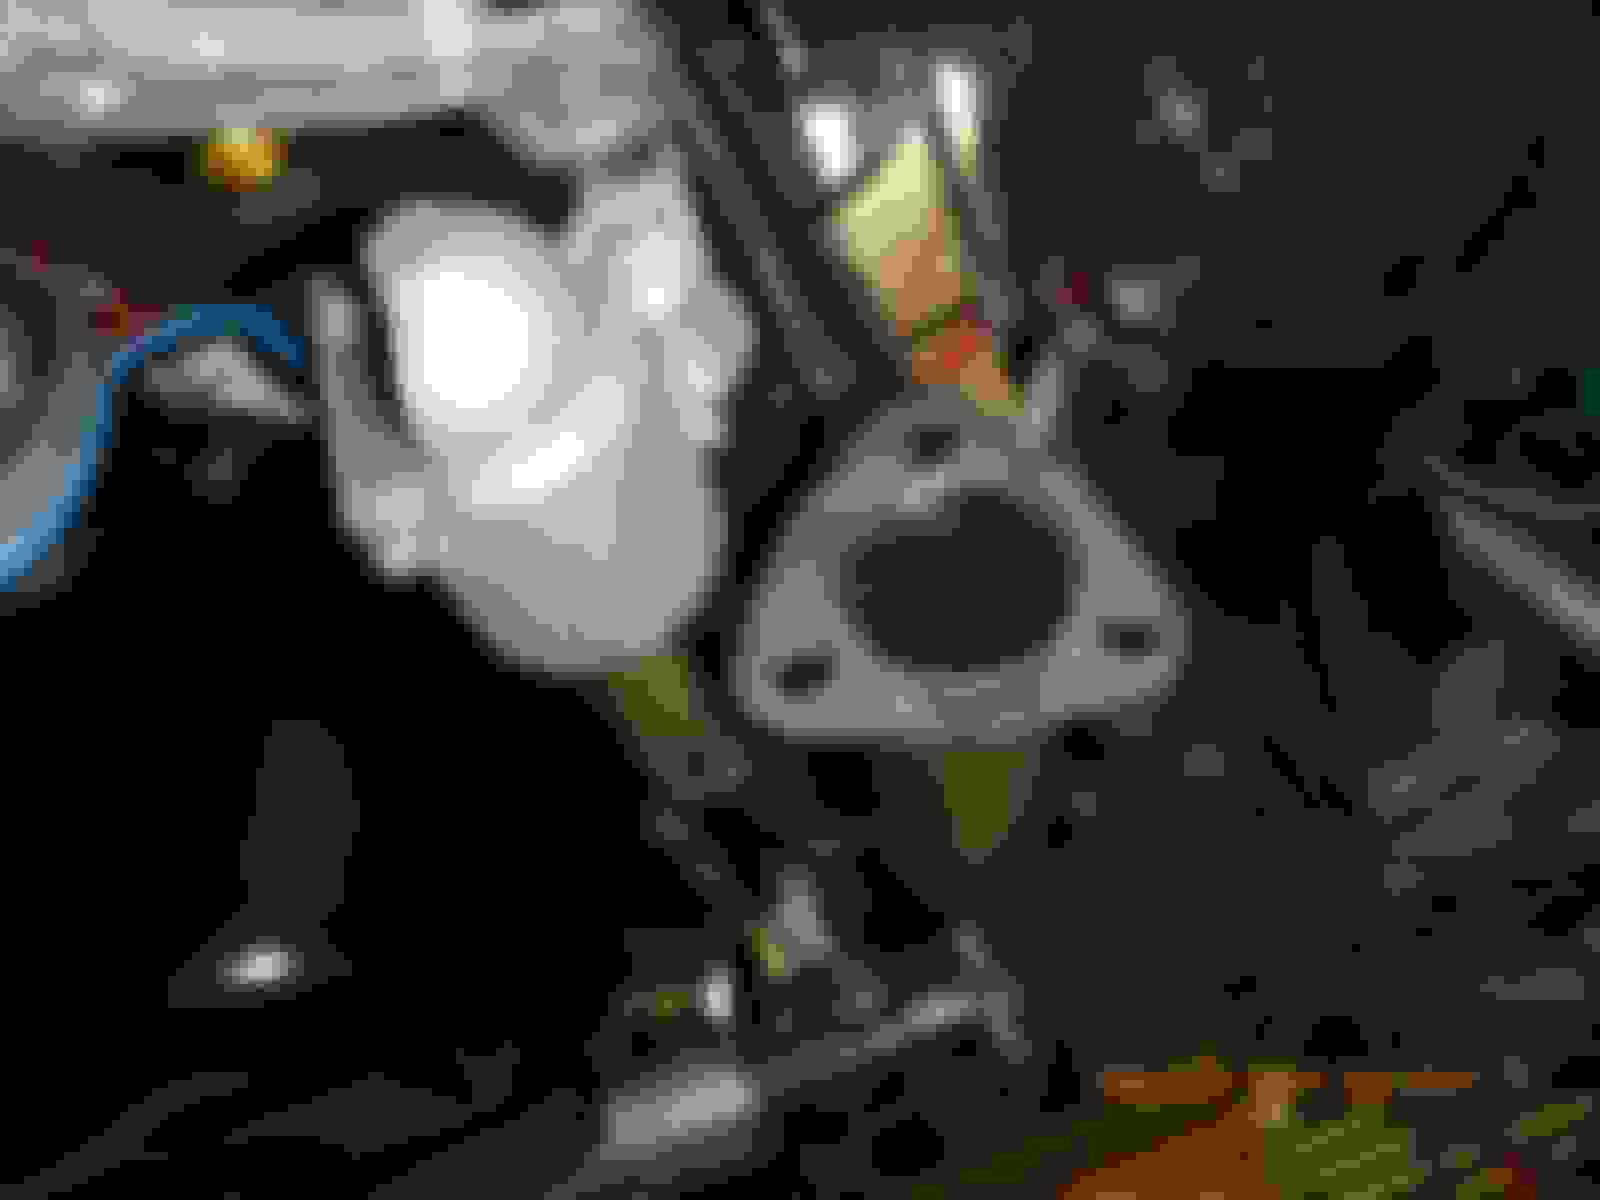
You can see a 3/4" hole facing at the 4:00 position from the hole where the water pump sits. There was a pipe that took water to the oil cooler (or oil cooler bypass). I didn't have an oil cooler so I'm plugging it off.
The alternator gets its own dedicated ground wire and a new hot wire going to the battery post on the firewall.
It's starting to look like an engine.
I think tomorrow I'm going to rebuild the brake master cylinder. It's the only part of the brake system I haven't touched yet and this seems like a good time to put a check mark in that box.
... I'm not planning on needing to touch any of this for a long time.
Who you trying to kid?!!
You won't be touching any of this again cuz you'll be Bored with the car after driving it a couple months, sell it and start on something else, just like that XJS you re-built!
....
The alternator gets its own dedicated ground wire and a new hot wire going to the battery post on the firewall.
......
Yup! Dedicated ground makes Sure there no 'bad ground' hinkiness in the charging system!
Below is what I did for Nix soon after she came to live with us:
Alternator frame to body stud,
Stud to Negative battery post.
Nix is Well Grounded!
Doesn't look nearly as nice as yours does, but it probably works about as well.
You'll need to plug the factory water pump drive hole in the back of the WP casting and the front of the timing cover. I used a freeze-plug on the timing cover and the electric pump comes with a plug for the WP. I added JB Weld to the timing cover plug just to be sure it wouldn't leak.
Your front accessory bracket is a little different than mine, how do the PS hoses come out of the pump with the solid accessory bracket backing?
Dave,
What year is your engine? Your accessory bracket looks very different than mine most noticeably the PS pump area.
The suction tube on my PS pump makes a couple of very hard bends to get the end of it to come out underneath the alternator.
I went a different route on the water pump, I simply threaded the weep hole and added a 90 degree fitting with a short rubber hose, so if / when water pump fails, water doesn�t drip onto the opti!
Darren I thought about going that route too but at the end of the day I really liked the electric water pump option.
I haven't made a decision on the radiator/condenser yet. Going with the stock Camaro options are appealing but I really dislike radiators with plastic tanks. I know most modern cars use them and they work fine and are inexpensive to replace when the time comes. But I have also learned over the years to "buy once cry once". I am considering going a route like this. All aluminum, three rows of tubes, dual pass (just like the XJS V12 radiators), and it has the steam vent connection.
The condenser will most assuredly be the largest parallel flow condenser I can fit up front.
Dave,
What year is your engine? Your accessory bracket looks very different than mine most noticeably the PS pump area.
The suction tube on my PS pump makes a couple of very hard bends to get the end of it to come out underneath the alternator.
Mine is a '94 out of a police cruiser. Suction comes out of the side for straight shot to inner wheel well and pressure comes out the back and a 90* fitting routes the hose over the top of the A/C compressor and under the engine to the rack.
I spent the last day of 2023 plumbing up the power steering and oil filter.
I ran a -6 AN braided stainless steel hose to the rack for the high pressure line.
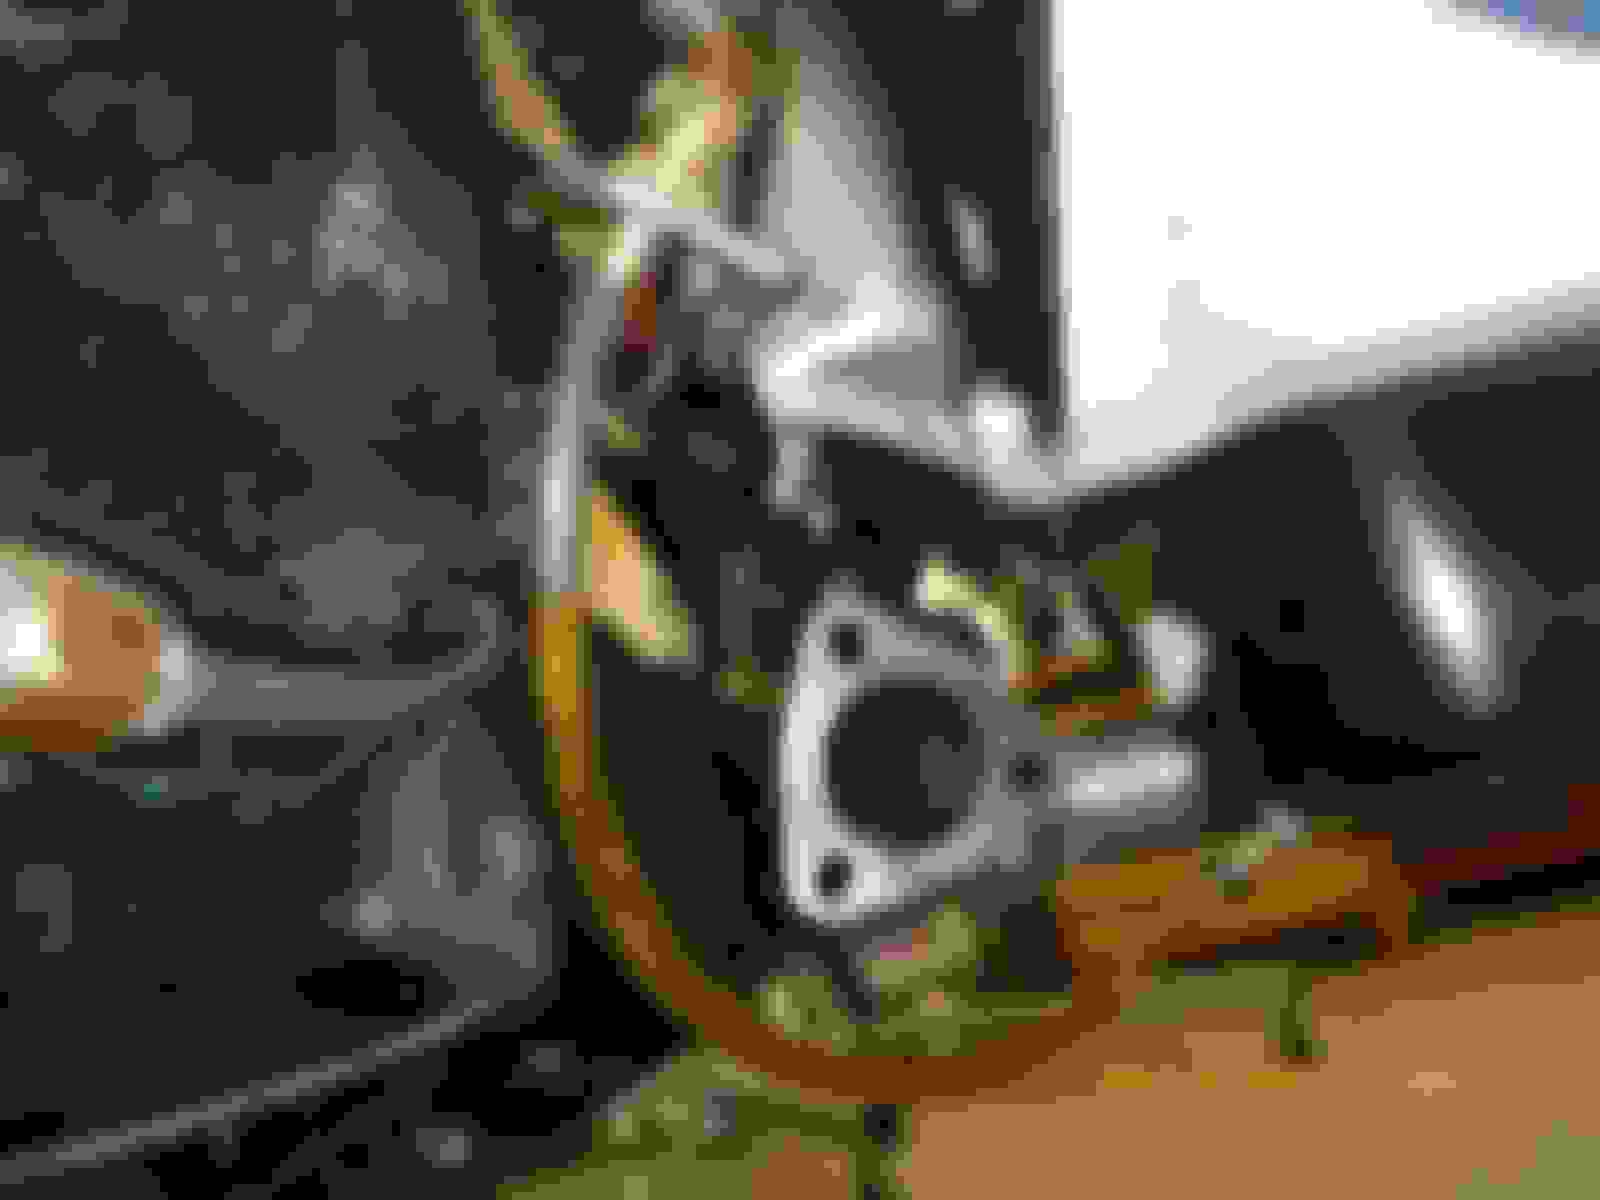
I wanted to give the left side exhaust a clear run to the back of the car so I removed the oil filter and installed a remote oil filter adapter on the block.
This is plumbed with NPT to -8 AN adapters.
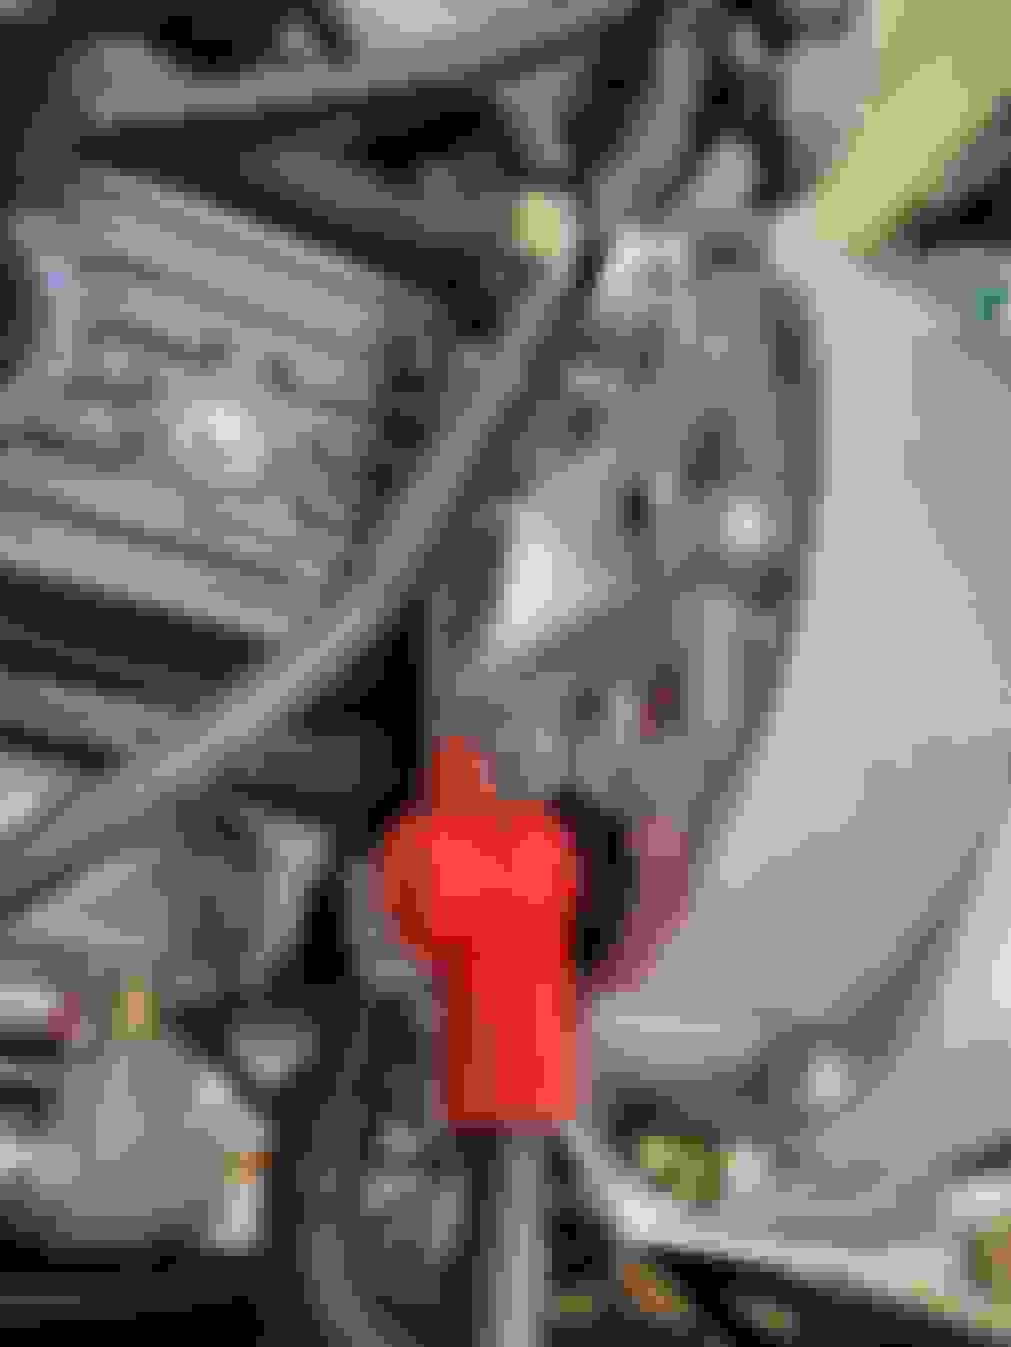
On the oil pan you can also see the M20 x 1.5 plug I used to replace the oil level sensor which isn't needed.
I mounted the oil filter ahead of the engine on the subframe. This is high enough to clear any obstacles in the road and easy to remove and replace the filter.
I needed a bracket to hold the oil hoses away from the steering column and parking brake cable. I made this from a piece of scrap angle aluminum then drilled and tapped for 1/4" bolts.
-8 AN braided stainless steel lines connect the engine block to the remote filter. At the top of the picture you can just make out the bracket pictured above.
I considered running an oil cooler but decided it wasn't really needed.
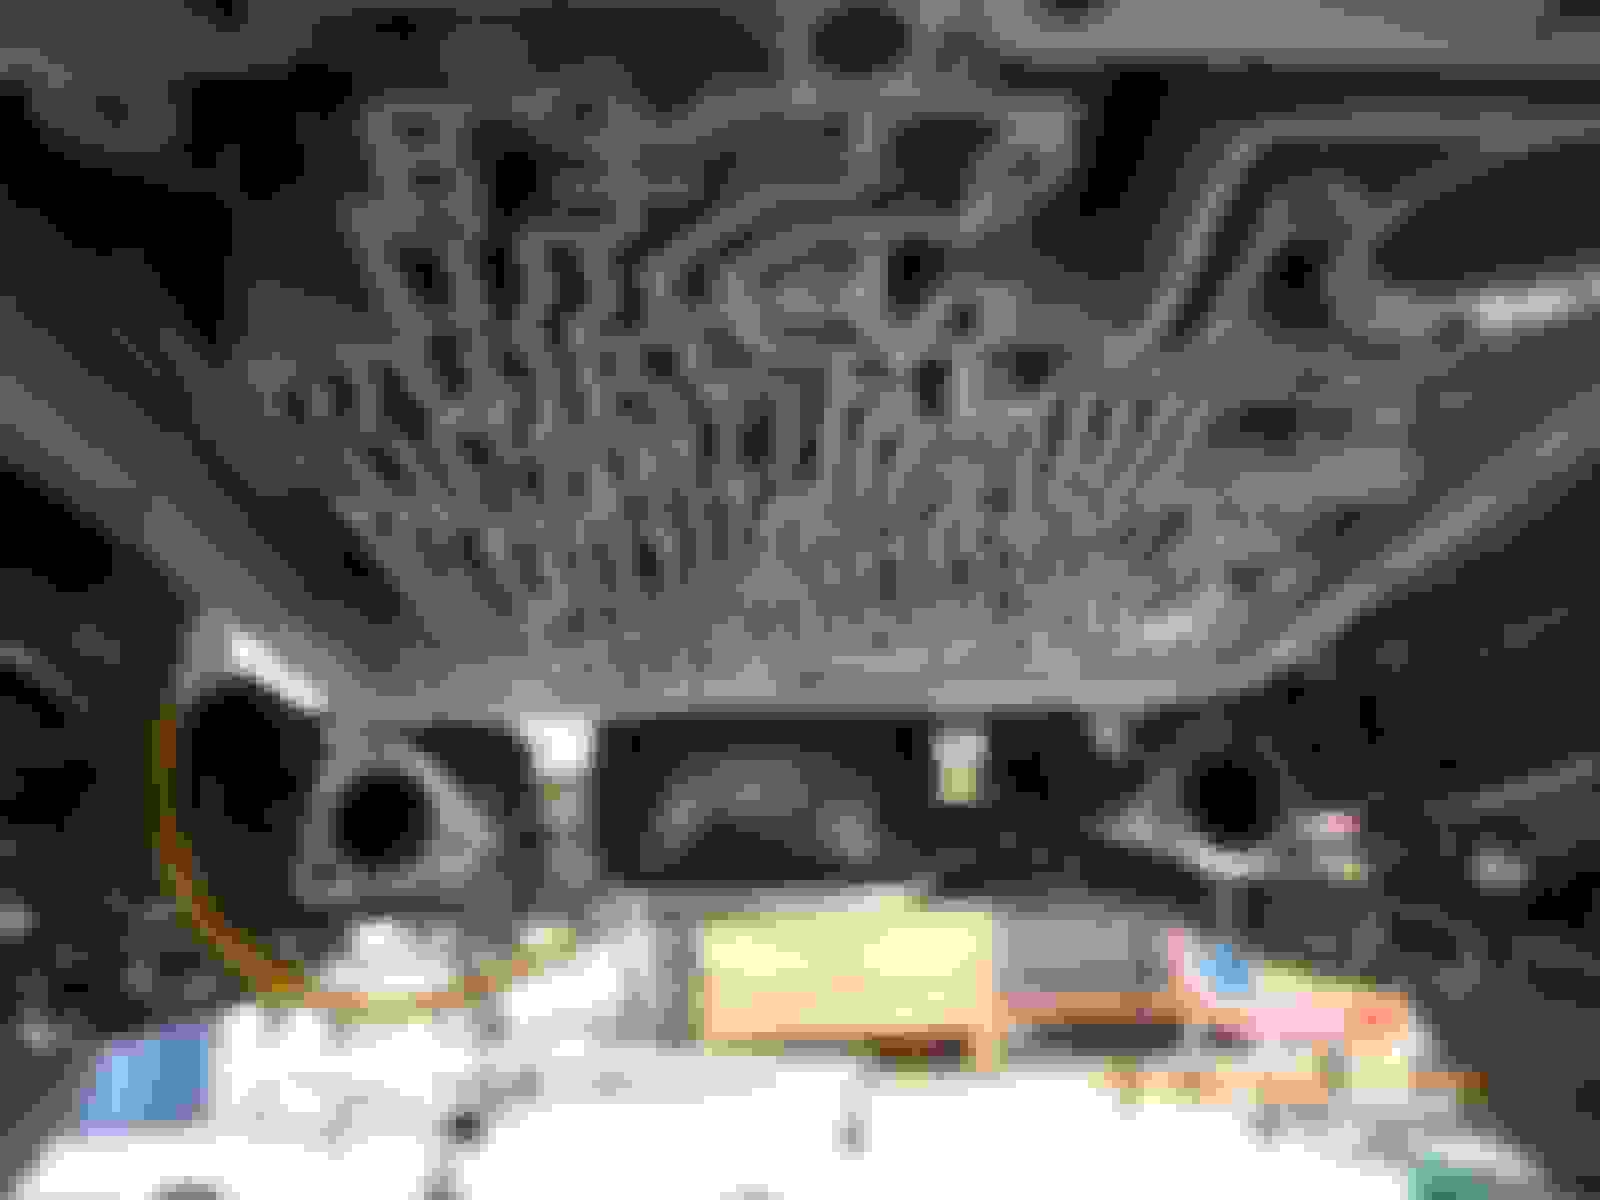
This is looking up at the left side of the engine block showing the hoses that run to the front of the car.
After all that was done I pulled the master cylinder and disassembled it. Before I got to far into that I looked online for the plastic turrets that connect to the reservoir and remembered they are NLA. I'm going to start a separate thread about the master cylinder.
No, you certainly wouldn't need an oil cooler with that much braided line!
I *Like* that remote filter setup! A LOT!
I need to look into that.....
(';')
I spent the last day of 2023 plumbing up the power steering and oil filter.
I ran a -6 AN braided stainless steel hose to the rack for the high pressure line.
On the oil pan you can also see the M20 x 1.5 plug I used to replace the oil level sensor which isn't needed.
This is looking up at the left side of the engine block showing the hoses that run to the front of the car.
- Your exhaust header will run down between the oil pan and rack tower?
- I used the oil level bung for my oil temperature gauge sensor. I believe Elinor is right, my temp runs 195-215* depending on how fast I'm driving.
- Your exhaust header will run down between the oil pan and rack tower?
Dave,
That's pretty much the plan. I think the exhaust is going to come out of the manifold and make an almost immediate 90� turn toward the back corner of the engine, then another 90� straight towards the ground, then another 90� towards the back of the car. I'd use mandrel bends to make the turns. Flexible stainless steel tubing is another option but I generally try to avoid using that. How did you run yours?
I ordered head pipes from Sun Coast Conversions which he (Jim) custom fabricates for this conversion. Heavy gauge 2 1/4" pipe, mandrel bent. As you can see, mine route on the frame side of the rack tower and well under the starter on right side. I can post a picture of the forward part of the exhaust system tomorrow if you like. Rear exhaust is removed because of differential work.
You can see the odd match-up between manifold and head pipe, I have factory HP manifolds from '61-'62 Corvette with 2 1/2" ID dumps. But the exhaust still seems to make it to the rear of the car, can't ask for more.
Thank you for the pictures Dave. When I was planning my exhaust route with a small section of 2.25" pipe I felt like the "outside" path was going to put the exhaust to close to both the subframe mount and rack tower for my liking. The "inside" path between the tower and the oil pan had more room but would also require more bends. I'm going to start with the inside path and if I get it built and decide it's not the right way then I'll step back and rethink it.
Fair enough Thomas, I was a little worried about how near the pipe was to the tower also. I drove it the first summer without problems, but last summer I wrapped the head pipe on both sides with heat tape, adjacent to the rack tower on left and tie-rod boot on the right. I'm very comfortable with the results.
This morning at 10am I dropped my existing driveshaft off at the Driveline shop near me and by 5pm they had shortened it to the correct length, pressed in new solid Hardy-Spicer u-joints, and balanced the whole rotating assembly.
^^^
WOW!!
Drop-off 10, pickup at 5!
I guess you can do that when you live in a Giant Industrial Mega-center where shops been doing this stuff for Decades!
There are doubtless shops capable of this in Los Angeles area (only 400 miles away) but that would entail shipping and stuff, and hardest of all for me, TRUST that they would do it right and I wouldn't get a piece of macaroni back!
(';')
 12-24-2023, 02:09 AM