When you click on links to various merchants on this site and make a purchase, this can result in this site earning a commission. Affiliate programs and affiliations include, but are not limited to, the eBay Partner Network.
I realized last week that I had put the wrong motor mounts on the engine. I pulled the engine out Wednesday night to replace them.
I did have the wrong motor mounts but as it turned out the wrong ones would have worked fine. But since the engine was out I replaced them anyway,
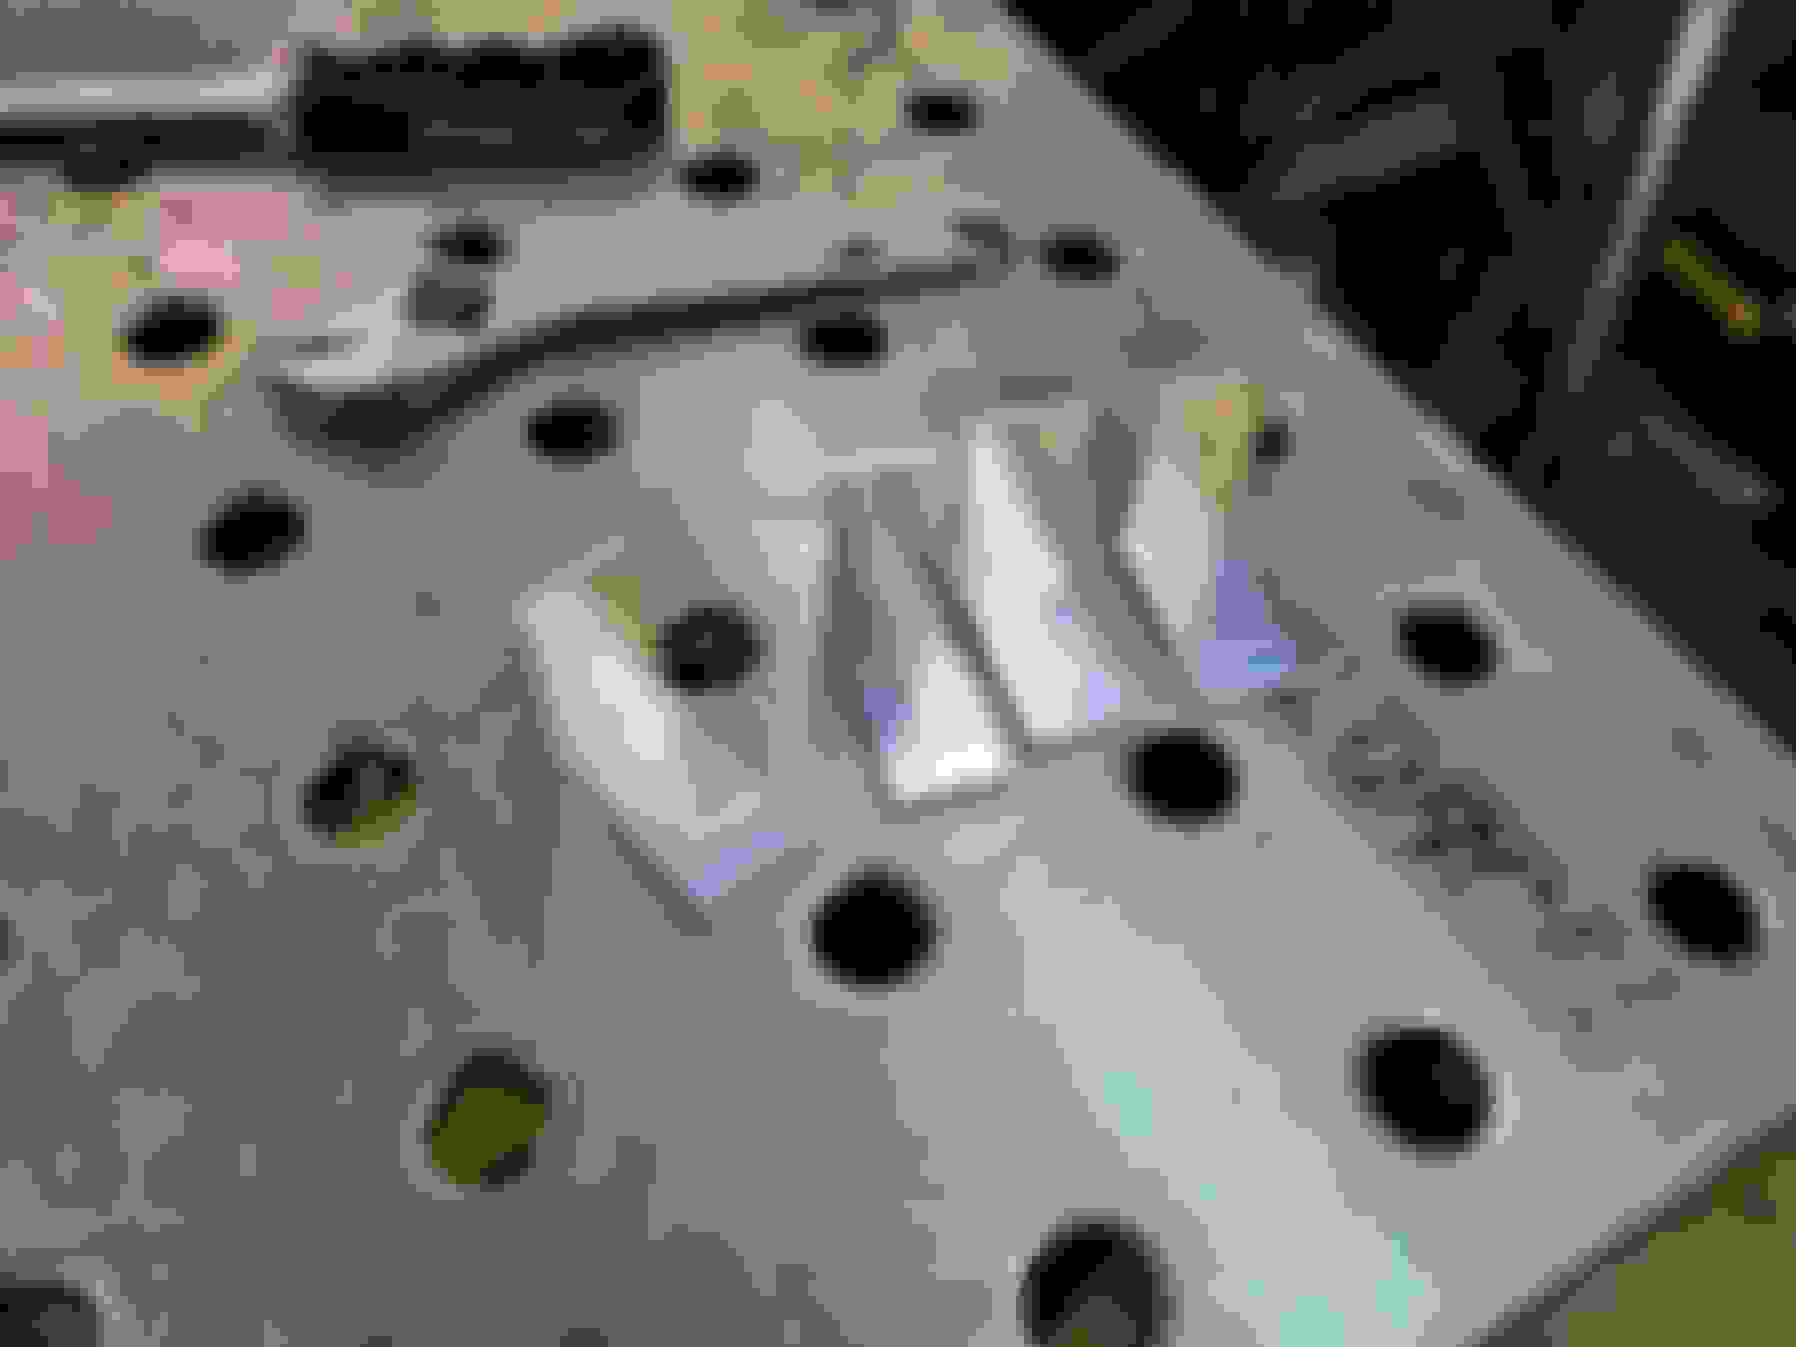
I decided since the engine was coming out that I was going to replace the oil pan. It didn't leak but had some cosmetic issues.
As is tradition, the oil pan got a coat of black metallic paint. It's just one of those things I like to do.
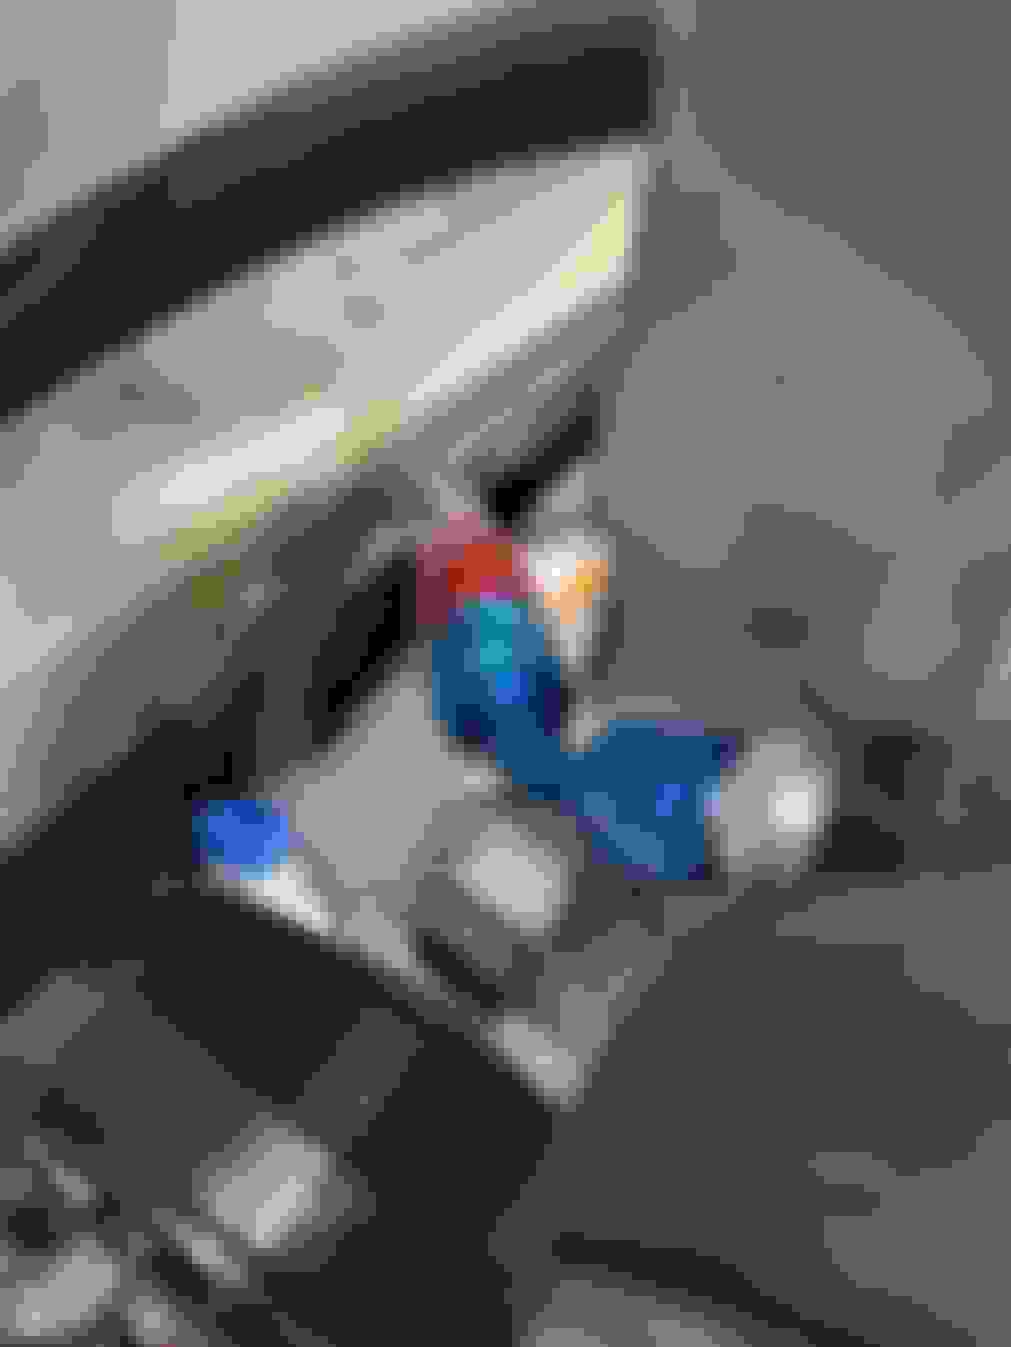
Before the engine went back in I tightened up the AN 180� adapters to the steering rack. It's possible to do while the engine is in the car but easier while it's out.
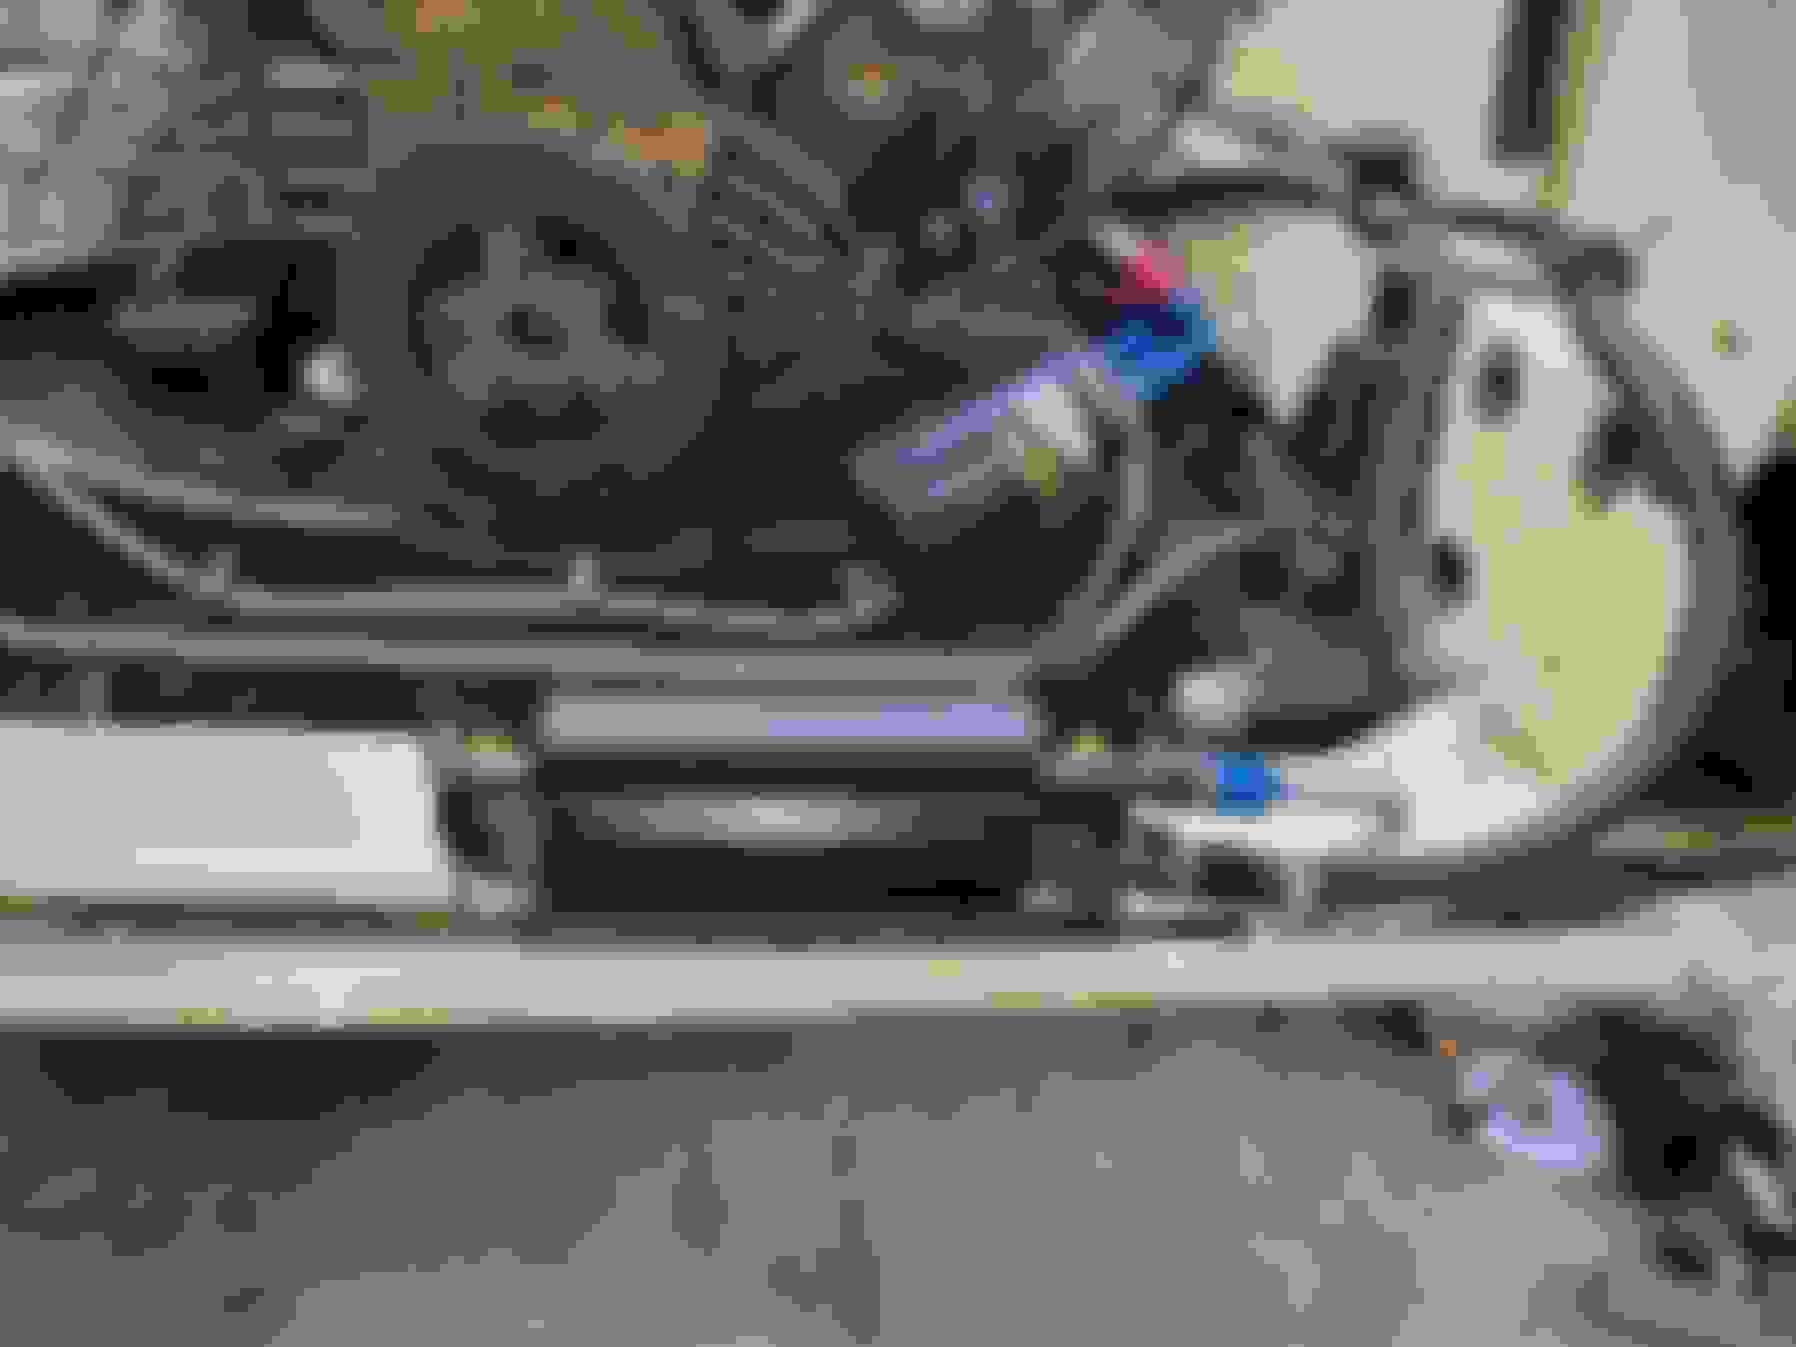
The engine back in place. The oil pan was attached with new zinc yellow chromate bolts.
I also plumbed the fuel return line from the engine back to the trunk.
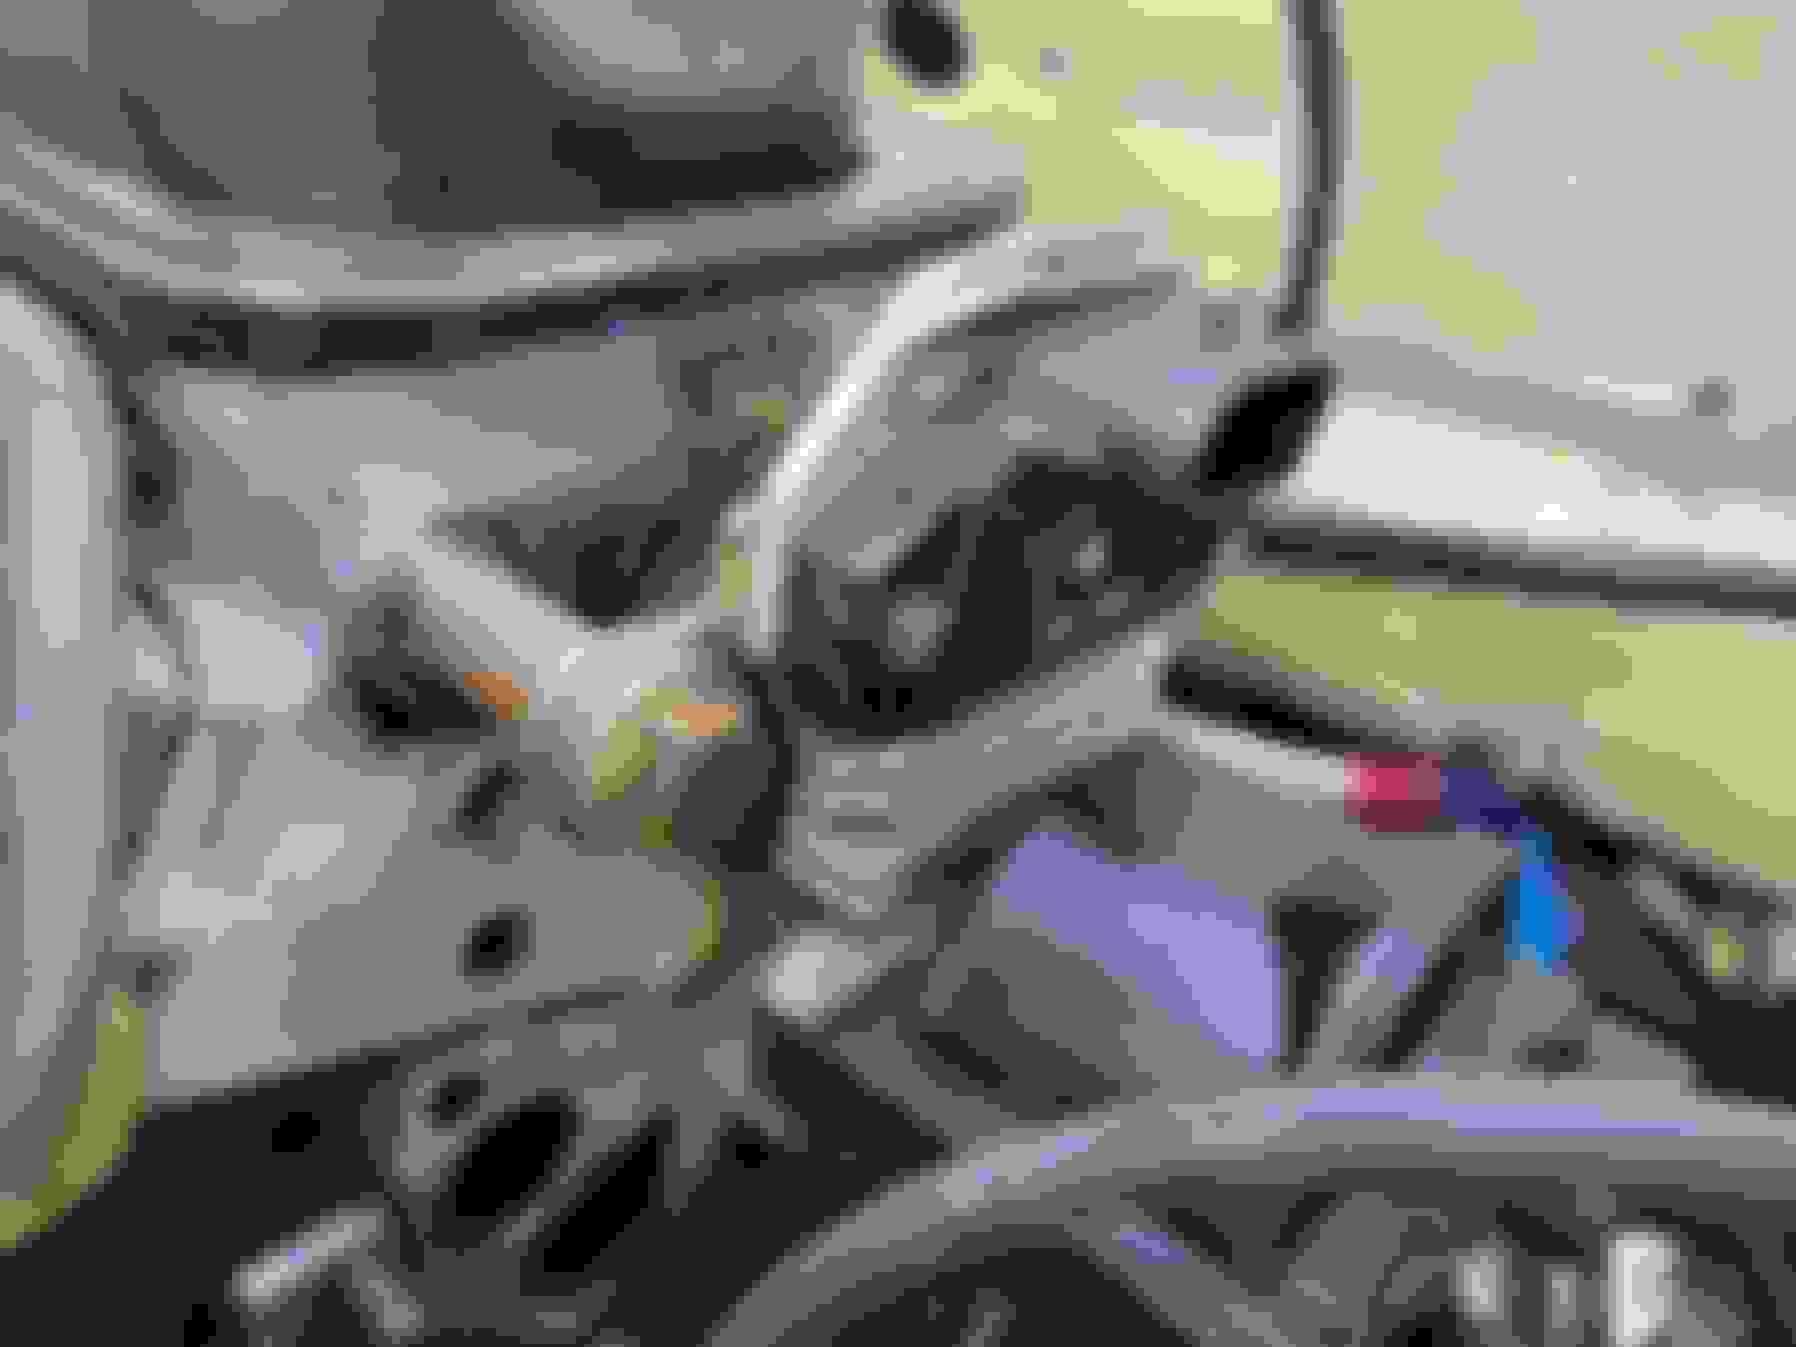
It's overkill but I put in a small power steering fluid cooler. My XJS had one and I thought it was a good idea. This one is mounted in front of the lower grill.
The power steering fluid reservoir is mounted to the inner fender. The return line from the cooler has an AN to 3/8" hose barb adapter and a short length of power steering hose connects them.
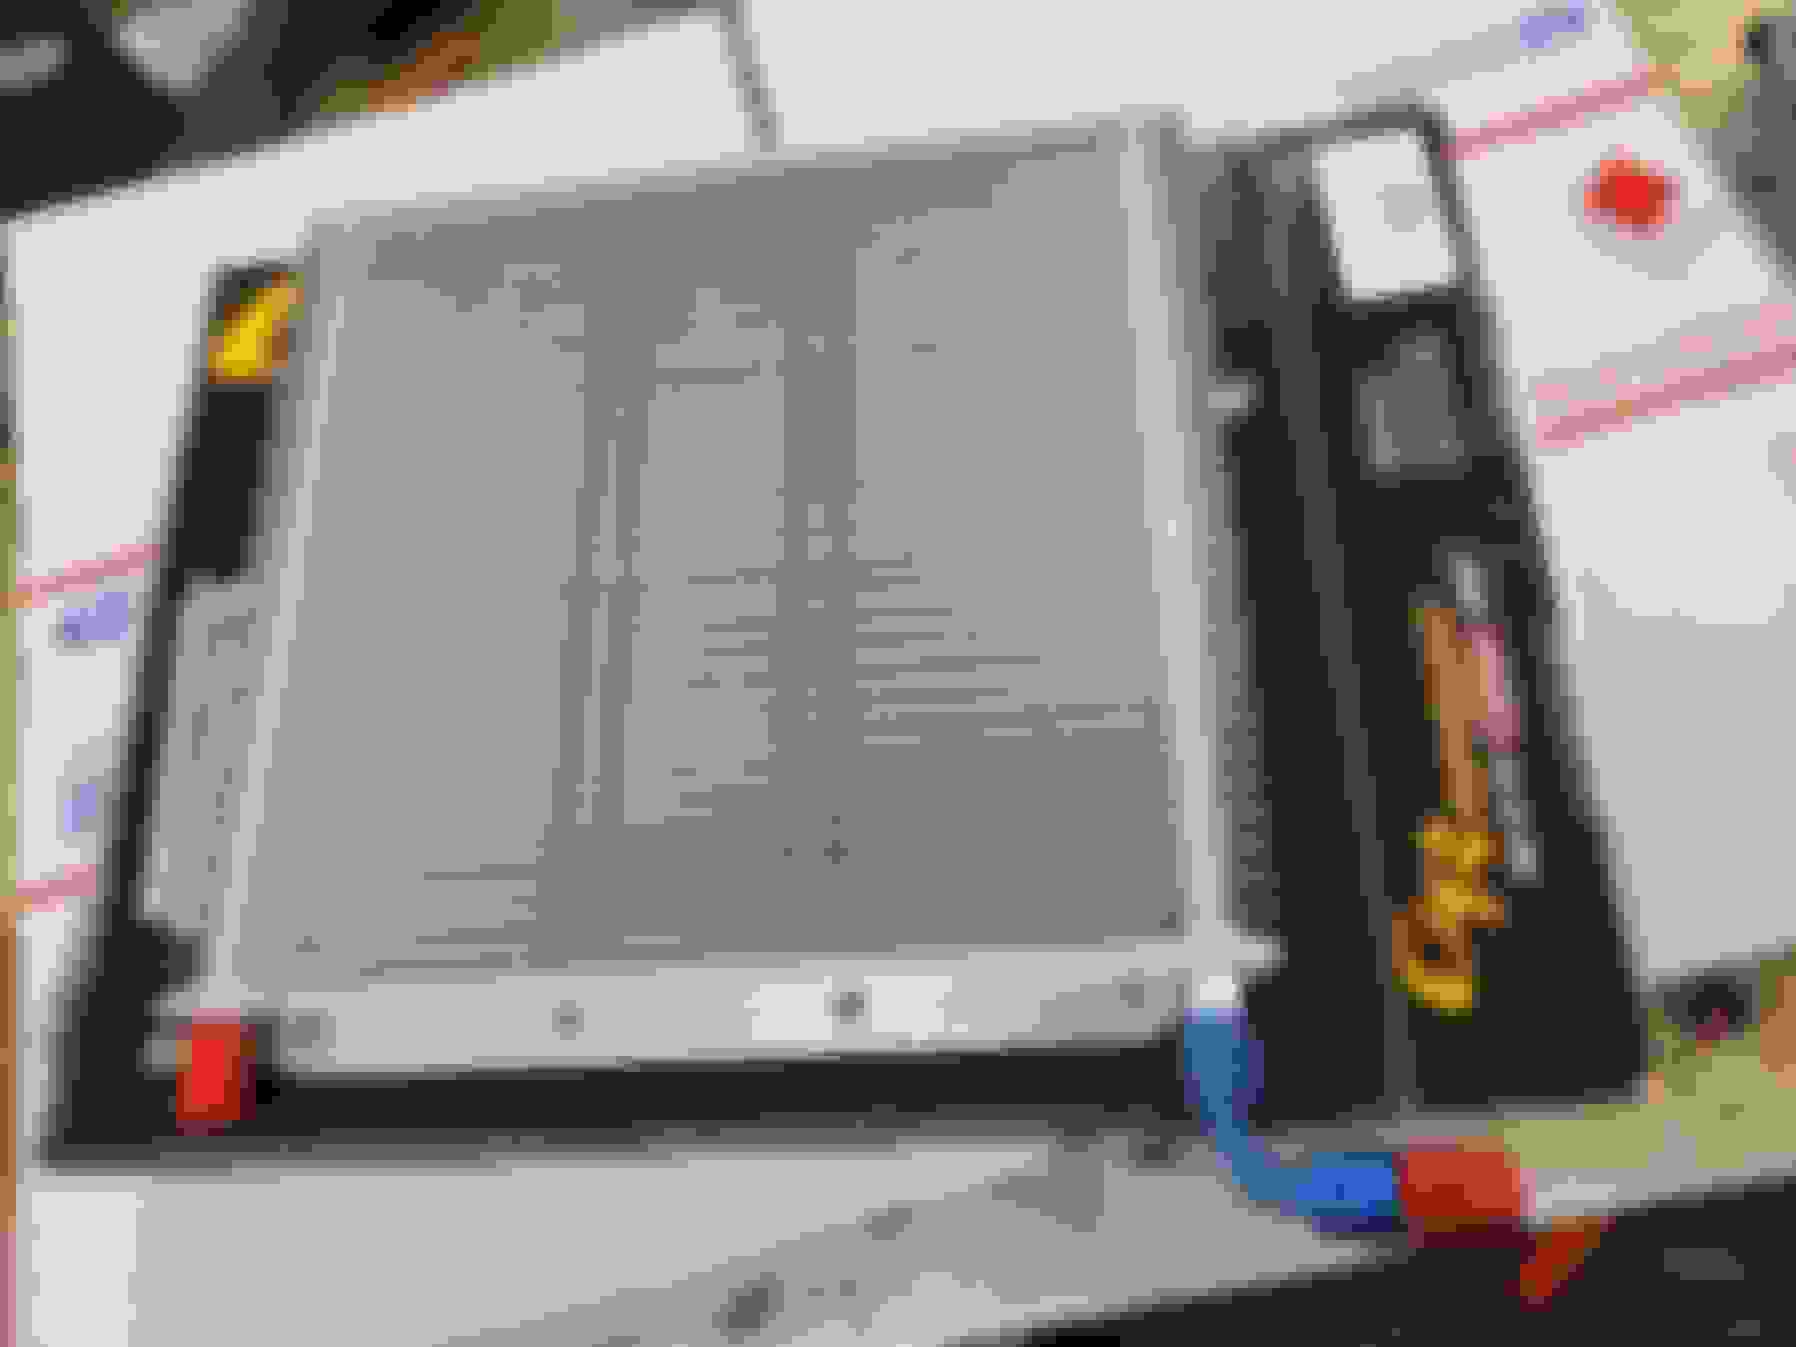
The ignition control module and coil attach to the front of the left side head. I used some brass bushings to stand them an inch away from the heat of the head.
I also finished rebuilding the master cylinder and installed it today. The reservoir bracket needs some attention so tomorrow that goes into the sand blaster.
I realized last week that I had put the wrong motor mounts on the engine. I pulled the engine out Wednesday night to replace them.
I did have the wrong motor mounts but as it turned out the wrong ones would have worked.
I decided since the engine was coming out that I was going to replace the oil pan. It didn't leak but had some cosmetic issues.
The ignition control module and coil attach to the front of the left side head. I used some brass bushings to stand them an inch away from the heat of the head.
Your old oil pan took quite a beating. Did you check the oil pick up to oil pan clearance before you buttoned it up? The pick up might have been pushed up when the pan was caved in. Just a thought.
They make a "grease" used to help heat xfer from electronic pieces to heat sinks. My control module came with a tiny tube of it. Might be worth while as extra insurance because the under-hood temp is outrageous. I'm still playing with ideas that will lower temps.
I put a 1/2" thick blob of modeling clay on the oil pick up then put the old oil pan back on and there was still plenty of clearance. Glad to know I'm not the only one who had that thought.
...
It's overkill but I put in a small power steering fluid cooler. My XJS had one and I thought it was a good idea. This one is mounted in front of the lower grill.
...
It seems to me that lower grill was just Made for a PS cooler!
(';')
I put a 1/2" thick blob of modeling clay on the oil pick up then put the old oil pan back on and there was still plenty of clearance. Glad to know I'm not the only one who had that thought.
Thomas, I'm not trying to be irritating, but if the clay showed plenty of clearance with the old pan, clearance with the new pan would be much more. Or am I missing something? BTW, clay is exactly what I use for the oil pick up and roller rocker clearance too.
Dave,
You're not irritating at all. The clay was to make sure the old pan didn't contact the oil pump pick up when whatever happened to it happened. I was worried that if the oil pump pick up got knocked it could be damaged or work itself loose. I was pretty confident that whatever damaged the oil pan didn't affect the pump.
On another note - I was pretty impressed to see the windage tray on the bottom of the block. That's fancy stuff!
Cannot tell in the picture but it looks like the stiffeners or whatever they are called are missing, on the oil pan, mine had a strip down each side matching the bolt holes, puts even pressure on the gasket versus tighter at the bolts ( hopefully that makes sense) found a pic of them�. See attached
Today I started with the brake fluid reservoir bracket. It was in pretty bad shape.
After a trip through the sand blaster.
After a couple coats of paint.
With the brake system fully reassembled, it was time to pressure test before I filled it up with brake fluid. The reservoir cap on my Jaguar is the exact same size as the one on my 1970 MGB and I was able to use my pressure bleeder to test it out.
Using a regulator I ran the pressure up to 45psi before the grommet on the master cylinder popped out. That's far in excess of any pressure it will ever see in real life.
After reseating the grommet I started bleeding the brakes but I have a leaky brake pipe on the right rear caliper. I'm just going to make a new one.
I decided to keep things simple and run a factory style water pump instead of the electric pump. The deciding factor was that an electric water pump would require removing the timing cover and I decided I didn't want to deal with that.
One modification I made to the pump before installing it was the remove the water elbow for the oil cooler bypass hose and plug it off.
Lots of people use the stock Camaro radiator/fan/AC condenser and that's a good choice. The fans and condenser clip onto the radiator so you don't have to worry about brackets. They're pretty inexpensive, too.
When I started looking at the Camaro radiator there were three things I didn't like about it. One - the plastic end tanks. I know they work fine and both of my modern cars have them and they do what they're supposed to, but I like metal. Two, the coolant level sensor just seems like something to leak and cause problems. Third, the oil cooler bypass hose seems redundant and another leak point down the road.
So after spending some time looking through the Summit catalog I found an all aluminum, three row, dual pass radiator.
The radiator has a steam port fitting for the reverse-flow cooling system. I also picked up a pair of -16 AN to 1-1/4 hose adapters.
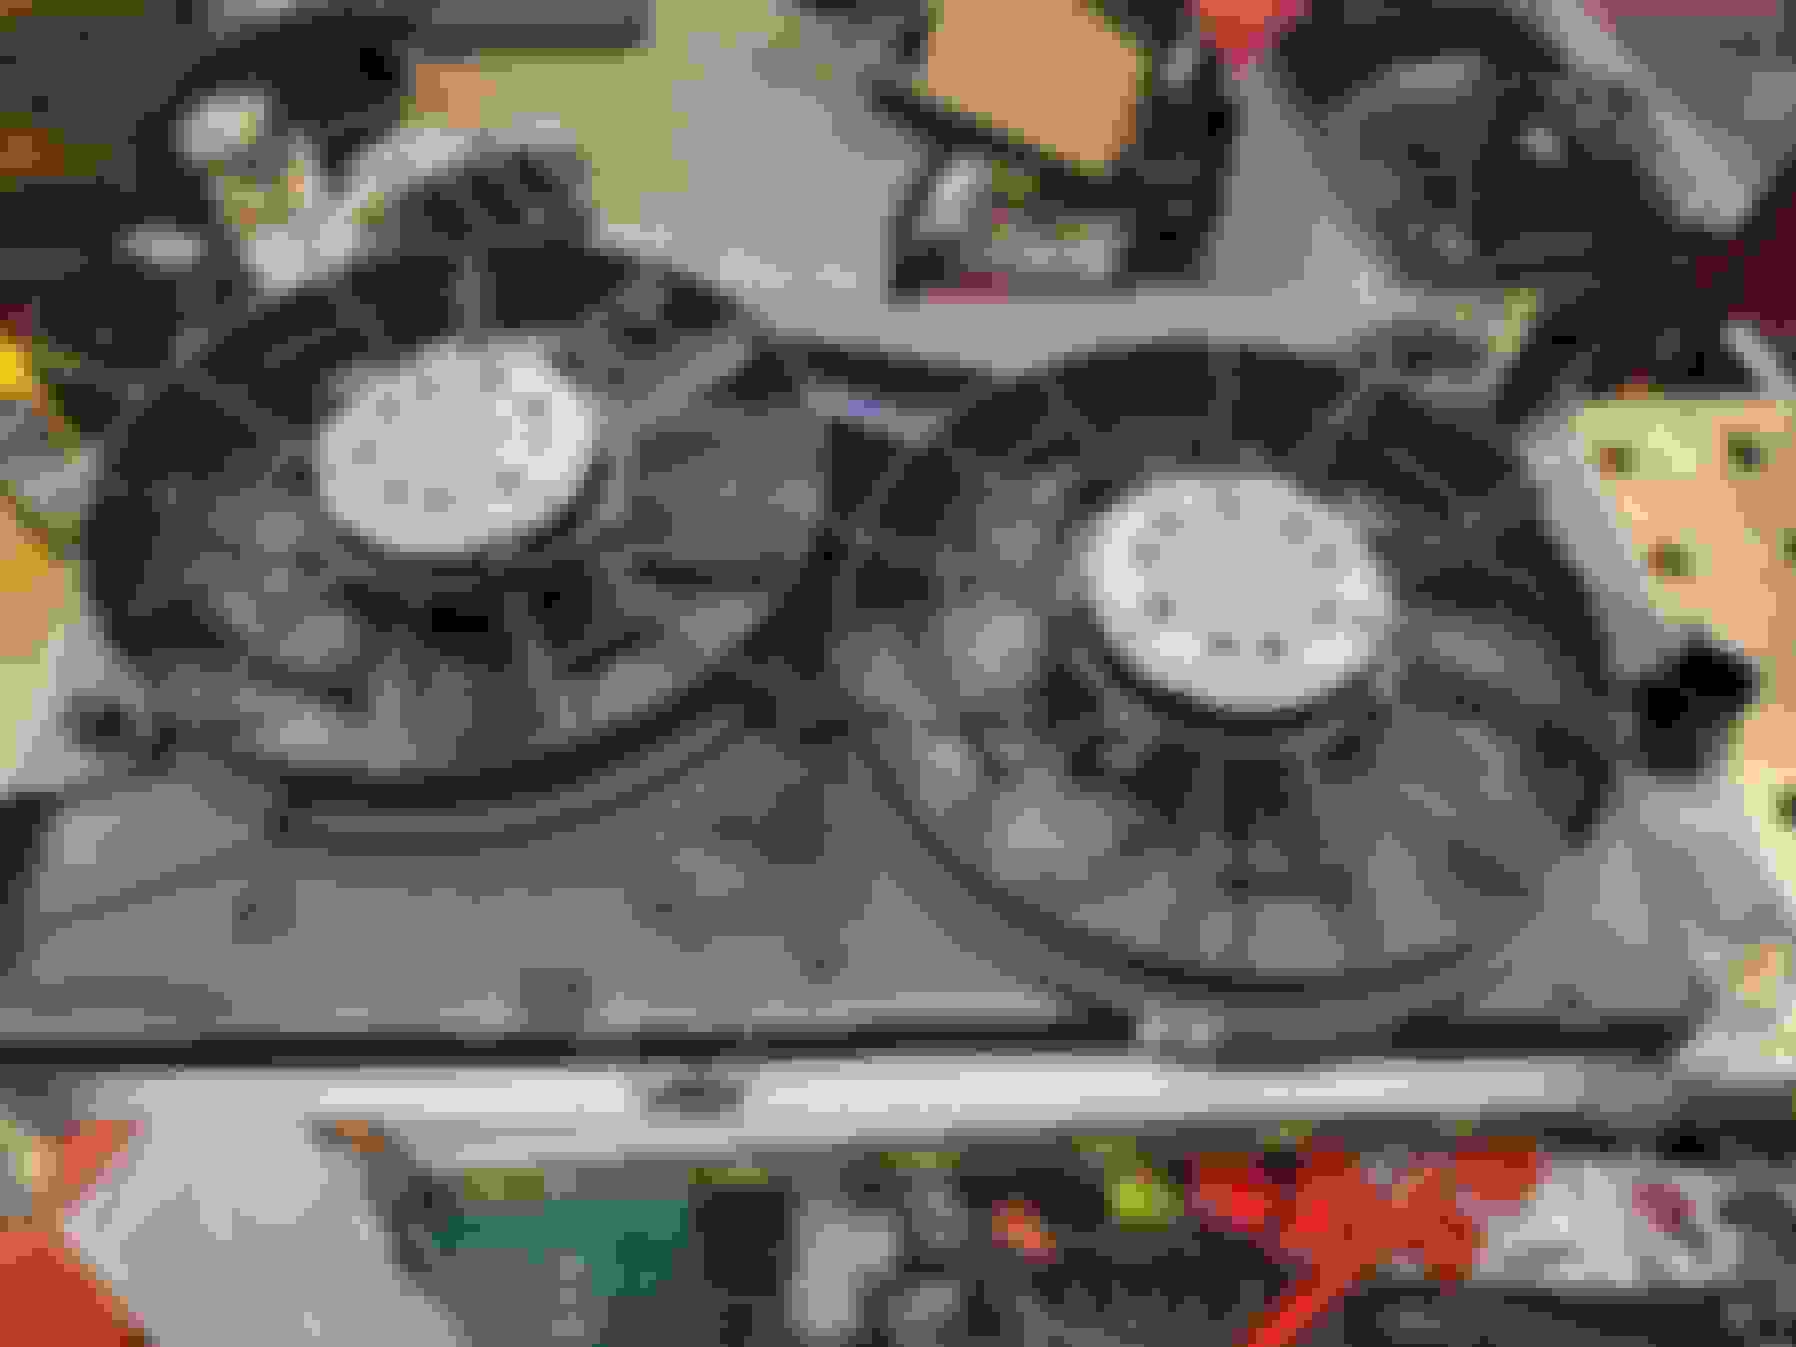
The radiator fan assembly from a 1995 Ford Contour is an almost perfect fit on the radiator. I'm not sure if I'm going to use this or something beefier.
This weekend I'll start designing some mounting brackets.
1-1/4" silicone elbows will make plumbing the new radiator easy.
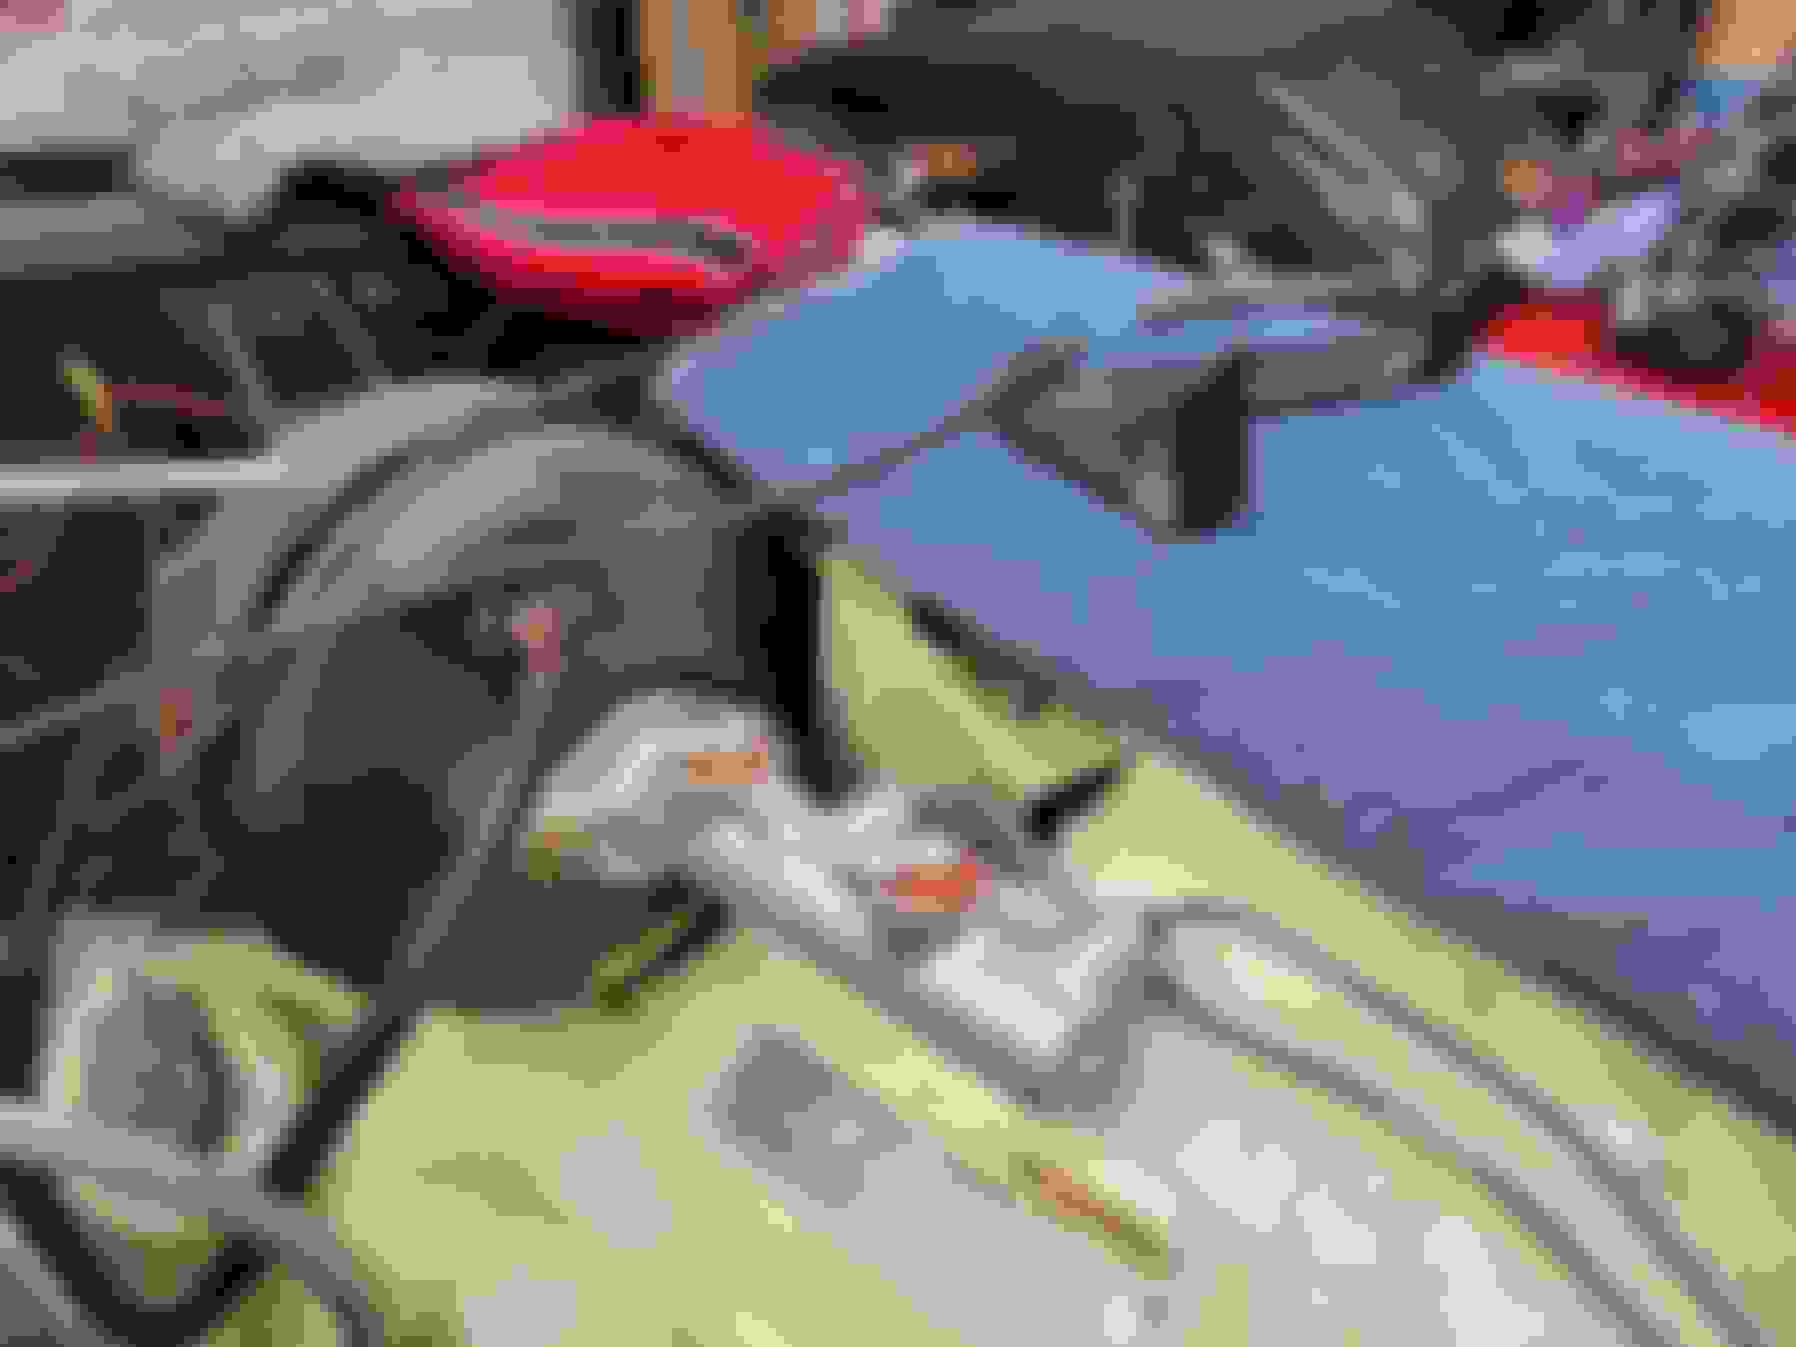
The new radiator doesn't have a cooler for the transmission fluid so I picked up one to go in front of the AC condenser (which hasn't arrived yet).
Starting to lay out where everything is going to go.
I also finished plumbing the pressure line from the power steering pump to the rack.
This was the first disappointment of the night. The viton flouroelastomer tubing which "has the chemical resistance to withstand a variety of acids and other harsh substances" apparently can't resist brake fluid. You can see it sweating through the walls of the hose. So I get to replace that.
I would have been mad about having to replace the tubing and re-bleed the brakes but I noticed both of the front calipers were dripping brake fluid. So I had to drain the system of fluid, remove the calipers, and see that fluid was leaking past one of the piston seals on each caliper. So it looks like I get to re-rebuild the brakes. Not the end of the world but just frustrating.
What better way to spend a cold day in Chicago than turning up the heat in the garage and getting some work done? I started with rebuilding the brake calipers but forgot to take pictures. With that done I just need my brake fluid hose to arrive before I can bleed the brakes again.
After that I moved on to mounting the radiator. I started by cutting a section of aluminum angle into 1" strips.
4 of the angles got welded to the radiator. I was going to TIG them but decided my chances of melting a hole in the end tank were smaller if I MIG'ed them in.
I put the radiator in the spot I wanted it, then measured where the corresponding brackets needed to be on the car. I drilled those holes and put in 5/16" stainless steel nutserts.
Left hand side all in place.
The process was repeated for the right hand side.
Once the radiator was firmly mounted in place, I attached the AC condenser and transmission cooler.
In this picture you can see the wooden blocks I used to elevate the radiator to the correct height.
Last year when I re-did the heater core on my 420, I used sections of hose with stainless steel hose clamps to attach it all together. It worked, but all the hose clamps gave it a hardware store vibe.
This time I used the Gates PowerGrip hose clamps to join the sections. I'll still use stainless steel hose clamps on the ends, but the Gates clamps give the finished product a much more refined look.
Next up was the top hose. I used 1.25" silicone elbows joined with a short section of straight tubing. I'm using the Gates PowerGrip to join the sections together here too.
Thorsen
Two points/questions
How do you mig ally please? I would love to be able to weld ally, but I did not know you could use a mig to do so.
I worry slightly about the rad brackets. The car in cornering, for instance, will put significant stresses into the radiator from those solid brackets, as the chassis does flex pretty significantly across the front, even with the OEM braces in place. May I respectfully suggest some rubber cotton reels or similar? eg https://www.carbuilder.com/uk/waiste...-42mm-27mm-m10
Greg,
If you look at picture #7 on this site you can see a spool gun used for MIG welding aluminum. The aluminum wire is soft so it's easier to push it 4" through a spool gun than it is to push it through a 15' cable. The other change is switching to 100% argon shielding gas. If I welded every day I would feel confident enough it my abilities to TIG something like this, but as I am sure it is for many of us my day job gets in the way of what I really want to be doing.
That's a good idea on the spools and you would probably not be surprised to hear I have a couple of those on my shelf. I was tinkering around last night and came up with an idea to move the power steering fluid cooler under the radiator and support the radiator from the bottom and top with panels to close off the sides. Thank you for the suggestion as I did not account for the body flexing.
It's -13f/-25c in Chicago this morning with windchills -35f/-37c so I'm not spending much time in the garage today, but I was curious to see if reversing one of the brackets would allow me to mount a spool and it looks like it works fine.
Yeah, January is NOT my favorite month. Locally it's Cold as mentioned, Rainy, Dark, Dreary, and just plain Miserable to try to do anything anywhere, except maybe skulk around Walmart, but with each passing week my tolerance for Wallies diminishes. (It's become an Assault on my senses, sensibilities and country values (of which I'm Not ashamed)).
When I was in college I so wanted to learn to weld. I got Really good with the torch, brazing and stuff, best in class in fact, but after finishing that, I was sort of, um, Discouraged from taking any electric welding classes, even in these "enlightened times." I think they were just Jealous and afraid I'd show them up!
It's too late now, too many other demands on my time and energy.
But I do so enjoy watching people who know what they're doing, do what they do.
(';')
 01-06-2024, 05:21 PM