When you click on links to various merchants on this site and make a purchase, this can result in this site earning a commission. Affiliate programs and affiliations include, but are not limited to, the eBay Partner Network.
I agree about the dials; the needles all resting at different places would drive me mad too!
i still think that with high pressure fuel pumps you are tempting fate without a buzzer in each tanks, as in famous last words! It is not that you would run out of fuel; only that you would forget to switch and thus human error do you in...
Cheers
I always fill both tanks and then start using fuel from the left tank as I'm almost always the only person in the car so I'm doing my bit to regain an even L/R weight balance. I know practically it probably makes no difference but it's a better reason than admitting I'm OCD superstitious. At 1/4 tank I will switch from the left tank to the right one and at 1/4 tank on the right side will look to fill both and start the cycle again.
I run 94 Octane and not all stations carry it and with both tanks at 1/4, that gives me about 60-75km and a few days or more to find a station at a time that's convenient enough to pull in without worrying about potentially emptying either tank.
Tonight I worked on the wiring for the fuel valve and fuel pumps. The Pollak valve to direct the fuel return to the correct tank is only designed to be energized when tank switchover needs to happen. I picked up a pair of time delay relays that power down after 10 seconds that I thought would work for reversing the polarity but they don't work like I thought they would. They do power down after 10 seconds so they are helpful but they don't reduce the number of relays. So I spent some time scratching out the design I wanted to make this work.
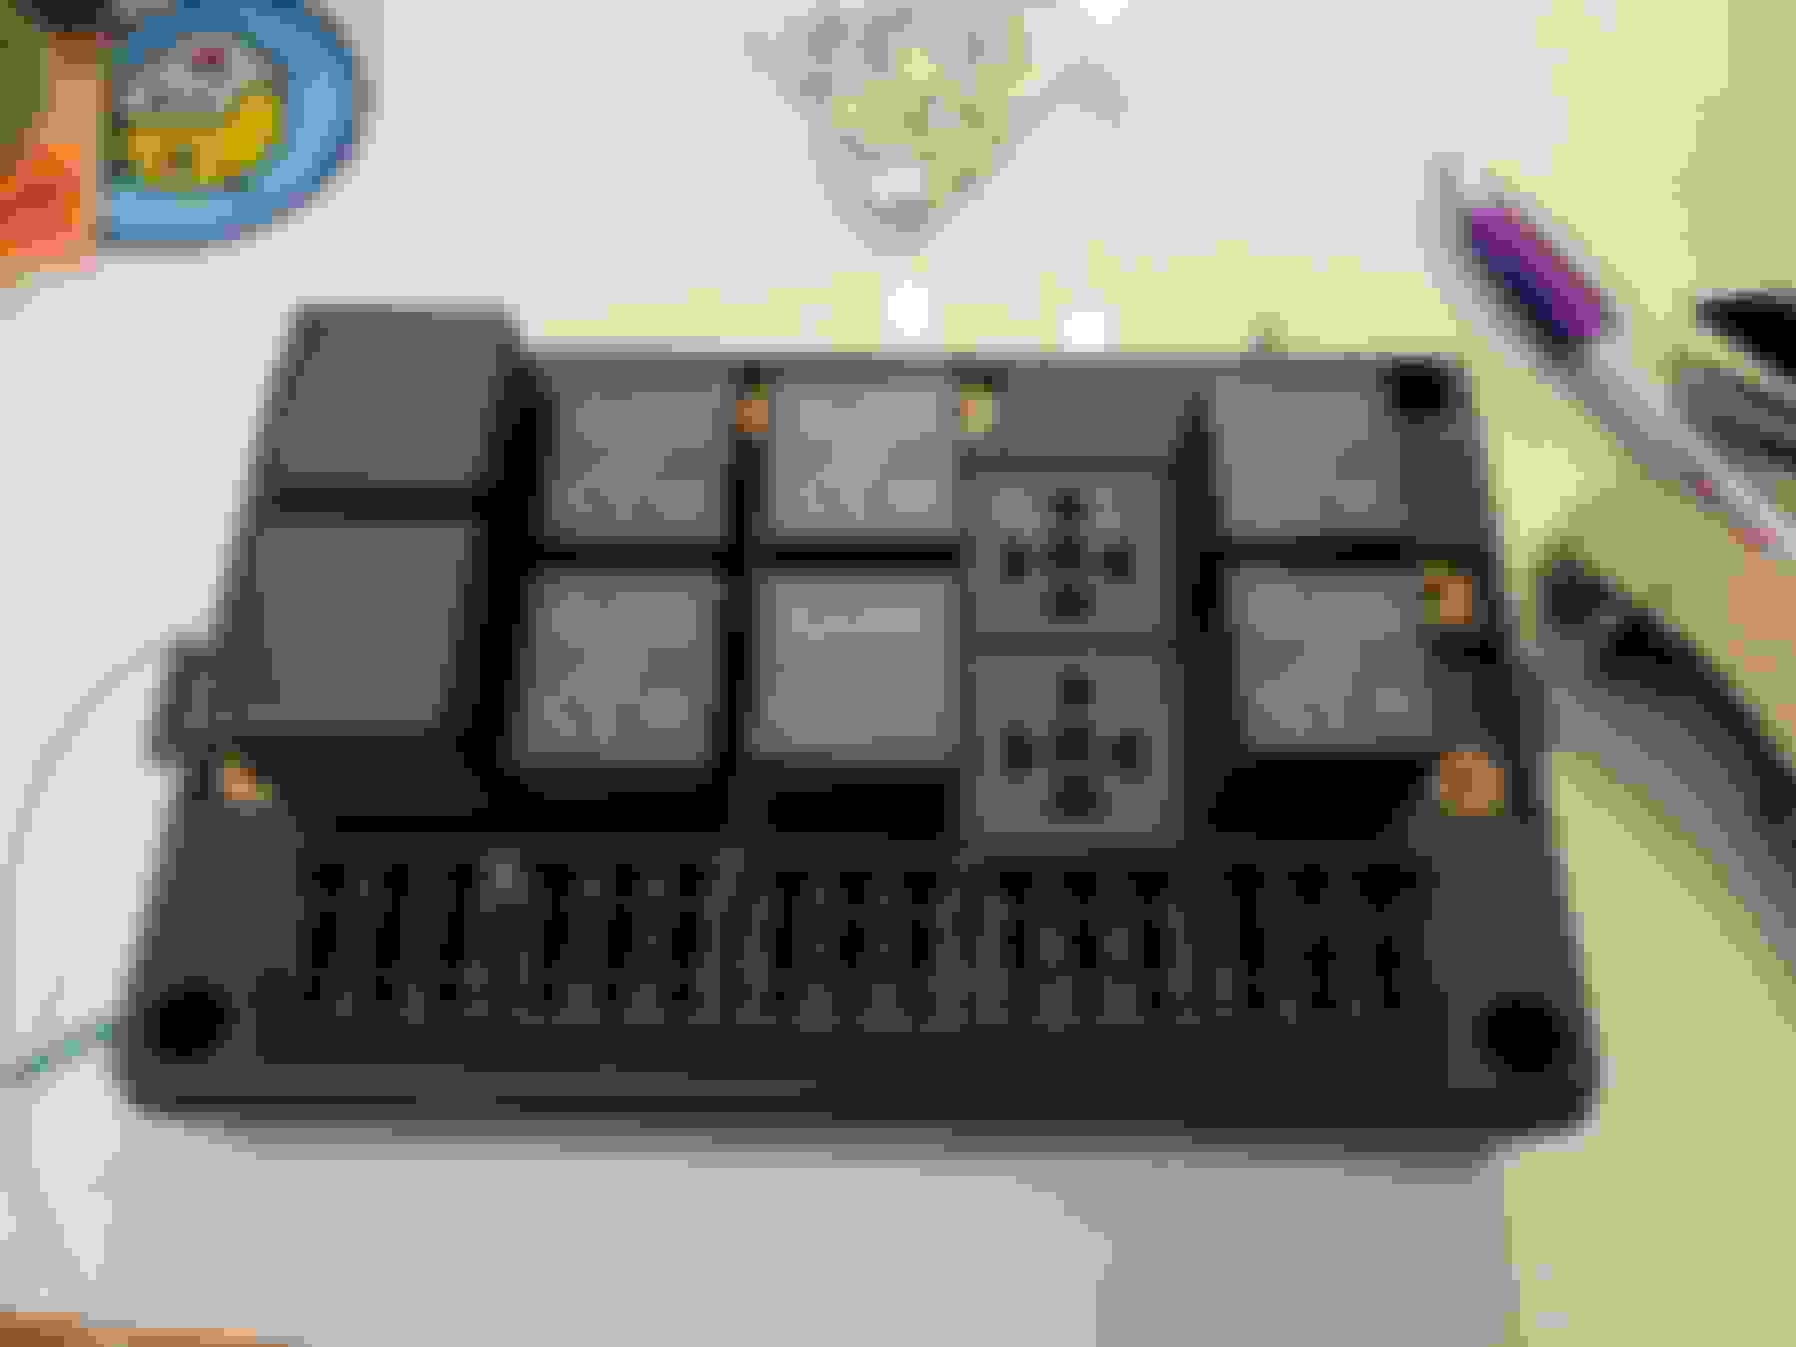
I picked up a handy build-your-own fuse and relay box to at least make it easier to wire up and make it look professional. I'm about half way done wiring it up.
Here are all the relays in place. A few posts above I talked about halving the amount of relays I need. I should have kept my mouth shut. Between the timer relays and the the relays dedicated to power each fuel pump I have twice as many relays as I wanted to have.
This afternoon I finished plumbing the fuel tank. I went through several different visions of how I thought this should work until I was happy with one. If you're curious where this ended up, here's the setup looking from the back window towards the rear bumper:
A - fuel line from left tank to a 100 micron strainer
B - Left tank fuel pump
C - Left tank check valve and tee fitting between left and right tanks.
D - High pressure fuel feed to engine
E - Fuel return from engine
F - Pollak valve to direct fuel return to the correct tank
G - Fuel return to left tank
A, B, C, and G are duplicated for the right side tank
There are two options for fittings. The easiest way is to buy a compression fitting with either an AN male or female AN fitting. To use these you cut the tubing square, deburr the inside, and assemble the compression fitting over the hard line. I don't like using these as I don't believe they are as secure as option two. I would never use them in a high-pressure mission critical application.
My preferred way is to flare the tubing to 37� and use tube nuts and sleeves. I personally feel this is the best way to go especially if you're doing anything with pressure or if you're in a location that's not easily accessible.
I use for flaring the lines. You use http://www.summitracing.com/parts/SUM-220634-2 to support the hard line and https://www.summitracing.com/parts/SUM-220633-2 to finish out the connection. Yes, it's more expensive than using compression fittings but if you tell yourself "buy once cry once" when you submit the order it kind of makes the pain go away.
Either way, once you are done you have a standard AN connection that you can adapt to hose fittings or other items like fuel strainers. I'm a big fan of the universality of AN fittings. This picture shows the flared end, the tube sleeve, and the nut that has slipped past the bend.
Thanks for all the useful info Thorsen. What flavor black fuel line is that, and what check valves are those? You're switching the returns with the pollak and switching the pumps and pollak with the dash switch? Relays to run the pumps I hope, they draw some current.
Bill
I usually buy the hose in bulk from RockAuto. Gates is my preferred brand but as long as it is fuel injection rated to at least 100 psi I'm good. These are the check valves I am using. I originally selected these but when they arrived I could easily blow through both ends. Summit replaced them with the ProComp valves which seem to work.
Correct - the Pollak valve will switch the fuel return to the correct tank based on the position of the dash switch. The dash switch will also control which fuel pump and therefore which tank is being drawn from. Each pump will have it's own relay and 14 gauge wire.
I acknowledge my fuel pump budget could have been halved by running one fuel pump through the Pollak valve but I wanted the redundancy of two fuel pumps.
Many thanks Thorsen. I take it that the flare end on the pipe (I have a good flareing tool) buts up to the male end of the fitting (eg the check valve) and the nut over the pipe secures it? I know nothing about AN fittings but I ned to learn as they are so useful and neat.
Many thanks Thorsen. I take it that the flare end on the pipe (I have a good flareing tool) buts up to the male end of the fitting (eg the check valve) and the nut over the pipe secures it? I know nothing about AN fittings but I ned to learn as they are so useful and neat.
That's 100% correct. The pipe has a flare and the other end of the fitting has a matching flare. The tube nut is there to hold it together but the flare is the seal.
My goal for today was to run a fuel pump and make sure there are no leaks. I needed a ignition hot wire in the trunk to run the fuel pump relays and tank switch-over relays and since I didn't have one, I pulled the back seat to get one back there.
As a bonus while I was there I also unjammed the rear left seatbelt.
I finished wiring up the fuel pump relay/tank switch-over box and during testing I realized I had a fairly major problem. The time delay relays don't work like I thought they did, so the tank switch-over relays would always be fighting each other. Realizing the only solution was a true 12 volt timer I set this aside and ordered the parts I needed.
Undaunted by a setback that I should have seen coming, I filled up the left fuel tank with about 2 gallons of gas, made sure the switch-over valve was pointed to the left tank, and hot-wired the left fuel pump directly to the battery. I was happy to see fuel pressure was where I wanted it and I only had one small leak that tightening the fitting solved.
I think you know what's coming next. Since the fuel system was good, it was time to fill the engine with oil and the transmission with fluid. I turned the engine over by hand to make sure there was nothing in the cylinders and then turned the engine over with the starter to build up oil pressure. Then it was show time.
With no antifreeze in the system and the complete lack of an exhaust system, I told my wife to count to 2 Mississippi then shut it off. The goal was just to make sure the engine runs and it does.
Congratulations Thorsen. Please explain what the timer relays do, I had assumed the relays just switched on or off.
Thanks
Greg
The Pollak valve I am using to switch the fuel return to the correct tank is designed to only have voltage applied when you need to switch the fuel tanks. If you put a continuous +12 volts to it I assume you'll burn out the windings in the solenoid.
The stock dash mount fuel tank selector switch outputs a continuous +12 volts on one wire for the left tank and a continuous +12 volts on the other wire for the right tank. If I ran those to the Pollak valve I'd burn it up pretty quick. So I need a timed +12 volt signal going to the relays that control the Pollak valve.
As I was typing this out, I realized I might have incorrectly wired the output of the timer relay to 87a instead of 87. I need to go check that.
Well, sorry about the previous relay question, I obviously hadn't read the previous posts
I do have a question though. Does the pollak latch in position? So if a momentary 12v is applied it switches state one way or the other and remains there? I thought they required 12v constant to remain in switched state and back with no voltage? 100% duty cycle.
@slofut - The valve will hold which ever position was last selected. I might be wrong but the way I read the instructions it sounded like it was momentary-on. But now I'm super curious and I am going to call them tomorrow and ask. I'll let you know what I find out.
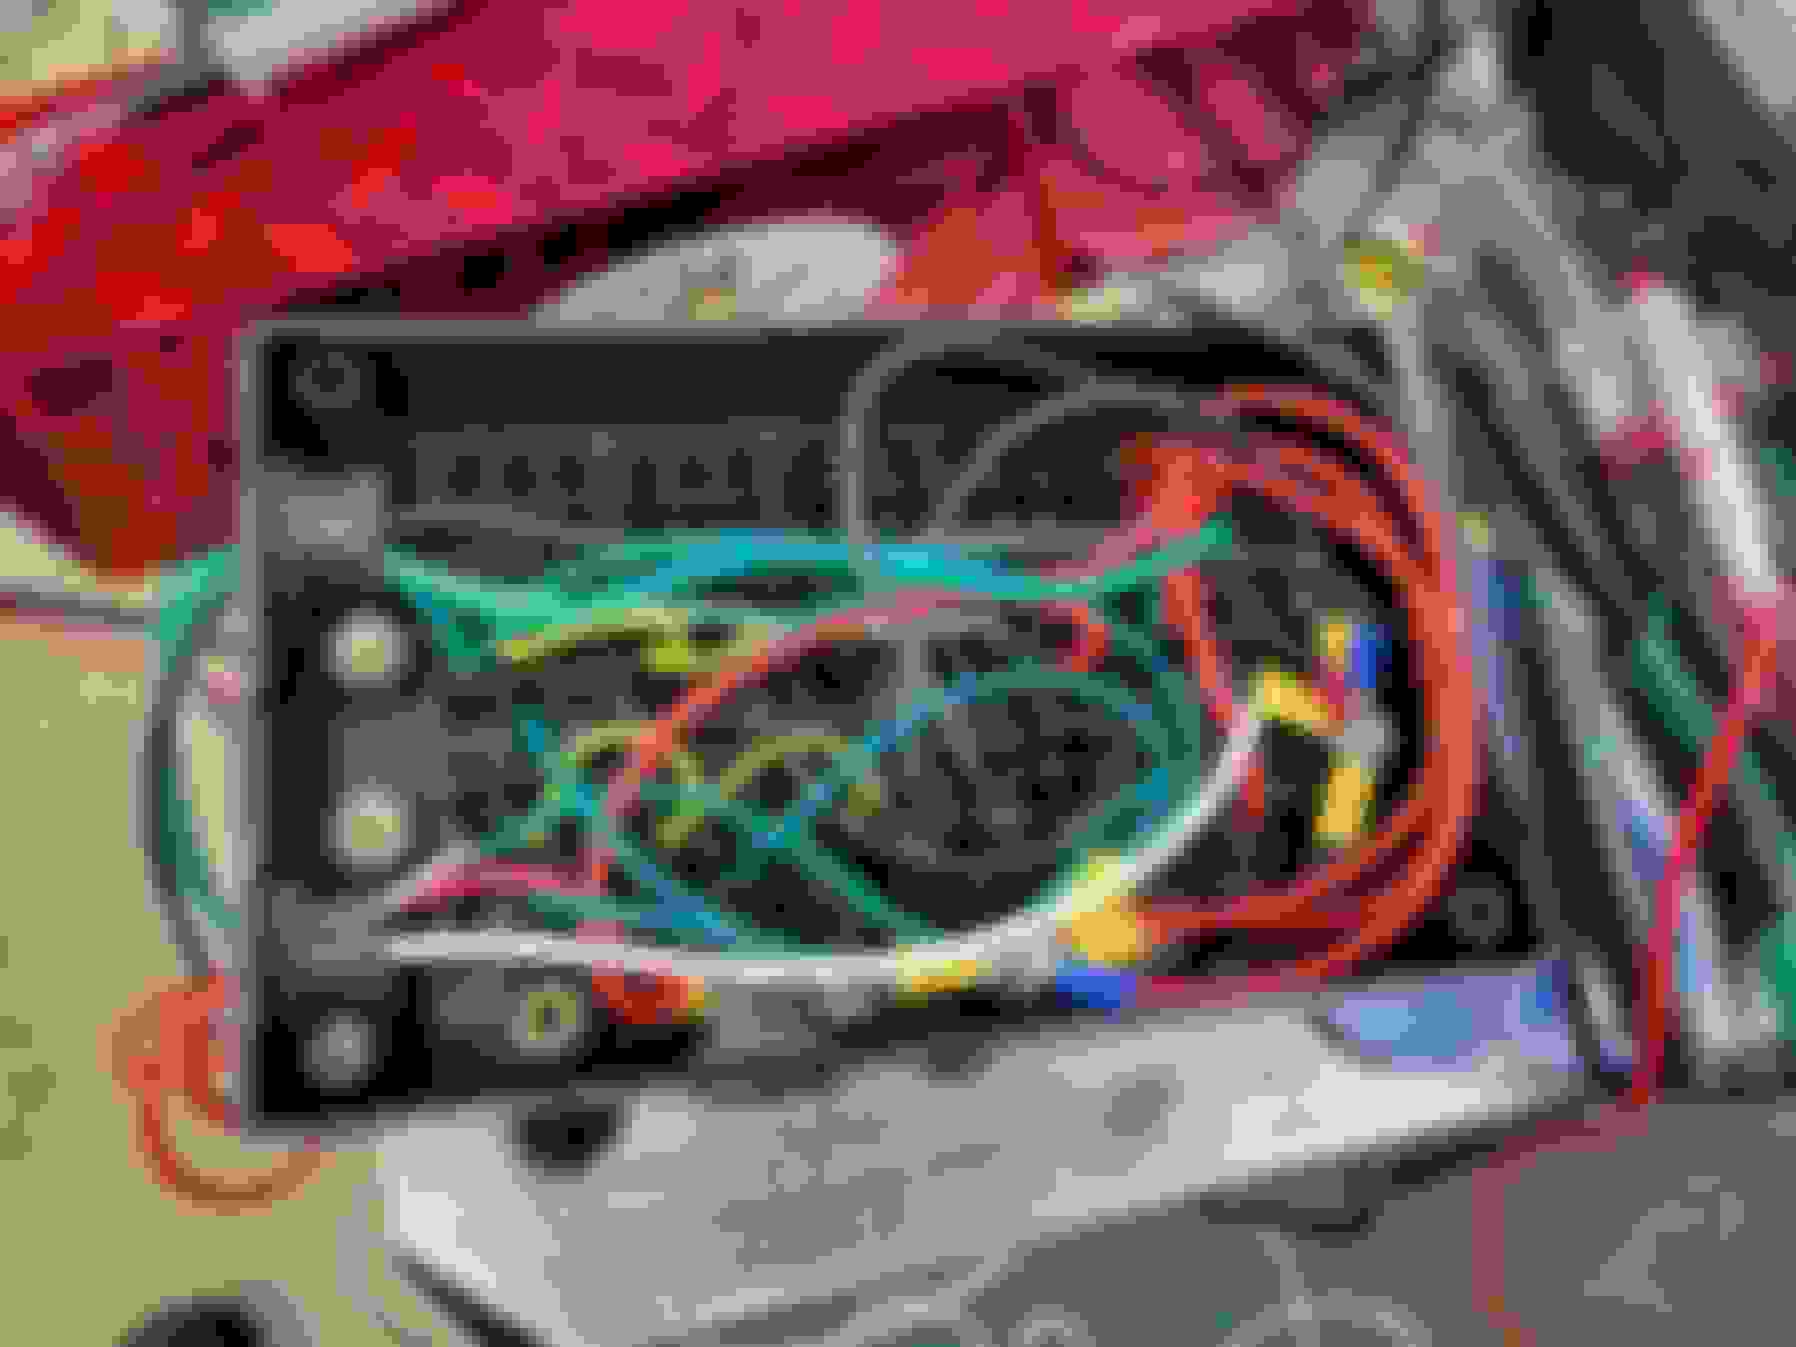
Here's a final view of the pumps and valve all wired up. I was able to put the trunk floor back in for the first time in 8 months.
I was feeling pretty good about the new fuel tanks not leaking so I put the lower valences on both sides.
After that I flushed the engine block with 6 gallons of distilled water then filled the engine and radiator up with my Zerex G05 which is my flavor of choice. I also started cleaning the garage which was long over-due.
@slofut - The valve will hold which ever position was last selected. I might be wrong but the way I read the instructions it sounded like it was momentary-on. But now I'm super curious and I am going to call them tomorrow and ask. I'll let you know what I find out.
@slofut I think I figured it out. I went to the Pollak website and found this picture:
There's a 12 volt motor that runs the valve and not a solenoid. If it's a motor then I think the "silver plated copper circuit contacts" are limit switches to stop the motor when it gets to either end.
But that's not the silver bullet. Scroll down to the switches and look at the toggle switch. It's a DPDT on-on switch. I assumed it was a momentary switch but the switch they sell only has two positions. The valve is always powered when the engine is on.
You are right - it is rated for continuous duty. I think I'm going to pull the timers off my system and bridge that part of the circuit with two jumpers - it's one less thing to worry about. Thank you!
After that I flushed the engine block with 6 gallons of distilled water then filled the engine and radiator up with my Zerex G05 which is my flavor of choice. I also started cleaning the garage which was long over-due.
Next I start working on the exhaust system.
Man your rear end looks nice! I'm working on mine as we speak...
Thorsen
The removal of the timers is an excellent plan if the system will work properly without them. It is always this sort of item that fails at the worst possiblr moment!
I will tell you that every time I open the garage door the very first thing my eyes are drawn to are those. Sure, the car is 18" in the air so that factors into it. At first I thought they were too flashy and that I should pull them off and paint them flat black. But for some reason they've grown on me - they're like a very subtle sign saying "something different is going on here". Now I've gotten to the point where I hope that they are still noticeable once the car is sitting on the tires.
 02-27-2024, 01:06 PM