When you click on links to various merchants on this site and make a purchase, this can result in this site earning a commission. Affiliate programs and affiliations include, but are not limited to, the eBay Partner Network.
I like the links too, and they might add a marginal amount of reinforcement to that area. But I'm referring to the wheel hubs with the lug studs, they're very clean and bright, like plated?
Ahhh that's a new wheel hub. The inner bearing looked like it had spun on the hub because when I replaced the bearings the inner bearing would slide on/off the hub. It's supposed to be a press fit but even a new bearing just slid on/off.
Next time I see my uncle I'll see if he can weld it up and turn it to the right diameter so I have a spare. These things aren't cheap and I was happy I could find a new one.
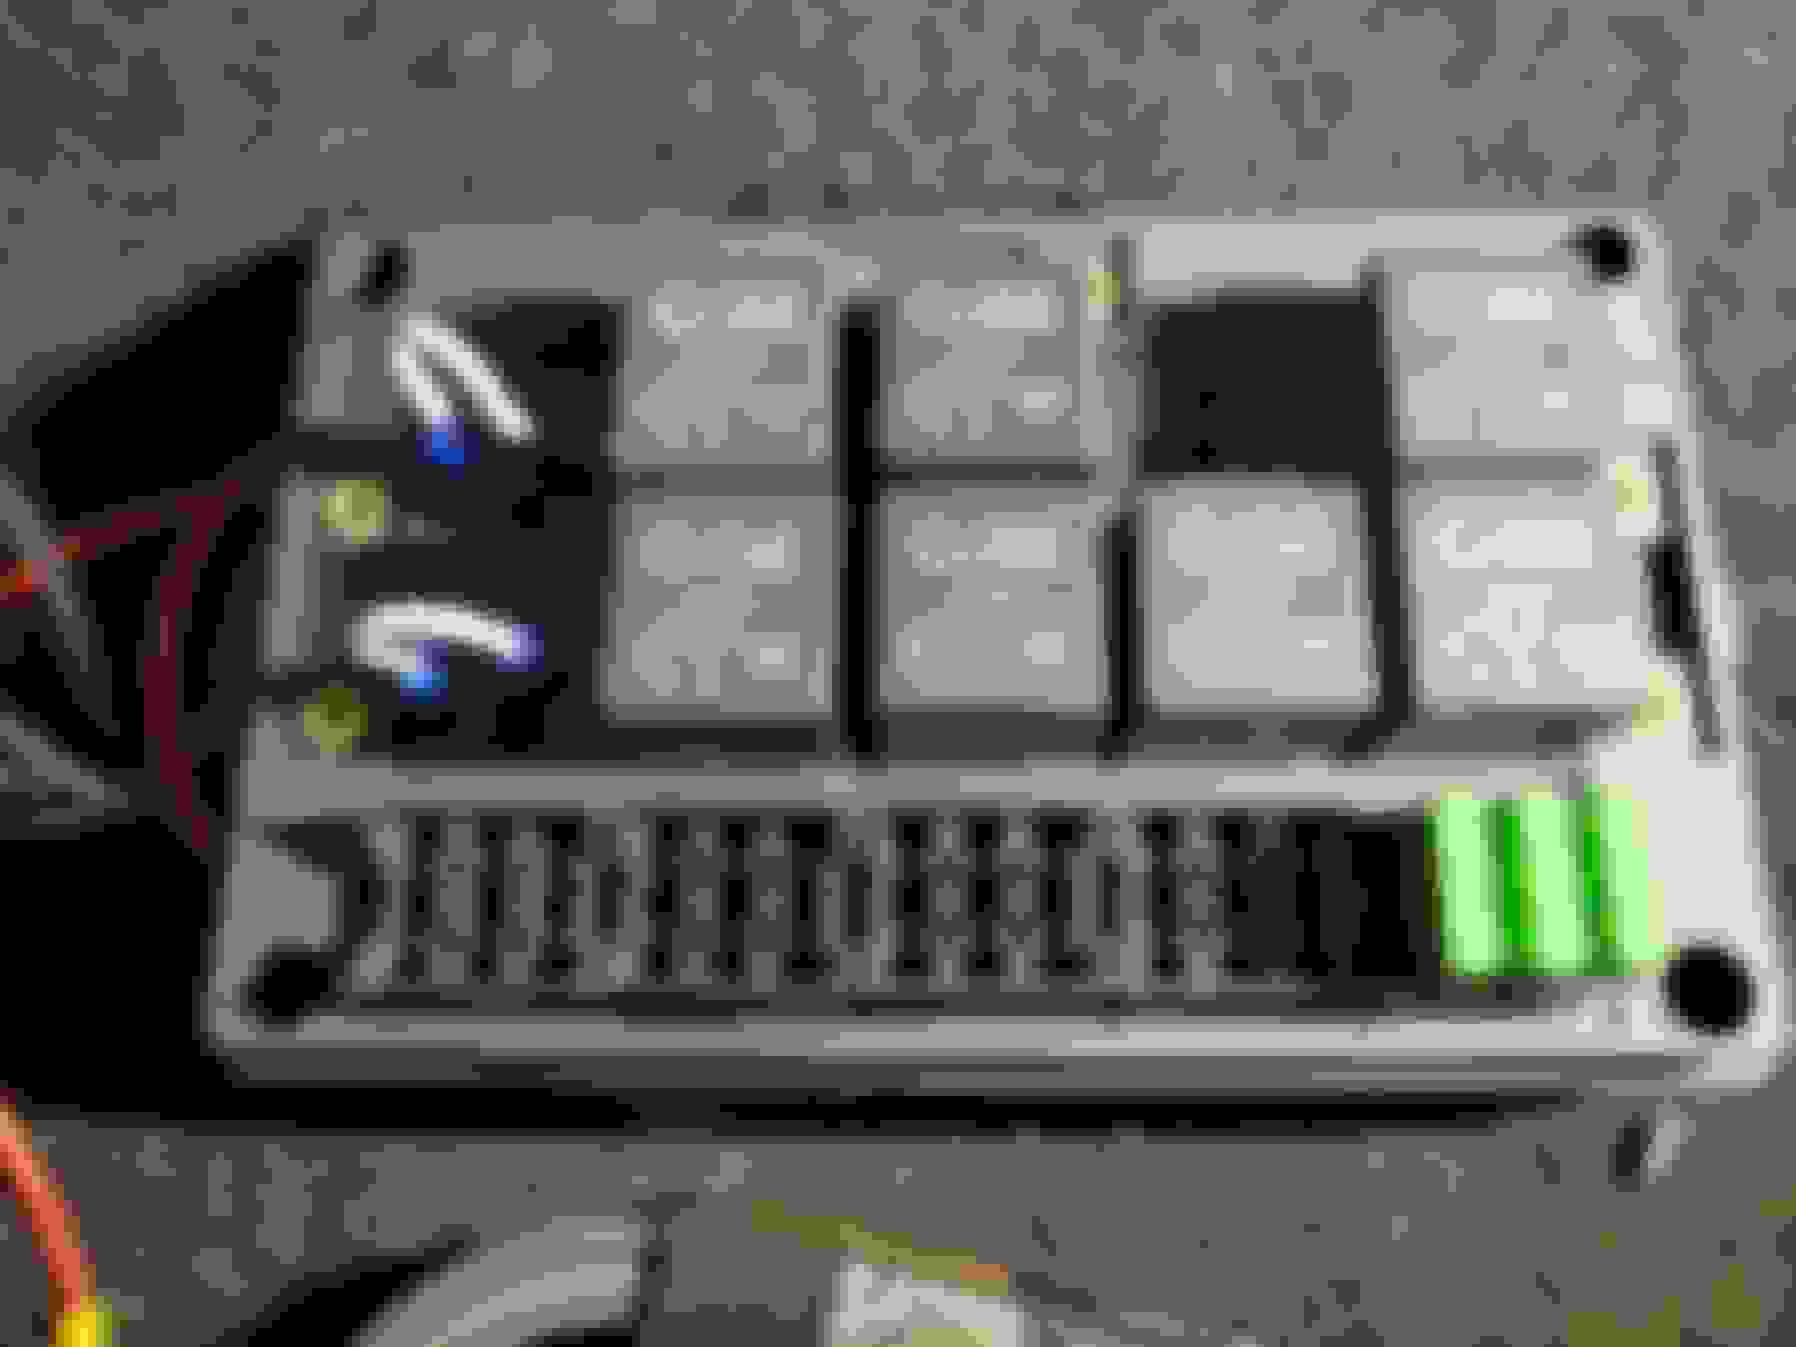
Given what was learned about the Pollak valve, I pulled the timers from the relay/fuse box and jumpered the connections. I also filled the right tank with 3 gallons of fuel and tested switching between the tanks. I'm happy to report that everything works as expected and the fuel returns to the correct tank.
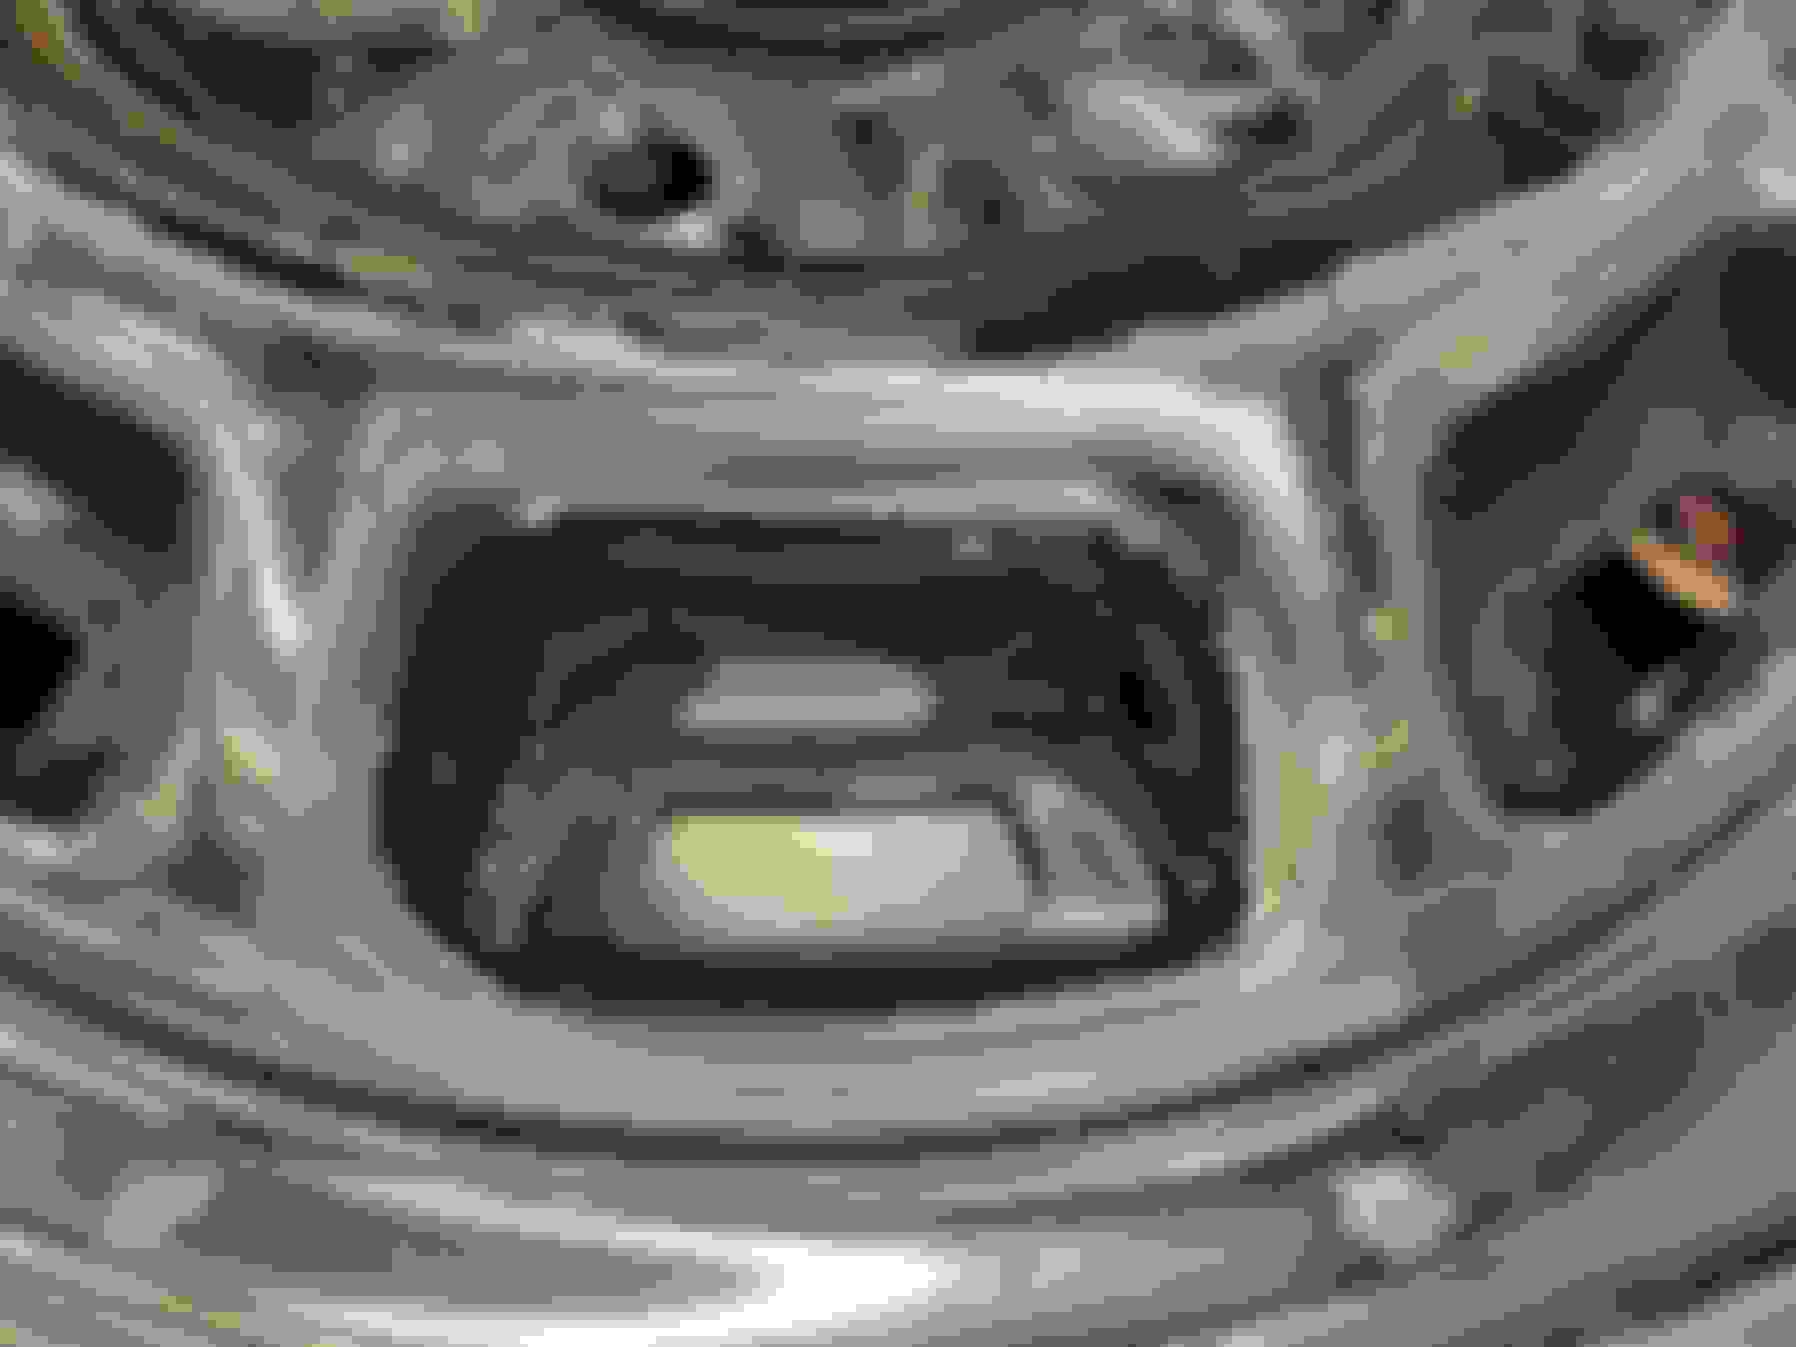
One thing that's been bothering me for a while are the wheels on my XJ. The black rectangle "shadow" areas are pretty grubby looking. I thought about a new set of VTO wheels, I thought about a set of 15" or 16" lattice wheels or something from a 1990's XJ. But I wasn't sure either of those would fit the spirit of the car.
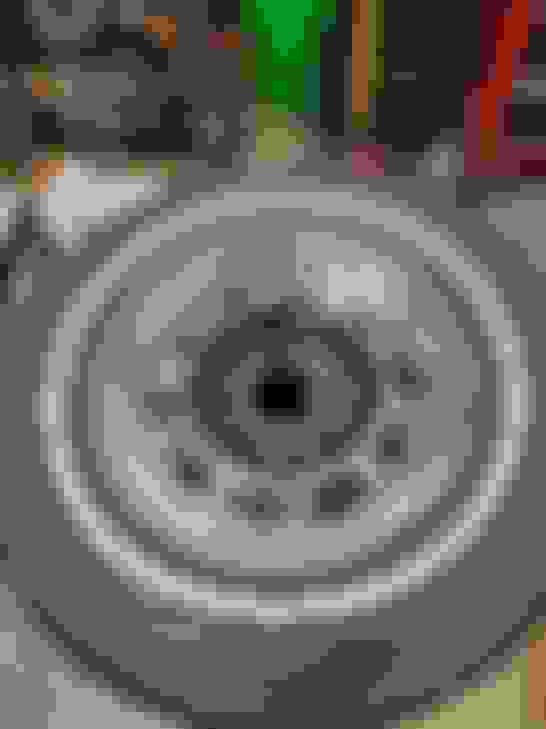
A closer view of the poor condition of the wheels. I wanted to make these work but I also didn't want to spend hours masking off the 10 holes each wheel has and dealing with them not being identical when I was done.
For that reason I knew that hand painting them was out of the question. What I needed was a paint mask.
Over the course of several months I looked for paint masks on ebay. I reached out to vinyl printers on Etsy and Fiverr trying to find someone who was willing to help me. No one would.
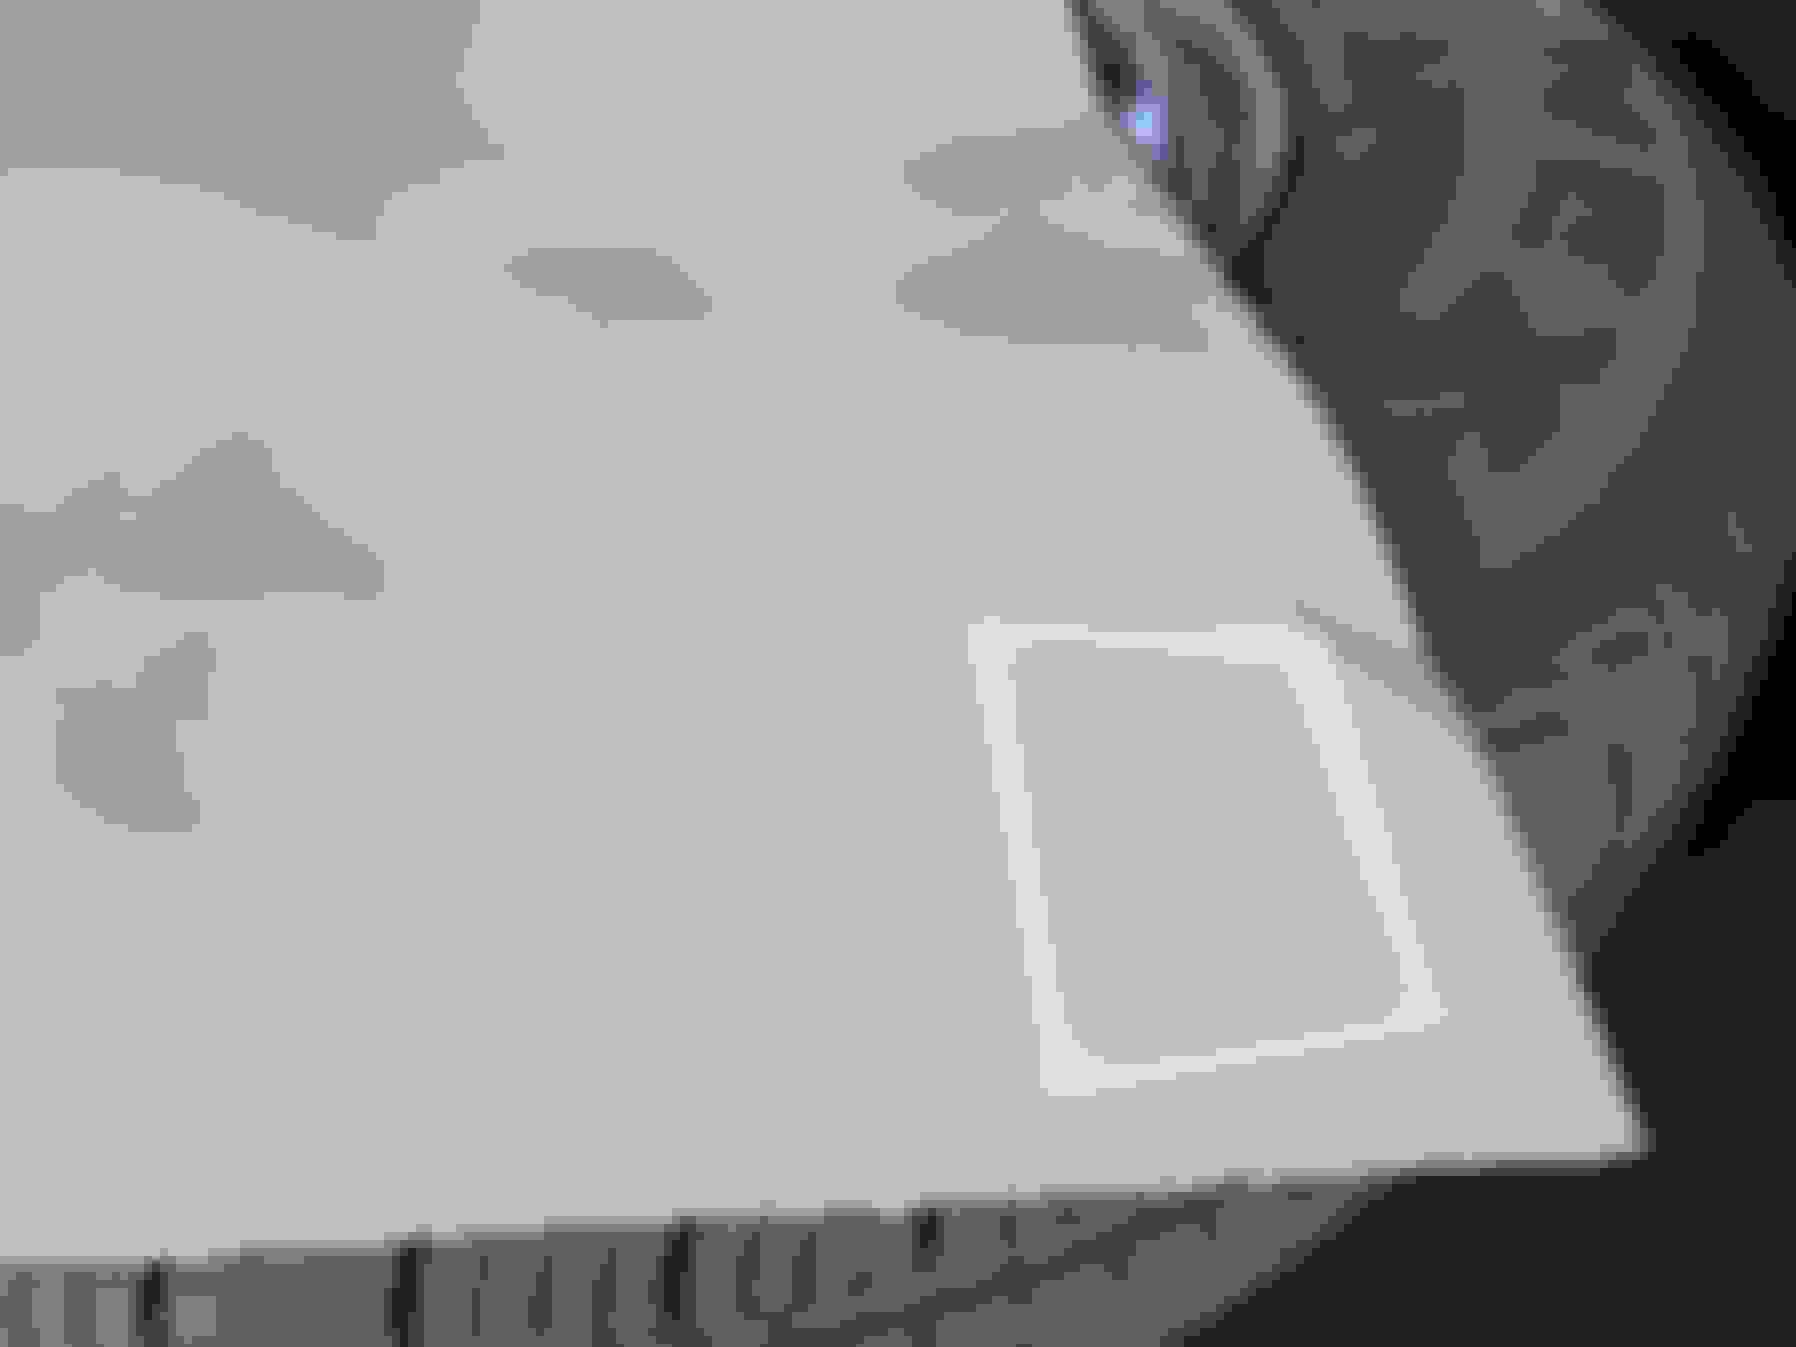
This winter I taught myself CAD so I fired up AutoDesk, created a mask in the shape I needed, and found a local sign shop that would print it out. He said he could do it in 5 minutes, I timed just over 3 minutes for his cutter to produce 55 masks. Each wheel has 10 holes, times 5 wheels, + an extra 5 for the oops factor.
Sadly I mis-measured and the template was off, but I already fixed that and have a proof being cut tomorrow. Once I get the right dimensions I'll be able to mask off the chrome areas and re-paint the black sections.
The other event that happened today was FedEx bringing a big box of 2.25" polished 304 stainless steel exhaust tubes, mandrel bends, and v-band clamps. I'll be able to start running the exhaust system.
...
The other event that happened today was FedEx bringing a big box of 2.25" polished 304 stainless steel exhaust tubes, mandrel bends, and v-band clamps. I'll be able to start running the exhaust system.
Isn't it Fun when the delivery trucks bring you goodies!
I always found that the second best part... After the part about getting those parts installed that is... and the part about driving the wheels off.......
I thought these looked ok, xjs sport wheels, kinda mimic the early steel wheels in a way. !6" allows for a better tire selection without the rubber band tire appearance that I don't like at all, ride is a little stiffer though but totally acceptable. This is an earlier pic from a couple years ago, I finally got around to removing the front spring spacers and the front settled down quite nicely without resorting to lowering springs.
Hey, that said Thorsen, the early steel wheels restored to their former glory would be a fantastic looking wheel. I changed mostly because I didn't want to spend the time to make a template to paint the black sections. I suspect the factory had a stiff circular template to lay onto the rim to mask the whole thing at once. I imagine a guy with a template or two and spray cans of flat black enamel . Similarly when I worked at Maule Aircraft in the 70's, we would tape over the instruments after they were installed, run a single edge razor around the glass faces and peel off everything else, then spray the panel, bezels and anything else in the way with a flat black spray can! Amazing how long it lasted too.
I had those wheels on my 1996 XJS. They are a great looking wheel.
But now that I have been challenged I am having a hard time letting this go. Version 2 of the wheel mask is closer but not good enough. The guy at the sign shop told me how to make a paper template and he could scan it for me. I think that's my next step here.
I took a week off from working on the car to chase some warm weather down in Florida but I'm back in Chicago and it's time to get busy working on the exhaust. First item on the list is test fitting the new left side over-the-axle pipe and rear silencer. Everything lined up as I expected it to.
Next was bolting the left side exhaust flange to the manifold so I could start planning out how to route the exhaust around the power steering rack.
To put this project in time scale, I'm basically back to where I was on post 29 of this thread, about 7 � months ago, when I noticed the left side down pipe was touching the steering rack. I've come a long way.
I also started heat shielding the tunnel between the body and the transmission where the exhaust will run with dimpled aluminum. I like keeping the radiant heat from the exhaust contained so nothing gets cooked.
I don't have time to be in the garage today but I was able to get the sign shop to print me up another set of paint masks for the wheels based on a tracing I did. These look like the right size and shape but I feel like the compound curves of the wheels makes it hard to line up the mask correctly as well as get it to lay down in the right spot. I think I'm calling an end to this project. But I would love to see how they did it at the factory!
I also learned about AN bolts and picked up a set for the driveshaft to rear differential. AN bolts have an unthreaded section of a precise length called the grip range. In a shear application, the unthreaded section is stronger than a bolt that is fully threaded which was all I was able to find in the length I needed. Now the driveshaft and differential flanges will ride against a solid piece of steel instead of threads. It's probably overkill but I'd rather not have to worry about it ever again.
Thorsen, what if you prepped the wheels for paint and shot the whole area black, and then wiped off what didn't belong? May be worth a try on one of them. Mine don't look very precise from the factory but they are used about like yours, I'd love to see a really nice original.
"I also learned about AN bolts and picked up a set for the driveshaft to rear differential. AN bolts have an unthreaded section of a precise length called the grip range. In a shear application, the unthreaded section is stronger than a bolt that is fully threaded which was all I was able to find in the length I needed. Now the driveshaft and differential flanges will ride against a solid piece of steel instead of threads. It's probably overkill but I'd rather not have to worry about it ever again."
Somewhat off topic, but when I was an apprentice (several decades ago), a bolt by definition had an unthreaded section at the head end. One threaded for the whole length was a set screw.
I continue to admire the quality and rate of progress of your work!
Has anyone every tried hand painting? Freehand. ....
That's what I was thinking too.
All the time messing with masks and stuff, he could have had the whole set painted twice over at least and for a lot less money I bet.
It could be a trade secret from those days; that in a back room in the 3rd basement at Brown's Lane, there was a small crew of Women (steadier hands, worked way cheaper, nearly endless supply of applicants) who Hand Painted each and every Kent rim ever made. Once they got into a rhythm they could do them at the rate of mere seconds each.
Back in those days before anyone cared if fumes made all your babies born naked and your hair fall out when you're 90, they were probably the unsung heroines of of Generations of Kent wheel lovers.
My hands aren't steady enough to free hand paint them. It took me 6 tries masking it and trying to cut the template by hand until I got one that looked right. Add to that if they're not perfect that's all I would ever see when I looked at the car going forward.
I wonder if my my wife could do it. My parents are coming up in a few weeks and they always love a good project - maybe that's something for them to do.
Torsen
You need a 3D template, so what about this as a procedure:
close off the hole at the back of the black part somehow (tape or something does not matter).
Fill the hole with something that will set (putty or similar) and CAREFULLY sculpt it so the part of the hole to be painted black is covered and its boundary to the chrome precisely delineated, ensure thus stuff is raised at the black/chrome boundary so it stands proud, like a plug that fits it.
leave to set
then, using another bit of setting stuff of a different type and non-binding to the first type (eg metallic epoxy putty) fill round the black/chrome boundary so as to make a 1/2 inch deep border that conforms to the chrome wheel hole surface.
leave to set
then, knock out the stuff used in 2&3 above, and CAREFULLY ease off the stuff used in 4 above AS A PIECE.
you now have your 3D template in epoxy putty stuff. Put in place, paint black inside the template, move on to next hole, job done in 10 mins.
Voil� !
Last edited by Greg in France; 03-20-2024 at 01:22 PM.

 03-04-2024, 12:27 PM


 . Similarly when I worked at Maule Aircraft in the 70's, we would tape over the instruments after they were installed, run a single edge razor around the glass faces and peel off everything else, then spray the panel, bezels and anything else in the way with a flat black spray can! Amazing how long it lasted too.