When you click on links to various merchants on this site and make a purchase, this can result in this site earning a commission. Affiliate programs and affiliations include, but are not limited to, the eBay Partner Network.
Tonight I knocked a few items off the to-do list. I had originally planned on replacing the fuel injectors and thought I would do it before first engine start, but other things got in the way. Tonight I pulled the fuel rail and stripped the injectors off the rail.
The injectors were cleaner than I expected but without having the ability to test the spray pattern it's not possible to know how well they function. I picked up a set of rebuilt injectors that are flow-matched and are original spec. I'm also replacing the fuel pressure regulator while I have everything apart.
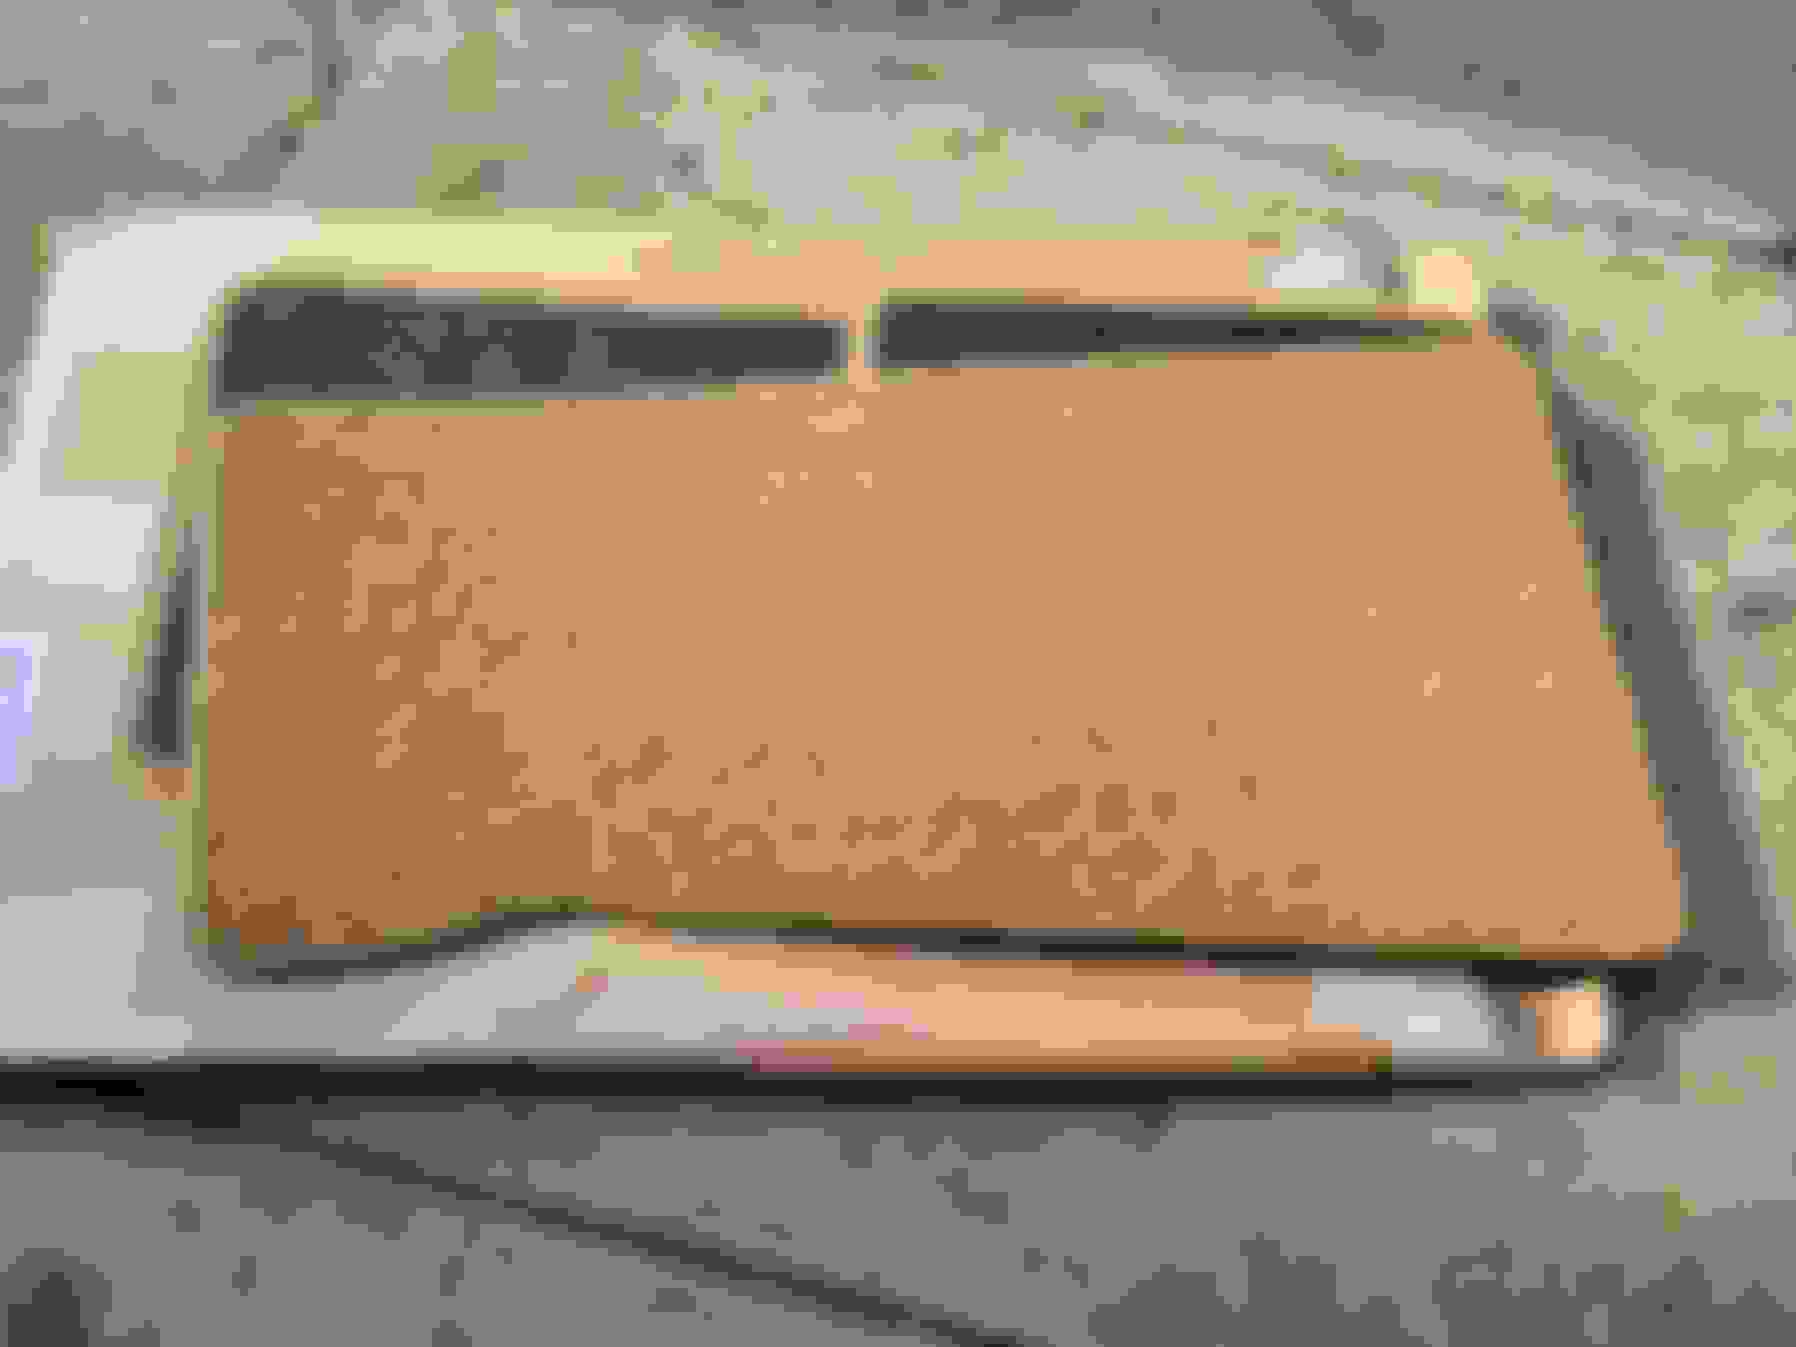
I also decided tonight I would get the reverse lights working. They haven't worked since day one and after pulling them off the car I see why. Here is the left side light halfway through cleaning the corrosion off the brass. I suspect these have not worked in a long time.
The right side light needed a replacement ground wire soldered to the bulb holder, but now I have two reverse lamps.
Yesterday I was able to install the rebuilt & flow-matched fuel injectors and the new fuel pressure regulator. It took a minute for the air to fully purge from the injectors but once it did the idle was noticeably smoother.
I also made a new #8 AC discharge hose to replace the one with a cracked fitting, flushed the AC system, replaced the drier, added oil, and vacuumed it down. The vacuum held for several hours so this morning I charged the system up and once again have 36� air blowing from the vents.
I've been driving a lot lately just because it's so much fun. We've had some warm weather (upper 80's) in the Chicagoland recently and I've been able to put the AC through its paces. Saturday afternoon when it was 89 on the bank thermometer I let the car idle for 15 minutes with the AC on. The engine temp never got past 200�F and the AC was cycling and blowing 36� air in the cabin. I'm pretty pleased although I feel like you get a lot of sun through the windows. I picked up a roll of ceramic window tint that lets in 70% of visible light but blocks 99% of UV light. I'm personally not a fan of deeply tinted windows so the 70% is perfect for me. I watched a couple YouTube videos and understand the concept, but I started with the small quarter windows until I got the hang of it. It's easier than I thought it would be but I would have preferred to pay an expert to do it - but no one wanted to touch it. They only want to work on newer cars that they have computer patterns they can cut in house and a 1974 Jaguar XJ6L wasn't in their database.
My Cocomat floor mats came in today. I've been using their floor mats for a long time and am very happy with them - they just seem to look right in an old car.
I've been chasing a small and intermittent power steering fluid leak. I'd get a couple drops on the garage floor every now and then; the UV dye I had put in the system showed a leak but I never got a good sense where the leak was. Today the leak went from small and intermittent to more noticeable and I decided to take a look again. If a picture is worth a thousand words then what is a video worth?
The 180� turn in the AN fitting that delivered pressure to the rack was too tight and rubbed against the steering tower. This stressed the hose connection to where it could no longer hold pressure. Totally my fault for not choosing a better routing and my penance is paying $35 for overnight shipping a new 90� fitting.
Also, remember UV dye is your friend.
Doncha just Hate it when stuff like that happens?!
ARRGH!
Disaster Management would set in here, in the form of a shot of Bacardi Gold and deal with it in the morning.
(';')
And we're leak free. A 90� AN adapter and a 90� hose end provide the proper amount of clearance and the pressure hose isn't touching anything.
I also took this opportunity to add some dimpled aluminum heat shields to both the steering rack tower and oil filter lines to keep the radiant heat from the exhaust away.
I had a friend in the garage this morning to supervise. We're in the midst of a simultaneous emergence of both the 13 year cicadas and 17 year cicadas. It's gotten so bad I can't let my dogs play in the backyard because they try to eat them then get sick.
Um, I notice you're holding the heat shields in place with plastic zip ties.
I was not aware they had that kind of heat resistance so near the exhaust..
(';')
A quick online search suggests the melting point of Nylon is in the range of 220-265 degrees Celsius / 428-509 degrees Fahrenheit, so as long as the zip ties are at least a few inches from the exhaust, they probably won't melt. But the plastic probably will become brittle and weak from thermal cycling. Greg's idea of stainless steel cable ties (or CV joint boot clamps) would look good and be a permanent solution.
I took the car on a 200 mile road trip to Lake Geneva yesterday which included almost 100 miles of running 80mph on the tollway. I snapped a picture of the zip ties this morning and they didn't melt.
This zip tie was the closest to the exhaust pipe and it didn't melt either, but I do like the idea of using stainless steel ties. To Don's point I'd never have to worry about them.
I did notice a light weeping of the power steering return line. I had a length of normal transmission hose that I ran from the rack to the power steering cooler and used hose clamps to secure it. The leak is not severe but I'm annoyed when I have a leaking car so to make that problem go away forever I'm replacing that with a section of braided stainless steel hose seen here poking out from the left side of the radiator (as you sit in the car).
I also decided that I am not happy with the oil temps. Driving around my village I see oil temps around 230� and after a run on the highway 250� is normal. I'm running full synthetic and I know it can handle those temperatures but summer weather (90�+ temps) hasn't taken hold yet and I like to have margin for extra cooling, so I'm putting in an engine oil cooler. Since I only drive this in nice weather and it stays garaged during the cold/snow I'm not worried about over-cooling the oil, but if that becomes a concern there are some decent oil thermostats out there.
I see what you've done, the zip tie is around a curve in the heat shield from the exhaust.
You might get away with that for a good while then.
As you're a very diligent and detail oriented person, I'm sure you'll be checking that little detail often.
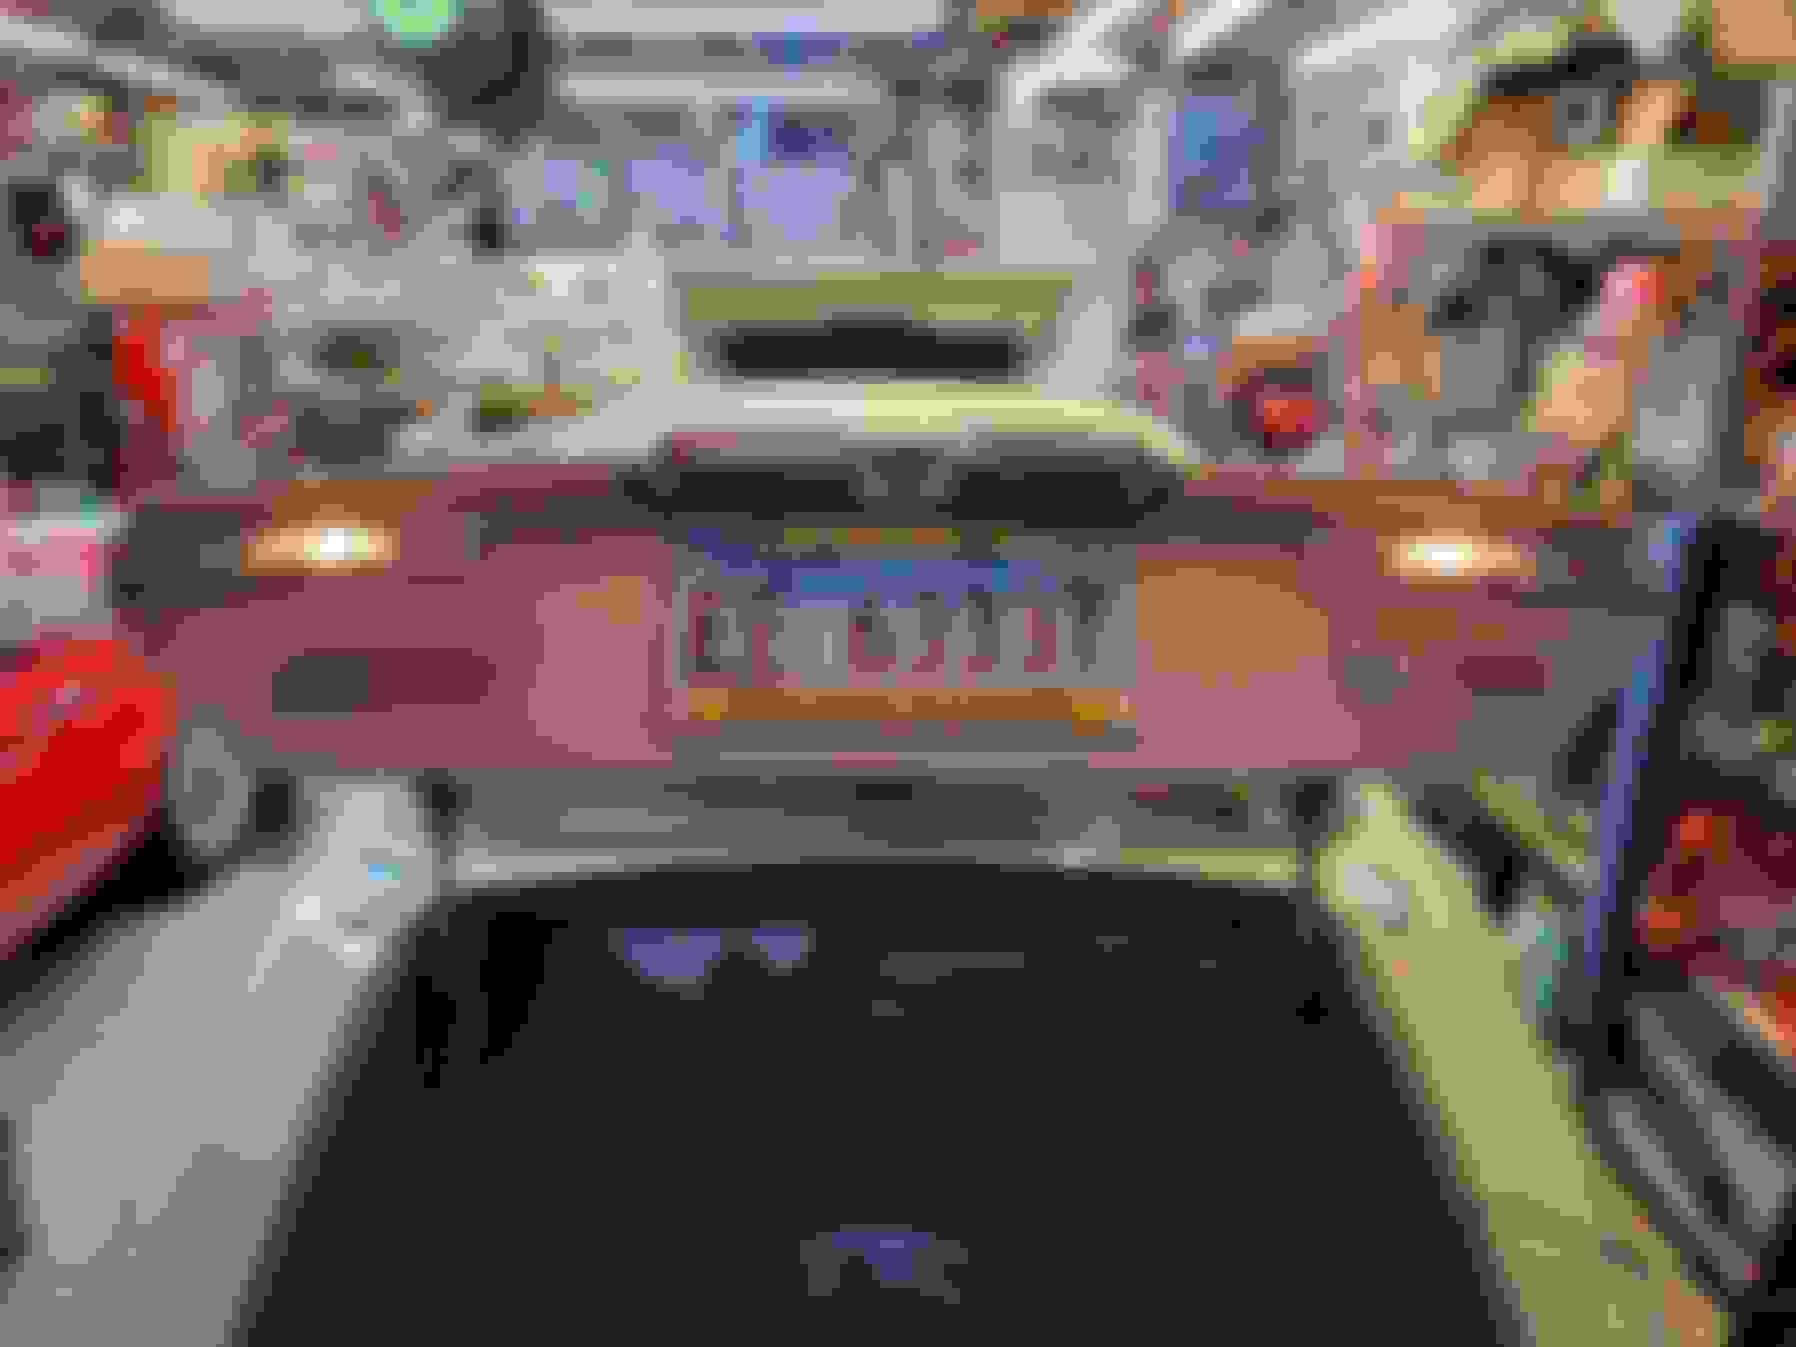
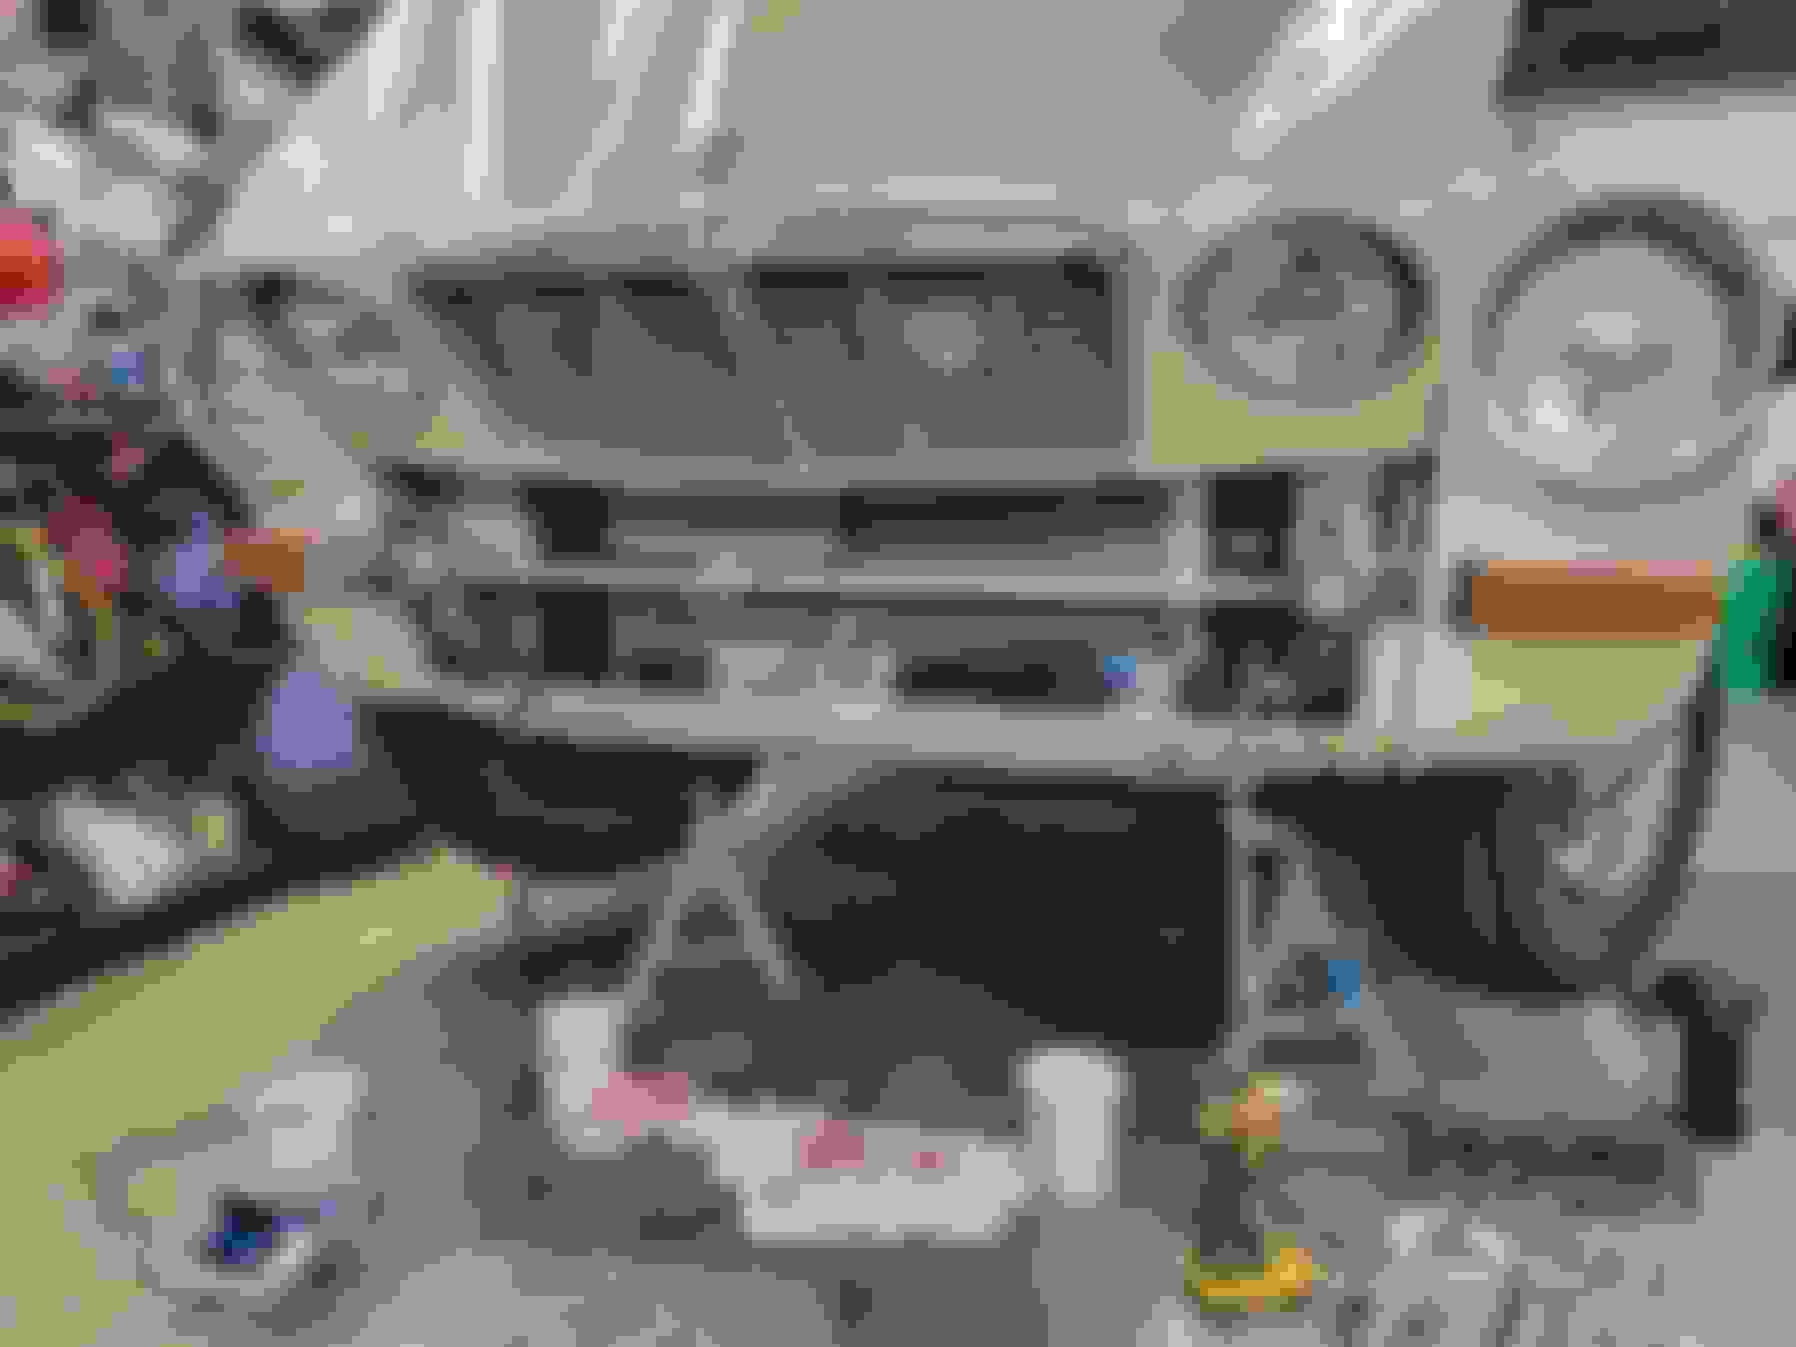
The front of the car is starting to look like I own stock in AN hoses. I don't but maybe I should. On the right side of the picture you can see the power steering fluid cooler with the new braided stainless teel line coming from the rack to the cooler. I expect that will take care of the last of my power steering leaks.
The engine oil cooler is on the left side with -8 AN hose going to/from it.
This looks like a lot up front but it's mostly hidden once the lower grill and front bumper are in place.
I was incredibly tempted to leave off the rubber bumper section and just leave the chrome bumper in place. But I didn't. I really wanted to though.
I've been struggling over the last few weeks to get the window tint done to a level I was happy with, and kept failing at reaching that goal. I was starting to understand why none of the tint shops wanted to touch my car.
I decided to make two changes to my approach. First, I went online and bought a roll of real window tint from a reputable company instead of using the stuff I found on Amazon. The "real" tint had better glue and also had a better shrink factor than what I was using before.
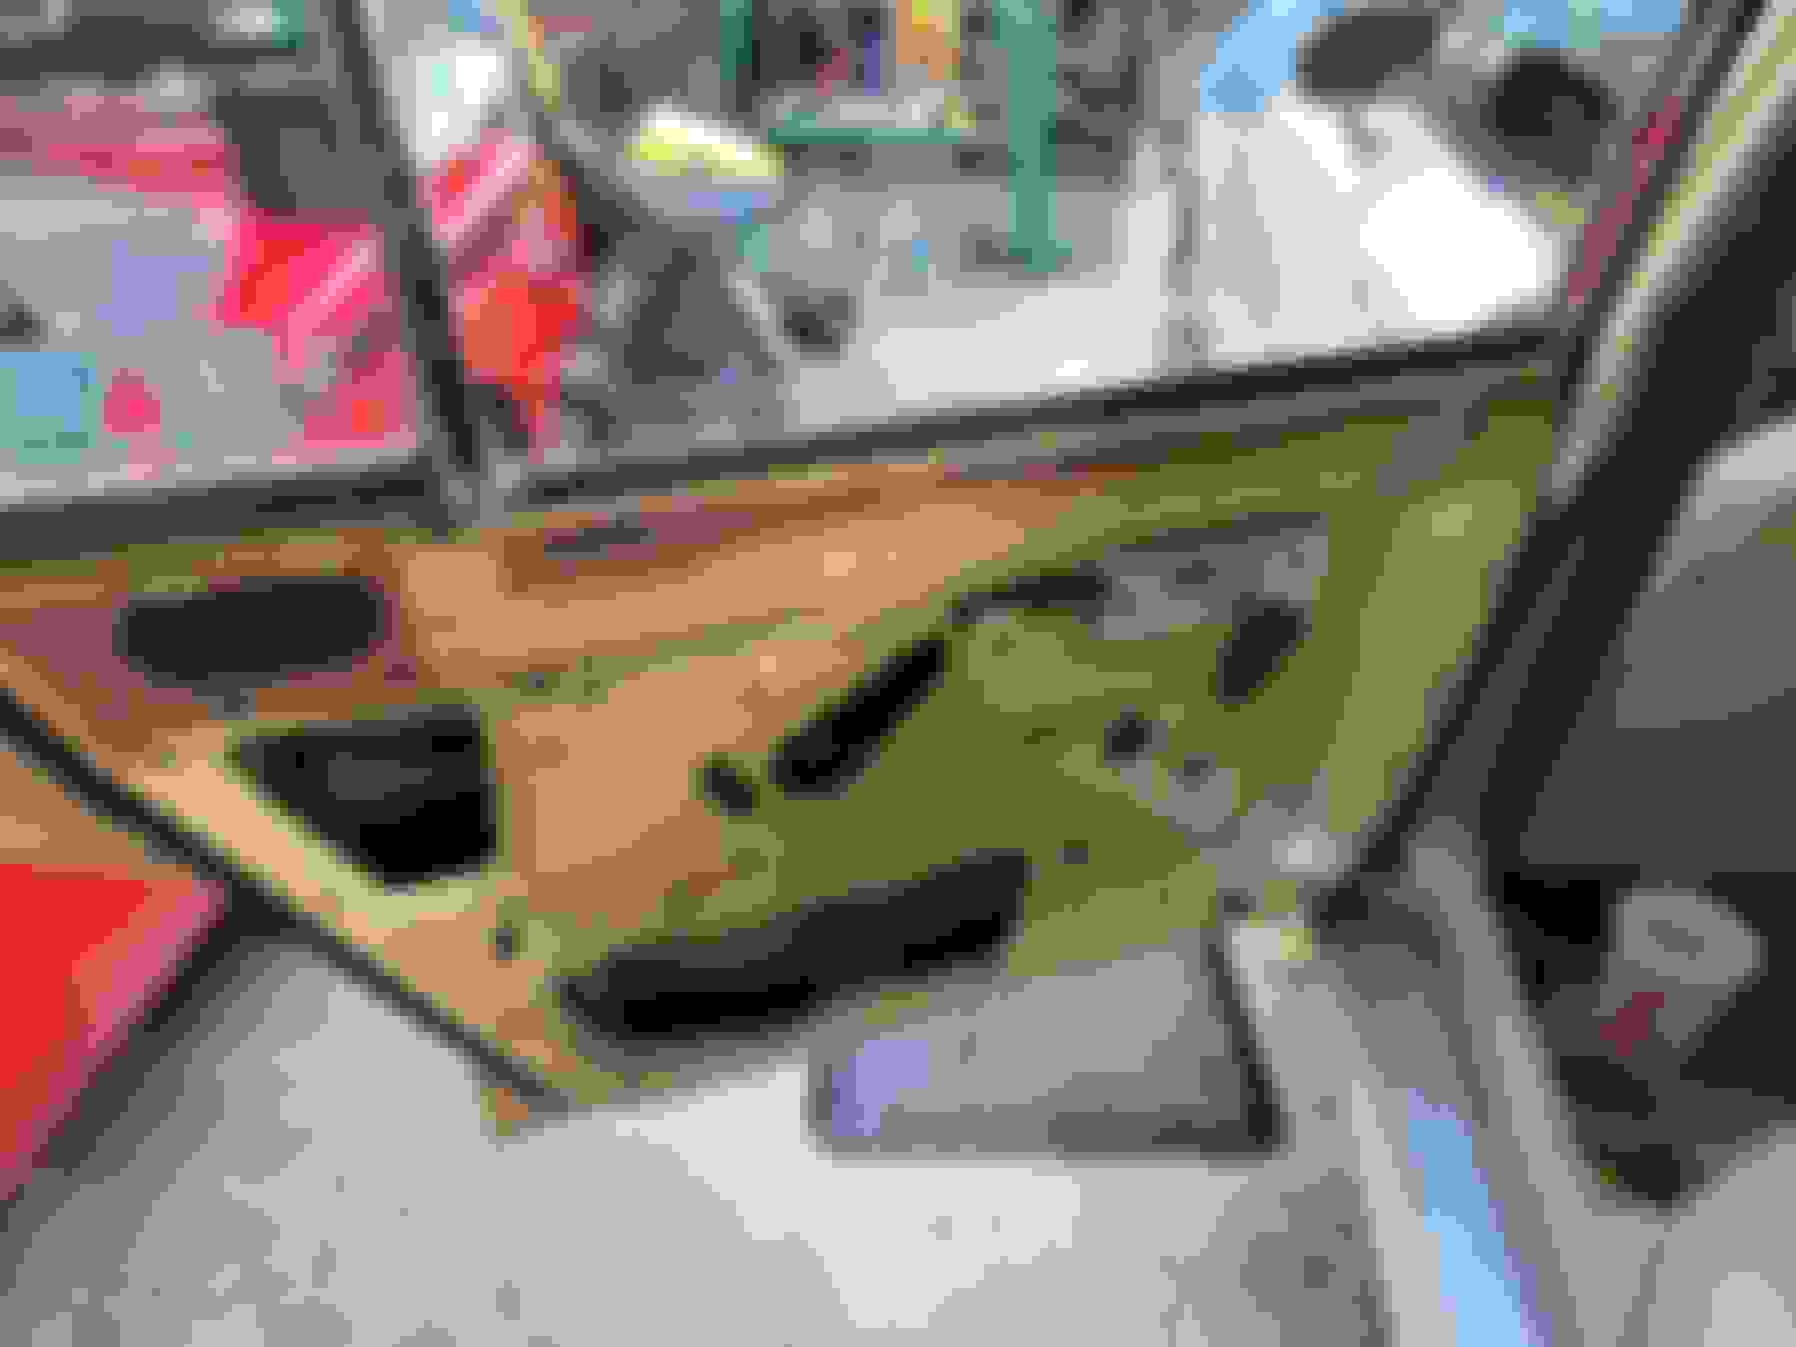
The other thing I did, that I really didn't want to, was to remove the door panels so I could take off the rubber wiper on the inside of the glass. About half the time I was getting hung up on the wiper. So off came the front door panel...
And the rear door panel. With those out of the way it was super easy to get the tint installed with no bubbles or creases.
While everything was off I took time to spray the door cavity with Fluid Film to keep rust away, as well as replace the missing vapor barrier on the doors. I'm using Killmat for the vapor barrier not to deaden sound, but the rubber backing makes a perfect weather seal and is easy to cut to shape.
I need to tweak the top left corner of the panel but tint is on with no bubbles or creases.
Tomorrow I'll flip the car around so I can repeat for the right side. Now that I've got my process down it should be easy.
As soon as you mentioned DIY window tinting you had my Rapt Attention!
Nix has Zero tint, as did all 70s cars out of the factory, and that has bothered me for the sake of the leather among other reasons. However, I had high hopes of Never removing the door liners ever again, as the gorillas who lined them with leather 40 years ago used too thick a hide, and I must hold my mouth just right to; a) get it back in place and b) keep it there until it's all buttoned up.
Even so, maybe this will be a Winter Project for the coming season.
(';')
When I did my research, 3M Ceramic IR tint seemed like the best product out there, but they only sell it to professional Tint shops. They don't want a DIY'er using it. I couldn't even get a tint shop to sell me a roll.
I went with Tint World's Premium Ceramic tint. At $250 for a roll it's not exactly cheap but a 100' will let me spread the cost over probably my next 5-6 project cars.
Having the right tools are important and there are plenty to choose from; here is
helped me the most. Another piece of advice is to be willing to learn from your mistakes. If it doesn't look right pull it off and start from the beginning. The final piece of advice is cleanliness is super important. You don't want any dirt or dust between the tint and the glass.
I had a chance to get the car out today and while it was only mid 80's hot, the tint made a big difference in reducing the amount of heat coming through the windows. I think tinting was a project well worth my time.
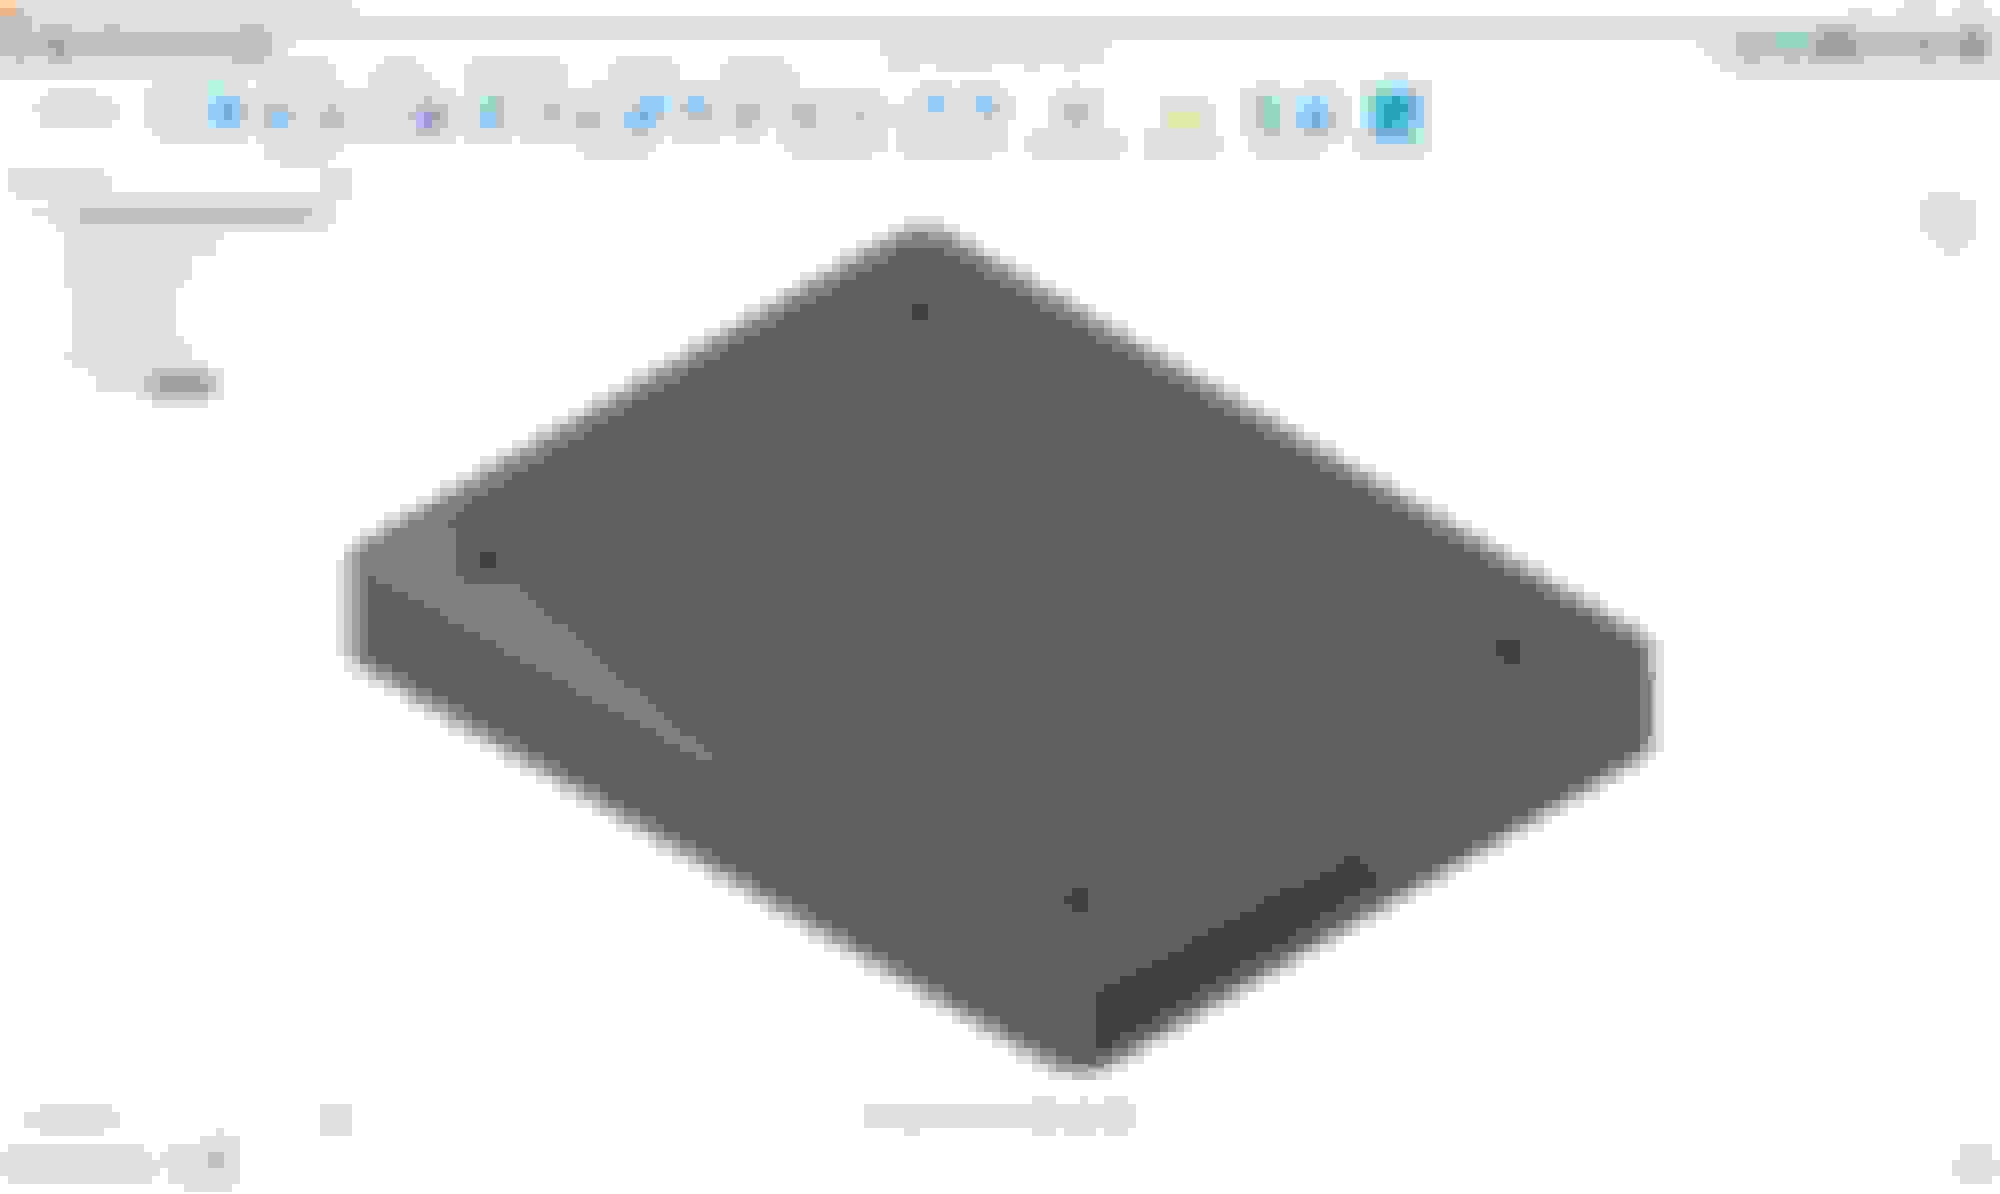
A few weeks ago I was under the car and noticed these four bolt holes on either side of the rear of the transmission tunnel. I'm not sure what they were for originally but on my car there was nothing there, so I fired up my CAD program and designed a plate to bridge those. It might provide a little rigidity to the chassis but the main reason I did it was to help support the driveshaft if a U-joint lets go.
With the hole spacing @ 5.5" x 7.5" it was easy to sketch.
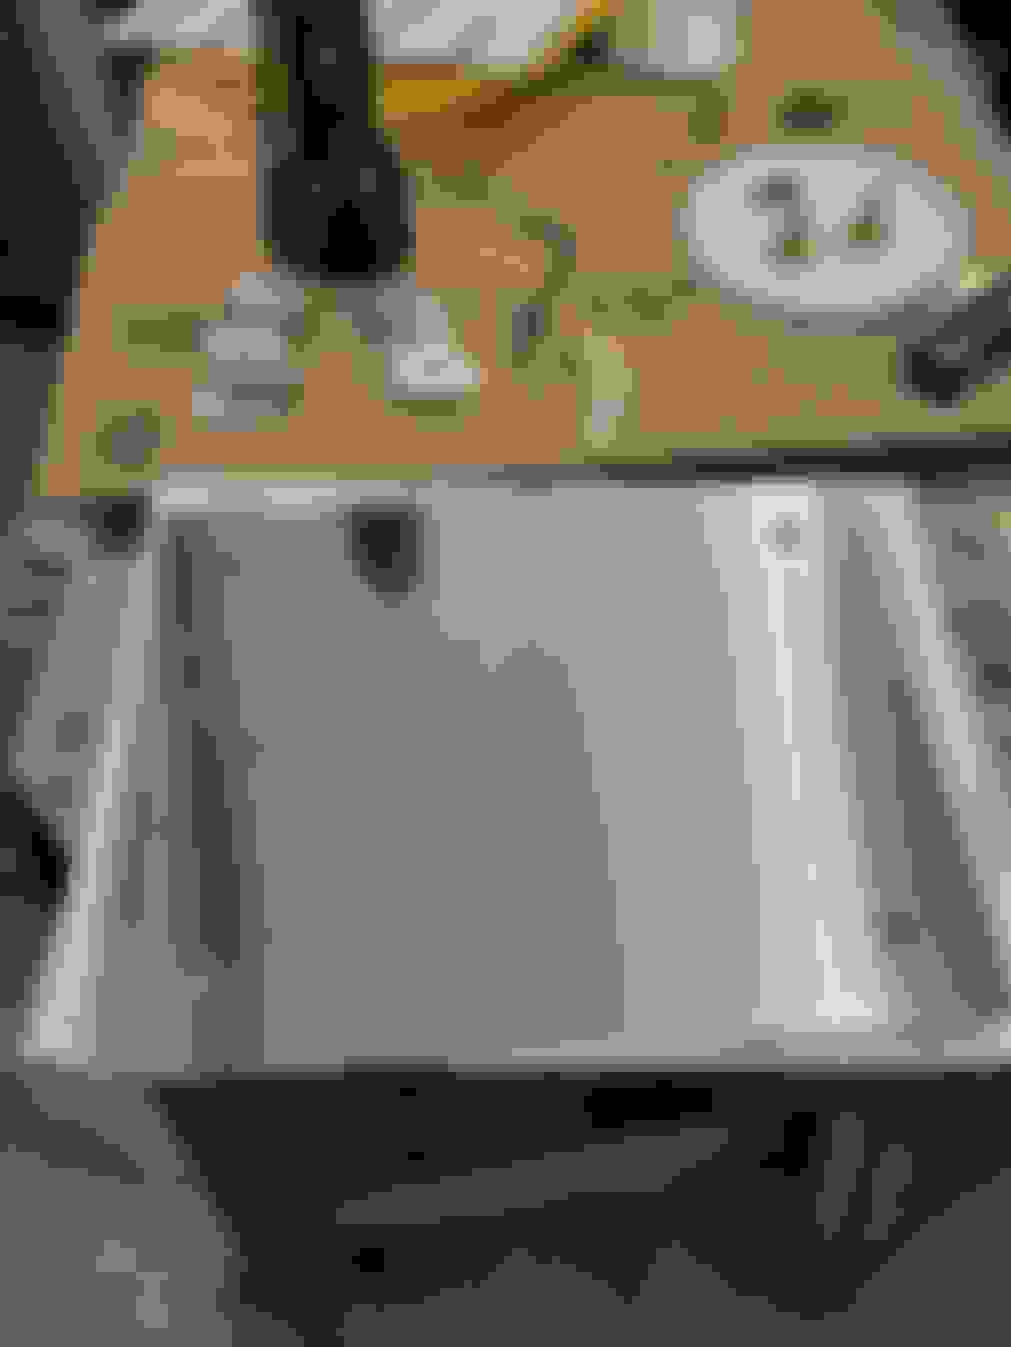
After that I sent it to the good people at SendCutSend who laser cut the plate from .125" 304 stainless steel.
I also had them cut some oval washers from .100" 304.
A test fitting showed it to be a perfect match.
The stainless would have been a good match to the exhaust system but I sprayed it with some satin black 2k paint to protect it. The washers got the same treatment.
There's over 1/2" of clearance between the driveshaft and the plate so I'm not concerned about it rubbing, but if it does the missing paint will let me know.
 05-14-2024, 08:43 PM