When you click on links to various merchants on this site and make a purchase, this can result in this site earning a commission. Affiliate programs and affiliations include, but are not limited to, the eBay Partner Network.
Thorsen
You probably know this, but there is a vac reservoir that needs to be connected to the inlet manifold and to the aircon unit, this may not be connected, may have perforated hoses, no one way valve, etc etc. It would be worth finding out where it is on your model; might be an easy fix!
You may be familiar with the attached from yuor XJS worjk, butn in case not.
Last edited by Greg in France; 07-21-2023 at 02:54 AM.
Thank you for the link @Greg in France . I printed it out and took it to the garage with me for reference. Going through the trouble shooting it was not long before I found reason #1 I had no vacuum at the heater valve - there was a split in a short section of tubing at one of the first vacuum tees.
I replaced that with a section of silicone vacuum hose and kept looking. It didn't take long to find reason #2 I had no vacuum at the heater valve.
I replaced that section with another piece of silicone vacuum hose and I now have vacuum at the heater valve.
Getting the fans to blow on high speed was a simple matter of cleaning all the terminals on the blower relay. They were heavily corroded but after cleaning we now have fully automatic fan speed.
After that I moved on to the fuel system. Whoever lumped this simply tee'd the gas tanks together and used the mechanical fuel pump on the front of the engine. It worked but was hardly an elegant solution. On top of that the fuel hoses looked to be original and I can't in good conscience run the car on those. So it was time too get busy.
All the hoses in the trunk were hard as a rock.
I'm using two Hardi fuel pumps. Here is one with 3/8" BSPP to -6 AN adapters.
Next up was a pair of -6AN to 5/16" hose barb 90� adapters.
I learned to use check valves after the pump but before the tee to keep the running pump from back-feeding the non-running tank.
Here is the right side tank and pump all plumbed up. Even though these fuel pumps are low pressure compared to a fuel injected setup, I always use the fuel injection hose clamps for piece of mind.
Here is the left side tank and pump as well as the tee. I also replaced the short section of fuel line between the tee and fuel filter. I took apart the fuel filter and there was no filter in there; luckily I had bought one anticipating it would need to be replaced. Whoever had lumped it was running a filter in the engine compartment right before the mechanical pump.
I put a filter up front "just in case". I'll run it for a couple tanks then take it apart and see if it's catching anything interesting.
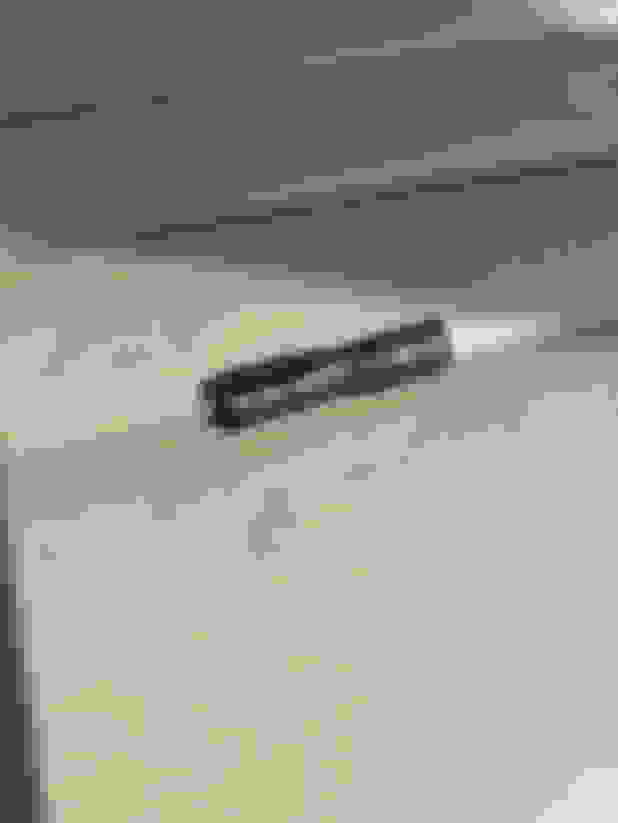
Last step was to remove the mechanical fuel pump and cover the hole with a blanking plate.
Tomorrow I'll put some gas in one of the tanks, check for leaks, and get it back on the road.
This morning I filled the fuel tanks and I am happy to report that there are no fuel leaks whatsoever.
The factory gauges were showing about 4,000 rpm at 70 mph and I had a hard time believing that, so I wired up a spare universal tachometer I have and turned on the GPD speedo app on my phone. I was happy to see that at a true 70 mph the engine was turning 3,000 rpm instead of 4.
I also made a decision today about the direction I am going to take this project. I bought this car with the dream of replacing the chevy 350 with a supercharged AJ16 engine. After finishing my research and talking to some people I have decided that making that engine function properly in this car is probably beyond my ability. I'm more than happy to build mounts or brackets but getting the wiring all sorted out and working correctly seems like a deep hole that would be hard to get through.
After thinking about what made my 1967 420 so special, I think it was the combo of a carbureted engine and a manual transmission. The short term plan is to keep driving and upgrading/repairing the car with the 350 but also keep an eye out for a Jaguar engine + manual transmission in my area.
Hell yeah, maing. Screw all that modern wiring horse hockey. I can't handle it. I bet you could figure it all out but learning that likely isn't how you want to spend your time.
Plus all that modern jazz just don't jive with the aesthetics of old cars.
This is a LWB car, no? I think they all came with V-12s...?
Last edited by David Lagonda; 07-23-2023 at 10:32 PM.
I decided to tackle the front end today. I can tell the toe on the front end is slightly out but before I had it aligned I wanted to address the rubber up front. I have some torn tie rod end boots...
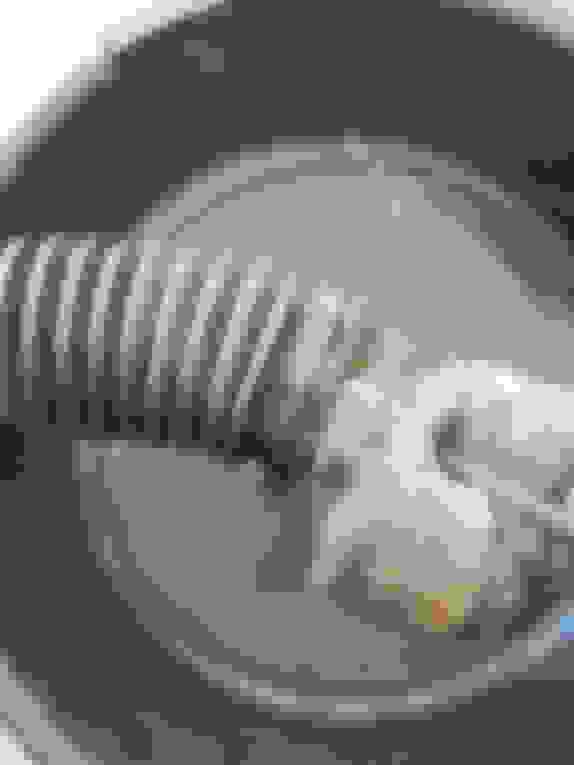
And the rack boots are in pretty bad shape.
The passenger side boot looks to bee dry rotted.
You can see someone put already poly rack bushings in here but I'll be replacing them as a matter of course.
I pulled out the power steering pump to replace the hoses. I'm also going to look at shimming the valve so it provides less boost.
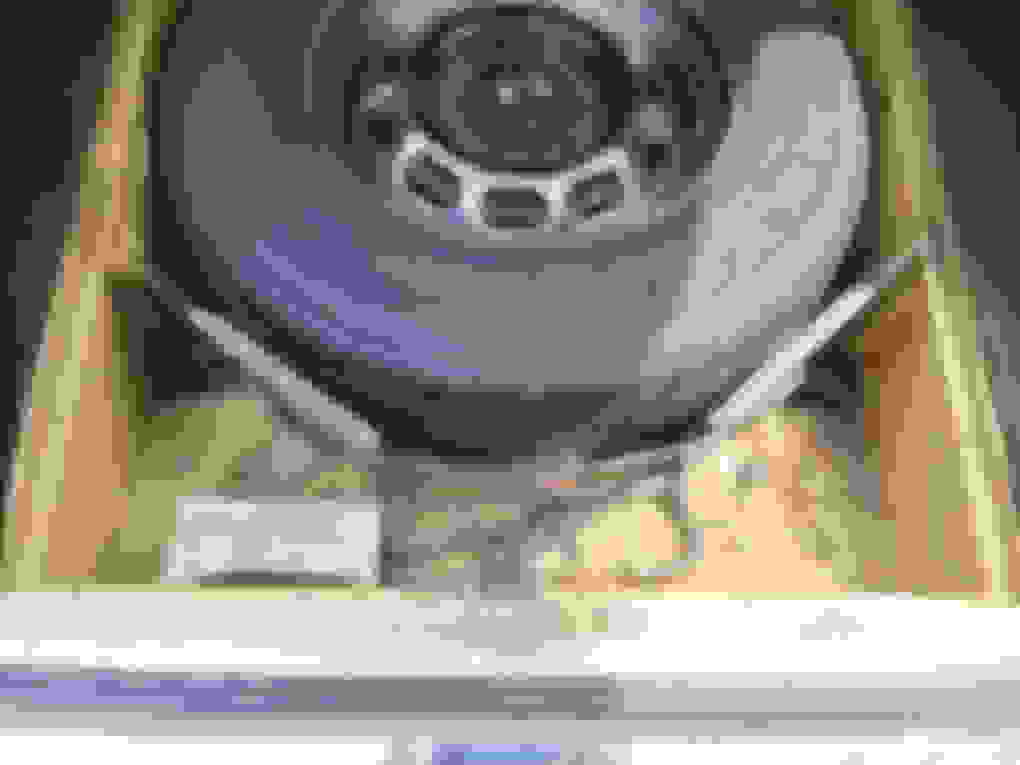
While I'm here I decided to replace the shock absorbers. These aren't worn out but they're a little tired and it's easy enough to replace them.
I was planning on rebuilding the steering rack but the UV dye I put in the fluid showed the rack was not leaking. There was some dripping from the hoses but the tower seal and the steering shaft seal were all dry and had no trace of dye. I'm usually tempted to tackle it anyway while I'm here but this time I'm going to let the sleeping dog lie.
With the old front shocks out of the way it's time to drop in a new set of Bilstein's.
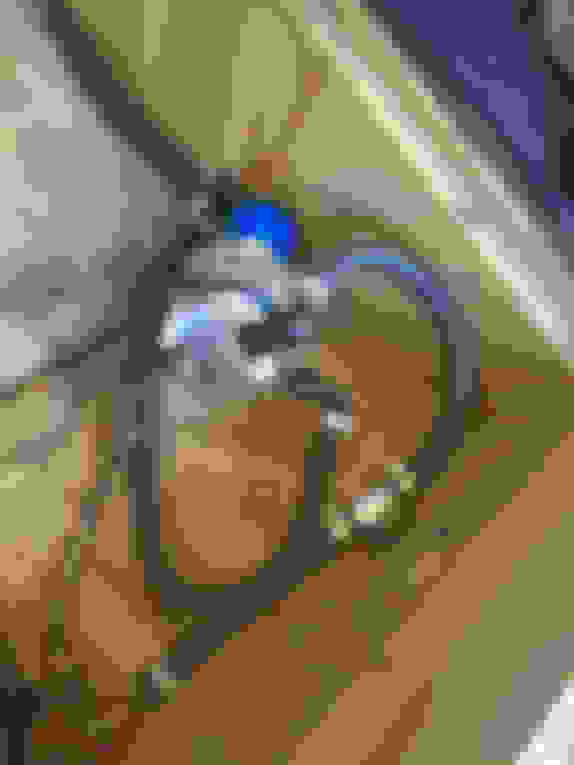
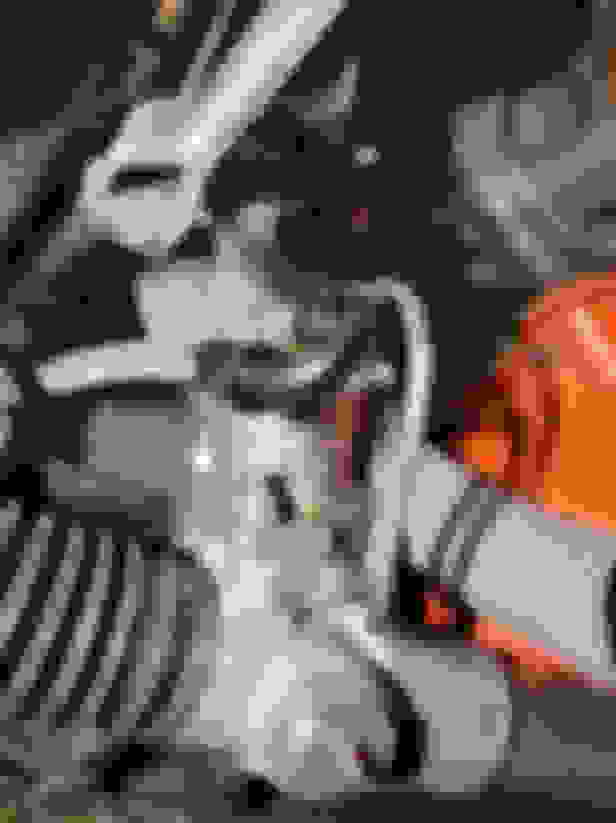
I also picked up some adapters so I can make new power steering hoses. Here's a 3/8" inverted flare to AN -6 adapter on the back of the power steering pump.
After that I'll be using a 90� AN hose end.
The braided stainless steel hose is good for 1,000 psi and if I ever need to replace it, it's easy enough to unscrew the ends and put in a new piece of hose.
Unfortunately I bought the "small" thread tie rod ends instead of the "big" thread ones so I am in a holding pattern until the correct ones arrive.
I've had company in town but I was able to complete re-plumbing the power steering rack. I'm happy to report that all my PS fluid leaks are now gone.
While working on the steering rack I noticed that the left hand exhaust pipe was touching the steering rack tower. That seems like a fairly unhealthy long-term proposition so I have immediately transitioned and put the exhaust system on the top of the list. The current plan is to replace everything - manifolds, pipes, mufflers, and exhaust tips. I'll be using stainless steel for everything after the manifolds.
I bought them from Summit Racing but they are commodity bits and any local speed shop should have them.
To start the high pressure line I used one of these on the back of the pump and one on the rack. 5/16 AN to Inverted Flare.
To make the high pressure hose, I screwed this hose end onto the adapter on the back of the pump and this hose end onto the adapter in the rack. From there I cut the braided hose to the right length and installed the hose ends.
For the low pressure line out of the rack I started with one 3/8 AN to Inverted flare.
For the low pressure hose I screwed this coupler onto the adapter in the rack and followed it up with a
. I used 3/8" power steering hose with clamps to make the return line. I would have preferred the return line to be braided steel too, but the back of the pump has a hose barb brazed on and I didn't want to change that out.
The large lever transmit the pull of the handbrake lever to a cable that pulls on the parking brake.
Tonight I made up for a lost weekend in the garage. I decided on the best way to route the exhaust past the steering rack but it puts it right in the way of the oil filter. There's a good way around that but we'll talk about that later.
I pulled all eight spark plugs tonight and was surprised that the right side of the engine only had the spark plugs in hand-tight. I'm not sure what that was about.
The next step in the exhaust replacement was removing the old system. Tonight the left-hand side of the system got yanked out.
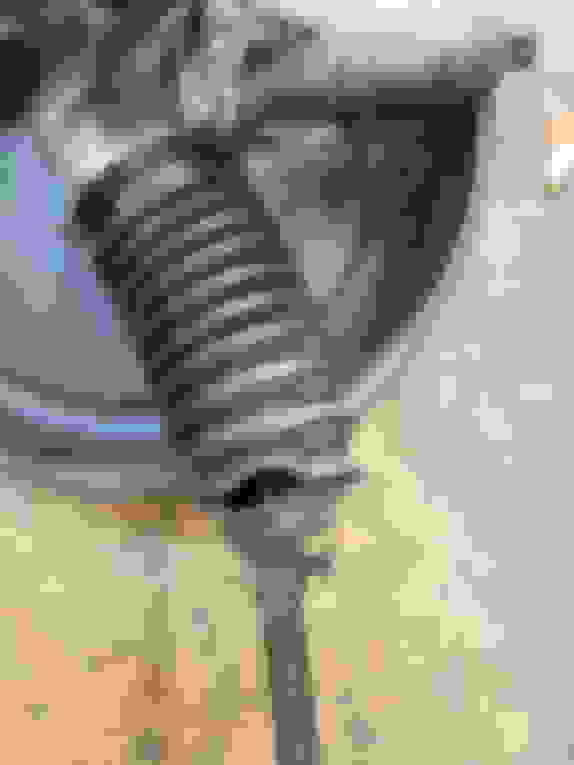
Removing the springs/shocks made it easier to remove the exhaust system, and since it was time for new shocks anyway it was a good time to replace them. The old shock was chucked up in the spring compressor so I could replace the shock.
EDIT - the shock/spring were just resting on the compressor in this shot. Before compressing I fully moved the spring so the lip of the compressor pad engaged the spring.
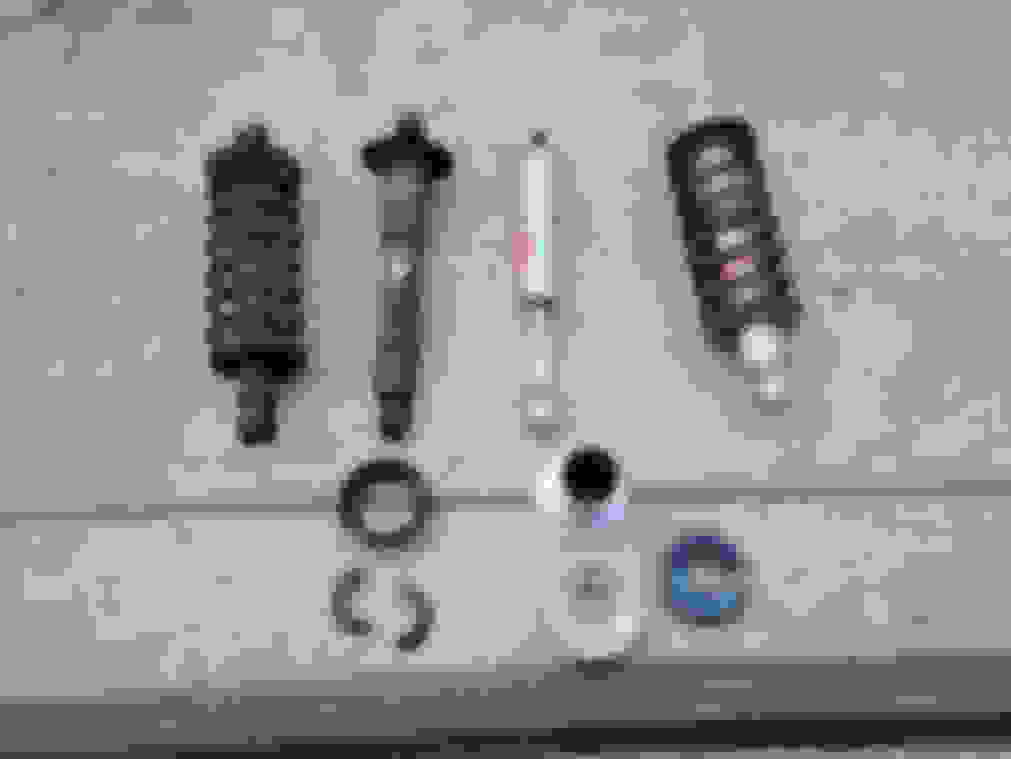
One down three to go. On the left is a shock/spring assembly as removed from the car. The second item in is an old shock without the spring. You can see the bottom spring mount and collets at the bottom. The third item is a new shock without the spring showing the top mount, the bottom mount, and the locking plate. The last item is a new shock with the old spring assembled and ready to go.
The last thing I did tonight was to troubleshoot what I perceive to be poor performance from the engine. Timing was set correctly and the tanks are full of 93 octane premium, but after examining the throttle cable I learned that the cable is not fully opening up all 4 barrels. That's an easy fix.
I'm loving reading this thread although it's making me feel slightly inadequate. It is, however, motivation that as soon as we can move back into our house and remove all the furniture from the garage, I'll be doing this sort of exhaustive run-through on the XJ6.
I 100% agree with you Peter. Do you happen to have a spare one under a tarp in the corner of your garage somewhere?
Actually, I have a good series 3 fuel injected 4.2 engine sitting in my workshop, but there's a lot of water between us and I am hoping to put the head on the old 3.4 block in my Mk2. If there were an easy way of getting them across the ocean, I know someone in England who seems to have an endless supply of 4.2 engines.
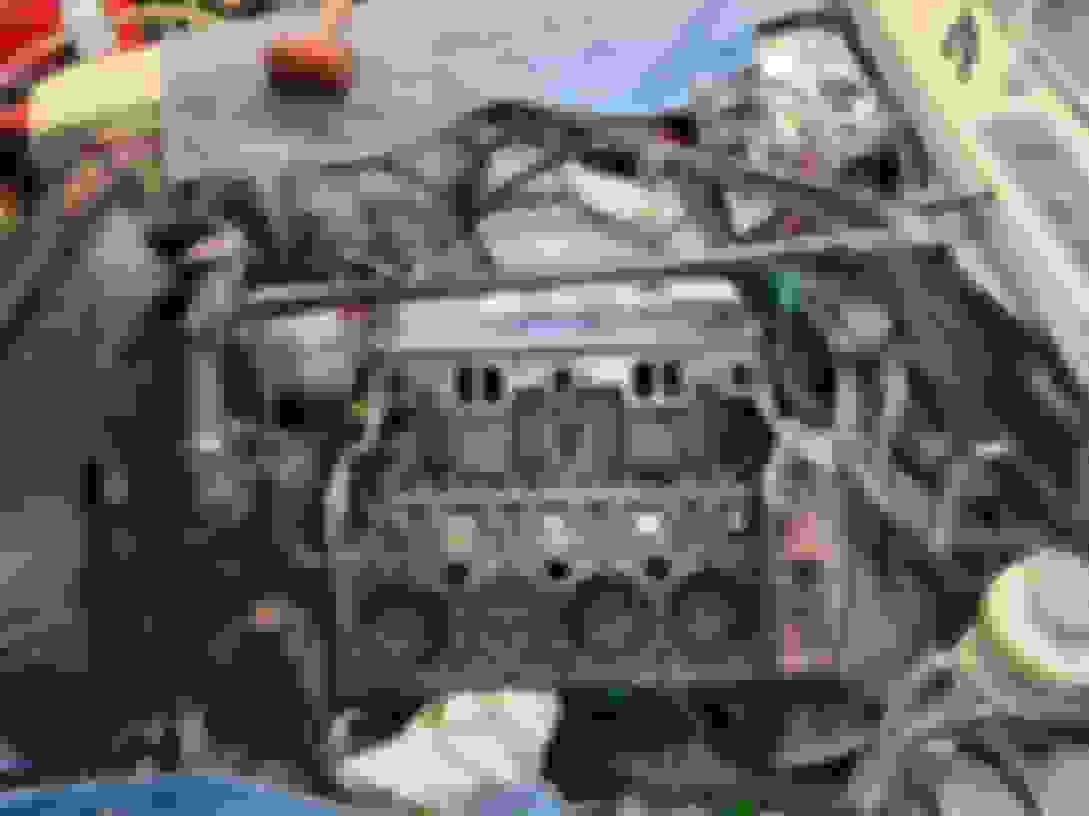
With the exhaust manifolds off the car and the spark plugs out, it only made sense to check the compression. And the results were not pleasant.
Squirting oil into the cylinders did not improve the situation, so I did the only thing I could do. I started pulling the heads.
I did the old trick of filling up the exhaust ports with acetone and blowing compressed air around the exhaust valve - only to be greeted by a stream of bubbles coming out the exhaust port. Luckily I have a good machine shop around me that rebuilds the heads for about $200 each.
While that is a reasonable price (and quite honestly the route I will take) I couldn't help but open the Summit catalog and see what goodies they have. Did you know you they make CNC ported cylinder heads? I was not aware that was an option but they start at about $900 for an assembled head. I bet those flow nicely but someone else will have to be the guinea pig on those.
I'll pull the right head tomorrow so I can get them to the machine shop - and then decide if I'm going to pull the block and have them work their magic on it too.

 07-21-2023, 02:51 AM