When you click on links to various merchants on this site and make a purchase, this can result in this site earning a commission. Affiliate programs and affiliations include, but are not limited to, the eBay Partner Network.
After thinking about my options and consulting with Andrew at @JaguarSpecialties I called the machine shop and told them to stop the work on my 350 block/heads and picked up a 5.7L LT1 and 4L60e transmission from a 1996 Camaro with only 61k miles. This puts me exactly where I wanted to be with this project - close to 300HP and an overdrive transmission.
After thinking about my options and consulting with Andrew at @JaguarSpecialties I called the machine shop and told them to stop the work on my 350 block/heads and picked up a 5.7L LT1 and 4L60e transmission from a 1996 Camaro with only 61k miles. This puts me exactly where I wanted to be with this project - close to 300HP and an overdrive transmission.
More to come as soon as this lands in my garage!
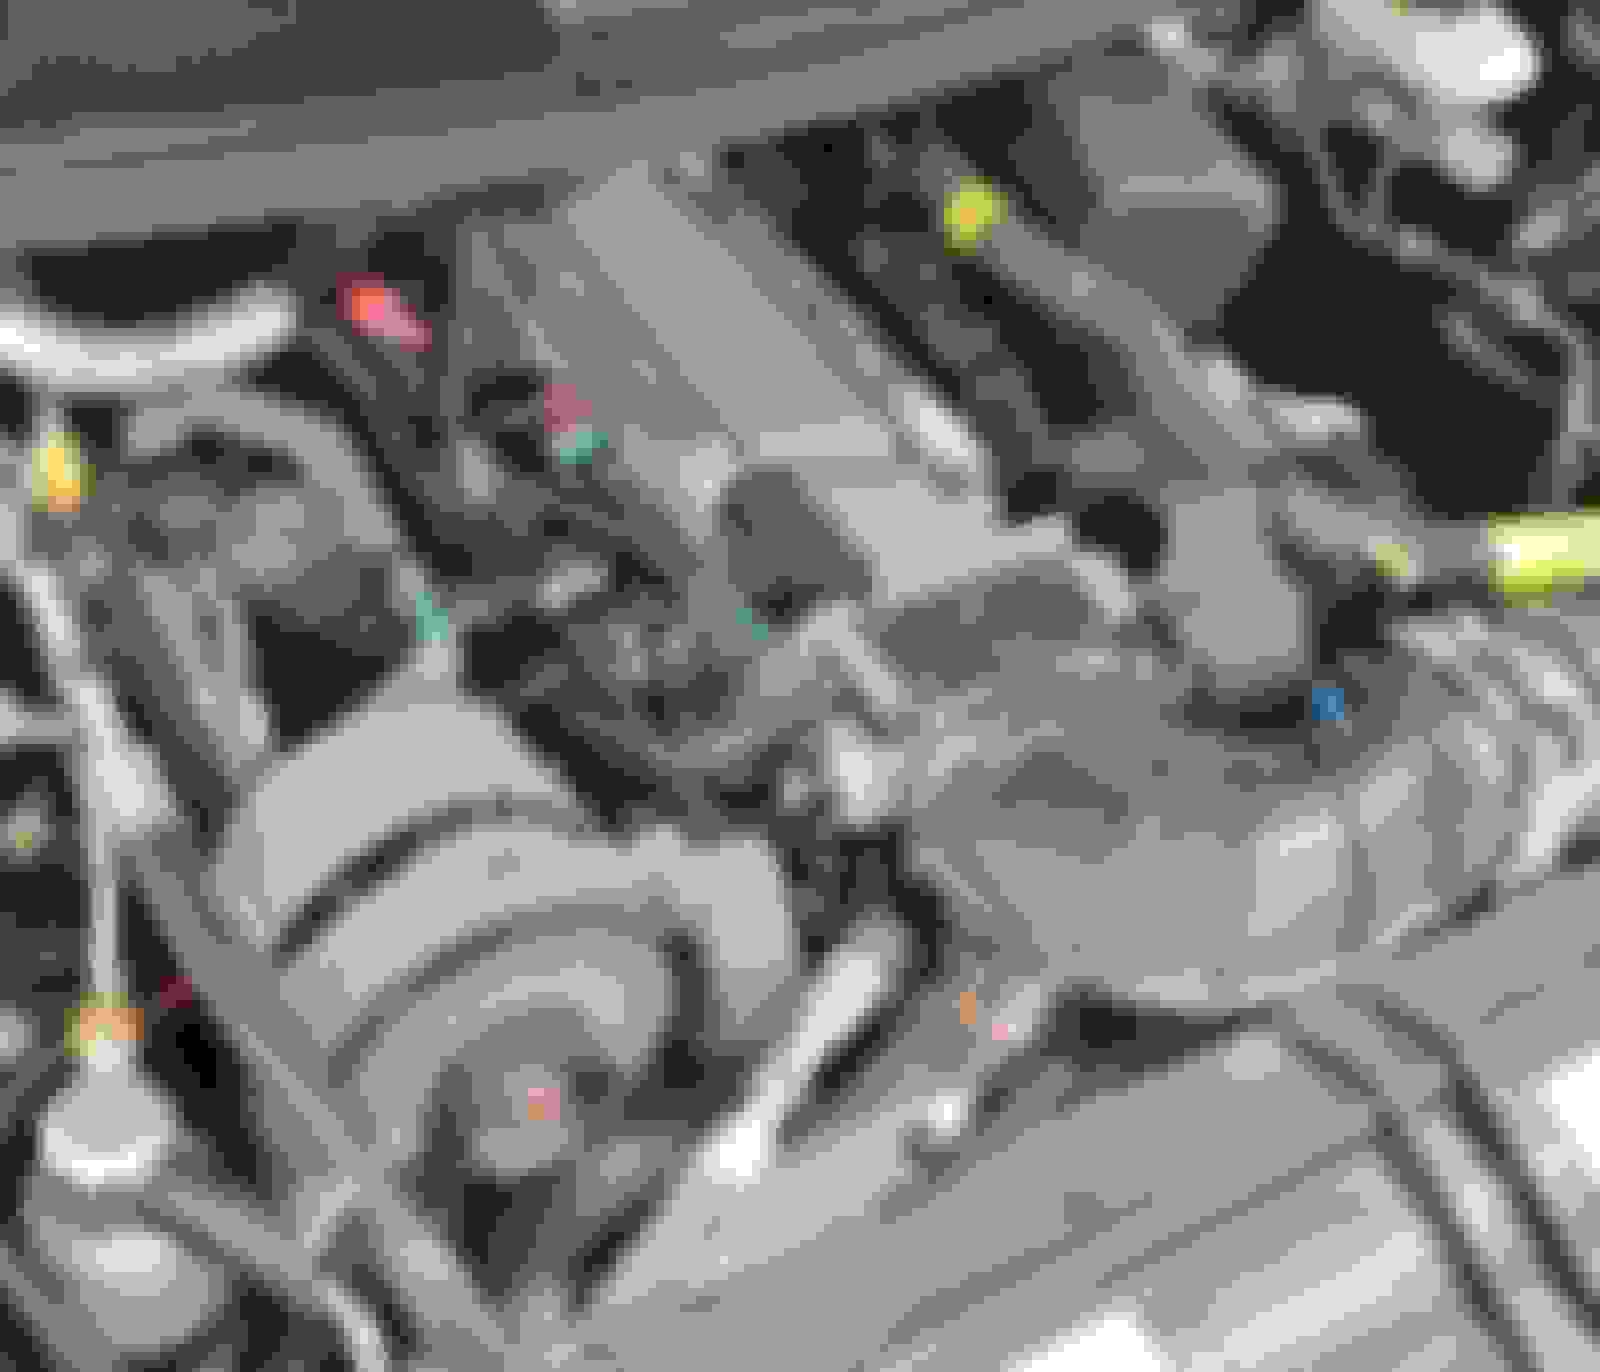
Be sure to get the PCM and engine/trans wiring harness with your combo.
If you look at it from just the horsepower standpoint - I believe the LS motors are more powerful. Same for aftermarket support - the LS motors win.
If you look at it from the value perspective, the LT motor starts edging ahead.
I paid $4k for the 1996 LT1 engine and 4L60e transmission with 61k miles.
The same company was selling a 1998 LS1 and 4L60e transmission with 173k miles for $4,500.
The 1996 LT1 has 275-300hp and 340 lb-ft of torque.
The 1998 LS1 has 305-310hp and about 350 lb-ft of torque.
I think part of the price difference is the "LS everything movement". I didn't know much about the LT motors until I started researching. I honestly thought it was a Light Truck v8 for the Silverado or something. So at the end of the day it comes down to what's most important to you.
Tonight I started working on the wood. I was lucky that the veneer was mostly in good shape. I start with striping off the old finish, very lightly sanding the veneer, then slowly building up several coats of polyurethane. When I get 5 coats on I lightly sand to smooth it out, then put on a few more coats. Once I get the level of gloss and depth I want, I polish the wood with my buffer then wax it. It's a slow process as I like to get 24 hours between each coat, but the result are worth it at the end.
Whoever converted my car from Jaguar power to a Chevy cut off the factory engine mounts and welded in new mounts. To mount the LT1 I need to use the factory mounts, so I'm replacing the front subframe. The front brakes need a little love while I'm here though.
Somebody got their money's worth out of the front dust seals. They turned to powder when I pulled them off.
Calipers split in half for cleaning.
The pistons could probably be cleaned up but new ones are a safer bet and they're easy to find.
After a trip through the sand blaster, a couple coats of paint, a modest Jaguar decal (that no one will ever see), and a few coats of clear to protect it all.
Next up was removing the front springs. We've all heard the horror stories and I leaned heavily on this thread to make mine. Shoutout to @icsamerica for post #18 in that thread. Another shoutout to @LT1 jaguar for this post which I heavily copied.
It's not often that I'm a belts-and-suspenders guy, but I also ran 3 3/8" high-strength steel rods as a just in case.
Safely uncompressed. The spring came down about 5-6".
I'll sand-blast the spring pans and hit them with some 2k paint so no one has to worry about them again.
I'm just using outdoor spar urethane but I'm going to look at the Waterlox.
I've used it a lot and highly recommend. Very easy to work with and much more durable and nicer finish than Spar Varnish. ...imho
Calipers look great! Funny, I just did the same thing this week... I wasn't going to admit I did this but I was going to put a good clear coat on them and that blank space was just calling for some hooning. (pic didn't show up)
I am curious to hear the group's opinion. On the front cradle I am replacing the rear vee mounts and will likely replace the large bushes at the front of the cradle, too. The swaybar bushings and end links are dry rotted and need to be replaced too. The upper and lower inner a-arm bushings still look fine and since I am unbolting the pivots from the old subframe and moving them to the new subframe - do I replace the upper and lower inner a-arm bushings? And if yes - do I go with the polybush bushings or the Jaguar rubber ones?
When I did mine a couple years ago, the top wishbones were OK, but it was the Lowers that bit the dust as they were some cheap "this-will-work-long-enough-to-get-past-warranty" and promptly rotted in place after 3 years.
I have been told by some of our Gurus that the bushings are actually part of the suspension system and Poly bushings are OK for racing, but for true classic ride you need original rubber. Not just any old rubber either as they Might last you 3 years if you drive the car or not.
I put Poly on the trailing arms at first because I didn't know any better, but didn't like them as they were quite harsh. Metalastic feels Much better. Problem might be getting them though, as the Only place I know of that even carries them is David Manners Group in UK. Talk to Jack Weston whose direct number is (011 44 121 5431629). Their website is quite useless I have found.
Anyway, you asked for opinions and that's mine.
(';')
I am curious to hear the group's opinion. On the front cradle I am replacing the rear vee mounts and will likely replace the large bushes at the front of the cradle, too. The swaybar bushings and end links are dry rotted and need to be replaced too. The upper and lower inner a-arm bushings still look fine and since I am unbolting the pivots from the old subframe and moving them to the new subframe - do I replace the upper and lower inner a-arm bushings? And if yes - do I go with the polybush bushings or the Jaguar rubber ones?
Thomas,
I replaced all the bushings in the front and back. I used stock rubber pieces at the vee mounts and large front mounts. I used poly bushings on the sway bar (upgraded to 1"), end links, upper and lower A-arms inner pivots, and the small end of the rear control link. The lower inner bushes can be a bear (mine were) to replace, I would replace them all now to save the trouble later when everything is back on the car.
As Elinor says, the poly's transmit a lot more road "irregularities" (I can feel a dime when I run over it), but they give the steering response an Indy car quality. Don't forget to change the rack bushes to poly also, as well as replacing the ball joints. It mostly depends on what kind of ride and steering response will make you comfortable.
 09-05-2023, 03:26 PM