When you click on links to various merchants on this site and make a purchase, this can result in this site earning a commission. Affiliate programs and affiliations include, but are not limited to, the eBay Partner Network.
I went with Genuine Jaguar rubber for the front and rear subframe mounts as well as the trailing arms on the rear sub frame.
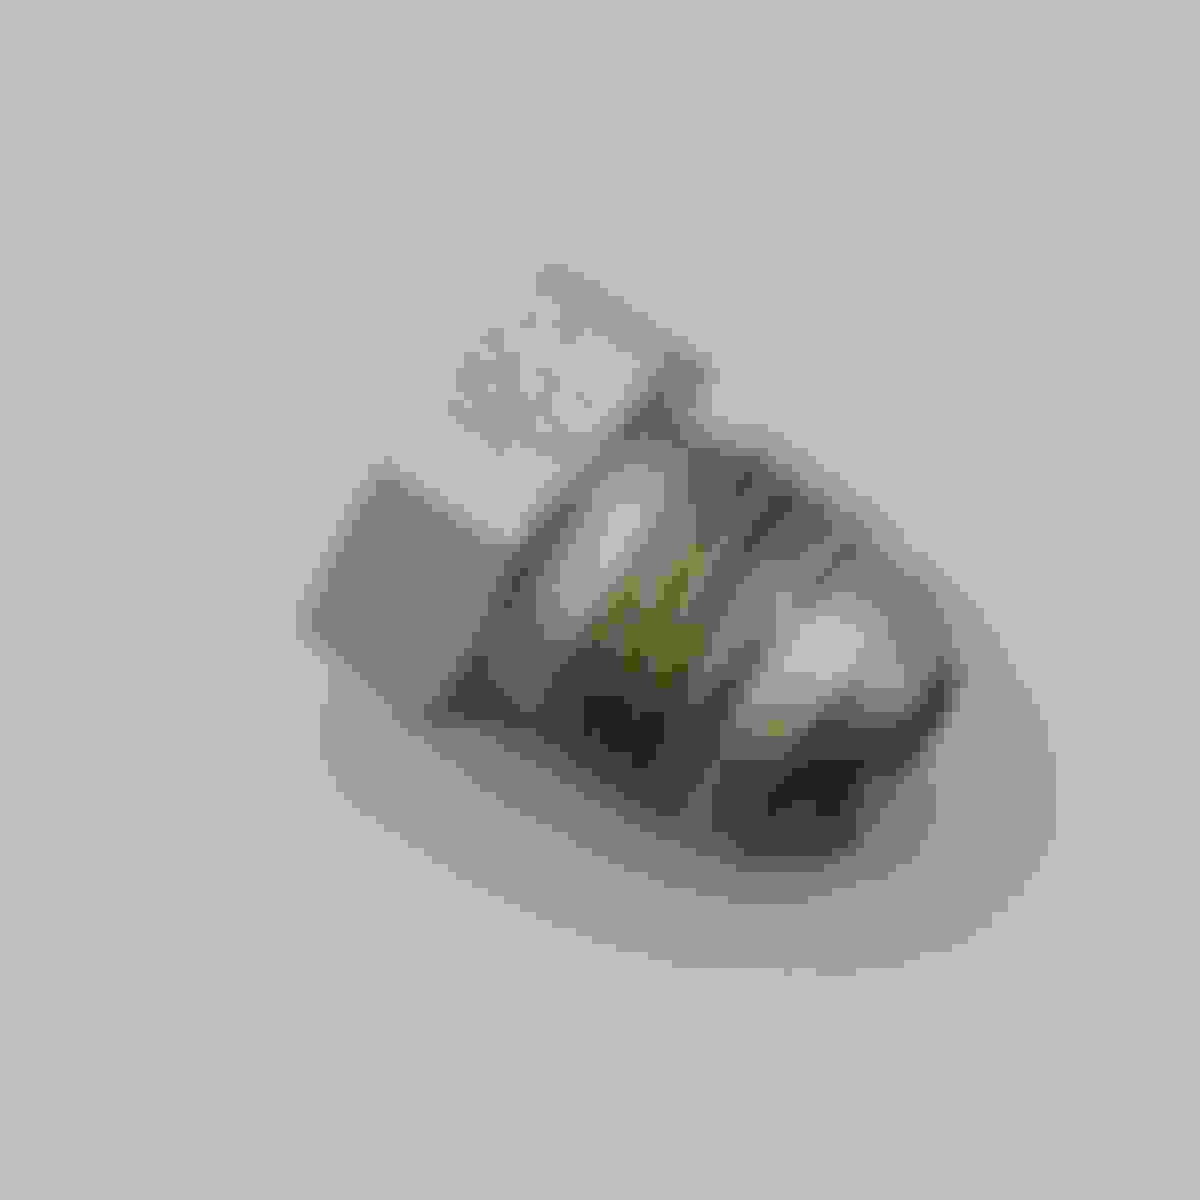
I remembered that I put SuperFlex bushings on my MGB and was very happy with the comfort level as well as the longevity. They were a very close match to the comfort level of the rubber bushings I had before. I know you can get poly bushes that are softer or harder but SuperFlex specs theirs as "suitable for road to fast road use" which is exactly what I am going to do. So I ordered the upper and lower inner inner wishbones, as well as both the anti-roll bar to body and anti-roll bar end link bushings. I'm expecting to get the same result from these as I got from the ones on my MGB - a comfortable ride with great longevity.
I did the poly steering rack bushings a few months ago so I am good there.
You will love the power that lt1 puts out! In addition to getting harness and pcm, try to get the rest of everything, get the under hood fuse block, and if possible the radiator and fans!!!
oh and remember, the s57( if applicable for your year) is going to be your best friend!!! When I did this swap it took me a while to get it started, there are wires from ignition switch that although hot in the run position are not hot when cranking!!!
Tonight the original cross member ended up on the work stand and I began disassembly - but only the right side for now. I'll keep the left side intact so I can refer to it later if needed.
I also got the rear end off the ground and got a closer look at the rear hub bearings. This is the left side but the right side is only slightly better. I have new inner and outer fulcrum rebuild kits on the way - I might as well go all the way while I'm here.
So I am looking for advice for those who have gone down this path before. My car was originally carb'ed so has the tanks for carburetors. My goal with switching to a fuel injected engine is to keep both tanks operating independently. Bonus if I have 2 fuel pumps.
My plan is to have a a 6 port Pollak valve in the trunk. I can have a fuel pump for each tank pushing through the Pollak valve, or I can use a single fuel pump pulling through the Pollak. I've never used one of the Pollak valves so I'm not sure which option is best.
The return gets a little complicated. It will be plumbed though the Pollak valve so it goes to the correct tank but I don't have a fuel return on my current tanks. Do I replace the tanks with S3 tanks that have a fuel return? Do I add a fuel return to my existing tanks?
I am planning on running new -6 feed and return lines under the car to eliminate any potential issues with the original fuel line. I'll use AN fittings to terminate the ends.
Lastly - how durable are the Pollak valves? Will I have issues with cross-bleeding into the wrong tank? Is there a better brand I should be looking at?
Thomas,
I did a little research on this valve when I contemplated changing out the Jaguar change-over valve. I think the brand is reputable and it is a purpose-built valve, so I think it would work fine. The only thing I saw in the installation instructions was the 65psi maximum fuel pressure. The LT1 will regulate at 43psi at WOT, but an S3 pump (for example) will build maybe 80-100psi against a plugged fuel line. I think I made this a sticking point when in reality it shouldn't be, I don't see why that valve wouldn't work.
I don't know anything about the fuel pump(s) on a carbureted Jag, but they are most likely rated at a much lower pressure than will be needed for the LT1. From reading the Forum for a few years, I think the S2's may have had fuel injection and two in-tank pumps-could be wrong. In any case, you will need another pump that's capable of 45psi plus a good excess margin. The S3's with one external pump make life easier, I think. As for a return line, I would think a hose nipple could be brazed in the same spot as on S3 tanks and you could keep your original tanks.
I think your plan to use AN fittings is a good one, I did that as well.
Why does disaster always strike when you're so close to the end? While removing the lower fulcrum shaft from the right side a-arm the head spun right off the shaft. I let the bushings soak for a day in penetrating fluid but I guess it wasn't enough.
I ordered 2 new shafts but now I have to fight these out.
I was able to remove the fulcrum shaft by clamping on two sets of Vice-Grips and using the 24" pry bar. It actually gave up the fight pretty easy.
After several weeks of taking things apart, today was a day to start cleaning and painting so everything can come back together. This is the anti-roll bar mounts, front tie-downs, and the passenger side spring pan and A-arms after being sand-blasted clean then picking up a couple coats of 2k satin black paint. I debated powder-coating these but I thought the 2k paint would be durable enough for the intended use.
Today was also the day the passenger side brake caliper got reassembled. I lined my vice with a couple towels to protect the paint.
After installing new seals, pistons, and dust boots...
And new grade 8 bolts to hold both halves together. I'm really a big fan of zinc yellow chromate plated hardware.
There's always some discussion on the MGB boards if you should split the caliper halves. The rebuild kit comes with new o-rings to seal the halves together so I don't loose sleep over splitting them.
Another controversial topic - painting the swept area of the brake rotors. I do it because the brake pads wipe off the part they touch after the first drive around the block. After that - you don't have to worry about the rotor rusting.
I also cleaned the wheel hubs and gave them a light coat of paint.
Bolted together once again.
The rest of the passenger side hardware got sand-blasted and a couple coats of 2k paint. Below are the rotor dust shields, lower shock mount, anti-roll bar link mount, clips to hold the dust shields, and spring pan.
After pulling the tanks, I realized the question of the fuel return to the tanks was a somewhat easier problem to solve than I expected. In the picture below you can see the feed from the tank on the right, and a plugged port on the left.
I'm thinking about using the port on the left for the return line. The problem being that it's a odd-ball size 1/2-24 and I spent a good hour looking for an adapter fitting and came up fruitless.
Incredibly frustrating but since I'm going with new tanks, I picked up a couple weld-on bung fittings that I'll weld to the new tank and have a standard fitting.
I ran a piece of weed-eater line through that hole and learned the other end is located near the filler cap. I'd have preferred it to be submerged and while this is not ideal - I think it's still workable.
The good news is that there is already a hole in the body for the return line so that's one less thing to worry about.
I had a long week at work that kept me out of the garage but tonight I was able to get back to it. Back on Labor Day - way before I knew I was going with an LT1 - I took advantage of Speedhut's holiday sale and picked up a new set of gauges including a GPS speedometer. This will make it easy to not have to worry about calibrating the speedometer.
My dash still needs a final sand and polish but I couldn't resist seeing how well they fit.
My new fuel tanks came in this week and they fit well in the fenders.
I found some adapters that eliminate the need for me to weld bungs on the tanks. The adapter on the left converts the fitting to 1/4 NPT and the one on the right converts the fitting to -6 AN.
I took a 2' section of -6 aluminum tube, put a 37� flare on it, and slipped on a tube sleeve and nut.
I put a slight bend in the tube and I have the left side feed started.
Next up was cleaning up the new front subframe I got. The old sub frame had the Jaguar mounts cut out and what I think to be some home brew mounts welded in; this subframe has the factory Jaguar mounts intact which the LT1 adapter brackets will bolt to. After cleaning it got a couple coats of 2k paint to protect it.
Looking from inside the fender you can see the tow bracket I cleaned up and painted as well as the new bolts I sourced to mount the front of the subframe.
A new set of Jaguar mounts up front and back. And of course my traditional zinc yellow-chromate hardware.
Although I'm saving all the hardware I replace in case the next owner wants it, I really struggle to re-use the dirty/worn fasteners.
[QUOTE=Thorsen;2680849]I had a long week at work that kept me out of the garage but tonight I was able to get back to it. Back on Labor Day - way before I knew I was going with an LT1 - I took advantage of Speedhut's holiday sale and picked up a new set of gauges including a GPS speedometer. This will make it easy to not have to worry about calibrating the speedometer.
Going on memory here, so I cokld
be totally making this up, but I don�t think I am, when I first got my lt1 running and drove around block, it threw a vss code, wire from pcm to gauges for Speedo needs some resistance, as it wasn�t hooked to anything it threw the code! I had no clue, I even bought a new vss, and problem persisted, someone over on the ltxtech website told me what was going on, once I hooked up the adapter I was all good! Not sure if your gps Speedo will cause any issues, just trying to give you a heads up.
Darren
Today was a pretty frustrating day. The goal was to get the rear suspension out and mission accomplished. Except the front bushings of the trailing arms are stuck to the body.
Then after disassembling and cleaning the cage I found a crack. I'm shopping for a new one but worst case scenario is I weld this up.
And to add further insult to injury, the driver side wheel hub just fell out of the hub carrier. I'm guessing that's not a good thing and I suppose I get to replace bearings now.
Going on memory here, so I cokld
be totally making this up, but I don�t think I am, when I first got my lt1 running and drove around block, it threw a vss code, wire from pcm to gauges for Speedo needs some resistance, as it wasn�t hooked to anything it threw the code! I had no clue, I even bought a new vss, and problem persisted, someone over on the ltxtech website told me what was going on, once I hooked up the adapter I was all good! Not sure if your gps Speedo will cause any issues, just trying to give you a heads up.
Darren
If you picked up the PCM/wiring harness with your '96 LT1 and transmission, the VSS function is in the PCM, nothing to replace. Plug the transmission harness into the connector and the PCM will translate the speed of the output shaft (ratio is 4000:1 I believe). The PCM will then send a signal to the speedo (check your GM wiring diagram for the wire color). Then you will need to adjust the input to your after market speedo to translate the PCM output. With your GPS speedo I can't help you, maybe it's a complete stand-alone gauge relying only on GPS information.
Yesterday was a pretty frustrating day but today was a new day and it was time to move forward. I started by welding up the crack and then decided to add a 3/16" reinforcing brace along the back edge.
This should help spread out some of the stress the cage experiences.
The last time I had a Jaguar IRS rear cage apart was on my XJS project. Back then I took the pieces to my powder coater and had him sand-blast and coat them and while it looked fantastic, it was also a lot of money for something under the car that rarely gets seen. Since this has already been a budget buster I cleaned this one up and sprayed it with 2k paint satin black paint.
Next I moved on to the left side hub. This one had a fair amount of slop. The outer fulcrum grease zerk was missing and I think I now know why there was so much play.
This photo would make a great "Don't forget to lube your chassis" ad
After cleaning up the parts I found the inner bearing easily slipped on/off the hub. I think it's supposed to be a press fit which would explain why the hub just flopped out of the hub carrier. I have new bearings on the way and I'll wait to see if the new bearing fits any better before I order new hubs.
I pulled the outer bearing race off the hub today. It came off relatively easily with the right tools.
All done.
I'm not a super big fan of the Jaguar fuel senders and since both of mine need to be replaced I want to try something different. But first I needed to see how much room I had between the top of the tank and the bottom of the fender so I grabbed some clay and made a tower. It comes out to about 1.5"
More to come on this idea later.
Thorsen, in post #81 you mentioned getting original jaguar front and rear subframe mounts, where did you find these? On the mainland or across the pond?
Thorsen, in post #81 you mentioned getting original jaguar front and rear subframe mounts, where did you find these? On the mainland or across the pond?
I bought them from Jaguar Classic Parts. Not cheap but it's a buy-once-cry-once kind of deal.
The good news is that the prices are in British pounds so you don't know how much you're spending. I'm kidding. Kind of.
My SuperFlex poly bushes arrived today. These were a good choice as you can squish them in your hand like a rubber bushing but they offer the longevity of a poly bushing. The arrival of those marked the start of reassembling the front right suspension assembly. First up was bolting in the new lower ball joint.
I wasn't able to get very far as the new lower ball joints did not come with lock nuts so I ordered some that will arrive in a few days.
After much debate, discussion, and second-guessing I finally made a decision on how I wanted to handle the fuel system. My new plan is to use the stock low-pressure fuel pumps to feed a surge tank and the high-pressure fuel pump in the surge tank will feed the engine. I looked at the Edelbrock EFI sump and while that is a convenient solution I did not like that it was basically a black box - there's no information about replacing the pump. I also felt it lacked redundancy.
So I shopped around and found this surge tank which can mount one or two Bosch 044 style pumps that the company is happy to sell you. I liked that it comes with AN fittings and I like the dual fuel pumps. I was on a road trip last year in my 1967 420 and the right side fuel pump quit; after I realized what the problem was I just used the left tank tank & pump until I could replace it. So while not an every day occurrence, I like the redundancy of the Jaguar fuel system so I'm not stuck in Eastabuchie Mississippi. The only thing I did not like was the price.
with a surge tank without pumps that is much more reasonably priced. I'll be able to use the dash switch to select the left low pressure pumping fuel from the left tank into the surge tank where the "left" high pressure pump will feed the engine. Switching to the right tank / right low pressure pump / right high pressure pump will be done from the dash switch. It's slight more complex than having one pump suck through the Pollack valve but I can live with that. I also like that the Amazon sump comes without pumps so I can buy the ones I want to.
 09-13-2023, 09:49 AM


 - painting the swept area of the brake rotors. I do it because the brake pads wipe off the part they touch after the first drive around the block. After that - you don't have to worry about the rotor rusting.