When you click on links to various merchants on this site and make a purchase, this can result in this site earning a commission. Affiliate programs and affiliations include, but are not limited to, the eBay Partner Network.
Thorsen
I have just been reconnected with the world having lost all telecoms through a lightening strike for a month.
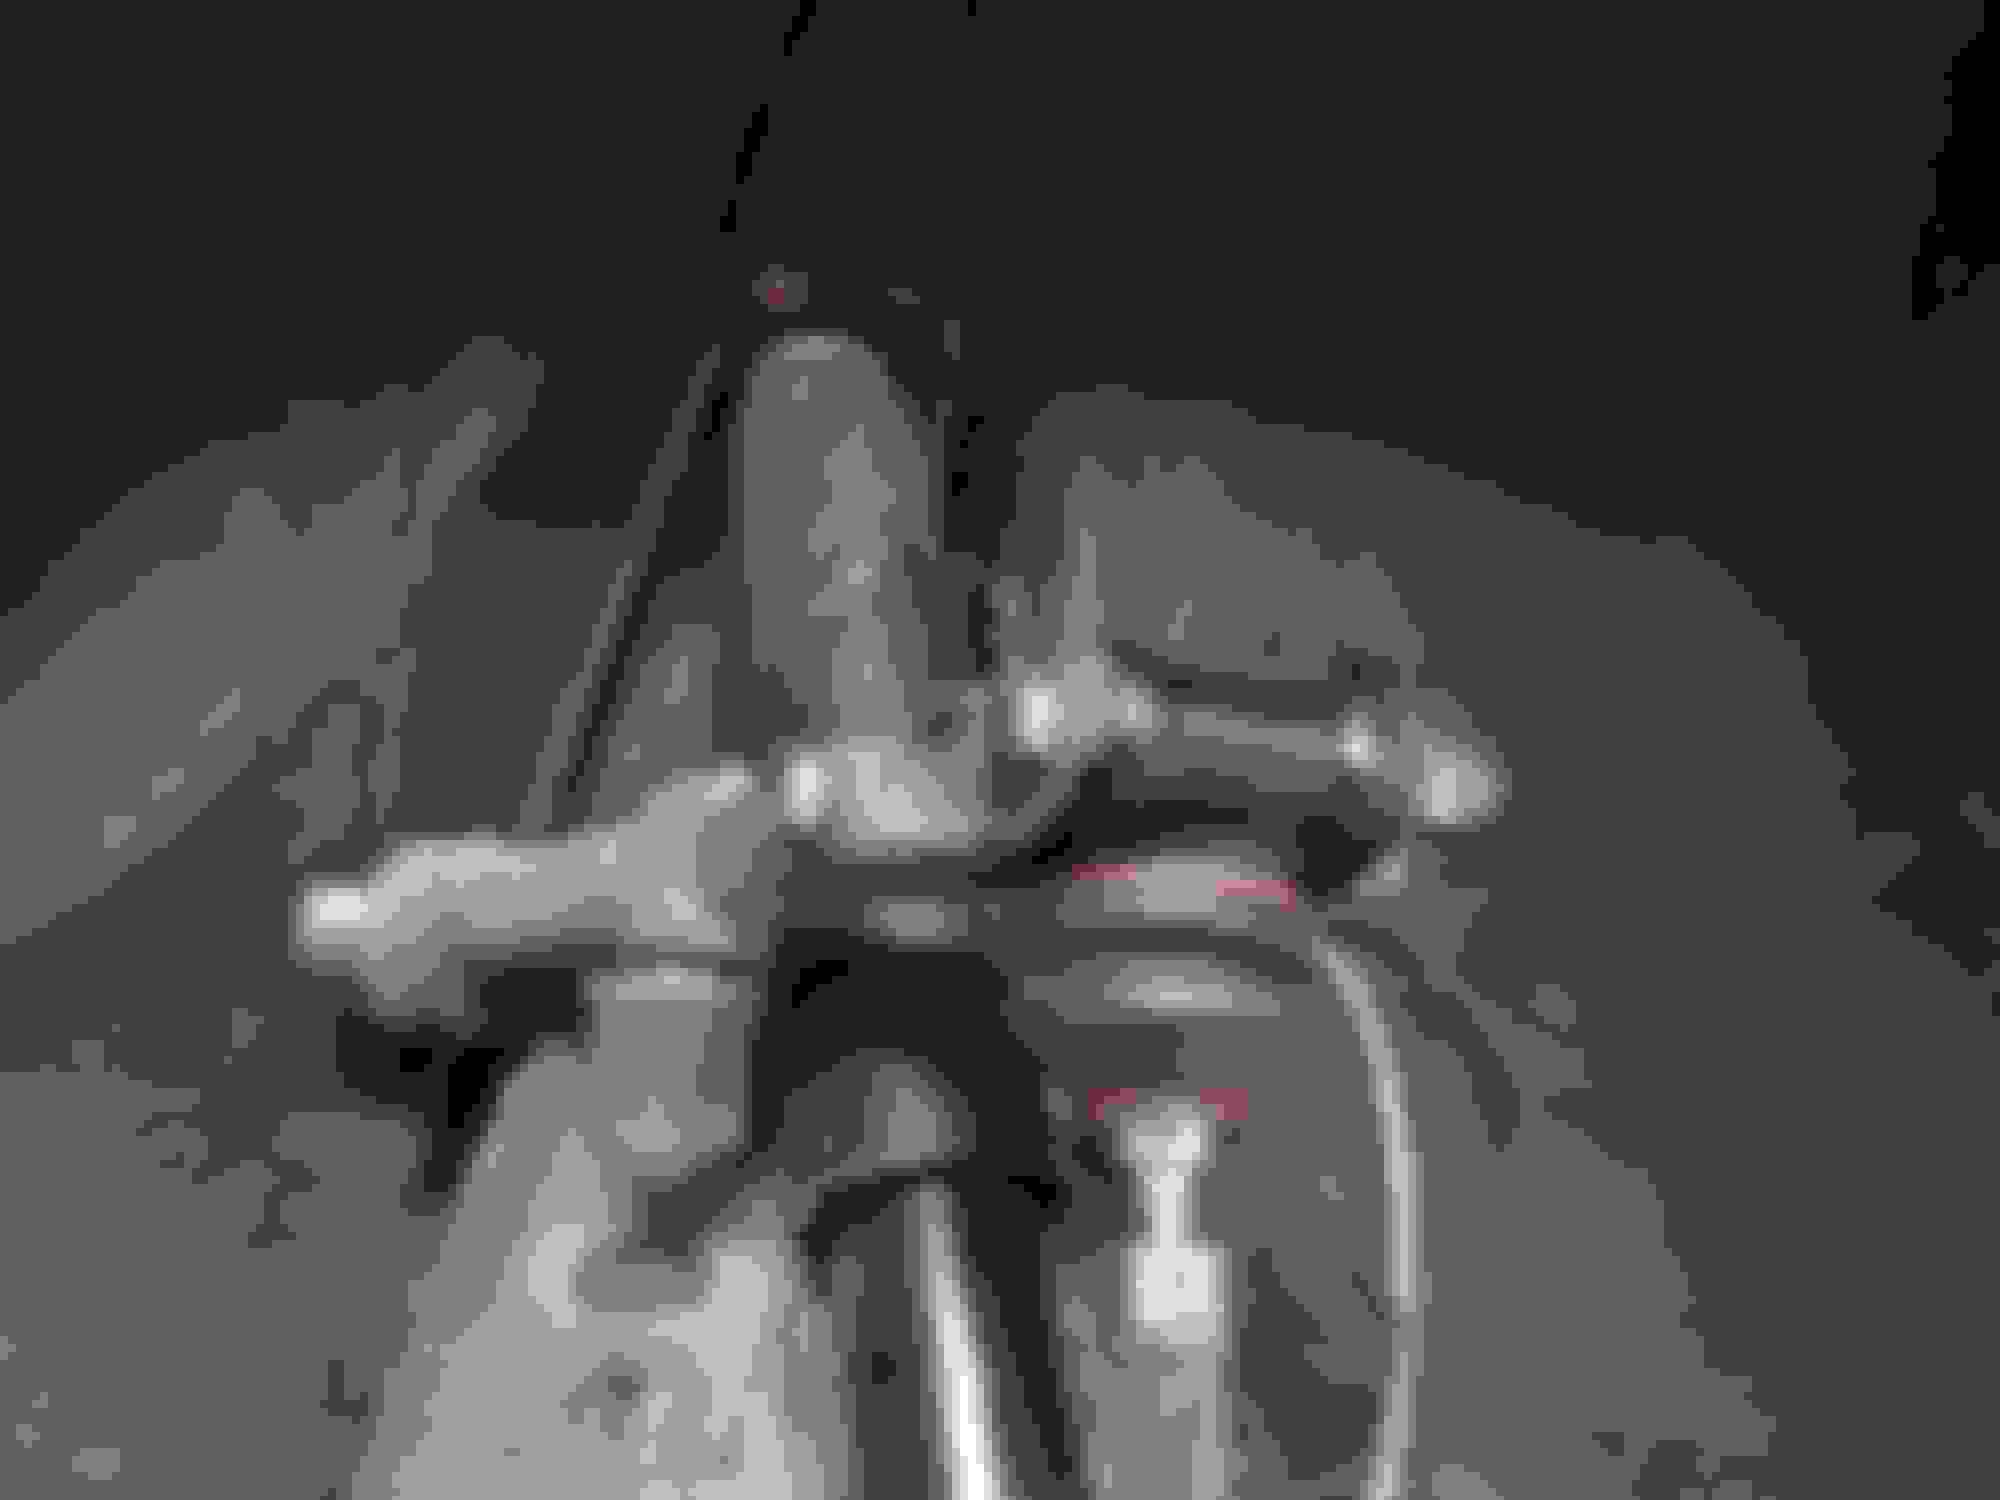
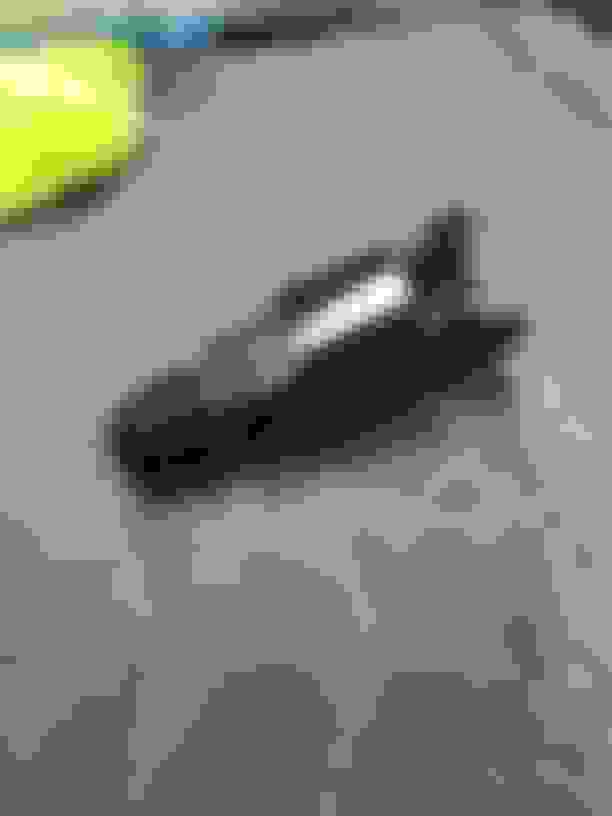
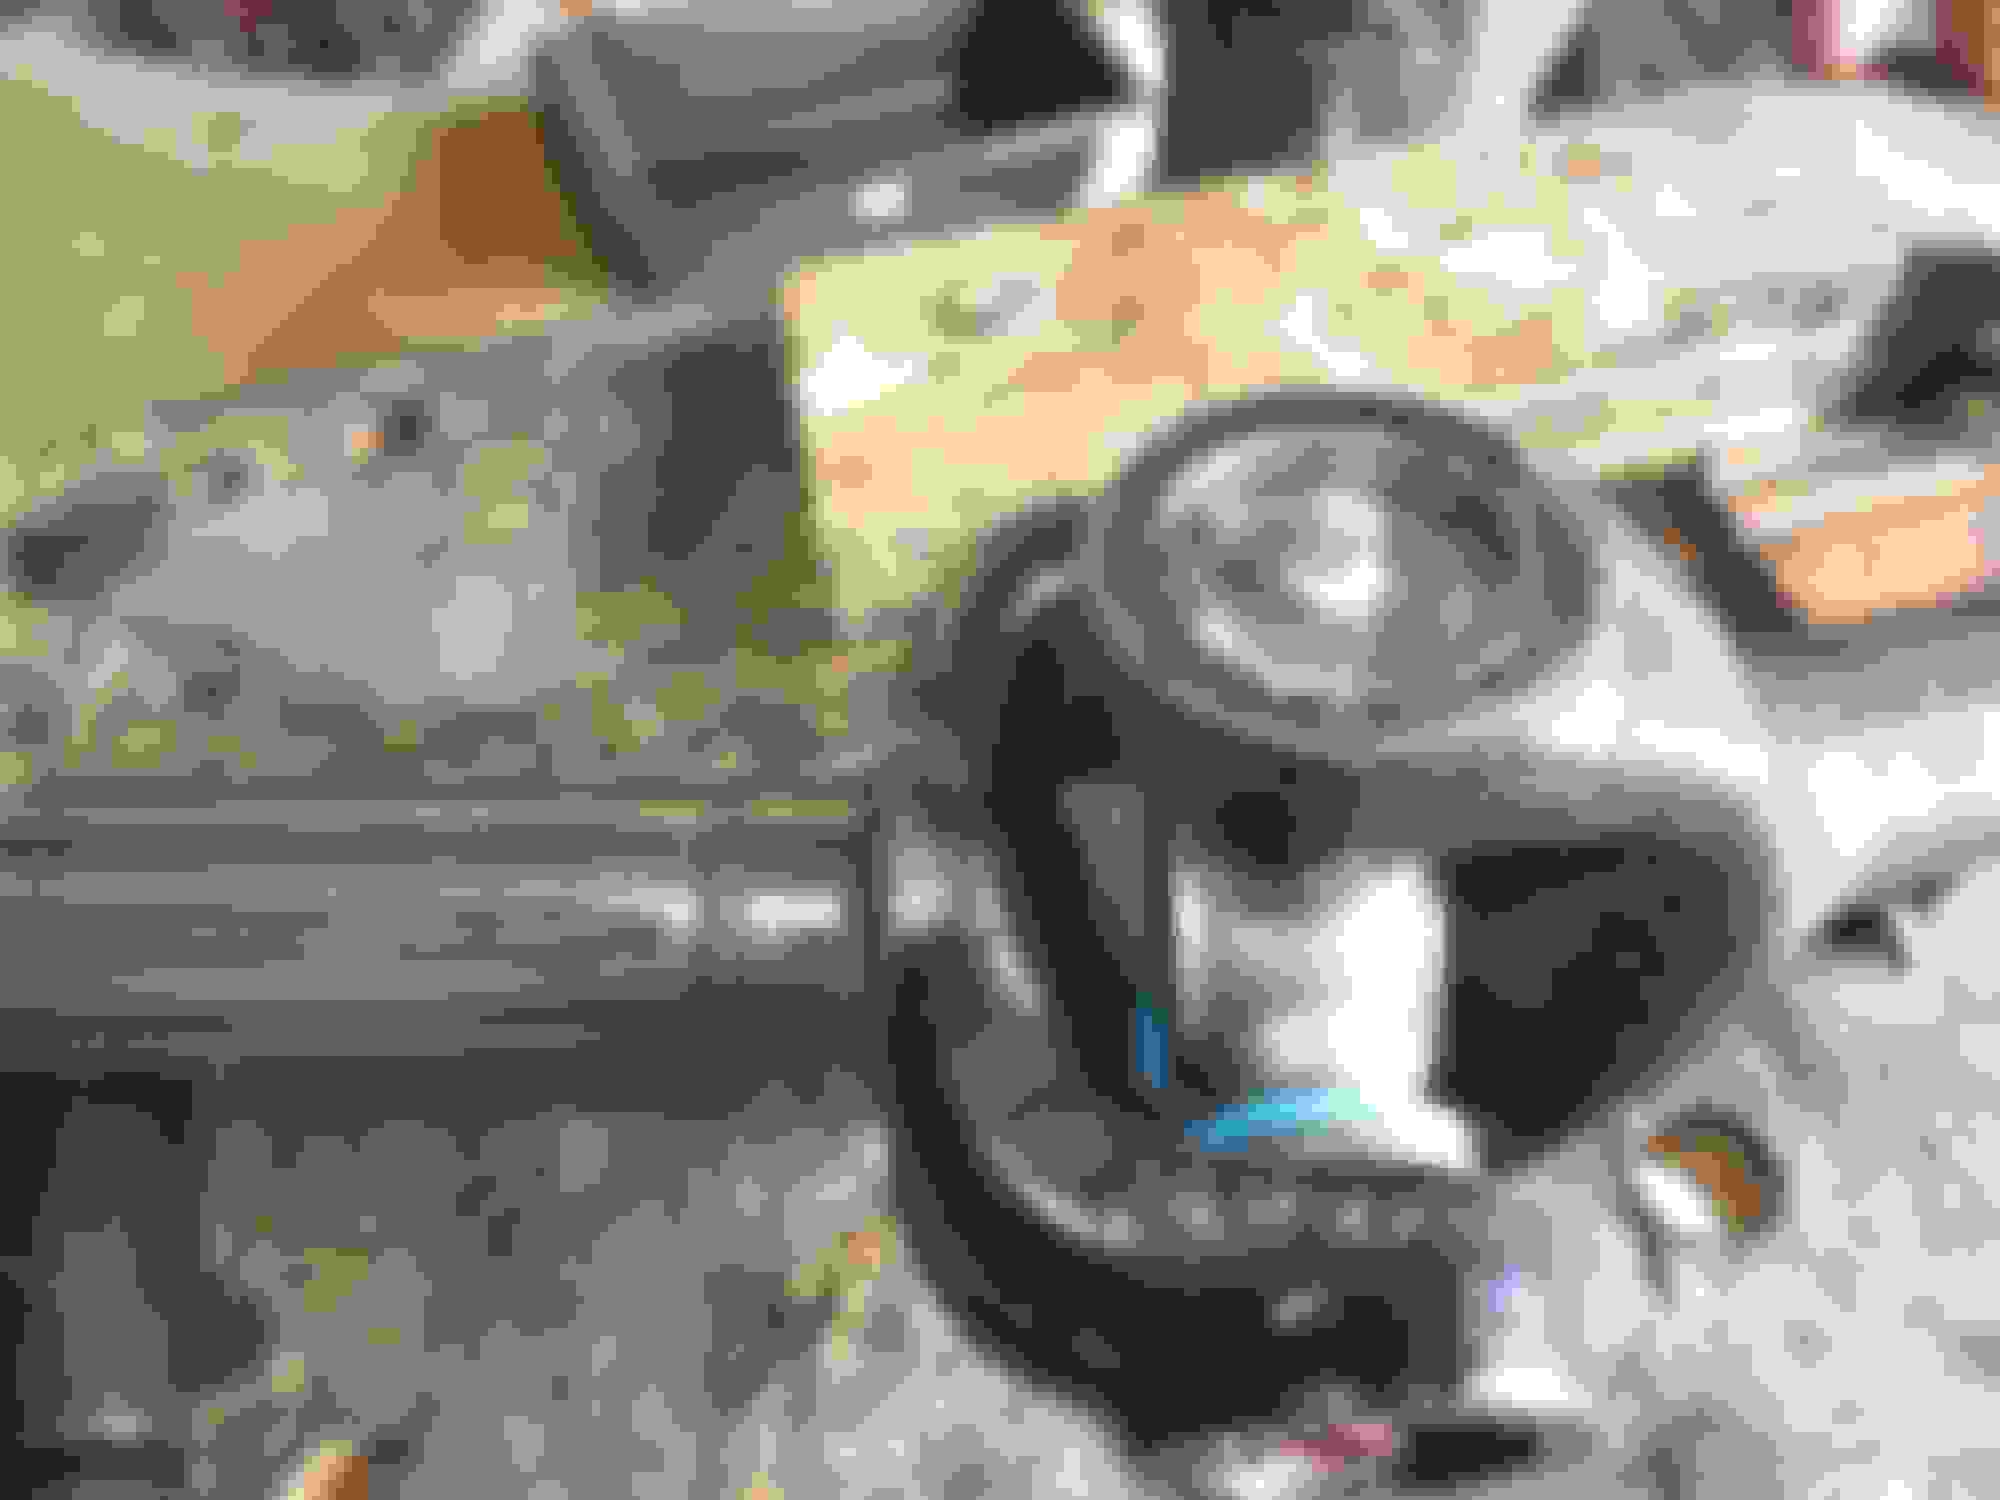
Great work, but may I offer a word of caution on the upper wishbone outer connection bolt to the upright, as shown in this pic from your earlier post?
I know that the XJS steering suspension setup is subtly different from the saloons, but on the XJS the Forward end of the outer bolt has to be bolt-hex-end frontmost (which as far as I can see yours is) AND be a specially rounded and reduced depth bolt head. If not the disc on full lock fouls a normal hex head.
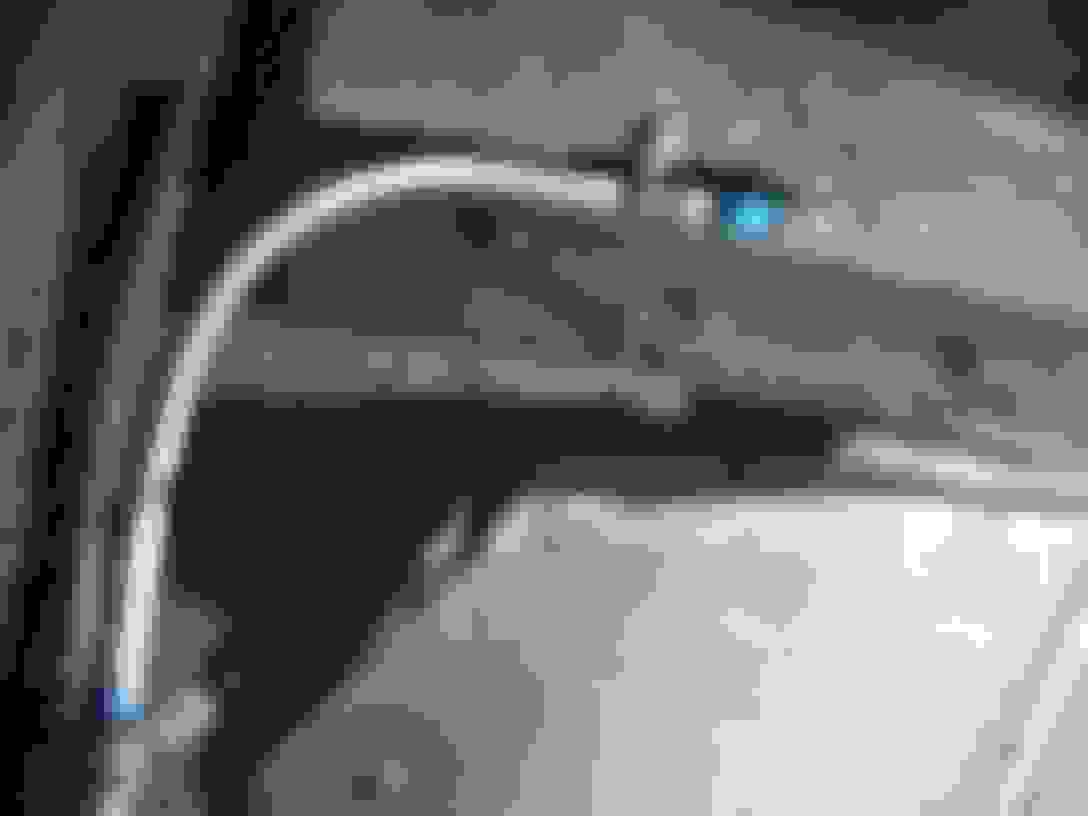
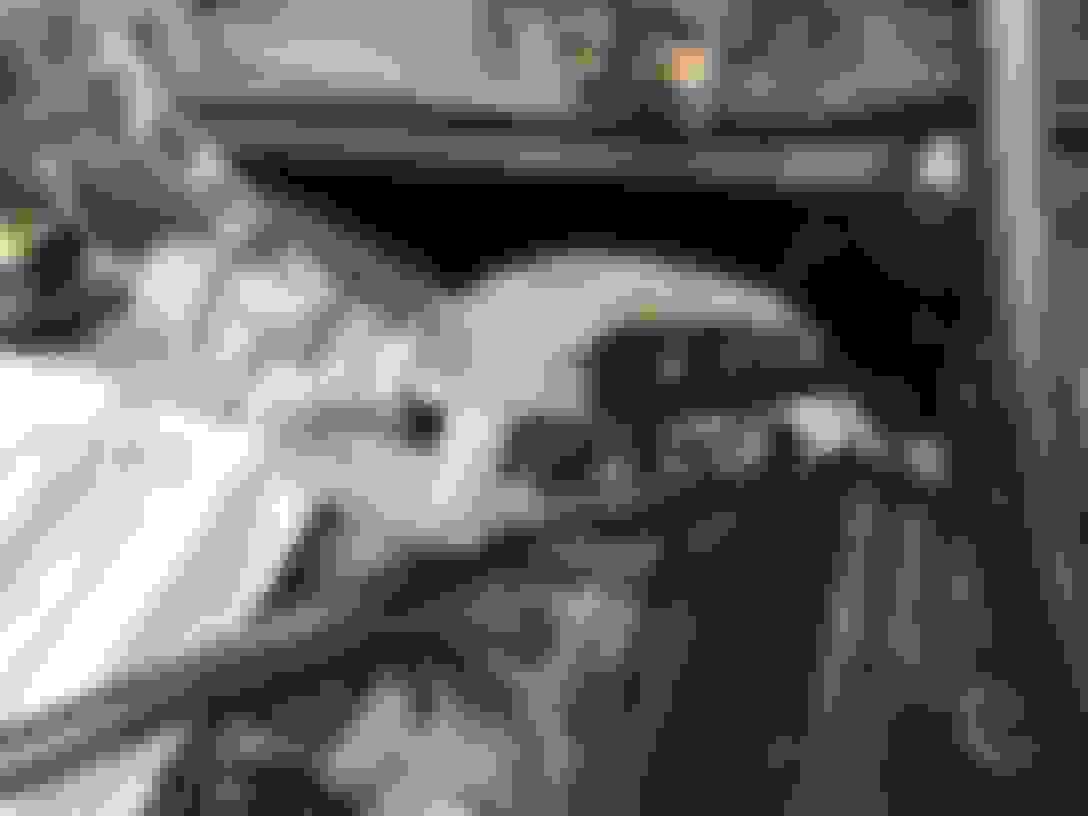
This pic shows what I mean (to my shame a FAR lower standard rebuild)...
Great work, but may I offer a word of caution on the upper wishbone outer connection bolt to the upright, as shown in this pic from your earlier post?
I know that the XJS steering suspension setup is subtly different from the saloons, but on the XJS the Forward end of the outer bolt has to be bolt-hex-end frontmost (which as far as I can see yours is) AND be a specially rounded and reduced depth bolt head. If not the disc on full lock fouls a normal hex head.
I also removed the transmission cooler lines and confirmed that a pair 1/4" NPT to -6 AN fittings will fit. This makes it easy to use braided stainless steel hose for my transmission cooler lines.
Correction, the transmission case is tapped 1/4" NPS, not NPT. Don't use a NPT fitting in a NPS hole.
I know that the XJS steering suspension setup is subtly different from the saloons, but on the XJS the Forward end of the outer bolt has to be bolt-hex-end frontmost (which as far as I can see yours is) AND be a specially rounded and reduced depth bolt head. If not the disc on full lock fouls a normal hex head.
My tie rod ends aren't connected yet so I was able to turn the hub to the fullest extent it is able to travel. At maximum deflection there's about a 1/4" of clearance between the rotor and the hex head.
I think I'm OK but I appreciate the call out. This would definately be the time to fix it if I needed to.
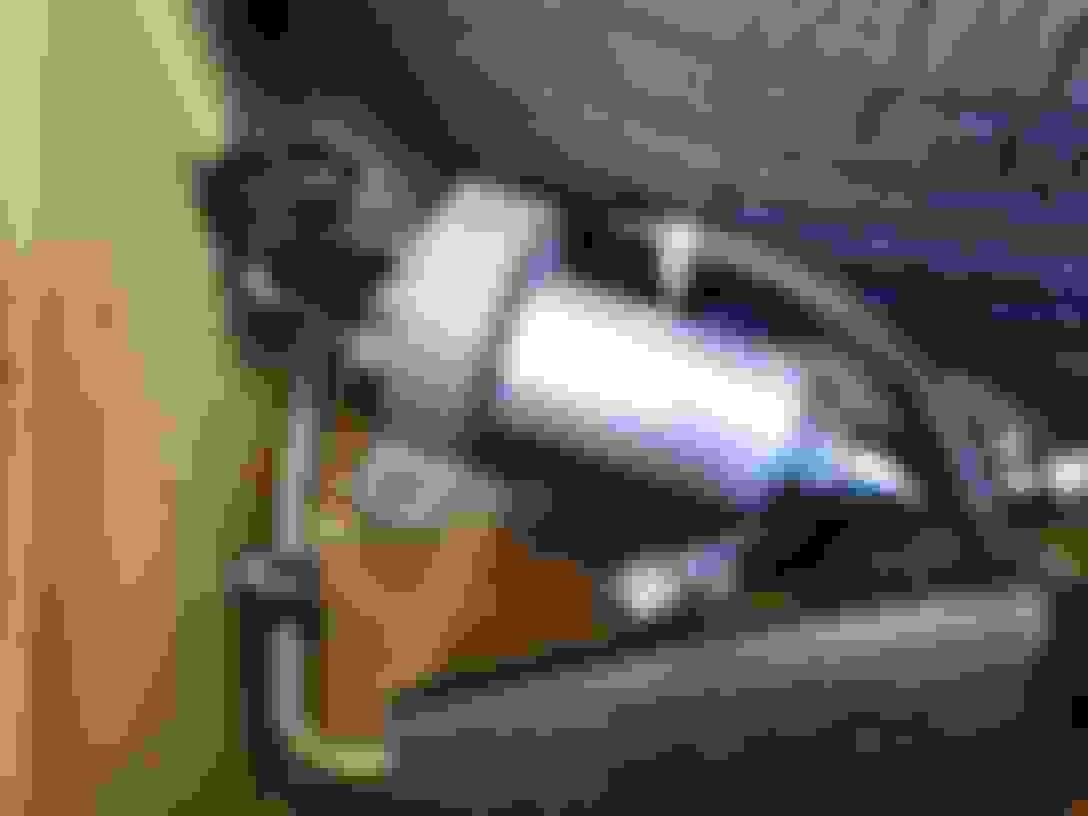
My goal this weekend is to trial fit the engine in the car but before that I needed to get the fuel return line in the car. I'm using -6 for the return line; here's the engine compartment end of the return line with a cap over the fitting.
The rear end of the return line gets the same treatment as the feed line. I'll use a braided stainless steel line to go over the top of the cage and connect to the bulkhead fitting that goes into the trunk/spare tire well.
The goal for today was to trial fit the new engine/transmission in the car and I realized that if I pulled off the front bumper I could save myself a couple inches of hoisting.
So after removing a few bolts and pulling the bumper, I saved myself a couple inches of lifting.
I was doing this solo so I didn't take pictures along the way, but this is one of the easiest engine installations I have ever done. Everything slid in perfectly.
The motor mounts are loosely bolted in place and the back of the transmission is cribbed up. I'm going to leave the engine like this while I finish up some other work.
I want to get back to the rear cage but first I need to finish the fuel return line. This is looking under the car from the left side - the feed line is on the far side and the return line is on the near side.
With that done, the diff gets moved to the work bench.
Here the rear cage gets bolted to the diff. The safety wire is redundant as I cleaned the bolts and thread and used loctite. It's the old belts-and-suspenders.
This is not my first rear cage rebuild but I do get to apply all the lessons learned from the last time. The best advice I can give is to take your time and don't get in a hurry. The quality of the ride is dependent on how well everything is shimmed so don't be afraid to pull everything out and start over if things don't go together smoothly.
This is probably the last bit of work I will be able to do for a while. Next weekend I am driving the MGB 2,000 miles from Chicago to Fairhope, Alabama. If you're going to the South Alabama British Car Show next Saturday stop by and say hello. I'm pretty sure I'll be the only car there with Illinois license plates.
Thorsen
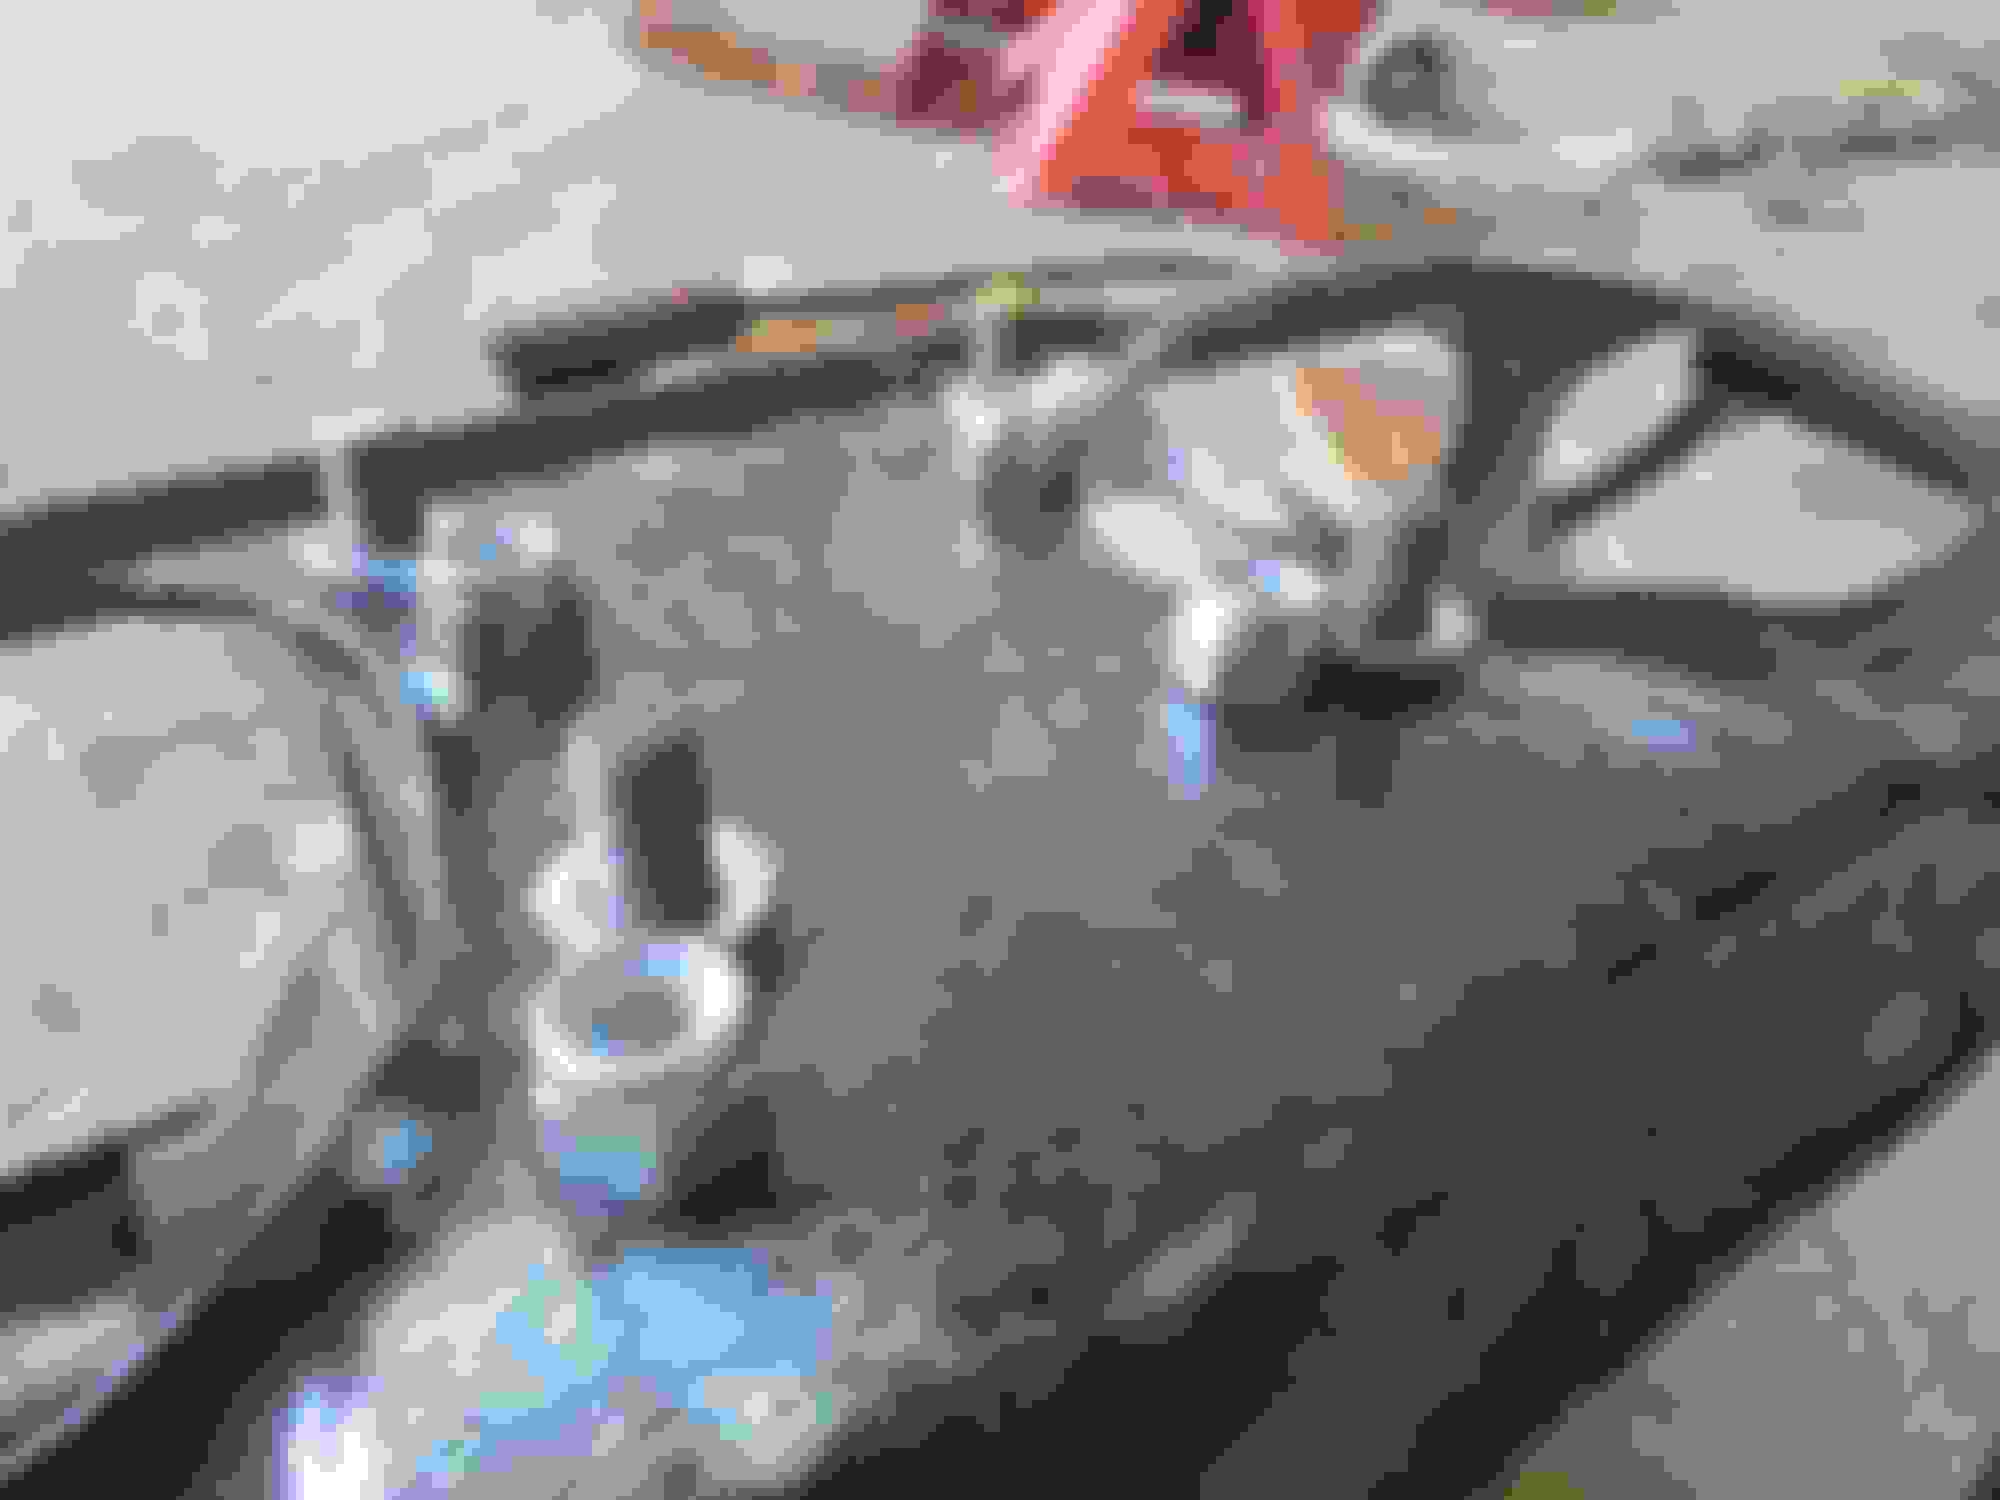
Once again fantastic quality workmanship! Also a question: What strength of Loctite did you use on those inner fulcrum "dog bone" castings bolted to the diff?
Years ago I rebuilt my rear end for the first time (!) and used new Jaguar bolts that came with factory pink thread locker already on them. Eventually they came loose and really loose! When I redid my entire rear end a few years ago I used high strength green loctite, the sort you have to heat to 400�C to get undone. This I highly recommend.
On another matter, I used studs and conical washers and nyloc nuts to fix the diff to the cage, rather than the factory bolts, studs being fixed with normal strength loctite also, as I have also had trouble with these loosening. Since these two chnages my rear suspension has been far better than before. The studs do have to be removed to remove the diff from the cage, but the improvement is worth it, for me, anyway!
Last edited by Greg in France; 10-15-2023 at 01:09 AM.
Greg,
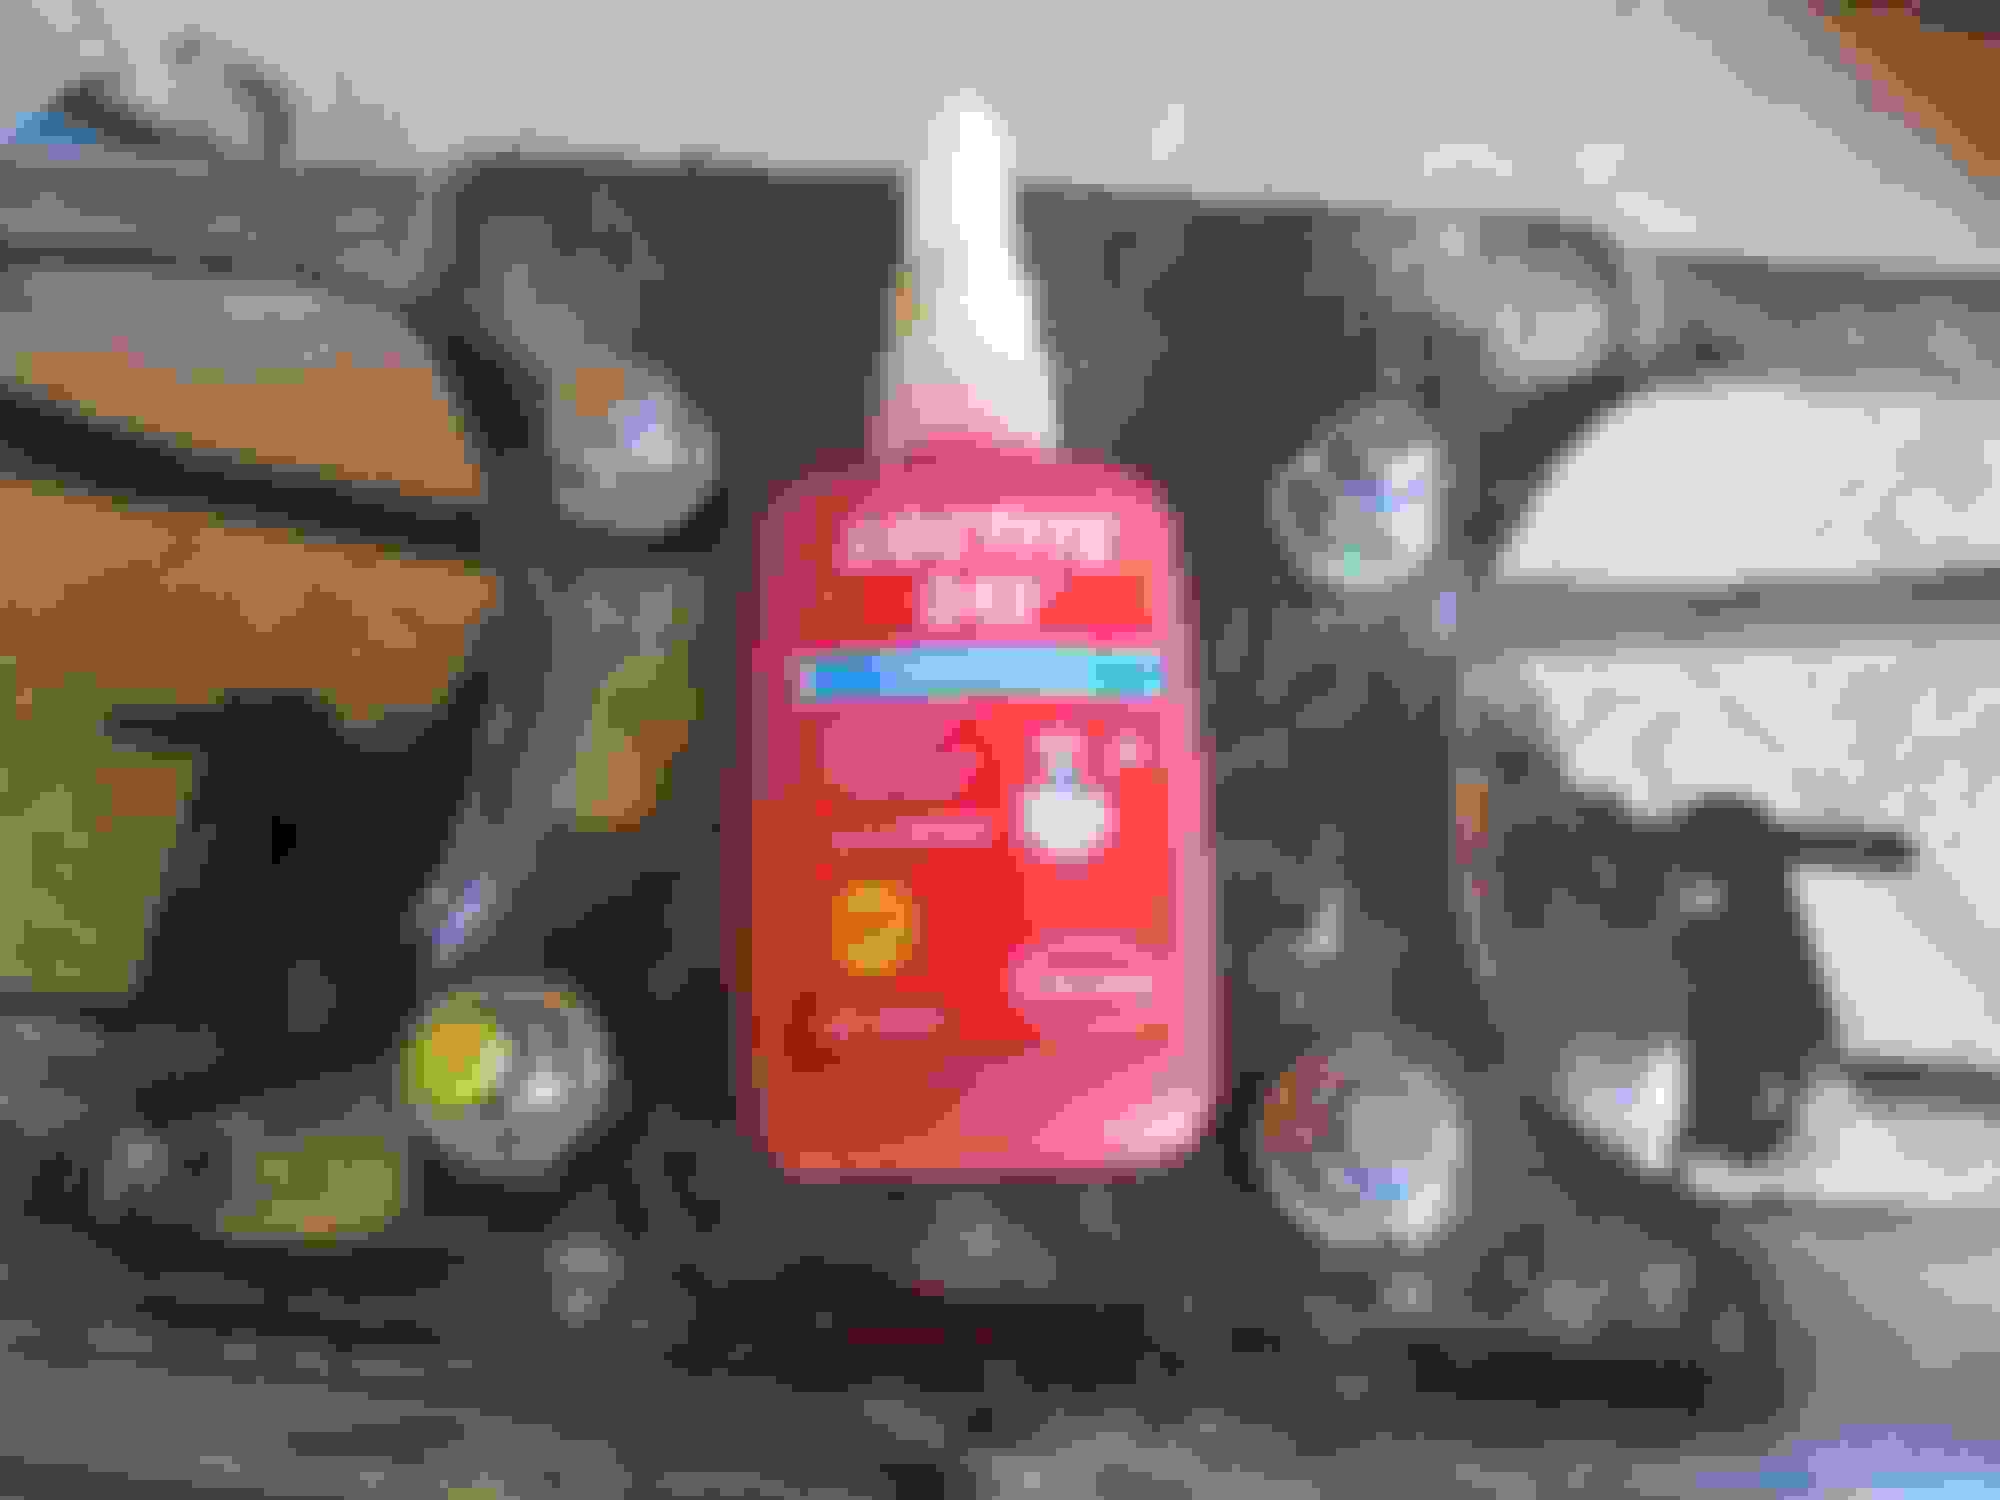
I used the blue (or normal strength) on mine. I clean up the bolts and threads with a thread-clearing tap and die, clean it well with acetone, then reassemble with the loctite. I've found that using loctite on dirty threads leads to disappointment.
I love the idea on the studs and conical washers on top of the diff - I'm saving that one for the next one I do
One thing I will never ever take a short cut on are the fuel lines. About 10 years ago my classic Range Rover had a fuel injector failure that ended up with me in the Emergency Room with 3rd degree burns on my arm. Everything healed properly and you'd never notice today, but it was a life-changing moment for me.
A couple years back when I put a fuel injected engine in my MGB I made sure the connections to the fuel line were absolutely 100% leak-proof. I found someone who could TIG weld AN fittings to the fuel rail I was using.
This time I used a pair of push-on to AN fitting adapters. This is my first time using them but they have the fitting which slides over the line and a securing nut that holds the adapter to the line.
This gives me two -6 AN ports to connect the fuel rail to the supply and return fuel lines and make fuel leaks something I do not need to worry about.
Last night I got home from a 2,000 mile road trip from Chicago IL to Fairhope AL for the South Alabama British Car Festival. My 1970 MGB performed flawlessly but it's such a cramped cockpit you can't move around or stretch very much. There were not a whole lot of XJ's there.
I took today off work to enjoy the last nice day of Fall before the temps start to cool down so I spent it in the garage. First off was finishing the rear trailing arms. They were in good shape but could stand to be freshened up so I threw them in the sand blaster.
After the sand blaster I masked them off and painted them with 2k paint.
All ready for new bushings.
Next up was removing the rear wheel hubs so I could replace the bearings. I thought I could use my press but I couldn't set it up right.
What did work was mounting the hub in the vice and hammering the end of the hub with a driver. This worked well.
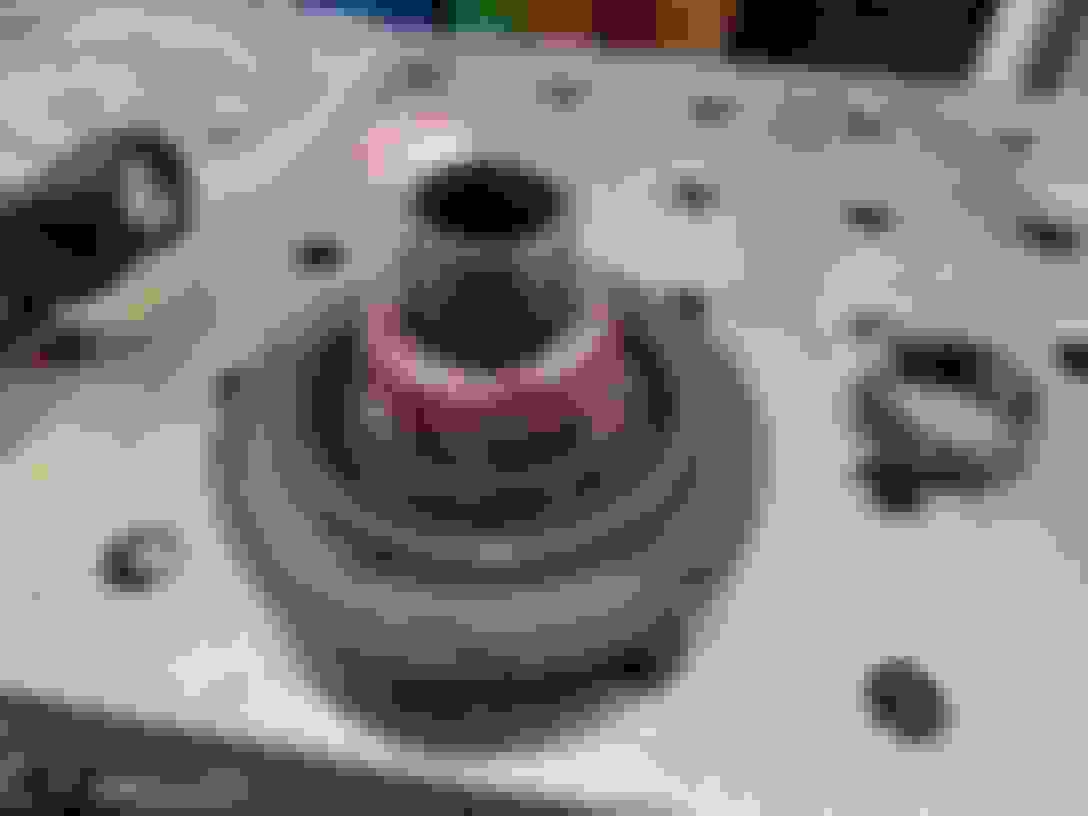
Old wheel bearings, ,outer fulcrum bearings, seals, and distance tubes.
After the rear hub was totally stripped all I had was a dirty casting.
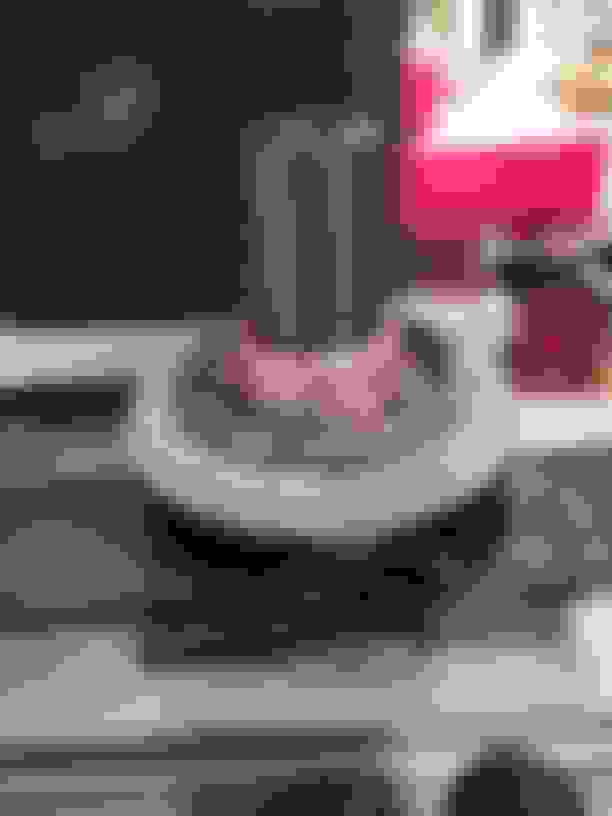
After scrubbing it and running it through the sand blaster with a hopper full of glass beads I was happy with how it turned out.
I'm thinking about polishing it but that would be a ton of work for something no one will ever see.
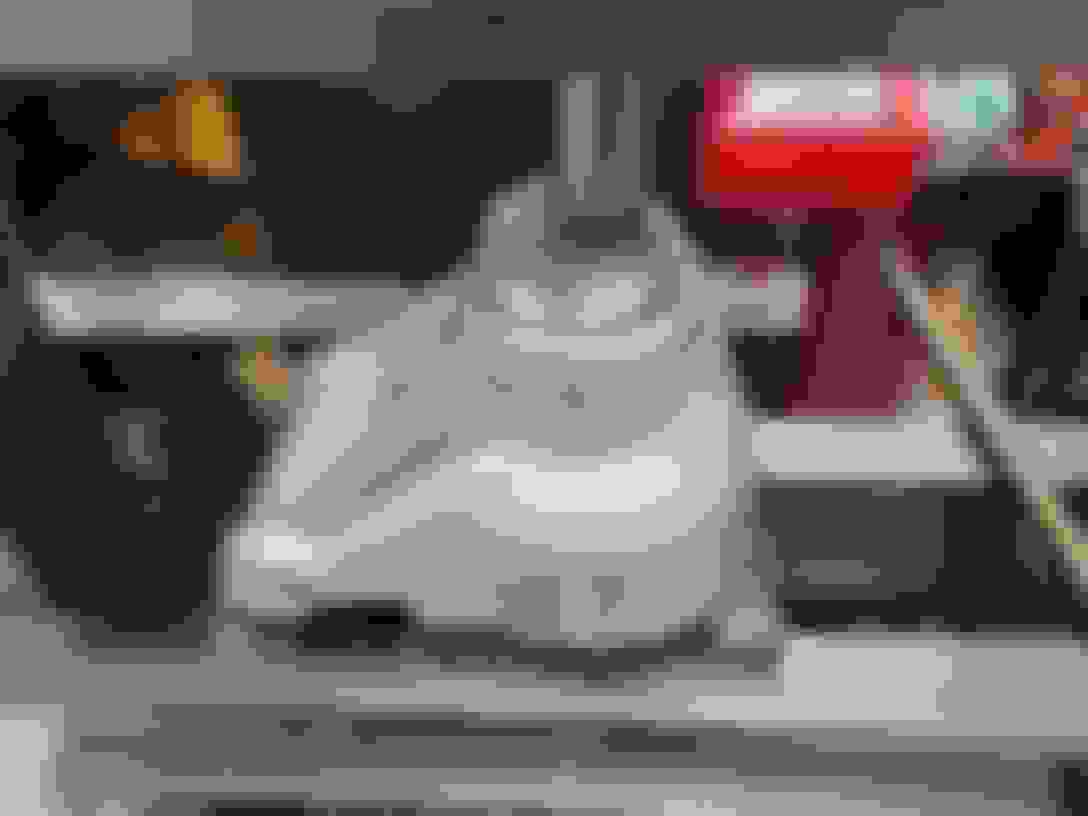
I also disassembled the right side axle shaft so I could clean it up. Here are 2 of the pieces out of the sand blaster.
Tonight was rear wheel bearing night for the right side of the car. This is one job I have been afraid to tackle as it always seemed like a hassle to get everything apart and then back together again. After doing it I can honestly say it's not that tough of a job. I mean - I wouldn't want to do it every day for the rest of my life, but once every year or two won't kill you.
First up was packing the outer bearing and sliding it onto the hub assembly. There's something therapeutic about packing wheel bearings.
Over to the press to press the bearing all the way onto the shaft. Make sure you only press on the inner race of the assembly otherwise you will destroy the bearing.
Pressing in the outer bearing race. I didn't take a picture but I pressed the inner race in the same way.
Outer seal installed.
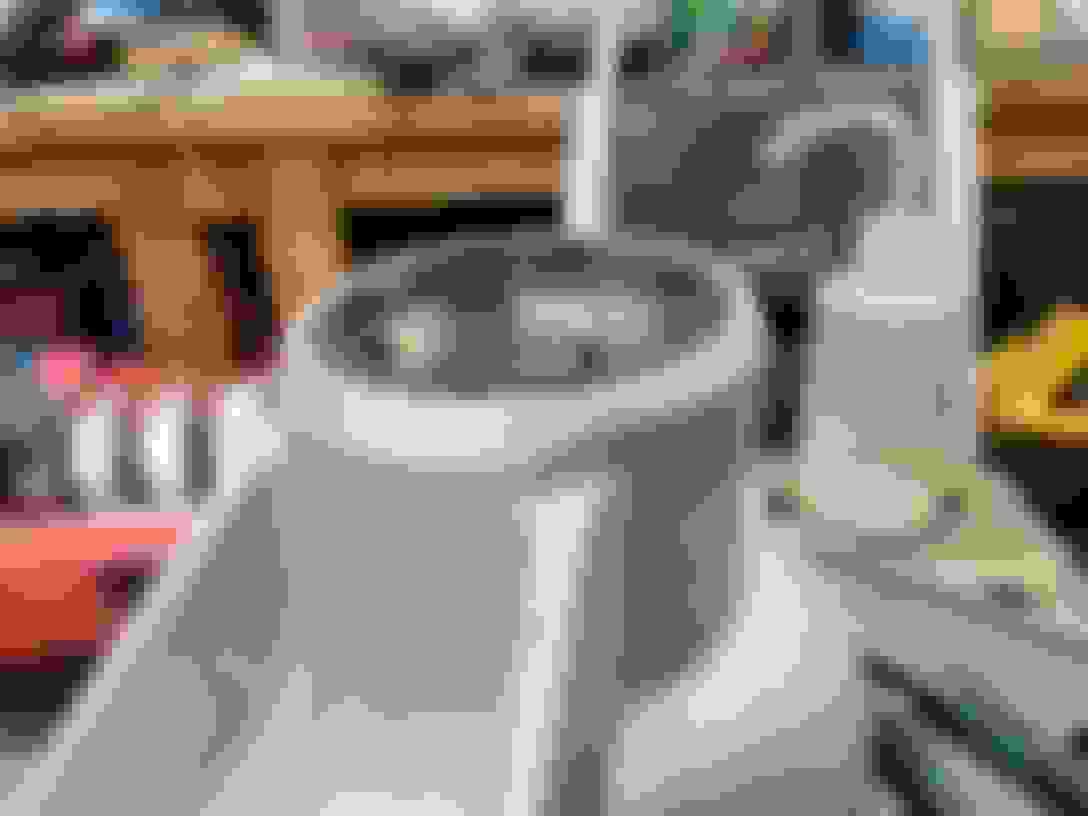
Here is the hub assembly with the outer bearing placed in the hub with the inner bearing pressed onto the hub assembly.
After this picture I installed the inner seal.
After that it was checking the end float. The specs call for .001 to .003 and I was right in the middle with .002
I was going to reassemble the drive axles but I was sold the wrong U-joints. So next up is the outer pivot assemblies.
I used greaseable for both ends, but knowing what I now do I would use Non greaseable for the ones shrouded by the the hub casting. I had to buy a 90� grease fitting and even so the grease gun will only go on it at one position rotationally. This is because the grease nipple is sited in the end cap.
These spicer heavy duty UJs are of exceptionally high quality with more and slimmer rollers in the cup than the standard ones. Really worth it, and idiotically cheap to buy!
Greg,
The 513101X has 1.062 diameter caps (which is what I bought the first time). My axles are sized for 1.188" so I went with Dana 5160X. Those also have the grease zerk on the cross and not the cap so it's easier to get to the outboard joints without having to pull the axle out of the hub.
How interesting. At some point, then, Jaguar changed the size, even though the axle design remained identical. Maybe the track width changed and that is when the size changed?
In my case the overall width of the cross plus cap was too long to be able to instal the circlips.
This morning was working on the left-hand rear wheel bearings. The second one always goes faster than the first one.
I did commit to relocating the battery to the trunk. I'm using 2/0 gauge cable which is rated for about 250 amps continuous. That should be overkill for this exercise.
The forward end of the cable attaches to the firewall power post. More to come later after some parts arrive.
I also spend some time thinking about my plan for the fuel system and I am considering simplifying it by removing the low pressure pumps and the sump. After looking at the sump I don't think I like the idea of putting it in my trunk or under the hood. My thought is to either run two high pressure pumps directly off the tanks, or run one pump through the Pollak valve.
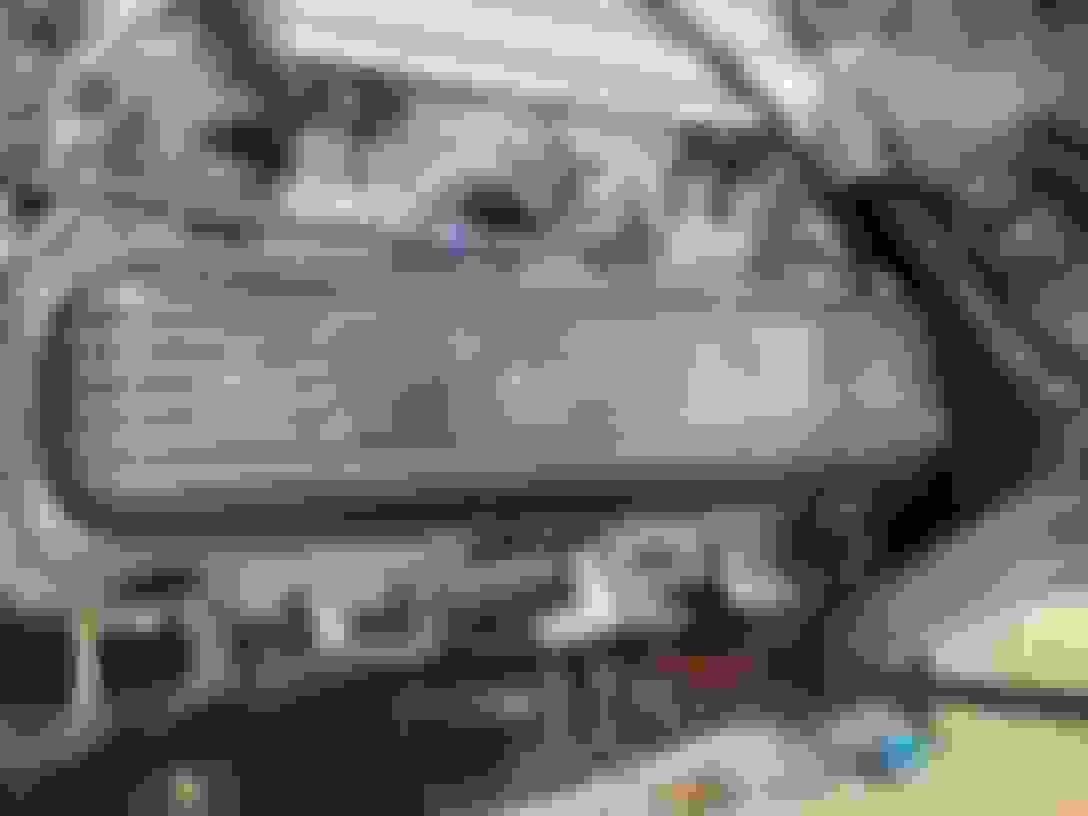
I also decided to freshen up the valve covers. I had looked at a set of aluminum covers but decided to stick with the stock ones - but I couldn't live with the dingy paint.
I removed, sand-blasted, and hit them with some black stainless steel paint.

 10-11-2023 | 09:08 PM