When you click on links to various merchants on this site and make a purchase, this can result in this site earning a commission. Affiliate programs and affiliations include, but are not limited to, the eBay Partner Network.
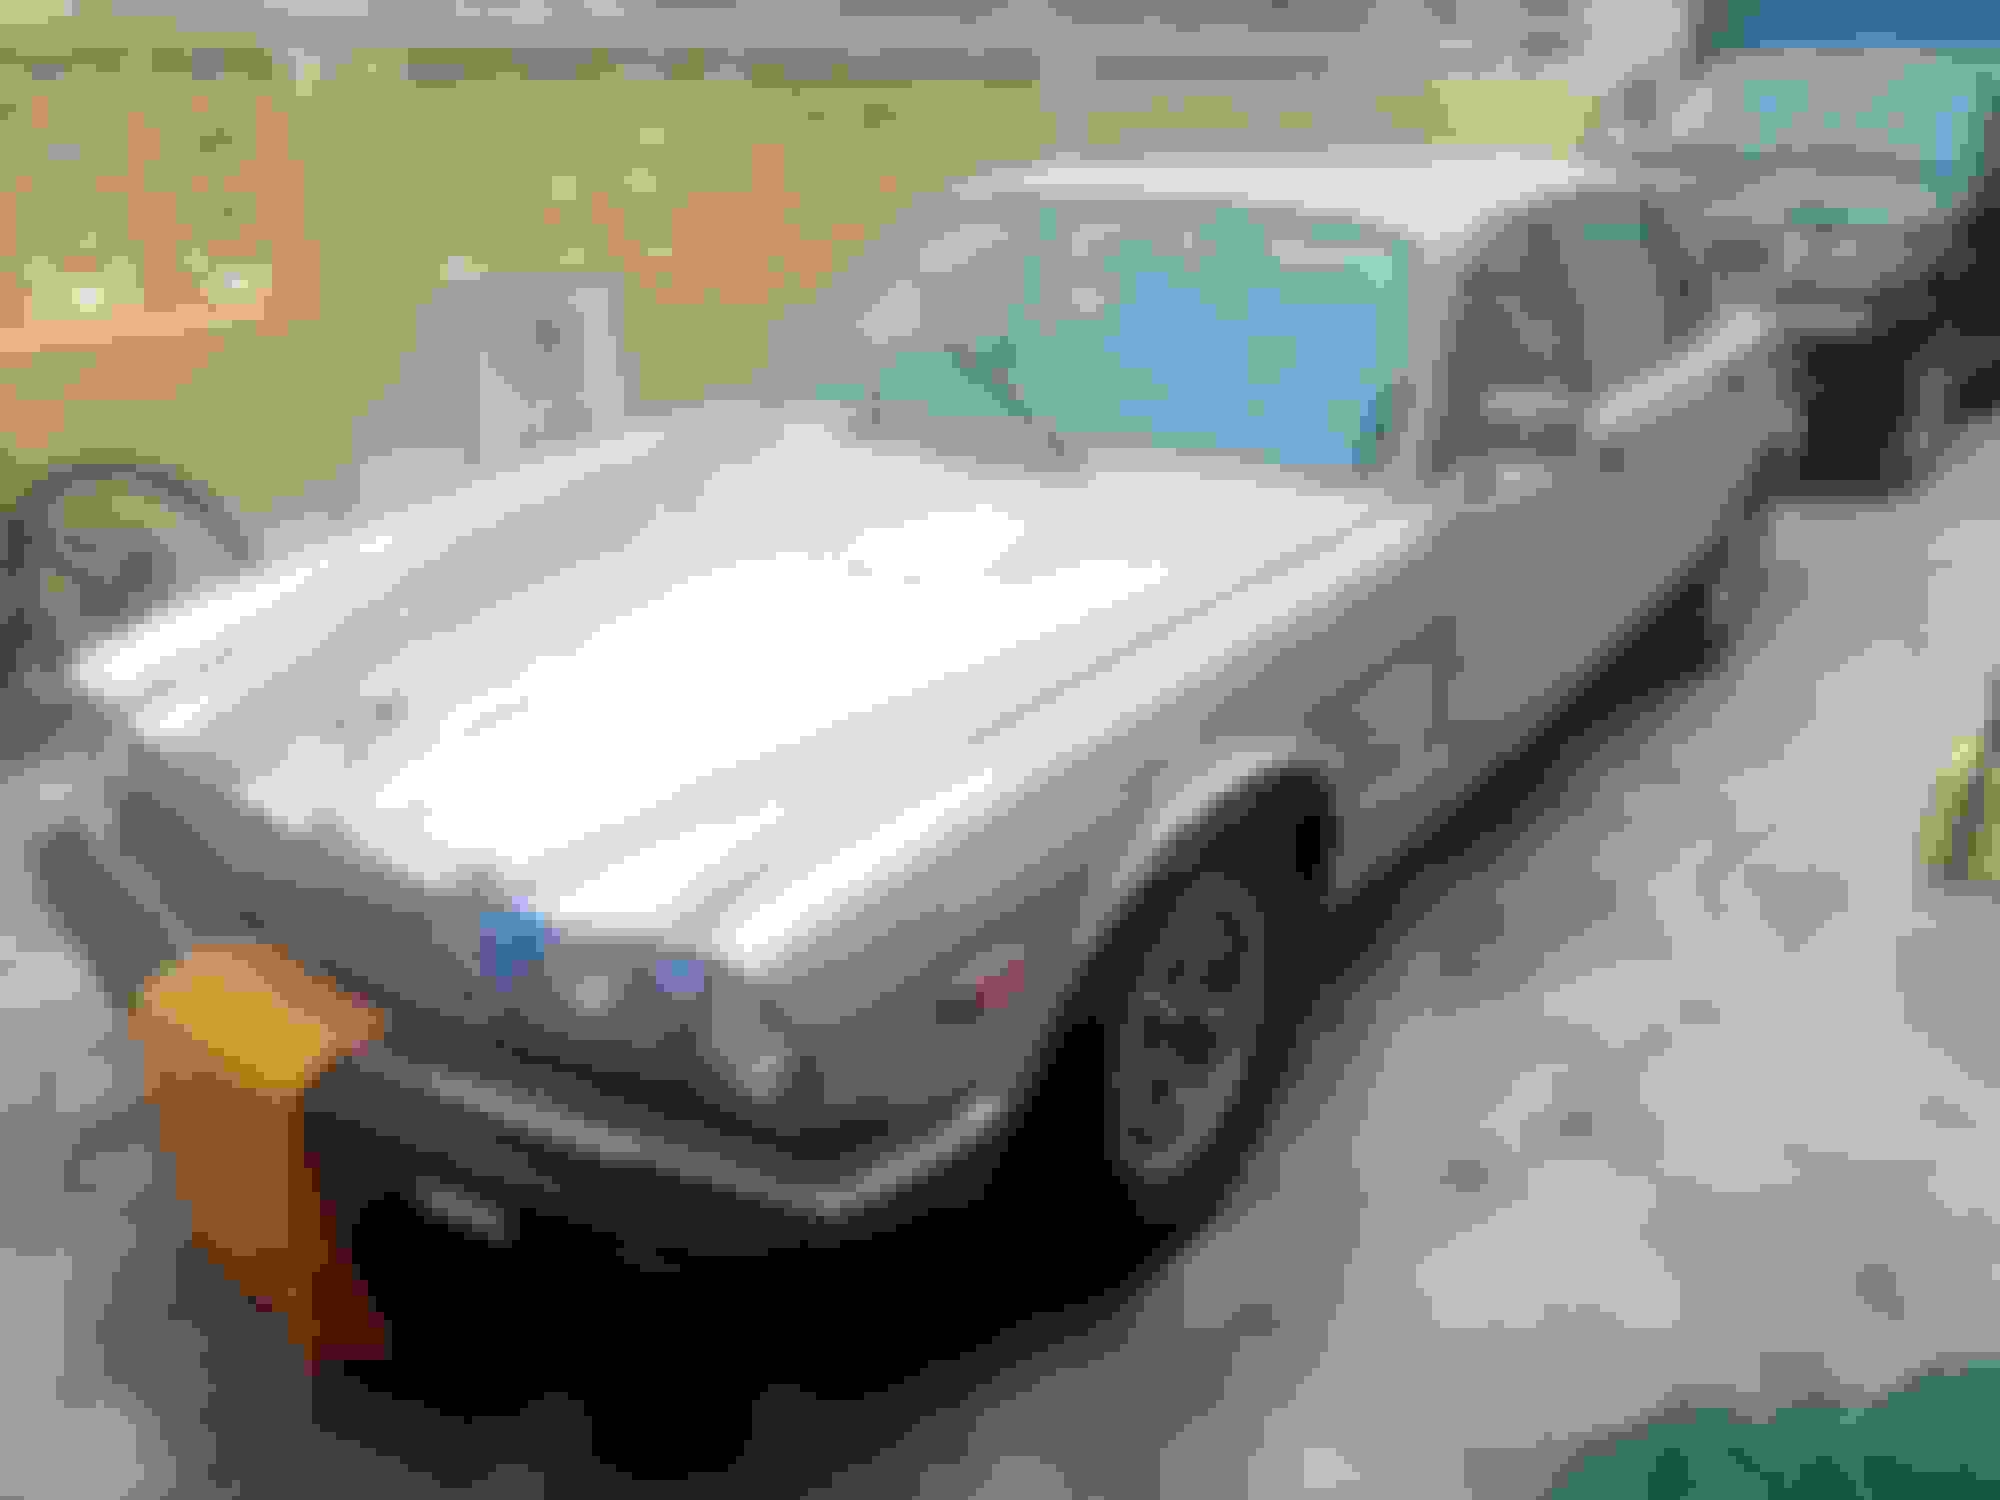
Today, I have taken my S3 to bodyshop for the rust areas and general bodyworks to be done on the car.
The plan is to skeletal the whole car and work on it.
The running boards underside requires a massive plate replacement, that for sure am aware, both the windshield and the rear glass needs removal and rework their underside as seen some rusts and water leakages from there.
From your experience these cars body works, what else would you me to do or look out for to fix and what should I not do?
do remove the headliner and all side trim.
do remove the rear parcel shelf trim and seat belts.
do remove the dash cap
do remove the rear and front seats.
do cover the rear parcel shelf and top of dash very carefully masking everything.
do not remove the chromed bar along the width of the boot lid above the license plate.
do not remove the rivetted gutter chrome trim.
do protect the stainless steel window frames and window glass.
do remove the bumpers completely.
DO NOT CLOSE RUST HOLES WITH BODY FILLER !
Cut the rusted parts out without using heat, then weld in new sheet metal. When finished welding, cover the inside of the welded parts with a good anti-corrodant and tin the welded parts from the outside.
Like this: Rear window frame. Rusted metal removed, new metal welded in, covered in anti-corrodant from the inside and tinned from the outside.
DO check the rear side panels closely for rust from the inside, normally in the middle of the panel, underneath the fuel filler holes.
There is a "bulkhead" in the inner panel, to avoid wind noise. This bulkhead is covered in rubber that touches the outer panel.
When the rubber degrades, the bulkhead will create a blank spot on the inside of the outer panel, giving moisture every chance of rusting the panel through from the inside.
Then you will have to do this: LH quarter panel removed for replacement, tank covered in anti-corrosive paint. New bulkhead in place (just a bit smaller than the original one, so it will not touch the outer panel..
When the car is mostly disassembled, please DO replace all fuel lines.
That bulkhead needs to be sealed with non-setting putty all round to stop fuel vapor creeping into the car interior. I noticed this when I took the fuel tanks out way back in 1990. I was inspecting for corrosion =, of course. Also the crevice between inner and outer rear wing had it stuffed in too. I removed it, squirted in Waxoyl, then restored the putty flexibility with more Waxoyl and replaced it. I nver had any corrosion problems around that area after that
do not remove the chromed bar along the width of the boot lid above the license plate.
.
I have to ask why you make this particulare recommendation...? I have removed those bars on every one of 21 restorations with no problem at all either in the removal or the replacement. The bars, though, must be replaced so that the slightly curved end mates visually with the chrome bezel of the taillamp.
The chromed licence plate lamp/ lock bezel is also easily removed - it is a simple bolt and nut arrangement, the nuts accessible from the underside of the trunk lid. There is very often rust at the corners of this unit because of initial overtightening at the factory and the chromed edge cutting through the rubber gasket.
With regard to rear bumper removal, extreme car lust be taken separating the centre unit from the side units. The nuts holding these parts together fit on to brazed threaded stubs on the side units; the nuts are invariably rusted tight and removal therefore often results in the threaded stub being torn from the chromed side pieces. Liberal advance soaking with a release liquid - and waiting- is advisable.
Note that the screws and washers which hold the rear quarter panels under the bumper are NOT to be painted. I always replaced these with new stainless philips screws - available at any industrial fastener shop. Or you can simply wire brush the existing screws and washers. If these are painted it is a sure inducation of a mediocre repaint. Likewise, all rubber grommets in the body need to be removed and cleaned. Details like this are very rewarding!
Gregory,
because it is a p.i.t.a. to remove. Ask Sanchez. Easier to mask than to remove and replace. Those thingies that hold those pieces (ferrules?) are very difficult to remove, extremely limited access, etc. Best to leave those alone and just double mask to avoid scratching the chrome.
Have you personally attempted removal of that bar? I tried. Gave up, leave it alone I decided.
However, the license plate edging or "frame", should be removed for a clean repaint, I haven't done it, don't want to break those pins which are so easy to break..
That bulkhead needs to be sealed with non-setting putty all round to stop fuel vapor creeping into the car interior. I noticed this when I took the fuel tanks out way back in 1990. I was inspecting for corrosion =, of course. Also the crevice between inner and outer rear wing had it stuffed in too. I removed it, squirted in Waxoyl, then restored the putty flexibility with more Waxoyl and replaced it. I nver had any corrosion problems around that area after that
Originally, on my car, there was just a regular rubber that was supposed to seal the bulkhead againt the quarter panel from the inside...When replacing the quarter panel, we applied rich amounts of flexible putty ( also used in camper vans for sealing roof hatches and windows). It'll stay flexible and will not damage the inside of the panel.
When I replaced the rear valance and boot floor in the late 80s, I also replaced the 1/4 panels, and re-secured them with stainless steel fasteners. For the fasteners on the curved face, as I remember I used slotted pan-head screws, but you can also use pozidrive pan-heads. The price of the stainless fasteners means it is pointless trying to reuse the old screws. I also used stainless fasteners on the horizantal face behind the 1/4 bumpers.
Gregory,
because it is a p.i.t.a. to remove. Ask Sanchez. Easier to mask than to remove and replace. Those thingies that hold those pieces (ferrules?) are very difficult to remove, extremely limited access, etc. Best to leave those alone and just double mask to avoid scratching the chrome.
Have you personally attempted removal of that bar? I tried. Gave up, leave it alone I decided.
..
Yes, I always removed all the trim myself, exterior - bumpers, mirrors, all rubber bits and all other trim - and interior - seats, door panels, dashboard, console, carpets..., on all my restorations. That way every piece could be cleaned, polished, refurbished - chrome, leather, wood, everything - before being replaced. As an example, here are some original parts from my 1966 Mk 2 ready to be re-installed - as you can see, they look essentially brand new (but then, they should since the car had only 16,000 miles on it!):
and here is a late 80's V12 VDP stripped for repainting - the faded dash would be removed and replaced after the paint work (Regency Red Mica) was done, as well as the steering wheel, replaced by the late Series III wheel (as seen below); the driver's seat bottom in the photo is not from this car - it is just a temporary item for shop use: The glass, front and rear will come out - the only trim left on the car is the chrome strips on the rear doors (and only the rear doors) just below the windows. Why? because (and here I agree with Jos�) some pieces - these particular pieces - are just too hard to access for removal and can be adequately masked:
The new steering wheel (original on all 1990 to 1992 Series III V12 Jaguars (not Daimlers):
The end result of this process was what was essentially a cosmetically new car (mechanical refurbishment was always done first - here is a 1990 V12 VDP in the process - anything and everything needing replacement or servicing, all hoses, belts, brake items, all fluids, distributor service, spark plugs, etc., new tires, new or refurbished wheels...):
Powder-coating the camshaft covers:
The end result - every detail, no matter how small - note the parking lamp screws - new or as new:
. With regard to the chrome bar under the lip of the trunk panel, I never had any issue either removing or replacing it. I simply used a plastic trim-removal tool and gently pried/prised the bar away near each of the pins. There is a centre clip that joins the two pieces. Sometimes the female clips - what you call the ferrules - come out with the bar. No problem - you just put them back in! Note that the bars have a slight curve at the ends - on replacement this curve must mate correctly with the rear lamp housings: (this is a 1992 V12 VDP, #92/100):
and this same car being judged by our friend Doug Dwyer on the concours field - in this photo he is intent on finding a defect in the engine compartment. Nothing there, but he did find something - a bug caught between the driver's-side headlamp and the chrome surround - and he was right in finding it. (the colour of the car is Black Cherry Mica, exclusive to the 1992 cars - in the shade it can look black [as above], but in the sun: WOW!):
The quarter panel screws: this is what the quarter panels look like after replacing screws with stainless steel items (the white bits on the [1990 Jaguar Racing Green] paint is wax I had not buffed out properly [!]); the stainless steel mufflers too are polished easily with steel wool - each muffler is embossed with manufacture date:
Very time consuming, but worthwhile. The green car pictured above and below is a 1990 V12 VDP :
Gregory,
I replaced those tank panel phillips screws with stainless steel Button Head hex bolts.
a lot easier to torque them with a hex wrench than a screwdriver or screwdriver bit. Less chance of stripping the head.
yes, I agree that bolts would indeed be easier to torque. But if you are caught in the mania of concours showing, everything has to be as supplied when new...and that, sadly, precludes possible improvements, or at least, any that can be seen
i usually did make a few invisible alterations: chiefly, altering the trunk lock mechanism so that it both opens and closes with the central locking, and most usefully, modifying the climate control system so that fresh air can enter the cabin with the system OFF, controlled by one of the existing switches on the console. Fresh air enters simply as "ram air", no fan (because the system is off) and the air enters either at ambient temperature or heated, according to the last setting of the system when the climate control was operating. (that is, calling for heat, or no heat). Super useful for those who own a 1982 or later climate controlled car.
Gregory,
when I removed the chromed bumper corners to remove the tank panels to remove those not-very-well-thought-out factory drain hole plastic plugs, I replaced all the wing-to-tank panel bolts with stainless bolts, washers, lock washers, and nuts.
And of course one of each bumper corner studs broke off too, fortunately there was enough stud thread left to make a repair using a bushing that caught both pieces of the studs. Fact is, it turned out stronger than it was.
I've never had to remove the bumpers so I have no clue what I will be dealing with when I decide to repaint the car. I know they are mounted to those "shocks". Can the shocks be disconnected from the bumpers instead of from the body?
You don't need to deal with the shock system on the bumpers at all for the purpose of repainting. Once you remove the chrome and the rubber bits (both front and rear) you are simply left with the alumin(i)um bumper bar. There is no issue at all regarding painting at that point. But the answer to your question is that, yes, the aluminum bumper bar can be unbolted from the shock system. The shocks remain with the body.
And isn't that SNAP you feel and hear as the threaded stub on the chrome side piece breaks the most heart-rending sound ever? The bumpers were clearly not designed for multiple removal attempts after 20 years of salt, rain, and mud...
perfect, because I recall Sanchez drilled the shocks out and I don't want to do that.
yes, those welded studs are another not-well-thought-out design, they could have done the corner chromed sections with welded brackets bolting to the aluminium instead of studs welded to the chrome.
anyway, good learning session about these details.
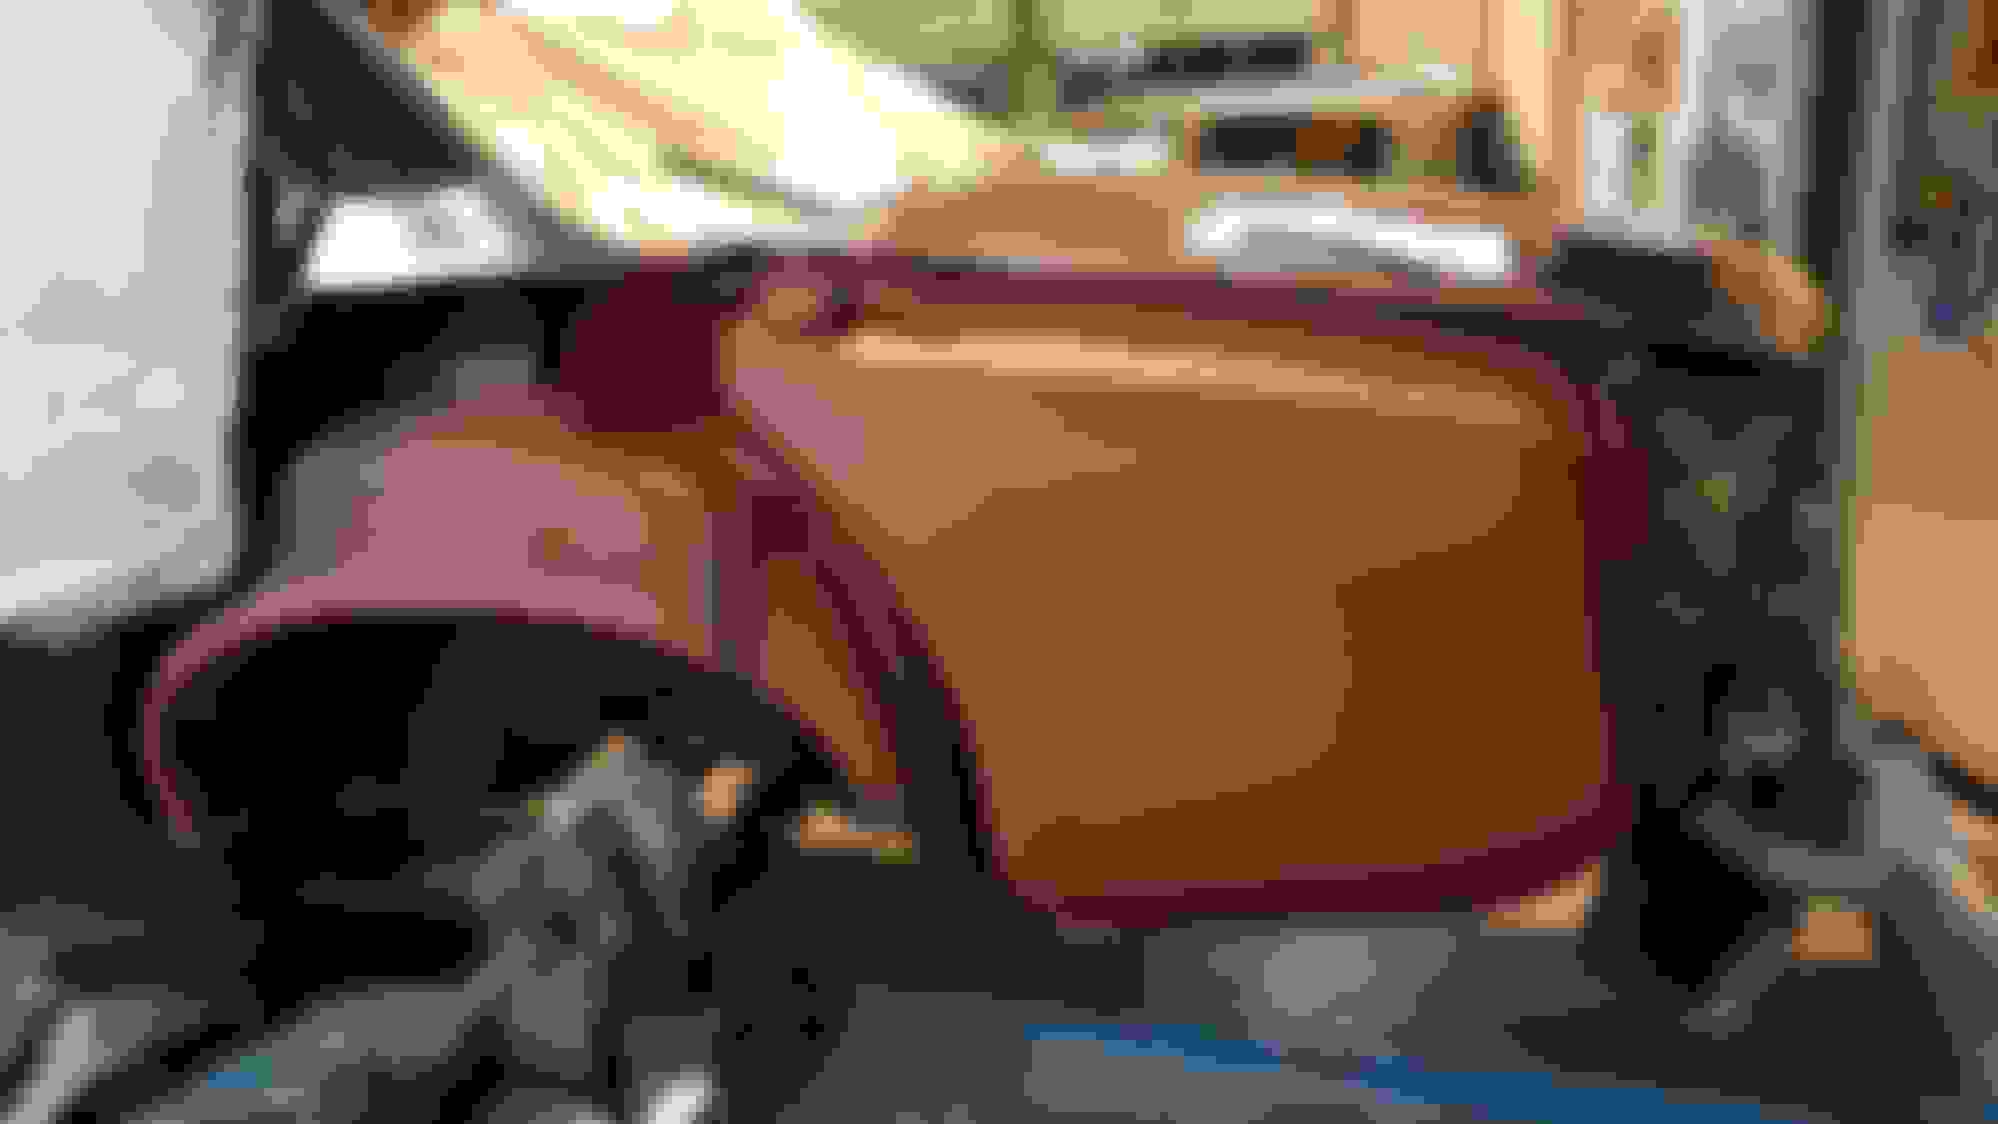
The sunroof is removed today among other body panels and the seats.
the sunroof cover photos below attach shows its rustty condition.
Would you recommend replacement or weld a plate to fix?
i will send the other photos of the car from tomorrow onwards.

 04-23-2020, 02:10 PM