When you click on links to various merchants on this site and make a purchase, this can result in this site earning a commission. Affiliate programs and affiliations include, but are not limited to, the eBay Partner Network.
I was waiting at traffic lights and had just adjusted the drivers side door mirror when I smelt a nasty smell
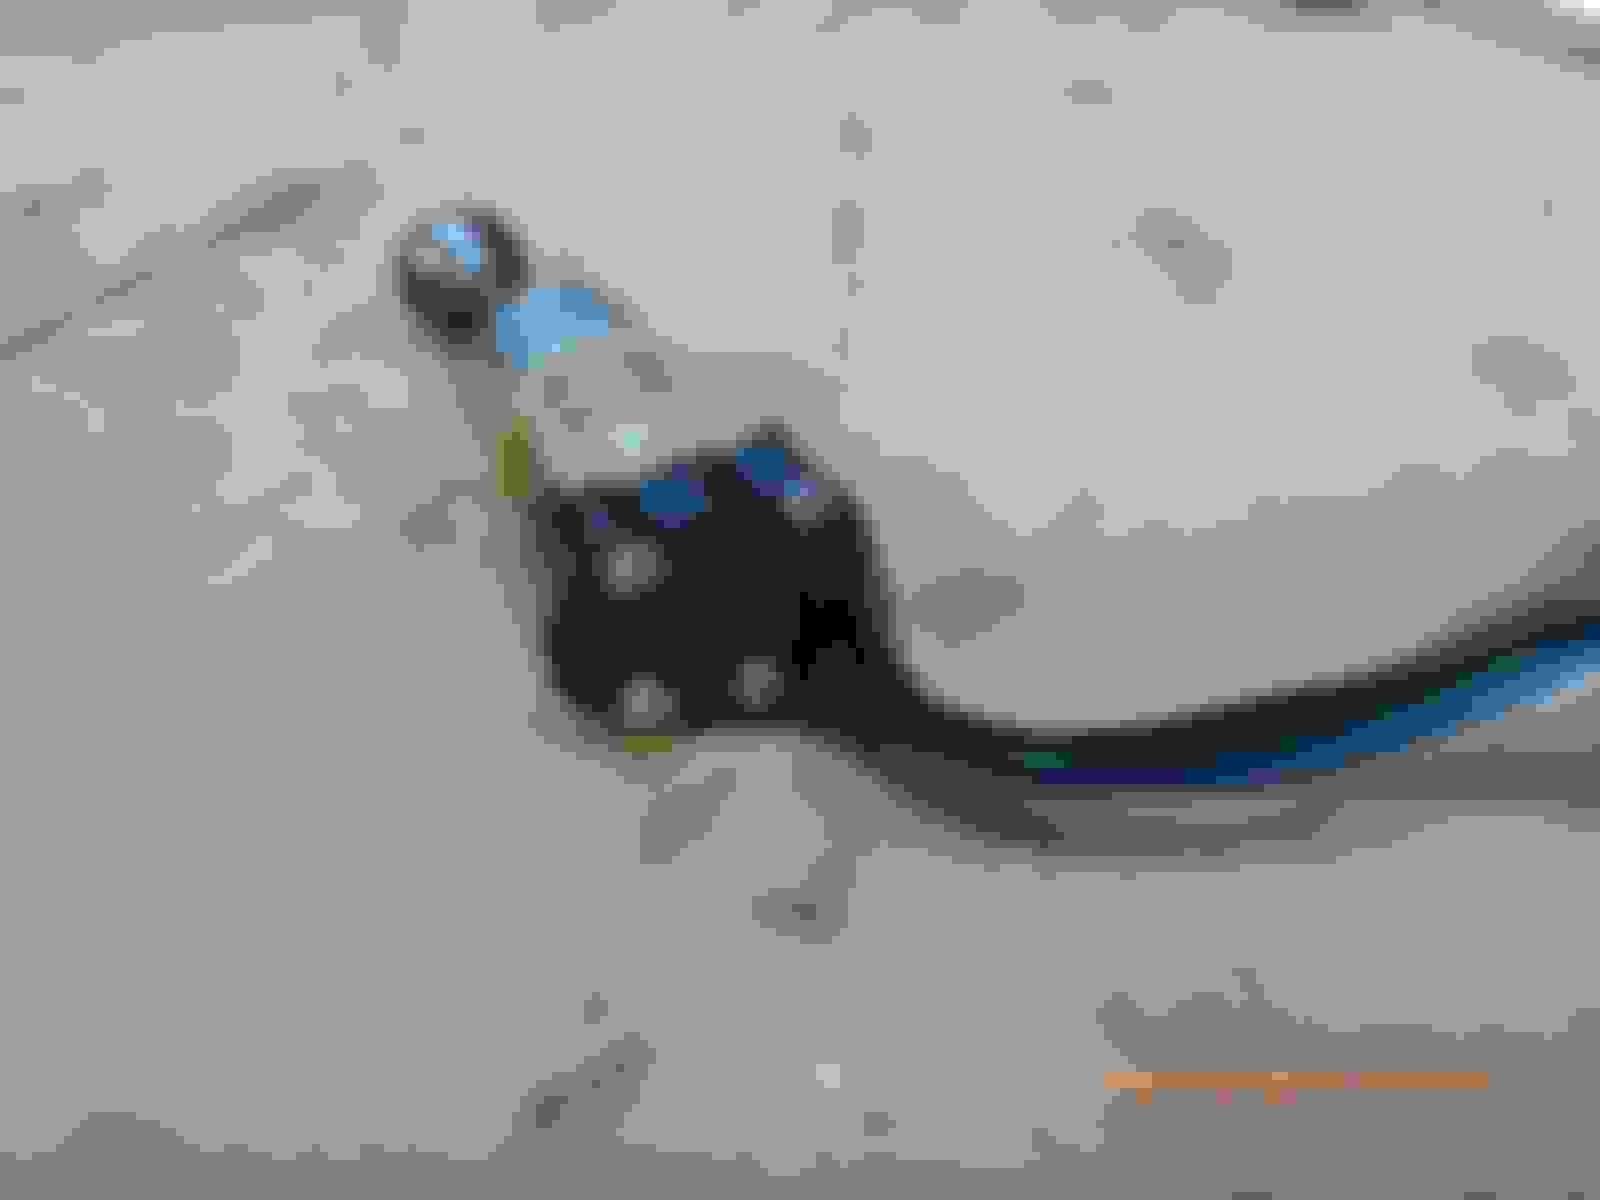
Looked down and there was smoke pouring out of the mirror switch
Quickly grapped a spanner from the toolkit in the boot and disconnected the battery before too much damage was done.
I disconnected the two mirror switches and was able to carry on the trip as the wiring up to the connectors was still undamaged.
Later, checking the fuse, I found a 20A fuse in the circuit where it should have 5A. The 20A was scorched so would probably have blown shortly after, but the door car could have set alight with all the heat by that time! Fortunately that survived without damage and only the two joystick switches are in need of replacement.
I find these switches to be very unreliable. On purchase of the car, neither worked. I have bought 3 used ones and none worked when received. I drilled out the rivets and cleaned up the contacts to get two good ones, but now these have proven not to be so good after all.
Does anyone have a suggestion for alternative replacements as I cannot find any supplier with stock of these new. Used ones all likely to be failing at this age.
Is it right that late model V12�s had a modern-style rocker switch instead? If so, is this available anywhere or an alternative that can suit our cars� wiring?
that is very strange. My 1984 switches are still reliable, I have two spare switch assemblies, they both work fine. I had never seen one catch fire like that.
However, since you have a Vanden Plas that mounts the joystick assembly in a different place than the Base XJ models, you could adapt a rocker switch pod to that location by sorting the wiring which itself is quite simple, 1 hot wire, 1 ground wire, and 4 wires for each movement, North, South, East, West.
I also have several of those pods with 4 rockers, one from a 1979 Saab 900T, another from a 1997 Mercury Sable.
you can pull these pods from different cars at a salvage yard. These pods also have door lock rocker switches, and other rockers for other functions, like a OFF switch to disable all the switches.
That is interesting to hear that you have found the joysticks reliable. If that is generally the case, and I�ve just been unlucky with the ones I have had, then I�ll buy some more used ones to replace my scorched ones. There are some on eBay at present.
Looking at more modern style rocker switches for Japanese cars that are prevalent here, I think they are wired differently (probably CANBUS) because they have fewer terminals than a pair of joystick switches. Our 1970�s tech cars use the rocker switches to provide + and - battery voltage to the mirror motors in forward or reverse to move them back and forth. Hence you need at least ten terminals on the connector (one for each of N,S,W,E per mirror and the 12V & Gnd)
I would do a wiring check before replacing the switches. There might be a chaffed wire contacting metal and blowing the fuse, why else would the fuse be blowing? The electric mirror system is very simple.
Check the door jambs ( driver and passenger ), where wiring goes thru the door through the jamb to the interior to the fuse box. Something must be shorting there. Wiggle the wires with new correct fuse. You'll find it.
Is it right that late model V12’s had a modern-style rocker switch instead? If so, is this available anywhere or an alternative that can suit our cars’ wiring?
The very last (maybe 100 cars or so? Guessing) of the Series III V12s had a switch looking something like this, as I recall
it is still a single joystick but made for both mirrors, (arrow left, arrow right). Many modern cars have a similar switch. Saab had it back in 1979, Ford and GM too.
The Ford power mirror switch were notorious for failing. GM came a close second.
And the one in my 1984 XJ-6 still runs fine, though maybe getting lazy.
I have checked the wiring from switch connector plugs to the mirrors and it is intact.
I made up a set of 4 LEDs for checking the switches themselves, and found poor contacts in all the ones I had (This was some time ago). I eventually got 2 working ones after opening them up and cleaning the contacts. They both then stopped being reliable some time later, and have now self-destructed!
The late XJ12 version might be a good option, but I bet that�s hard to source now too. Will have a look on ebay etc. meanwhile there are several of the original joysticks listed for sale this week�.not cheap though!
That is interesting to hear that you have found the joysticks reliable. If that is generally the case, and I’ve just been unlucky with the ones I have had, then I’ll buy some more used ones to replace my scorched ones. There are some on eBay at present.
Taking used ones apart and cleaning/testing/greasing/reassembling makes for a comfortable afternoon and should cost less than a $1. I can post some pictures here if you get interested.
Dave
Never mind, on second look, your controllers don't look like mine. Dave
Last edited by LT1 jaguar; 11-17-2022 at 07:35 PM.
Taking used ones apart and cleaning/testing/greasing/reassembling makes for a comfortable afternoon and should cost less than a $1. I can post some pictures here if you get interested.
If you know for a fact there is no problem with the mirror wires, what could be causing the fuse to blow? Is the fuse shared with another accessory that could be the culprit???
what is a complete assembly selling for on ebay UK?
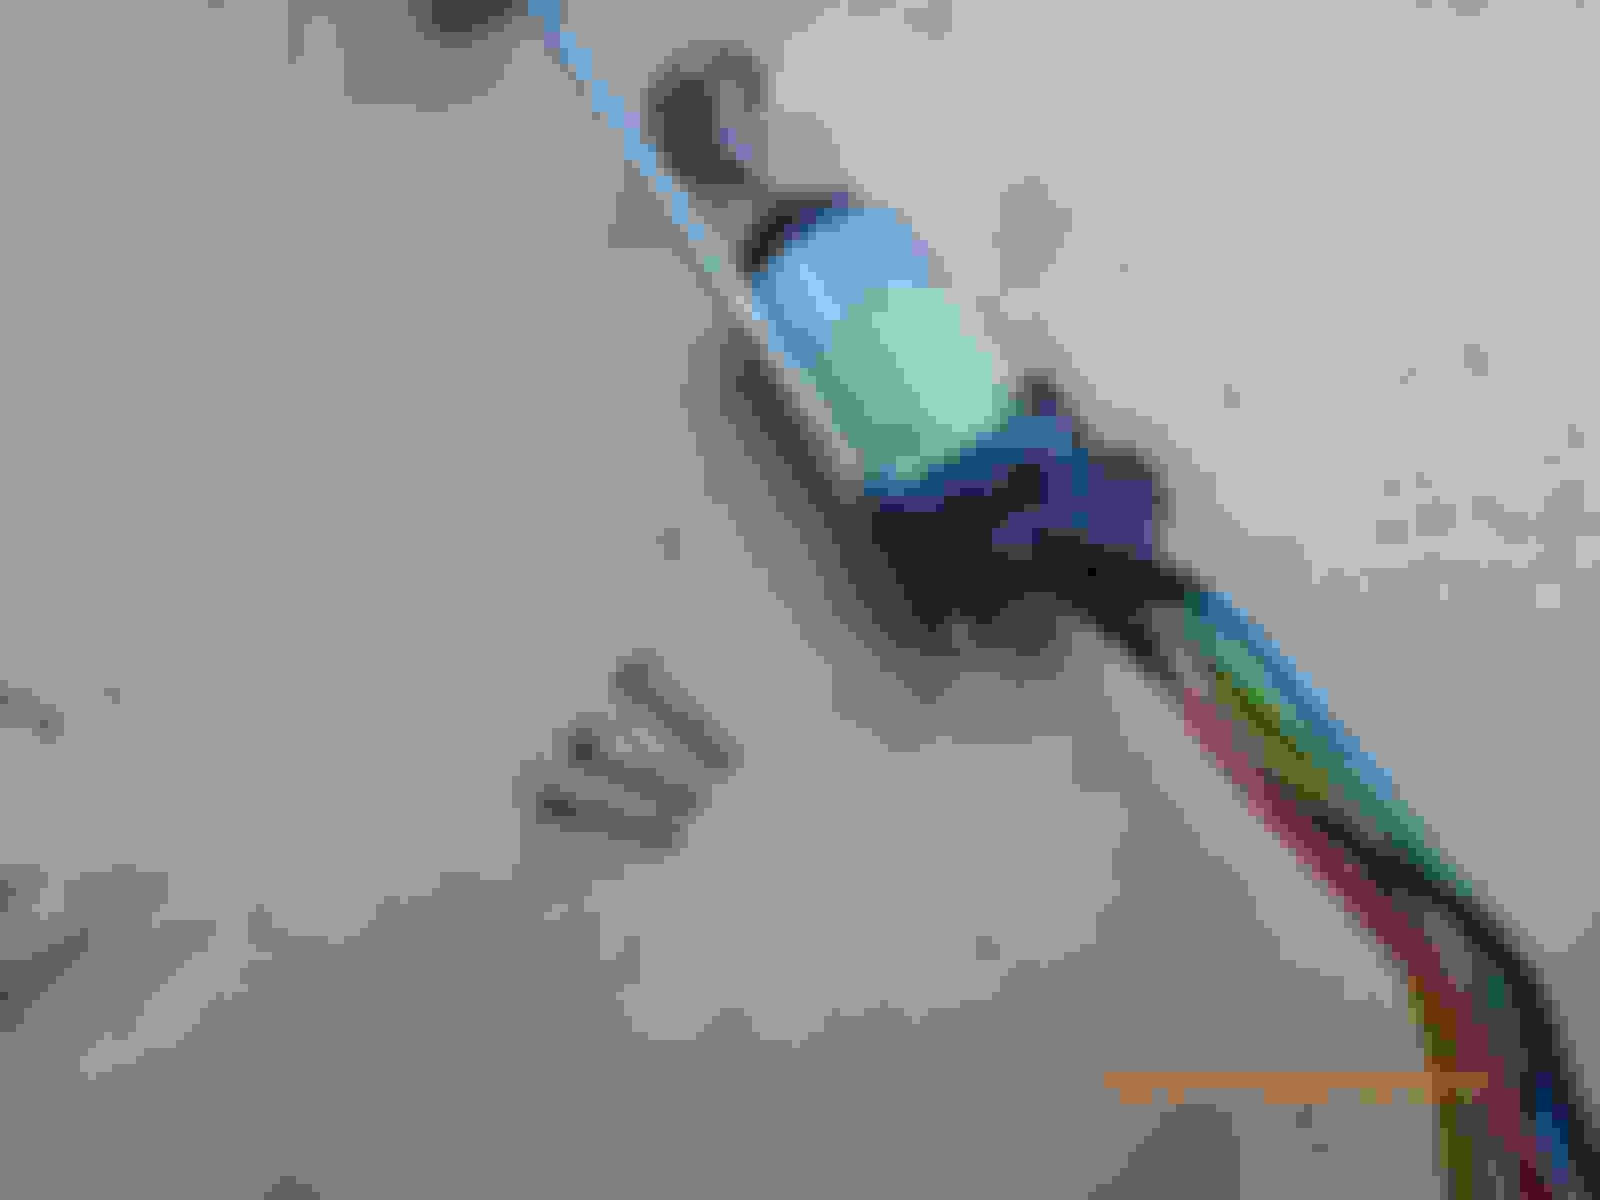
The driver�s side switch shorted out internally and caused the fire. The fuse didn�t not blow. It should have, but was over-rated for the circuit.
The two switches worked OK for a while but were somewhat intermittent and I did push and wiggle it a bit to try to get the mirror to adjust immediately prior to the fire. Must have overdone it and caused contacts inside the switch to fuse together.
A pair of used switches on Ebay UK is available at �65 listed as tested and working.
Greg,
I remember posting this info in the past, but I can't find it now.
Disassembly uses a very small punch, blunt nail, etc. and a small socket as shown. The original pin is pushed in and held in place by small ribs on the end.
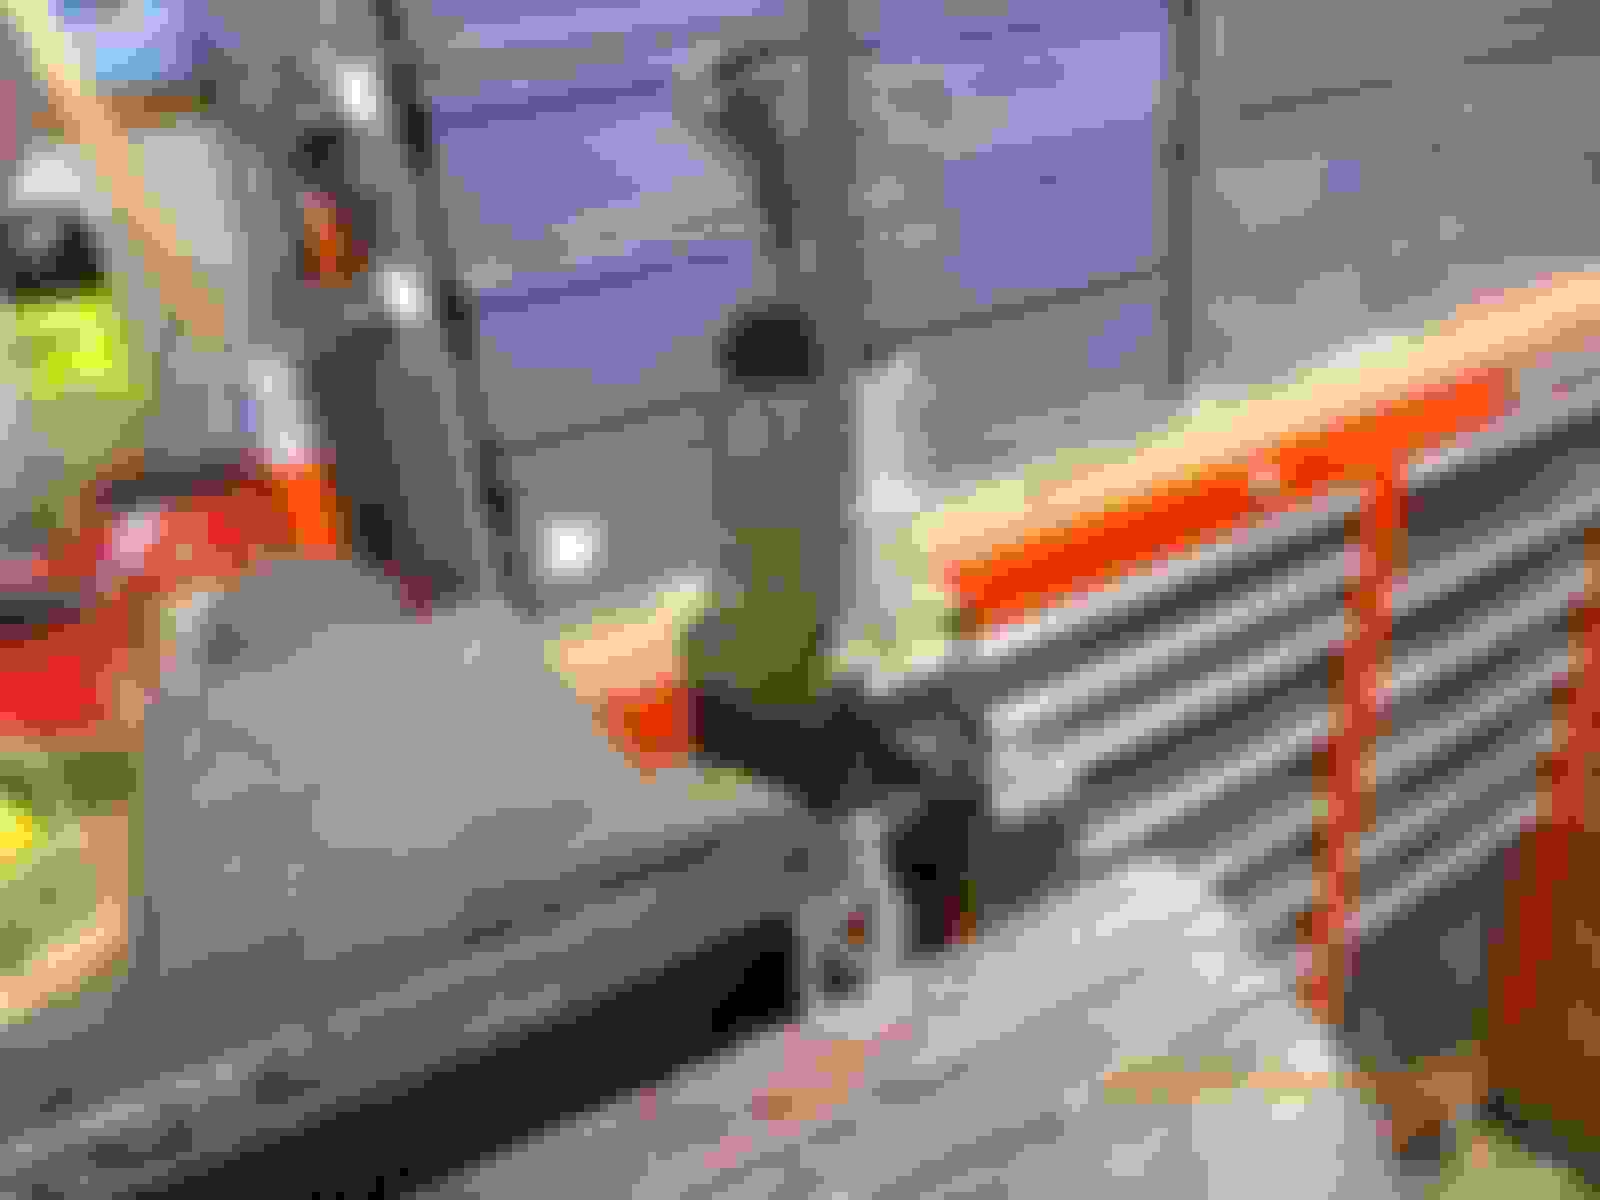
- Hold socket in a vise, position controller so that head of pin will be dislodged into the socket. Use the v.small punch to gently drive out pin toward the socket. The ribs on the end of the pin will pull a small amount of plastic out and make the hole too large to reuse the original pins. In place of the pins, use 4mm machine screws when reassembling. For best fit, enlarge the holes in the "wire half" of the controller to allow screws to be placed without resistance, I used "number drill bits" that are sized very close together so that I didn't have to open the hole more than needed. On the "joy stick" half no other work is needed, just turn the screws into the existing hole, the plastic is soft enough that the screw will cut its own threads.
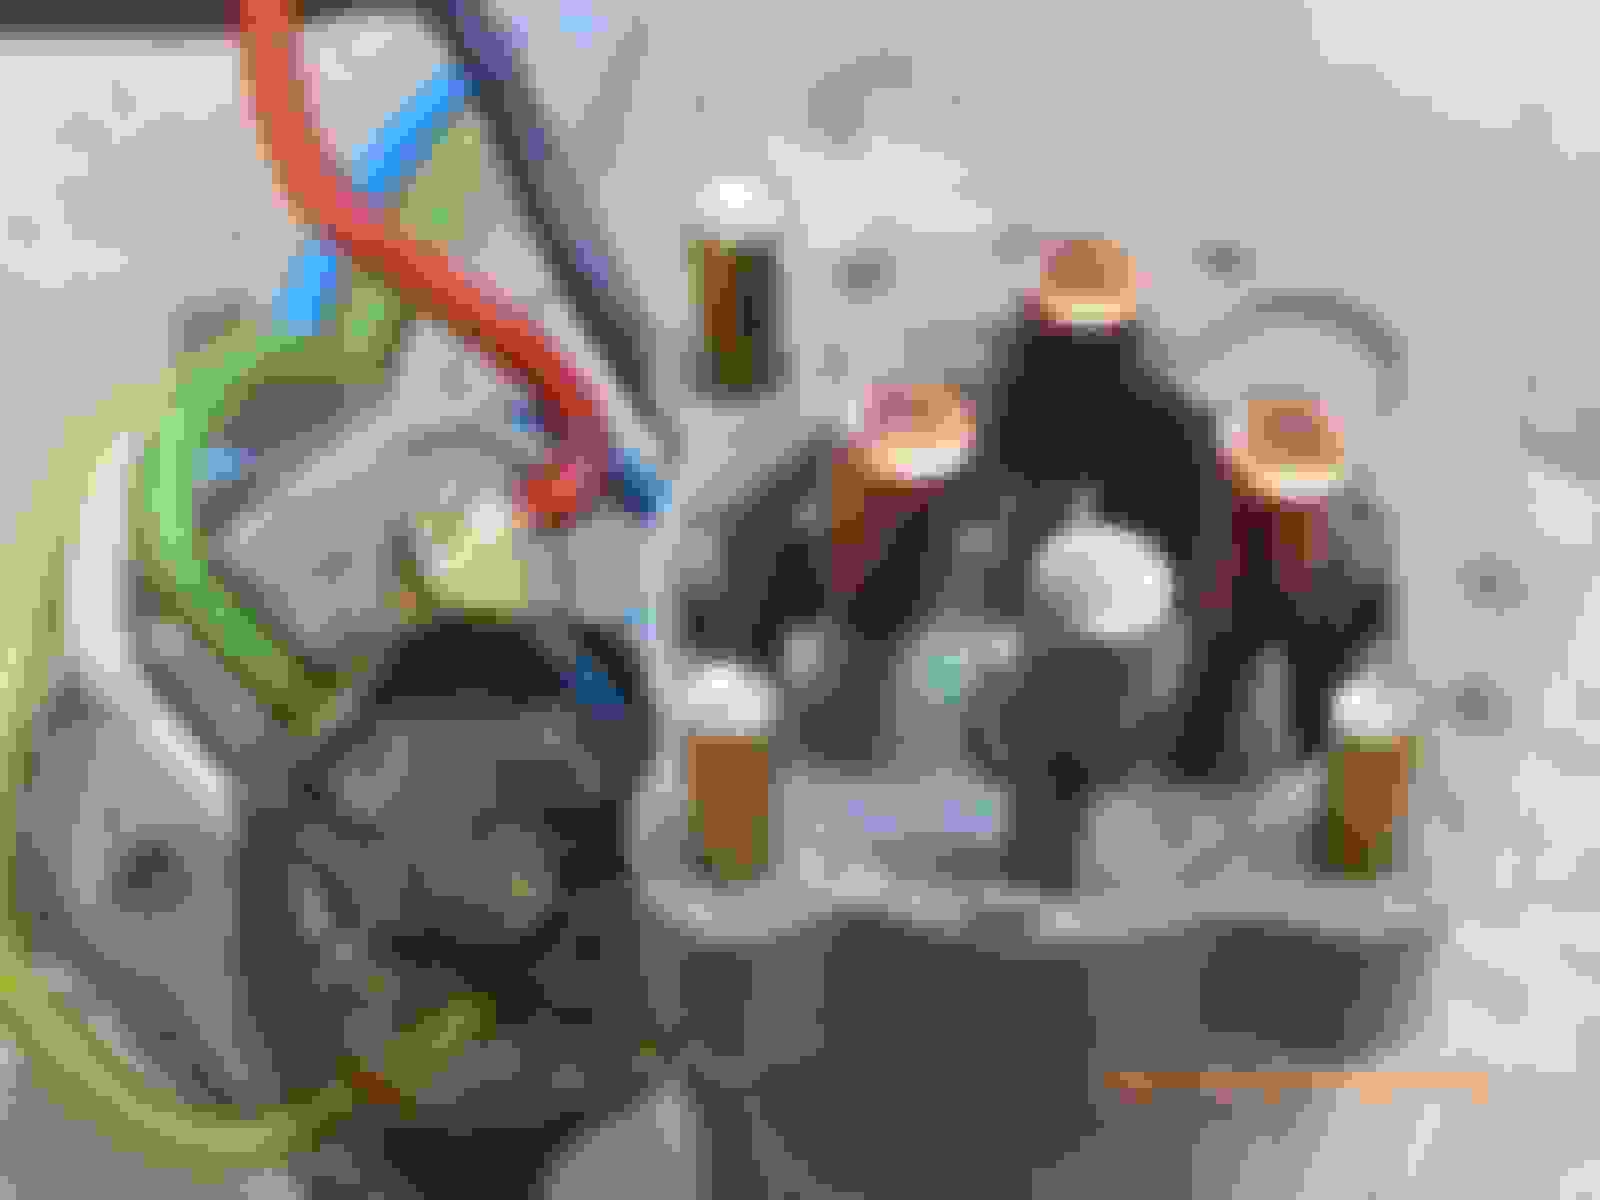
- On the inside, there are several moving parts and can look a little daunting. Look at my pictures and lay the parts out on your work table in the order they came apart. Clean the parts and look for electrical issues, I used a sliding north/south rolling motion on 320gr abrasive paper to shine-up the contact pieces (CP). Place the CP under the tip of your finger and roll it north and at the same time sliding sideways across the grit paper. Takes a little practice, but worked for me. Polish the wire contacts and make sure the "power ring" (PR) attached to the red wire is clean and bright. You can check for continuity between contacts and wire ends at this point.
- Going back together is where you would use your third hand, the one in the top right drawer of the tool chest. Be sure the springs/CP's are all in place, pre-thread the screws into the joy stick half, just to make things a little easier while trying to holding the two halves together. I believe there are "register marks" on the controller halves for proper orientation. Screw everything together and run the joy stick around and check for operation, check for continuity at all joy stick positions (NSEW) and power/ground (red and black) wires. I put a couple coats of liquid tape over mine as a bit of weather proofing.
Plug it in and see if it works. The beauty now is, you can take them apart again with a small screw driver if they need cleaning.
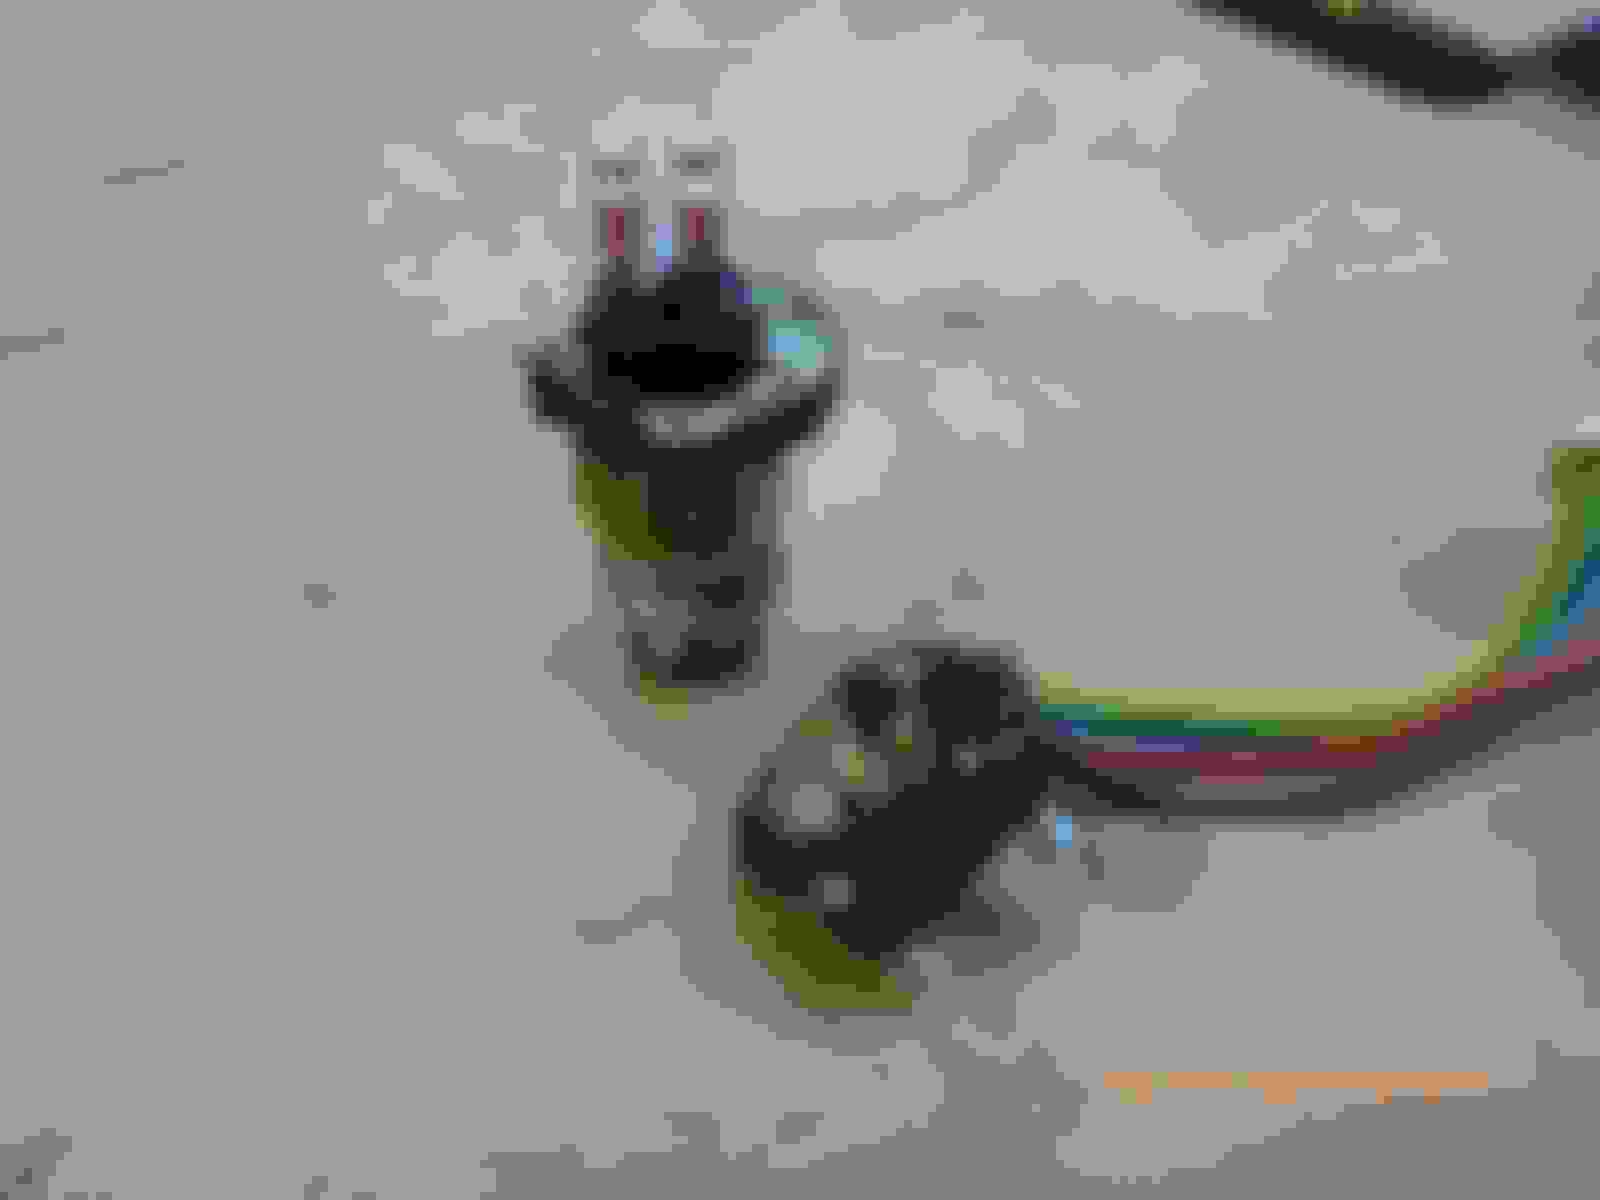
Dave This was my first "test controller" with part of the original pins in place. I cut the two halves apart with a Dremel tool.

 11-17-2022, 04:45 AM