When you click on links to various merchants on this site and make a purchase, this can result in this site earning a commission. Affiliate programs and affiliations include, but are not limited to, the eBay Partner Network.
What a Wonderful Springs weekend at CasaB! Loads of stuff done!
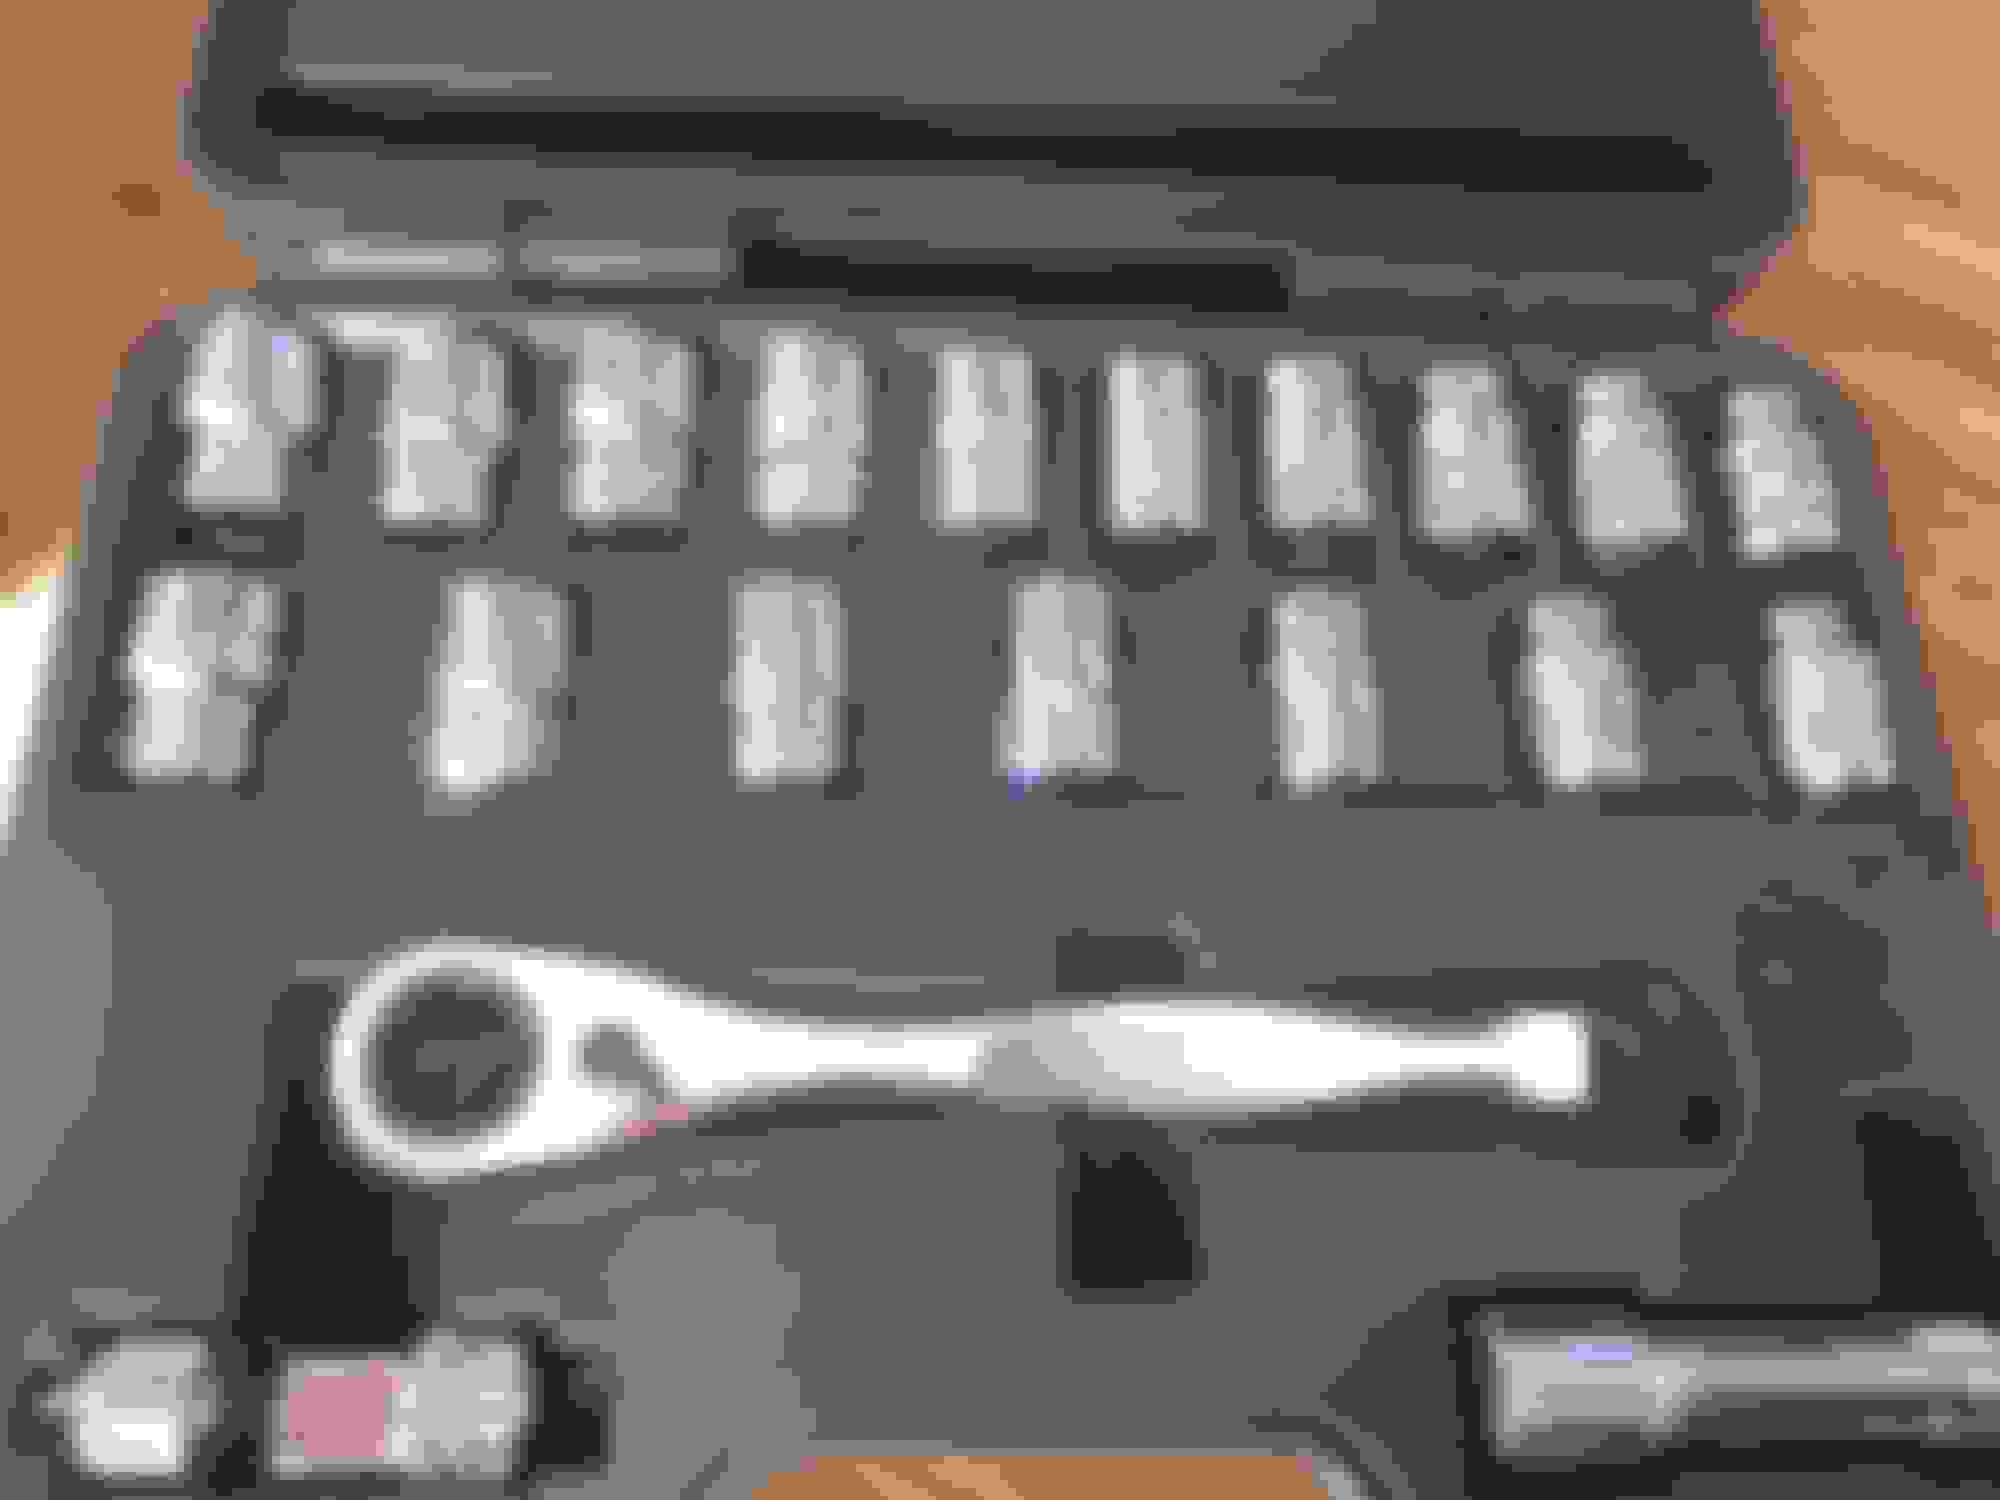
Looks like Such a Micky Mouse setup, but it works; After I found all the bits, most of which had crawled off and hid since the last time this was done. In fact, this is a picture from that time as I was a little busier this time and couldn't take the pictures while I was wrenching.
And just like last time, the Thru-Sockets paid for themselves - Again!
This first one took most of the day, partly because I had to hunt down all the Installation Tools as mentioned.
This one only took me 2 hours! I had time to mow my own lawn afterward!
This is totally too heavy to wrestle now, even for both of us trying to move it.
Easiest thing to do next is change out the sway bar.
Then I'll have to face The Rack!
(';')
Last edited by LnrB; 03-23-2021 at 08:59 AM.
Reason: added link
Thank you,Greg,
A quick search reveals Pass Through sockets can be had for $19.99 at Harbor Freight, where husband got them as he Has to have at least one example of every tool known to man and he didn't have these, to $118.99 for Professional grade. In the time since he bought them we have used them exactly Twice. But paid for themselves Many times over.
(';')
Last edited by LnrB; 03-23-2021 at 10:50 AM.
Reason: added link
Look what the postman brought today! SUPERB quality, ratchet clicks into the sockets, metric and A/F separate ones too, single hex sockets so no slippage on the nuts. Sensible price. I love new tools as long as they are good ones. Tools like this are the real jewellery of the 20th Century.
Very Nice, Greg!
Speaking of Tools as Jewelry:
Nut and Bolt Thread Checker, Mercan, #6 to 1/2", and Metric 4 to 12. Fine and Coarse threads.
Husband bought me this. For the woman who has everything he said.
Said to keep it in my Necklace department.
When I wore it out one evening one of my friends actually recognized what it was!
(';')
Not much of an update today, too many obligations and responsibilities taking time away from my wrenching.
I did get the 'new' 7/8 inch anti-sway bar mounted under the car (not much to see as it's Dark down there), and while I was looking at the new bushings holding the ends up with the nuts only finger tight maybe 3 or 4 threads, I got to thinking; I'll just Bet these shouldn't be completely tightened until the car is mostly Done and weight is on the suspension.
So I took a looky in The Blue Book. Sure enough, there's a WARNING in BOLD print, DO NOT FULLY TIGHTEN THESE NUTS UNTIL THE WEIGHT OF THE CAR IS ON THE SUSPENSION.
So I have left them hanging obviously not tight.
Got the new tie rod ends on the rack today, and got the crossmember rotated so I can set the rack in place once I get the tower seal changed. I don't think there's a lot left to do before I put it back under the car. Although I'm Sure Murphy will come calling pretty soon.
(';')
Everything nice and clean, looks good. Do you use an engine hoist to put the cross member back in place? One other thing I spy, the spacers on the front hubs, tire/wheel combination clearance?
Thank you, Dave,
When the car came to live with me it had the world's cheapest spacers just rattling around between rim and hub.
Look here for the explanation.
As for how to get this thing back under the car, I don't know how one would use an engine hoist for this. The last time, husband got a platform jack for that very purpose; to lower and raise the crossmember. It's quite wide, broad and very stable. It gets quite a workout around here.
Below is a picture from last time this was done, 2015.
(';')
Last edited by LnrB; 03-29-2021 at 04:11 PM.
Reason: further information
Elinor, I'm embarrassed about the engine hoist thing. The image in my mind at the time was of my own project; no engine, no hood, no radiator/grill, no bumper, etc.
It appears that I won't need to worry about spacers. I was concerned that a future change of tires/rims would cause a conflict with something. You certainly were persistent and goal oriented on that project, and then to discover the actual reason the spacers were there. Very nice looking wheels!
Thank you, Dave,
I *Like* these rims! In my mind they make the car! We were prepared to do whatever it took to make that continue.
I know there are tire shops that refuse to mount tires or do any other tire related work on vehicles with spacers, so I choose carefully where I do tire/alignment business.
(';')
I got the new rack tower seal installed, it wasn't Nearly as "interesting" as I have feared it might be.
I understand just enough about hydraulics to get into trouble. So I have been Dreading this operation for 6 years, ever since the last time we rebuilt the whole front end, and I discovered in about 2 days the tower seal leaked.
demonstrating how to do this the easy way. Took all of 15 minutes.
And since this is my old rack which we did a Lot of work on before, and I didn't mess with anything, I don't even have to center it!
That means as soon as I have a full day free the thing goes back under the car.
I can hardly wait!
(';')
Yes, it's Under the car, but Nothing is connected.
This was a lot of fun too, with the help of a blind man who can't hear.
(That's what I get for marrying an Older Man)
It can sit right here for a couple days until I figure out how to proceed, because taking it down was easy. I had Gravity Assist then and all I had to do was disconnect all the bits. Now, 3 months later, reversing the process isn't nearly so straight forward. At least I'm pretty sure where all the nuts and bolts are.
(';')
Thank you, Greg,
Last time, when WE did this, the thing went up level and Perfectly aligned, and 6 of the 7 points engaged mostly at the same time, with 4 eyes on several things at the same time and good communication, and although it was a bit stressful as we had never done it before, it went amazingly well.
Engaging the front first might be a Very good idea as it already wants to tip back, the rack causing a bit of overbalance. My biggest concern is the Chevy engine mounts, which require pretty much Spot On alignment in 3 planes or the bolts won't go through.
But if it all went without a hitch, Where would the Adventure be in that?!!
(';')
I had it up. The V-mounts had seated, nuts on finger tight. I could see that the engine mounts were in alignment. The left front bolt went through the 6-shooter bushing, washers in their proper places, nut on finger tight. I was just thinking how easy this had been and feeling quite pleased. Only the right bolt was left to do, and I would have 4 of the 7 points of connection secured, the remaining 3 as good as.
However. The bolt would not go through the bushing. It went through the frame, but stopped short of going all the way through. I had JINXED it, that's what I had done! Drat!
I got a tapered punch to align the holes better. Nope. I put the bolt in and tapped gently..... and the sleeve came out of the bushing! Consternation reigned.
So I sat back to think about what might be wrong, as one does, and from that perspective, There It Was!
You might not be able to tell from this picture, but that's the part of the frame the bolt goes through, just to the right is where the suspension bushing would be holding the front of the suspension, and it should be perpendicular to the floor. This component is BENT! Doubtless the result of the collision with the construction iron that resulted in the need for a new crossmember.
It never occurred to me to check this out. Never occurred to me that with the damage to the crossmember, it would have been very unusual if there wasn't some damage to the frame. Well DRAT!!
So I undid all that I had done and dropped the thing back down on blocks to await the arrival of Bigger Hammer Frame Repairs.
You said earlier that you expected a visit from Mr. Murphy, but I am sorry that he showed up.
I know you've already figured out how to monitor the extent of the damage, but I'll throw this in anyway. To see how much out of align the one 6-shooter is, use a rod (wood, steel, pvc, etc. as long as it's straight) that will just slip through the bushings and run it through the "bad" side toward the good side. You will see immediately how far off the rod points on the good side.
I can see chains and hydraulic jacks in your future. You don't want to spring other parts of the frame by unfettered muscling of the bad 6-shooter.

 03-22-2021, 08:47 PM