When you click on links to various merchants on this site and make a purchase, this can result in this site earning a commission. Affiliate programs and affiliations include, but are not limited to, the eBay Partner Network.
New Mex. Walter.......The good ole manual says 15 pints for the tranny, so your 4 qts (16 pints) is fine, and thats the reason its 1/4" above the Hot mark. Better a pint too much rather than a pint too little......same comment comes from all the local pubs in Ireland.
Out of curiosity, have you ever pulled the tranny dipstick and checked it completely cold, after the car has been sitting for a day or two?
Doug.....Thanks for the comments about the oil expanding alot with temp. However, one would think that they all would drain back down to a certain level on the dip stick after sitting a day or two.......seems that would also be a good mark to "etch" onto the dip stick for a reference. From what others have said, my oil mark 4 inches above the Cold "Max" mark seems excessive.
Carl......Guess we all need a "slush fund" to cover these "slush boxes" for the time when they begin to fail.
Can anyone give an idea as to why Reverse Gear would not be working? Can too much fluid cause that? Or, can a broken vacuum line from the manifold affect Reverse Gear?
When I check it when its cold, its way over the cold mark.
It has bin doing that for 40 years now, why should I worry?
walter
Walter.....I agree......if the shifting is good, and you have a working Reverse, then all is good. I was just trying to discern if having it way over-filled could impact the functioning of the tranny.
Today I took some time to pump out some of the excess fluid in the 77 XJ6. At first I was going to try using a 20cc syringe with a long tube, but then saw my el-cheapo H. Freight Fluids Hand Pump which works great to pump gas from motorcycle gas tanks. I thought I would give it a try. The red hose is pretty large, and fit easy in the straight portion of the tranny tube, but started getting tight as it went into Turn No. 1. I pressed it in as far as she would go, put the exit hose end into a Cherry 2 Qt bottle, and started pumping. At first I thought the hose did not go down far enough, but after a few pumps, I could tell she was working, and in less than a minute I was done. I went ahead and took a full 2 Qts out, and then remeasured the dip stick:
Now the dipstick shows the fluid coming to where the flat end of the dipstick meets the round part of the dipstick, just below the coil spring:
So, it looks like the level is close to being correct with the 2 Qts removed. Manual calls for 15 pints (about 4 Qts), so it does appear that this tranny was way over-filled. The fluid also is a brownish-red, and I could not see sunlight through the clear 2 Qt bottle, so it seems pretty dirty. Strange thing is that the prior owner had the tranny rebuilt (and I have the receipts), and it was only driven a few weeks before it began to fail (Reverse stopped working, and it was shifting erratically from 1, 2, and 3).
Any tranny experts here with some input? I will now start the engine and see if it made any difference....will I now have a working Reverse? (Wishful thinking).
I believe the tranny goes to a cooler beside the radiator, and I also wonder now if perhaps water was entering from the cooler and getting into the tranny, causing the high level. There is no signs of water in the 2 Qts I removed, but water would settle to the bottom. (Or would the fluid be more tanish/mirky/frothy in color if water was mixing with it?)
Also, I discovered that famous "65" on the Hot side of the dipstick:
The trans fluid will darken if exposed to extreme heat....or if contaminated with clutch material.
For this sort of failure to occur soon after overhaul doesn't bode well. My gut feeling is that the overhaul was bollixed up somehow. It happens. But.....
Restoring reverse operation might be as simple as adjusting the bands. Worth a try with fingers crossed.
Doug.....Thanks VERY much for that link on how to adjust the bands. I had not clue that it was so simple, and imagined removing the tranny from the car to do adjustments. I think I will give this a try.....could be that its just simply that the bands are loose, and who knows.....maybe the shop who did the rebuild did not tighten the set screws, and the bolts backed out causing loose bands. If Reverse then works, I will definately drain the fluid and install a new filter.
Tranny Update: With the 2 Qts removed, I started the car and gave her a test. This time, No Reverese, No Drive/1/2. I nuddged the tranny with all the gears, and the poor tranny just looked at me and said "Say What?"
I had none of the special brew tranny fluid (cant use Dextron in this one), so I just filtered the old fluid and put 3/4 of it back in. I cranked up the engine, and this time there was a very feeble attempt in R, but then nothing......revving the engine a bit produced no reverse action. However, D was very compliant and I could easily pull the car back into the garage. Now, I will need to raise way up in the air and attempt to tweek the two bands (per Doug's advice)....maybe that will work.
Scotty, "Coptain, Im going In!"
Cpt, Kirk, "Scotty, remember that your an engineer, not a Miracle Worker!"
Aye Coptain..................
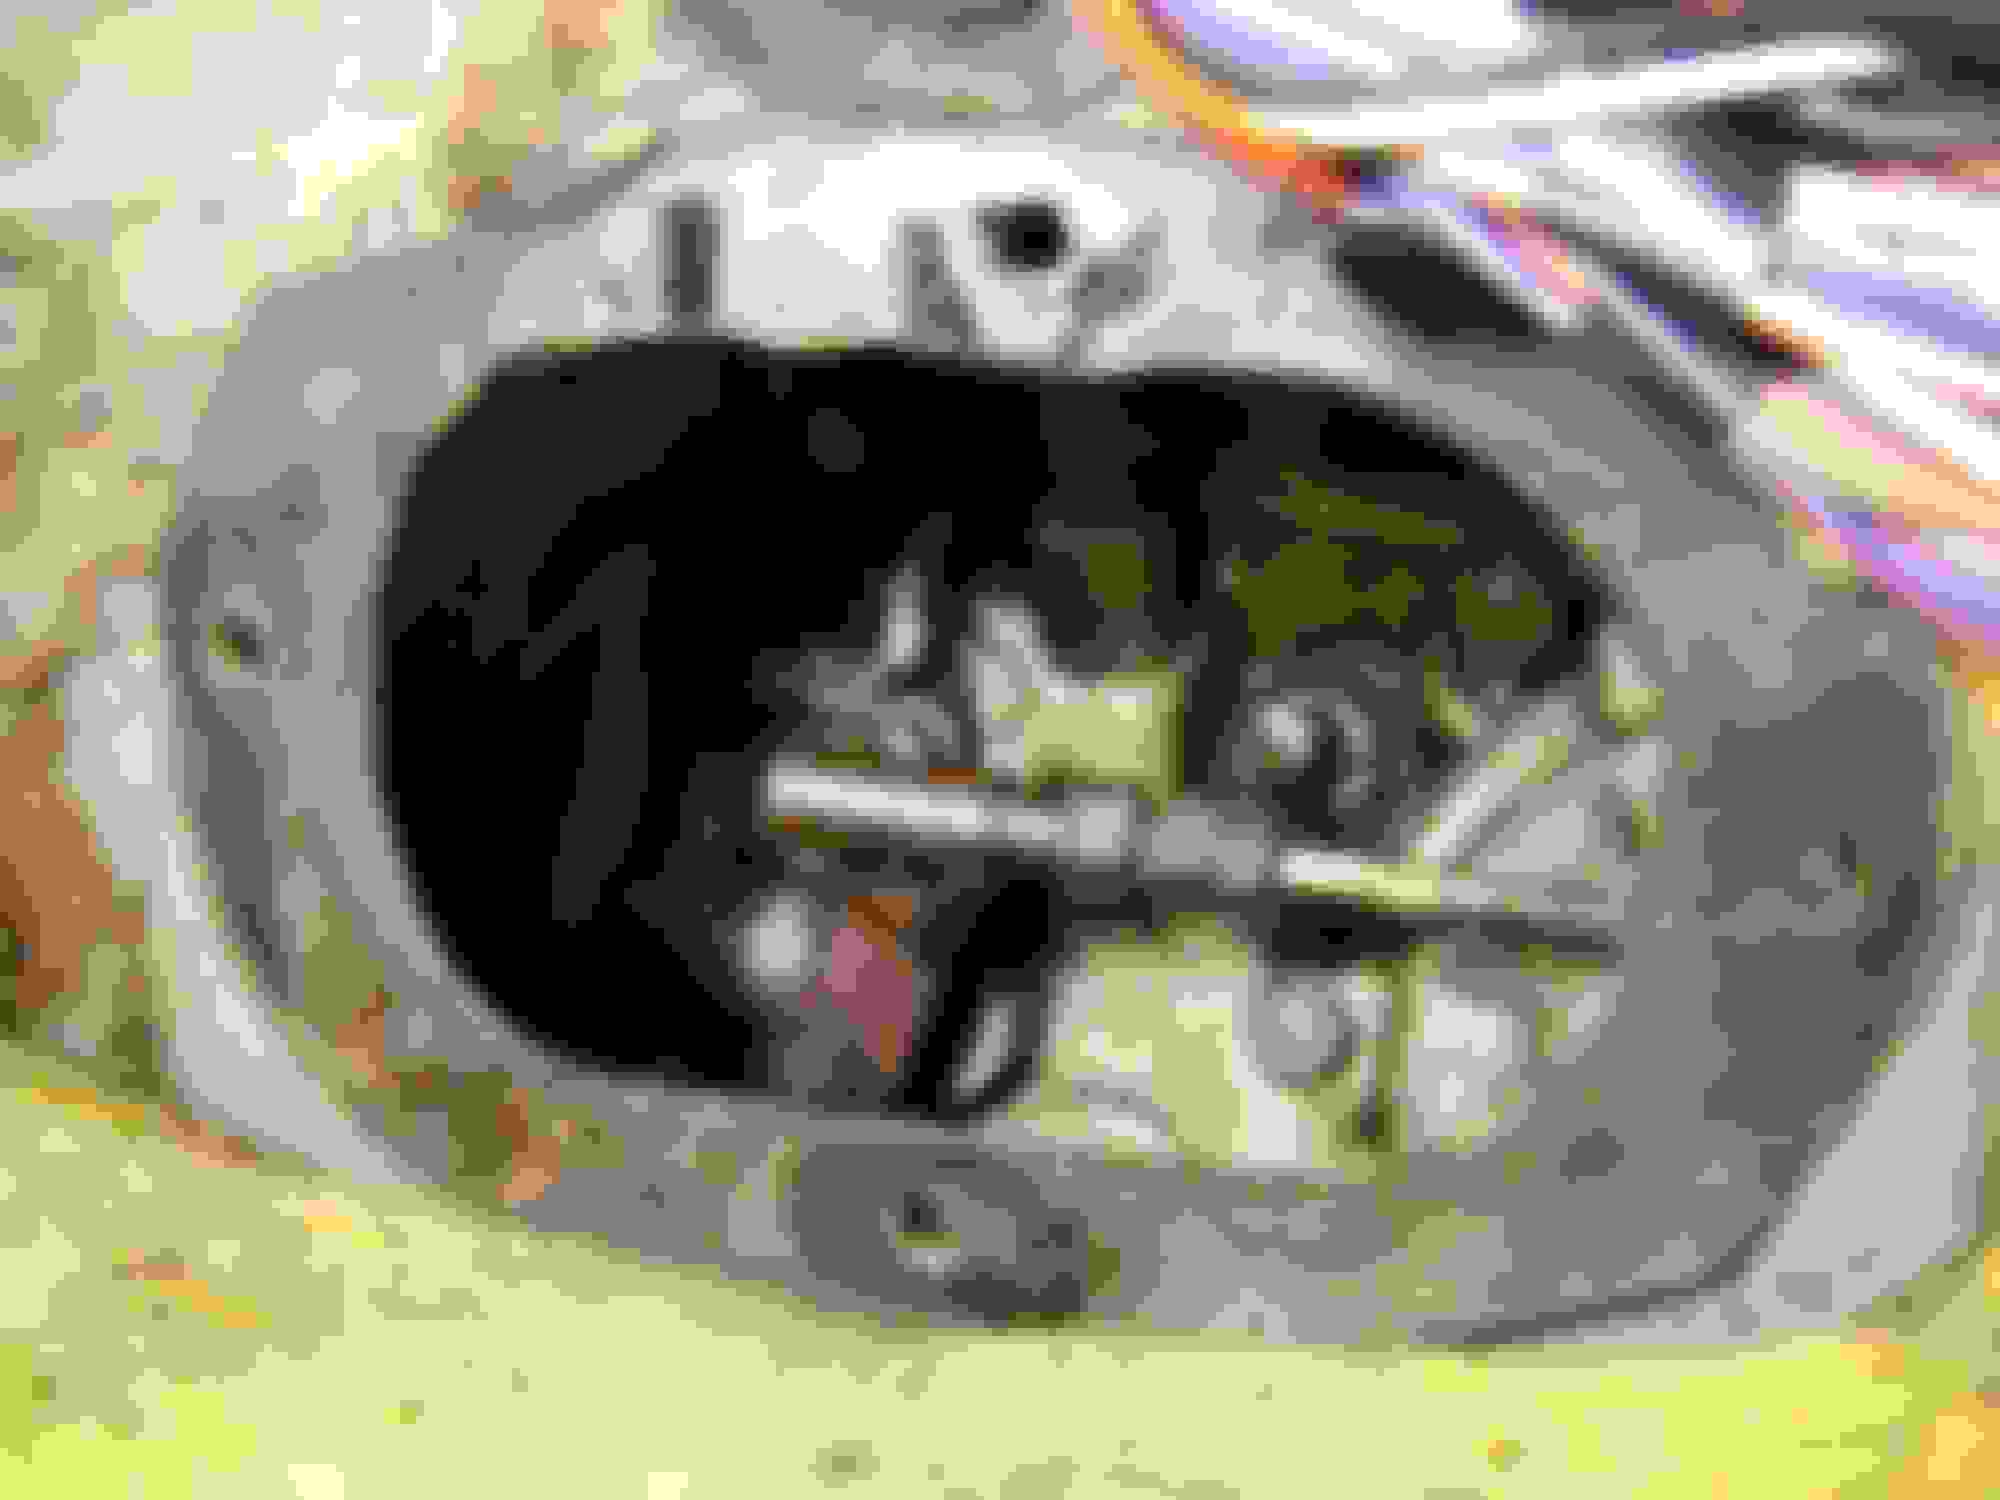
Looking for the first Band Adjusting Screw per Doug's information:
There it is:
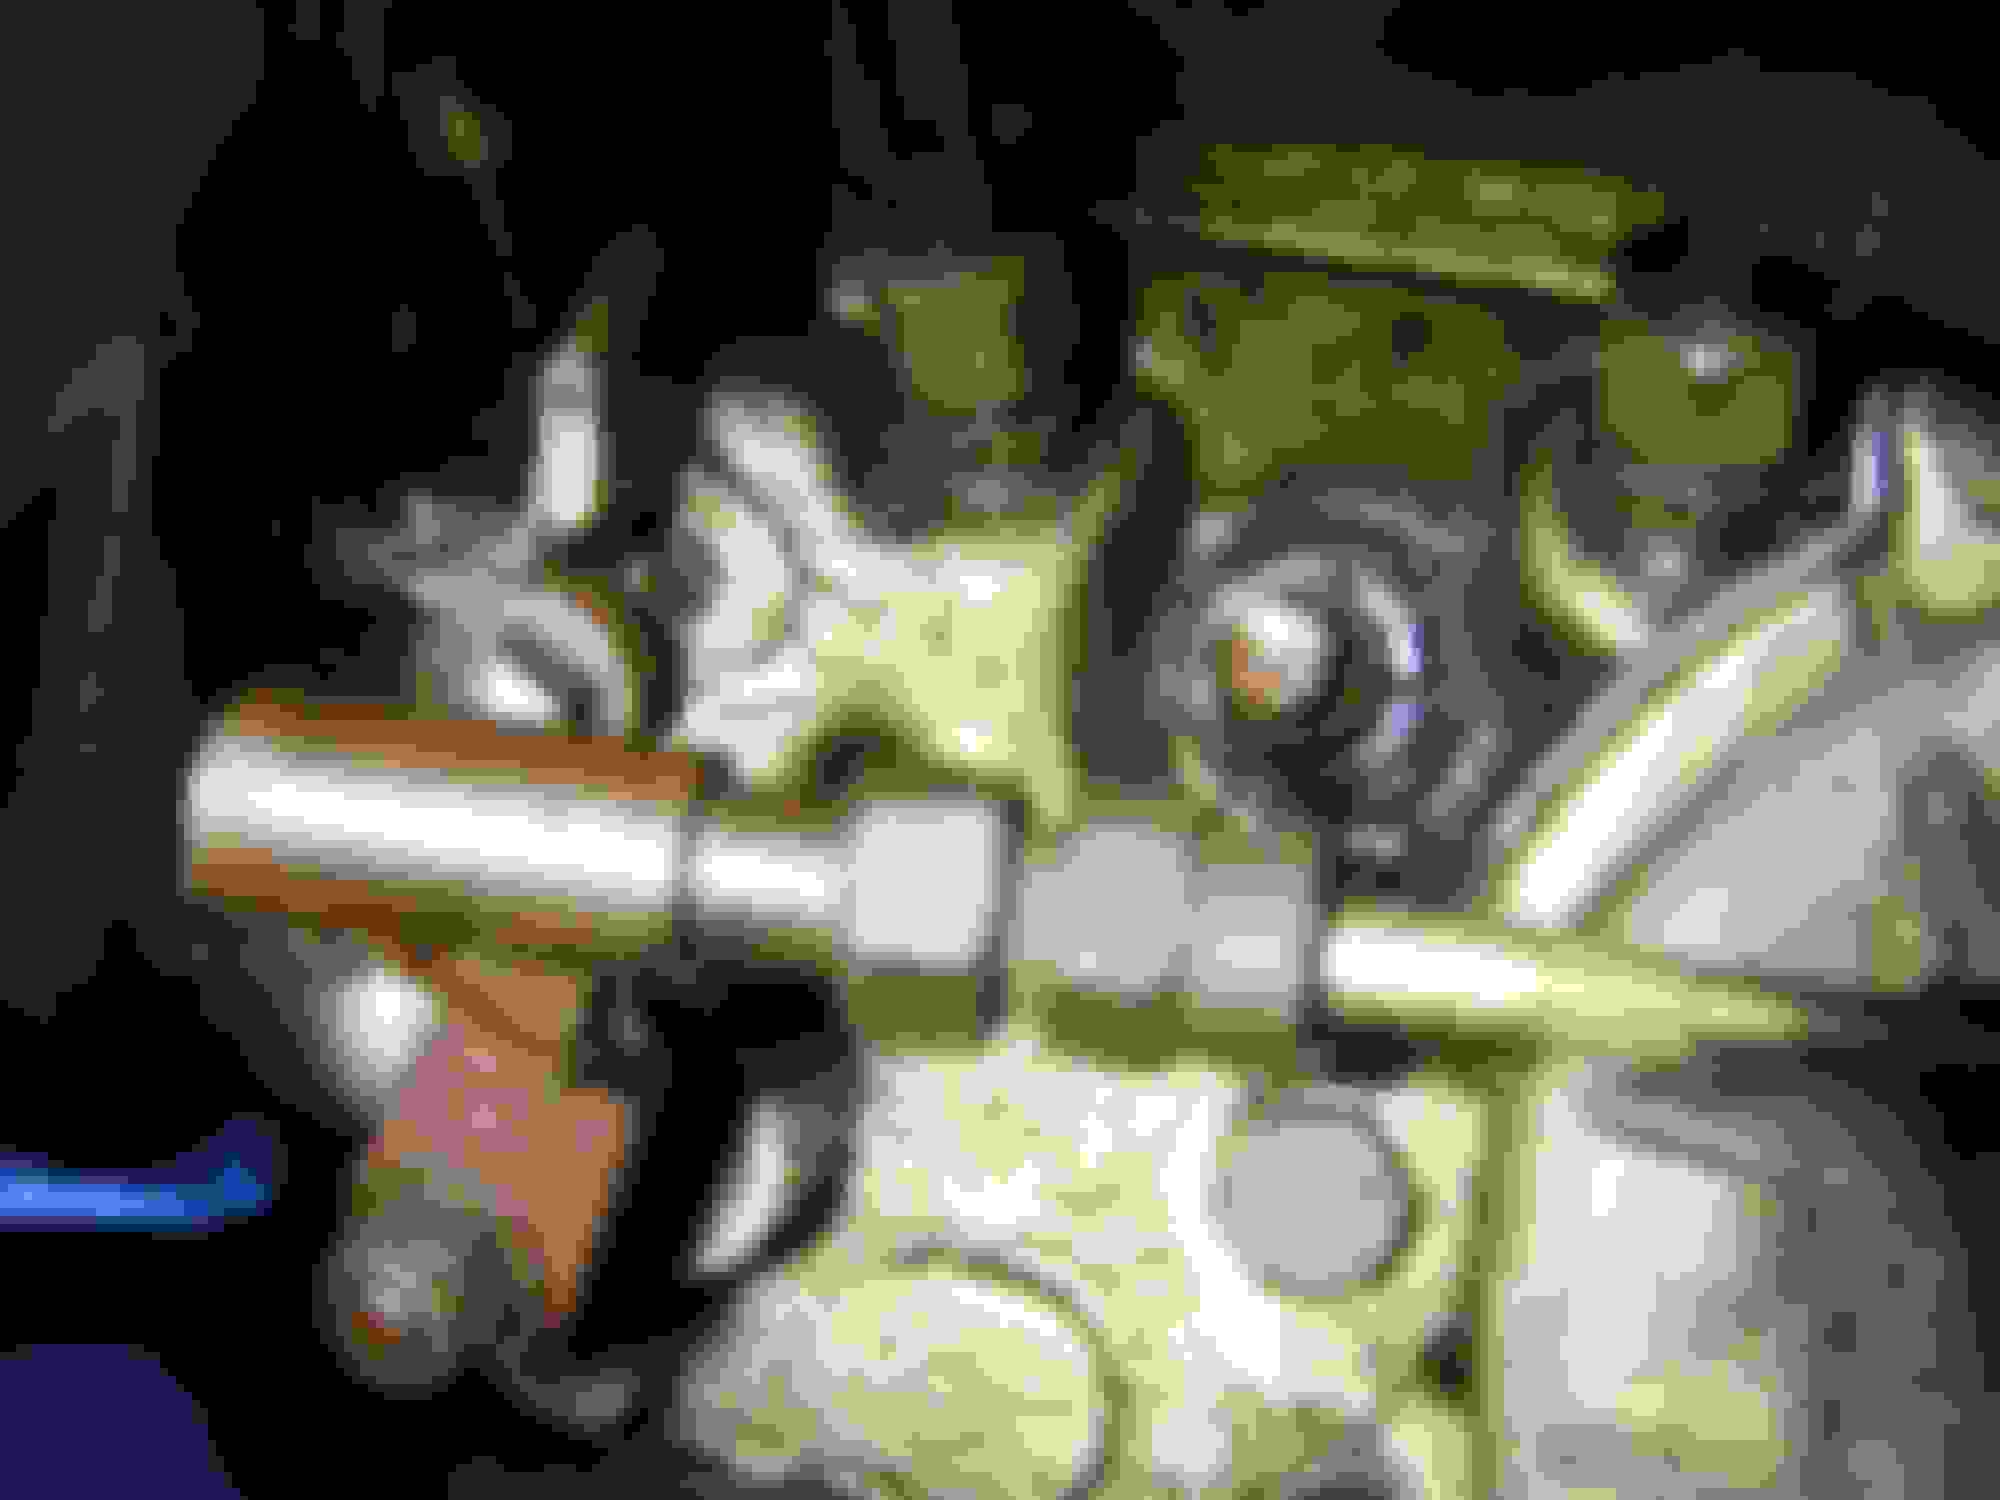
Just need to loosen the set nut, then tighten it in per the instructions, then back off 3/4 turn:
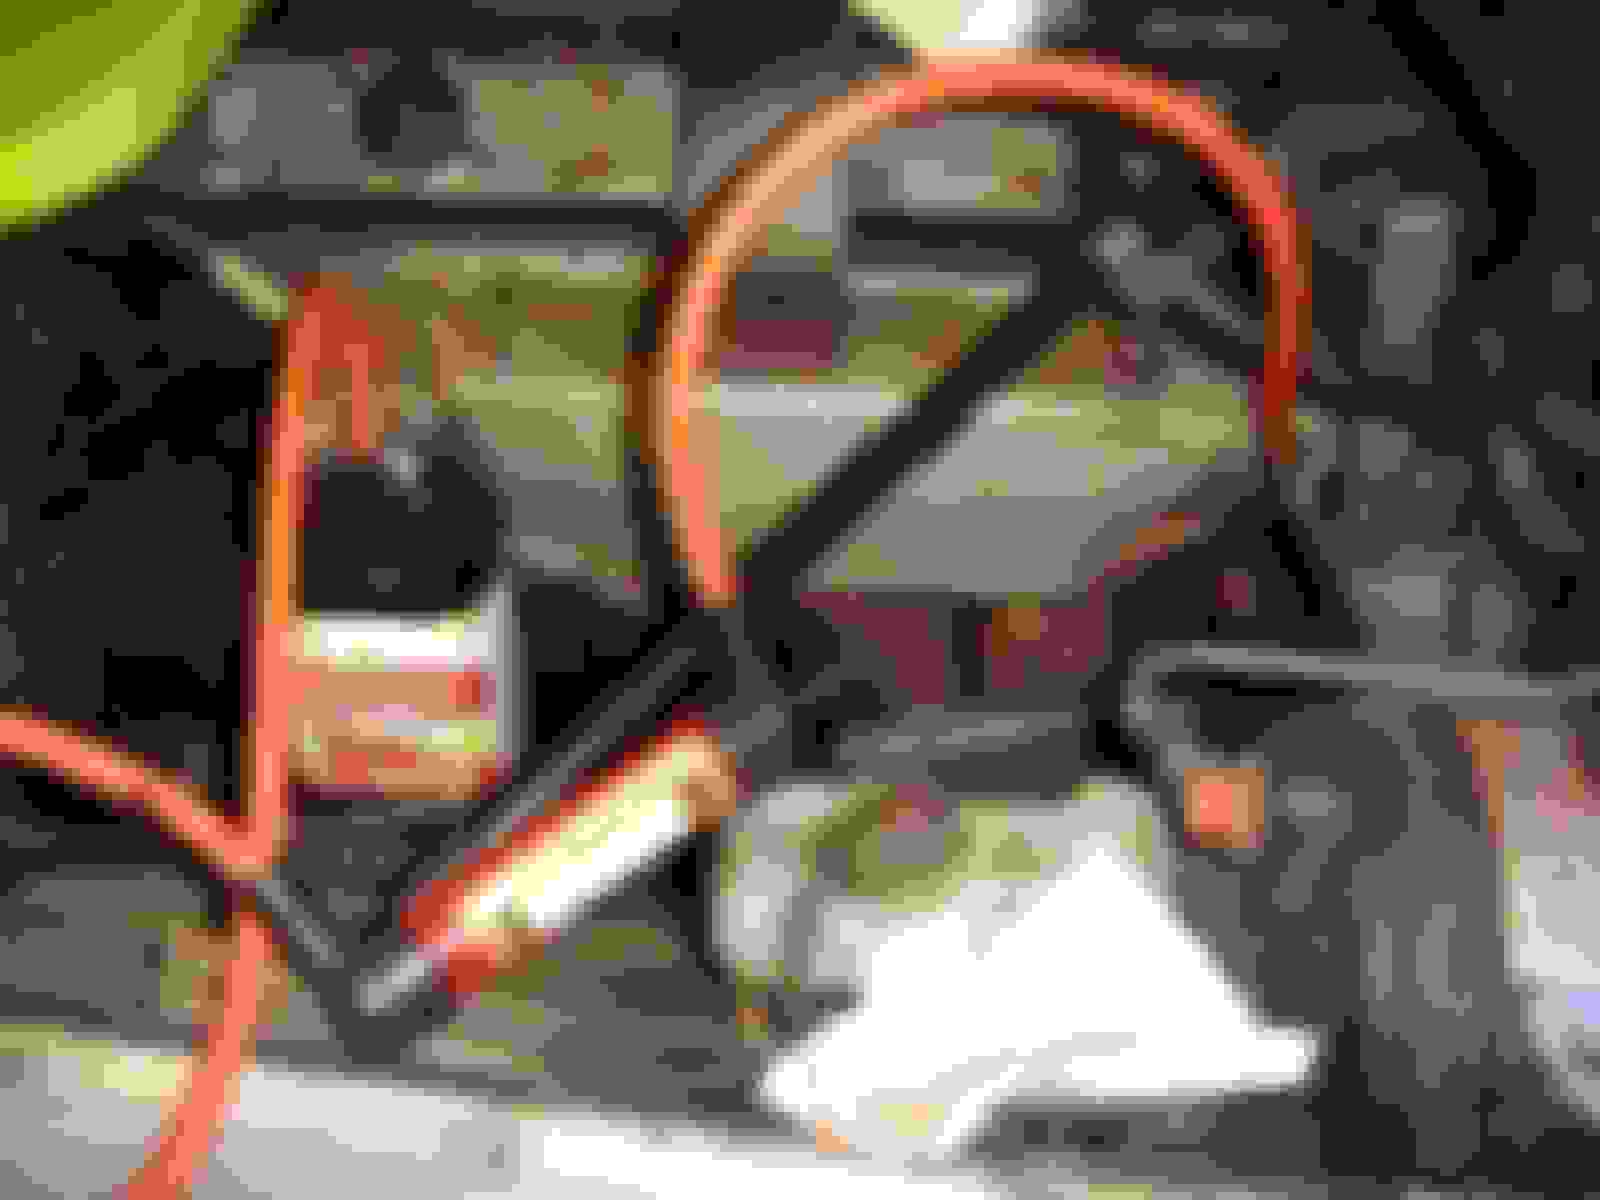
Here is the panel that need to be removed to get to the other Band Adjusting Screw:
Alot of wires under there:
7/16" bolts removed after spraying lube on the threads from underneath:
There is the adjusting bolt:
Now I just need to make the adjustments and then see if it helped restore my Reverse gear.
Scotty telling that tranny, "Resistance is Futile!"
Beam me up Coptain!
Quick Question.....In the first picture in the last post, you will notice a white tube hanging down. I suppose it is an overflow drain tube that comes from the tranny. Is it supposed to just hang down like that?
No Idea what that White tube is.
The fluid that came out is well past its use by date.
Why do you say you cannot use DEX111 in the trans? That’s what I use on my S11
Looks more like the condensation drain tube for the a/c system to my eyes. Shouldn't hang down quite so low. Maybe 3-4" should be exposed and visible at the underside of the transmission tunnel. I suspect it has come adrift of the evaporator case (inside the cabin) and is falling thru the floorboards.
There is a transmission vent tube, though. According to the parts catalog earlier versions were a (seemingly) rubber hose from the vent nipple on the transmission case, going upward, and finally being clipped to the dipstick tube.
Latter version had a metal vent pipe with a rubber joiner hose. These went upward, then downward, and were clipped to the engine near the starter.
The vent tube isn't really intended as a fluid overflow tube although it could function as one if the transmission was hugely overfilled, I reckon.
The original spec fluid for the BW65/66 is Type G....but that designation is obsolete. Type F or FA is the replacement.
Many seem use Dexron with no apparent problems. Dexron is a more slippery formulation than F or FA...which I suppose could promote slippage in a worn transmission.
Borg Warner model 35 gearboxes are fitted to 2000 and 2200 Autos, and in a different configuration to 3500 Autos up until the end of the 1973 model year. From the start of the 1974 model year in October 1973, Borg Warner 65 gearboxes are fitted to V8’s. The 65 is easily identified by having the dip stick and filler tube on the left hand, near side of the engine bay instead of on the right hand, off side for the 35, as well as having a rod linkage to the gear selector instead of cable.These gearboxes have some unexpected characteristics liable to catch out the unprepared home mechanic. This article attempts to talk you through some of them.To start with, the fluid level checking procedure is stated incorrectly in several places in the Rover Factory manual and the workshop manuals. The correct level check is as set out here, drawn from the experience of experts and from the Borg Warner manuals.First drive the car sufficiently for the transmission fluid to be hot, say 15 minutes. Make sure the gearbox has spent time in all three forward gears and in reverse immediately prior to halting the car, and also run the selector through all gear positions immediately after bringing the car to a stand with the engine still running. This is to make sure that the torque converter and all passages in the valve block, along with the clutch servos are full of transmission fluid. They otherwise drain back into the gearbox sump and give a false reading. Do not switch the engine off. You should then dip the gearbox immediately with the engine running at idle, and top it up to the “hot” level on the dip stick.The correct fluid level is crucial to gearbox behaviour, having a high or low fluid level will cause harsh, late or early changes and a harsh drive take up.When topping up the gearbox fluid, you MUST use the correct fluid – ATF-G or Ford spec M2C-33G. Other fluids sold for modern automatics are normally Dextron based and destroy the integrity of the clutch and band friction linings. The gearbox will almost certainly fail after only a couple of thousand miles with Dextron instead of the correct fluid.If you have reason to believe that the fluid may have been previously topped up or changed with a Dextron fluid, change the fluid for the correct specification immediately. This is likely to take at least four complete drain and change sequences to replace all of the fluid retained in the torque converter and valve block.Taking this a little further, a high mileage ‘box may well have particles of friction material suspended in the fluid. These greatly assist the clutches and bands to grip. So changing the transmission fluid may well bring on almost immediate failure. Certain symptoms might cause you to drop the gearbox sump to change or clean the fluid filter immediately within. But in that case you should take the steps outlined above to try and keep as much fluid as possible contained within the torque converter and valve block so that you lose and have to replace the minimum amount of fluid.The smell of the fluid is the best guide to what is happening within – a burnt smell is an indication that clutch plates and brake bands are in the process of failing. In this scenario, changing the fluid is likely to accelerate the failure, so best not to, but be prepared for a transmission rebuild in the near future!Water in the fluid indicates a failed cooling element in the cold side tank of the radiator. The first thing to do is get the radiator reconditioned with special emphasis on the transmission cooler in the cold side tank. It may then be worth doing a fluid change – a minimum of four times to get everything out of the converter – but a complete failure is still the most likely outcome.A harsh drive take up – a clonk from the rear of the car as the gear (particularly reverse) engages – can also be due to an incorrectly set engine idle speed. The factory figure is 650rpm, but if your engine can be persuaded to idle slower than this, anything down to 500rpm is advantageous. It will certainly help the life of the differential output drive shaft flanges – a known weak point.The kick-down cable attached to the throttle linkage close to the carburettors is much misunderstood. It is much, much more than just a kick-down cable! The hydraulic “brain”, or valve block, of the transmission relies on three inputs to determine which bands and clutches engage to give the required gear. The first is the gear selector. This very rarely requires adjustment and then only if either neutral, park or reverse are unobtainable because the lever is in the wrong place relative to the detents in the gearbox. This should be obvious. Next the valve block detects road speed through a hydraulic pump at the back of the box attached to the output shaft. Finally, the pump at the front of the gearbox feeds to the valve block a pressure that is proportional to engine revs and is modulated to give a measure of throttle position by the kick-down cable position. The kick-down cable therefore has a major influence on the gearbox behaviour under ALL conditions, not just when you want full performance. There is an intimidating series of pressure measurements specified in the workshop manual to set it up. For most purposes these can be distilled to a simple practical test of the road speed at which the box changes into third (top) gear under light throttle conditions. It should be between 40 and 45 mph – ideally 43 mph. The kick-down cable should be adjusted to achieve this. You might find then that the car won’t “kick down”! The likely cause of this is free play in the throttle linkage preventing you achieving full throttle at the carbs, such as a missing rubber bush at the bulkhead where the throttle linkage passes across the space between car and engine. These comments apply to all four-cylinder and both varieties of V8 installation.Failure of a ‘box is usually down to worn out friction material, but can also be due to problems with clutch servos and front or back pumps. Oil seals are also known to leak after long periods standing, but these often reseal after a few thousand miles of regular use. Another cause of leaks is fluid draining back from the torque converter after periods standing. Again, regular use is the answer.Another troublesome component is the start inhibitor switch on the outside of the gearbox. Quality replacements are difficult to source and the adjustable type can be awkward to set up. Symptoms of this problem are erratic operation of the reversing lights (they use the same switch) and having to jiggle the gear selector to get the right position for the car to start.If your gearbox appears not to be performing correctly, we would strongly recommend you signing up to the Classic Rover Forum where free advice is readily available. “Harvey P6” is a regular contributor to the forum and recognised as sufficient of an expert on these gearboxes to advise the Americans on their own gearbox! We’d recommend having an online chat to guide you through fault-finding before committing to expensive repairs.In all fault finding, make one change only at a time, road test the car afterwards and record the change and its effect on how the car drives. With the exception of the fluid level checking procedure, the workshop manual is pretty good, and you should follow its instructions as you fault-find or repair. There are very few genuine experts out there for these boxes, so if you plan to do any work yourself, stick rigidly to the Workshop manual and Harvey’s online advice. Ignore other so-called experts including specialist transmission firms – ask them how long it is since they saw a Borg Warner of this period.
Doug.....Im pretty sure there is a black rubber hose, or the "vent" tube you are referring to that does go upward, and then drops downward and plugs into this white tube in the picture....I guess designed to keep the critters/bees from clogging with mud/insect matter. But I will double check tomorrow.
Still had the Jag way up on jackstands/floor jacks, and back-up jack stands after doing the two band adjustments. I started car, and put her into Reverse and looked at the rear tires.....they were going backwards at a good speed. I put into Neutral, waited for the tires to stop, then into Drive.....and the tires went forward as they should. Then I tried Reverse again, and this time..........NOTHING. So, maybe just low on fluid, as I did not dump the entire 2 Qts. back in?
If not, can someone tell me which band is the one for Reverse? That way, I can try tweeking it back in from that 3/4 turn out, and see if that helps.
The reverse band is the one on the passenger side of the transmission block (LHD), shown in your 2nd and 3rd photos in post 29.
You can also see the black rubber vent hose just to the left of the ground strap in the first photo. It should connect to a metal
vent line that eventually curves and points down. See part c43731 in the attached photo. A PO could have replaced
it with a plastic hose at some point, but I agree with Doug that the white hose appears to be the a/c condensate drain and it does appear to be hanging too low.
i had no trouble finding type F fluid at the local advance auto/ auto zone.
Just curious as to why Jaguar used that terrible square-head adjusting screw? Apparently an open end 5/16 will work on it, but I have no sockets that will fit. The adjusting screw up near the driver's gas pedal is too tight to use an open end wrench, and none of my 8 point sockets will fit. Even tried metric.......8mm is too small and 9mm is too large, and I dont have a 8.5mm. I sure hate using pliers or locking needle nose and risk damaging the poor adjusting screw. Plus, I cannot use a torque wrench unless I have a socket that fits. I have never seen a "square" set of sockets.....is this something you can buy? Again, why didnt Borg Warner use a standard socket size adjusting screw????
XJ6 Paul.....thanks for the diagram. I will check again today and see if that is the AC line or actually connected to the Tranny vent hose. Perks my interest in the theory that the AC condensate drain hose has come loose and is hanging down......the car was getting water into the front floorboards and rusting a bit under those thick carpets and paddings. Maybe it was just from the AC water leaking back into the car, and not coming from around the windshield.
Also, when reading the article I posted above, the author states that changing the dirty tranny fluid and filling with clean can cause a failing tranny to totally go "ka-putt". The fluid will have less friction "material" and thus the bands are likely to slip more. Scratching my head now and remembering the ole red-necks talking about pouring ground-up saw-dust from Bubba's saw mill into the tranny to get it working good, and then selling the car to some city-slicker. Hmmmmmmmm......I do have a good pile of sawdust from last year's wood-splitting pile. On second thought, I ain't no Red Neck.......just a poor ole Hillbillie, and will keep my hands away from that sawdust.
Just curious as to why Jaguar used that terrible square-head adjusting screw? Apparently an open end 5/16 will work on it, but I have no sockets that will fit. The adjusting screw up near the driver's gas pedal is too tight to use an open end wrench, and none of my 8 point sockets will fit. Even tried metric.......8mm is too small and 9mm is too large, and I dont have a 8.5mm. I sure hate using pliers or locking needle nose and risk damaging the poor adjusting screw. Plus, I cannot use a torque wrench unless I have a socket that fits. I have never seen a "square" set of sockets.....is this something you can buy? Again, why didnt Borg Warner use a standard socket size adjusting screw????
Why? Who knows? I'm sure there's an arcane rationale. BW transmissions are old-school and back in the day square-head stuff was common.
You can buy square-head sockets.
XJ6 Paul.....thanks for the diagram. I will check again today and see if that is the AC line or actually connected to the Tranny vent hose. Perks my interest in the theory that the AC condensate drain hose has come loose and is hanging down......the car was getting water into the front floorboards and rusting a bit under those thick carpets and paddings. Maybe it was just from the AC water leaking back into the car, and not coming from around the windshield.
Plausible
Also, when reading the article I posted above, the author states that changing the dirty tranny fluid and filling with clean can cause a failing tranny to totally go "ka-putt".
Possible, if the trans is already on its last legs.
DD.......Square Head Sockets......Great, I will look for a small set, as I think I ran into a similar issue in the past with these square headed screws.

 06-27-2018, 04:28 PM


 Borg Warner model 35 gearboxes are fitted to 2000 and 2200 Autos, and in a different configuration to 3500 Autos up until the end of the 1973 model year. From the start of the 1974 model year in October 1973, Borg Warner 65 gearboxes are fitted to V8’s. The 65 is easily identified by having the dip stick and filler tube on the left hand, near side of the engine bay instead of on the right hand, off side for the 35, as well as having a rod linkage to the gear selector instead of cable.These gearboxes have some unexpected characteristics liable to catch out the unprepared home mechanic. This article attempts to talk you through some of them.To start with, the fluid level checking procedure is stated incorrectly in several places in the Rover Factory manual and the workshop manuals. The correct level check is as set out here, drawn from the experience of experts and from the Borg Warner manuals.First drive the car sufficiently for the transmission fluid to be hot, say 15 minutes. Make sure the gearbox has spent time in all three forward gears and in reverse immediately prior to halting the car, and also run the selector through all gear positions immediately after bringing the car to a stand with the engine still running. This is to make sure that the torque converter and all passages in the valve block, along with the clutch servos are full of transmission fluid. They otherwise drain back into the gearbox sump and give a false reading. Do not switch the engine off. You should then dip the gearbox immediately with the engine running at idle, and top it up to the “hot” level on the dip stick.The correct fluid level is crucial to gearbox behaviour, having a high or low fluid level will cause harsh, late or early changes and a harsh drive take up.When topping up the gearbox fluid, you MUST use the correct fluid – ATF-G or Ford spec M2C-33G. Other fluids sold for modern automatics are normally Dextron based and destroy the integrity of the clutch and band friction linings. The gearbox will almost certainly fail after only a couple of thousand miles with Dextron instead of the correct fluid.If you have reason to believe that the fluid may have been previously topped up or changed with a Dextron fluid, change the fluid for the correct specification immediately. This is likely to take at least four complete drain and change sequences to replace all of the fluid retained in the torque converter and valve block.Taking this a little further, a high mileage ‘box may well have particles of friction material suspended in the fluid. These greatly assist the clutches and bands to grip. So changing the transmission fluid may well bring on almost immediate failure. Certain symptoms might cause you to drop the gearbox sump to change or clean the fluid filter immediately within. But in that case you should take the steps outlined above to try and keep as much fluid as possible contained within the torque converter and valve block so that you lose and have to replace the minimum amount of fluid.The smell of the fluid is the best guide to what is happening within – a burnt smell is an indication that clutch plates and brake bands are in the process of failing. In this scenario, changing the fluid is likely to accelerate the failure, so best not to, but be prepared for a transmission rebuild in the near future!Water in the fluid indicates a failed cooling element in the cold side tank of the radiator. The first thing to do is get the radiator reconditioned with special emphasis on the transmission cooler in the cold side tank. It may then be worth doing a fluid change – a minimum of four times to get everything out of the converter – but a complete failure is still the most likely outcome.A harsh drive take up – a clonk from the rear of the car as the gear (particularly reverse) engages – can also be due to an incorrectly set engine idle speed. The factory figure is 650rpm, but if your engine can be persuaded to idle slower than this, anything down to 500rpm is advantageous. It will certainly help the life of the differential output drive shaft flanges – a known weak point.The kick-down cable attached to the throttle linkage close to the carburettors is much misunderstood. It is much, much more than just a kick-down cable! The hydraulic “brain”, or valve block, of the transmission relies on three inputs to determine which bands and clutches engage to give the required gear. The first is the gear selector. This very rarely requires adjustment and then only if either neutral, park or reverse are unobtainable because the lever is in the wrong place relative to the detents in the gearbox. This should be obvious. Next the valve block detects road speed through a hydraulic pump at the back of the box attached to the output shaft. Finally, the pump at the front of the gearbox feeds to the valve block a pressure that is proportional to engine revs and is modulated to give a measure of throttle position by the kick-down cable position. The kick-down cable therefore has a major influence on the gearbox behaviour under ALL conditions, not just when you want full performance. There is an intimidating series of pressure measurements specified in the workshop manual to set it up. For most purposes these can be distilled to a simple practical test of the road speed at which the box changes into third (top) gear under light throttle conditions. It should be between 40 and 45 mph – ideally 43 mph. The kick-down cable should be adjusted to achieve this. You might find then that the car won’t “kick down”! The likely cause of this is free play in the throttle linkage preventing you achieving full throttle at the carbs, such as a missing rubber bush at the bulkhead where the throttle linkage passes across the space between car and engine. These comments apply to all four-cylinder and both varieties of V8 installation.Failure of a ‘box is usually down to worn out friction material, but can also be due to problems with clutch servos and front or back pumps. Oil seals are also known to leak after long periods standing, but these often reseal after a few thousand miles of regular use. Another cause of leaks is fluid draining back from the torque converter after periods standing. Again, regular use is the answer.Another troublesome component is the start inhibitor switch on the outside of the gearbox. Quality replacements are difficult to source and the adjustable type can be awkward to set up. Symptoms of this problem are erratic operation of the reversing lights (they use the same switch) and having to jiggle the gear selector to get the right position for the car to start.If your gearbox appears not to be performing correctly, we would strongly recommend you signing up to the Classic Rover Forum where free advice is readily available. “Harvey P6” is a regular contributor to the forum and recognised as sufficient of an expert on these gearboxes to advise the Americans on their own gearbox! We’d recommend having an online chat to guide you through fault-finding before committing to expensive repairs.In all fault finding, make one change only at a time, road test the car afterwards and record the change and its effect on how the car drives. With the exception of the fluid level checking procedure, the workshop manual is pretty good, and you should follow its instructions as you fault-find or repair. There are very few genuine experts out there for these boxes, so if you plan to do any work yourself, stick rigidly to the Workshop manual and Harvey’s online advice. Ignore other so-called experts including specialist transmission firms – ask them how long it is since they saw a Borg Warner of this period.
 Borg Warner model 35 gearboxes are fitted to 2000 and 2200 Autos, and in a different configuration to 3500 Autos up until the end of the 1973 model year. From the start of the 1974 model year in October 1973, Borg Warner 65 gearboxes are fitted to V8’s. The 65 is easily identified by having the dip stick and filler tube on the left hand, near side of the engine bay instead of on the right hand, off side for the 35, as well as having a rod linkage to the gear selector instead of cable.These gearboxes have some unexpected characteristics liable to catch out the unprepared home mechanic. This article attempts to talk you through some of them.To start with, the fluid level checking procedure is stated incorrectly in several places in the Rover Factory manual and the workshop manuals. The correct level check is as set out here, drawn from the experience of experts and from the Borg Warner manuals.First drive the car sufficiently for the transmission fluid to be hot, say 15 minutes. Make sure the gearbox has spent time in all three forward gears and in reverse immediately prior to halting the car, and also run the selector through all gear positions immediately after bringing the car to a stand with the engine still running. This is to make sure that the torque converter and all passages in the valve block, along with the clutch servos are full of transmission fluid. They otherwise drain back into the gearbox sump and give a false reading. Do not switch the engine off. You should then dip the gearbox immediately with the engine running at idle, and top it up to the “hot” level on the dip stick.The correct fluid level is crucial to gearbox behaviour, having a high or low fluid level will cause harsh, late or early changes and a harsh drive take up.When topping up the gearbox fluid, you MUST use the correct fluid – ATF-G or Ford spec M2C-33G. Other fluids sold for modern automatics are normally Dextron based and destroy the integrity of the clutch and band friction linings. The gearbox will almost certainly fail after only a couple of thousand miles with Dextron instead of the correct fluid.If you have reason to believe that the fluid may have been previously topped up or changed with a Dextron fluid, change the fluid for the correct specification immediately. This is likely to take at least four complete drain and change sequences to replace all of the fluid retained in the torque converter and valve block.Taking this a little further, a high mileage ‘box may well have particles of friction material suspended in the fluid. These greatly assist the clutches and bands to grip. So changing the transmission fluid may well bring on almost immediate failure. Certain symptoms might cause you to drop the gearbox sump to change or clean the fluid filter immediately within. But in that case you should take the steps outlined above to try and keep as much fluid as possible contained within the torque converter and valve block so that you lose and have to replace the minimum amount of fluid.The smell of the fluid is the best guide to what is happening within – a burnt smell is an indication that clutch plates and brake bands are in the process of failing. In this scenario, changing the fluid is likely to accelerate the failure, so best not to, but be prepared for a transmission rebuild in the near future!Water in the fluid indicates a failed cooling element in the cold side tank of the radiator. The first thing to do is get the radiator reconditioned with special emphasis on the transmission cooler in the cold side tank. It may then be worth doing a fluid change – a minimum of four times to get everything out of the converter – but a complete failure is still the most likely outcome.A harsh drive take up – a clonk from the rear of the car as the gear (particularly reverse) engages – can also be due to an incorrectly set engine idle speed. The factory figure is 650rpm, but if your engine can be persuaded to idle slower than this, anything down to 500rpm is advantageous. It will certainly help the life of the differential output drive shaft flanges – a known weak point.The kick-down cable attached to the throttle linkage close to the carburettors is much misunderstood. It is much, much more than just a kick-down cable! The hydraulic “brain”, or valve block, of the transmission relies on three inputs to determine which bands and clutches engage to give the required gear. The first is the gear selector. This very rarely requires adjustment and then only if either neutral, park or reverse are unobtainable because the lever is in the wrong place relative to the detents in the gearbox. This should be obvious. Next the valve block detects road speed through a hydraulic pump at the back of the box attached to the output shaft. Finally, the pump at the front of the gearbox feeds to the valve block a pressure that is proportional to engine revs and is modulated to give a measure of throttle position by the kick-down cable position. The kick-down cable therefore has a major influence on the gearbox behaviour under ALL conditions, not just when you want full performance. There is an intimidating series of pressure measurements specified in the workshop manual to set it up. For most purposes these can be distilled to a simple practical test of the road speed at which the box changes into third (top) gear under light throttle conditions. It should be between 40 and 45 mph – ideally 43 mph. The kick-down cable should be adjusted to achieve this. You might find then that the car won’t “kick down”! The likely cause of this is free play in the throttle linkage preventing you achieving full throttle at the carbs, such as a missing rubber bush at the bulkhead where the throttle linkage passes across the space between car and engine. These comments apply to all four-cylinder and both varieties of V8 installation.Failure of a ‘box is usually down to worn out friction material, but can also be due to problems with clutch servos and front or back pumps. Oil seals are also known to leak after long periods standing, but these often reseal after a few thousand miles of regular use. Another cause of leaks is fluid draining back from the torque converter after periods standing. Again, regular use is the answer.Another troublesome component is the start inhibitor switch on the outside of the gearbox. Quality replacements are difficult to source and the adjustable type can be awkward to set up. Symptoms of this problem are erratic operation of the reversing lights (they use the same switch) and having to jiggle the gear selector to get the right position for the car to start.If your gearbox appears not to be performing correctly, we would strongly recommend you signing up to the Classic Rover Forum where free advice is readily available. “Harvey P6” is a regular contributor to the forum and recognised as sufficient of an expert on these gearboxes to advise the Americans on their own gearbox! We’d recommend having an online chat to guide you through fault-finding before committing to expensive repairs.In all fault finding, make one change only at a time, road test the car afterwards and record the change and its effect on how the car drives. With the exception of the fluid level checking procedure, the workshop manual is pretty good, and you should follow its instructions as you fault-find or repair. There are very few genuine experts out there for these boxes, so if you plan to do any work yourself, stick rigidly to the Workshop manual and Harvey’s online advice. Ignore other so-called experts including specialist transmission firms – ask them how long it is since they saw a Borg Warner of this period.

