When you click on links to various merchants on this site and make a purchase, this can result in this site earning a commission. Affiliate programs and affiliations include, but are not limited to, the eBay Partner Network.
Although I am sharing the restoration photos not in chronological order I would like to show some concerning bodywork and interior job.
A closer look at interior before:
The headliner was completely gone so I will have to organize a new one
Little rust under the backseat, a small patch should do the job
From distance front floor panel looked as if it was just surface rust easy to clean.
Turned out to be worse.
A closer look at the panel (I have alredy cut a section)
I have profiled a new panel and welded it in. The welds themselves still to be perfected ( I am definitely not the most experienced welder) and grinded, also that hole in the side panel needed attention.
I measured the correct spot on the old part and welded nuts underneeth for the gas pedal mounting bracket, which by the way I also had to fabricate from scratch.
After all the metalwork I put some buthyl sound deadening mats. From my previous experience these maka a whole lot of difference when it comes to noise and temperature inside the car.
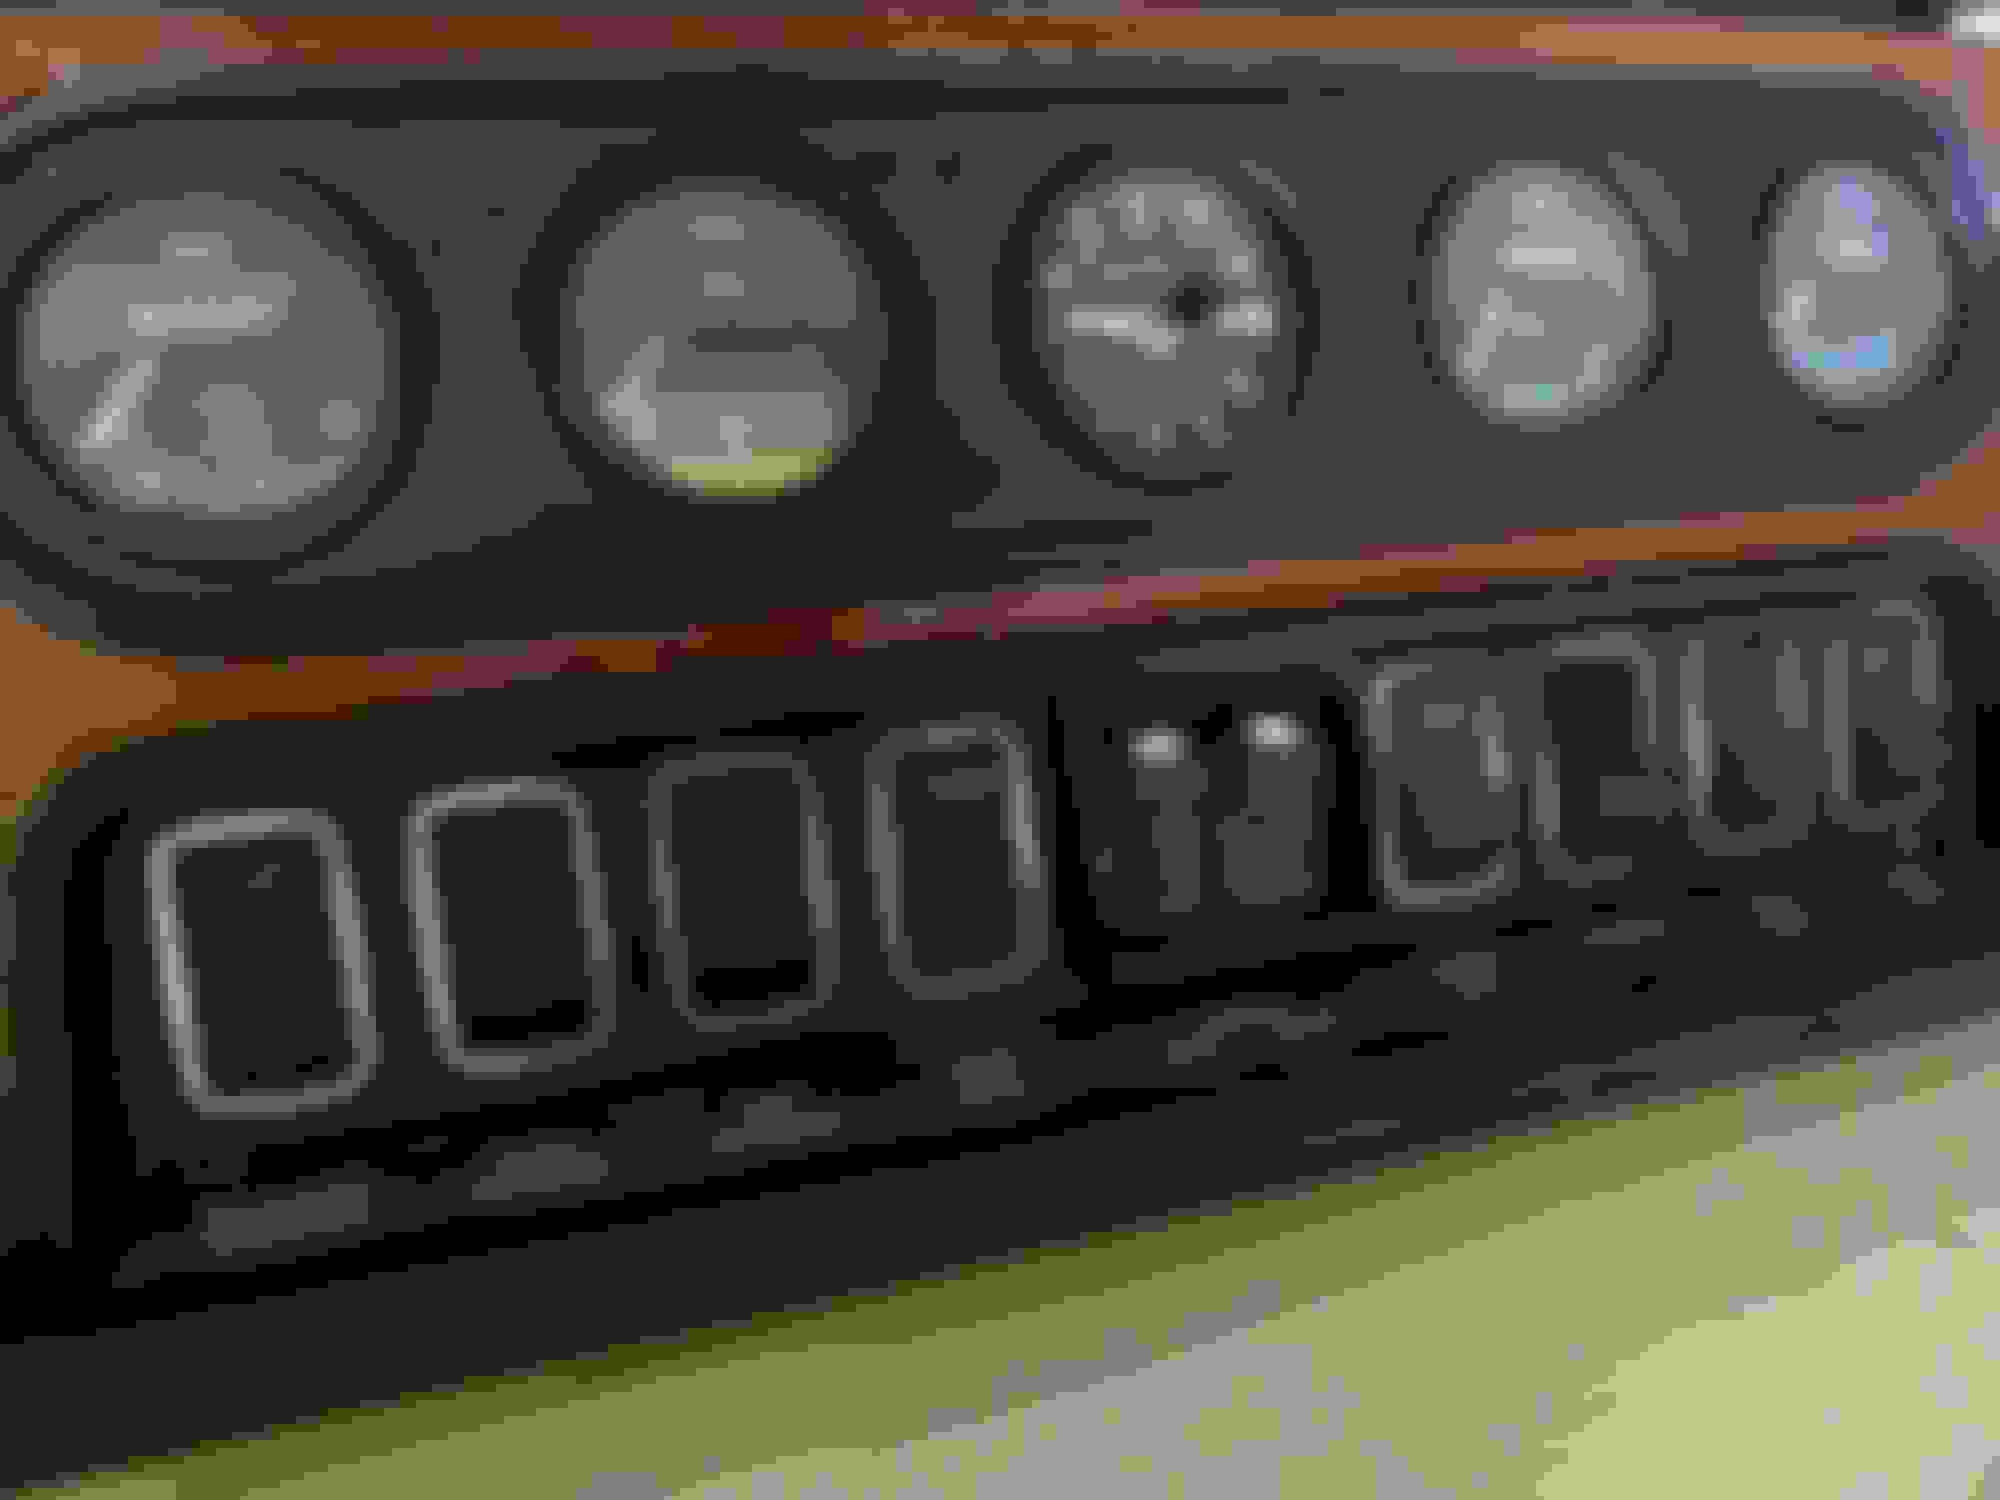
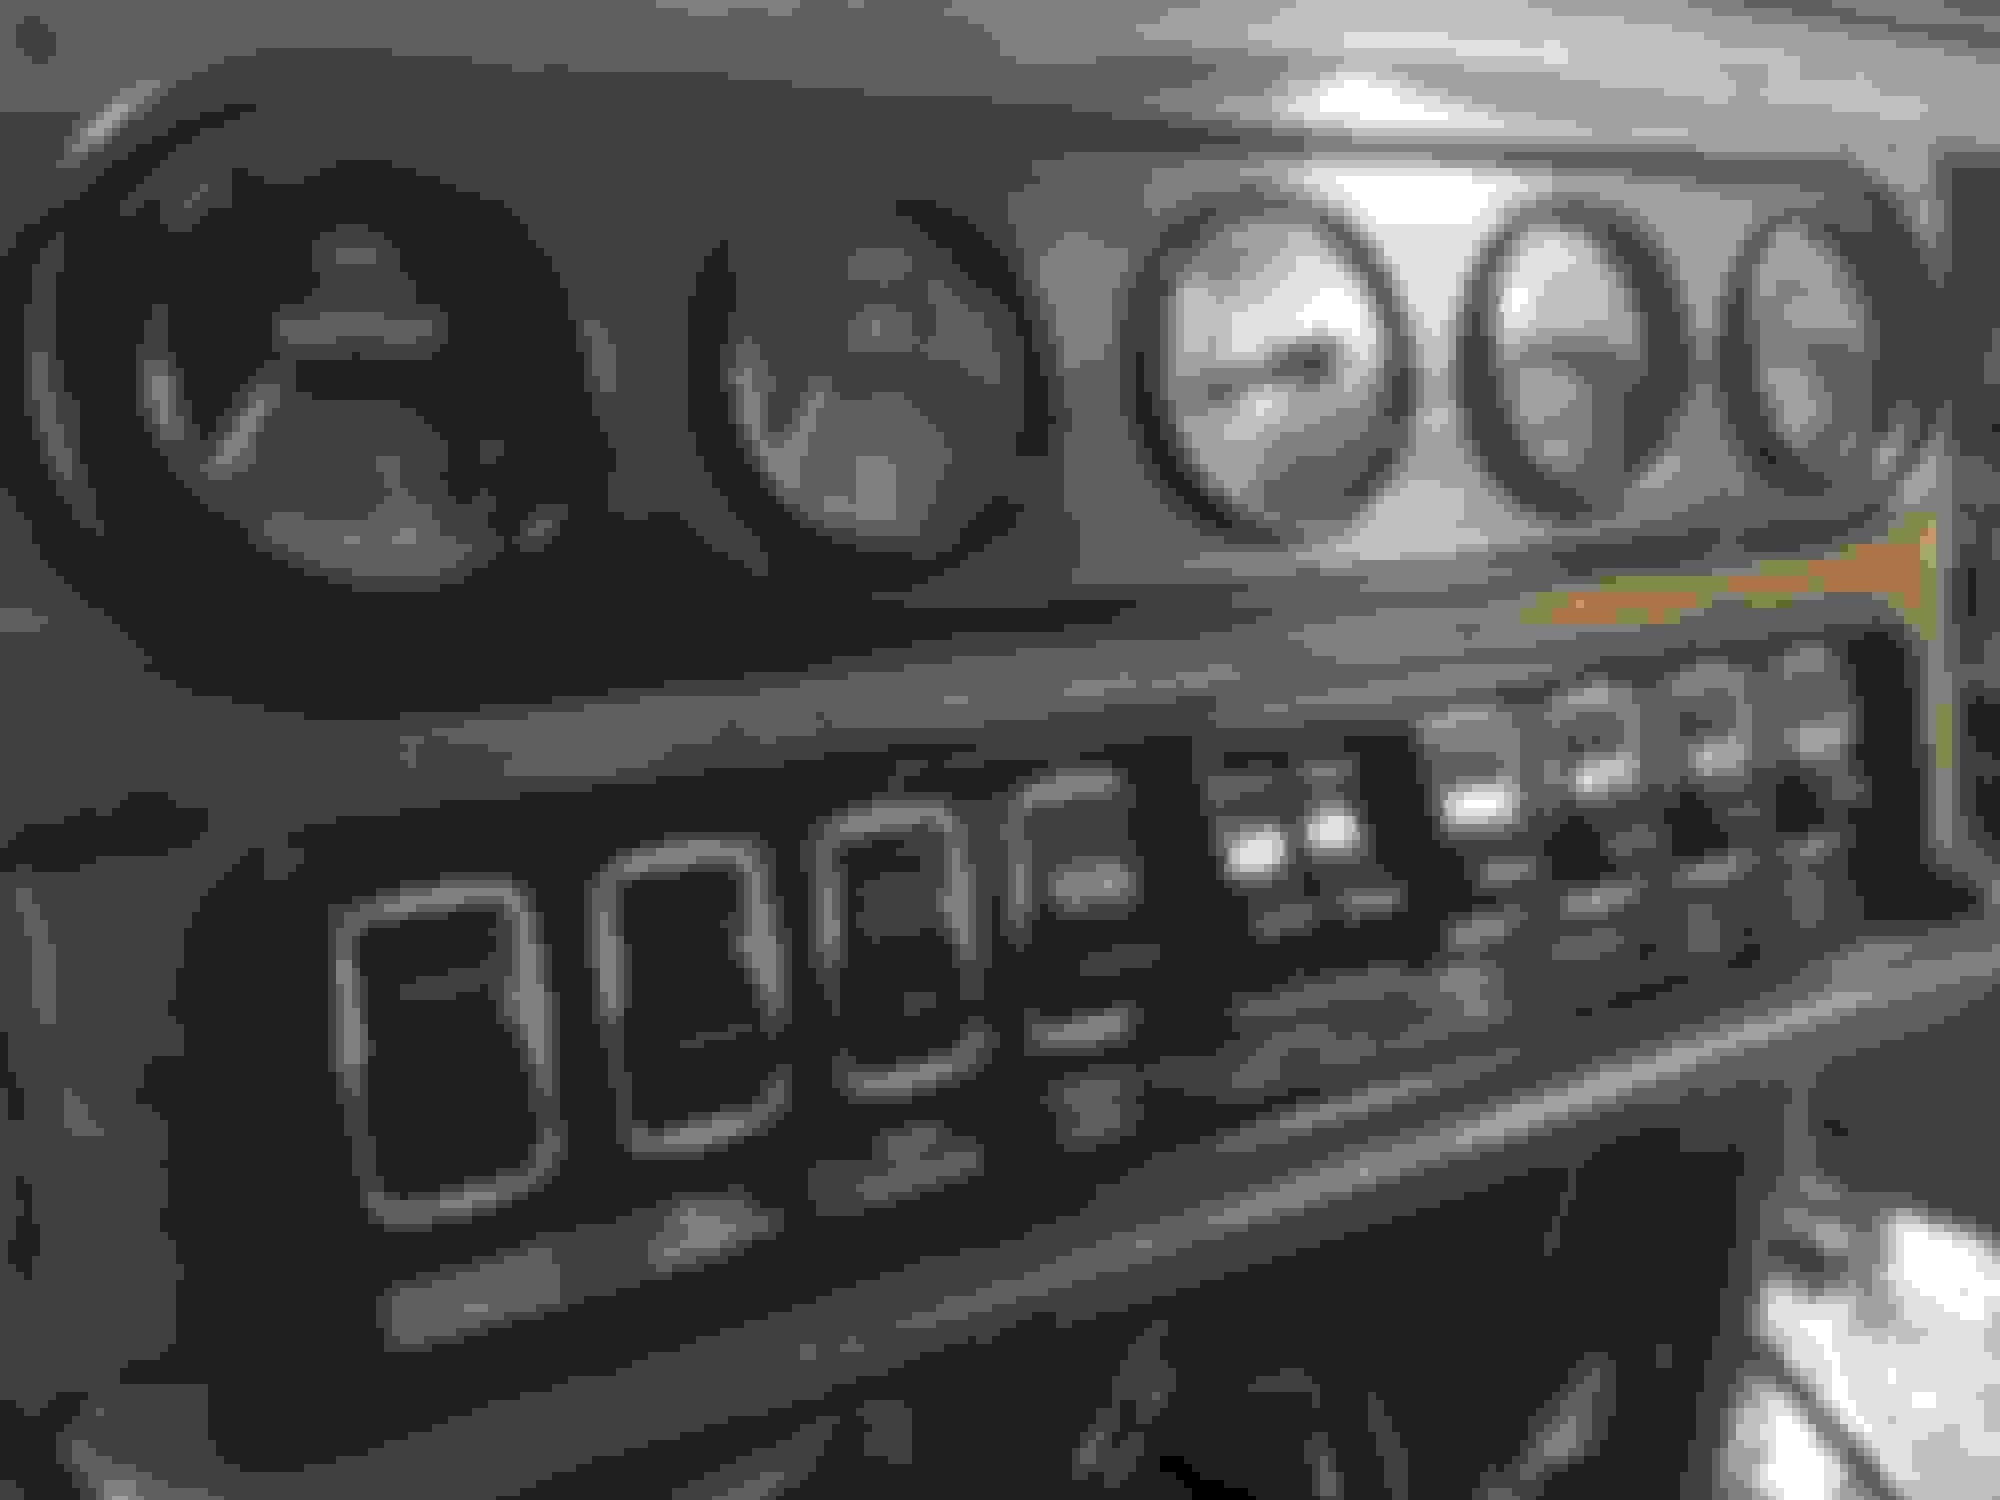
You can see that some of the woodwork is already in so while being on the subject a little sneak peek:
Before
All the gauges have been cleaned and checked.
I laid new veneer (american nut) and lacquered it with several layers.
After:
An interesting finding during interior dismantling. Unfortunately the paper detriorated during all those years after the centre console and tore.
Anyway, plenty more relations to come, hope you like it.
It would seem that I'm in a similar position, other than my S1 paint was pretty good. Now that I've had the car for little while, I've found all the little imperfections and the Engine Bay needs the same treatment.
I love what you've done so far. Very methodical, and thorough.
I'd like to replace my entire electrical loom for no other reason than peace of mind that it's all in tip top shape!
Here's a little afternoon job I tackled recently.
I've been trying to figure out the reason of wipers working in a rather unpredictable manner- having periods of working fine and with no sign of life at all.
I started with checking all of the electrics using the diagram - both the switch and wiper motor were wired properly. I measured 12V in the wires connected directly to the motor so it seemed that the fault was lying inside.
It was a correct assumption as it turned out.
The brushes inside the motor were completely worn, two of them even disintegrated as you can see in the photo.
The surface of brushes was quite worn resulting in abnormal function of the wipers.
I sourced new brushes from local electric supplier for just around 5$. The difference in size between the old one and new is quite significant.
All that was left was just to solder new compontents back in place.
I assembled everything back together and it works just fine. Problem solved, hopefully it will last for another couple of years.
Um, Please pardon me for butting in, you've done a great job soldering those small wires, but I think the brushes are wrong-end-to in their holders in the last picture. I'm sure the slot is there for the wire to work its way out to the end as the brushes wear down.
(';')
I really thought no-one would notice I haven't thought this through when I started the job but as soon as I've finished I spotted the exact same thing. I soldered them back in correctly the second time only didn't take a photo.
Um, Please pardon me for butting in, you've done a great job soldering those small wires, but I think the brushes are wrong-end-to in their holders in the last picture. I'm sure the slot is there for the wire to work its way out to the end as the brushes wear down.
(';')
XJ6 restoration had to be put on hold recently due to my school chores and some other projects, but summer time gives me more opportunity to proceed with the process.
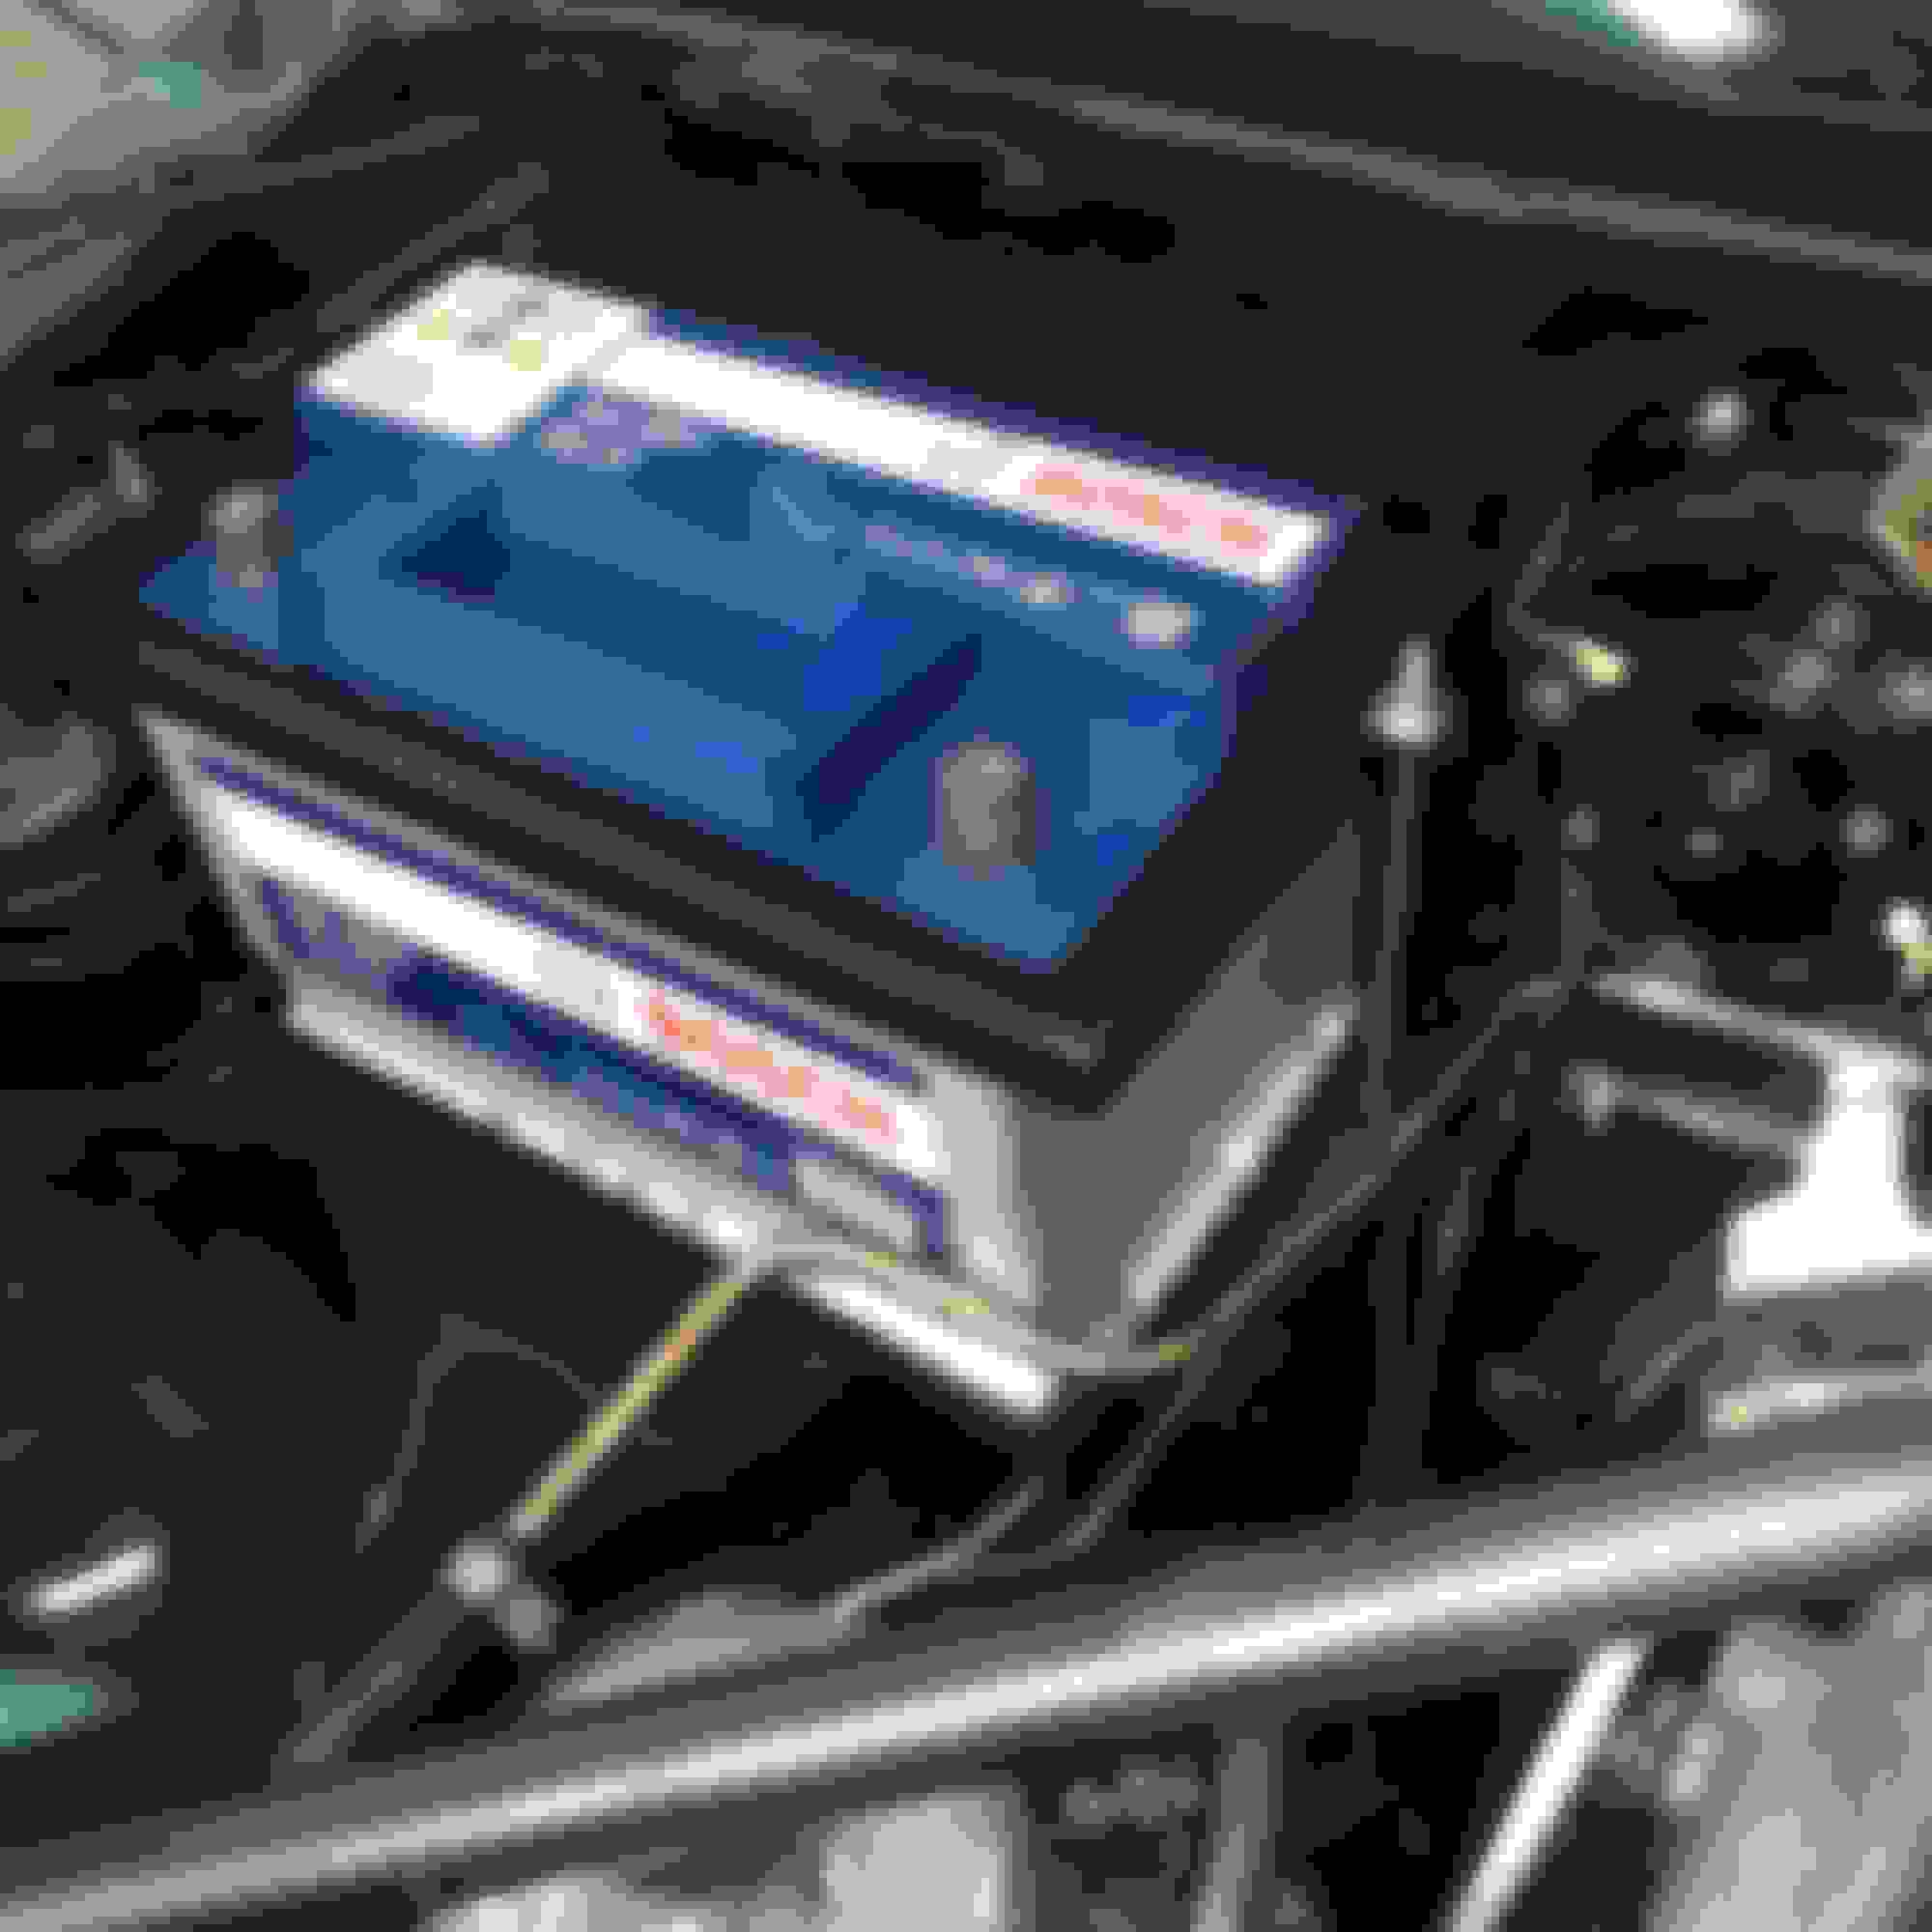
I finally sorted out the battery mounting, so here are some photos of what I've managed to fabricate. (thanks again for all the advice in choosing the battery itself)
The whole element was missing when I bought the car, so basing on parts catalogue I tried to recreate the original piece. I started with a sheet of metal, which I cut to length after measuring the battery ( this one was the same size as the new one)
I used the press to bend the edges. It might look like over-engineering things a bit but it was easier to do and the bend is probably straighter than it would have been after using just a hammer.
I also made the brackets for the rods that would hold the battery.
One hole for the rod, the other ones to plug weld everything in place
Everything welded together
As for the upper part, I've cut some more metal to make a frame
Powder coating everything before finish...
...and final product:
A bit of thread and old Range Rover pushrods received a new life and new function
I will tell you, I certainly did not expect such kind reaction. Thank you for all the good words
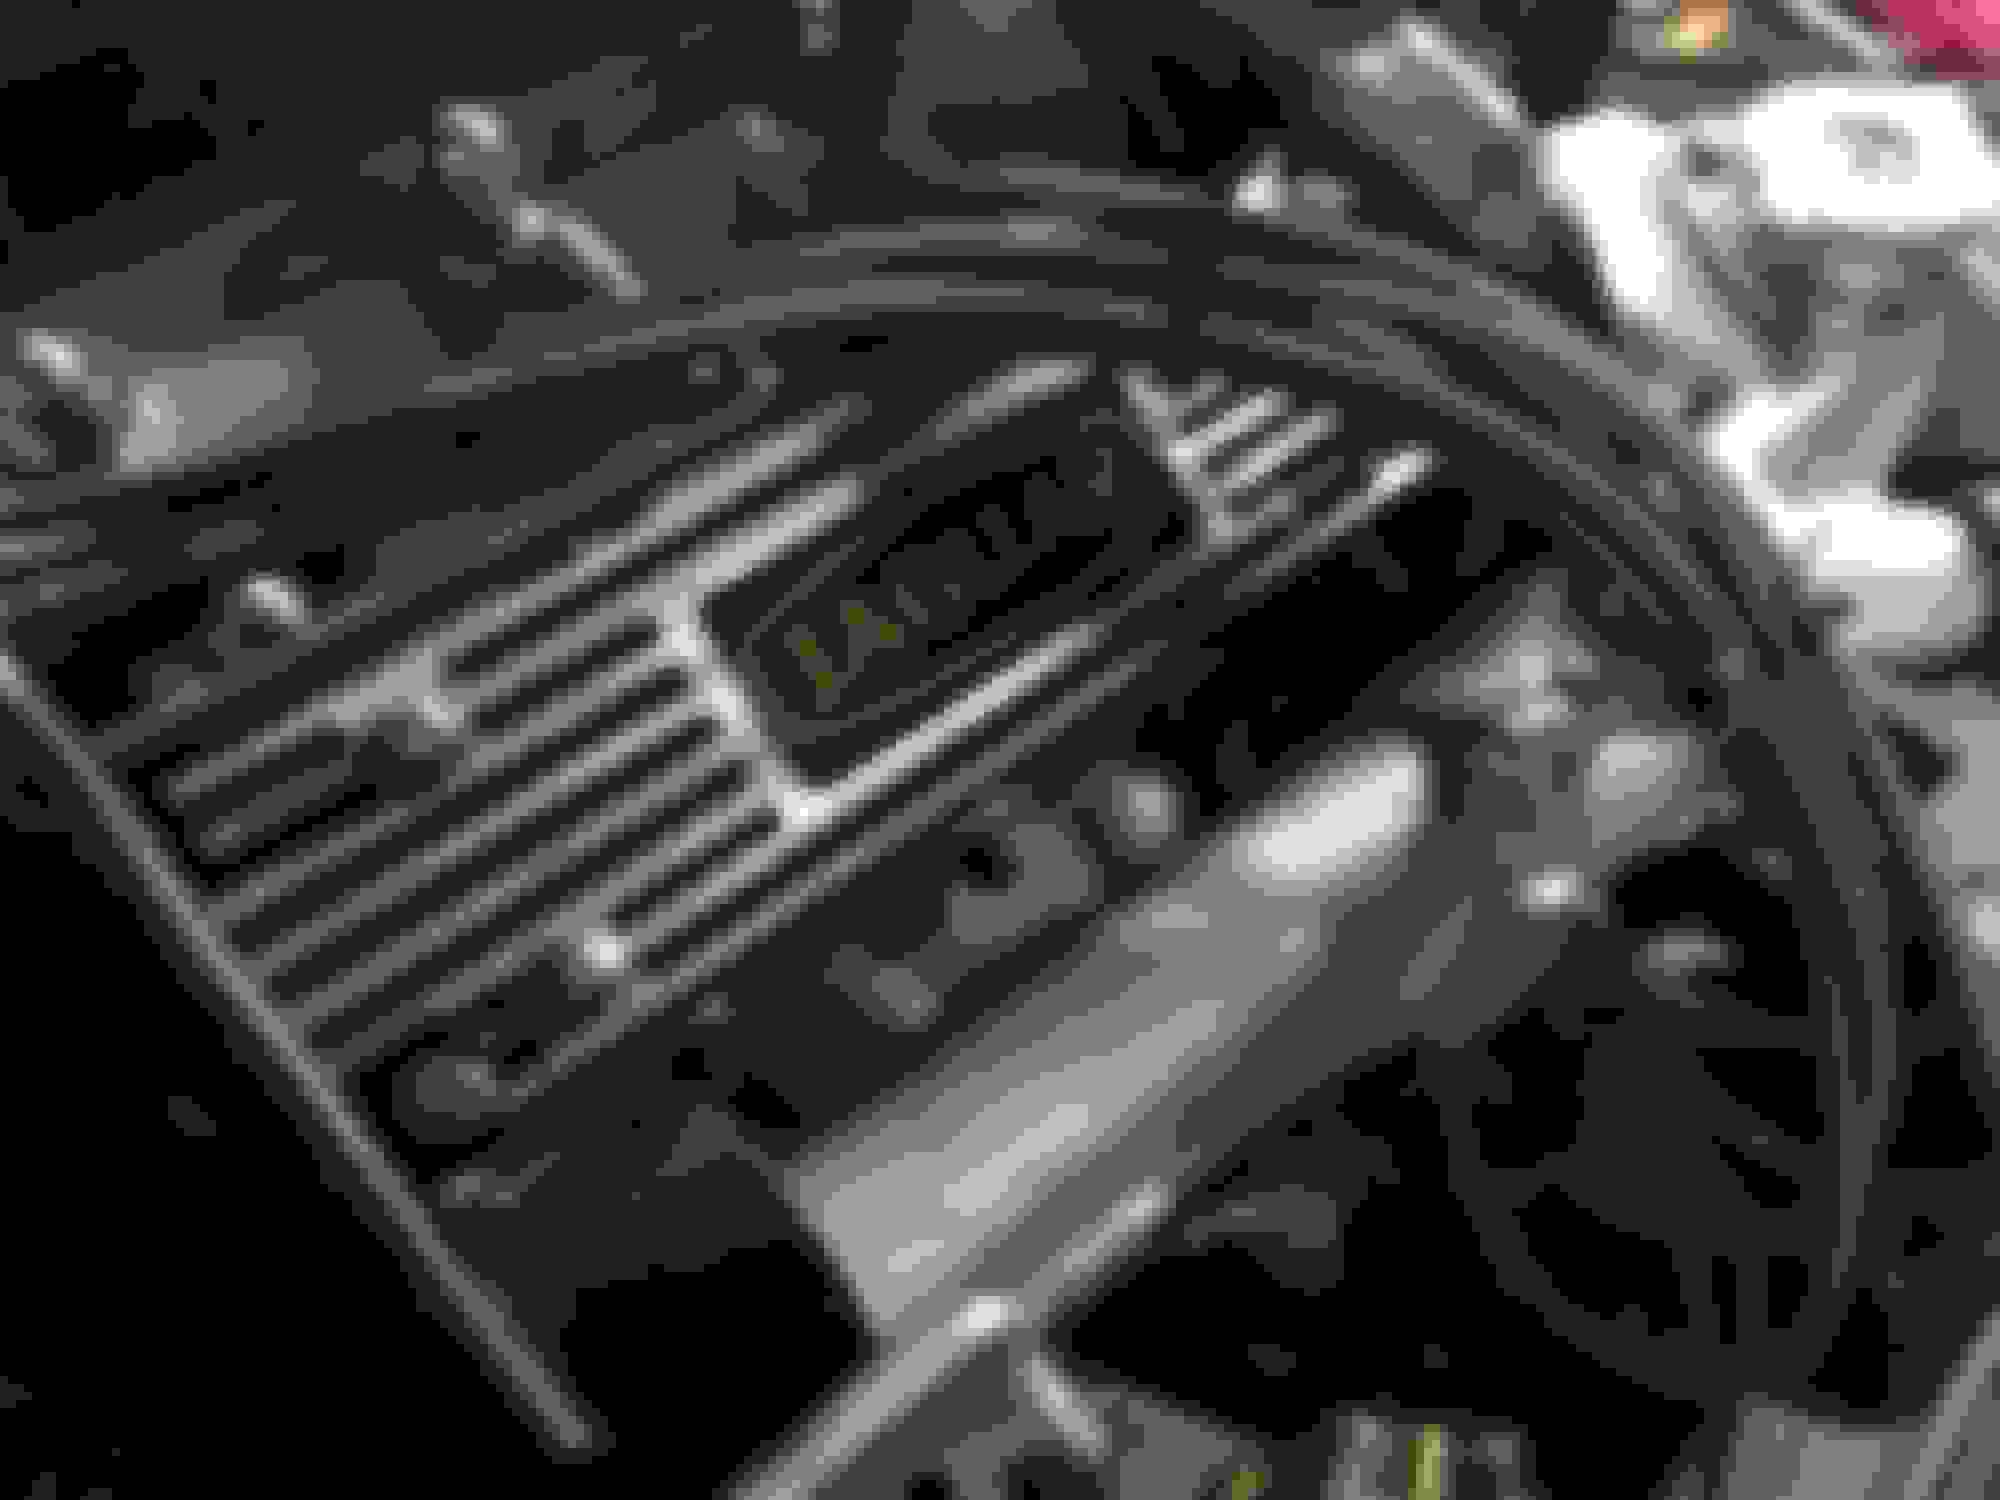
Aesthetic-wise:
Before painting anything I had to clean the surface thoroughly as most of the elements, especially the block, were covered with grease and dirt.
For this I used just a regular engine cleaner available in most automotive stores. You spray the product, wait a few minutes and rinse it with water. This however will not work in places with a thick layer of dirt, so I scraped those prior to applying the cleaner. Also a steam cleaner and a wire brush on an angle grinder were quite useful.
To paint the block I used a heat resistant paint designed for brake calipers made by Motip (I don't really have the knowledge if it's available in the U.S.). It's a 2 component lacquer with hardener and it really withstands the temperature and oil, fuel etc. I've painted other engine with it, used it for 2 years and it looked great even after contact with various fluids.
It's available also in a spray can, but I always prefer to buy the lacquer+hardener option and use a spray gun for application, as it tends to be more durable.
Some say you can use a regular metal paint for the block, because the temperature is not that high, but I doubt that's a good idea. The temperature may not melt the paint, but constant changes as the engine heats up and cools down may result in the paint pealing off.
I've used similar stuff for the head. There is much wider range of products when it comes to silver. Many of them are designed for exhausts, but those I would not recommend. Although they look nice the surface is rather easy to damage and in most cases dissolves after contact with chemicals.
Painting classes that I used to attend came in handy while making the silver Jaguar writing on the block
A small brush and some patience required.
The valve covers, hot air duct and some other little parts were powder coated black. To recreate the original look of the covers with silver "fins" I simply used a sandpaper of different grit mounted on a block. All the channels that are lower remain black, while all the rest gets polished up.
Most of the nuts had to be rechromed because they were rusty. The ones left were polished. For polishing nuts, the cover on the exhaust manifold and carburetor suction chambers I used a bench grinder with a buffing wheel and 3M metal polishing compound. For places, which were more faded I started with compounds that come in bars/blocks and are a bit more coarse.
I recently spent most of the time working on the interior.
I am not revealing everything just yet, waiting for some details to be finished, but here's a little "sneak peek"
Starting with the carpets. I used some of the old ones as a template for new pieces. I am not sure, but the ones that were fitted looked rather original ,so I tried to match the shape and styling.
After
You may remember from the previous photos how the headlining looked like or should I say didn't look, so I took care of that. This is for sure easier said than done
Everything is not fully assembled, so a little patience is required, but I will share later how it looks after freshening up.
All the seats are also ready, just waiting to be put in place.
To give you and idea of how it may look like all together here's one :
Anyway, I'm still working hard to finish the project as soon as possible and since the great finale is approaching visibly now I'm more motivated than ever
Hope you approve, stay tuned, more updates to come

 04-22-2015, 04:20 PM