When you click on links to various merchants on this site and make a purchase, this can result in this site earning a commission. Affiliate programs and affiliations include, but are not limited to, the eBay Partner Network.
What a great job you're doing, Japawels!!
I marvel seeing the pictures.
It's a great inspiration to me. My '76 XJ-C is sitting in the back of the garage awaiting an inspired overhaul, hasn't been on the road for years.
When I look at your work and pace I can only admire.
Will get going.
Great array of skills, from engine work to fabbing interior bits! I assume you dyed that seat, or did you just clean and treat the leather?
Oh no, the old ones weren't salvageable. Everything apart from the frame is new (leather, foams etc.)
Although it doesn't look so bad in the photo it was badly worn due to the moisture inside after all those years the car has been sitting in the back of somebody's yard.
Plus it was not the original Jaguar leather, in fact it wasn't even leather, but a leather cloth and a rather poor one, so the whole upholstery had to be renewed.
I am about to change the seat foam on my driver's seat. Any advice about that? Where did you source the leather covers? Would you have any photos of that part of your excellent restoration? Sorry for all the questions!
This part I left to a professional. The guy that I always visit with any upholstery job, makes all the covers from scratch using the old ones as a template. He has years of experience so I've never been disappointed with the final effect.
At the end of the day, it always works better for me both economically and aesthetically than buying premade covers.
Sadly I don't have any photos of the process to share.
Indeed, there are some tasks that are best left to those who know what they're doing. As you say, the results are better aesthetically, and very often financially as well!
(';')
Here's a little afternoon job I tackled recently.
I've been trying to figure out the reason of wipers working in a rather unpredictable manner- having periods of working fine and with no sign of life at all.
I started with checking all of the electrics using the diagram - both the switch and wiper motor were wired properly. I measured 12V in the wires connected directly to the motor so it seemed that the fault was lying inside.
It was a correct assumption as it turned out.
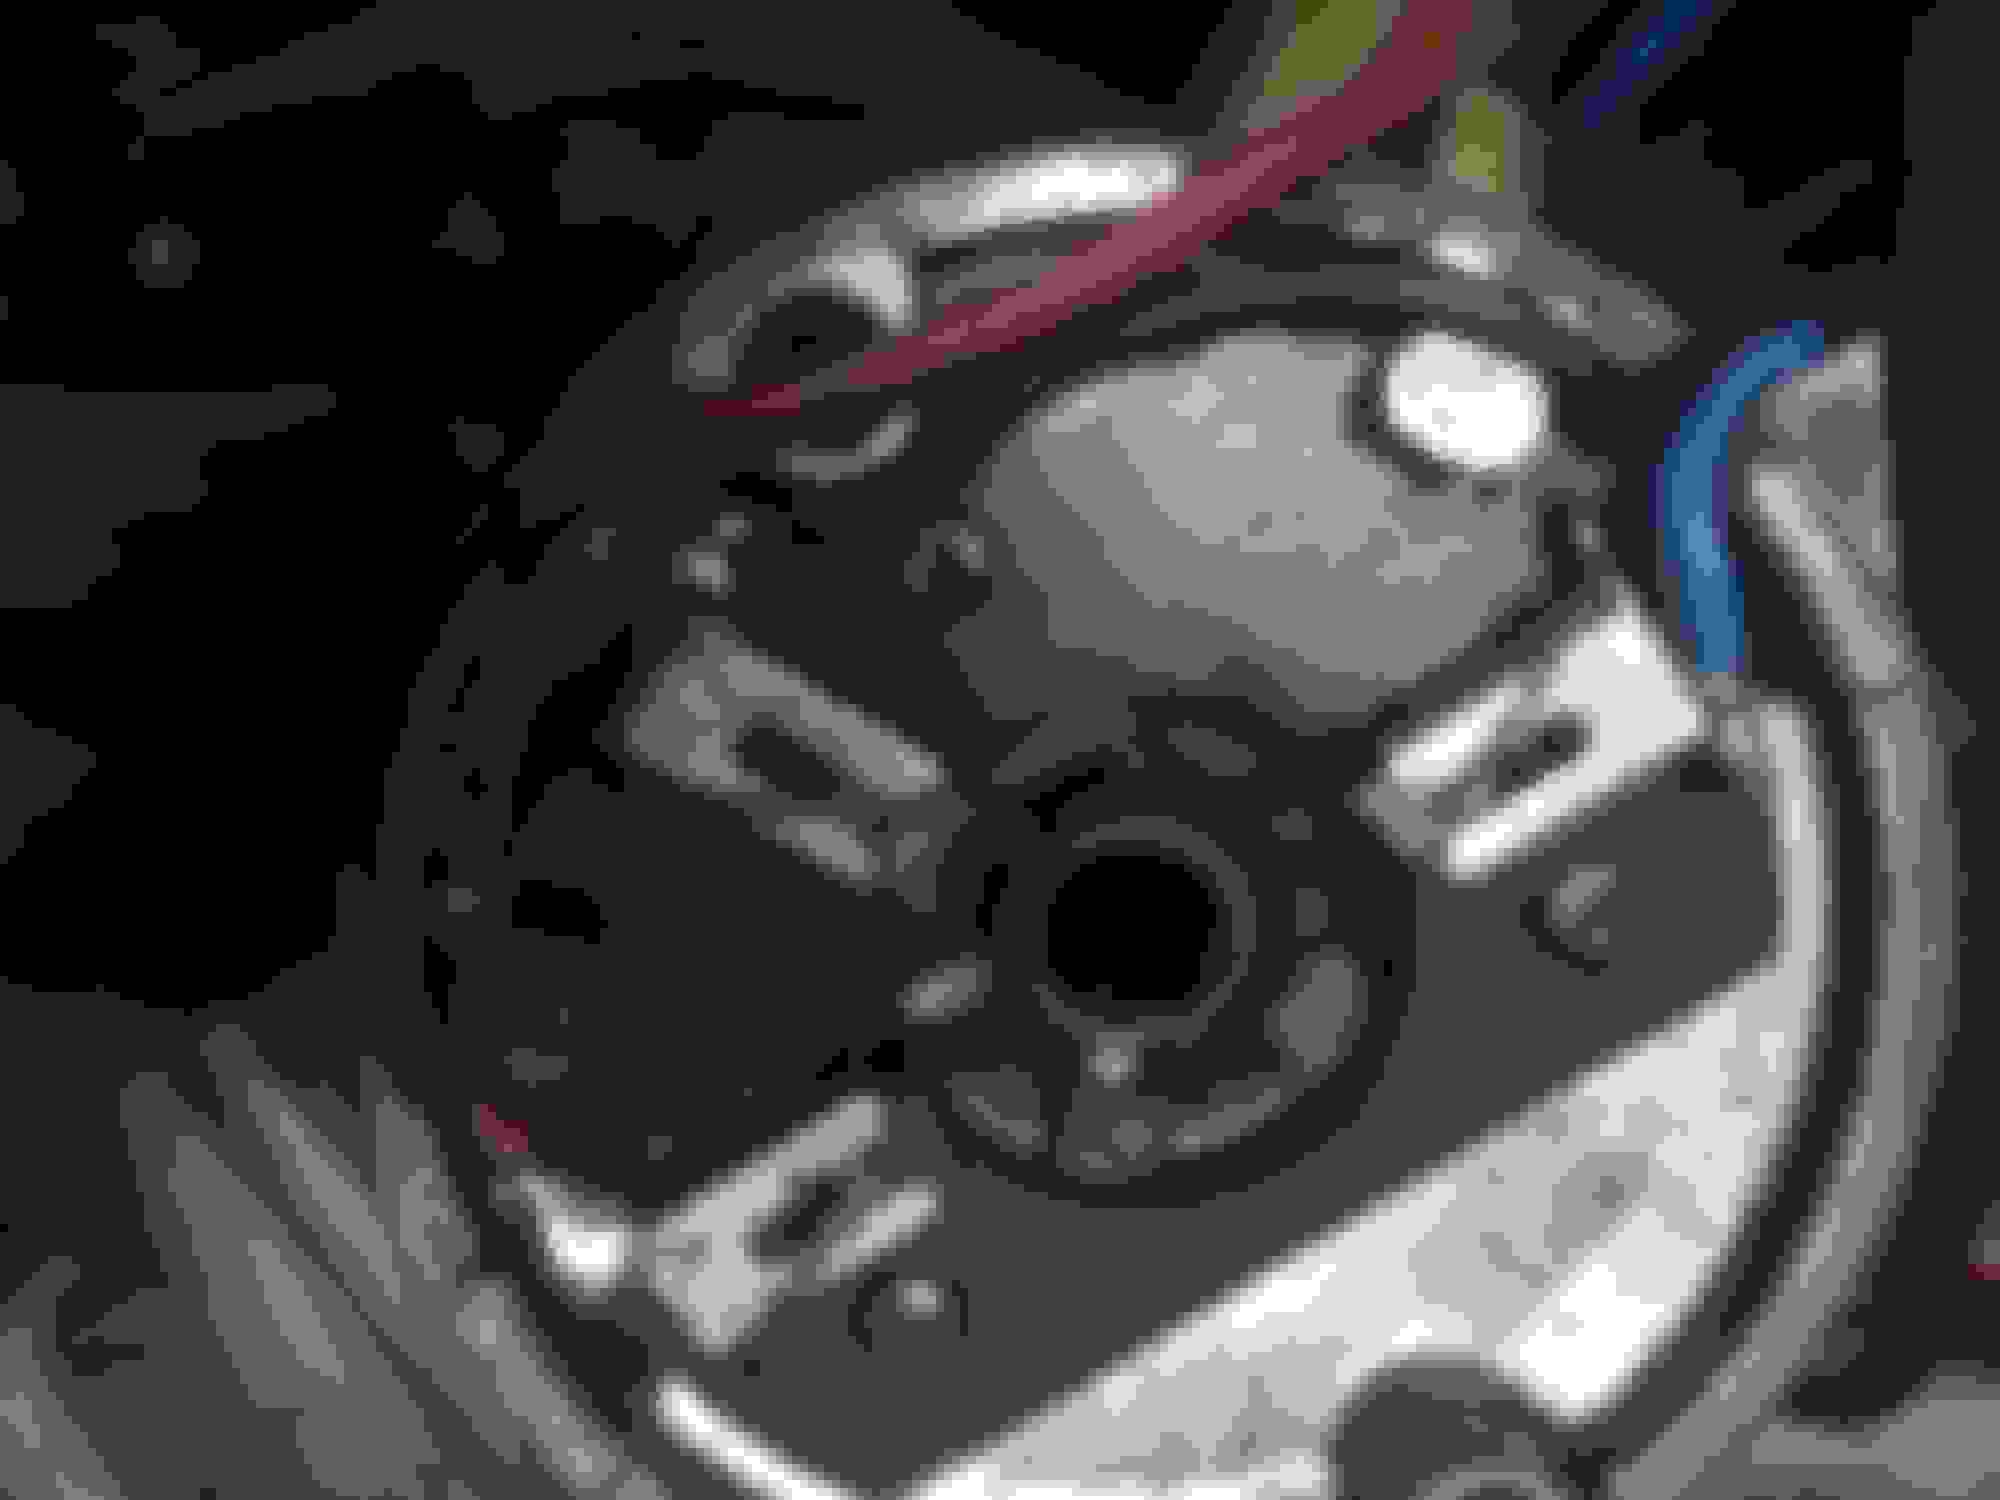
The brushes inside the motor were completely worn, two of them even disintegrated as you can see in the photo.
The surface of brushes was quite worn resulting in abnormal function of the wipers.
I sourced new brushes from local electric supplier for just around 5$. The difference in size between the old one and new is quite significant.
All that was left was just to solder new compontents back in place.
I assembled everything back together and it works just fine. Problem solved, hopefully it will last for another couple of years.
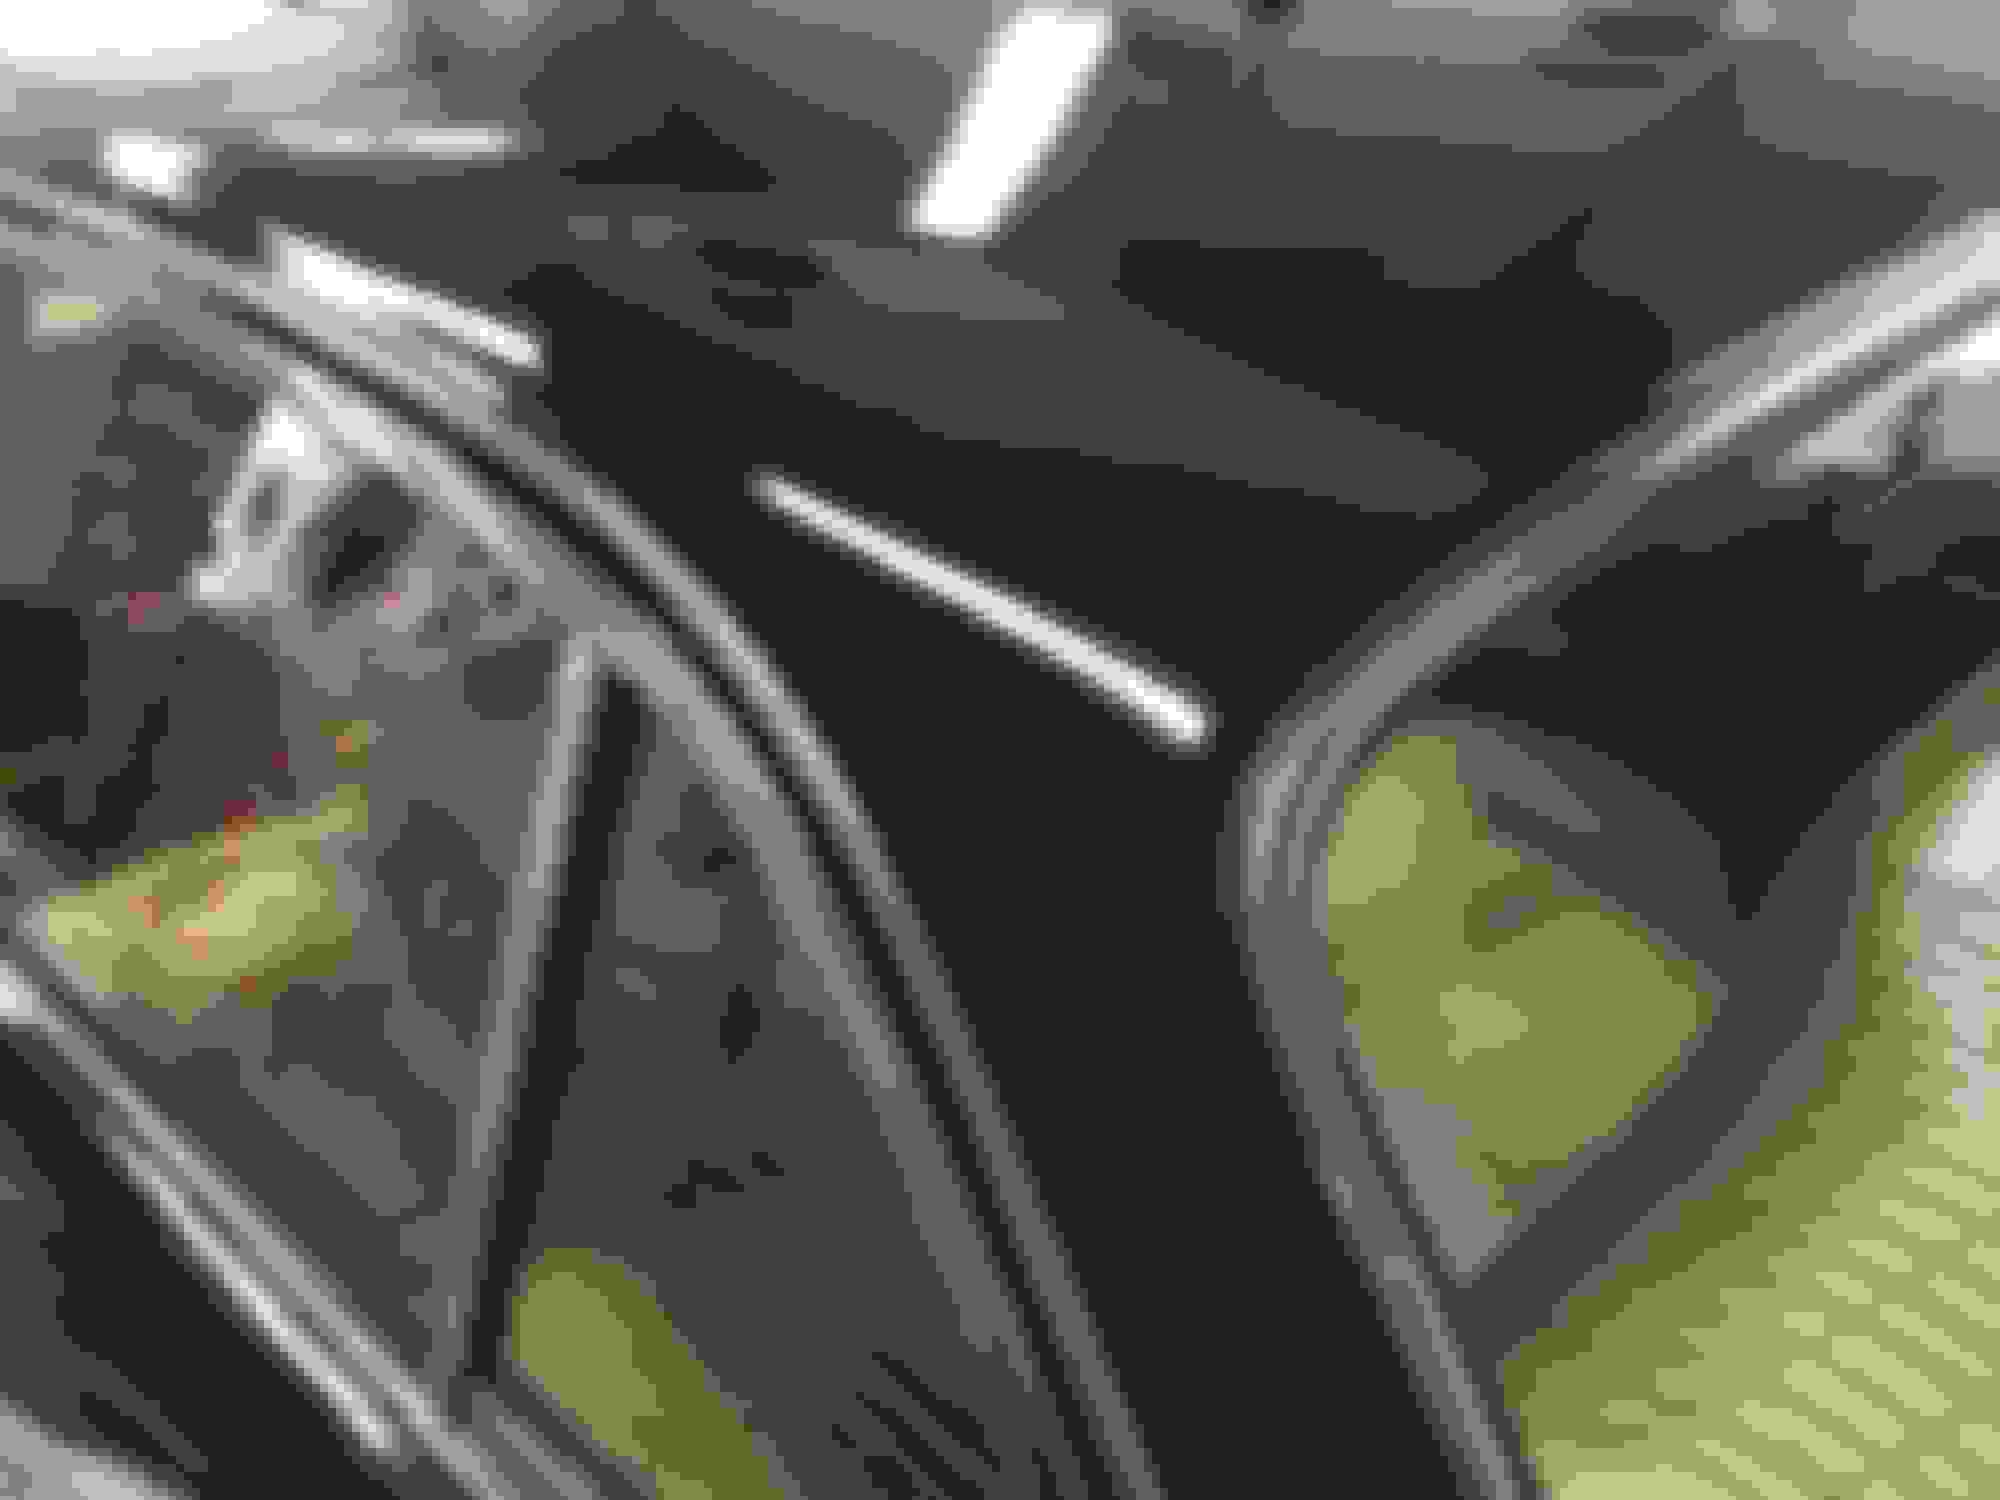
So, I'm almost done with the interior and exterior trim.
I still have to install front windshield, but the best days of the old one have passed and I'm trying to source another one. It has a big chip just in front of the driver's position, so that would be quite annoying to live with plus some major scratches here and there.
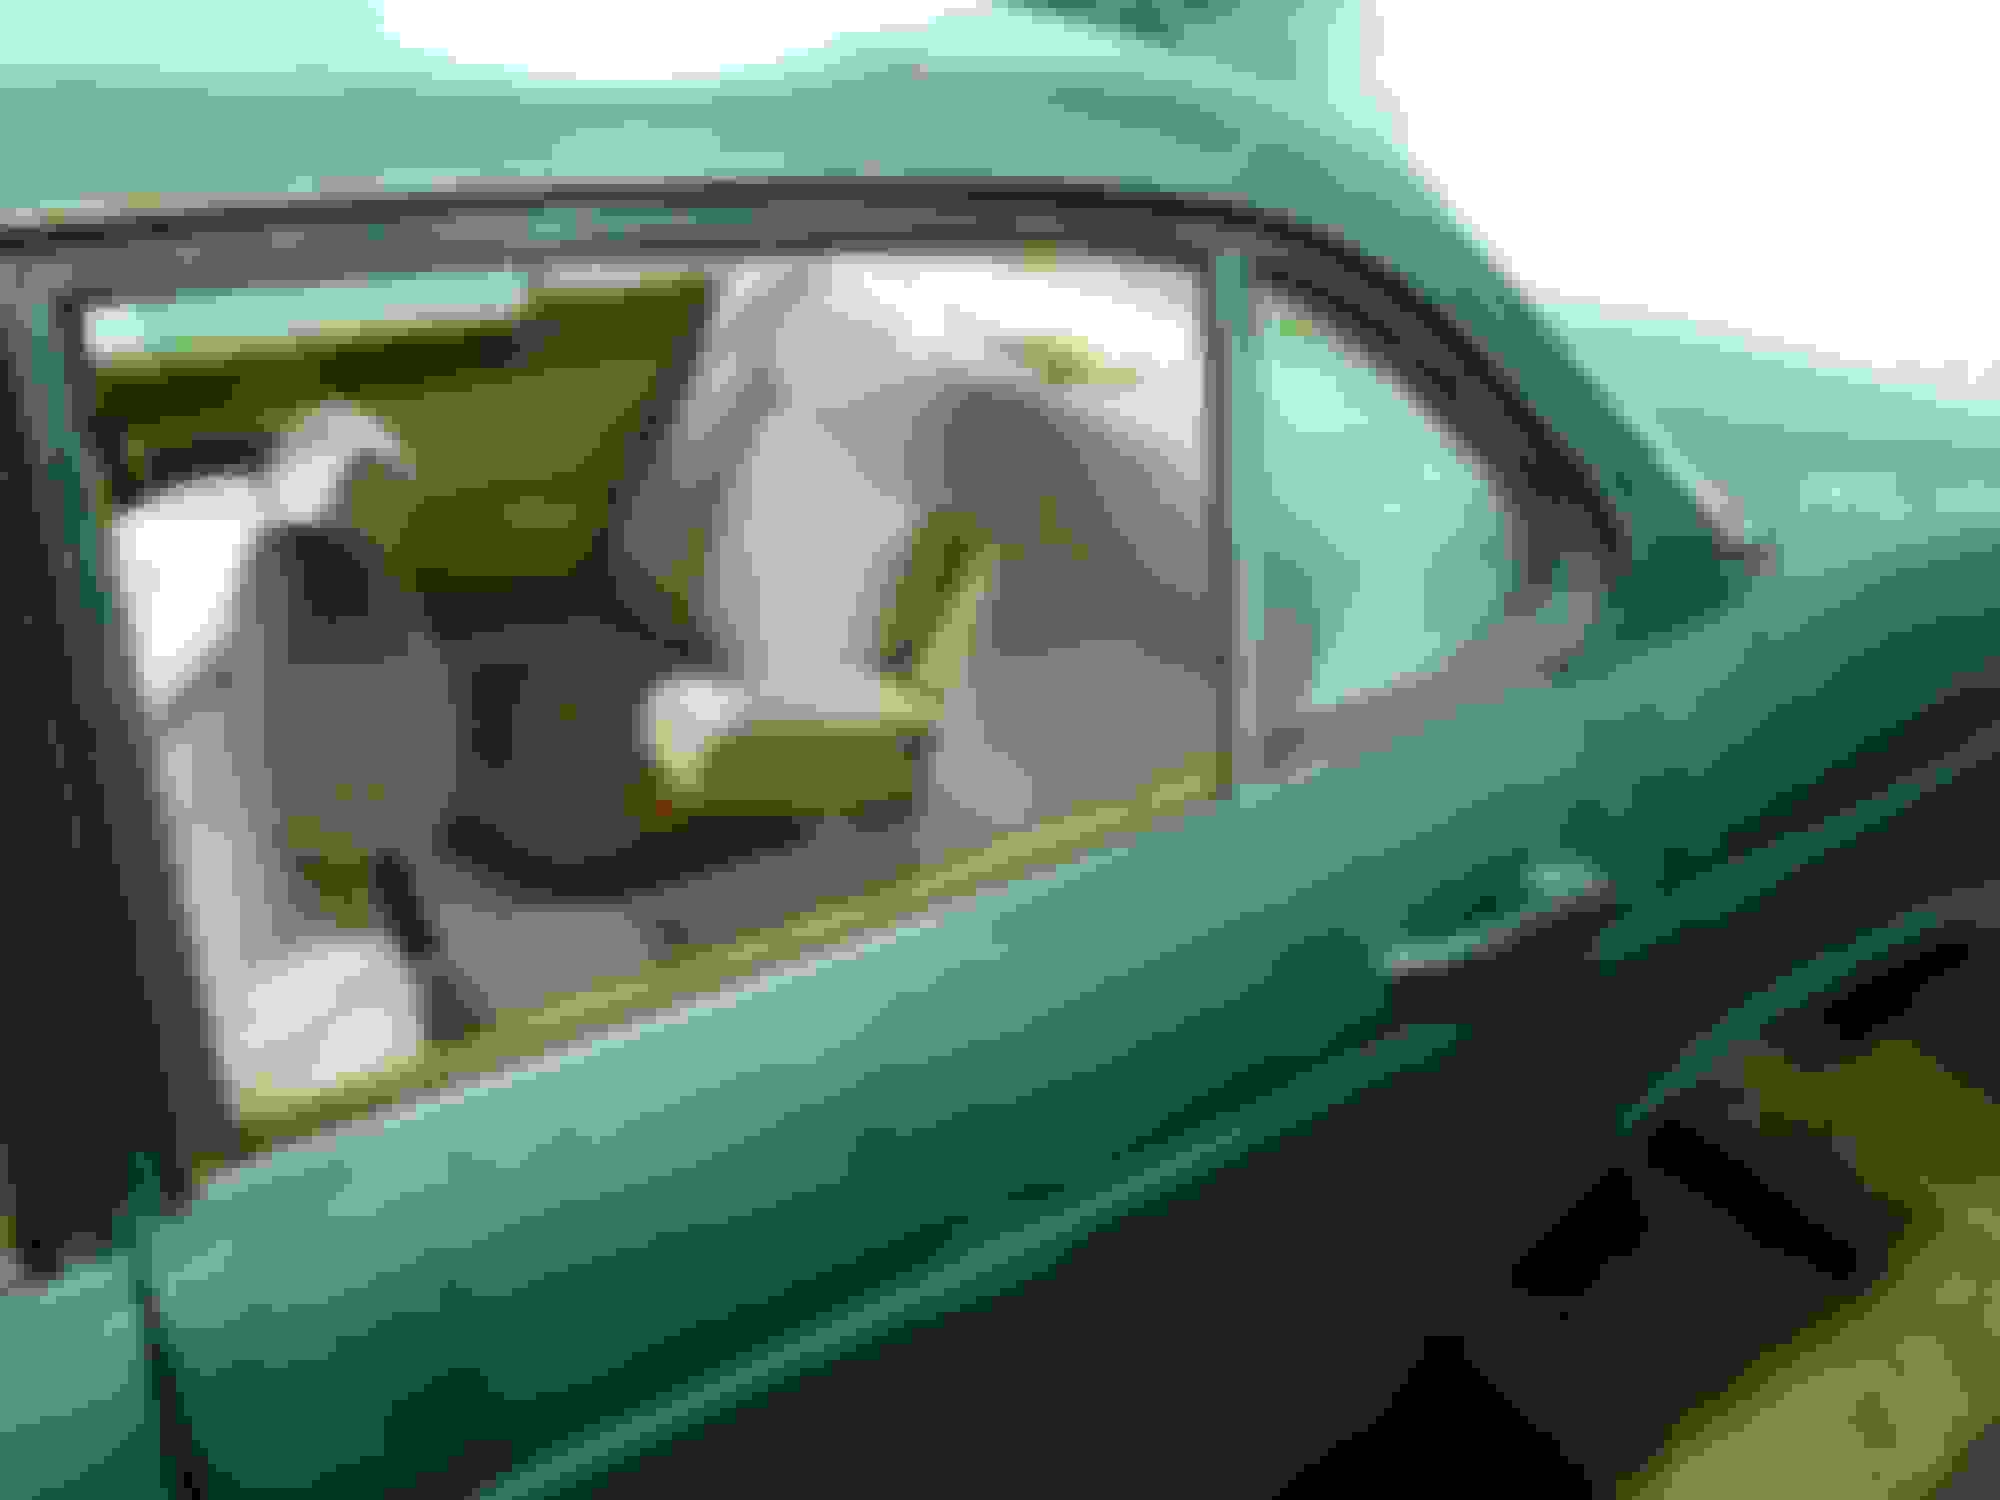
Anyway, since I am back to school and my spare time for the restoration is limited I am living you with a preview of what it looks like today
I hope that next time I'll be able to share the entire picture of the car, as for now, not to spoil the final effect, take a look at a trditional "before and after" :
So, I'm almost done with the interior and exterior trim.
I still have to install front windshield, but the best days of the old one have passed and I'm trying to source another one. It has a big chip just in front of the driver's position, so that would be quite annoying to live with plus some major scratches here and there.
I will be retrieving one Sunday, catch is it will cost you postage if you want it!
I'm bringing it home anyway, if it is your only option PM me. Happy to quote delivery to you.

 08-28-2015, 07:10 PM