When you click on links to various merchants on this site and make a purchase, this can result in this site earning a commission. Affiliate programs and affiliations include, but are not limited to, the eBay Partner Network.
My R134a AC Conversion Observations for Posterity and a final AC Question
So I finished my conversion from R12 to R134a and the work seems to be successful. I finished the work last Sunday and today is Wednesday. I've run the car twice, on Sunday and today and the AC seems to be working as it should. I tested the static pressure onf the system on Sunday and then again today and the readings are where they should be (See Post #4 here). There's been a lot of posts on how to do this work so I don't want to rehash all the how to's out there. But since I never worked on an AC system before this and basically had to learn everything from this forum, some sources on web and Youtube, I thought I would post some things I learned that others in my position later may not know. This will probably sound basic to those of you old hands at this, So forgive my indulgence, but what I note here is things I would have liked to know when I started the work.
Since I live in New England and Auto AC shops are fairly rare (the nearest non-chain shop is about twenty miles) I didn't want to have to go backwards and forwards getting the system charged and evacuated. So getting it right the first time was very important. To that end, when I had a choice between replacing with new and reusing, I replaced. It is possible that my compressor was OK. But since I don't know how to tell a leaky one from a sound one I opted for changing. You could go with a Sanden, which is reportedly a very good compressor, but this does require some fabrication, and if you are limited in your tools and talents (like me ) to what you can do with a set of hand tools and basic machinery you might rule this out because it requires some bracket fabrication. Instead, I opted for a 4Seasons 58096 which is essentially a pop-in replacement with a HSLP valve. the 4Seasons 58098 is the one with a superheat switch.
My system was empty when I started this. I could tell because when I pressed either Schraeder valve to see if anything came out nothing did. Because the compressor was still kicking on without refrigerant and the Superheat Fuse had not tripped (it should trip within about 6 minutes of the compressor coming on) it was suspect. I therefor opted to change the compressor protection to the HSLP method because I didn't trust my existing SuperHeat switch. This is an easy change and I'l explain it a bit later. Also with R134a you ought to change the Expansion Valve. You need to flush out the old oil to the extent you can. I also noted that the low side port (the one closest to the outside, connected to the fuel cooler directly) would be very tight with an adaptor so I opted for a elbow adaptor so that the new low side connector would be more easily accessible. The High side can be done with a straight connector adaptor. When you buy these make sure (I got my first ones from Rock Auto and the Low was correct but High was wrong) you get female adaptors. They sell male ones that don't fit. Also these are apparently getting hard to find because, I was told when I had to get a proper high side one, the feds have outlawed these. I don;t know whether this is true or not, but I did have to go to 4 Auto Parts Chain stores before I found a female high side adaptor. So best to have that on hand before you start. I also tried to get the kind with the Schraeder valve built in so that I didn't have to rely on the integrity of the old fitting. Because I'd ordered the wrong high side, I had to settle for one of the other kind and change the Schraeder in the old fitting. I also had a very hard time getting a freon can tap. It took me four stores to find that as well. In Massachusetts they only sell these new self sealing R134a cans and you have to use an adaptor to use the can tap. Everyone sells a hose tap for the freon but no t-taps.
You'll also need plenty of Green O-Rings. Get two packets. I only bought one and was exactly one small O-Ring short so had to buy another whole set. You'll also need a Vacuum Pump and a set of gauges. Total cost and parts list as follows:
Hot and Cold r134a Adaptors (From CAP) $15.93
Can Tap and Adaptor $9.55
Freon & Additional O-Rings $21.21
Manifold Gauge Set $54.17
Green and Black Wire $17.26
Thermometer, Ester Oil, Snap Ring Pliers
-Schraeder Valve Remover $28.06
Grommets for Radiator cover $5.22
-HSLP Switch Kit (4Seasons 35961)
-A/C Flush Can (4Seasons 6991)
-r134a Expansion Valve (4Seasons 38872)
-Vacuum Pump (GPD 5811368)
-Low Side Elbow Adaptor (GPD 581355)
-High Side Adaptor (Wrong One)
-O-Ring Kit
-AC Drier (UC RD1137C)
-AC Compressor (4Seasons 58096) $482.87
Total Materials Cost: $634.27
I did not go with a new or junked condensor. There were different suggestions about this, but at the end I decided to go with the Jaguar recommendation for R134a change (which doesn't make that recommendation) and Grant Francis here and some others that suggested it was not needed. I concede that it is probably a good idea, but in my climate I just didn't judge it necessary.
Some notes about parts. The 4 Seasons compressor is available widely. I got mine from Rock Auto. The pictures of it are not accurate everywhere. I called 4 Seasons to confirm a suspicion. That is that the picture that show bolts protruding from the pulley are the accurate ones. I have this compressor now installed and it has these bolts. This turns out to be no big deal but if you try to reassemble the compressor set up you will find that these bolts will hit the compressor adjuster arm. In order to avoid this, do the following. When you remove the compressor adjuster arm do not change the adjustment. Keep it exact and simply unbolt it from the old compressor. This will keep your current setting. When you go to put it back on you will place this adjuster in exactly the same orientation but instead of it being in front of the compressor mount, it will go behind. You will have to cut off the welded bolt on the smog pump that you bolted one end of the adjuster to, but once that is off, you will be able to bolt from back to front right through that hole and the whole thing will fit perfectly. You'll just be deleting a single spacer. Also, there's alot of talk about SAE bolts versus metric ones. On mine, the stock bolts fit right into the new compressor.
I flushed the whole system with AC Flush. Pour some AC Flush into the component you want to clean then blast some air through the part with compressed air and keep doing this until only Flush and not oil comes out. This will be more obvious than it sounds. I did this in stages for everything while it was outside the car excepting the evaporator. As for the evaporator, you can do this with a Transmission Fluid Funnel by putting the funnel into the AC return connection and then blasting backward. Make sure to put a rag in front of the Expansion Valve to catch the oil and crap that will come out else it end up all over the back of your engine. Also, in order to do this you will have to remove the Expansion Valve. This is a daunting task because apparently you can break the evaporator very easily if you do not put counter pressure on the connection when unbolting. It is very hard to get wrenches in there, but patience, PB Blaster and moving in small motions at angles will allow you to remove this without removing lots of other stuff and using regular SAE wrenches (I had to use a large adjustable on the TX Valve hose fitting because of its size). You'll have to remove the insulating goop from here. You can buy replacement stuff called "Expansion Valve Insulation Tape". It's about $7.00 for 18 inches worth. R135a should use its own expansion valve anyway. You can apparently adjust the stock one, but you have to remove it to do the adjustment adn if you are doing that you may as well just use a new one that is correct. While at the expansion valve you will notice that the coil disappears into that insulating goop. It's actually a coil on the end of that copper that goes into a fitting that is held in with two small phillips head screws. Once you clear the goop you will be able to see it. Looses those up before removing the old expansion valve. The new probe on your new valve will fit right in there.
I found that all my existing O-Rings were hard and degraded. Some people advocate leaving them in if they aren't leaking. For the labor and time involved, you should change them. If they're original they're just time bombs. They will definitely leak. All of them. I kept the old one in place when changing only in order to make sure that the new ones were exactly the right size.
I learned about Pivot bolts. Keep in mind that instructions for doing this on the forum are from people who've done it before, many more than once. What they know may not be immediately obvious to you. The Jaguar manual describes removing the compressor and makes a point about the "Pivot" Bolts. These are what will allow you to remove the old compressor from the car. But the diagram in the manual does not point to the correct bolts and it is dark and covered under there and where the Pivot bolts are is not clear. So, On the front and back of the compressor are two metal triangles respectively. On each there are two bolts on top and one at the bottom. You won't be able to see either of these bolts without an inspection mirror. You can feel around for them. They're tricky to remove because they have nuts underneath the compressor. Once you locate them, give the bolt a turn or two with a ratchet. In my case this loosened them up enough before the whole thing started spinning as a unit to be able to pivot the compressor outboard and inboard so at to be able to put a 1/2" (I think) closed end wrench/spanner on. Then when the ratchet turned the whole thing the wrench/spanner hits the compressor allow you to unbolt. I actually found the compressor much easier to remove than I thought.
A word about the HSLP conversion. The instructions in the box are ****. The instructions on the web refer to a kit long gone by. The new connector for this kit has two white wires and the instructions on how to convert from the Superheat to the HSLP put out by 4Seasons only refer to one wire from that connector. Research showed that you connect this switch in series to ground. The original one wire instructions did not connect to ground. So to wire this up you will connect the black wire from the car to compressor connector to one of the HSLP connector wires (they're white) and the other white wire to a ground. The green wire from the car to compressor connector simply connects to the green/brown wire coming from the switch in the cabin.The instructions for this conversion are available in pdf form from Factory Air by 4 Seasons as a "Tech Tip" "Thermal Limiter Conversion" printed in 2008.
Retro Air puts out a decent instruction for the R12 -R134a conversion. They sell a whole kit for $1000. That kit includes a condensor and barrier hoses and the same compressor I used. For the extra $330.00 this may be worth it and it would give you an entirely revamped system (less evaporator of course). There is an interesting line in these instructions that led me to some serious palpitations. Those instructions say "The system should take about 12-16 oz of R134a Refrigerant. At 90-95 deg F the high pressure should read 200-225 PSI, and the low pressure should read 25-35 PSI." This is substantially less than everything else I read which say put 80% - 90% of the R12 charge in. I calculated the normal R12 charge of 2.75 lbs = 44oz. 80% of that was 35.2 oz. Since others said use 90% charge I just went with three 12 oz cans for 36 Oz. When I was filling the system the gauges shot up and my inexperience got the better of me. I then read that direction about 12-16oz of Refrigerant. If that was correct I had just over filled my system by about 3 times. That was when I asked what static pressure should be. Since then, I have run the car twice and checked the running low and high pressures and they are right where they should be given ambient temperatures. So I don't know what that 12-16 oz business is about.
I bought a cheapo vacuum pump from Rock Auto. It barely lasted 5 minutes. Oddly enough once I unscrewed the switch cover from the thing it ran fine. So word of warning. Get one from a local Harbor Freight. If you've just put the new Drier on your system and you go to pull a vacuum and have a pump that craps out you'll want to be able to exchange it quick. Best to test it before hand. And don't forget to add oil to the thing. You need to evacuate the system, get it to hold vacuum for 3 minutes then pull a vacuum for an hour to get the air out. I then let it hold vacuum again overnight just to see if there were any slow leaks.
Last observations. I used Ester Oil instead of PAG. Compressor came with PAG, but I drained it and changed it to Ester. Exactly 7 oz. I found a shot glass with a 1 oz measuring line and it worked well.
I would like to thank @Sanchez, @Doug, @Grant Francis, @Robert Wilkinson and everyone else who pitched in to help me fix my AC. Much of what I write here for someone down the line are things these folks told me in a series of threads.
If anyone has read this far after I write it, one last question. LOL. This is coloing fine now and apparently not leaking, but I do notice alot of condensation on the outside metal bits of the low side of the system. So it was fairly cool today when I took it out for a test drive and when I got back the metal part of the hose (that sticks out of the insulation goop) at the evaporator return side and the fuel cooler and the connector from the fuel cooler to the back of the compressor had a lot of visible water condensation on the outside. Clearly it is atmospheric condensation on cold metal. My question is how normal is that? It seems like a lot more condensation than I have seen on other cars AC systems (not that I've ever examined it that closely..).
Muttony - A couple of questions, because I'm in the middle of doing the same thing and ran into some of the same problems due to inexperience.
You mentioned the part numbers of the Four Season Compressors. You said you bought a 58096. It has a HSLP setup already. Why did you have to get another HSLP kit?
I too put almost 36oz of R134a in, and the high pressure SKY ROCKETED almost off the gauge and locked up my A6 compressor. So... how much R134a did you finalize on?
Lastly - how much oil did you finally put into the entire system?
Regarding your question...condensation on the low side (return from evaporator to compressor suction port) is great! It indicates that the refrigerant, even after leaving the evaporator, is still cold. If it freezes it indicates a problem...usually low charge, but you don't have that problem. Besides using the cold line to cool fuel via a heat exchanger, you are wasting the cold because there is no point in trying to cool the engine compartment in this manner.
I suggest you wrap the low side lines with reflective foil covered insulation. This keeps the cold all of the way to the compressor, reducing its work load. That makes the air inside the cabin a bit colder. IMHO.
You mentioned the part numbers of the Four Season Compressors. You said you bought a 58096. It has a HSLP setup already. Why did you have to get another HSLP kit?
The compressor has an "orifice" for an HSLP switch. It does not come with the switch installed. You need the kit for that. The "orifice that is there is what makes the difference between the two compressors.
I too put almost 36oz of R134a in, and the high pressure SKY ROCKETED almost off the gauge and locked up my A6 compressor. So... how much R134a did you finalize on?
I put 36 oz in. That "Skyrocketing Pressure" happened to me to, although not almost off the gauge. That's why I asked about the static pressure because I got really nervous about that, but that rapidly cliibing pressure with some wavering is normal as far as I know. . It does make a difference in how you add the refrigerant. If you turn the can upside down or forgot to purge the yellow line you could get some problems. Air doesn't compress so if there was air in the line that might do it. Also, I imagine, if you turned the can upside down and opened it full right away there might be a giant slug of liquid refrigerant hitting the compressor all at once. I am pretty sure (based on the settled state of my system) that 36 oz is right.
Lastly - how much oil did you finally put into the entire system?
I put exactly 7oz in. However, when i was attaching the fuel cooler and high pressure side to the compressor ( I did this before I put them into the car so as to make sure my seal was exactly parallel and tight), some oil spilled out. I guessed it was about an oz, but i couldn't be sure. I put another ounce in. All in all, I was aiming for 7oz exactly put directly into the compressor. This was based on Jose's advice.
@muttony you have done well. I did 75% of the R12 volume which equalled 33 ozs of R134.
Reason being is I wanted to keep my low side at around 35 psi and my high side around 250 psi.
After putting the second can in, I relied on my gauges to determine how much more to add. All of this was done taking into consideration of how hot it gets here in Florida during the summer months. The hotter the ambient temp is the higher the high side pressure will be and I did not want it to exceed 260 psi.
Recommended AC pressures are 30-40 (low side) 240-260 (high side) so you are within specs.
Enjoy your cool car as much as you can. I try to drive mine every day. Even though I just bought a 2019 Honda Pilot I prefer the Jag any day.
PS: Post some pics of your finished interior.
Muttony - Again, great writeup. I'm still fighting R134A slow leak at the high and low side connections on my old A6 compressor. Everything else is new except for the evaporator and A6 compressor. So I think I'm going to need to replace the A6. So your experience is of great interest to me. I too have purchase gauges, vacuum pump and I bought a electronic sniffer. Many years ago I removed all the emissions equipment, so I'm concerned about your remarking that I would need to move the adjuster from the front of the new compressor to the rear. I don't see anything to attach it to on my car. Could you please provide a picture of what you are referring to? Many thanks, Bill
Bill, If your leak is at the high and low side connections at the compressor, a few questions.
Did you properly clean the area on the compressor where the 2 seals go?
Did you use new green seals of the proper thickness and diameter? There are seals of the same diameter but different thicknesses.
Was the plate that hold the two connections to the compressor slightly dimpled in the middle where the bolt goes?
If the last one was dimpled, put it on a flat surface and straighten it. Also add a washer to the bolt to prevent it from bottoming out.
That was how I resolved my leaks at the high and low connections at the compressor.
Hi Bill, Don't have a picture, but looking at your picture, you have everything you need to shift the arm. So, in your picture you take the arm off. On the top (oriented from the picture) bracket (the bent one) you remove that bolt from the front. The nut that that bolt goes into is welded to the bracket. You will cut that bolt off. Now, on the bolt at the bottom of the picture (the one going from front to back and through the black spacer). You remove that bolt and the spacer. Now take the adjuster arm and move it (in the exact same orientation) to the place where you cut the bolt off and reattach it (you'll need a new nut because you cut that one off). You will then see that the other end of the arm lands exactly in the same place it was without the spacer but shifted enough to miss the bolts on the compressor pulley. A bolt from front to back without any spacer will bolt into the new compressor hole. With a bit of Locktite you bolt it up and you are good.
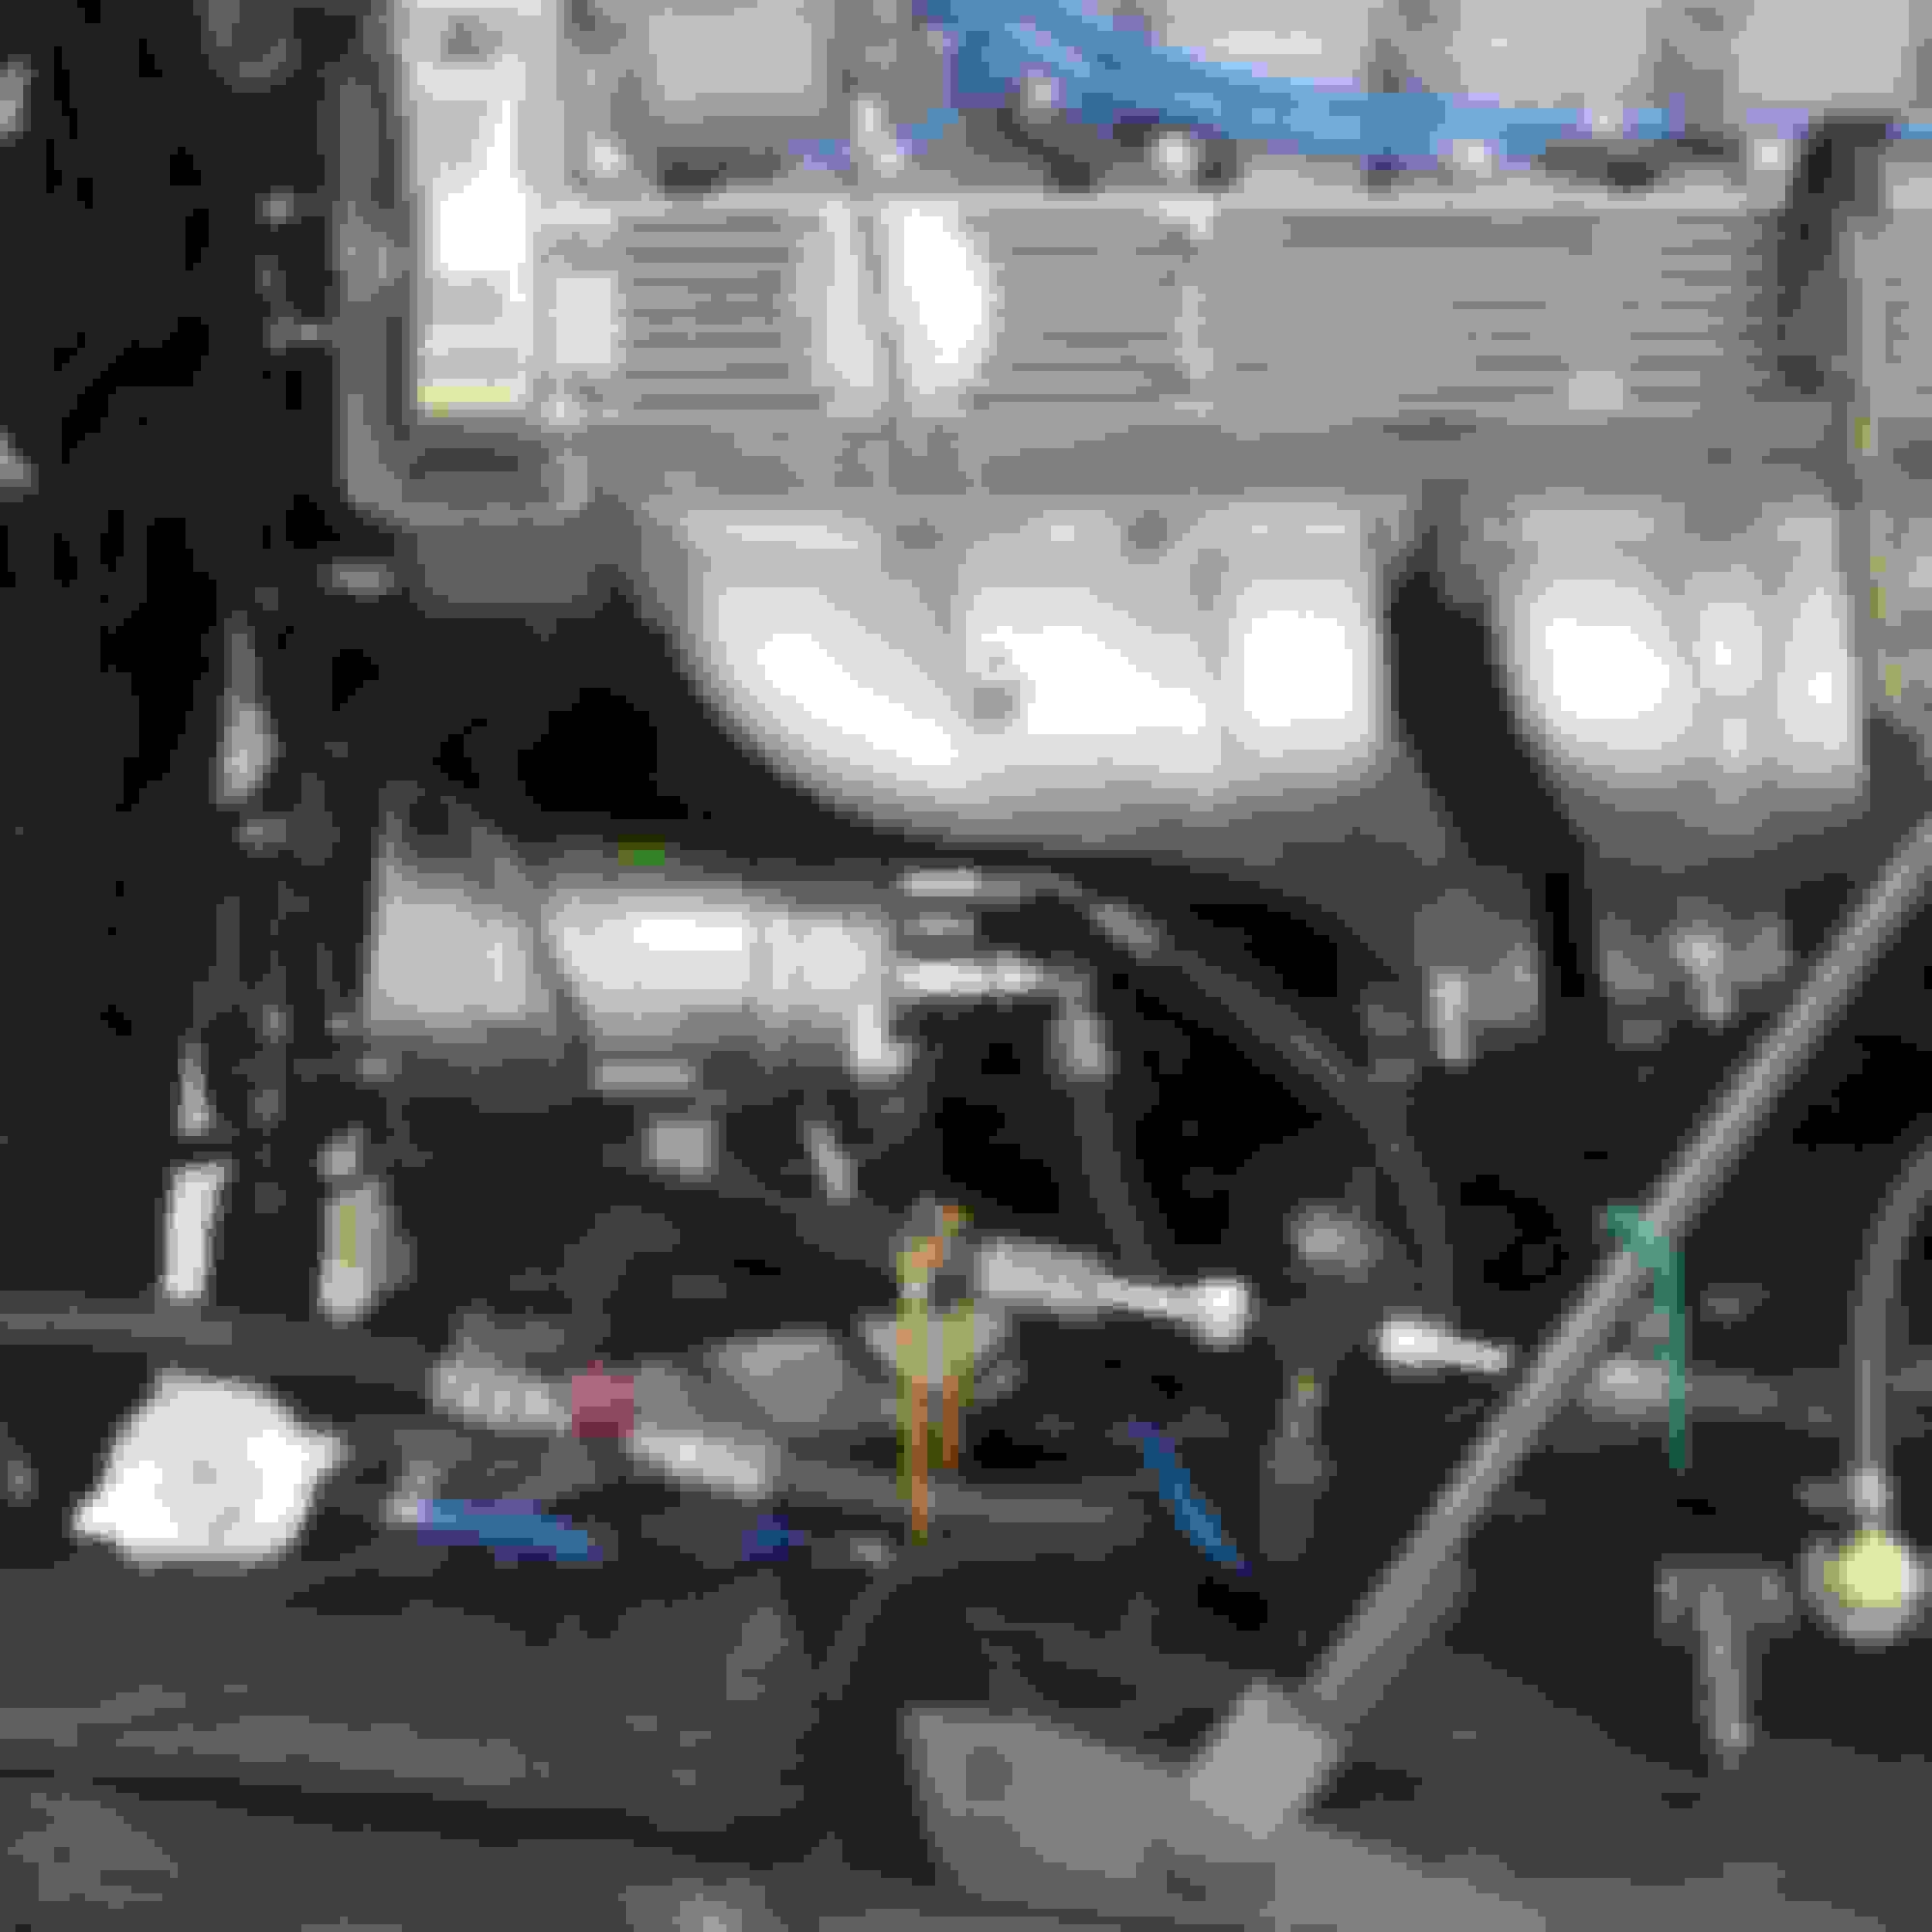
Here's the pictures of the two connections. The Smog Pump is in the way of a good shot I am afraid.
Those gold bolts on the pulley will hit the adjuster if it isn't moved back.
I think I got the picture. Your explanation was very good - thank you. Will be more obvious when I get the new compressor. I'll keep you posted. I think I have to do the front sub-frame rear mounts project first. I'll sweat a little in the meantime. The one good thing that comes out of driving with the windows open, is that I can hear the exhaust music.
I see that RockAuto has the Four Seasons 58096 at $260.89 and the HSLP pressure switch at $20.99. Seems like a good deal to me. I'll wait until my next email from them offering a % discount. Labor Day is coming. Bet I get one from them as we close in on it.
Is the 4 seasons 58096 compressor you used a new or rebuilt unit. Also is it the steel one or aluminum cased lighter one.
Reason I ask is Amazon has a new Aluminum case 58096 for $292.00.
My car is 100% stock the way it came from the factory. The hoses, fuel cooler, all, of it. The only thing I changed is what's in the write up in post 1.
Your setup in the back of the compressor looks like it might be a problem. Look at this site as the writer had a similar problem. Just judging by the picture, it looks like the hold down bolt goes up and down between the two joints pulling rather than pushing them down from above and across both. Mine is a thick piece of metal that goes over both ends of the joints and when you torque that down it pulls them tight. I wonder if that single bolt in the middle is not strong enough to pull both mating surfaces all the way down and fully flat giving you a cockeyed connection?
Agreed, but... this concept is my second attempt at rectifying this problem. The first attempt was just as you said, a top plate (actually two top players) pushing both down evenly, and I still had the problem. And I redid that concept with this one. I'm now thinking there's something wonkey with the compressor.
Muttony - I have now installed the 4-Seasons 58096 with the HSLP switch as you described. All the rest of the components are virtually new. I no longer have ANY R134A leaks. So it must have been the A6 compressor. I now have two A6 compressors that will make good boat anchors. But my low side is 60lbs, while my high side is 225ish. And I'm not blowing colder than 60d F. I put three cans of 12 oz R134A in.
I will say however, that I learned something the hard way yesterday. And that's that there are two types of R134A cans - Self sealing tops and non-self sealing. And that the self sealing require a special adaptor for those of us that have puncture. Now maybe the rest of the world knew about that, but I didn't. I was mixing cans and using the piercing adaptor wondering why sometimes I had to turn the knob back in then turn it out a little bit in order to get a flow. So... I'm not sure I got the whole 36oz in. I may evacuate the system again and get self sealing cans (now that I have the proper adaptor), vacuum it down again, and refill.
You will notice, for some reason, I did not have to reposition the adjuster as you did. Don't know why. There was plenty of room.
Awesome! Congratulations! It looks like your mounting bracket is different than mine and that it sits a little further back? Anyway, all's well that ends well.
Mine doesn't get super cold either. I think the lowest temperature I ever saw coming out was around 50 degrees. I think I may be a little low on Freon. My neighbor does residential and commercial HVAC and he thought my pressures were low even though they were right in the same ballpark as what you are showing. NBD for me as I'm in Massachusetts and I don't use the AC a lot. It works fine for me. If you check it out with a Pro they'd probably go with whatever the pressure is and may tell you to nudge it up a bit. If that happens let me know how you did.
Also, some have suggested an auxiliary pusher fan in front of the condensor to help out. I'd be interested in if that helped any.
I already have two 11" puller fans mounted behind the aluminum radiator. And did away with the vicious manual fan.
I'm really disappointed with the high pressure on the low side. I think that's why the temps are not getting down. Even though the A6 leaked, it was still putting out temps in the 40's! Not sure what to do from here.
 07-18-2019, 08:26 PM