When you click on links to various merchants on this site and make a purchase, this can result in this site earning a commission. Affiliate programs and affiliations include, but are not limited to, the eBay Partner Network.
I posted a while ago regarding my XJ6 4.2L engine that I'm trying to rebuild. This is my very first engine rebuild, so I am somewhat clueless as to the right steps in the process.
As of last night I have the engine entirely disassembled with the parts laid out and organized. A fair bit of my bolts are stripped/rusted/unusable.
I'm attaching pictures of where I'm at also--
-How do I go about cleaning the pistons, crankshaft, camshaft, valves, etc.?
-Do I need to order new bearings and whatnot? (I mistakenly did not organize or label them as I took them off, so I could try guessing where each goes. They are not in bad condition whatsoever so they should be reusable)
-I plan on using 400 grit wet sandpaper with some PBBlaster and a shoelace to remove the scoring on the crankshaft and camshaft, is there some kind of measurement taking that I need to do at some point to insure everything is evenly spaced (this is the part that really confuses me the most about this.)
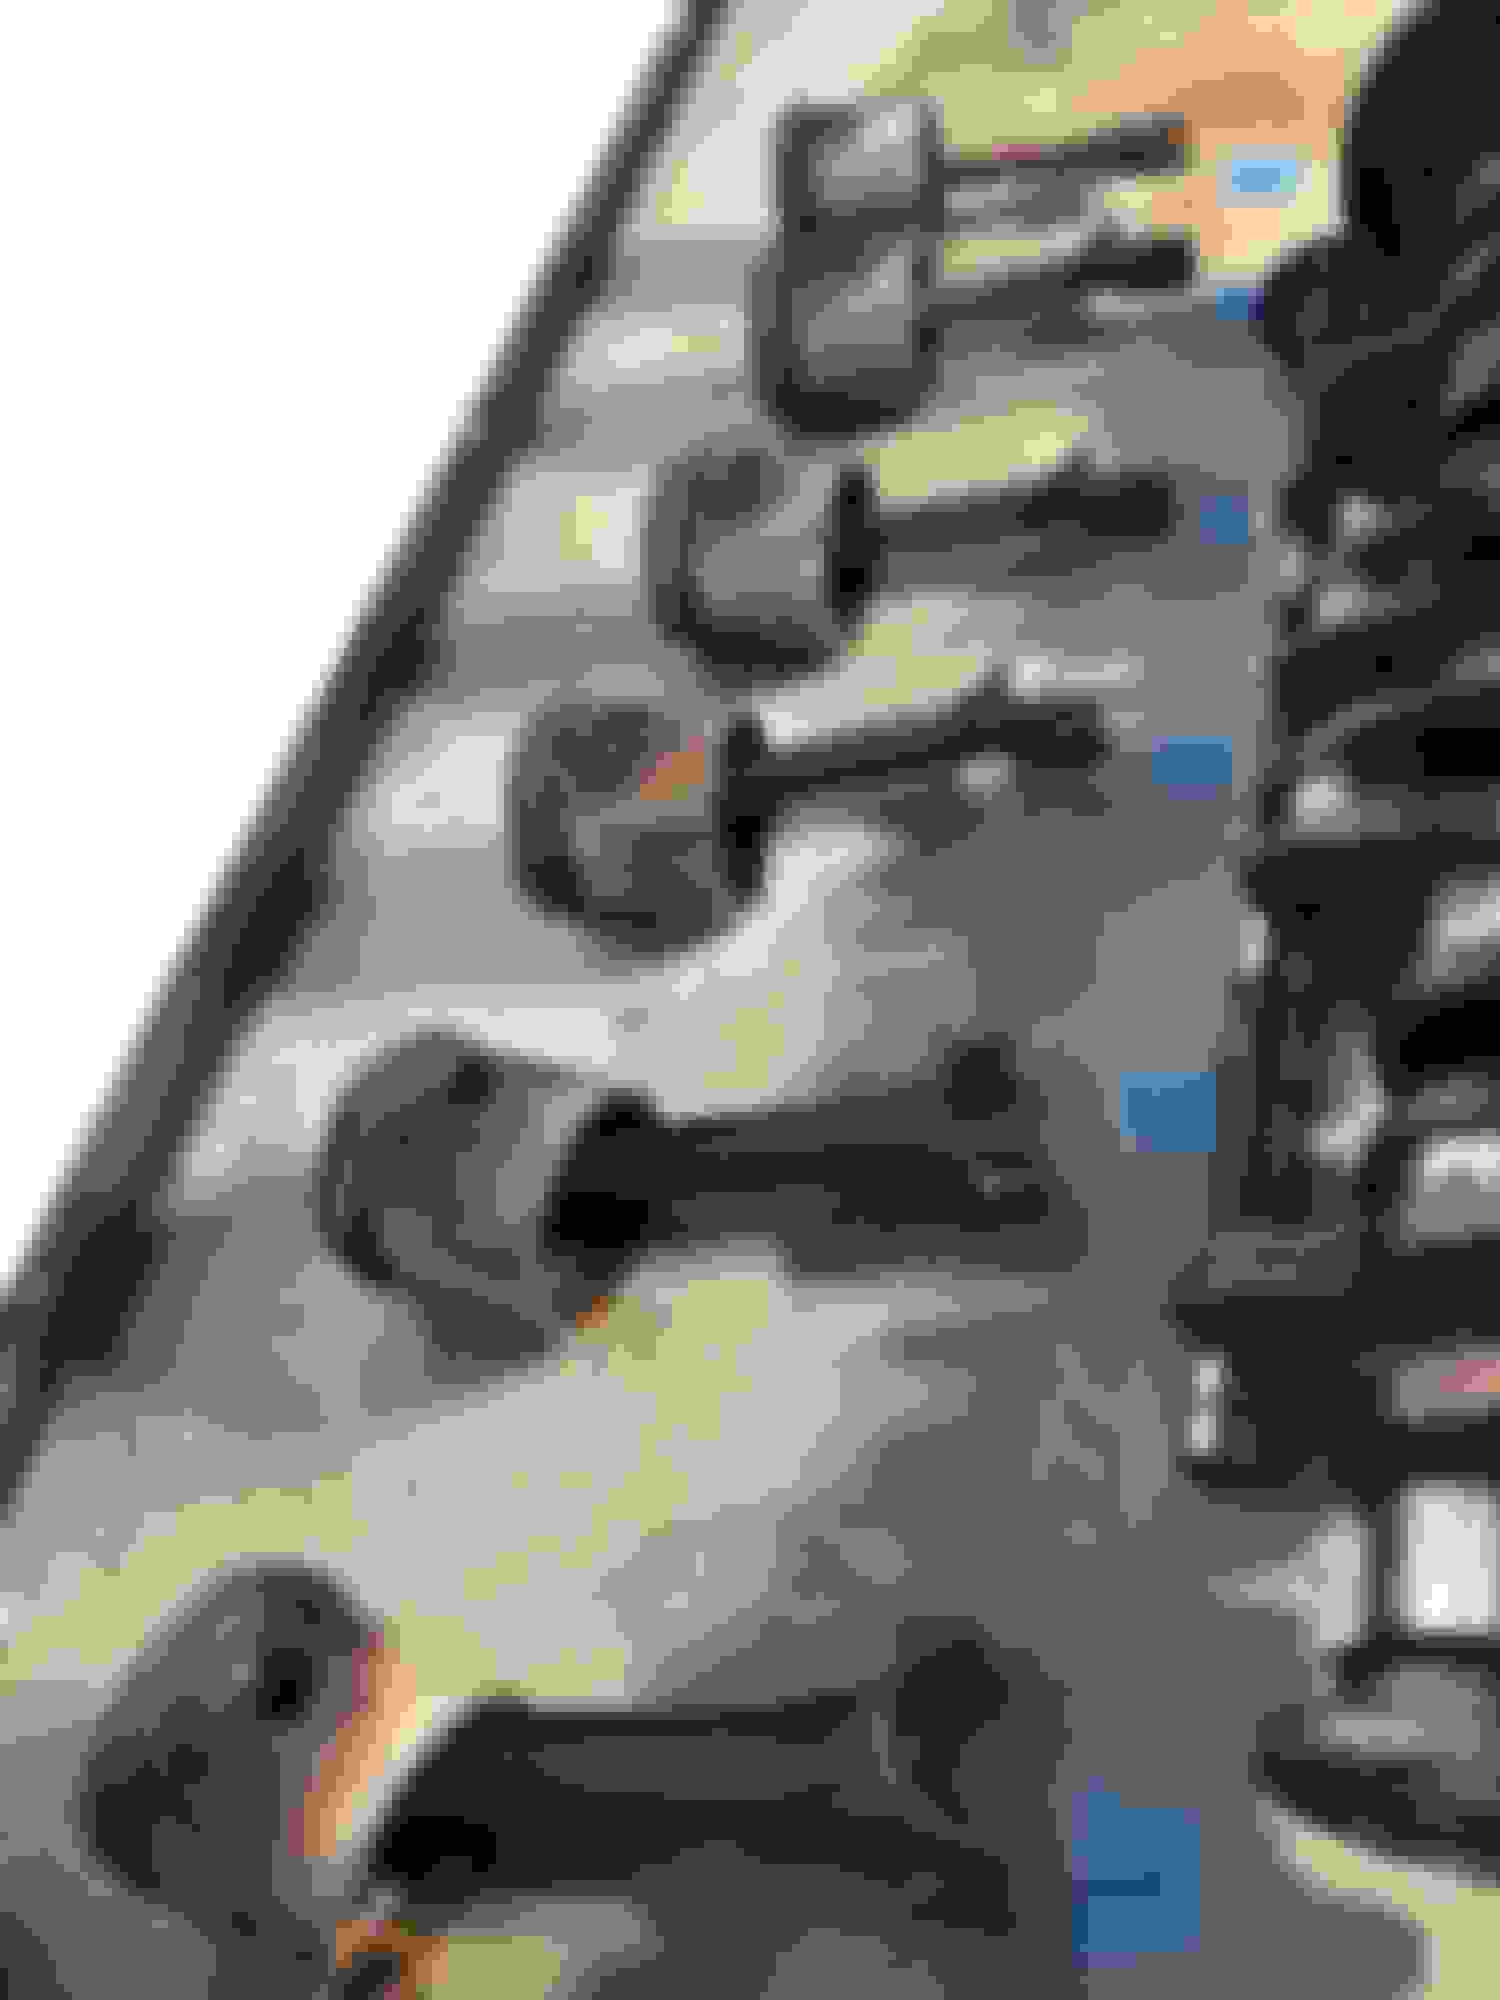
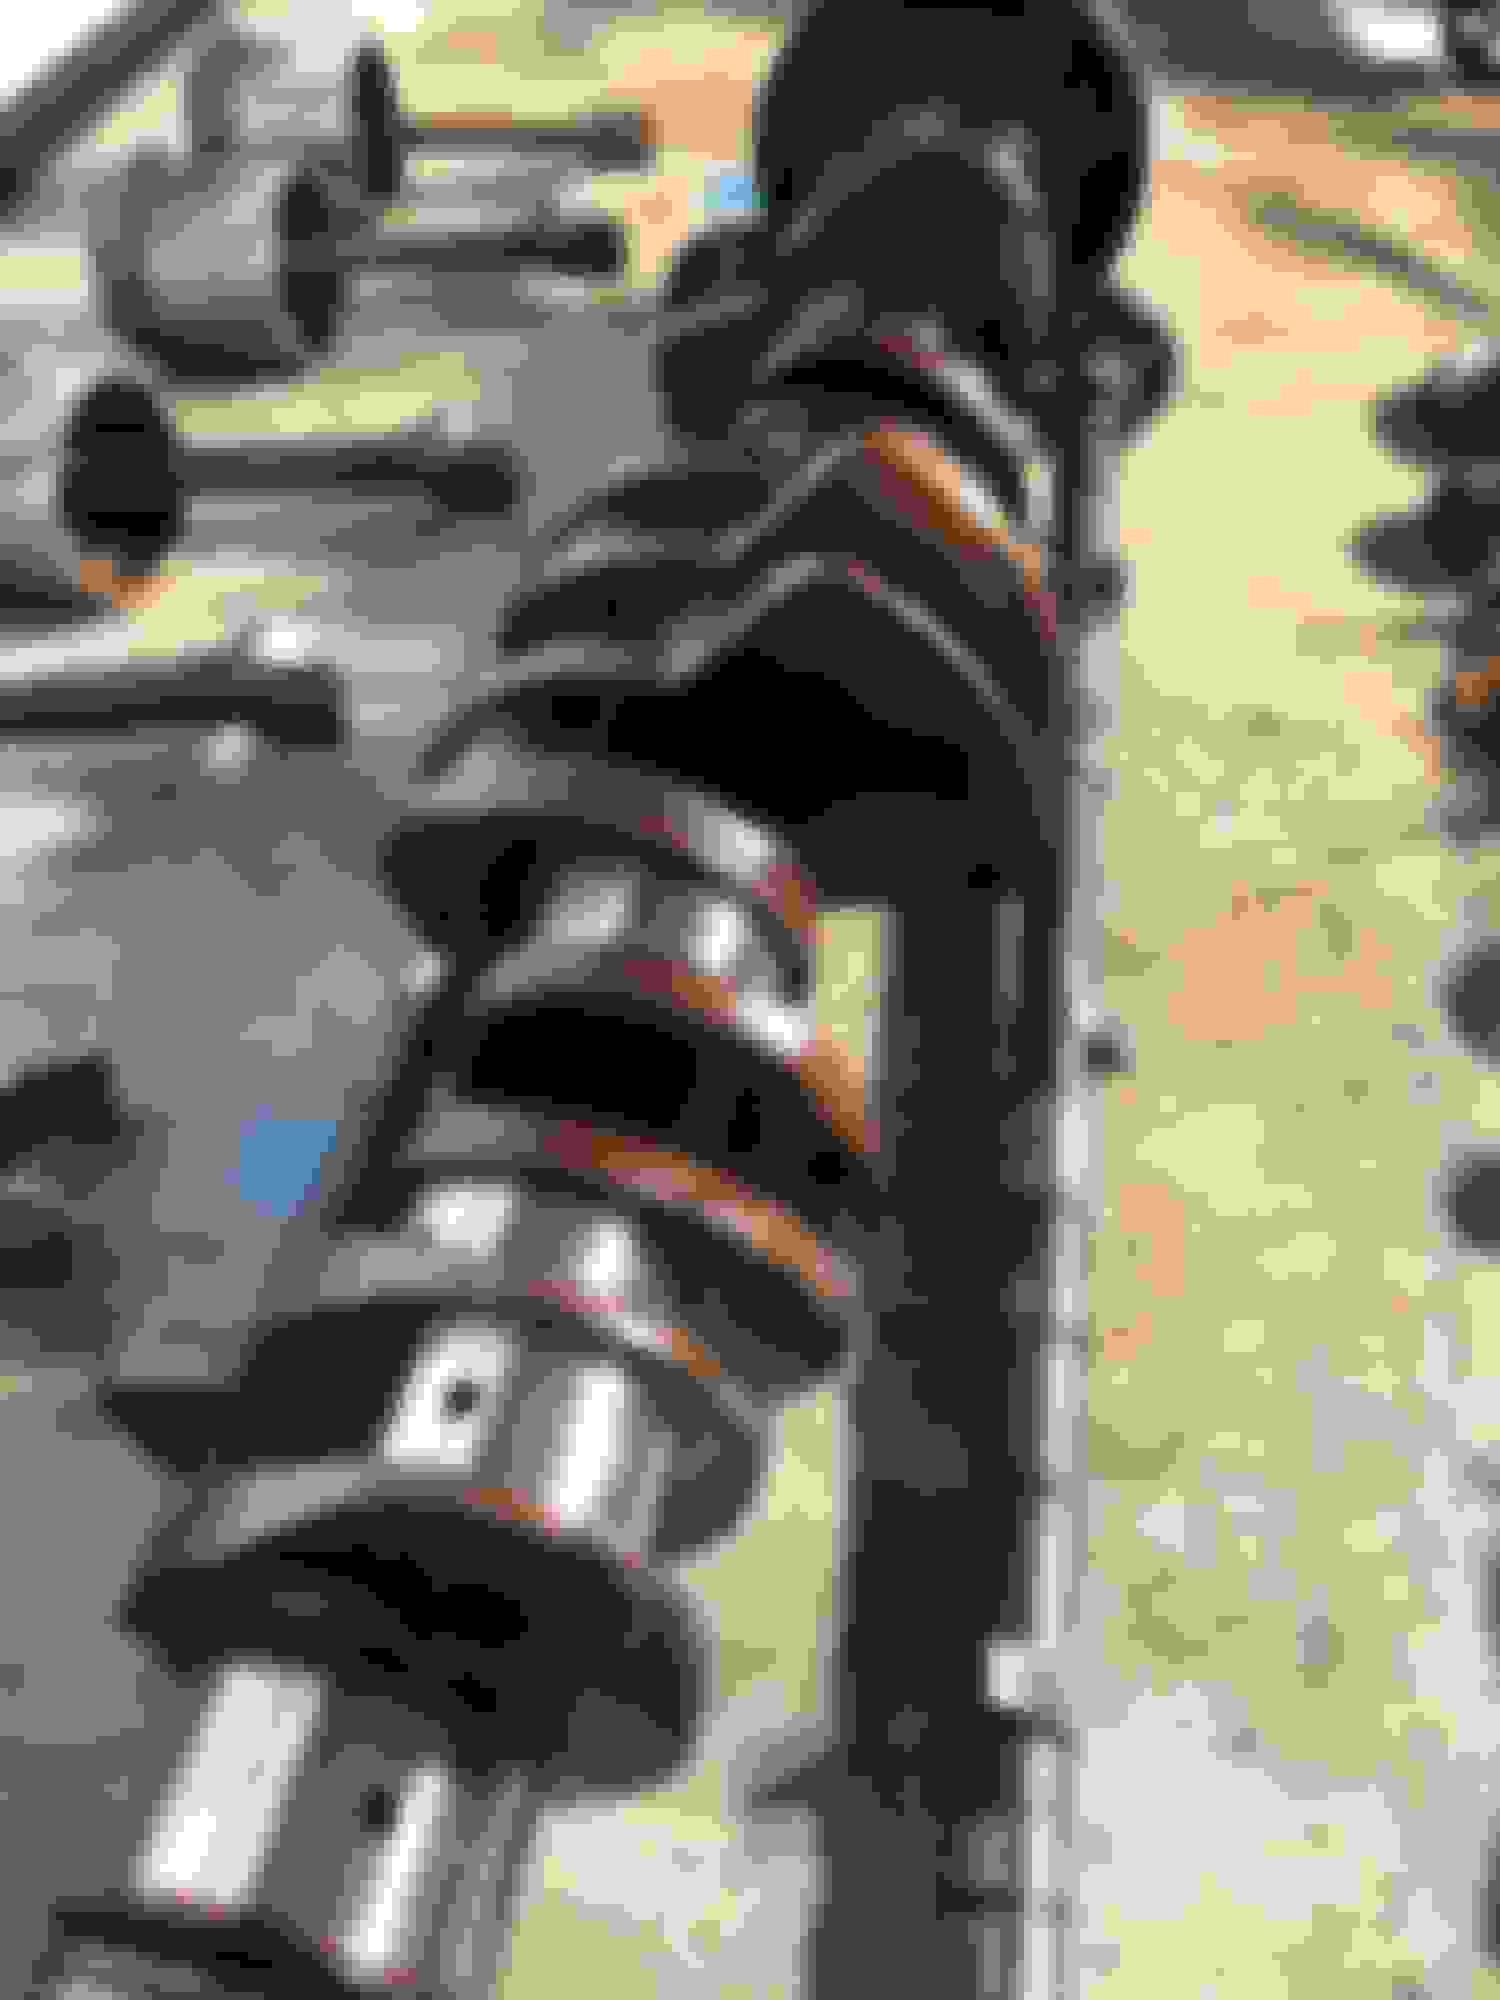
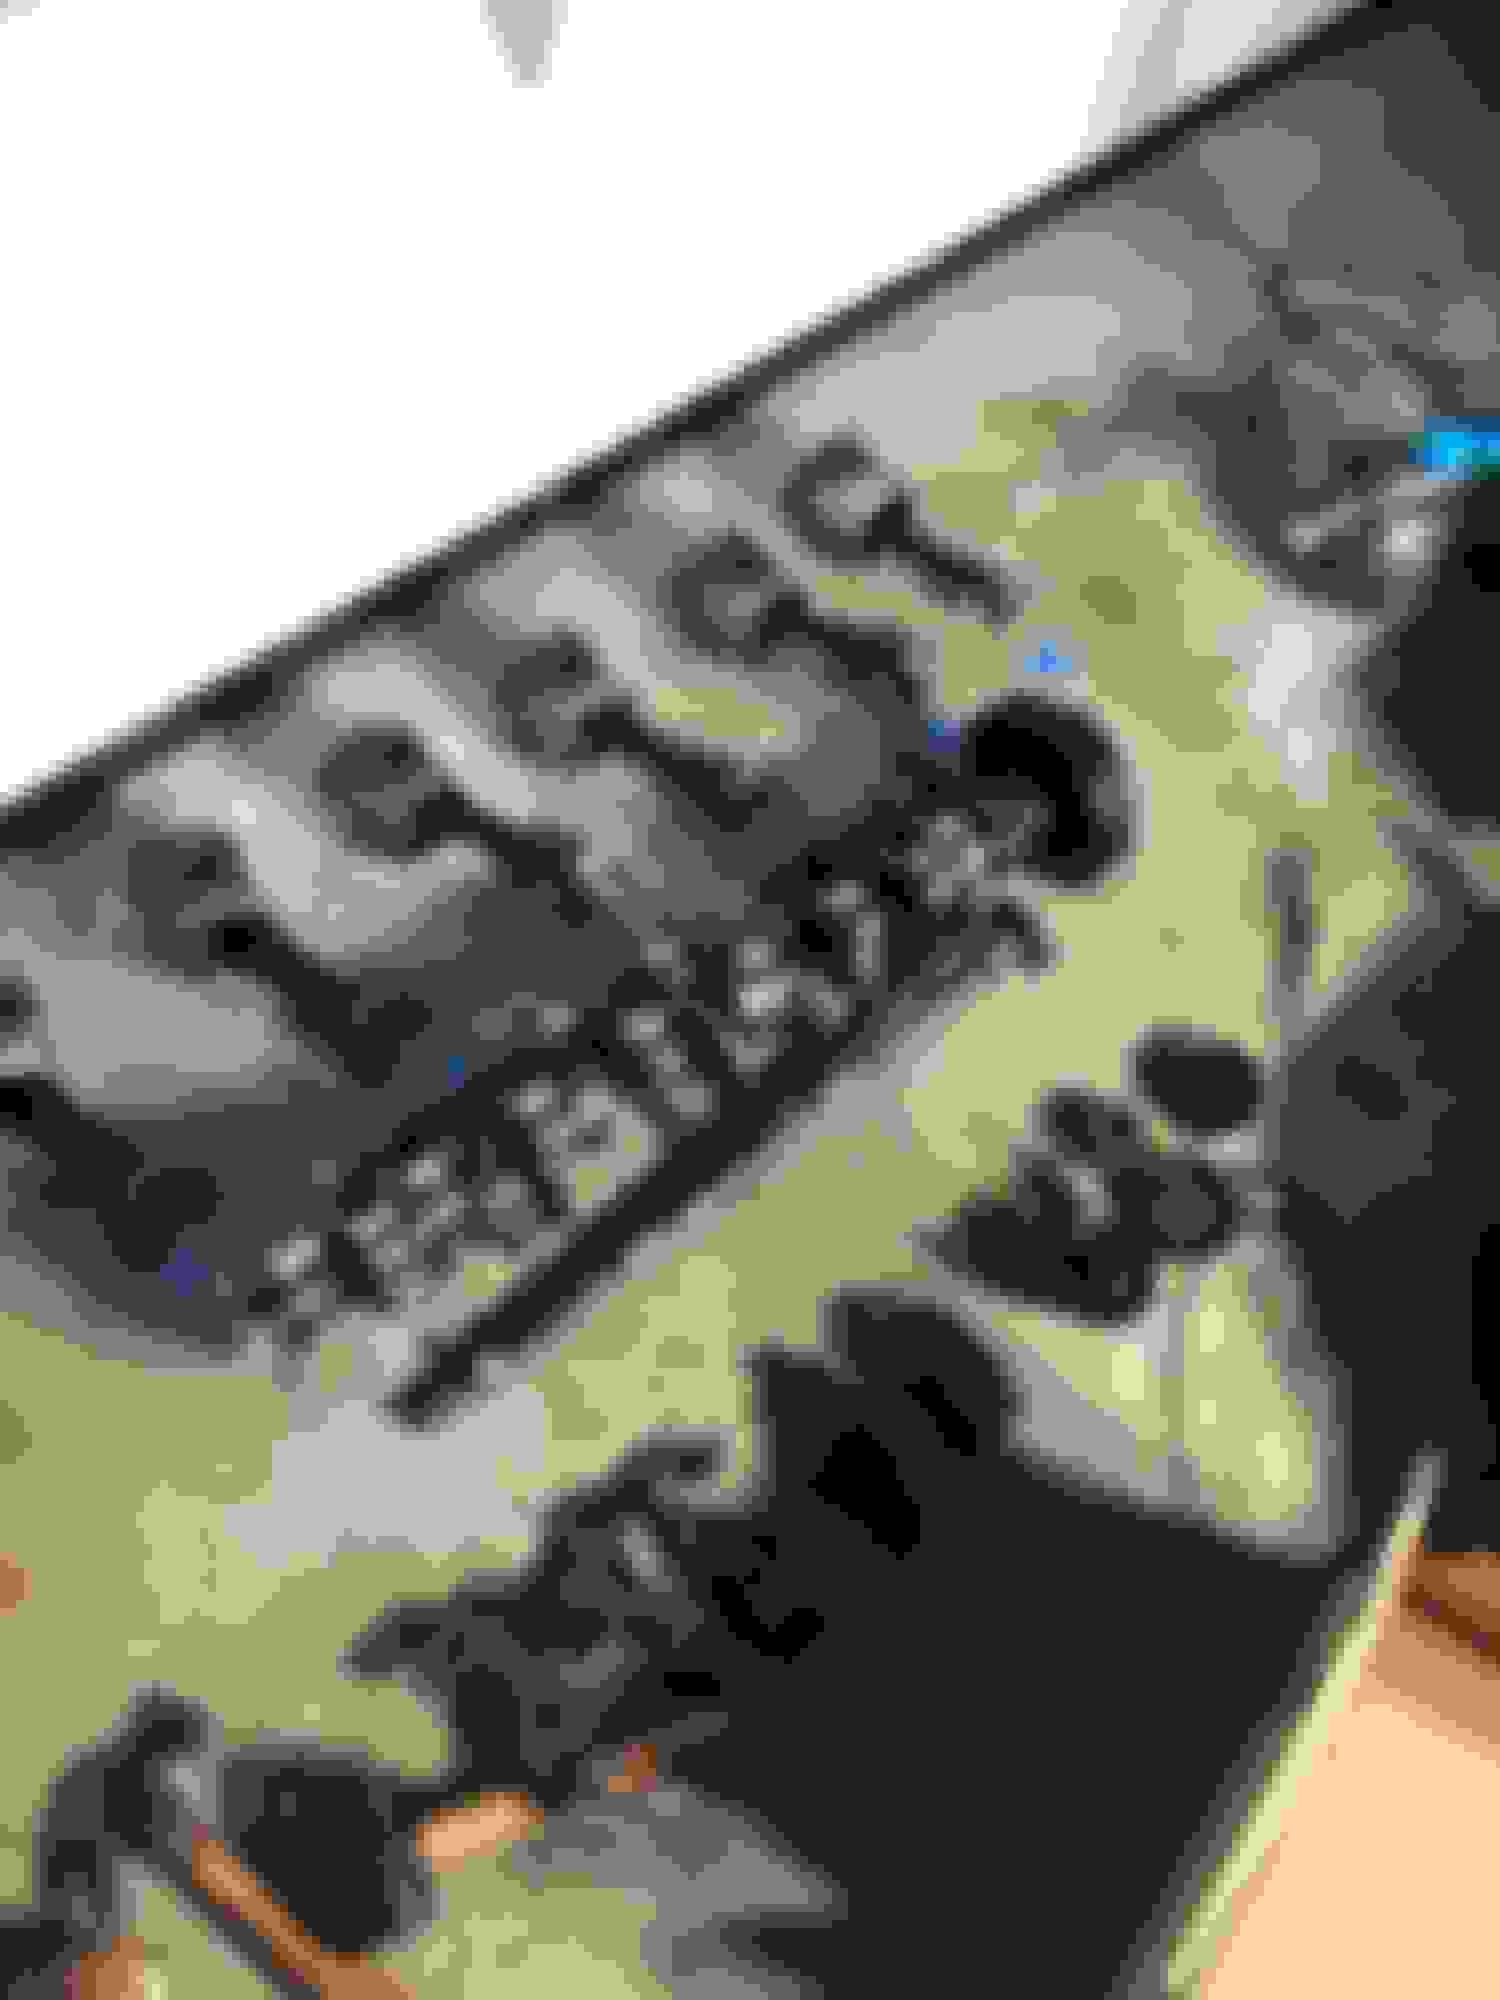
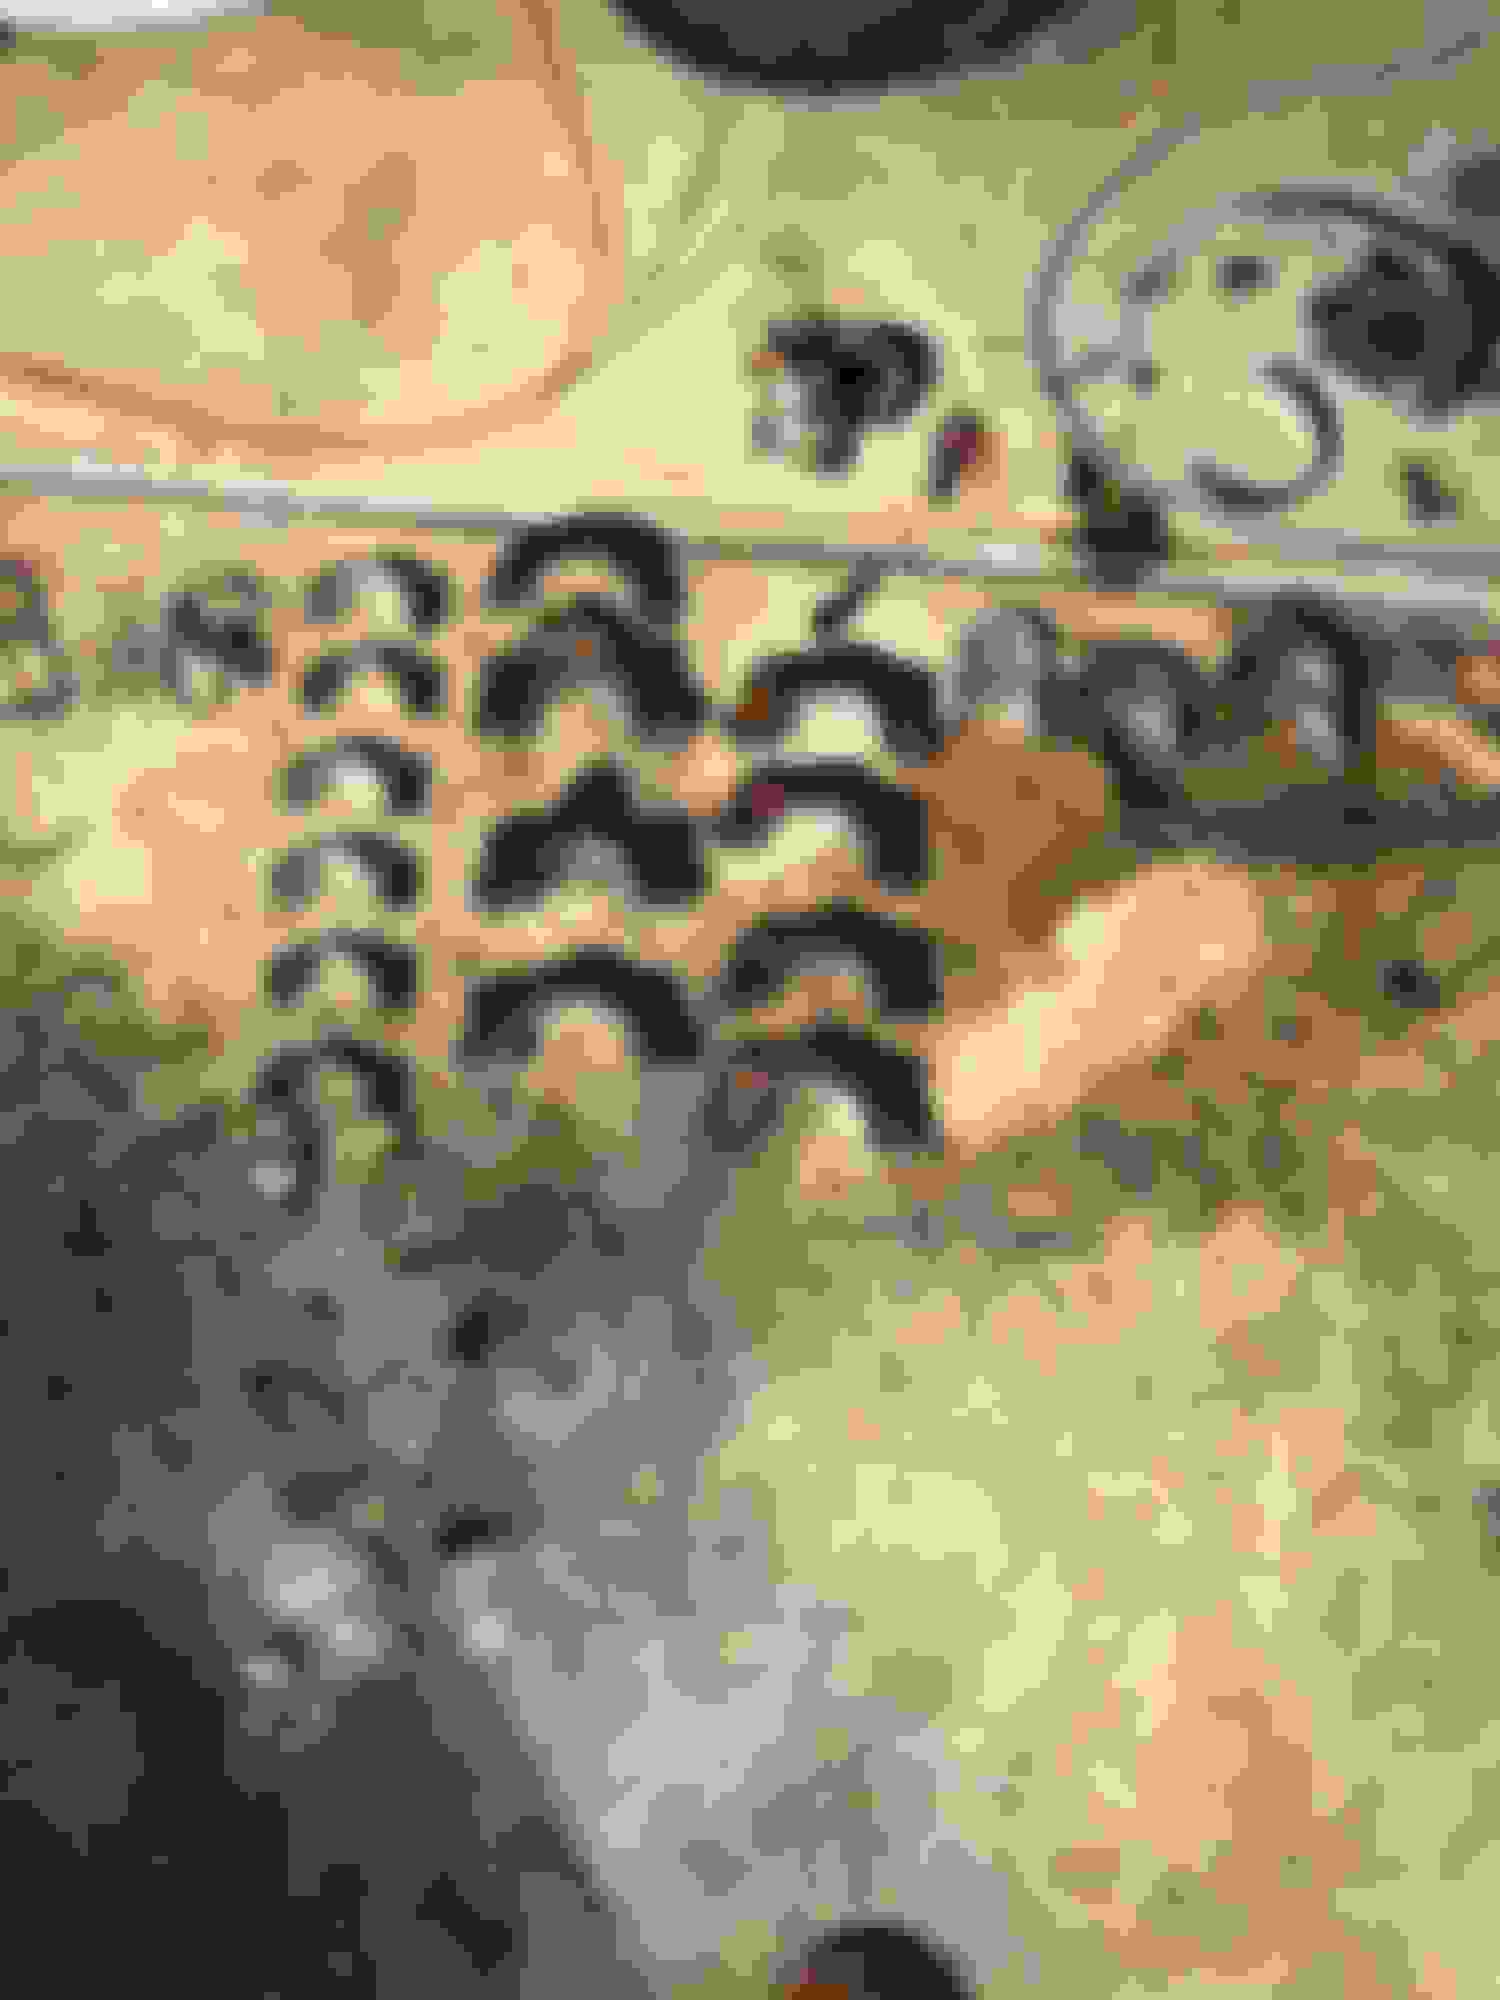
Thank you for any help and advice!! Pistons Crankshaft and camshafts Wider view of pistons, crankshaft, and timing chain Bearings and remainder of main parts
Is this your first ever engine rebuild, or first ever Jaguar engine rebuild ? What is the reason for the rebuild ? What car and year did the engine come out of ? Have you got a heavy duty engine stand to mount the engine on ?
Can you give us some more photos : -
- top of the block close up
- sides of the block
- bottom of the cylinder head
- sides and top of the cylinder head.
- inside of the timing chest cover.
The crank bearings, (main and big end) don't look too bad, but if you look at the crankshaft, you'll see some plugs with an allen-key hexagon for removing them. These give access to the sludge traps and are staked in position using a centre punch. To do the job properly, these need to be taken out, and the traps cleared out. Quite why those traps are there is a mystery as they are not needed, but they fill up with sludge and partially block the oil way. Not good !
Jaguar engines are very satisfying to work on, (I've done two in my time), but don't think you can get away with spending little money. It is worth doing properly if you want a long engine life after the rebuild.
Cellulose thinners is quite good at getting a lot of stuff off, better than petrol or degreasing products, but is a bit expensive.
Last edited by Fraser Mitchell; 12-14-2020 at 11:39 AM.
Here are the pictures I have on my phone, I can take more when I'm back home.
The engine came out of a 1967 S-type, but this engine has about 70k original miles on it. The purpose of rebuilding it was primarily so that I could rebuild it for my own knowledge and understanding of how an engine works, and also to double check that everything will work correctly. It was swapped into the s-type back in 2017 (I think) and it hasn't actually run in ~10 years.
Clean the block and head thoroughly to make inspection for wear and cracks easier.
Follow Fraser's advice and have the crankshaft cleaned and inspected. Since you don't know the order and matching of the rod and main bearings, it may be best to fit a new set once the crankshaft and connecting rods are inspected for distortion or wear.
If the cylinder bores are not worn with a ridge at the top, you can probably reuse the original pistons with new rings fitted.
What type of business would I take the crankshaft to have it cleaned and inspected? Is that something I can do myself or is it better to have someone else do it?
Where do I get a new set of main bearings and new piston rings to fit?
Others may chime in, but... put the end caps on the connecting rods and first feel with your finger if there is a ridge on either side where the two join. Be sure and check rotating the end cap 180d also. If there is, then that cap doesn't belong with that connecting rod. If there is no ridge that doesn't guarantee that it's a match. Your next step would be to use a dial indicator inside the big end and see if it measures the same all the way around. It's going to take some trial and error, but you should be able to match them up. It's the same for the crank shaft main caps, although it may be obvious which is the front one and which is the rear one. Might be the same for camshaft bearing also. Never done a Jaguar block before. Done plenty of others though. Good luck!
I trust you marked which main bearing caps go with which main bearing and which connecting rod caps go with which connecting rod???
As I remember with mine, they are marked when the factory assembled the engine. The pistons also have an arrow stamped on the top, I think. The XK engine is very unusual nowadays in having camshaft bearing shells, most engines have the cam running in the aluminium. If it wears out you need another cylinder head !
The engine is a late 4.2 with the slotted block so won't have any cracking between the bores, and would have come out of an early 80s XJ6. As such, I don't think the crank can be reground as Jaguar used a special hardening process on the late engines. As the engine is so completely stripped, it will be worthwhile taking out all the core plugs and flushing out the coolant jacket to clear the inevitable crud. Best to leave the studs in until this is done as the tapped holes will fill up with it. With the core plugs out the lower part of the head studs can be inspected, (apart from the one opposite the block heater plug on the inlet side that is impossible to remove !!). When I took mine out, they weren't too bad, and they all came out easily, but some can be so thin at the bottom there is a danger it will snap leaving the small remnant remaining in the tapped hole which is very difficult to remove. This is probably less likely with this late engine as most people did use antifreeze by then.
Various solvents to do the base cleaning for DIY folks. I haVE USED GASOLINE, BUT IT IS NOT A GOOD THING..
Follow with a good soap and water batch., spray on alight oil or paint. prevent rust and corrosion
Matchoing rod and main caps might be easy or a flat guess. Good ides posted.
As to the bearings? No luck. Get new ones.
As to the rings. old pistons, new rings, mebbe. It is not on;y the bores that wear, but tyhe pistons dstort and the ring grooves wear. Roulette at best..
 12-14-2020, 11:16 AM