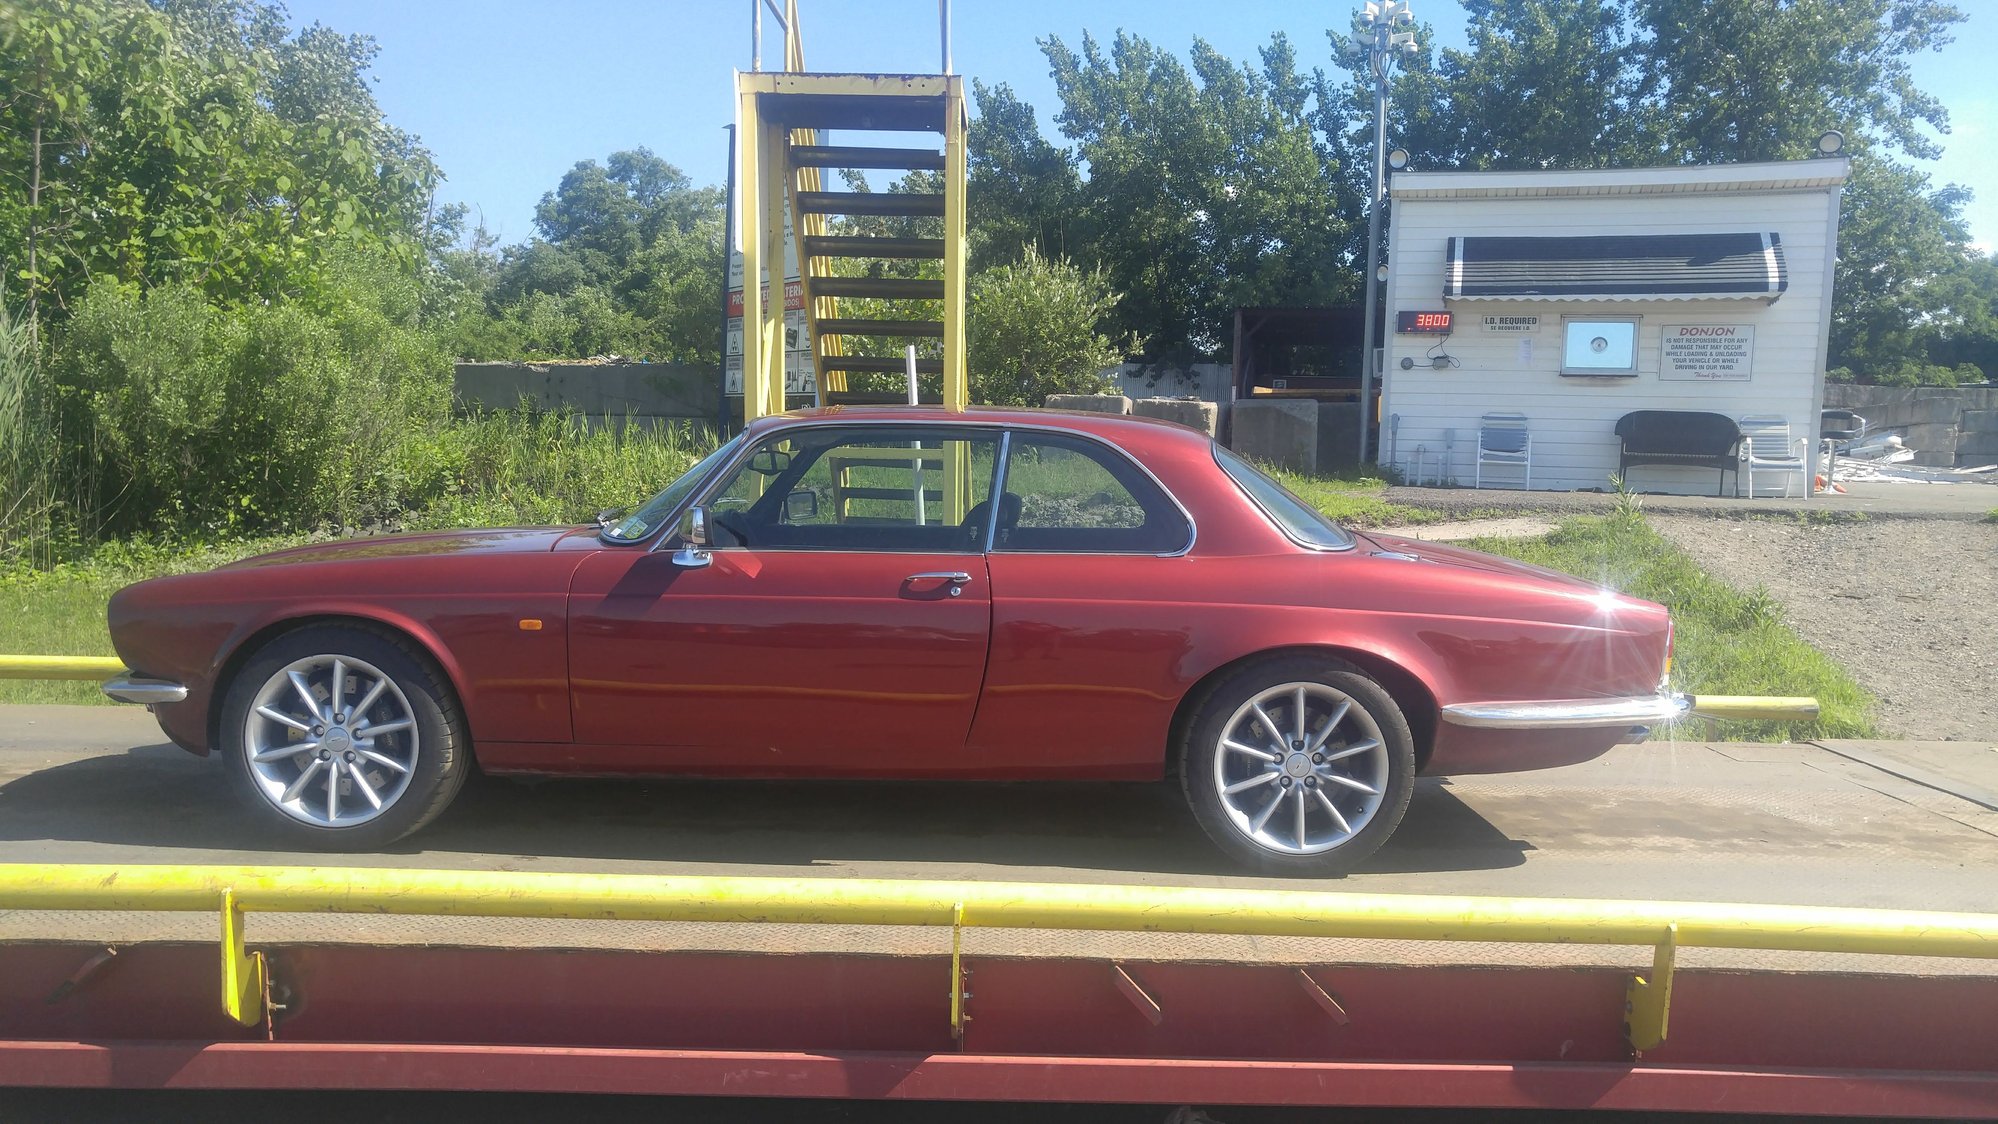
New XJ coupe project - 2015
#142
Join Date: Jul 2010
Location: Austin tx and Daytona FL.
Posts: 7,362
Received 1,236 Likes
on
943 Posts
The following 2 users liked this post by ronbros:
Etypephil (12-31-2017),
olivermarks (07-14-2018)
#145
This information is from another post.. I could not find that post but I think it was from icsamerica. I am about ready to do this task myself as my car is too high due to the SBC and the use of lots of aluminum engines pieces and putting the engine back 1.25 inches.
Item parts list and results are included...will not lower your car 2 inches.. but the correct way to get about one inch.
If you have many spacers under the springs you could get more lowering by removing them... be sure to do it correctly or you can get hurt!
Or you could order and replace the front springs with proper replacements for use with a engine change...
#147
I saved this from a prior Forum article:
"There are nylon (I think that's what they are made of) spacer rings between the spring and upper and/or lower spring seats. Supposedly the number of
them vary, depending on the spring color code, anywhere from a minimum of two and a max of four. For example, my cat has four on each side, two above
and two below the spring.
Depending on whom you believe, each spacer (1/8" thick) changes ride height at a 2.5 or 5.0 to 1 ratio. I think it is closer to 5:1 than 2.5:1, because
my ride height increased over an inch when we reinstalled all four spacers (had just two on each side when we changed springs during conversion)."
I wish I had spacers to remove... I cannot see any on top or on the bottom on either side....
#150
No MAF... the ECM is speed density with a rather large and expanded VE table. I had run a MAF on an earlier convert and hit a few road blocks. Primarily, the MAF limited air cleaner and air intake tract shape and maximum flow. Also the SD ECM is simpler has more options that I needed like DIS and Launch control which I have not used yet. I really do love the early GM MAF based system but as a practical matter I got better drive-ability and much higher performance from the later GM speed density setup. The SD setup also has about 20% fewer components.
Last edited by icsamerica; 01-05-2018 at 07:48 AM.
The following users liked this post:
slofut (01-06-2018)
#153
Wow, big difference. They suit the car better than the last ones. Makes it look more sophisticated somehow. I cant tell for sure but did you adjust the stance the car seems to be "Leaping" ever so slightly or it is perfectly level. Either way, it looks perfect! What are the details please Rim/ Tire size?
Rusty
Rusty
#154
#155
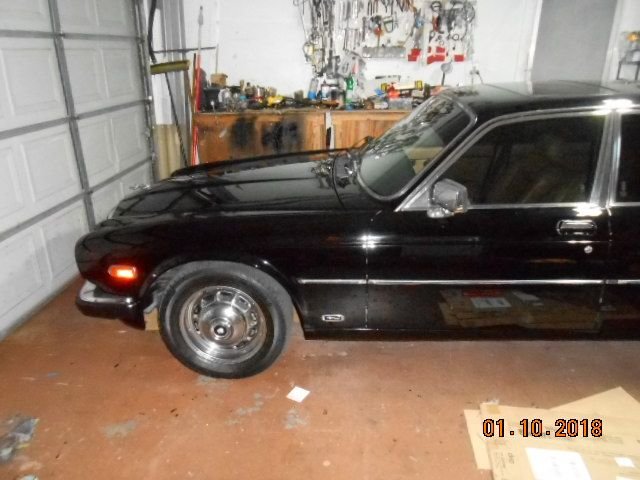
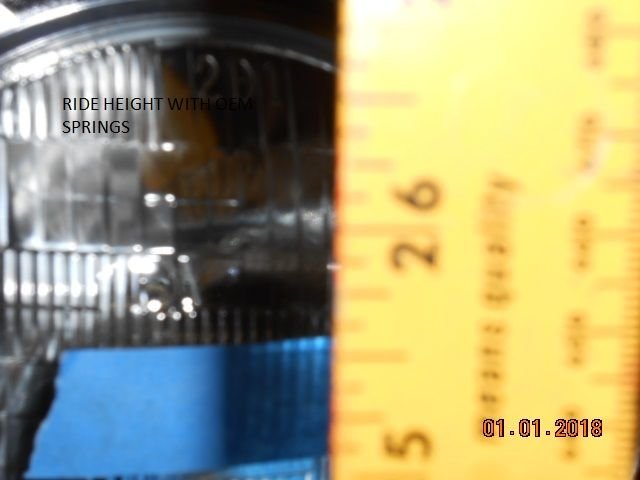
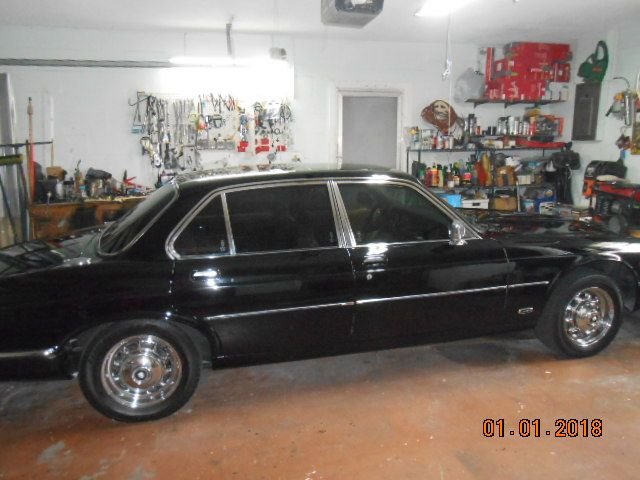
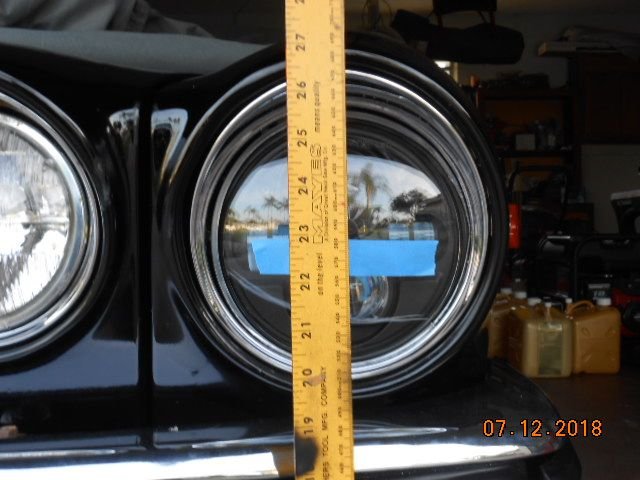
After I did my Chevy conversion, the front was sitting too high. From the floor to the center of the headlamp the measurement was 25 3/4 inches.
I then purchased a pair of front springs that I was told was for a Jag with a Chevy conversion and that it would return the car to it original ride height.
After installation of the new springs with no nylon spacers (recommended) the ride height increased from 27 5/8 to 29 inches. Apparently the springs were incorrect.
I removed the new springs and re-installed the old springs with the nylon spacers, and added 3/8 spacers between the spring pan and lower control arm.
After driving the car around for a couple of months the front of the car settled and was now lower than the rear and the car had a diving stance.
Not happy with the way the stance looked, I disassembled the front again.
I removed the spacers I had added at the spring pan and removed the nylon spacers (3 on each side) and reassembled everything.
Now with the spacers removed and the car driven around for a while, the height measurement from the floor the the center of the headlamp now sits at 23 inches and the car is level
Last edited by sanchez; 07-13-2018 at 07:12 AM. Reason: add pic
#156
Join Date: Mar 2014
Location: Tehama County, California, USA
Posts: 25,447
Received 9,212 Likes
on
5,387 Posts
#157
#158
#159
Join Date: Mar 2014
Location: Tehama County, California, USA
Posts: 25,447
Received 9,212 Likes
on
5,387 Posts


After I did my Chevy conversion, the front was sitting too high. From the floor to the center of the headlamp the measurement was 25 3/4 inches.
I then purchased a pair of front springs that I was told was for a Jag with a Chevy conversion and that it would return the car to it original ride height.
After installation of the new springs with no nylon spacers (recommended) the ride height increased from 27 5/8 to 29 inches. Apparently the springs were incorrect.
I removed the new springs and re-installed the old springs with the nylon spacers, and added 3/8 spacers between the spring pan and lower control arm.
After driving the car around for a couple of months the front of the car settled and was now lower than the rear and the car had a diving stance.
Not happy with the way the stance looked, I disassembled the front again.
I removed the spacers I had added at the spring pan and removed the nylon spacers (3 on each side) and reassembled everything.
Now with the spacers removed and the car driven around for a while, the height measurement from the floor the the center of the headlamp now sits at 23 inches and the car is level
As I was trying to say previously:
The more I see posts like this the more grateful I am that Nix came to me with springs "adjusted" or whatever they did, and fiven a ride height I like.
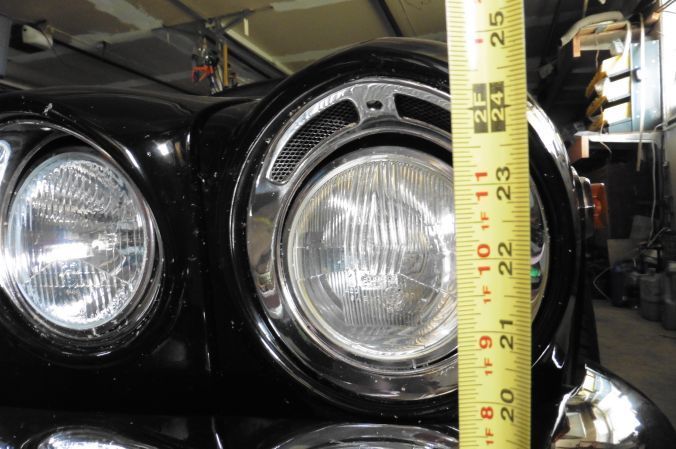
22 inches from the floor to the center of the outer headlight.
Rocker panels are level..
With this low profile and center of mass, she hugs the road and corners like she's on rails.
I have to be careful with some of the more aggressive speed bumps and harsh driveways, but those are rare in my world, and I do So enjoy when someone comes around a corner, sees this low-slung BLACK cat ready to pounce, and they do a double take.
And that makes it all worth any slight inconvenience we might encounter.
(';')
PS. It's good to be back!

