Pabst Blue Ribbon meets Tea and Crumpets
#62
#63
Don't know if you have read one of my past posts about fitting a new wheel to the Jaguar column. I took the old factory steering wheel and cut the center out of it, then machined it a size that allowed the new wheel to fit,...then drilled and tapped it for the new wheel attaching screws. Works perfect, and has the correct splines (factory)
#65
#66
Join Date: Mar 2014
Location: Tehama County, California, USA
Posts: 25,604
Received 9,423 Likes
on
5,450 Posts
#68
#72
Join Date: Jul 2012
Location: Walnut Creek, California
Posts: 6,796
Received 2,399 Likes
on
1,880 Posts
Very slick, no doubt about it. Brings back memories,
circa 2002, of the LT1 being introduced to my car. Although, my shop is bigger than yours, but not by much, we did it in the drive way. Then, pushed inside nose first to spend a lot of time, getting hooked up.
Camber. Top in bottom out ='s negative ?? Not bad unless way out.
But, geometry a bit fussy now, does the spacer system change that?
I refer to spacing the lower spring saddles lower in the lower control arm.
And, another way that may or may not be available. removing factory
installed shims from under the coils??
My car did have a nice nose down attitude when burdened by the 4.2.
It arose just a scoth when the LT1 was placed in the bay. As I remember, I measured it once and found it's new ride height at spec!!!
Looks fine to me.
Carl
#73
What booster is that? Whats the application? Looks like a GM product. Does it bolt up to the pedal box right?
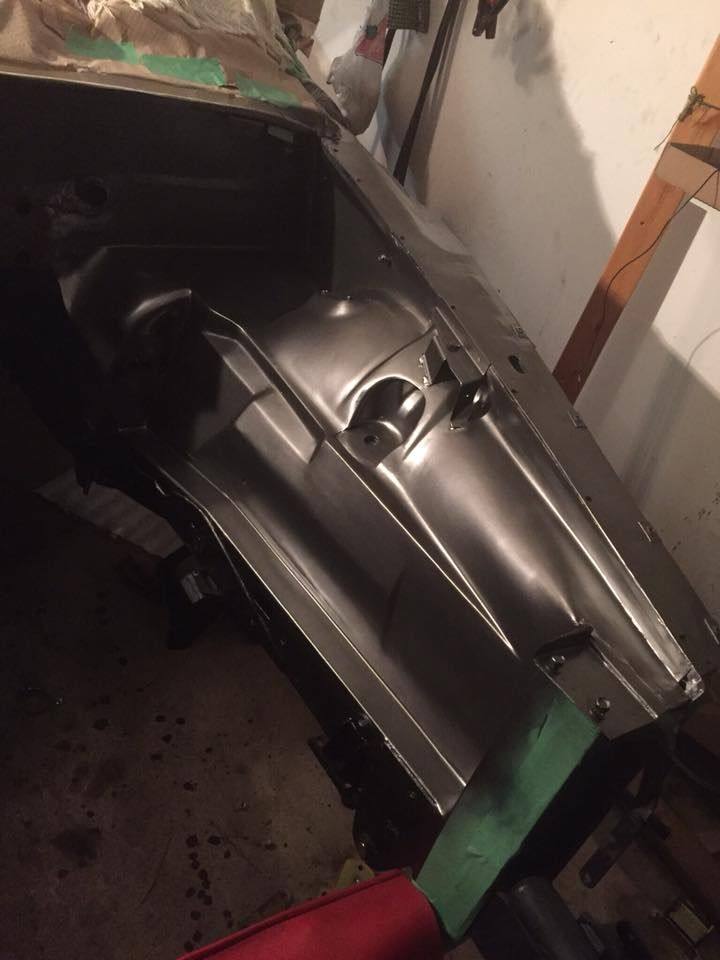
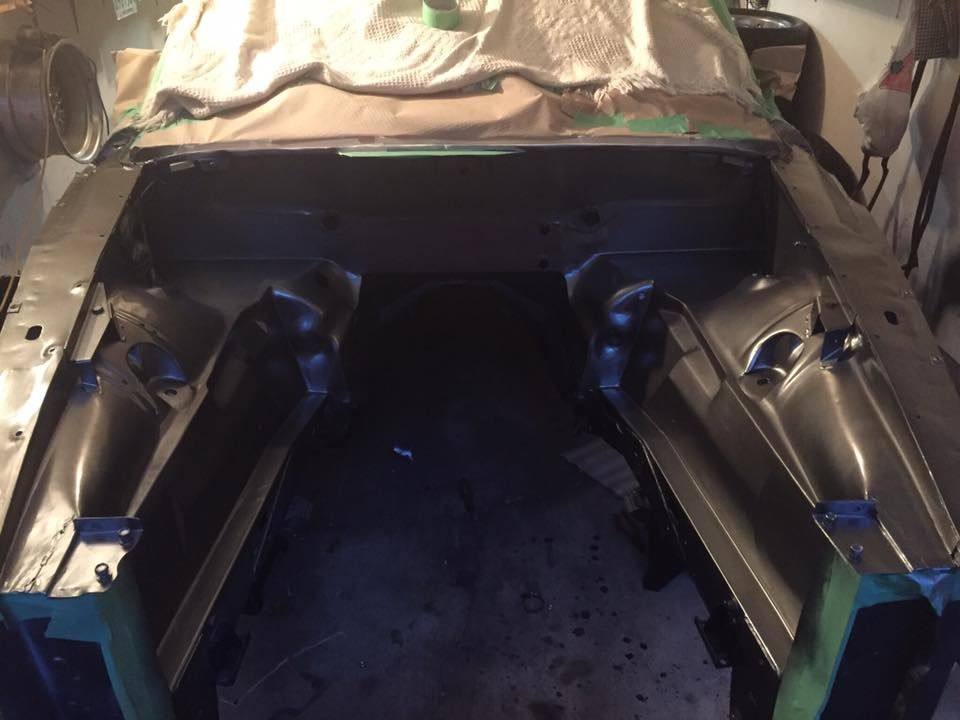
Dont these car look good with the nose off? Even with out fenders the lines of the structure chassis are pleasing to the eye. This is a testament to human design while modern cars designed by computer look in-organic under their thin skin.
Dont these car look good with the nose off? Even with out fenders the lines of the structure chassis are pleasing to the eye. This is a testament to human design while modern cars designed by computer look in-organic under their thin skin.
Last edited by icsamerica; 10-27-2016 at 10:13 PM.
#74
#75
Why bolt to the firewall? I'm all in on modifications myself but I'm struggling to see the rationale on this one. I thought the OE pedal box is a nice piece of engineering. What am I missing?
Last edited by icsamerica; 10-28-2016 at 08:57 AM.
#78
YES !! I would also like to find a new M/C and booster that is a "bolt in" to replace that piece of LEAKING junk that is Jaguar original equipment.
I have methodically rid this car of all the factory demons except the leaky M/C. I have replaced the M/C 3 times - they all leaked (all over my new engine compartment paint -ruining it) I am so fed up with it.
Reminds me of the English motorcycles that ALL LEAKED like a sieve eventually bringing to an end of that industry there. Could they not machine 2 flat surfaces and provide a thin gasket to prevent leaking at the joining surfaces of the M/C to booster body?
Just about every S3 Jag engine compartment has the same damage as mine under the M/C on the sheet metal there What a mess..
I have come to the understanding that there is no "fixing / replacing " it with a Jag unit rather replacing it with NON JAG equipment is most likely the answer.
My guess is that there are a lot of S3 owners with the same desire -end this leaking madness.
Has anyone done this?
#79
Join Date: Jul 2012
Location: Walnut Creek, California
Posts: 6,796
Received 2,399 Likes
on
1,880 Posts
Alyn:
A couple of ideas.
1. The leak is in he joint between weird plastic reservoir and the iron pressure cylinder. Domestic MC's are one piece.
Swap out there for an earlier remote reservoir with better ceiling. but, use metal, not plastic and rubber !!!
2. Add a diaper under the existing to protect the paint and be removed easily when soiled.
I got lucky. Mine shows a replacement, sans leaks, not too long
before I got it, 2001. So far so good.
Carl
#80
No the leak is not there. I have cleaned the M/C body in that area until it was bone dry and it has a good seal (what a stupid arrangement - that is why I would like to have a GM unit there instead.) but I am getting weeping at the point where the M/C is bolted to the booster.
I have no issues with the booster but rather the place where the booster and M/C are bolted together. So if there was a direct bolt on for a GM M/C unit - to Jag booster (or is it a GM booster as well?) Problem would be solved )
Always wet there then drips onto the inner fender and being brake fluid,... removes the paint.


 i love the lowered stance on almost any car and putting it on the ground for the first time was incredible, looked so good


