When you click on links to various merchants on this site and make a purchase, this can result in this site earning a commission. Affiliate programs and affiliations include, but are not limited to, the eBay Partner Network.
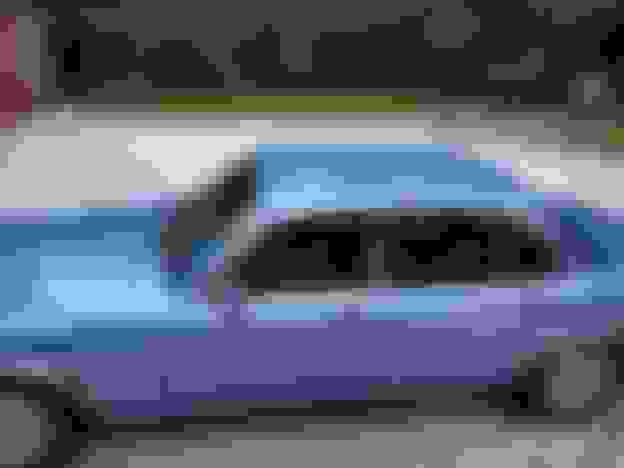
A few of my '87, which has been wrapped with a 3M product (either 1080 wrap or 2080 wrap, don't remember which) in Ice Blue Gloss. It's a nice "ten-foot paint job", meaning it looks great from 10 feet out and you can see the imperfections up close, but it was also $750 for the materials, plus a little bit of labor, versus the $6k-$12k quotes I was getting for a full-on paintjob.
A few of my '87, which has been wrapped with a 3M product (either 1080 wrap or 2080 wrap, don't remember which) in Ice Blue Gloss. It's a nice "ten-foot paint job", meaning it looks great from 10 feet out and you can see the imperfections up close, but it was also $750 for the materials, plus a little bit of labor, versus the $6k-$12k quotes I was getting for a full-on paintjob.
looking great, share the prepaint photos also (before & after)
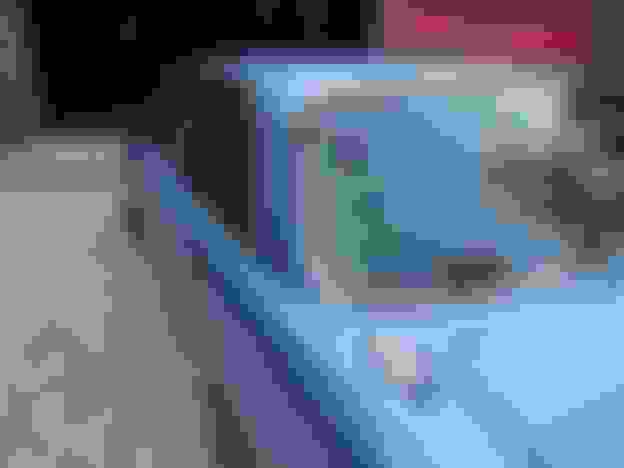
Some pre-paint photos. Again, I don't have a lot of close-ups. The real damage to the paint was on the hood and trunk. Clearcoats completely gone on both. When it also started to film up on the roof and the tops of the front fenders, I decided to wrap it.
Wow. I'm really interested in hearing more. In Southern California lots of rich dudes buy a Lambo, Bentley, etc and have them wrapped in wild colors. I understand when you are ready to sell you just peel off the covering and your back to the factory finish. On BAT you see so many cars painted in non-standard colors which really lowers the value. There was an E-type that had the Jaguar Heritage certificate that said it left the factory in �battleship grey�. Now I can see why he repainted it red but going the wrap route you can have the best of both. Can you please tell us more? What are the imperfections you mentioned? Any suggestions for others contemplating this? Did you do the work yourself?
Wow. I'm really interested in hearing more. In Southern California lots of rich dudes buy a Lambo, Bentley, etc and have them wrapped in wild colors. I understand when you are ready to sell you just peel off the covering and your back to the factory finish. On BAT you see so many cars painted in non-standard colors which really lowers the value. There was an E-type that had the Jaguar Heritage certificate that said it left the factory in “battleship grey”. Now I can see why he repainted it red but going the wrap route you can have the best of both. Can you please tell us more? What are the imperfections you mentioned? Any suggestions for others contemplating this? Did you do the work yourself?
Jeff
Originally Posted by Jahmiata
Doing the wrap around the headlights must have been a real challenge? Interested to hear more as mine needs paint or wrap.
Jeff H
I'll do my best to explain the process and what it means for your car:
1) Prep is basically just get the car clean. On my car, we actually had some paint loss on the hood so we had to hand-sand the hood beforehand to remove rough edges so the material would adhere. If your car has no such imperfections, no sanding will be required. My hood would have had to have been sanded regardless of whether it had been painted or wrapped, so no loss there.
2) I paid a professional shop to do it. They typically just do advertising wraps (like business signage on vans and such) and this was their first full-body, non-graphic wrap. So they were learning a bit right along with me.
3) It basically takes one person the better part of two days to do, or two people can do it in a few hours. There are a lot of shops now that can make wraps look like paint jobs (they take off all the chrome, take out the headlights, etc.) but you're going to pay for that. Mine was not at that level. No trim was removed. We even wrapped over the painted pinstriping visible in the last "before" picture rather than try to strip it off.
4) The big issue are seams. You're going to have them. Any major division in the body work (door seams, above/below the rubber bumpers) are going to make for a seam unless you completely strip the car of all accessories, which we did not. Every seam you leave is a chance for it to peel back or not stick, especially if that surface was not absolutely clean. Prepare to spend $100 for a fine-tooth detailing of your car before you do this job, or just don't bother, or get prepared to do it a second time. We forgot to clean the panel that goes under the rear bumper between the exhaust ports and had to do it over.
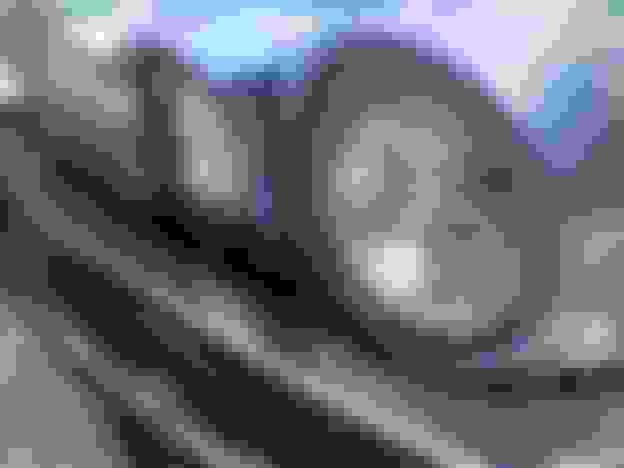
5) Places you'll see seams on my car: Around the headlights (it's visible in one of the "after" pictures I put up; we did the front of the car in a sheet -- the area that faces the wind as you go down the road -- then used a separate sheet for the top of the hood because trying to do it all in one sheet proved too difficult), where the roof meets the rear quarters, and above/below the bumpers.
6) This stuff goes on with a hairdryer/heat gun, and what you're paying for is the knowledge, on the part of the installer, where to cut with a razor blade so that when it heats up and contracts, the edges contract back to the metal properly.
7) As I said before, we had to redo a couple of pieces (hood top, exhaust panel) and when we peeled off the first attempt, there was no evidence of it ever having been there. No damage to the underlying paint.
8) I don't know how much material comes in a "kit," but this car took two kits. That ended up being good for us, because we had a lot left over in the second kit, so we were able to redo panels we weren't happy with.
9) I would only use 3M products. The two levels are 1080 and 2080. The difference is there's an outer layer on the 2080 that can be peeled back after installation and it keeps you from damaging the material while installing it.
10) 3M also makes a glue to use on the seams. You're going to need it. It is easily removed from the paint, but sticks heartily to the film. The only way around using it, that I can see, is to go whole-hog and remove headlight bezels, door handles, etc., and tuck those seams behind the edges of the metal. On an XJ, for instance, you can't do that on the lower panel that covers the saddle tanks; the upper piece has to "seam" somewhere on the sheet metal in the vicinity of the bumpers. I didn't even make it home from the installation before I had a couple of pieces flapping in the breeze. I went back up to the shop, we re-heated it and then glued it and I haven't had an issue since.
11) If you are inclined to go through automatic car washes, don't use this product. Hand-wash only from now on if you're not already doing it. You're worried about brushes catching the edges of the film, like around the headlight bezels.
12) New refueling procedure: Have a rag handy when taking the gas nozzle out of the receptacle, because this stuff is susceptible to chemical damage from gasoline, so you'll need to cover the end of the gas pump spigot as you move it from one tank to another, plus immediately wipe off any gas that spilled on the paint.
13) Like anything else regarding cars, the more money you spend, the better results you're probably going to get (unfortunately).
14) Longevity: 3M estimates that a car left completely out in the sun with one of these kits will last 2-5 years before the film begins to show wear. If you garage the car, you'll get better results. Theoretically it should last as long or longer than a paint job, and it certainly outlasts plasti-dip. I have driven my car about 5,000 miles since the installation and have noticed zero issues with rock impacts or other road damage. It looks as good today as the day it was put on the car. It seems to be a very hardy product. Meanwhile, a friend of mine plasti-dipped a Chrysler Conquest/Mitsubishi Starion (I also own one of those) and he was getting delamination and rock impact break-up within months. Maybe he didn't apply it properly, who knows. The advantage to this product, of course, is that you can change colors frequently, keep the underlying paint in whatever condition it was when you covered it, and swap back in 5 minutes. You can inlay graphics, secondary paint colors and even get films that have colors that "move," like old rat rods and hot rods, for the same basic cost as a full single-color cover. I doubt I will ever paint a car again. I'm thinking about having my XJS done next month. If cost wasn't a factor, I'd opt for paint, but most paint shops these days only want insurance cases and accident repair, not full-body restos -- and when they take on one, they will dang sure charge you for it, not to mention they keep the car for three months. I dropped mine off on a Wednesday and picked it up before the weekend.
Great write-up. Thanks for taking the time. Your experience is pretty much what I had heard from others. Videos on YouTube seem to indicate the skill of the installer is the key factor. And removing all the trim contributes to big bucks.
When I restored my two piece ski panel I was looking for a way to cover the window switch panel in black leather grain vinyl like the original. I found a distributor of the films like you used and they had samples 12" wide and 4 or 5 foot long for $10. I ordered the black leather grain film and following YouTube instructions installed it myself with a heat gun. This was a small flat piece but it came out nice. So if anyone wants to experiment on there own this is how you can do it. They had thousands of different films. You want green snakeskin, no problem. Flat black, iridescent look, one called hologram, blue chrome, etc. And normal paint colors of course.
If I had a car that needed repainted I would definitely consider a wrap. Thanks again for the great write-up.
Hi Jess,
Looks very nice ! Could you post some close ups of the windscreen seams or other problem areas ? Might just do my "Feral Kitty" when I get to that point.
Side question for Jeff, do you have a link etc for the "leather" film you used for your ski slope panel ? I could not find any that looked right without ordering a roll big enough for every XJ in the USA !
Hi Jess,
Looks very nice ! Could you post some close ups of the windscreen seams or other problem areas ? Might just do my "Feral Kitty" when I get to that point.
Cheers,
Brian
Just from the pictures I've already posted, here's some problem spots at the front of the car:

 05-10-2020, 05:17 AM