When you click on links to various merchants on this site and make a purchase, this can result in this site earning a commission. Affiliate programs and affiliations include, but are not limited to, the eBay Partner Network.
Hey guy's,
Well, I am about to tackle the rear brakes on my XJ6l, I need to replace/ rebuild one of the calipers. Frozen. Replacing rotors as well. Replacing seals etc. So basically everything that should be done with the unit removed.
Any suggestions for ease of removal? Such as removing the unit out the side of the car instead of the back. Maybe if one of have done this a step by step removal would be exceedingly helpful.
Thank you advance.
Jack
1974 XJ6L / chev 355 vortec heads
1989 XJ-S 5.0 V12 ( love it)
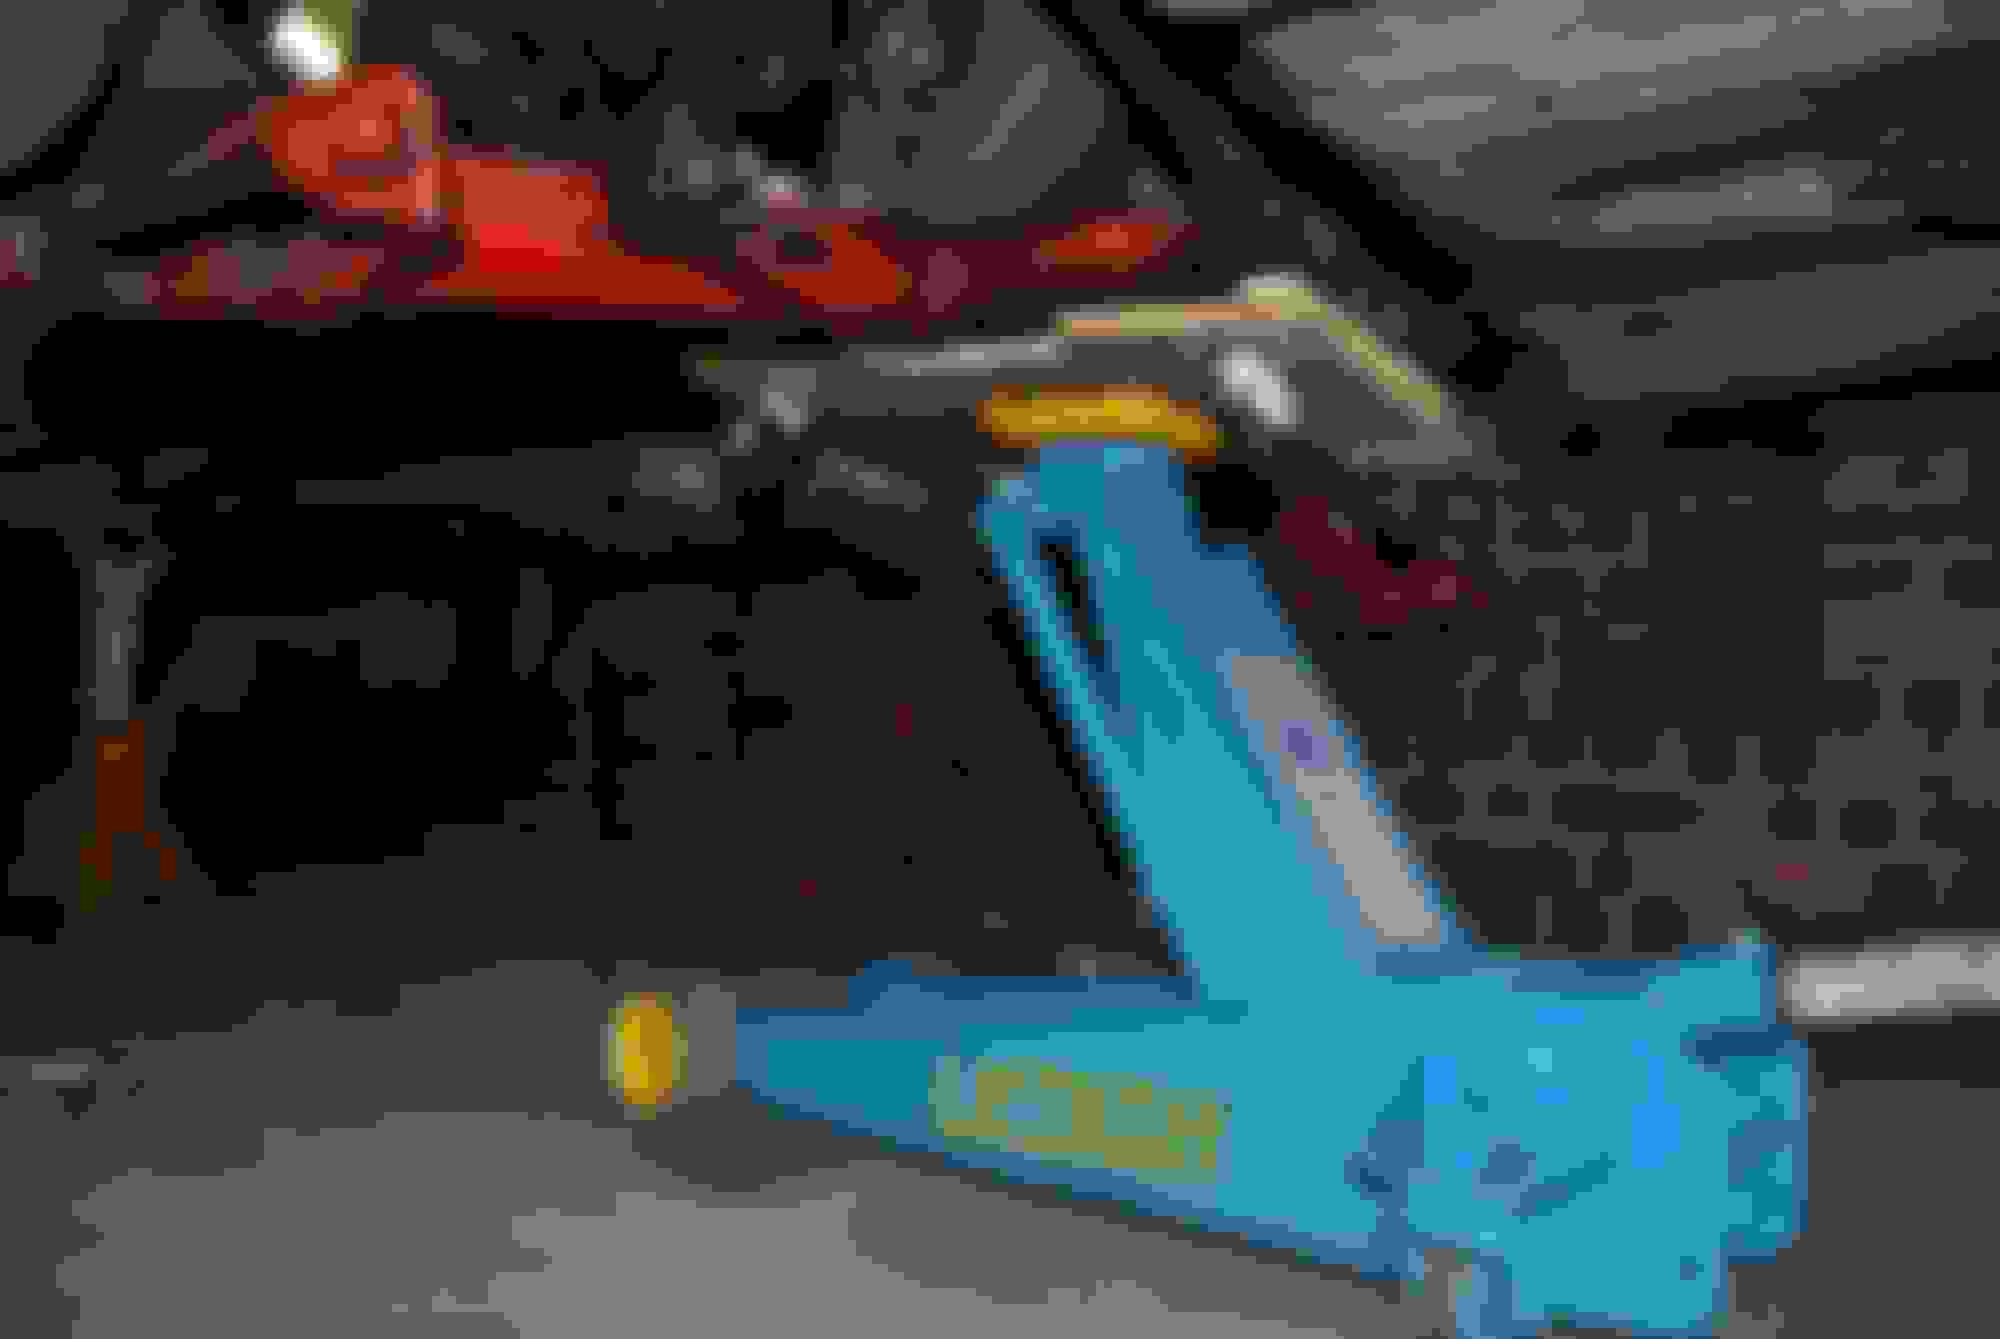
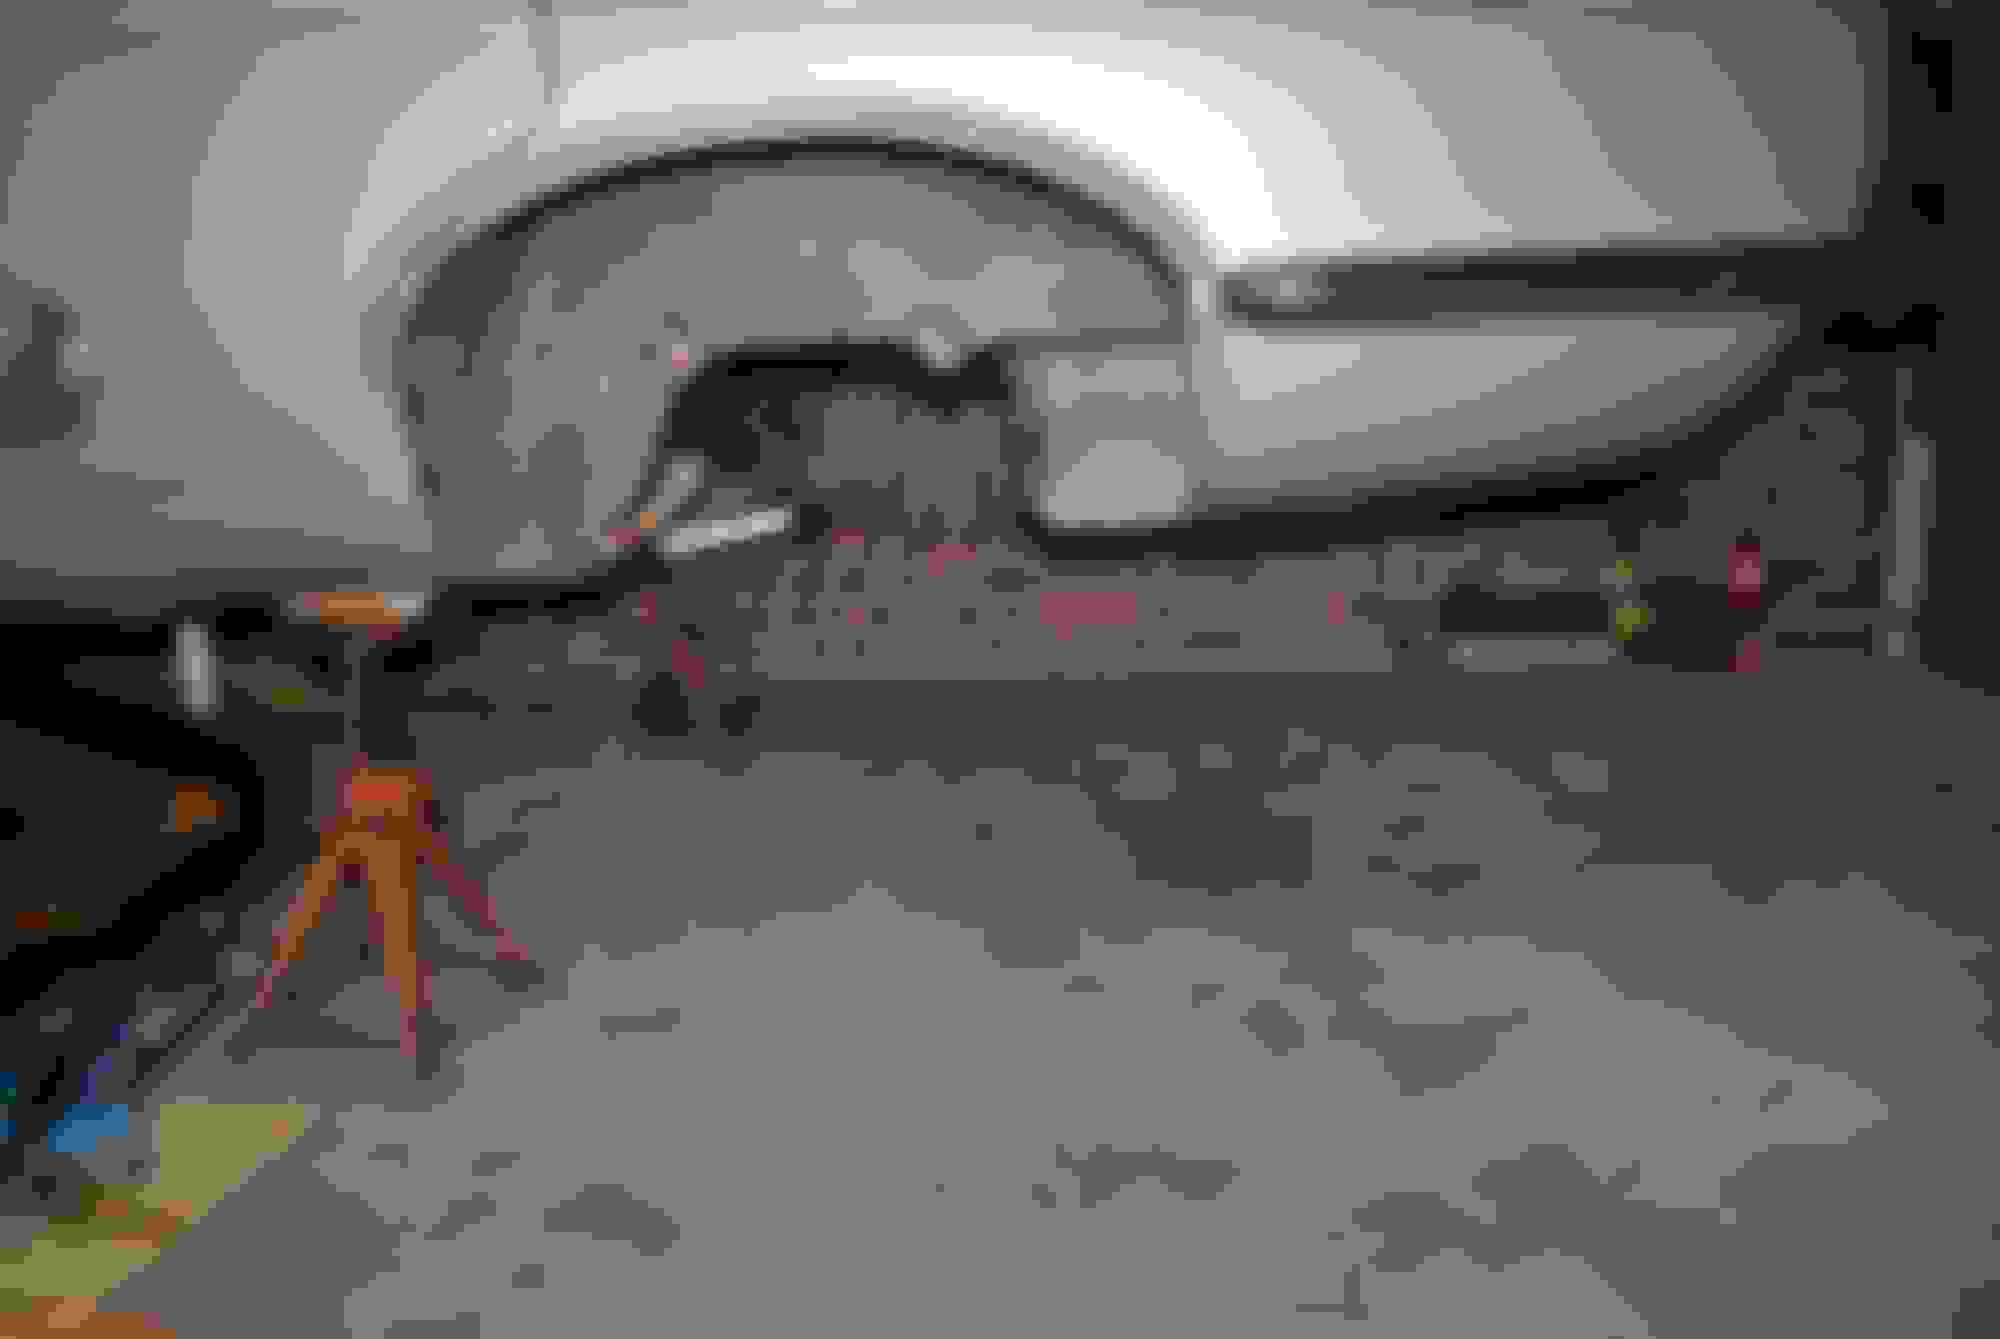
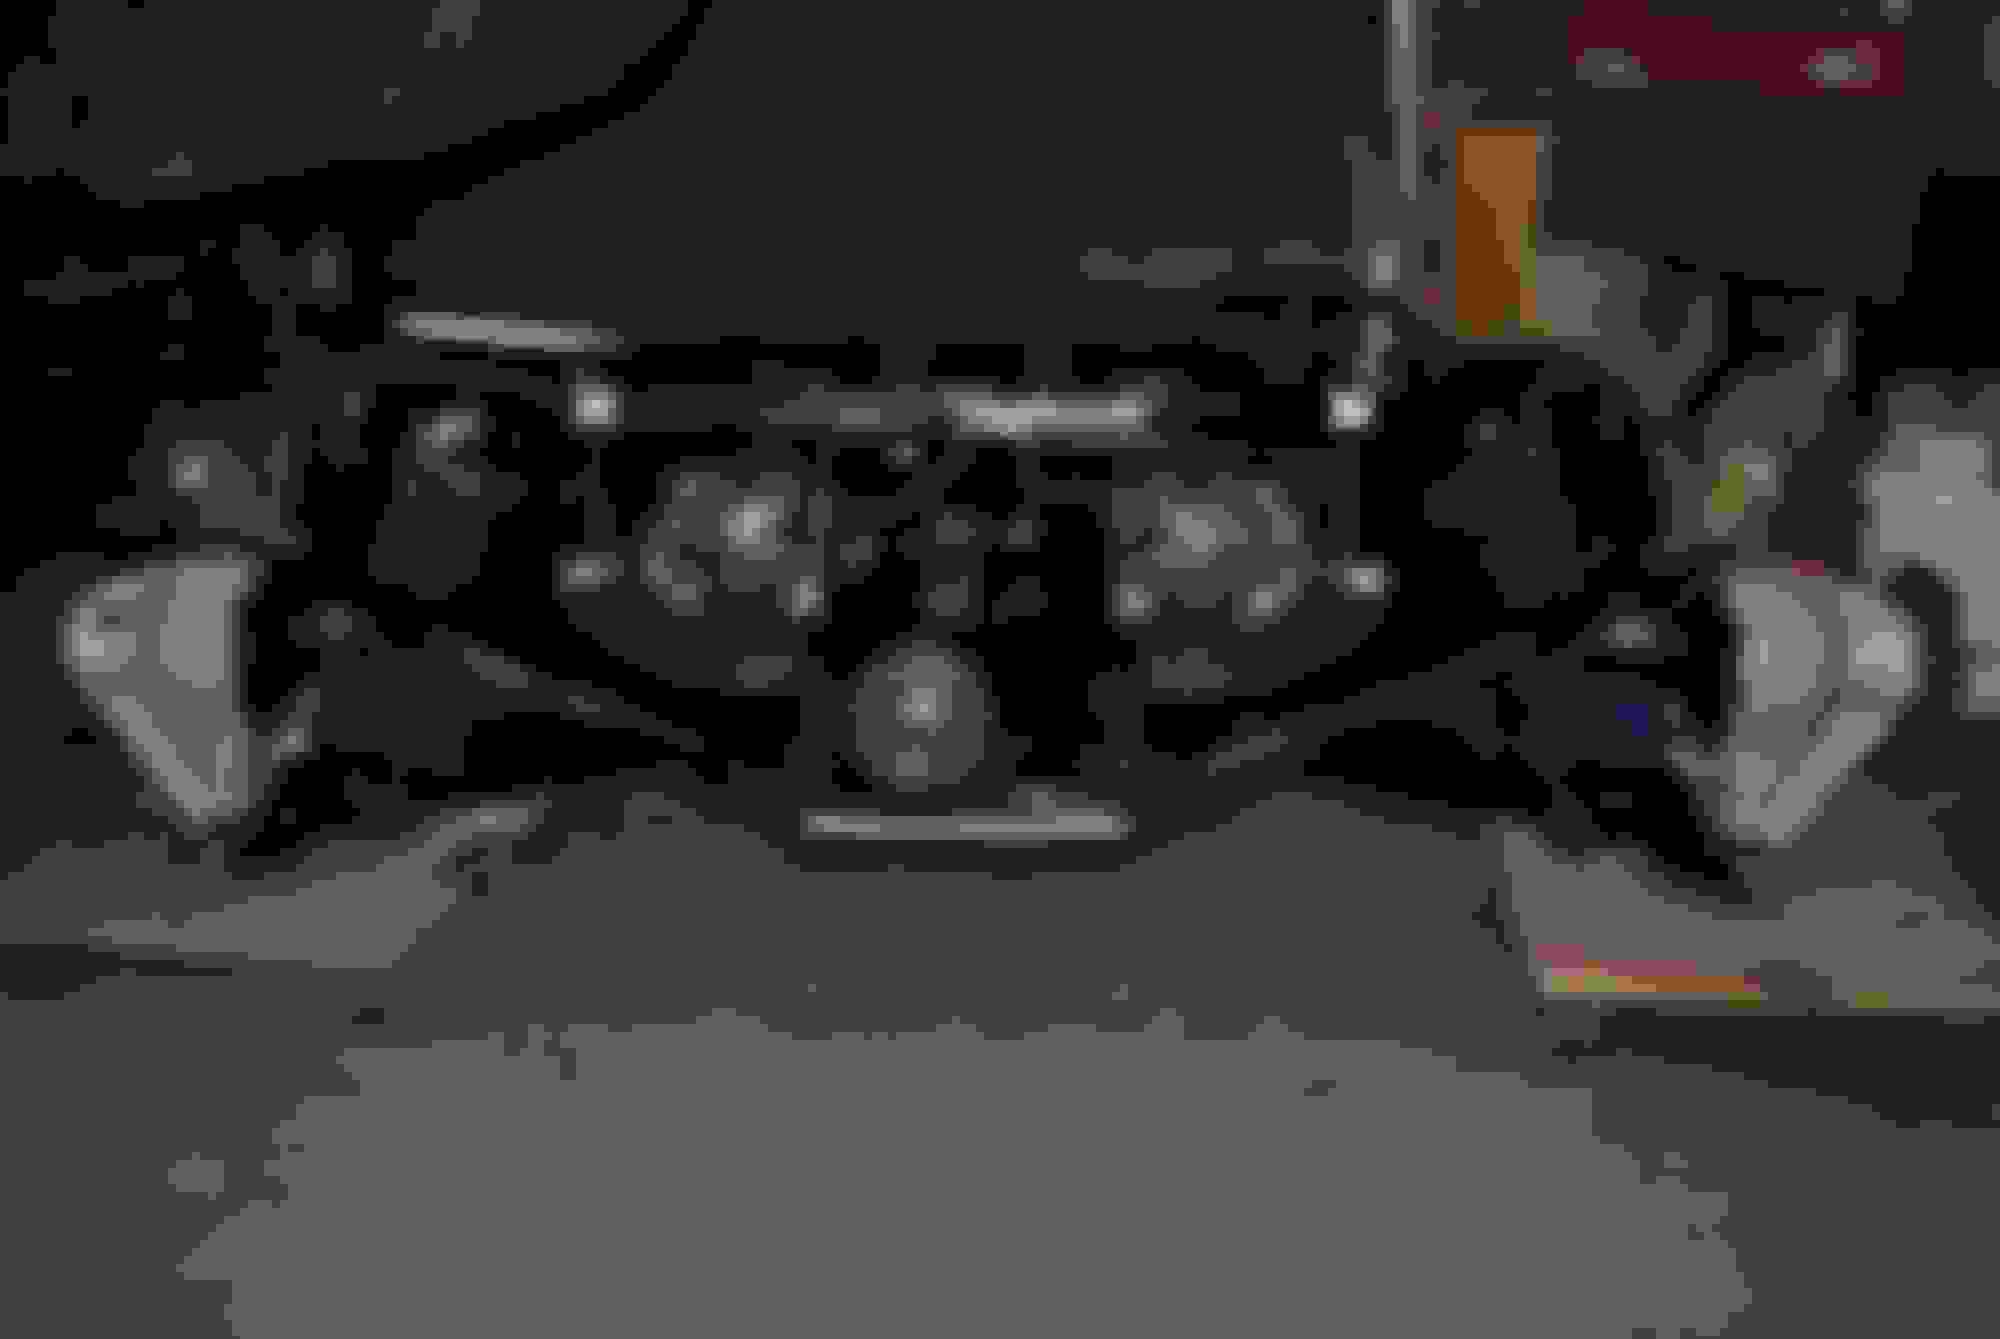
Having done this twice, my suggestion is to drop the IRS and gain the needed access room. The hardest part is getting the exhaust out of the IRS... bes sure to replace the brake hose in the rear (front ones as well). I took it out and replaced it by myself with the car jacked up securely about 24 inches off the ground in the rear...
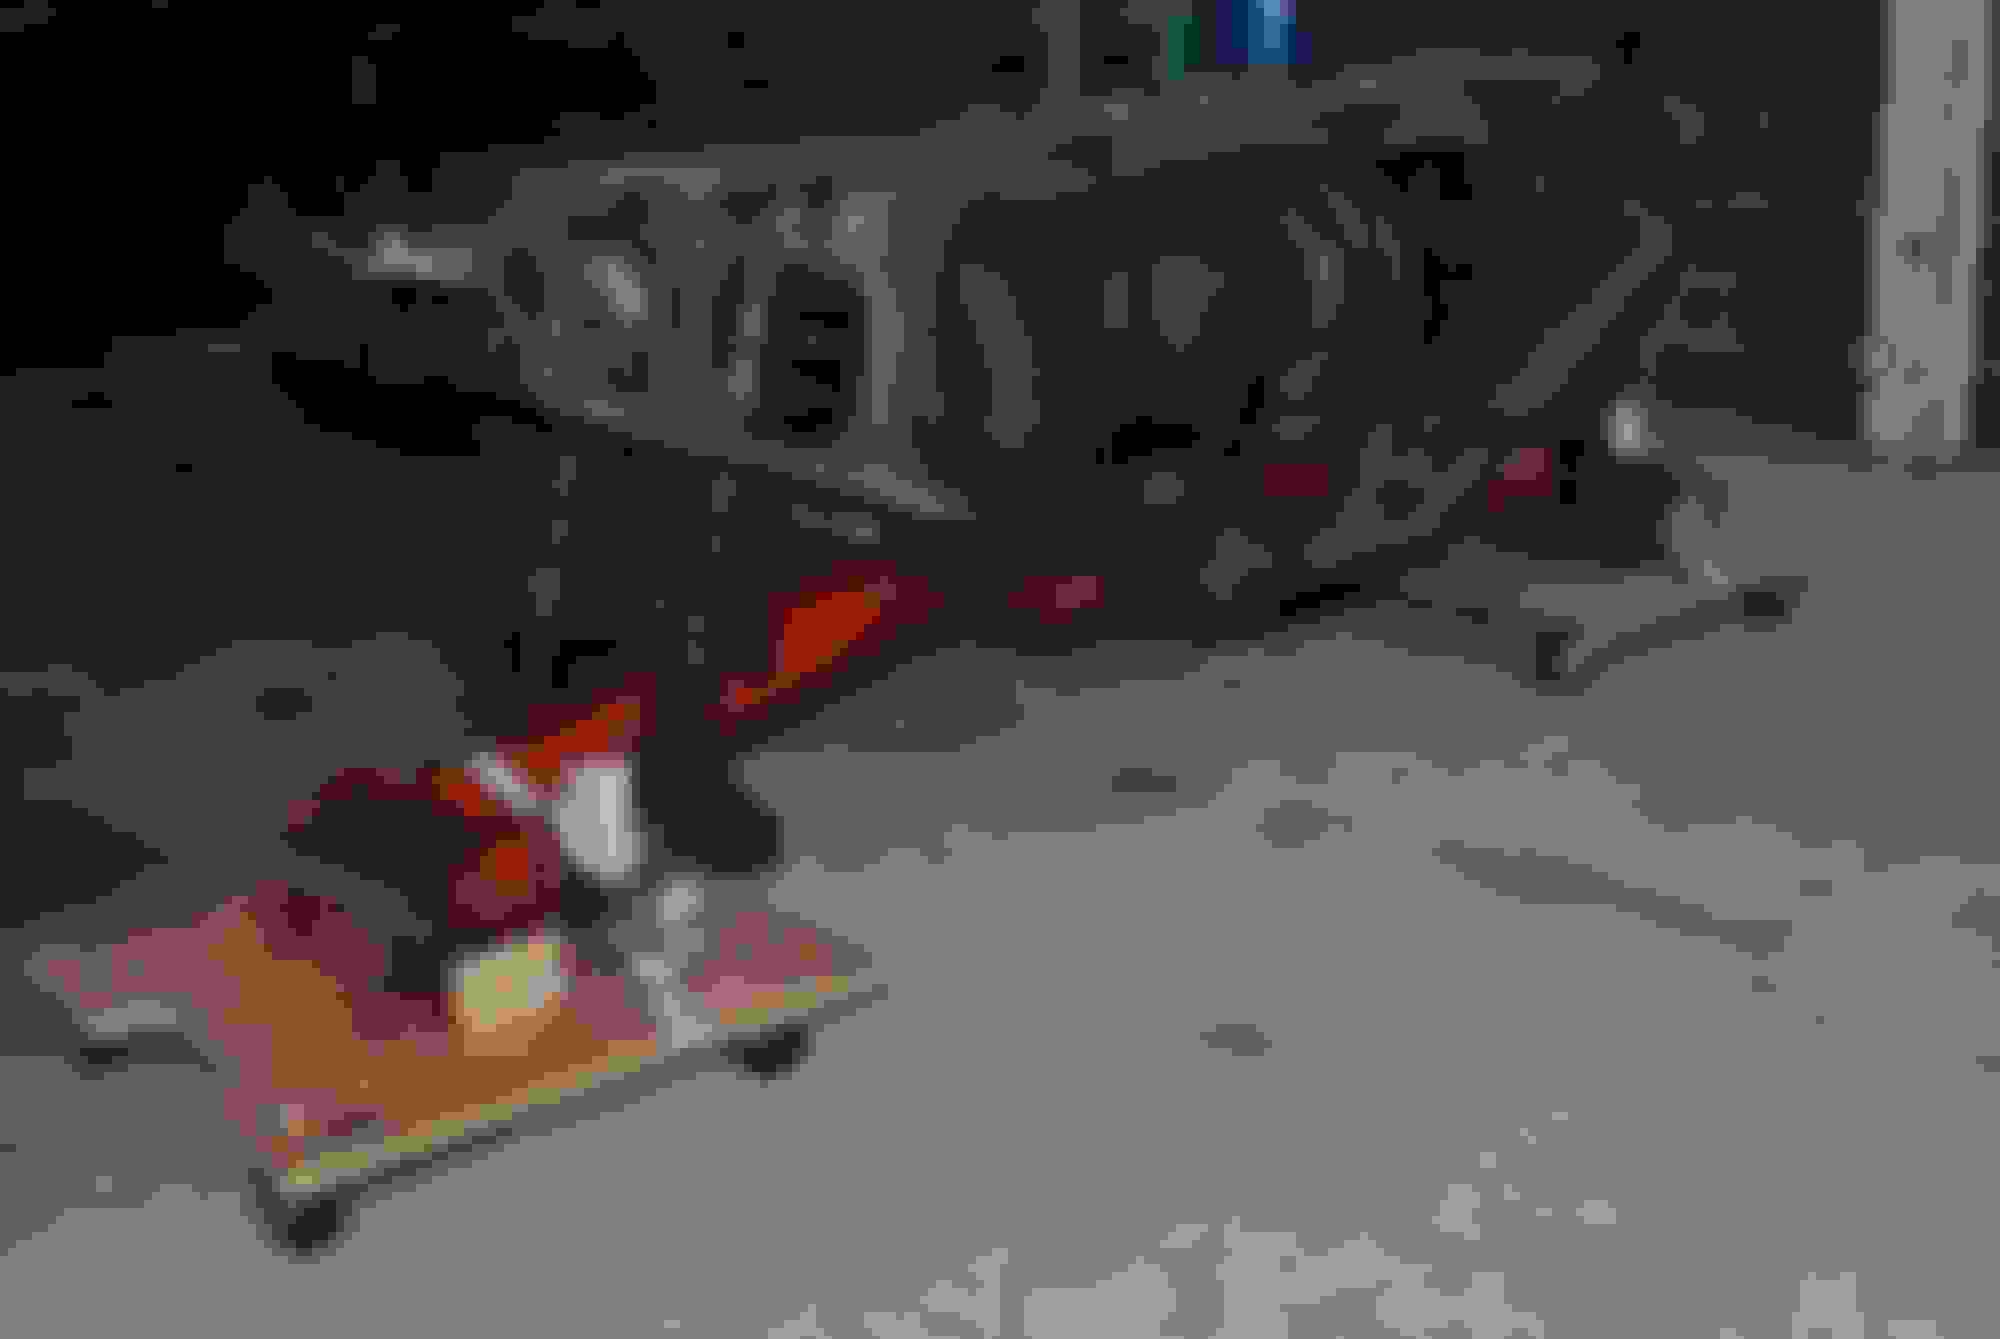
I used a floor jack and piece of thick ply wood under the IRS to move it around... taking off the side pieces -radius arms - involves more fun removing the stuck on rubber.. should just get them off and replace the rubber.
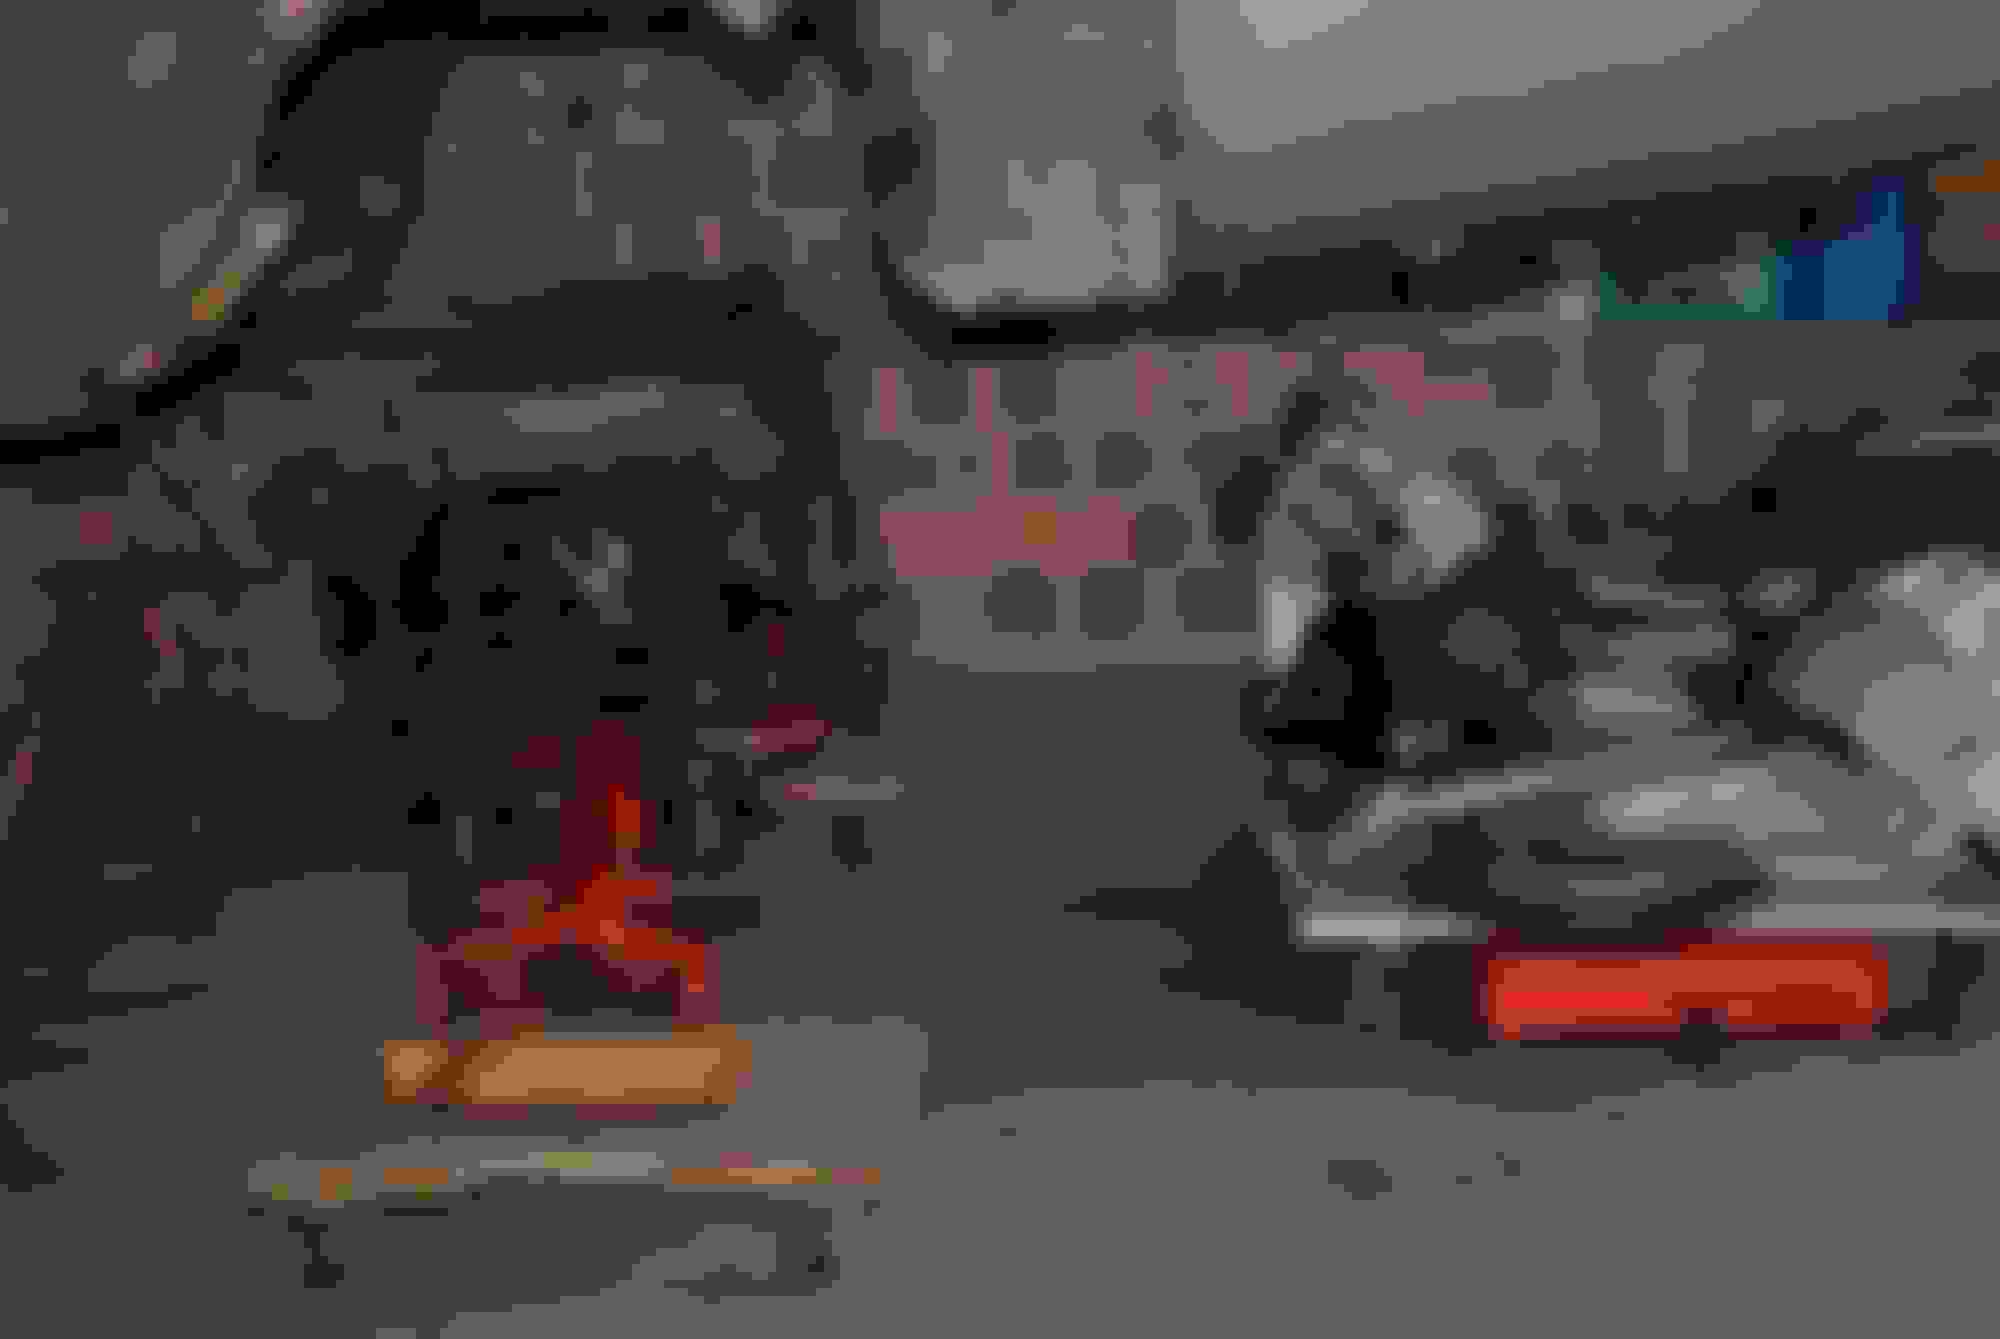
I did the E brakes at the same time and it all came out well... the hardest part of the taking apart is photos showing the order of the washers and bushings..
The piece of plywood is shown in the photos... clean up and painting takes the most time... be sure to have the Jag Service Manual for the steps and the Parts listing of the pieces (lots of pieces)....I changed the gear set at the same time so I had extra fun...
Last edited by Roger Mabry; 04-25-2017 at 12:51 PM.
Unless you have a car lift and can get the lower control arm to hang down completely out of the way, dropping the rear suspension will be the best way.
I have done the calipers/rotors in situ but I stand under the car and tether the lower arm toward the opposite side for access/clearance.
Thanks guys,
I think, for me anyway, doing it overhead would be difficult. I think I will jack the rear end up and take my time. I will replace all that I can.
Jack
Jack,
A floor jack with a 24" reach, jack stands with same reach (6 ton usually), and a harbor freight motorcycle lift are the big items on your tool list. Not only does the table/ lift get the rear end in and out, it puts the rear assembly at a comfortable work height.
Get a couple of squares of 8 ply and some cheap castors from the local hardware to make a couple of dolly's. Makes the whole operation easy to remove the IRS from the side single handed. (and you can move the complete unit anywhere in your garage on your own)
When you are lowering the unit from the car take care because it wants to tip forward.
It is a pretty simple job, but if it is your first time like me. Take your time and sit back every now and then, have a beer and think out the next step.
(while picking the brains of these guys here to guide you)
Second pic is only to show how job was done, diff internals were removed away from car. But because of limited space everything was stored under the car at the end of each day I worked on it.
Thanks guys,
I think, for me anyway, doing it overhead would be difficult. I think I will jack the rear end up and take my time. I will replace all that I can.
Jack
Take your time, and do everything if the budget allows.
I didn't have a choice because it all burnt in the fire and it had to be replaced.
But next time I have to do it, I will do a complete rebuild again.
. . . and a brilliant job followed by brilliant pics, Clarke.
In particular, I admire your thinking of the the ply dolly panels in post #6 . . . very smart means of supporting, then maneuvering such an awkward assembly in a confined space. Well done, that man, and thanks for sharing.
. . . and a brilliant job followed by brilliant pics, Clarke.
In particular, I admire your thinking of the the ply dolly panels in post #6 . . . very smart means of supporting, then maneuvering such an awkward assembly in a confined space. Well done, that man, and thanks for sharing.
Cheers,
Kedn
I originally made them for moving motorbike engines around and storing them under the work bench, but come in handy for all sorts of jobs.
I see you have edited your signature Ken, and added a "d" to your name
Great picture pictures. They are very helpful. A fire, was the rear unit in the car at the time? I have a fairly large dolly. I do intend to us it and I think I will go out the side. Good idea.
The picture gives me a much better idea of what I am up against. The before and after pics are unreal. I do agree, growing up is optional.
I think this will be like anything else, daunting. And then you dig in and all works out. When I first got my V12 it was daunting looling at it. I have been working on engines a long time and found the 12 to be like any other. A big compressor. The engine opens up when you remove a few things. Love it.
Jack
1974 XJ-S Series 2 Chev 355, vortec heads
1989 XJ-S 5.0 V12 (Love it)
2005 Grand Cherokee 4.7:icon_
A fire, was the rear unit in the car at the time?
Jack
1974 XJ-S Series 2 Chev 355, vortec heads
1989 XJ-S 5.0 V12 (Love it)
2005 Grand Cherokee 4.7:icon_
I like the beer idea
Yes it was in the car when it caught fire. It did seem like a daunting job at the start, but wasn't too bad in the end. So much help from theses guys on the forum made it a straight forward job.
Full thread link below, a lot of pics amongst the chat.

 04-25-2017, 12:21 PM