When you click on links to various merchants on this site and make a purchase, this can result in this site earning a commission. Affiliate programs and affiliations include, but are not limited to, the eBay Partner Network.
Hello all, I'm in the process of engine swapping my 1984 S3 XJ6 and want to remove any and all wiring in the engine bay that ran the old 4.2. As I understand it after the harness enters the passenger bulkhead under the battery tray it continues all the way to the trunk to the ECU. Before I tear into the interior I want to better understand the layout and connections of that harness.
What is the easiest and least destructive way to remove this harness?
What components of the interior do I need to remove to get to it (passenger front and rear seat, carpet? Under dash area?)
Are there any connections to leave undisturbed so that other features (horn, lighting, etc) are left functional?
Starting at the front the harness goes thru the firewall, then downwards under the carpet and then along the RH side of the transmission hump to the rear seat area. It passes under the rear seat via a couple holes in the floor, then upward and into the trunk
The rear seat and RH seat must come out. The carpet must be pulled away from the floor alongside the tunnel; the glue is pretty strong ! The under-dash trim panel and console cheek panel must come off. I can't remember how the harness is anchored to the floor; I recall some difficulty in this regard but the details escape memory.
The harness is 98% for the fuel injection and fuel pump. Maybe a few wires for the power antenna. Not sure; can't remember. A few wires go into the console area for the trip computer and fuel change switch, I think. Foggy memory again, sorry
The EFI harness that runs to the boot is self-contained under one sheath. It runs through the fire wall under the battery box as you say, then high on the right side of the trans hump, down the center to the rear seat cushion area, turns to the right side, up and around and through the boot bulkhead to the ECM. The only wire you need in that harness is the WG (12ga) that runs from the fuel pump relay on the fire wall to the fuel pump in the boot.
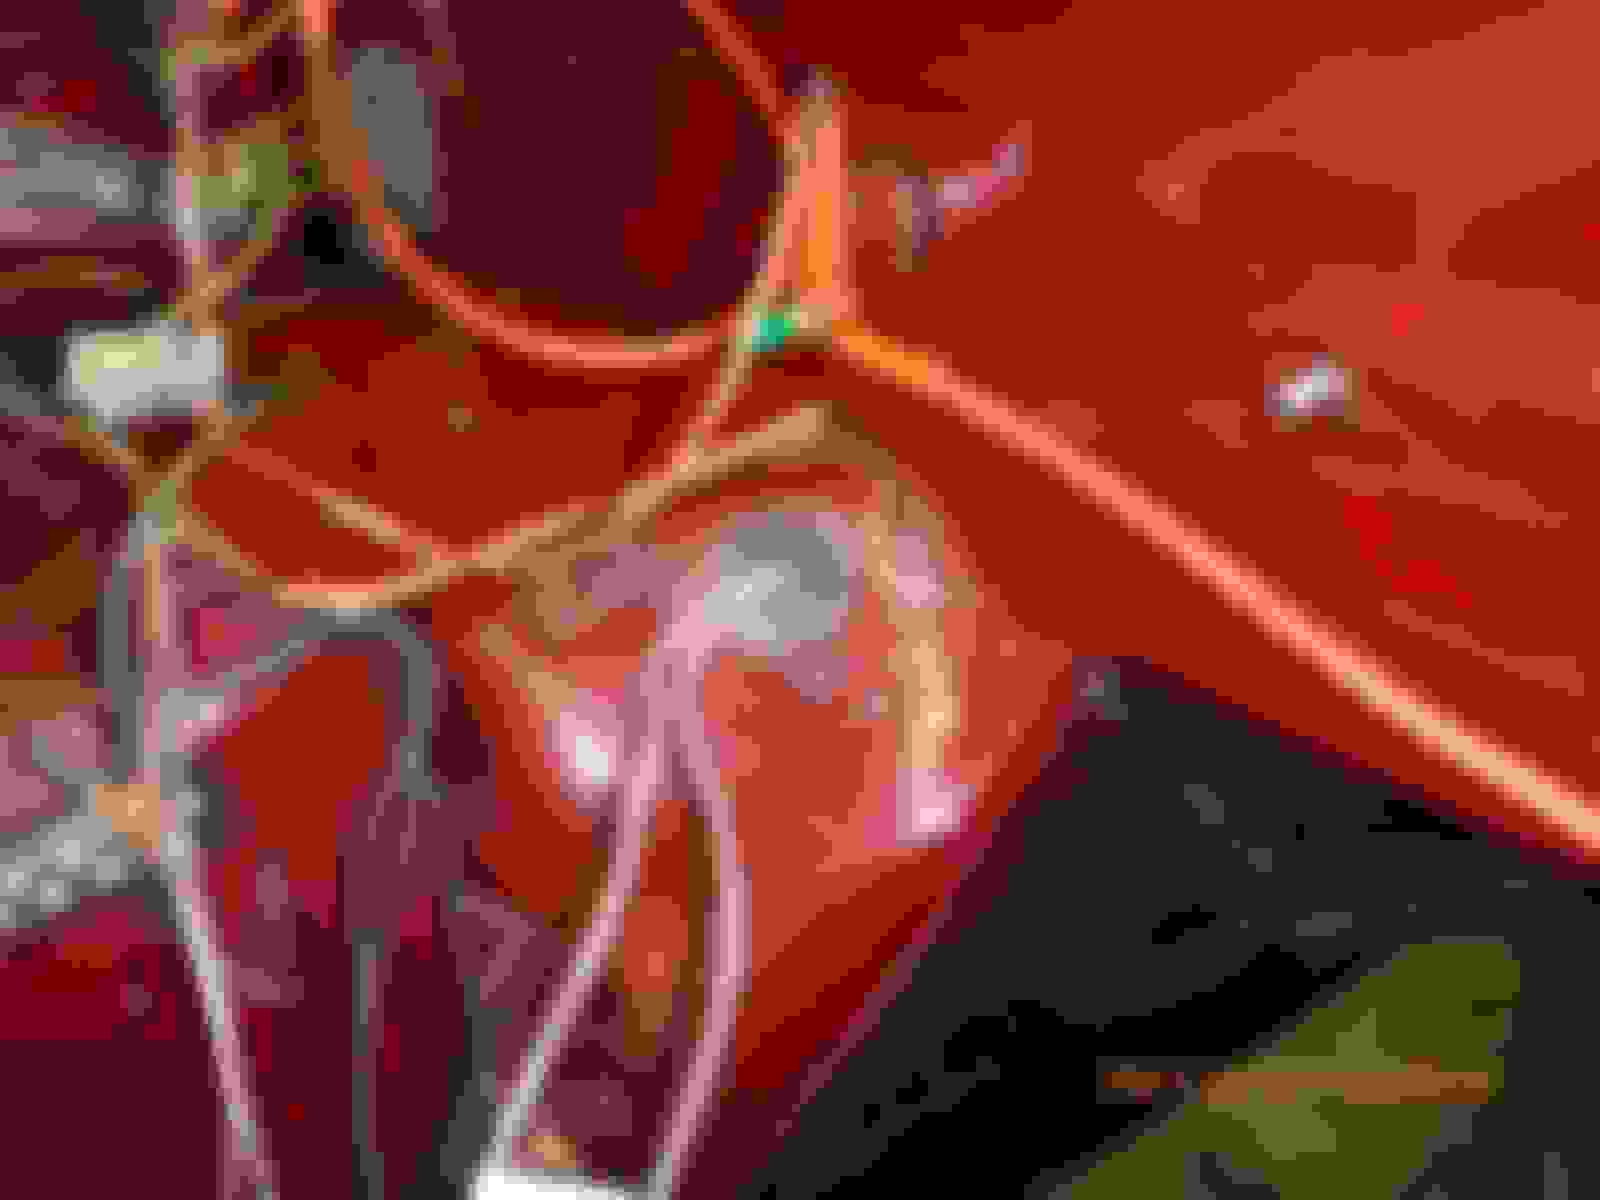
There are other wires that run through the grommet under the battery that you could very well need. They will go to various loads/switches in the cabin. If you don't already have one, the best thing you can do is get a copy of the S57 wiring schematics for the series 3. Can be downloaded from this forum or https://jagupgrades.webstarts.com/. Depending on what engine you are swapping and if you are adding more gauges, switches, etc. you will need to figure out which other Jaguar wires you may need. I didn't want to remove the complete EFI harness because the extra wires could be used in the boot if the need arose. The pic with the "birds nest" on the floor was neatly trimmed just inside the fire wall and the end encapsulated and tucked back behind the carpet. The WG wire can be seen laying out over the door sill plate.
These pictures are from my '85 with '94 Chevy LT1 swap. In the pic with only two wires in the grommet, one is the WG to the pump and the other is the W (or WO) from the inertia switch which runs to the B+ side of the fuel pump relay.
I am hesitant to disturb any of the wiring aft of the firewall as it seems unnecessary; the problem I'm trying to solve is just removing wires from the engine bay. Dave, I love the idea of just terminating inside the passenger footwell and tucking it away. All I "need" from the Jag wiring system is a ground and positive from the battery, and 12V signal in the run and crank position. I'm thinking I can get that one from the Starter relay, need to spend some time with the DMM to see if that's the solution. If I mount the new ECU in the engine bay, the only wiring going inside the cabin would be for the 3.5" handheld ECU screen, and any outputs to drive the stock tach and speedo if I can get those to work (I would really love to reuse as many of the stock gauges as I can).
I will start by pulling the passenger seat and digging around in that footwell to gain access to the bulkhead penetration.
Before you go crazy, the engine compartment harness will unplug from the spot where it goes through the firewall by the battery tray. On old school carb swaps it was typical to take the engine compartment harness and convert it to the rather simple engine bay wiring needed. I am guessing that you are doing an LS swap but just wanted to pass this information on.
Before you go crazy, the engine compartment harness will unplug from the spot where it goes through the firewall by the battery tray. On old school carb swaps it was typical to take the engine compartment harness and convert it to the rather simple engine bay wiring needed. I am guessing that you are doing an LS swap but just wanted to pass this information on.
Which side of the firewall does it unplug at - the engine side, or the passenger compartment side? I've already removed the fuel injection and ignition harnesses on the engine compartment side. What I want to remove is the roughly 12" long section of harness that fed those two subharnesses, along with the injector resistor pack, etc.
I am hesitant to disturb any of the wiring aft of the firewall as it seems unnecessary; the problem I'm trying to solve is just removing wires from the engine bay. Dave, I love the idea of just terminating inside the passenger footwell and tucking it away. All I "need" from the Jag wiring system is a ground and positive from the battery, and 12V signal in the run and crank position. I'm thinking I can get that one from the Starter relay, need to spend some time with the DMM to see if that's the solution. If I mount the new ECU in the engine bay, the only wiring going inside the cabin would be for the 3.5" handheld ECU screen, and any outputs to drive the stock tach and speedo if I can get those to work (I would really love to reuse as many of the stock gauges as I can).
I will start by pulling the passenger seat and digging around in that footwell to gain access to the bulkhead penetration.
You should map out all the circuits that you'll need/want in the cabin. I recommend keeping a park/neutral switch which will require a wire between shifter (typically) and the starter relay. The oil/temp/speedo/tach/amp gauges are fed from the engine bay and will need to be connected to the new engine, identify those wires as they go through the fire wall. The oil pressure and coolant temp gauges just need the Jag sender screwed into the block. Sun Coast conversions has the adapter fittings for these as the sender threads and block threads are different. I used a Dakota Digital SGI-100BT interface (it's adjustable) to match the tach and speedo signal from new PCM to proper input signal for Jag gauges. You will more than likely re-route these two circuits to some degree between the cabin and your PCM or some other pick up point in the harness. You will probably want a data link connector also.
I used two smaller fuse blocks to provide constant and keyed voltage, I like the "one point of contact" that gives me. The stock donor fuse block was big and clunky beside having way more fused circuits than I needed.
Dave
Last edited by LT1 jaguar; 01-17-2022 at 03:05 PM.
Reason: I named wrong parts vendor
Just wanted to post a follow up and thank everyone for their input. I removed the passenger carpet and glovebox to find the firewall penetration, and terminated all the wires I didn't need. I did keep 1 white wire that supplies 12V with the key in Run and Start, and a bundle of ground wires that bolted to the old engine with an eye terminal as I figured any ground is usually important.
I will be punching a large hole in this area with a new grommet to run the new Terminator X Max harness; the new ECU will be mounted in the glovebox.

 01-16-2022, 08:31 PM