When you click on links to various merchants on this site and make a purchase, this can result in this site earning a commission. Affiliate programs and affiliations include, but are not limited to, the eBay Partner Network.
Work is progressing with Ron the rescue cat. The Valley of Death re wiring has nearly been completed but with anything, that started to get a bit tedious so I thought I'd have a crack at the four Zenith Strangleberg CD175 carbies.
I haven't touched a Stromberg since I was a teenager. I had a "hot" Humber Vogue (yeah I know)with twin strombergs bolted to a Hillman Hunter GT 1728 donk. Went alright till I rolled it.... anyway, I needed to reacquaint myself with this ancient technology. Plenty of good info out there for those who look including all the basic manuals and tech tips.
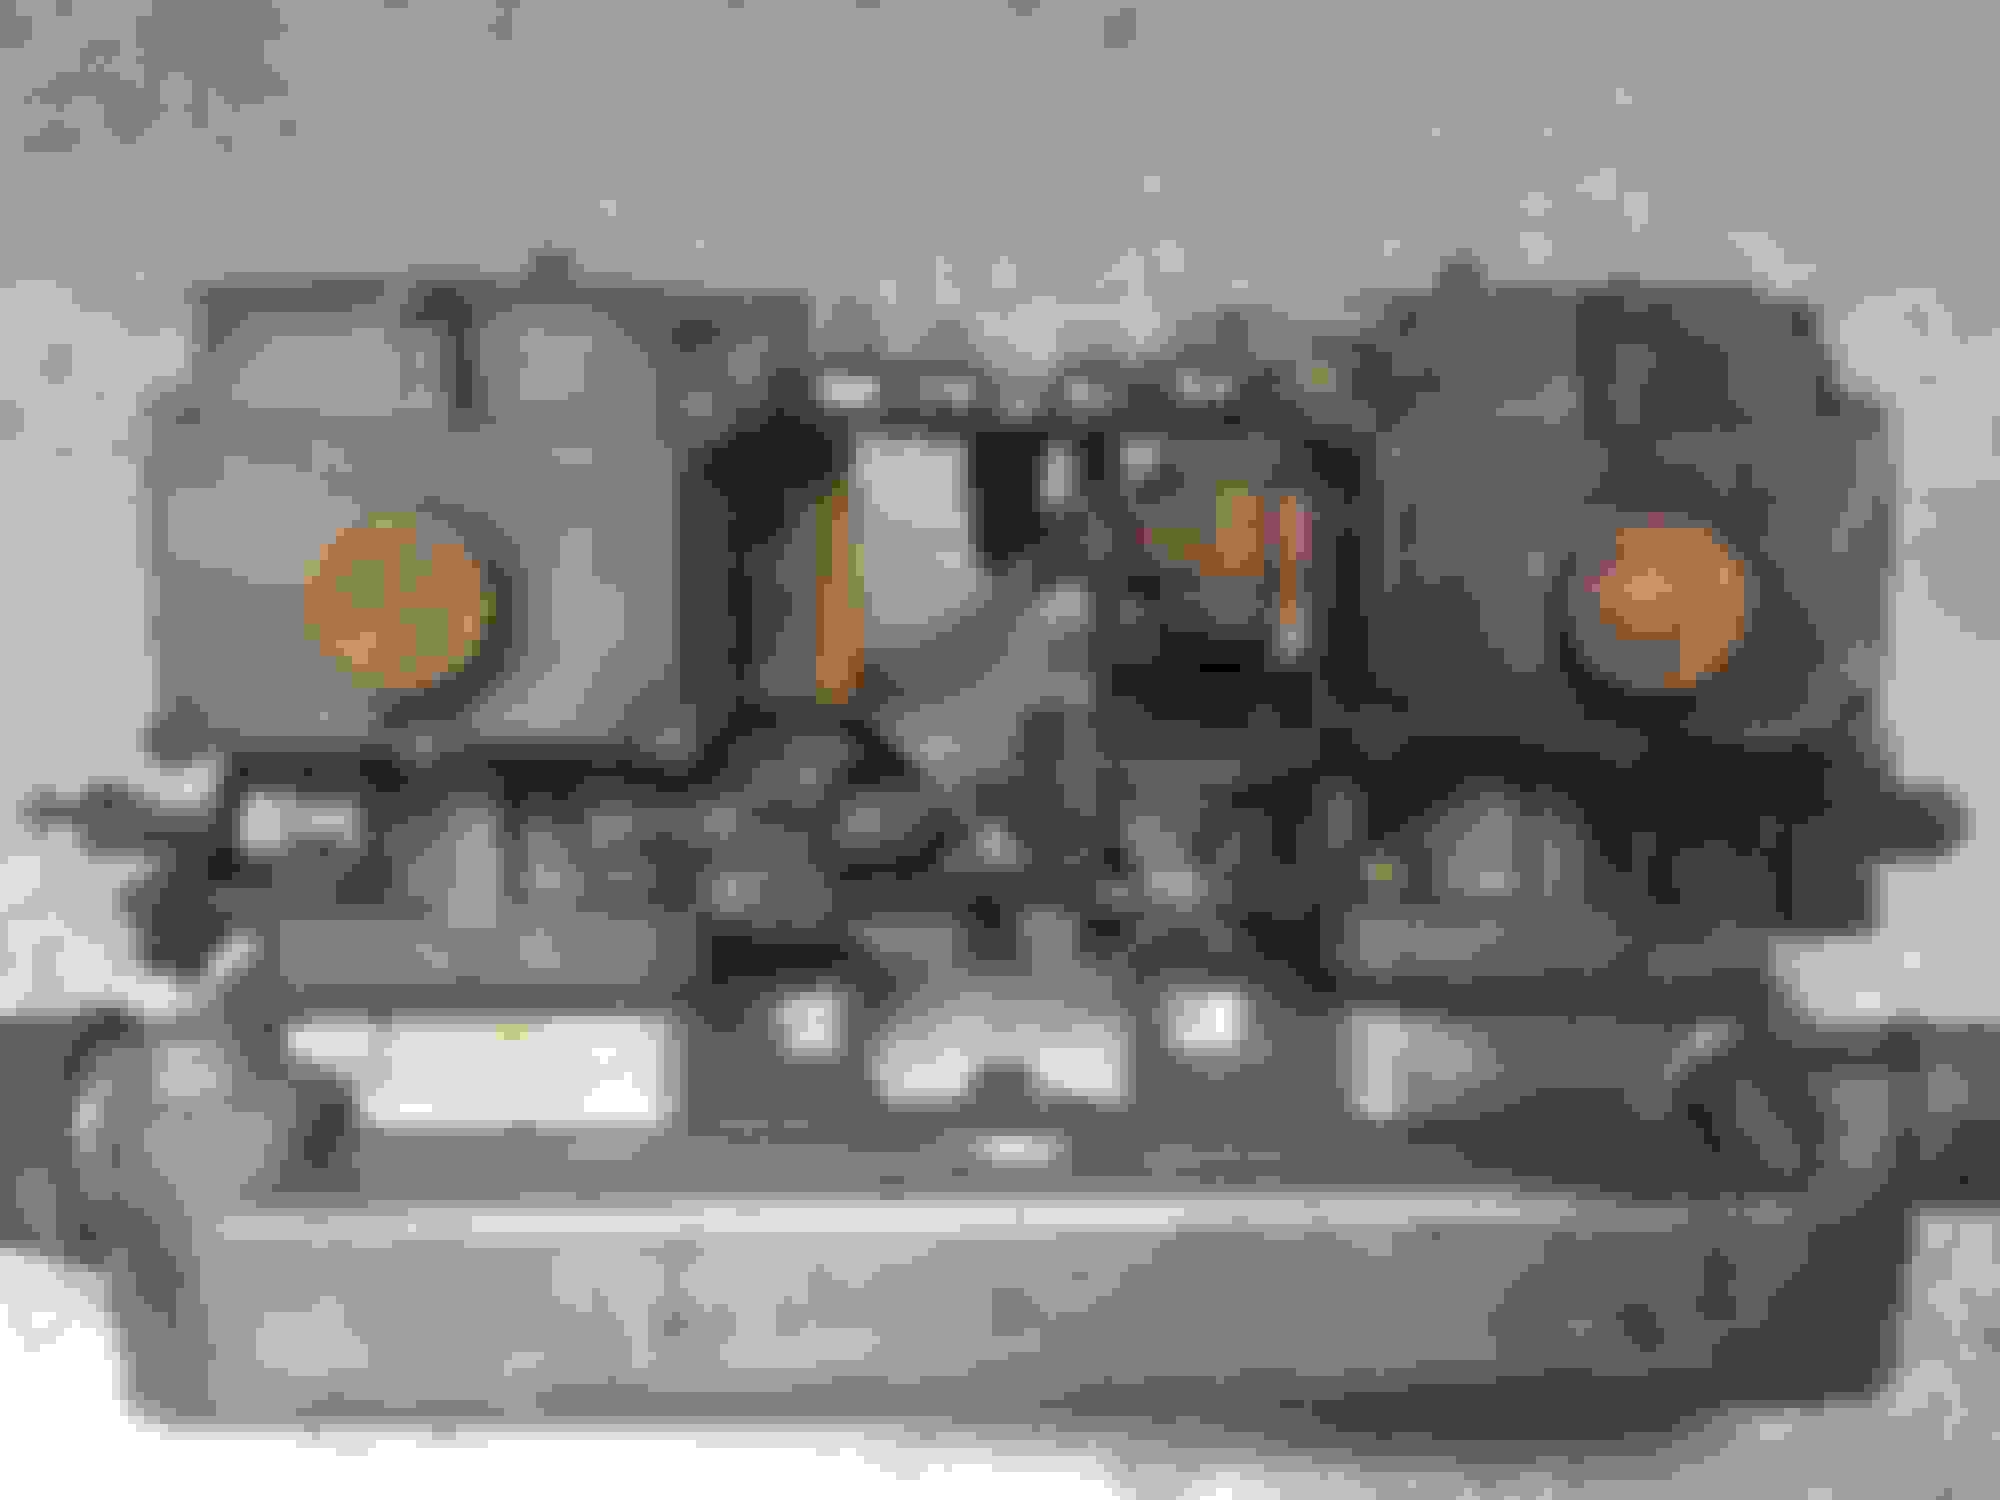
Just as a reminder, this is what I started with
As collected.
Partially disassembled and in a very sorry state
So I've done a lot of work on the engine already (see previous posts) and it's starting to resemble something that might run again some time soon
A bit happier.
Now, let's get the carbies sorted ..
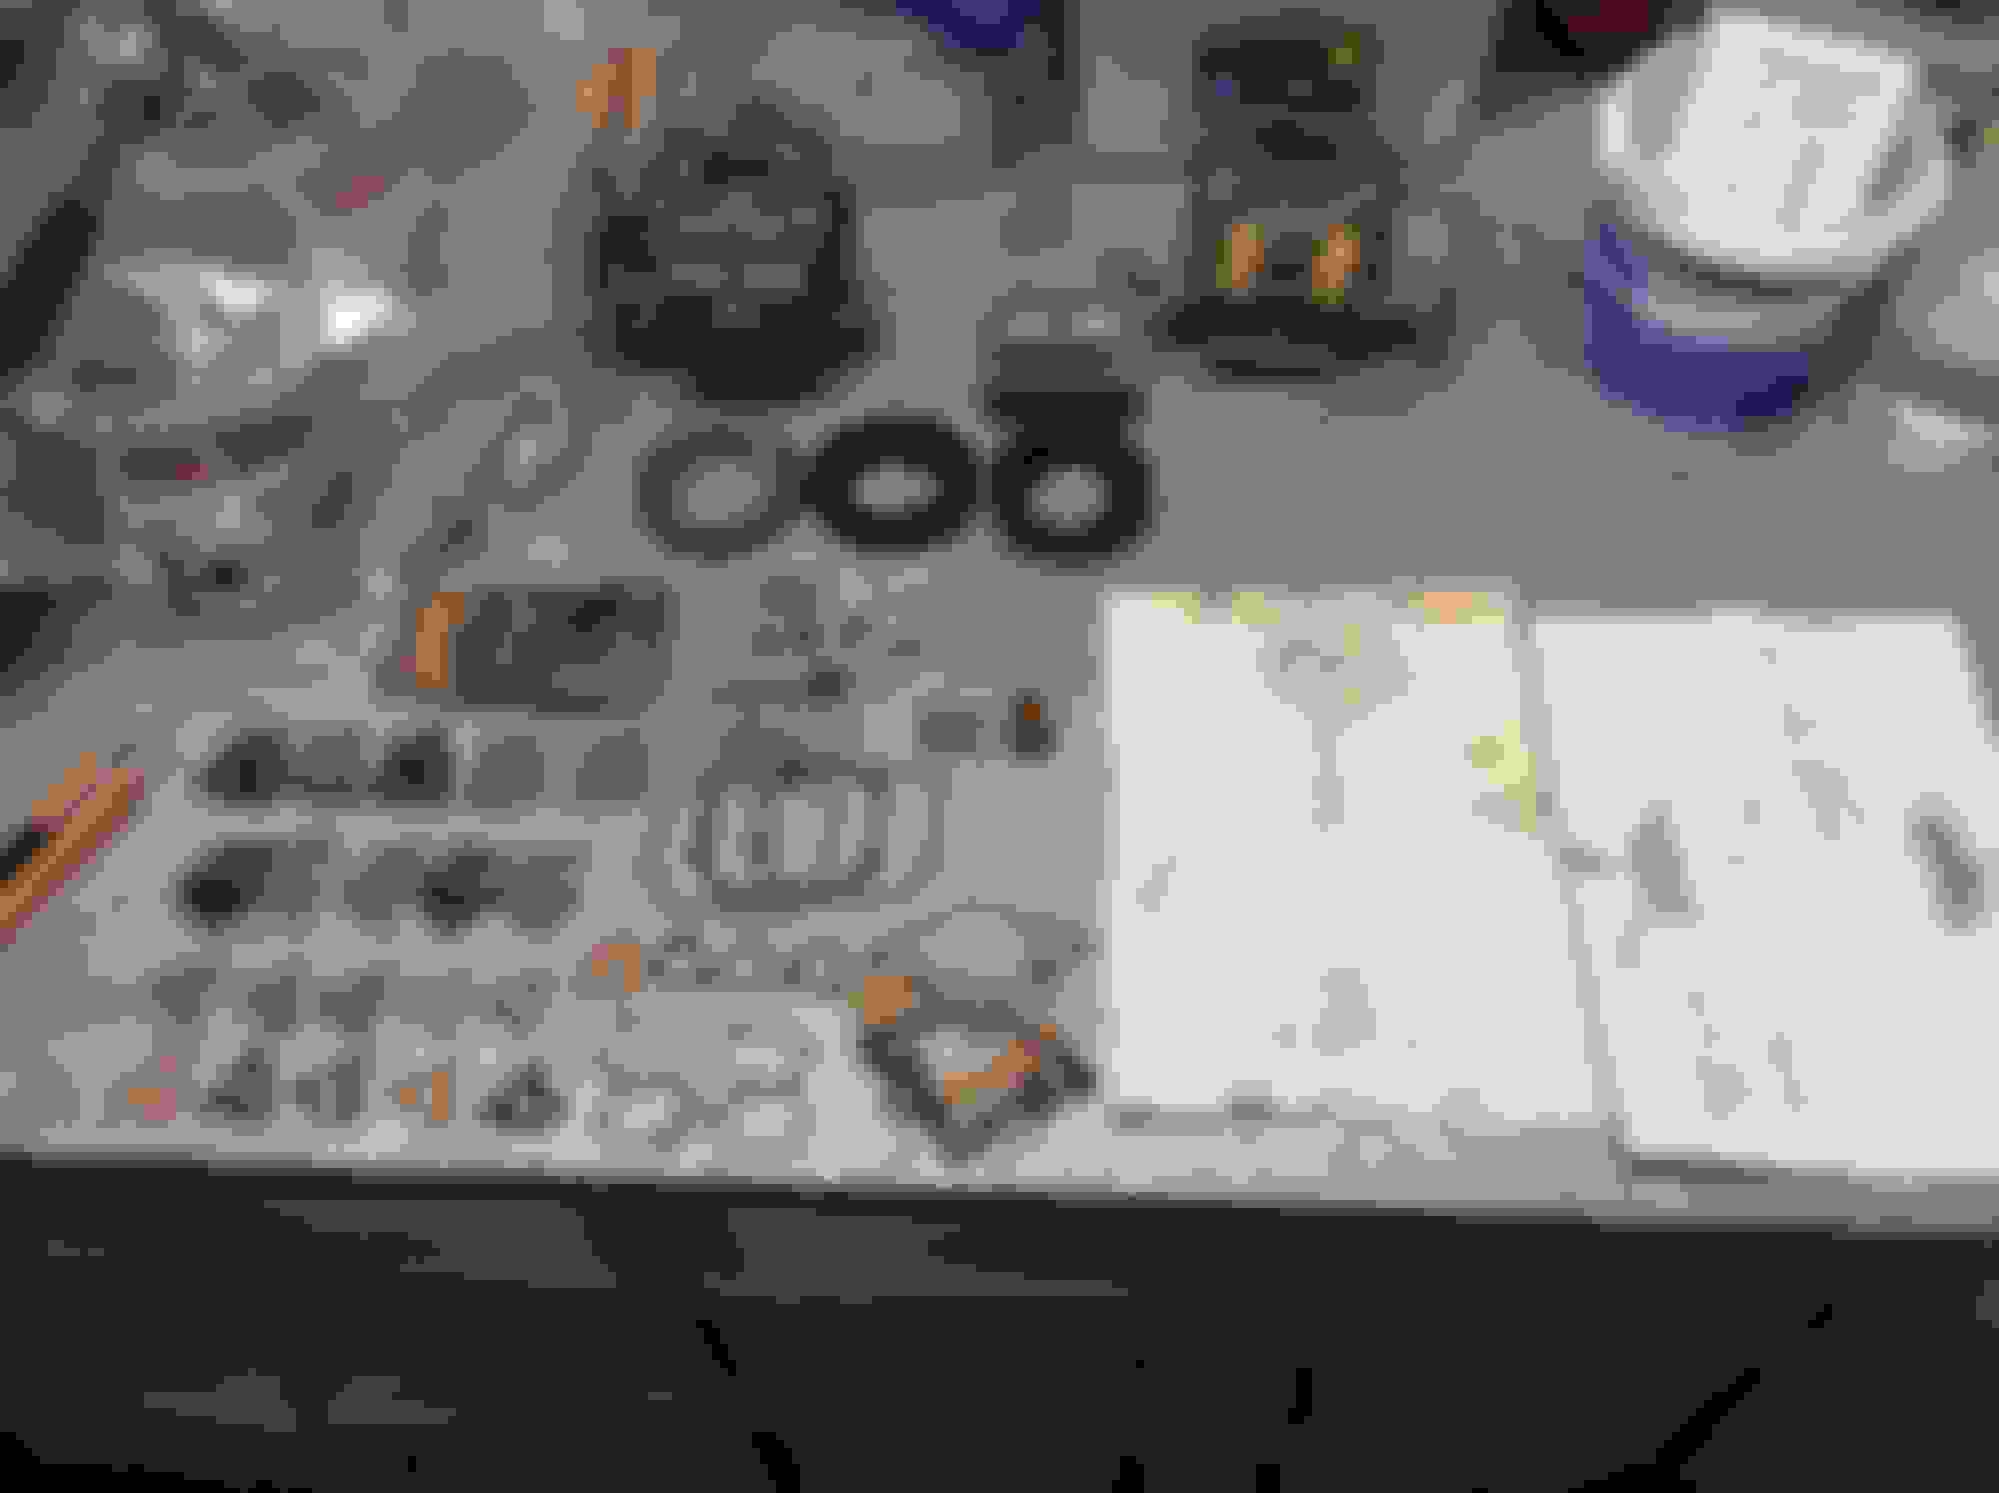
With the car came several boxes of assorted bits, mostly off the car, hoses, aircon condenser etc etc. there was also a couple of containers of carby kits. When I sorted through them, there were enough bits to do all four carbs, minus one or two o rings.
Kits, complete with moth eaten instructions.
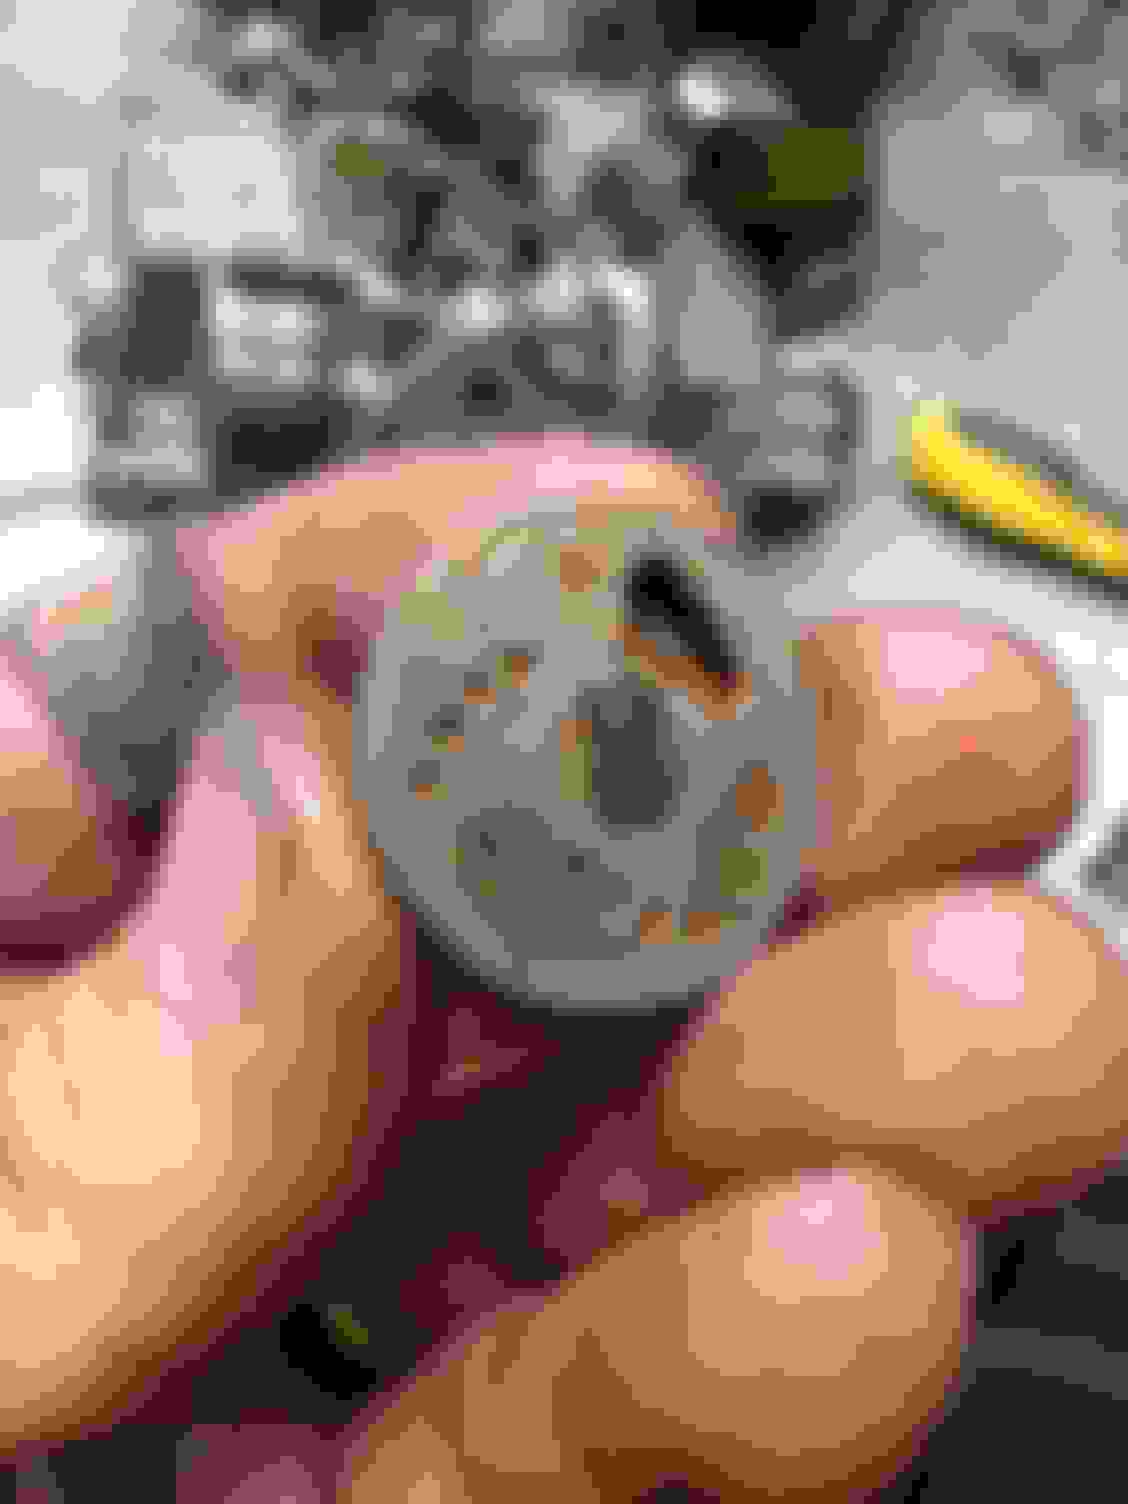
Time to dive in
Looks ok....but bits were seized.
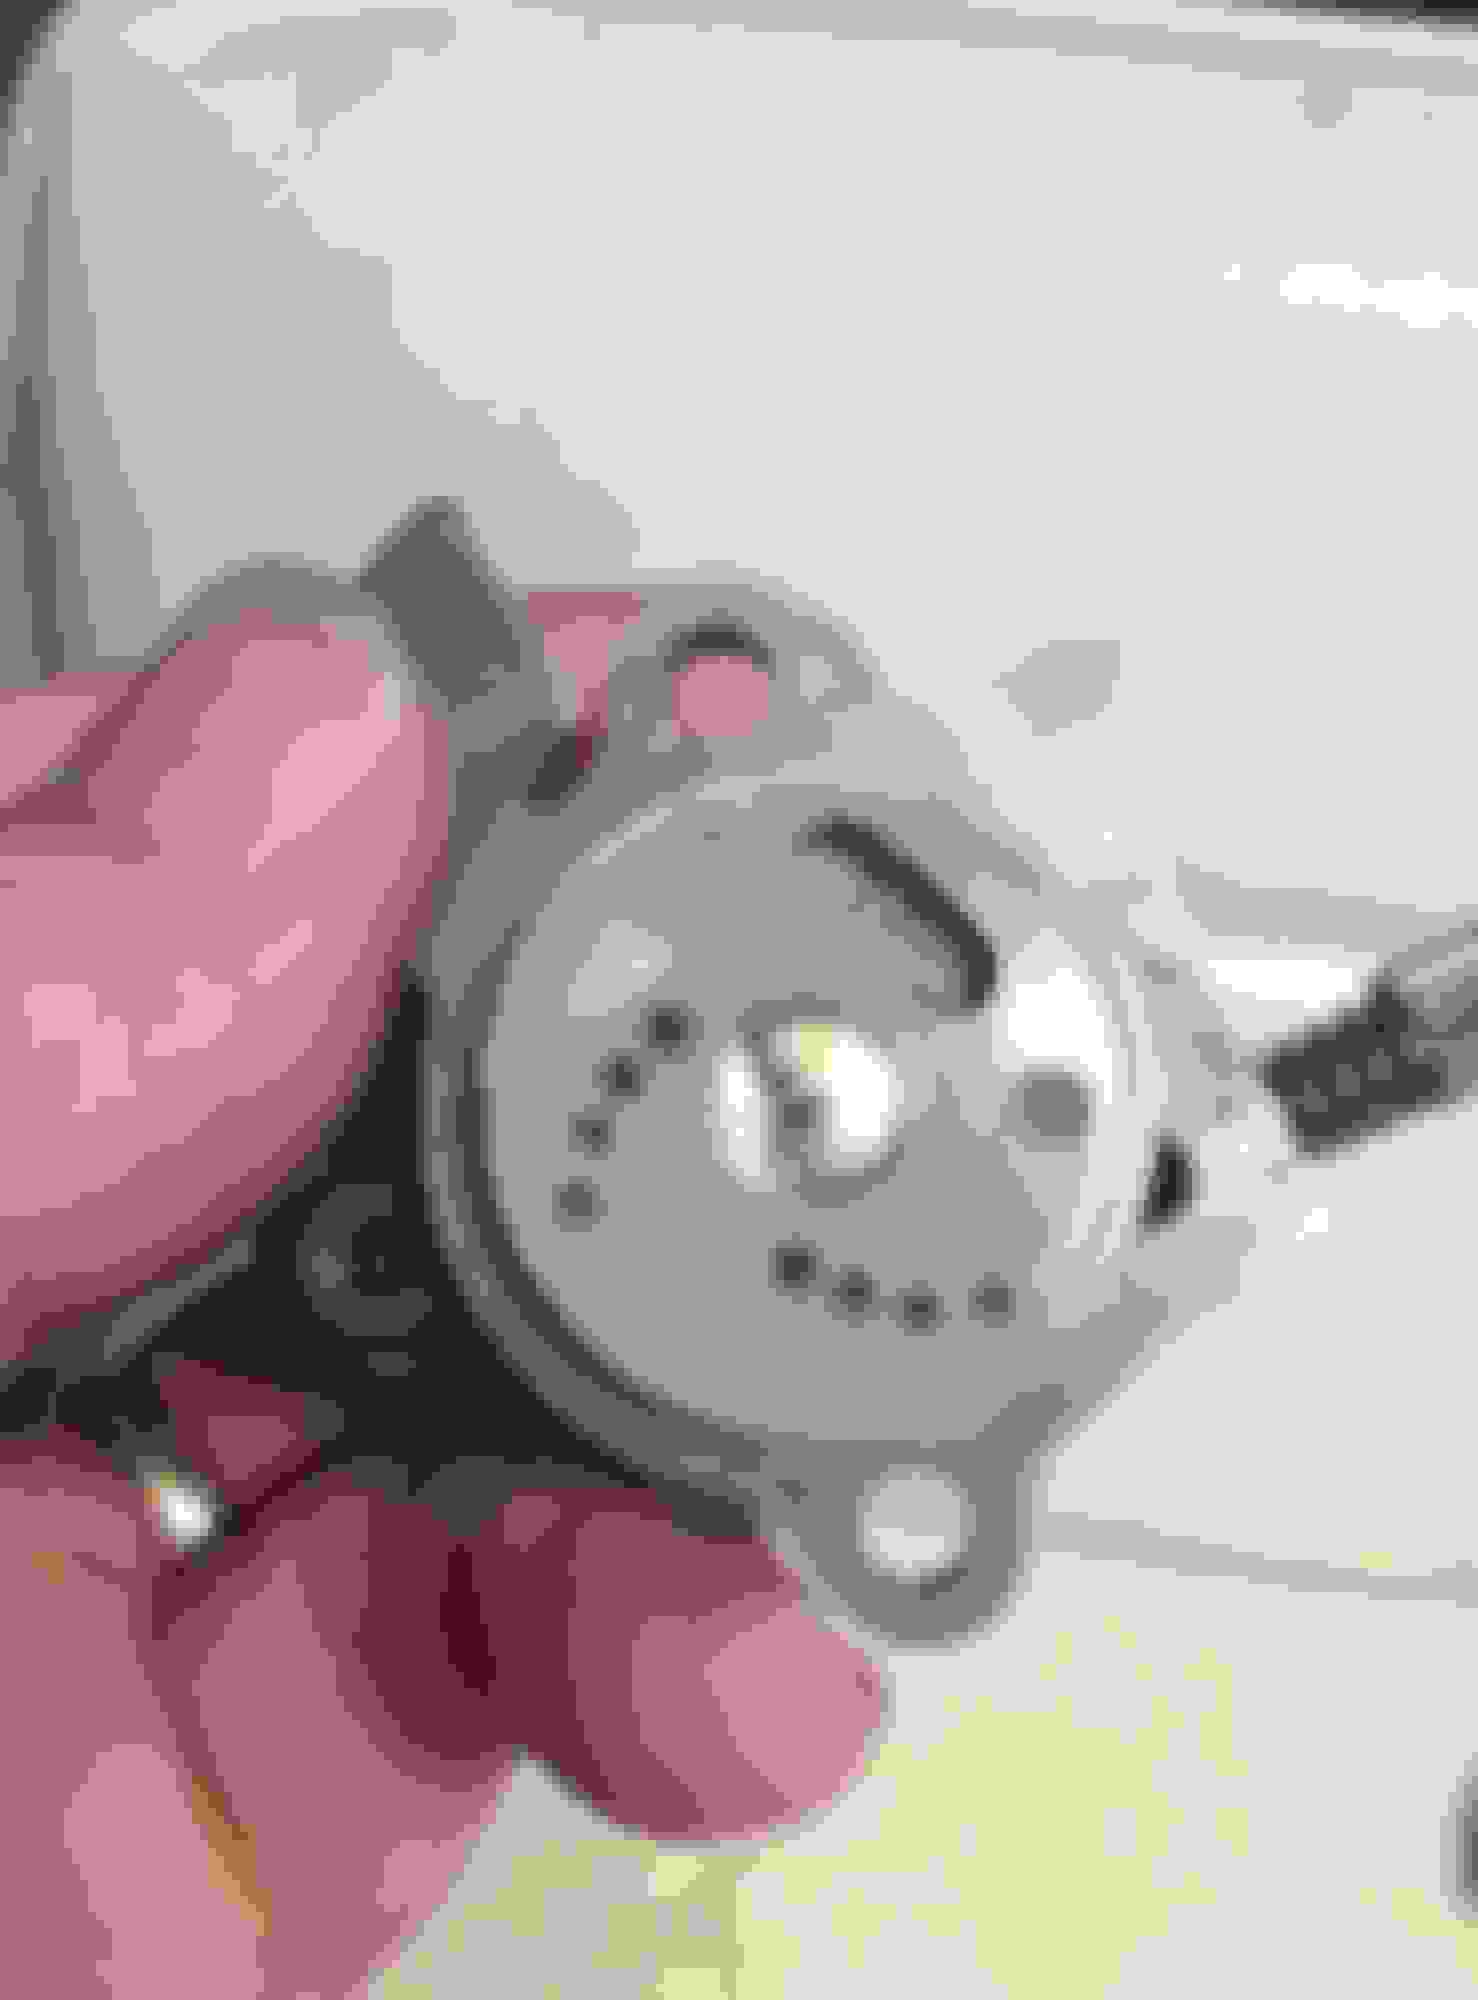
Cold start disc....stuffed
Yuck
Crud. What 15 year old fuel turns into.
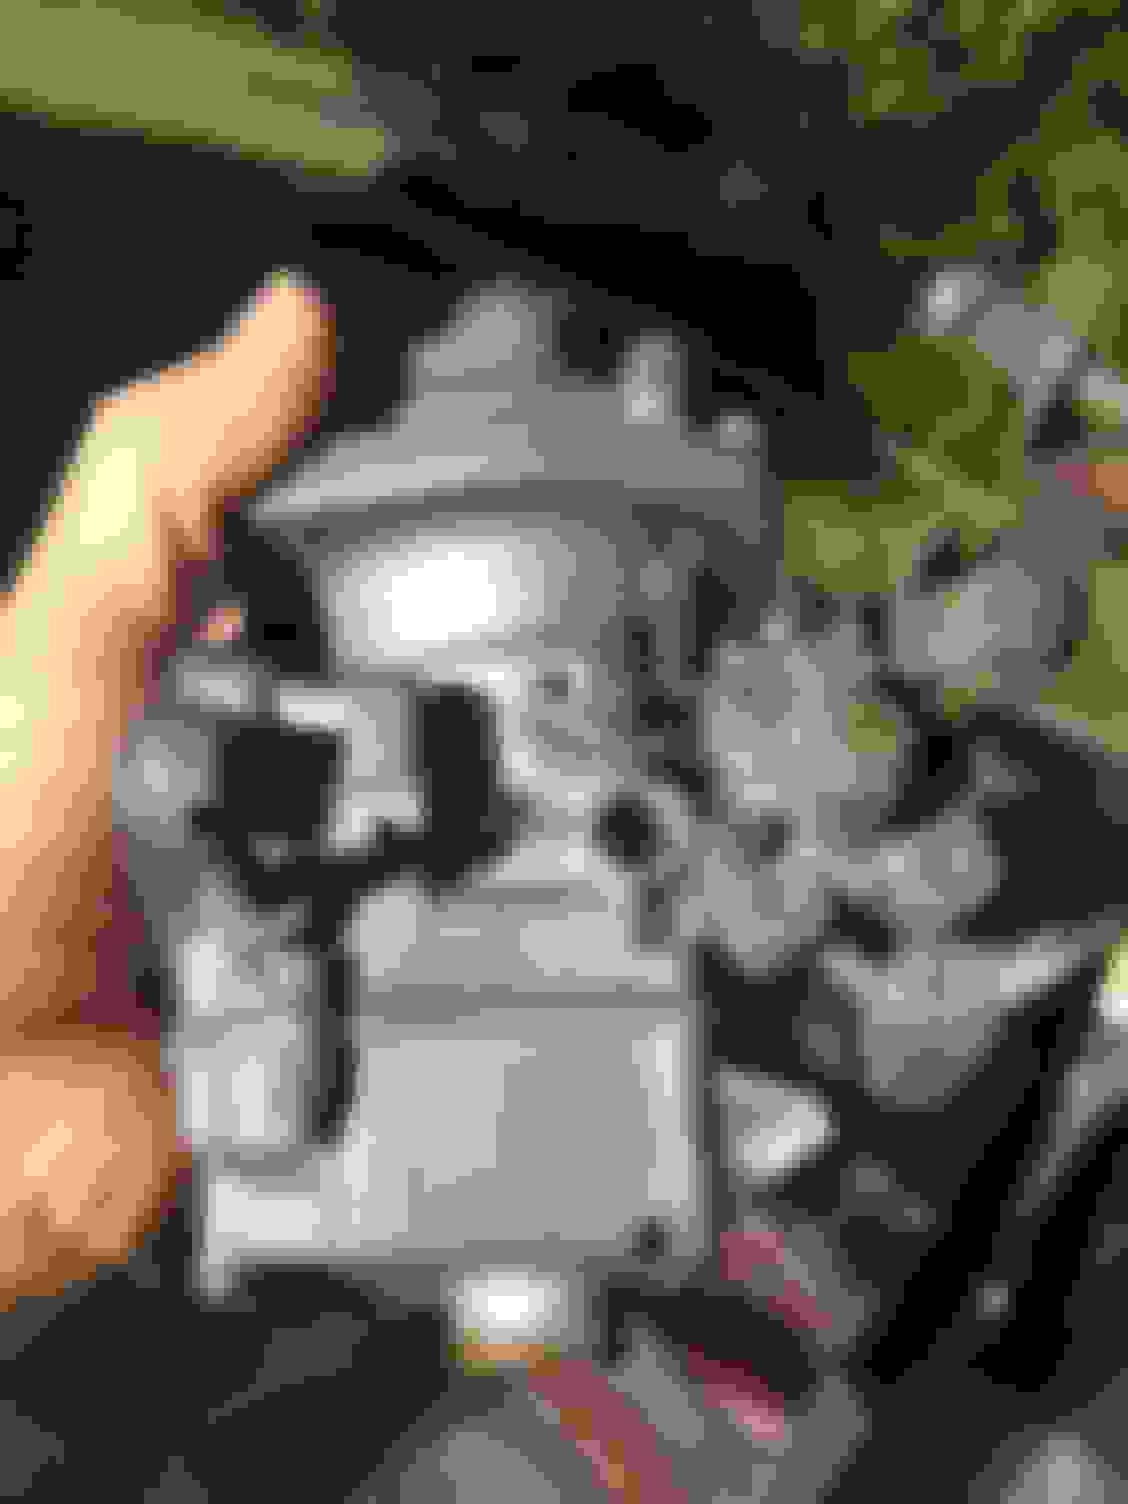
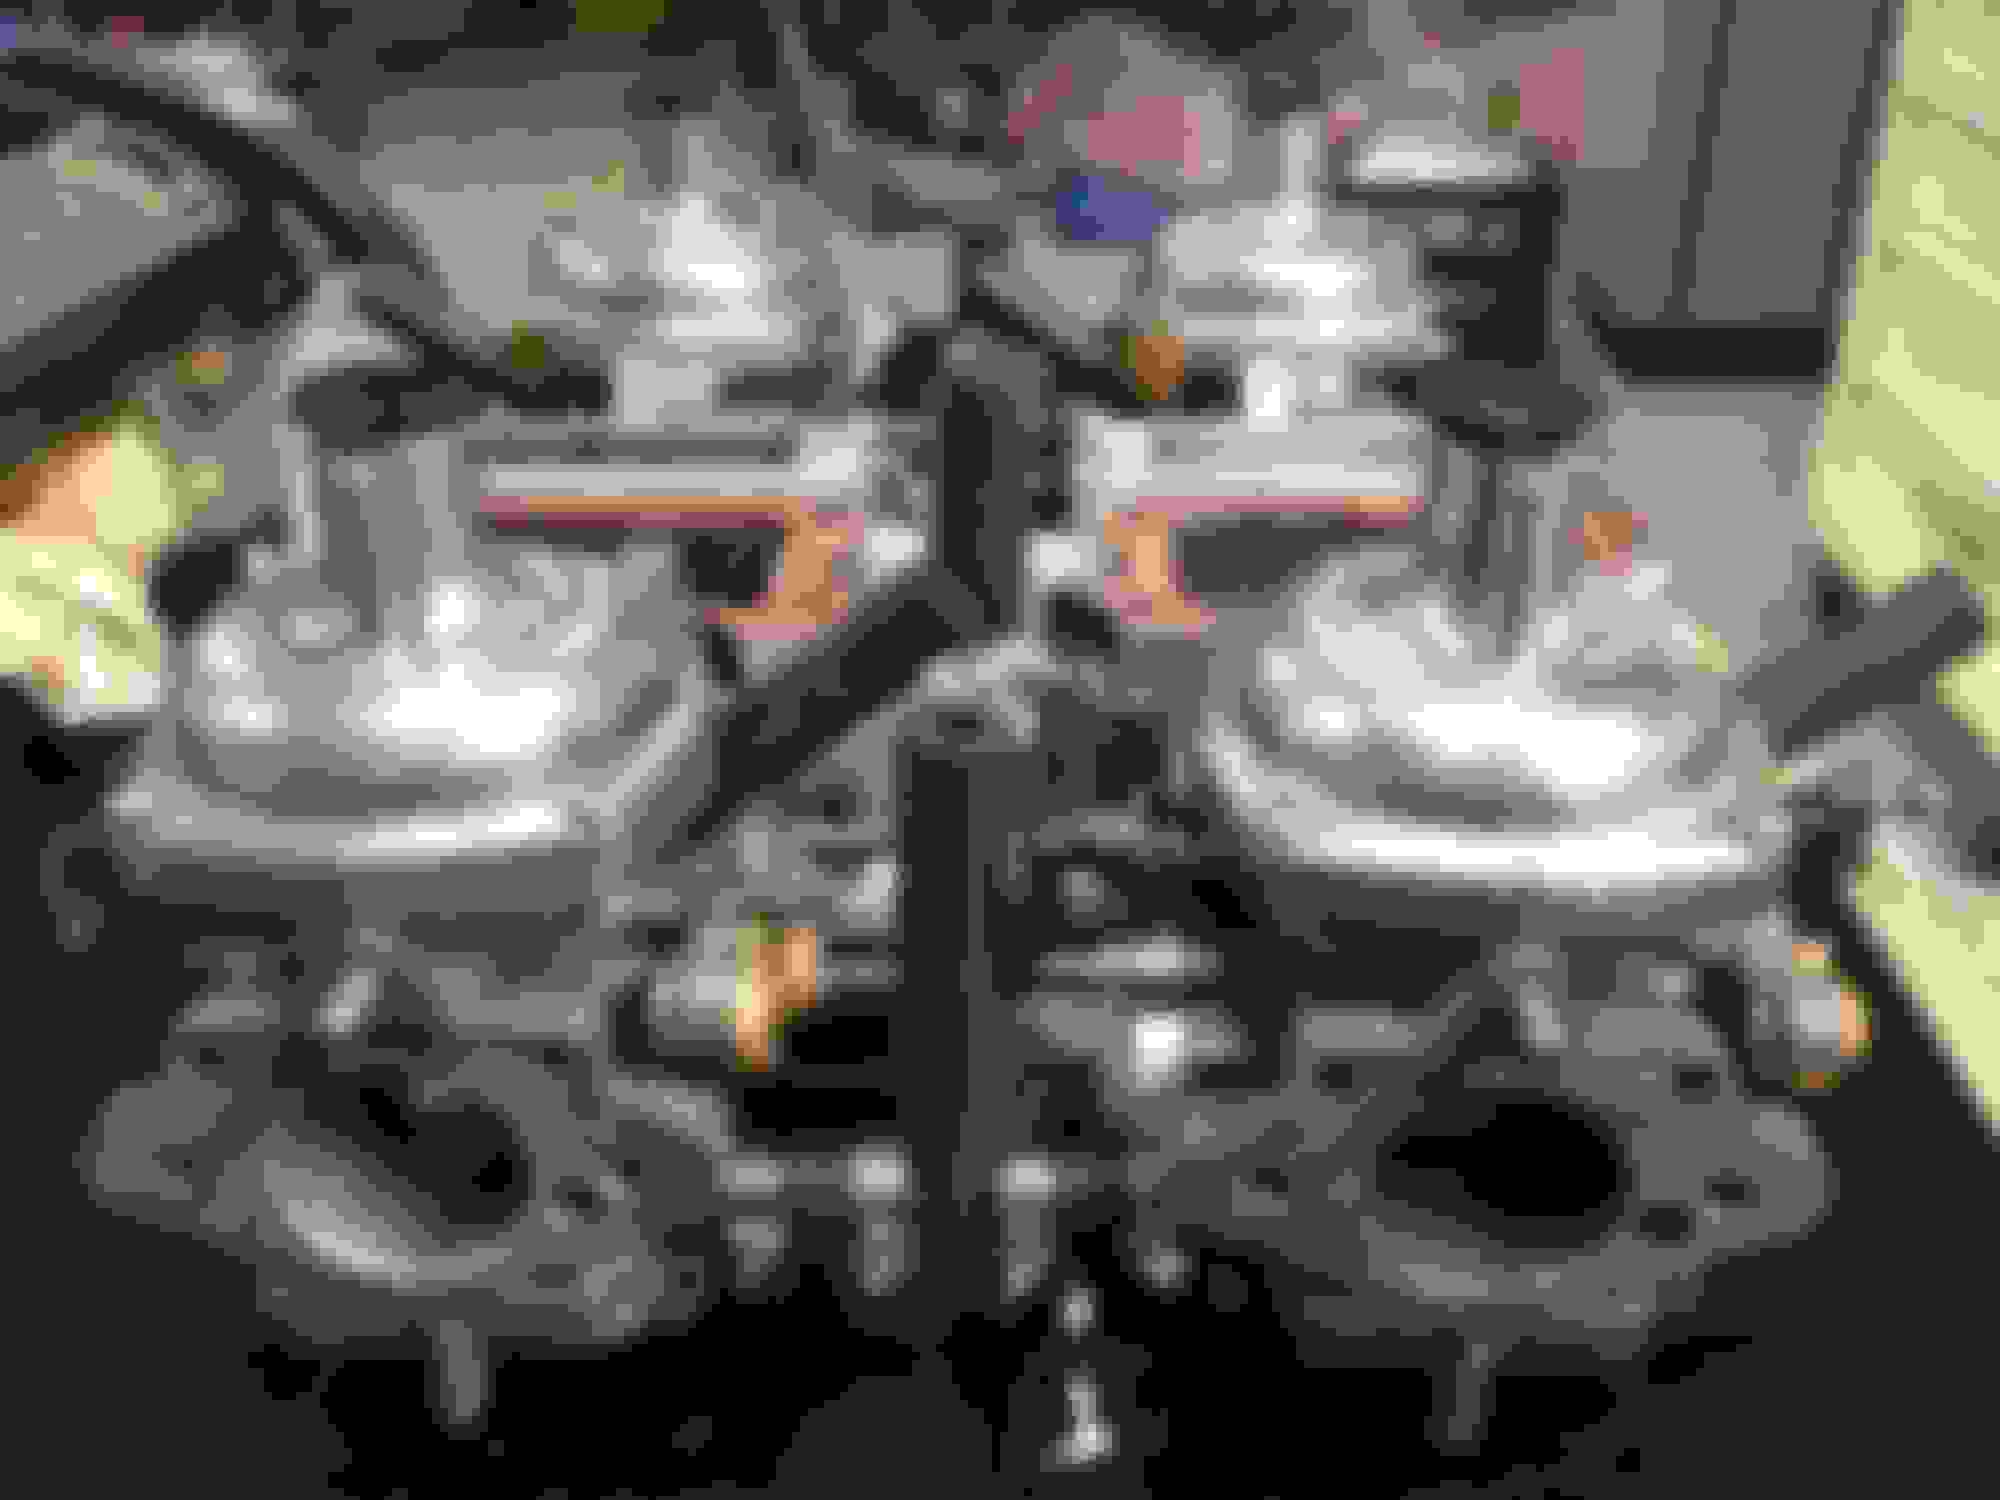
Tried several solutions in order to clean them up. Forget Carby cleaner. That doesn't work on this kind of crud. A tub of hot mild bleach gave it a good start, but the best result, and by far the quickest and most satisfying was 30 mins of soda blasting.
Clean, but before soda blast.
It's snowing in Caloundra.
Even took off the majority of the surface rust.
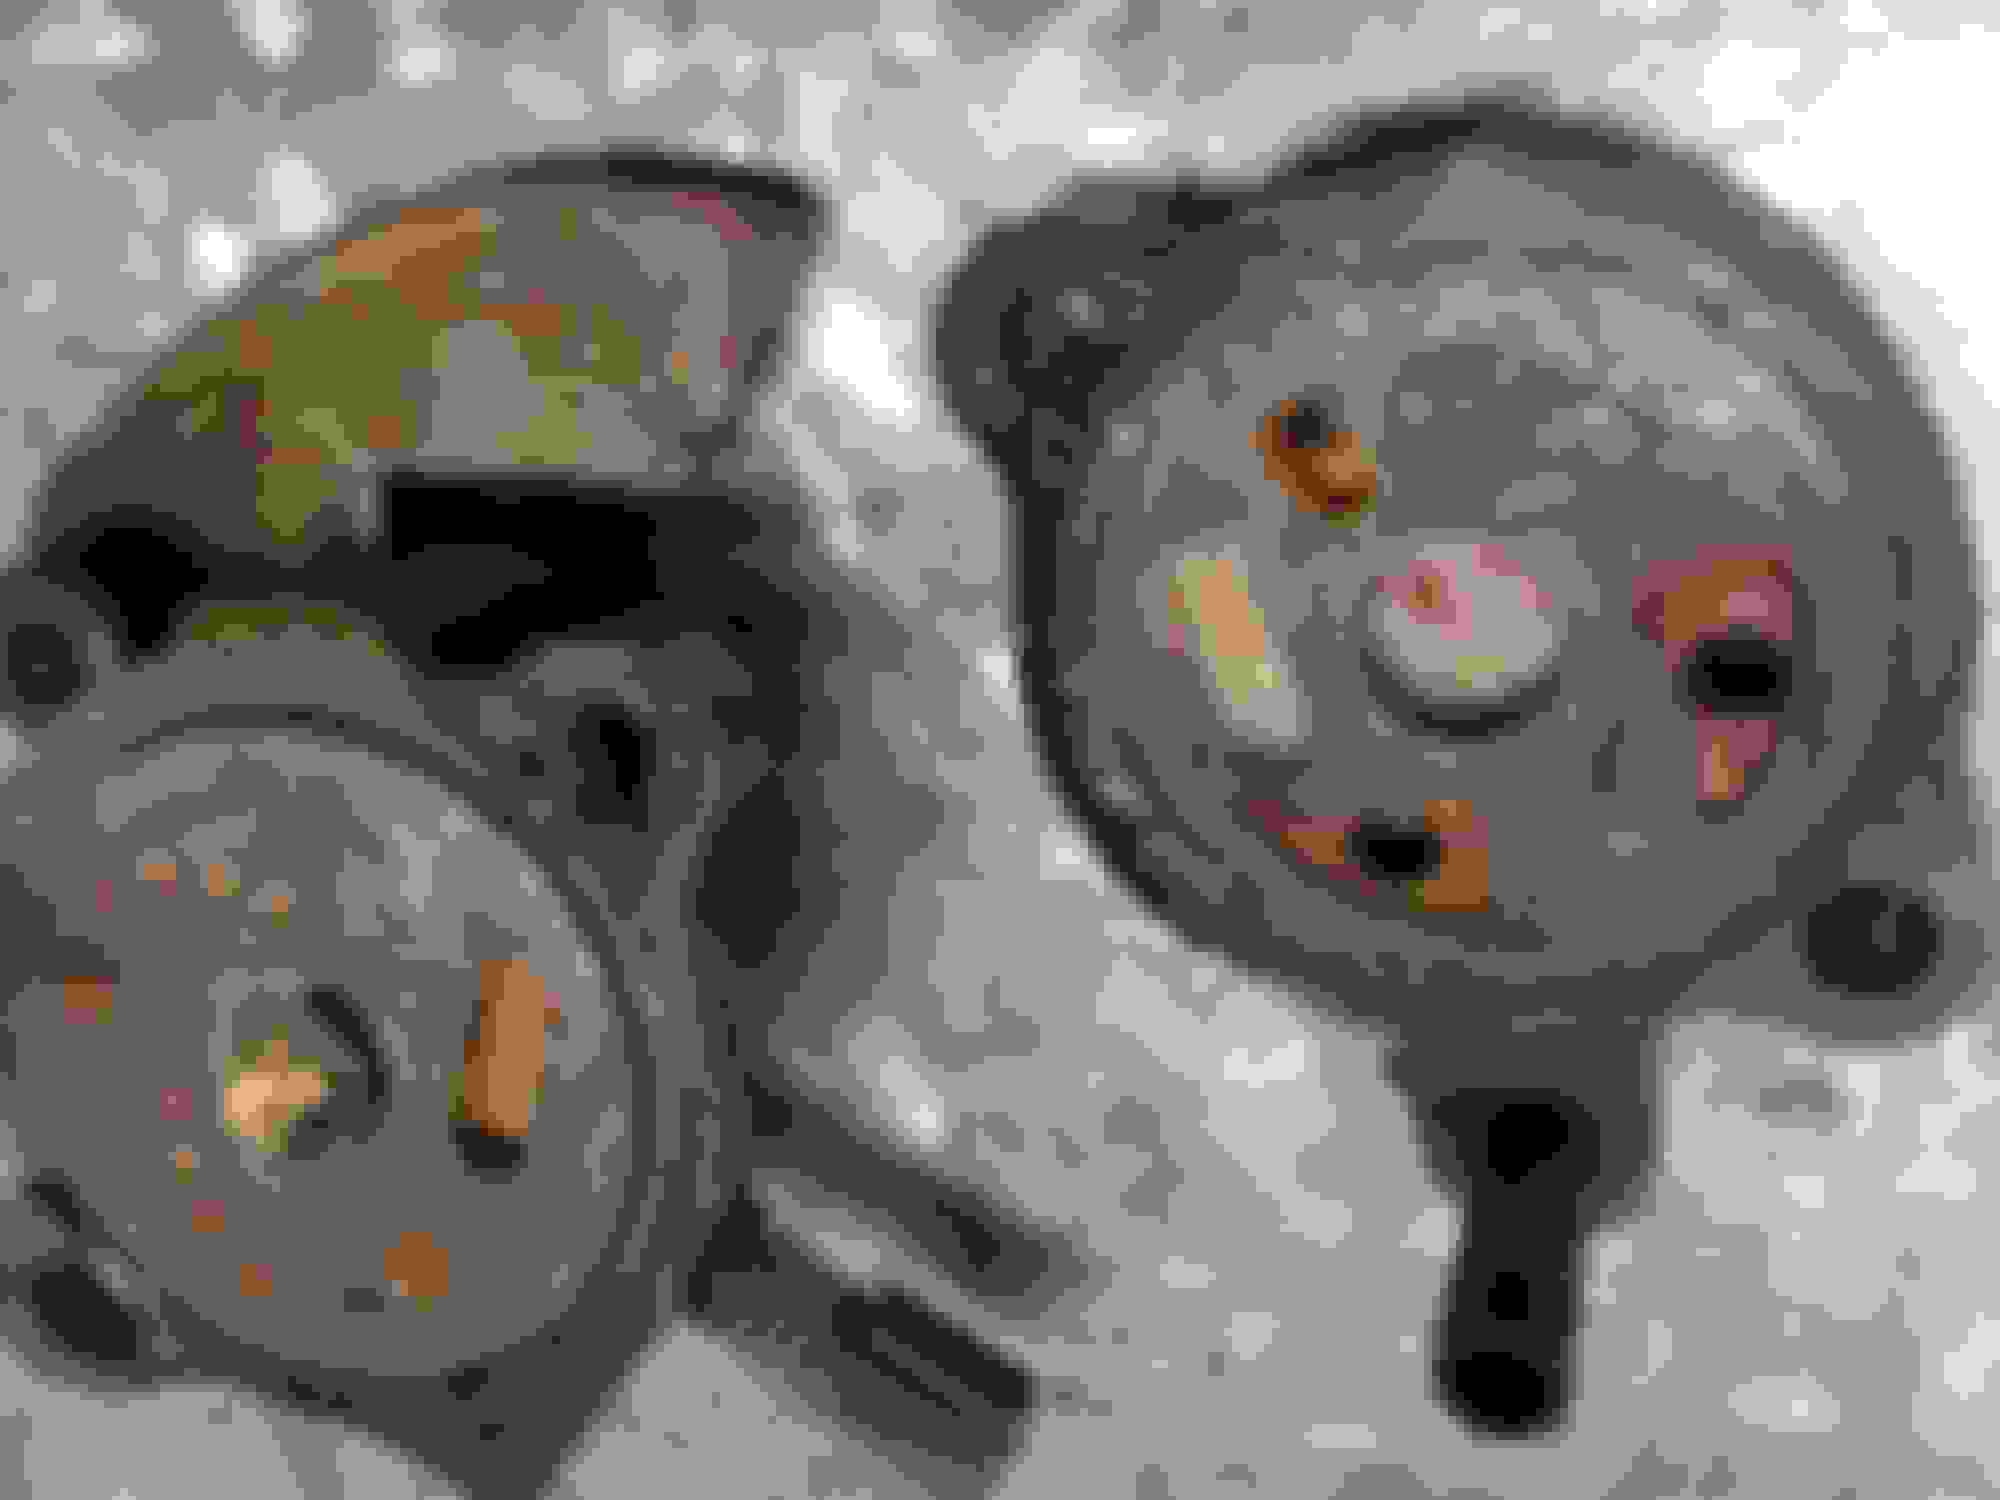
Major problem areas were the two cold start discs. And the four bypass diaphragms. The discs were corroded and the diaphragms were holier than the Pope.
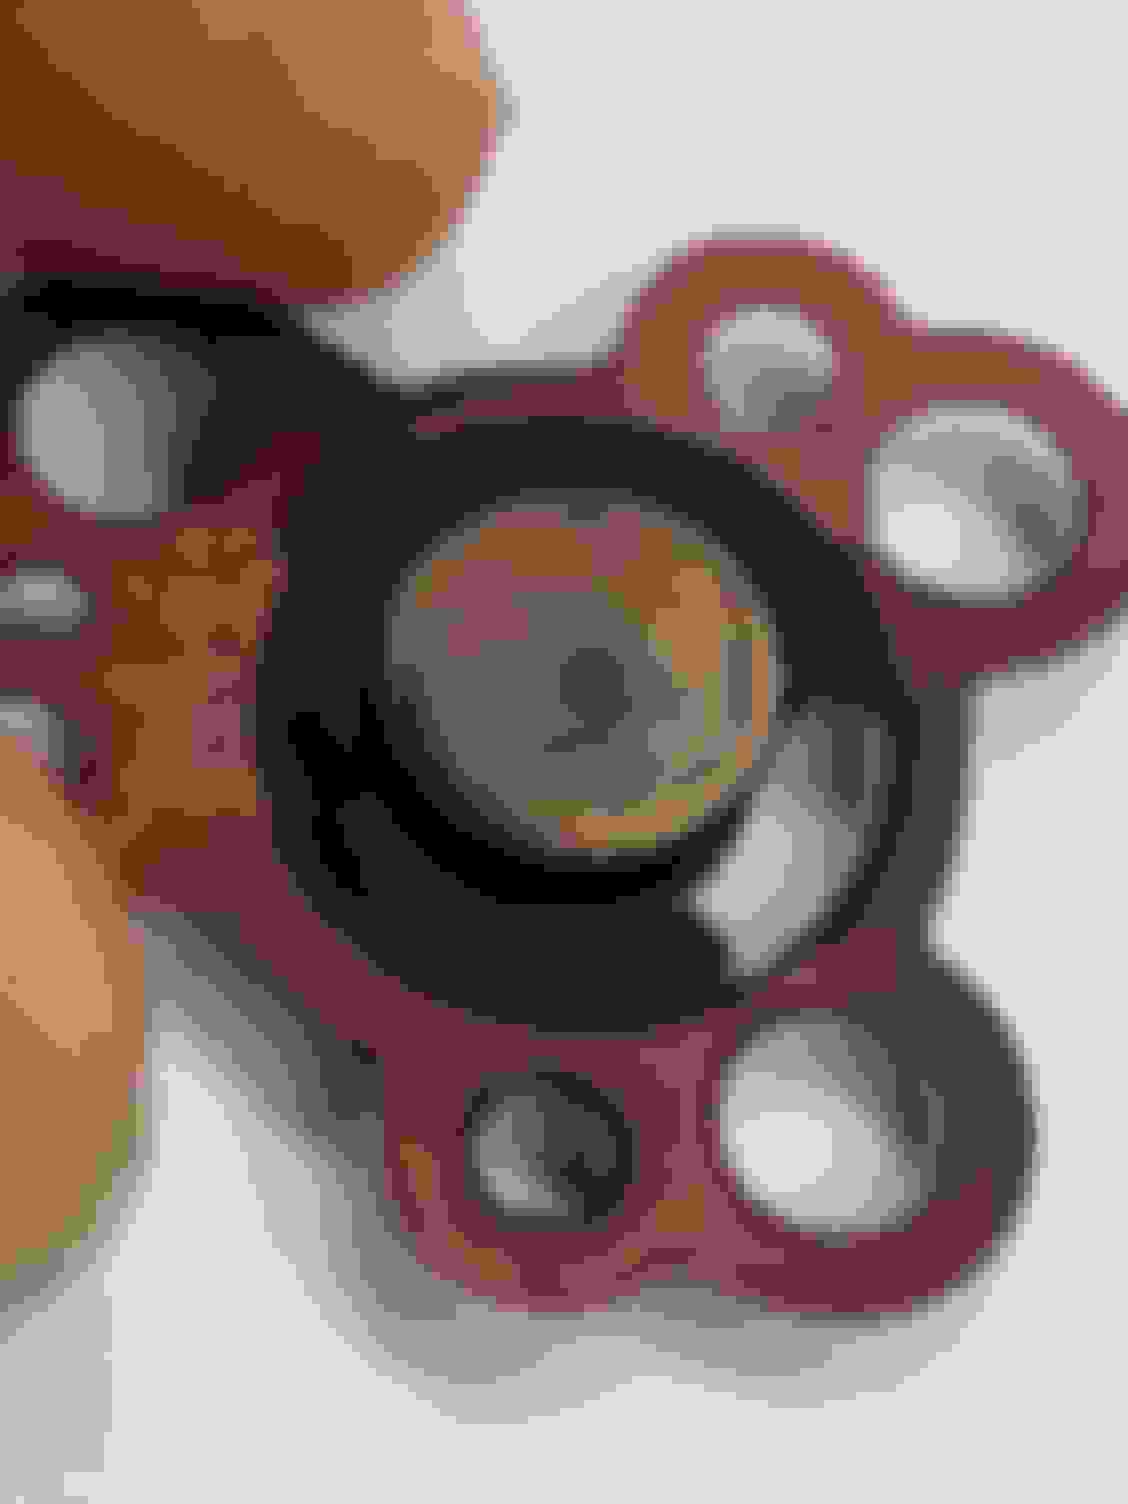
Bypass valve assy
Cold start (choke) circuit.
Precision machines surfaces?
Bypass assembly. Allows air through on over run when the throttle is closed.
All four were cracked and broken.
Parts are available but what I didn't have, I sourced through Facebook or made myself. A young chap in WA had a spare cold start unit which he donated at a very reasonable cost and I made four new diaphragms
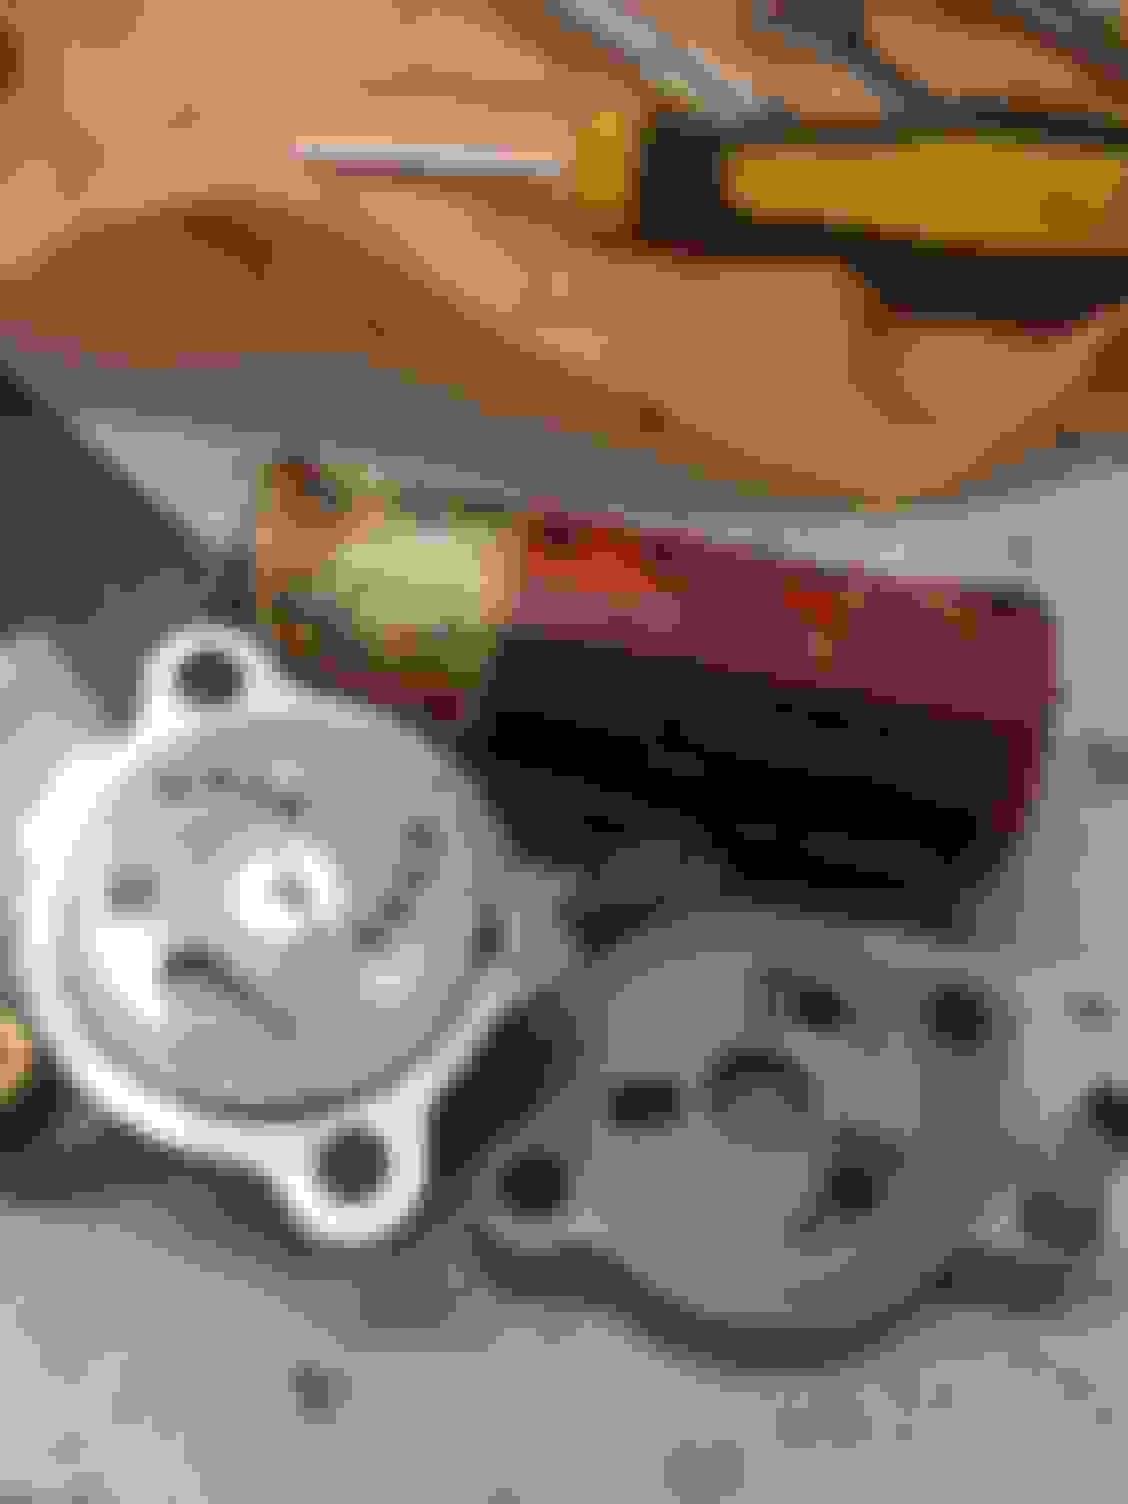
The disc surfaces were remade by hand, first flattening with fine emery on a surface block and then finishing with valve grinding paste.
Before
After
Vintage valve grinding paste
The diaphragms were a bit trickier. I had a couple of fails before I was happy with the thickness of the rubber/gasket maker. Basically a gasket cut to size with ilicone gasket maker levelled off across the hole. Definitely does the job.
Reassembled item
The beginnings. Had to spring for a new craft knife.
Ready for bluey
Done
Then it was just a matter of reassembly. Float bowl checked along the way.
The finished items

 07-12-2017, 07:40 AM