When you click on links to various merchants on this site and make a purchase, this can result in this site earning a commission. Affiliate programs and affiliations include, but are not limited to, the eBay Partner Network.
My right front headlight is out. Yet when I turn on the highbeams, it comes on. I'm looking at the wiring diagrams and see no explanation for that, however I'm no electrical expert. Any ideas?
I assume you are talking about the outboard headlight.
The outboard bulb as two filaments, 'high' and 'low'. Sounds like the 'low' element is burned out but the 'high' element is still OK....thus the headlight operates when high beam is selected.
what size lamps does the car have? If you have the small 5.25" lamp on either the fender or the hood, then you will need to replace the entire sealed headlamp. And they should be replaced in pairs, those are not expensive, replace with Halogen sealed headlights made by Phillips.
If you have the European 7" headlamps at the fenders, then you replace the bulb, and that will cost you an arm and a leg.
What's confusing me is the wiring diagram that I'm sure you are all familiar with. Wiring to the both high and low beams show only 2 connections each, power and ground while the low beam (outer) bulb has 3 spades and connections. Also, the diagram shows 6 headlights - 2 sets of high beams and 1 set of low beams. Does that extra set represent the high beam part of the outer bulbs? Or are they foglights?
Most of my experience is coming from my Fiat which people say are wired with spaghetti so I'm familiar with Lucas and bad grounds and otherwise odd behaviour. But I love how this car is built.
In the inboard lamps are single filament bulbs, high beam only. Two wires: power and ground.
The outboard lamps are dual filament bulbs, high beam and low beam. Three wires: high filament power, low filament power, and ground
When you select high beams the four *high beam* filaments come on and the two *low beam* filaments extinguish
If one or both of the low beam filaments is burned out (or not getting power) the outboard lamps will still operate on high beam...because the high beam filaments are powered-up.
Thanks! I get it now but isn't the wiring diagram incomplete?
I see now that the extra set in the diagram are fog lights on the high beam circuit.
Incidentally, my search of the web of headlight wiring showed very little understanding and lots of bad information out there of the basic concept you just explained.
Thanks! I get it now but isn't the wiring diagram incomplete?
No.
The diagram shows 4 blue/white wires for the high beam filaments, 2 blue/red wires for the low beam filaments, and 4 ground wires
I see now that the extra set in the diagram are fog lights on the high beam circuit.
What are you seeing? I don't see anything in the diagram for the fog lights....but I'm still on my first cuppa coffee
Incidentally, my search of the web of headlight wiring showed very little understanding and lots of bad information out there of the basic concept you just explained.
Had that second cup yet? I'm sure you recall the wiring that is in place for fog lights that can be found near the lower ends of the radiator - That's what the extra blue/white wires are.
The schematic is missing the wiring from the high beam side to the low beam side. The low beam bulbs only show two connections where there are three.
I cleaned up the grounds and fiddled around with things and suddenly I have lights again! I still have no parking or turn signal on the passenger side but I'll sort that out.
Had that second cup yet? I'm sure you recall the wiring that is in place for fog lights that can be found near the lower ends of the radiator - That's what the extra blue/white wires are.
No, the fog lights use the extra red/yellow wires !
The extra blue/white are for....something else
The S57 diagrams, at least early on, were Ameri-centric. They don't show all the variations of lighting circuits that were used for different markets: city lights, fog lamps (front/rear), electric headlight leveling motors, etc
The schematic is missing the wiring from the high beam side to the low beam side.
Not sure what you mean
The low beam bulbs only show two connections where there are three.
And the schematic shows all three: ground, blue/red, blue/white !
I cleaned up the grounds and fiddled around with things and suddenly I have lights again!
Good work ! Spend a few hours cleaning every ground and connector you can find and you will pre-emptively cure about 80% ofthe much ballyhooed "Lucas, Prince of Darkness" problems. Clean the fuses, too.
I still have no parking or turn signal on the passenger side but I'll sort that out.
But there's no red yellow in the diagram!
Those two bulbs in the middle show a ground connection going through locations CF6 and CF1 which are by the radiator (like the foglights) and there is a note - "Not Used" - meaning maybe fog lights aren't supplied.
Not trying to be argumentative, Doug, but I think there are errors on this schematic. I'm gonna leave it there.
Thanks for help and encouragement.
Nick
The S57 diagrams are USA-centric. USA cars didn't have the fog lamps fitted so the fog lamp wiring was left out of the diagram.
Those two bulbs in the middle show a ground connection going through locations CF6 and CF1 which are by the radiator (like the foglights) and there is a note - "Not Used" - meaning maybe fog lights aren't supplied.
Right !
Not trying to be argumentative, Doug,
And I haven't been interpreting your remarks as argumentative. Sorry if I made that impression
but I think there are errors on this schematic. I'm gonna leave it there.
Thanks for help and encouragement.
Nick
Sorry if I gave the wrong impression. I'm not trying to argumentative, either!
Errors do crop up on the S57 diagrams. If we think there's an error we should try to verify and clarify....then we'll all have better info.
Yup. A lesson learned, early on in my life with a Jaguar. One of the beams in my right out board lamp went dark. In my past experience
with simpler domestic critters, the fix was simple. Replace the "sealed beam". Oh, oh, still dark!!! messed with the wires and all came alive.
Oh, well, a fresh lamp was a good thing, Old lamp still in the spares bins. Why ? no realistic answer.
Headlight problem for me is also intermittent. I now see I'm getting bad connections under the fuse box in those white hard plastic bullet connectors. Can these be cleaned up and used or is it best to replace them with new butt splices? I find it difficult to pull the bullet out of the connector due to corrosion surely but maybe solvent would loosen. I think I read that one should crimp them with pliers - or is it not worth it which is what I'm thinking.
When I finally get everything working I think I'll race up to get an inspection sticker before anything else goes wrong!
Doug:
Metal pipe cleaners! Slick. Never thought of that. Source? There is a smoke shop on my way to town. I may look there. I've not smoked a pipe for decades.
Nanonevol: three more light ideas:
1. At times, merely rolling the glass fuses in the cradle, aka the "finger roll", causes dark lams to come alive.
2. The block can be removed from the holder and twisted to reveal the undersides. I found mine to be dirty. I scrubbed it with a cleaner and a little brush.
3. The glass fuses may appear to be intact, but not so. The gap may be hidden by the cap. Check any doubtful ones with a lamp or meter.
But referring to the conversion table., fresh fuses are a good idea.
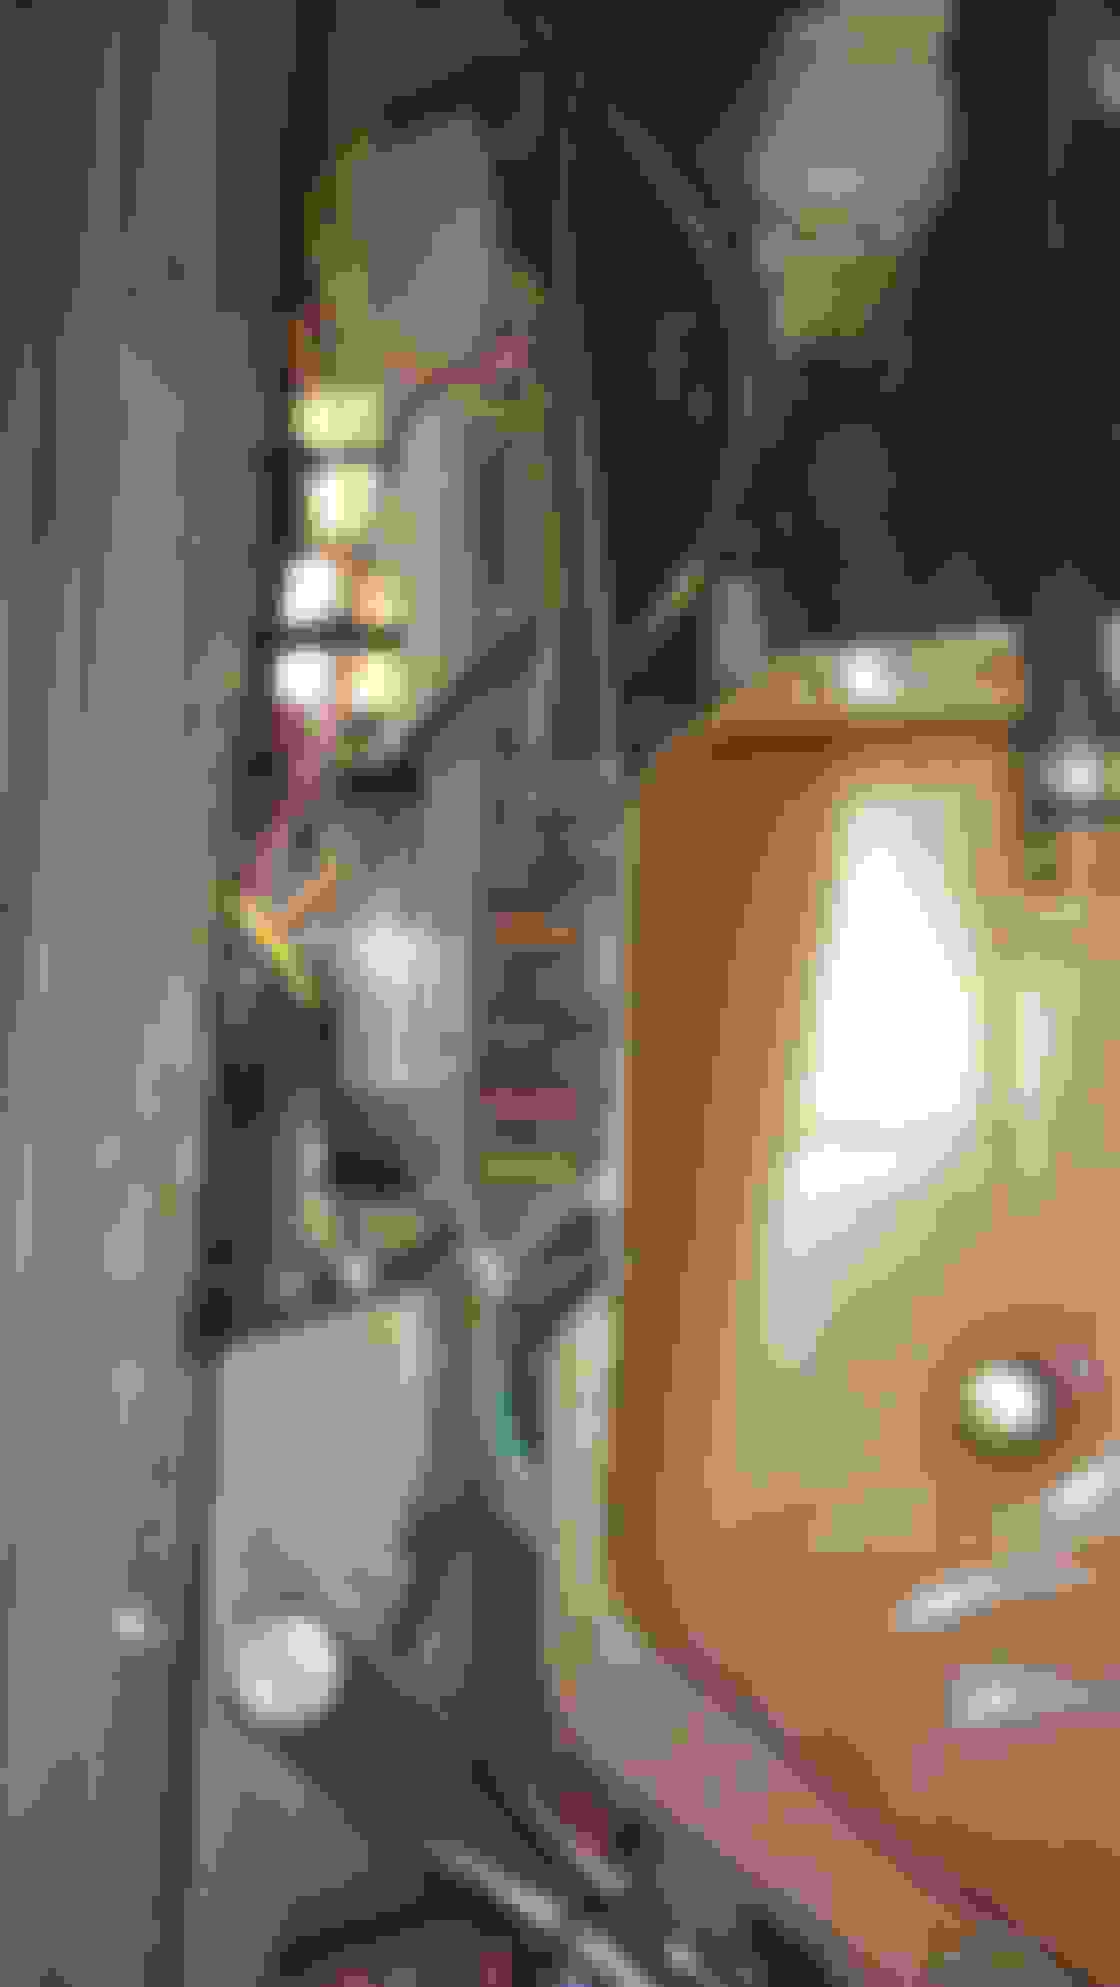
I found the Headlamp fuseblock to just be a source of unnecessary anxiety so hen I upgraded my headlamps to H4 halogens with individual relays, I replaced the fuseblock.
Very pleased with the result, and the installation even looks clean and "professional".
pic 1 shows new fuseblock (just with some incorrect dummy fuses and second pic shows the 4 relays, each pair mounted ate the top sides of the fan shrouds.
New blade style fuseblock just activating relays now.

 01-26-2018, 01:04 PM