When you click on links to various merchants on this site and make a purchase, this can result in this site earning a commission. Affiliate programs and affiliations include, but are not limited to, the eBay Partner Network.
To add some more info:
I just measured my Series 3 and the measurements are different.
I expected to see 11.5 inches from the carpet to the hole in hinge as David measured on his.
My measurement is 11.25 inches from carpet to hole in hinge.
Center line of bolt to center line of hole in hinge is 10.5 inches.
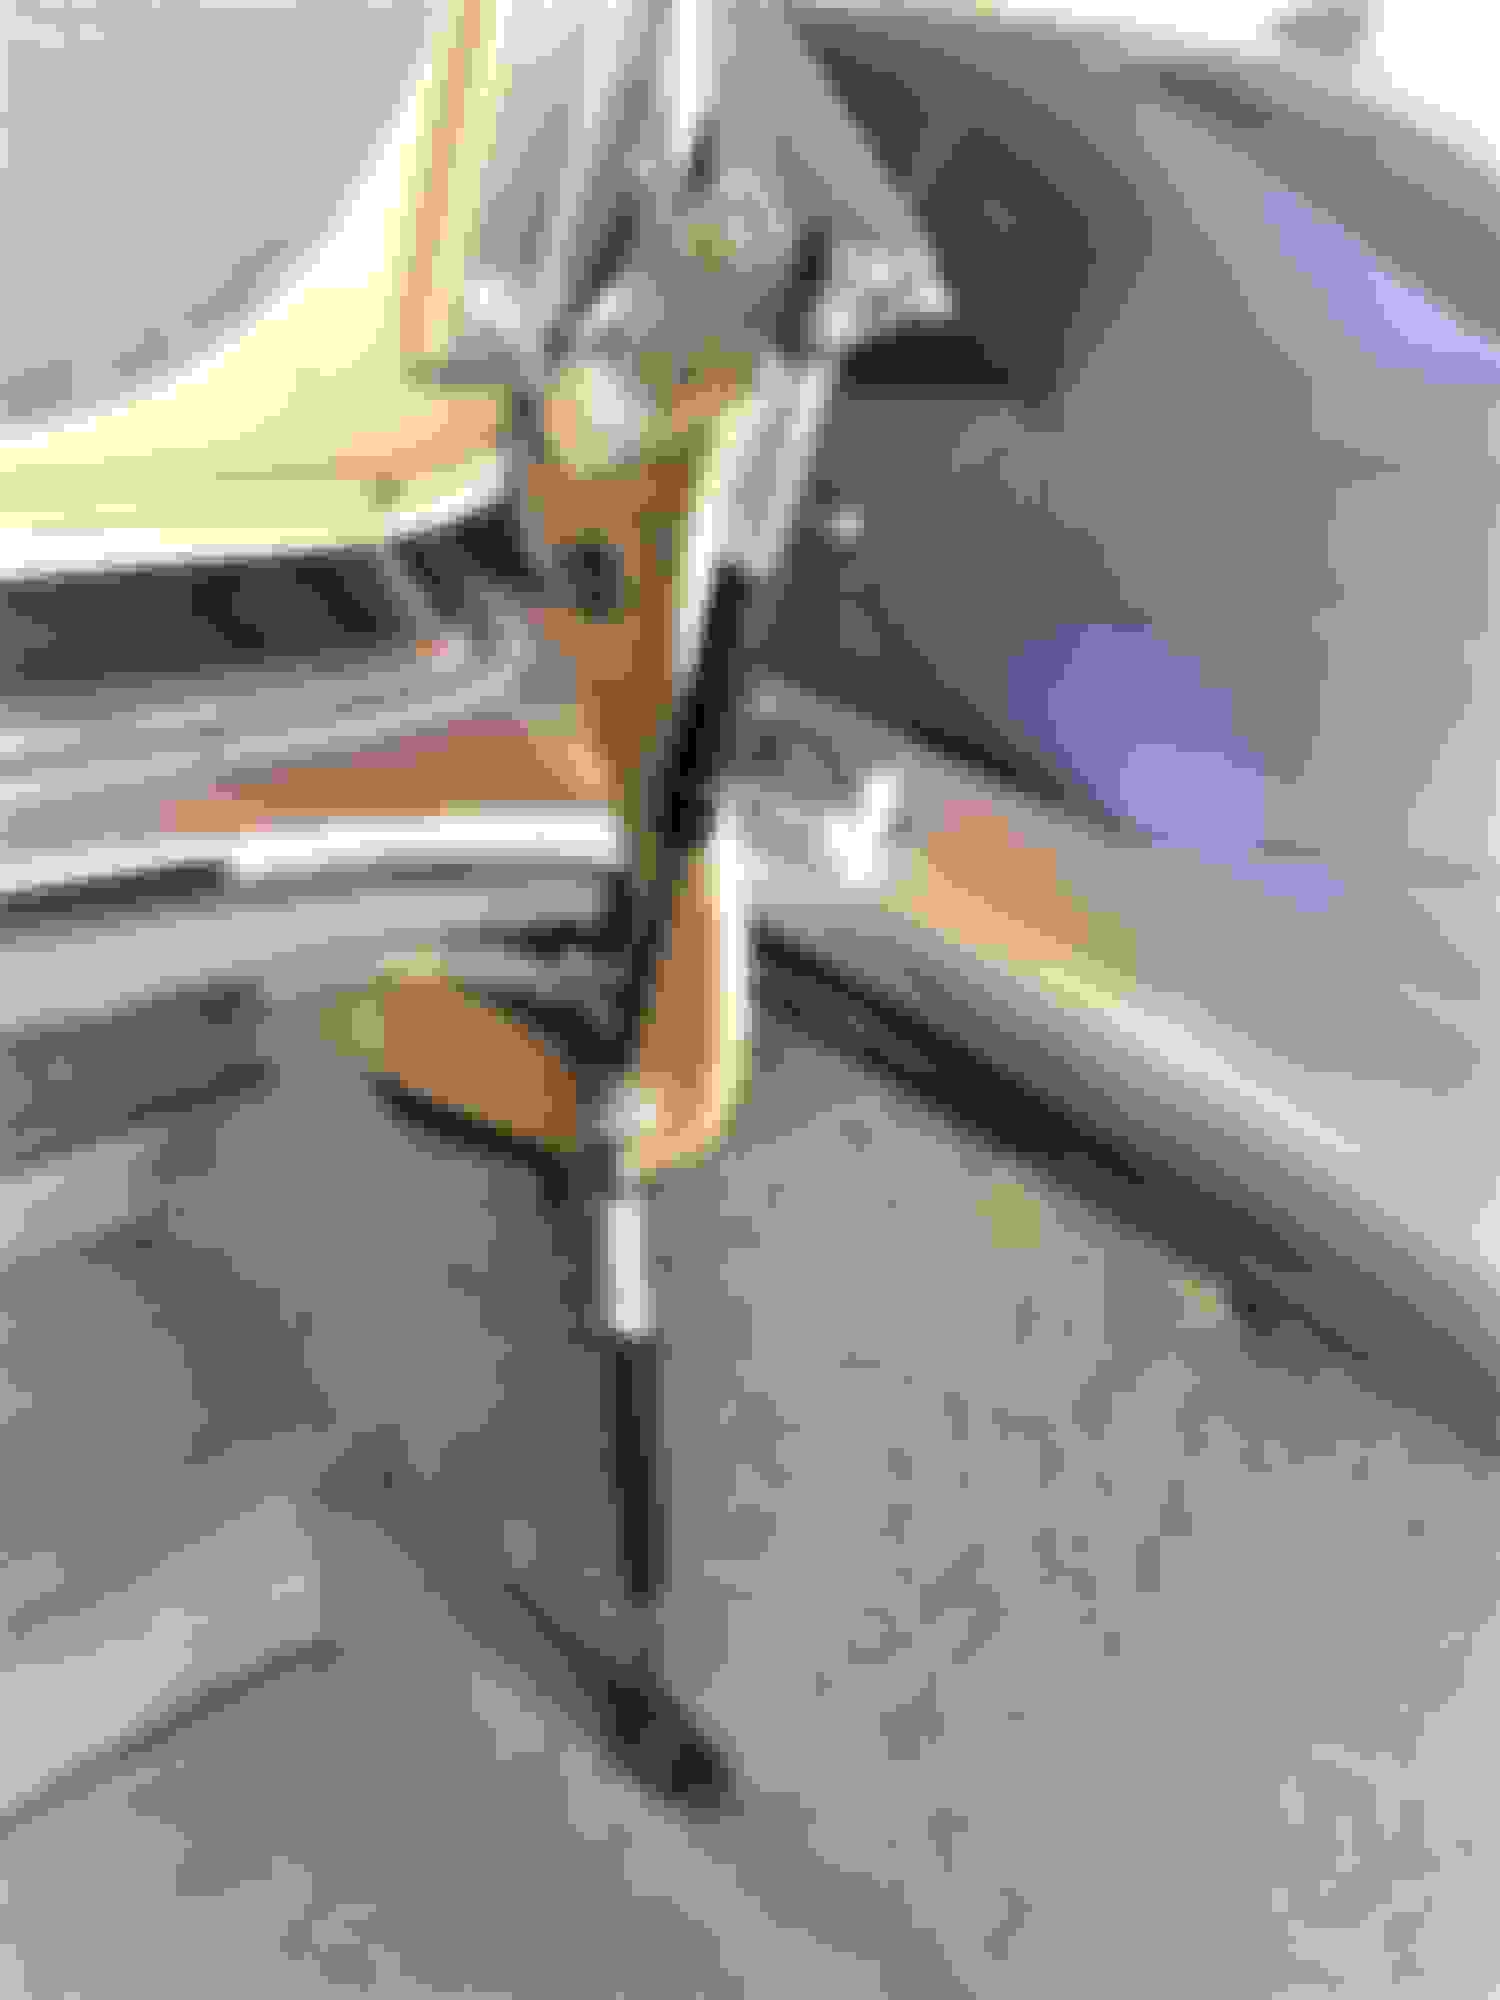
Thinking I was not seeing correctly, I marked the ruler at the 11.25 inch mark and measured again and took a pic.
I also took the measurement with a tape measure and it is 11.25 inches.
Maybe the measurement should be taken without the carpet since there could be a difference in the thickness of the carpet.
My carpet is as old as the car and there is nothing under the carpet except the metal floor.
Apparently no 2 jags are alike. close up of blue tape at the 11.25 inch mark
Thanks all for measurements; I am thinking the actual up limit on the hinge arm may have be different between models and some variation on the same model. So far it appears that the reference hole on the arm to the upper most bracket attach bolt seems to be consistent.... Will wait for some one with a S1 to check in.
Further progress:
I am expecting the first machined hinge/bracket back from Machine shop the second week of August. This will confirm geometry, dimensions and the bearing function of the hinge.
I have sent Elinor a shorter strut (10") to test the spring assist concept on her S2.
Thanks again for providing feed-back... Not only does it makes the project fun, but it adds a double check to my assumptions about Jaguar production tolerances, which in the past have got me into a pickle.
Rgds
David
Last edited by David84XJ6; 08-02-2019 at 07:51 PM.
Reason: info clarification
Hi David, Lnrb asked me to have a look at this thread. I have a series 1.
I can measure tomorrow. Could you please repost the pics of the measurements you need from the series 1.
I read through the thread but lost track of the measurments with all the posts.
Count me in for a kit if it fits an S1. Permanent graze on the back of my head from sagging springs.
"If any one has an S1, would appreciate these dimensions also..."
I thank you in advance
Rgds
David
Center line of Bolt to C.L. of Hole C.L. of hole to Trunk shelf at max current opening
And, Fellas, this is what it looks like in a Series 2.
Took me about 15 minutes to install because I had to get the drill for pilot holes. That was the hardest part (self tapping screws are included but pilot holes always work better for me).
My trusty Broomstick is now relegated to Emergency Transportation only. LOL
David's strut doesn't open the lid, but it does keep it Exactly where I put it with No More bashed head!
I'm *Very* pleased!
Thank you, David, you should have a notice from PayPal already.
(';')
I seem to have acquired an addiction to You Tube via my smart VIZIO TV !
An interesting "character" is Johnathan Winans. Master of using rusty junk parts to make rusty useful stuff, from junk of course!
The latest is hinges for the missing trunk Of the most rusty 30's A Ford, one could imagine!!
To the point : Fabricate hidden hinges, modern style . The levers, "horse shoes" !! And with a nice explanation of h pivot points and the movement of the lid.
Thanks all for measurements; I am thinking the actual up limit on the hinge arm may have be different between models and some variation on the same model. So far it appears that the reference hole on the arm to the upper most bracket attach bolt seems to be consistent.... Will wait for some one with a S1 to check in.
Further progress:
I am expecting the first machined hinge/bracket back from Machine shop the second week of August. This will confirm geometry, dimensions and the bearing function of the hinge.
I have sent Elinor a shorter strut (10") to test the spring assist concept on her S2.
Thanks again for providing feed-back... Not only does it makes the project fun, but it adds a double check to my assumptions about Jaguar production tolerances, which in the past have got me into a pickle.
Rgds
David
I am back from Vacation and have installed the 1st machined hinge/bracket for testing see pictures below....
What works:
....71 degrees up from OEM 41 degrees
....40 lbs strut assists opening from 41 to 71 degrees and holds it open ( have a 50 lbs strut and will test later)
....Have figured a way, with new end fittings, to incorporate the 30 lbs Spring Assist Strut attachment, with enhance opening strut ("Your covered Elinor")
Needs work:
....Very hard to close from 60 degrees to 41 degrees, strut is pushing too hard against bracket at an angle
....Unable to adjust trunk lid for good fit when closed: off 1/8" front to back and front is riding 5/32" high (Jaguar bracket has way-oversize holes for adjusting)
Have made changes to drawing geometry, but am trying to figure away to test before sending out to machine shop again
David - Way to go! I guess there's several of us awaiting the final production item. We are certainly willing to wait until you are satisfied with the final product. I'm confident in your ability as testified by the hood/bonnet stay. Great job!!
Elinor - Bill
It's as fun as a "rubrics cube".... My coffee bill at the local establishment has gone way up, as I ponder the how to get all parameters accounted for. Pictures of " Spring Assist" and "Enhanced Opening Hinge" together.
Rgds
David
Top strut twice the strength of bottom strut New end fittings and Clevis pin
If that will work on a Series 2 then I'm in! Where do I sign?
Does all that have to be on one side as you have it mounted just above, or can they be split up between sides;
It would make things a little less busy if the struts don't have to be on the same side.
Of course my car is BLACK which might make some difference.
(';')
Hi David, I'm back home now, sorry for the delay, my Series 1 measurement from the ledge to the centerline of the hole is 11.25 inches.
Nigel,
Thank you...
FYI... I shipped a NewXJ6 Bonnet Hold Open Stay to a fellow Jag owner in UK; In addition to $ 26 US shipping, he had to pay 20% VAT to customs and 12 pound charge from Postal Department to process the VAT charge...Ouch.... He was still pleased with the kit purchase, even though the surprise fees.
I have tested the first set of machined hinge/brackets and made minor changes to master drawing, to get good lid fit when closed and to improve ease of closing. Will be a few weeks before I test prototype 2.
Thanks for the heads up on the costs David, I was expecting something like that, I'm surprised they havn't added some kind of import duty with the VAT on top. It will be worth it to stop the lid regularly landing on top of my head when the prop falls down.
It will be worth it to stop the lid regularly landing on top of my head when the prop falls down.
Nigel
After my first test of the extended opening concept, it is apparent that the OEM springs have to be up to scratch. If springs won't hold lid open, then both kits will be required.
I looked on UK E-bay and found the Spring Assist kit parts, that you can buy without hitting the excessive fees for total kit. These parts will be compatible with Extend Opening Hinge kit when available.
1 ea Car 15kg 33 lb Lift Support Gas Strut Shock Spring Prop 11 inch (7.91 pounds)
1 ea 8mm U Shaped Pin Bracket for Eyelet Ended Gas Struts (4.95 pounds)
1 ea 5/16� x 1� Clevis Pins Imperial Securing Fasteners for Retaining R Clips and Split Pins (1.99 Pounds)
From local hardware store
2 ea Self-Tapping Sheet-metal Screws #8 5/8 to 3/4� long
3 ea 5/16� SS washers
1 ea 3/32 split pin
Installation: Drill two 1/8" pilot holes for bracket. Strut should be installed vertically (cylinder end up) to existing OEM hinge arm hole with the clevis pin and two washers, and with washer and split pin on backside of Arm ( picture below)
Elinor has successfully installed Spring Assist kit on her S2. When installed, you should be able to raise lid to any position and have it hold.

 08-02-2019, 02:26 PM