
Yet Another Floor Pan Adventure FAQ
#121
 01-22-2015, 12:18 AM


Senior Member
For the paint it really depends on how rust free the surface is.
Ideally get it completely rust free. Flap disc or sand then a rust remover (not rust converters that turn the rust black. I've never found they work) but something like bilt hambers Deox C or citric acid etc. Then something like metal ready and then polyurethane seam sealant (sikaflex et al). Then 2 to 3 coats of epoxy primer and if you want then colour coat.
When you can't get it completely clean then POR-15 but follow the instructions and stages exactly. It can also be sprayed into enclosed spaces like under the toe board.
(Those enclosed spaces always worry me most. Whichever paint or treatment you use in there follow it up with a wax product like dynax, dinitrol or waxooil.)
I don't know the bed liner you people on the wrong side of the pond talk about, but maybe use it instead of POR-15
Where there is rust it's always best to heat it up with a hot air gun to dry out the rust as much as possible.
Underseal is a no no in my book prefer a product like Gravitex if you need a textured finish after painting as above.
When the car id finished then give the enclosed bits, inside doors. rocker panels, hood frame, wheel arches etc with the wax product (dinitrol etc) again.
Loose flaky rust -don't paint over it, remove it as best as you can.
Don't apply seam sealer directly to bare metal. Always epoxy or etch prime first
The following users liked this post:
LnrB (01-28-2015)
#122
01-22-2015, 12:43 AM
Veteran Member
#123
01-22-2015, 05:14 AM

Join Date: Jan 2014
Location: Delaneys Creek,Qld. Australia
Posts: 28,381
Received 6,327 Likes
on
4,370 Posts
There are a few more tiny ones appeared on the right of the rear screen and a few on the panel below the rear bumper and a couple of small holes below the right tail light.
Now the car is the only option I have to drive to work when I don't take the bike it will be a work in progress over the next year or so. I am certain I will find plenty more rust when I start digging around.


#124
01-22-2015, 10:51 AM

Veteran Member
Join Date: Jul 2012
Location: Walnut Creek, California
Posts: 6,796
Received 2,399 Likes
on
1,880 Posts
Elinor:
Not the bright red as used on your nails, but, the red oxide primer red. actually, sorta like rust in color. Seems like it matches the original floor metal color and would blend sorta with any remaining light rust. No need for shine in or under on those panels. Just metal protection.
I removed the 'blanket' from under the bonnet of my car. The "moth eaten bear rug" looked awful. Unfortunately, the bare paint doesn't polish well. so, on my ever growing list is a can of bed liner to apply. Some asking to do and then apply upside down. I don't twist that well anymore...
I've seen it on truck beds and it looks pretty durn good.
Carl
Carl
The following users liked this post:
LnrB (01-28-2015)
#125
01-22-2015, 05:08 PM
Veteran Member
Hi Elinor
That is a very impressive piece of Welding!
Especially since it must have been a real PITA to do it, in such a confined space and way above the standard that you would expect from someone who has never done Welding before.
Now you've got the hang of it, the next time it should be a 'walk in the park' compared that is to the standard that you have already achieved.
Not to mention having the guts to give it a go in the first place, where many others would have been taking their Car Straight to the Shop and no doubt paying Circa: $250 for a Welding job not half as good as that!
So Well done to You!
The following users liked this post:
LnrB (01-28-2015)
#126
01-22-2015, 05:27 PM

Veteran Member
Join Date: Jul 2010
Location: Austin tx and Daytona FL.
Posts: 7,362
Received 1,236 Likes
on
943 Posts
The following users liked this post:
LnrB (01-28-2015)
#127
01-22-2015, 09:05 PM

Join Date: Mar 2014
Location: Tehama County, California, USA
Posts: 25,445
Received 9,208 Likes
on
5,386 Posts
Thank you for all your comments, fellas,
anjum: I really like the flap disc! That thing Works! Where that couldn't reach there was a miniature brush cup for the Makita that were able to reach Everywhere.
I'm glad to read about the seam sealer as I was more than a bit concerned about the seams. So after I've got primer in all the cracks I'll use that.
Steve: Thank you very much! I never learned to be afraid of trying to fix something. Growing up on the farm helped with that I suppose, because so many things needed fixed NOW not whenever someone came out from town, which we couldn't afford anyway.
I suppose I am driven. I don't like unfinished projects hanging over me. I want to have the car ready to drive by SMOG time April 1, and that gives me a deadline and Lots of motivation, because if I miss that deadline there's no telling when I'll get her back on the road.
Clarke: As Stig Bunzel says, "If you don't want to find rust then don't look for it." I'm sorry your car is bubbling. I only have one of those (Right Rear wheel flare) which will be addressed when the IRS is dropped.
Carl: OK so it's red primer you mean! I think he already has gray on hand. I really don't want to hide the light rust, I want to know it's there so I can decide what to do.
My car came without the 'bear rug.' Undercoat or something like it was sprayed on the underside of the hood/bonnet, probably at the time of restoration/conversion in 1986. I would like to have louvers but I'll have to get a Lot more brave to try that. I've read that the first cut is the most frightening because after that you're committed but still....
OB: Thank you! I didn't have trouble with the confined space as such because I have long arms, but it was lying on that sill seam that gave me fits. I'm not sure about that 'guts' part, but, Nothing Ventured, Nothing Gained, and I got away with it this time, and I'm pretty sure it won't fall apart anytime soon.
ronbros: Thank you. No, no metal brake. Husband formed the two patch pieces; he's good at that sort of thing, has the patience of a saint when it comes to stuff like that. The bigger one at the front of the floor was formed from left over floor pan material which which was several inches longer than needed. He first measured the angle with the device shown below because he's rather **** about things fitting correctly, then he bent it with a combination of duck-bill vise grips, vise and hammer(s) and a selection of pliers.
The smaller one at the front corner is merely a stray piece of shelf bracket (lighter gauge than the floor but on such a corner in such a small crack it worked), the angle of which was widened slightly for a close fit, and cut to length to fill the void.
Believe it or not, all that flaky rust between the two layers of the front floor came from the parts he cut out. I vacuumed out all the loose stuff and looked up into the space and found only light surface rust above what you can see in the pictures. My inexperience with such things may come back to haunt me but I never drive the car in the rain so I left that part up in there alone.
I do Not plan to sell the car until something happens to it that simply can't be fixed.
(';')
The following users liked this post:
ronbros (01-23-2015)
#128
01-23-2015, 01:46 PM
Veteran Member
Join Date: Jul 2012
Location: Walnut Creek, California
Posts: 6,796
Received 2,399 Likes
on
1,880 Posts
I am not pushing Rustoleum Red, merely pointing out that it is both primer and finnish coat. And, doesn't stick out as a sore thumb against nearby panels.
I've used my big vise ands sections of bed rail angle iron to bend metal in lieu of a brake.
Eons ago, I did a case involving a WWII surplus brake used by a sheet metal contractor. A huge machine with a big cast or forged gear wheel for leverage. It busted!!! Amazingly, a welder was found that could rejoin the bust pieces.
Great work.
Carl
The following users liked this post:
LnrB (01-28-2015)
#129
01-23-2015, 07:25 PM
Join Date: Mar 2014
Location: Tehama County, California, USA
Posts: 25,445
Received 9,208 Likes
on
5,386 Posts
#130
01-24-2015, 08:36 AM
The following 3 users liked this post by Dleit53:
#131
01-24-2015, 11:15 AM
Veteran Member
Join Date: Jul 2012
Location: Walnut Creek, California
Posts: 6,796
Received 2,399 Likes
on
1,880 Posts
LnrB:
Welded!! Forgings weld well. Castings, not so well, but in no stress situations, it can be done.
I did some of my roadster in etching primer and with a color coat and some in merely black Rustoleum. The latter in the parts that I cleaned with a big wire wheel as they didn't fit ion the little blast cabinet I had at the time.
Both came out well.
Shiny new metal needs a bit of "tooth" for paint to bind. Etching primer does that.
Caveat; Bond between primer and color can be an issue. That is why I like one coat primer/color Rustoleum. Not the best for out panels, but great for the hidden stuff.
Just pick one and go and all will be just fine.
Carl
The following users liked this post:
LnrB (01-24-2015)
#132
01-28-2015, 06:55 AM
Join Date: Jan 2014
Location: Delaneys Creek,Qld. Australia
Posts: 28,381
Received 6,327 Likes
on
4,370 Posts
.......7 days later I have a rust hole and blistered clear coat in many areas of The car. I can see it growing by the day. Never seen anything like it!
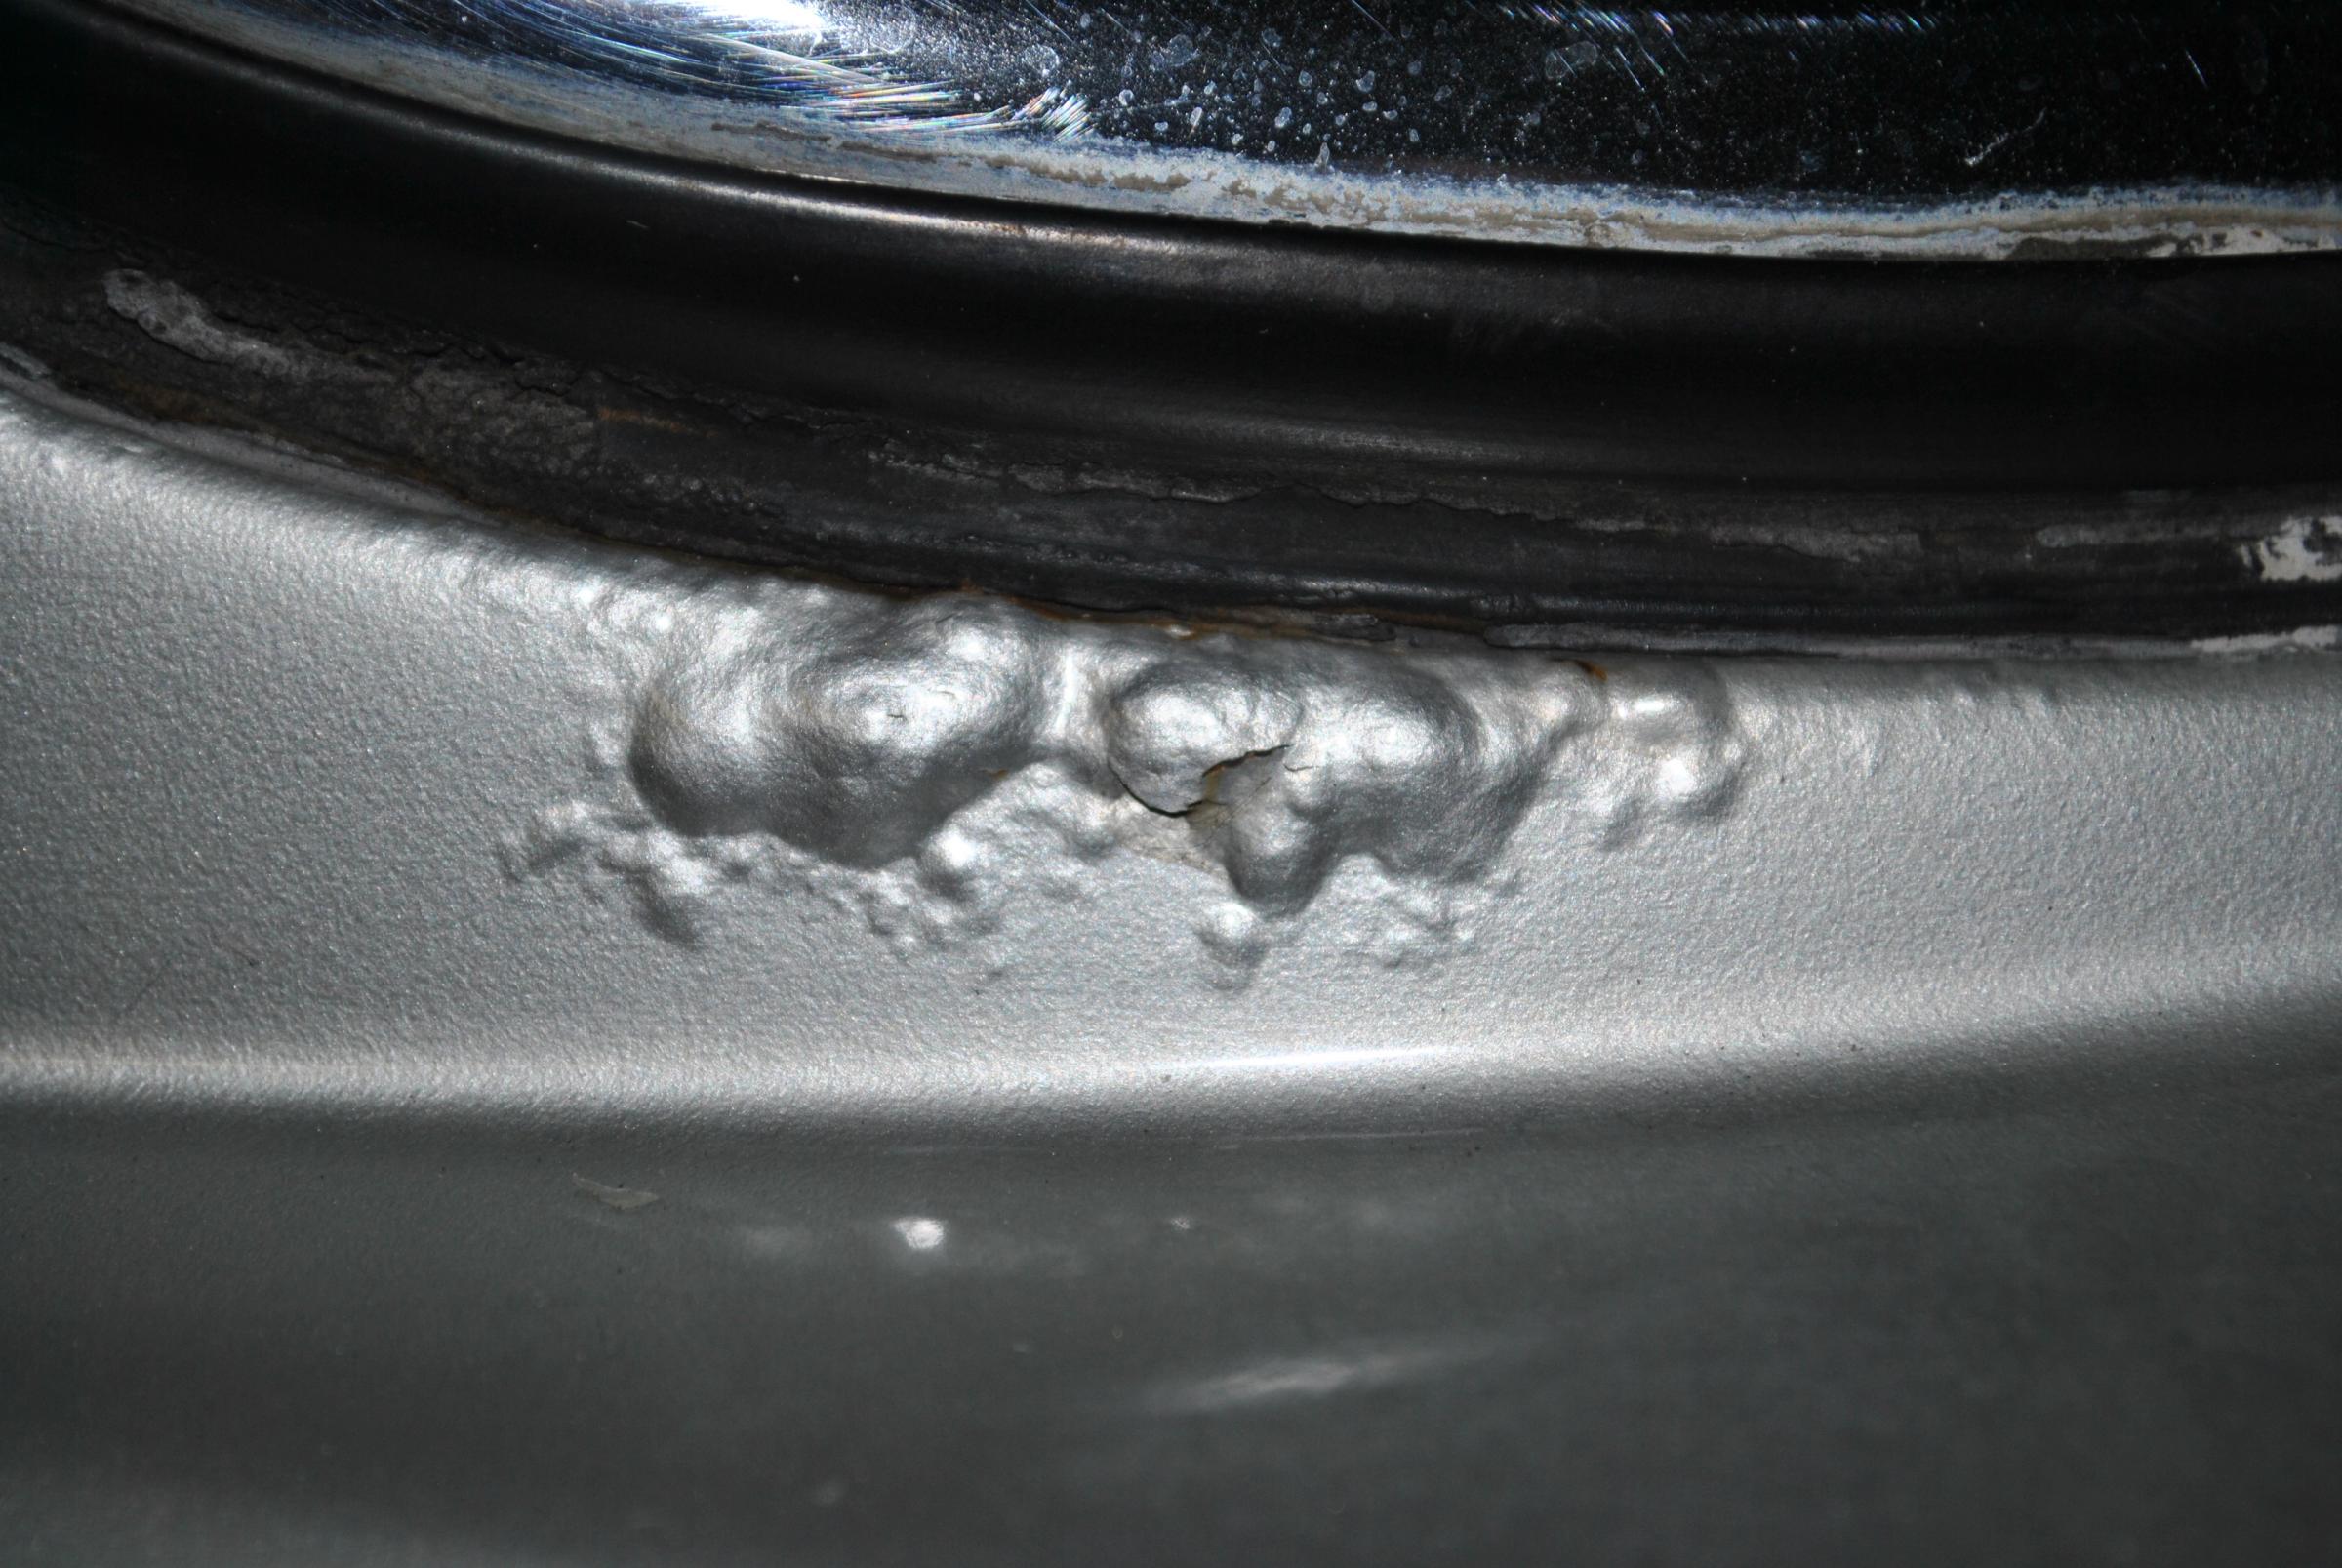
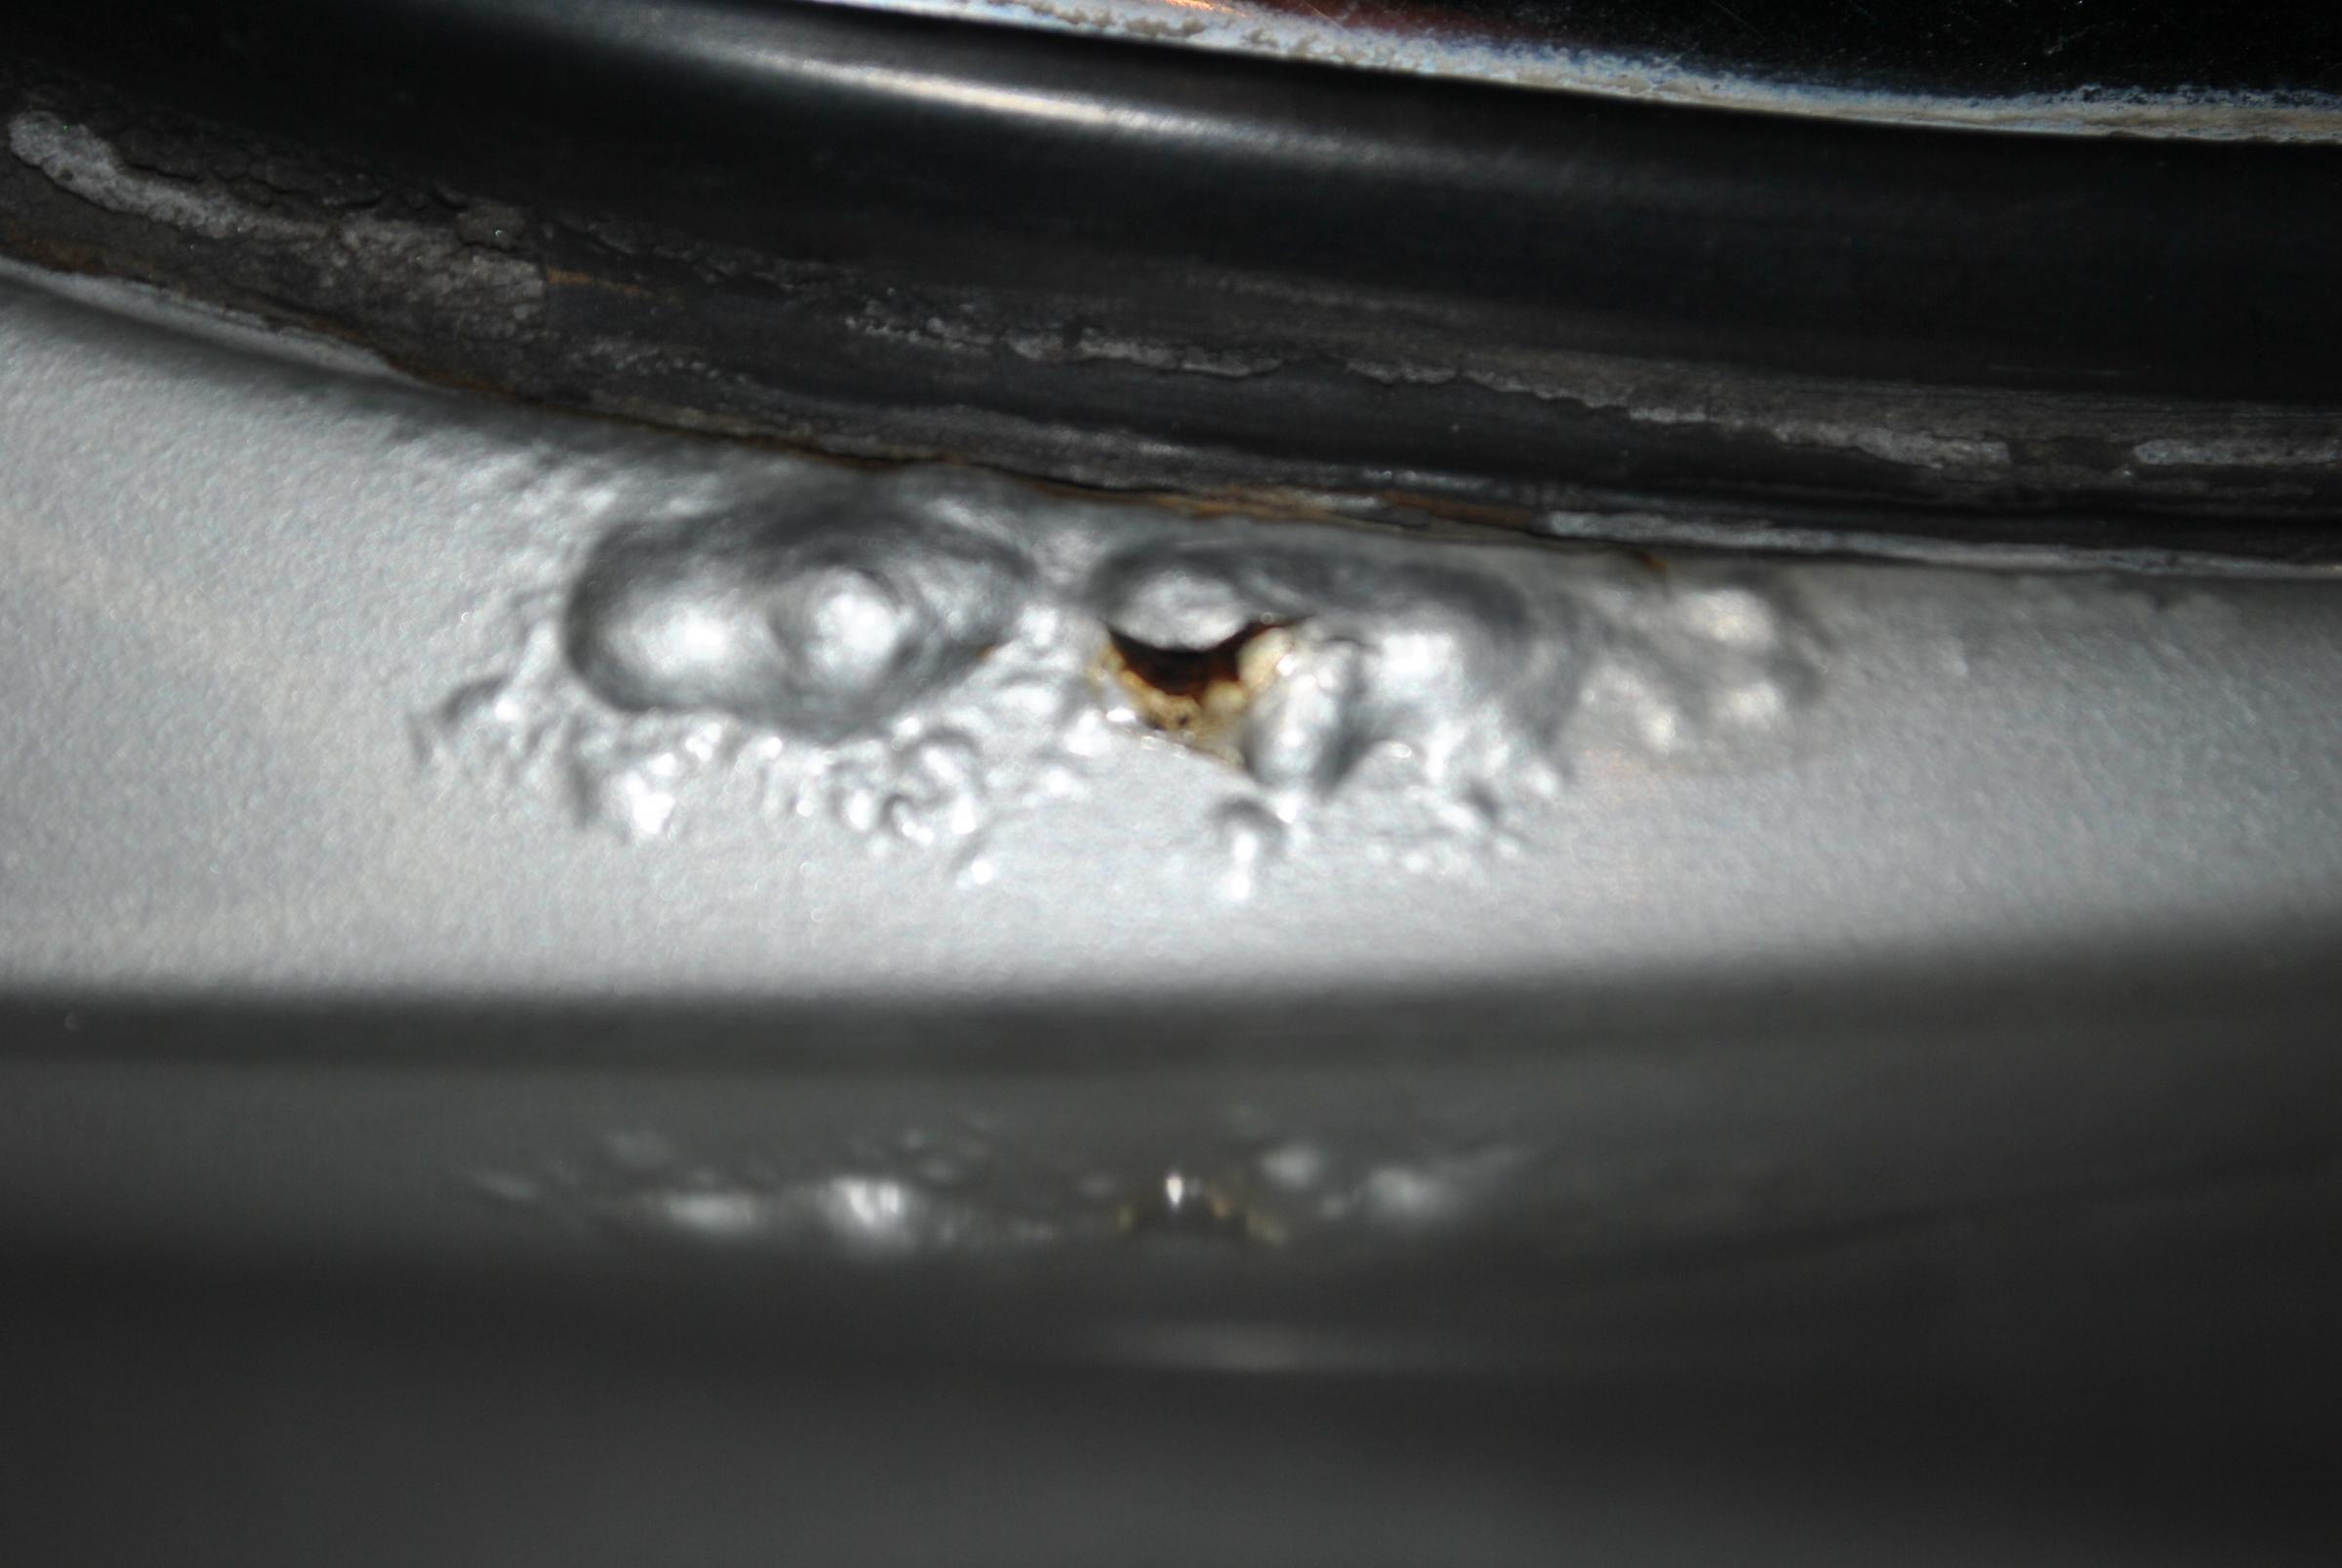
I will add to this in my thread ,link below.
https://www.jaguarforums.com/forum/x...polish-126655/
The following users liked this post:
LnrB (01-28-2015)
#133
01-28-2015, 11:23 AM
Veteran Member
Looks like my old SII XJ... floors were gone and rust spots started forming about six months after buying the car... PO had covered them with new
paint...
Traded it and when it left it had a mixture of body parts...young man loved it and hopefully was able to fix all the rest of the body problems. Engine and
trans were new (383/700R) and it all worked properly... even the AC! You can see the old hood on left... totally rusted at the hinge connections from
salt of the roads in Colorado.
Last edited by Roger Mabry; 01-28-2015 at 11:26 AM.
The following users liked this post:
LnrB (01-28-2015)
#134
01-28-2015, 07:36 PM
Join Date: Mar 2014
Location: Tehama County, California, USA
Posts: 25,445
Received 9,208 Likes
on
5,386 Posts
The more I read of others' experiences the more fortunate I feel that my car only has a rusted floor pan -- so far as I know. Well except for the blister over the RR wheel flare which I'll deal with as soon as we drop the IRS.
I'm sure the Rust Monster is lurking in places I can't see and would never expect, but there is No evidence of rusting around either the windshield or rear window, none around the hood or over the headlights, none at any of the rocker panels or door sills, and except for that one blister all the paint looks sound -- but then it would, wouldn't it.
The passenger (right) floor has a bit of rust but it's not Nearly as bad as the driver (left) floor was where I was about to become Wilma Flintstone.
From the first time I saw the firewall while changing out the heater fans (where I found NO sign of water stains) I've treated any and all rust I could see (only surface rust on the inside of the panels) back till I found painted metal.
I really don't want to take the whole car apart. I'm sure some will view many of these 'repairs' as Band-Aid solutions but husband bought it for me to Drive not to work on for the next 2 or 3 years; which he may not have another 2 or 3 years.
If the work seems to be going in fits and starts that's because it is. His sister is coming for a week, arrives tomorrow at 11pm. Nothing will be accomplished on the car during that time I'm sure.
In the meantime, Nix lies unconscious, fully draped and protected, waiting for the next procedure; paint, primer and sealer -- not in that order of course; then padding, carpets, seats and console.
Thank you all for your interest in this project. It's very encouraging to us.
(';')
#135
01-29-2015, 10:15 AM
Veteran Member
Join Date: Jul 2012
Location: Walnut Creek, California
Posts: 6,796
Received 2,399 Likes
on
1,880 Posts
#136
01-29-2015, 09:14 PM
Join Date: Mar 2014
Location: Tehama County, California, USA
Posts: 25,445
Received 9,208 Likes
on
5,386 Posts
#137
01-30-2015, 07:27 PM
Hi LNR, I agree you do not want to spend years doing a perfect restoration, get it so you can drive is the important thing. I have owned a bunch of cars that the concours crowed would have thought were pieces of crap, but I would have not owned the bunch of interesting cars that I have owned if I insisted there were perfect. I think you are doing great.
Last edited by Dleit53; 01-31-2015 at 07:29 AM.
The following users liked this post:
LnrB (01-30-2015)
#138
01-30-2015, 11:39 PM
Veteran Member
Join Date: Jul 2012
Location: Walnut Creek, California
Posts: 6,796
Received 2,399 Likes
on
1,880 Posts
In 1981, I bucked logic. One of our gas price crisis in full swing. I went shopping and found a neat 79 IHC Scout II at the local Toyota dealer. Orphan as well as IHC just shut down the Scout plant as a way to solve a union labor issue. A bit of a problem. Very poor rust protection. And, this was a Colorado car. Used by dog fanciers to tow a trailer to dog shows. Rust over the left rear and a bit under the driver seat. I didn't find the one under the seat til I got rid of the horrible bench in favor of a pair of Chrysler Cordoba buckets in Ricardo's favorite covering. I cut out the bad metal and screwed and welded in a patch. Oddly, right over the catalyctic converter. Connection???
The other I just watched. small and not worth botching up. It stayed that way til sold.
Although, my Scout was not concours, it looked great. Bright orange. shined up well. White spoke wheels with a variety of lettered big rubber. And, slickest, a pair of ex cop car Unity spot lights on the A pillars. I received many a "thumbs up' as I drve alla round the greater bay area and beyond.
Hmm, I wonder if the IHC design guy and the Jaguar design guy ditched class on rust proofing lessons.
Carl
The following users liked this post:
LnrB (01-31-2015)
#139
01-31-2015, 04:06 PM
Join Date: Mar 2014
Location: Tehama County, California, USA
Posts: 25,445
Received 9,208 Likes
on
5,386 Posts
Doug: Thank you very much for the complement, encouragement and advice.
The car was Perfectly Restored by the Previous Owner in 1986, which he spent several Tens of Thousands to accomplish (we have that documentation). I don't want to do all that over again.
I want the car to look Absolutely Stunning and to run dependably well. I'm not going to be concerned about quite a lot of the small faults I see; It's a DRIVER! She took First Place in the Jaguar class in her first show so she's retiring from that scene unbeaten; there's nothing more to prove.
I've learned that cars that are driven begin to look like it. Of Course there are rock chips but I have a bottle of black nail polish for that! Judicious application of same improved her appearance Immensely over what she was when she first came to live here, and probably contributed to her winning that show.
We just paid our 2015 Jaguar club dues, which club has several Very interesting trips/drives/activities planned. I want the car dependable enough to participate in as many of those as possible. There will doubtless be more rock chips, rust bubbles and cracks between pillars and roof but I've come to a place where I really don't care about that.
Several critical things need done which I simply don't have enough hands to do. However, we have a big beefy neighbor who's quite willing to help with some of the more awkward tasks; which is good because husband simply can't do it, and he probably won't be getting any stronger.
Carl: Husband's sister came Thursday at 11pm (she came to our wedding but has never seen the house although we moved in here in 2006 when it was still a work in progress). We spent yesterday finding her a rental car; today they've taken off for the coast; a brother/sister trip, they'll return next week. The weather promises to be Perfect. I hope they have a Wonderful time.
(';')
#140
02-02-2015, 04:47 PM
Join Date: Mar 2014
Location: Tehama County, California, USA
Posts: 25,445
Received 9,208 Likes
on
5,386 Posts
I got it all in the correct order this time!
Rain today, no workee for LnrB.
First I spent a couple hours cleaning up my work area. I hadn't got to all the slag and remains of steel dust off the floor under the car. Then I thought I should put away all the tools I won't need anytime soon; floor pan specific tools like Clecos.
I have BLACK GUNK all over me! I do get into my work! The primer wasn't too bad, except that husband got self etching kind, which he told me self etches lungs too! That sort of takes all the fun out of painting if I can't get high on the fumes. Oh Well, that's what he bought for me so that's what I used -- with all garage doors open, all car doors open, a breeze blowing through, and a mask. Even then I practiced my Pearl Diving breath holding exercise. I'm only good for about a minute.
Then I shot sealer into all the cracks and voids especially on the underside. I've never used that before, What Fun!! (Well, except that I got it all over my hands, even with gloves!) Some of the voids are quite large but one tube was sufficient, and no Concourse Judge will ever see the car anyway. As I mentioned previously, it's not a show queen it's a Driver, and I want it On The Road asap.
Sealer said it could be painted in 30 minutes and I took them at their word. Paint is black gloss rattle can; Rust-oleum. I've used that on other things and it lasts for Years once it's completely cured. I'll let it cure for several days/weeks before I put in padding, carpets and seats.
The picture of the floor inside is not good. It's hard to get a good picture of something black in the dark. Even the flash doesn't know what to look for.
(';')