When you click on links to various merchants on this site and make a purchase, this can result in this site earning a commission. Affiliate programs and affiliations include, but are not limited to, the eBay Partner Network.
Today I performed the Marelli Rotor Fix on my 1990 XJS 5.3L V12.
After seeing many request for how this is done, I decided to document how I performed this procedure. Some folks might do this in a different way but this is how I did it and it works fine.
PROCEDURE
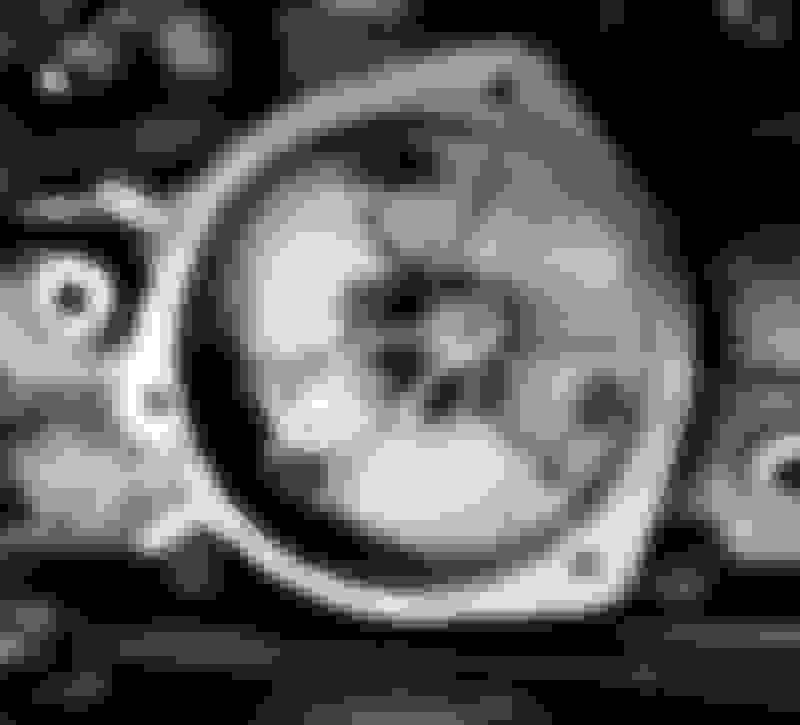
Remove the Distributor Cap and Rotor. You will notice that the Marelli distributor does not have any vacuum or centrifugal advance mechanism. All timing/ignition advance is controlled by the ECU. The distributor is only used to pass spark to each plug in the correct order.
To eliminate any chance of metal filings entering the distributor or engine I decided to remove the distributor.
Before I did so I place a few punch marks to insure I could replace the distributor and rotor in the exact original postition. It is not necessary but if you wanted to you could turn the engine until the 1A piston was at top dead center, then make your punch markings.
Remove the 3 bolts and the distributor will lift right out of the engine. Here it is after being removed and cleaned.
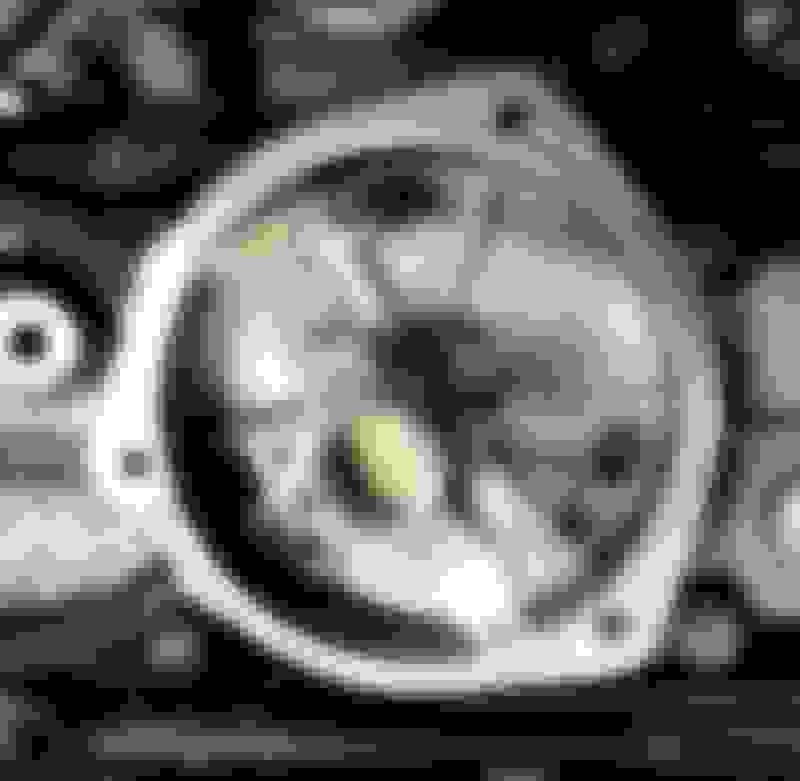
Just for reference, here are some of the markings on my distributor.
Is case the photo is not clear the numbers read as "DT409A --> OE DAC 4758"
Using a grinder, cut-off wheel or hack saw remove the metal nub that normally extends into the rotor. Use a file to make everything smooth.
When that is finished thoroughly clean the distributor to remove any metal filings.
Here is the bottom of a new, unmodified rotor.
Fill the rotor with RTV Silicone.
Normally I would use a clear RTV but I had a tube of black on hand and it works just as well.
Before reinstalling the distributor, clean the flat area where the distributor mounts into the engine.
Now reinstall the distributor and secure with the 3 bolts.
Install the new rotor and distributor cap and you are finished.
I'm still thinking about doing this procedure. Just nervous about what to use to cut/grind the nub off. How long did it take to cut off? Soft metal? Thanks.
I'm still thinking about doing this procedure. Just nervous about what to use to cut/grind the nub off. How long did it take to cut off? Soft metal? Thanks.
The nub is just regular steel. I cut it off with my grinder in less than a minute. You could do it with a hack saw and file, it would just take an extra few minutes.
It's much easier to do if you take out the distributor. That also allows you to easily clean out the metal bits.
what is the dieletric rating on the ultra black sealant? the clear rv selant is 500v.
I just cant find this info, and I have the ultra black as well on hand.. as long is it has some properties... what is the voltage at the distributor? I know the signal is amplified so it is over 12v?

 01-17-2015, 08:47 PM