1989 XJ-S Resto-Thread - or "my Iron Lady"


#62
 10-06-2014, 12:57 PM

Senior Member
bought one today from SNG
mine was ' ok ' but not what i wanted, so i think the �30 is worth it for the clean looks
i also have a new upper and lower column surround to fit that i bought years ago , with new fixings and an illusive square blanking plug that goes in it
anyone know what may have been fitted in that space on the left of the column cowl ??
BB
The following users liked this post:
Daim (11-01-2014)
#63
10-06-2014, 01:36 PM
#65
10-07-2014, 06:02 AM
#66
10-07-2014, 01:03 PM

#68
10-07-2014, 01:58 PM
#69
10-23-2014, 12:32 PM
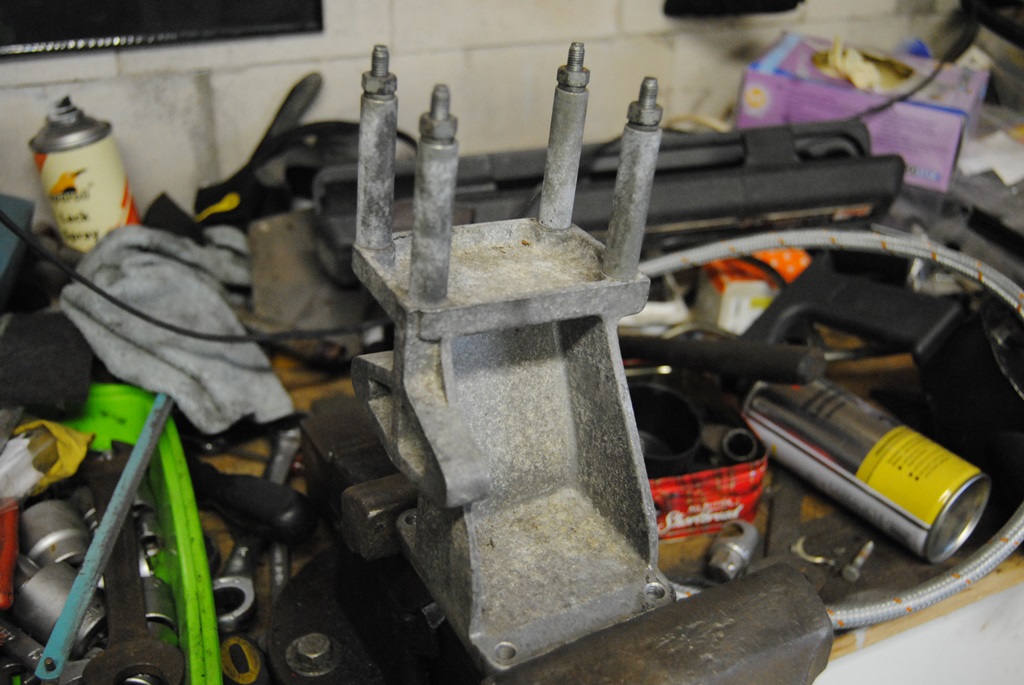
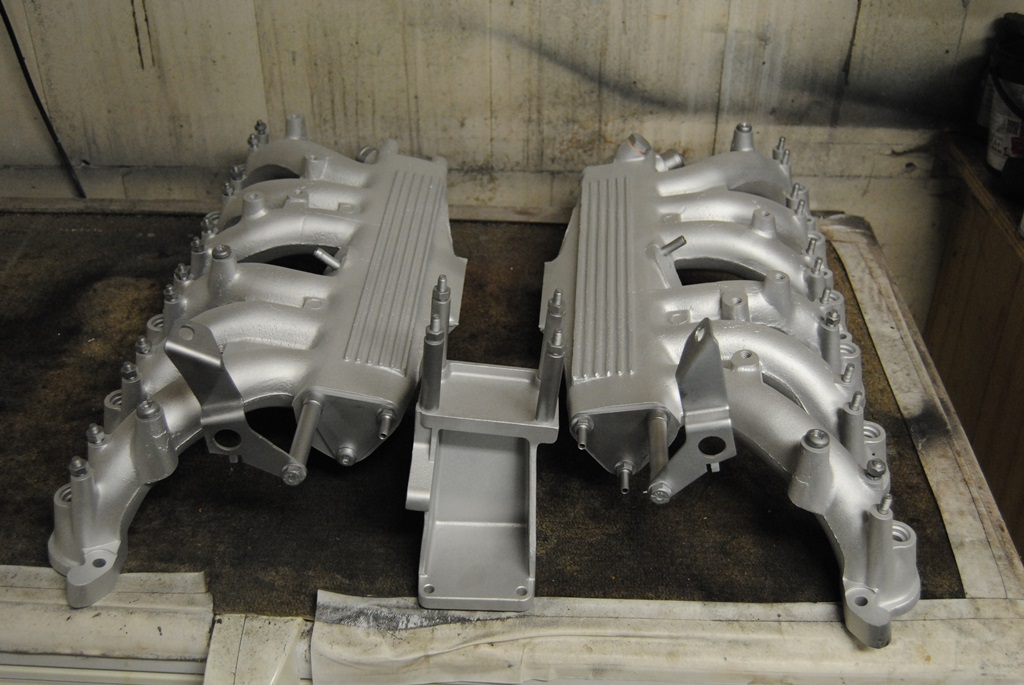
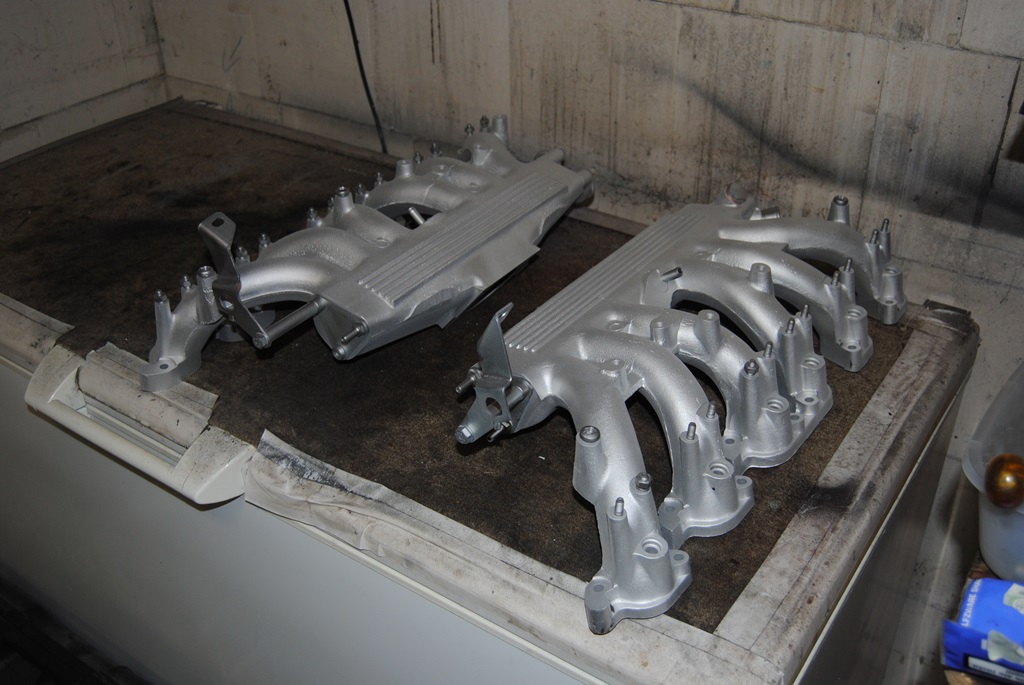
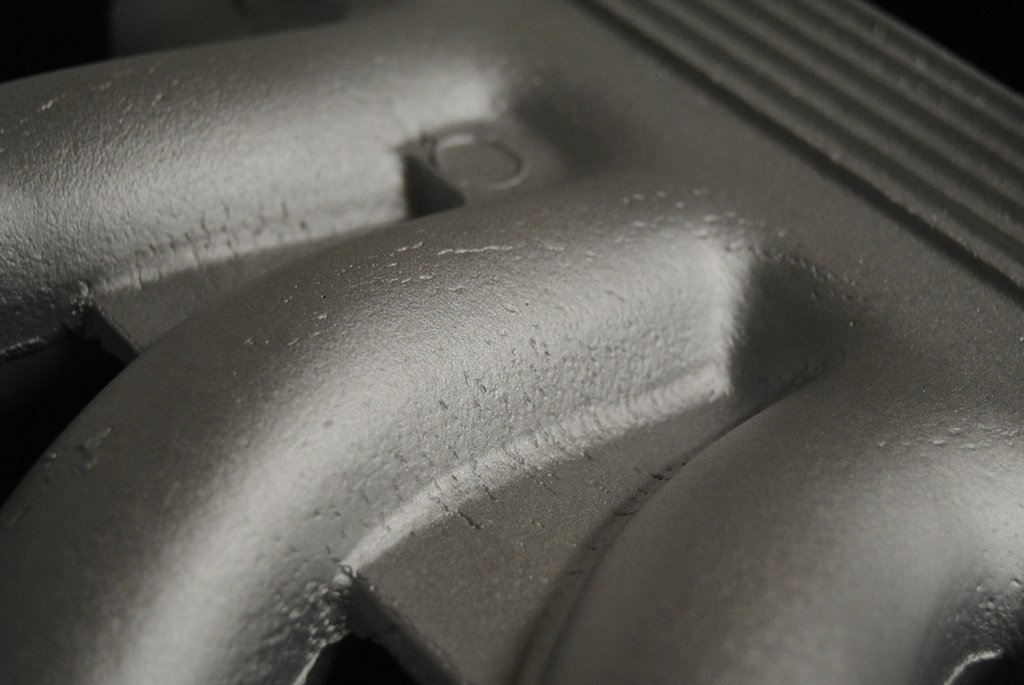
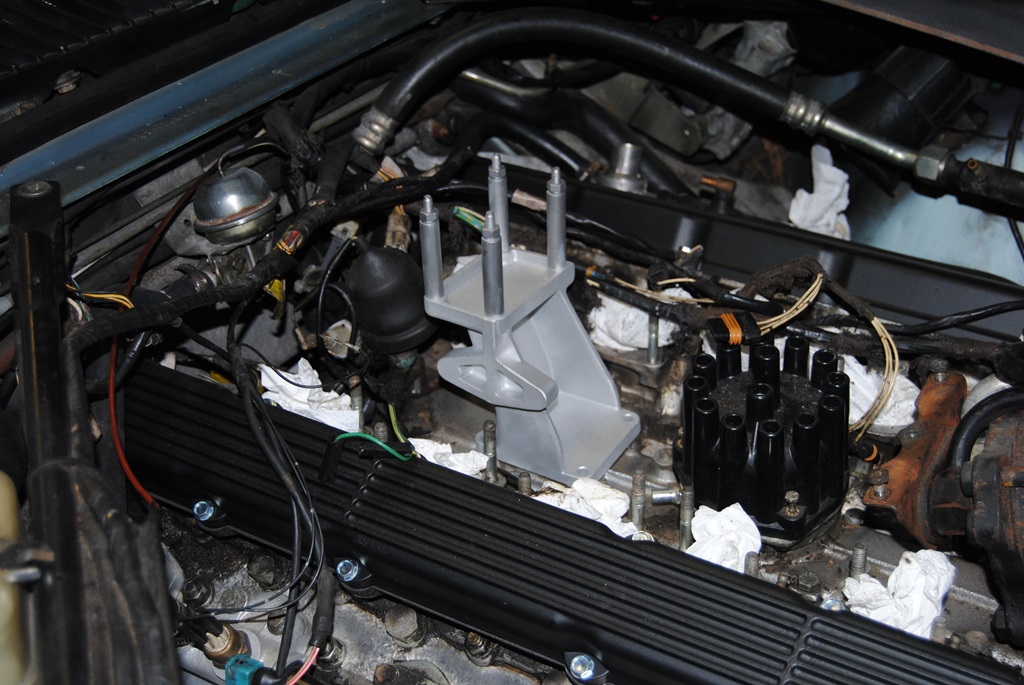
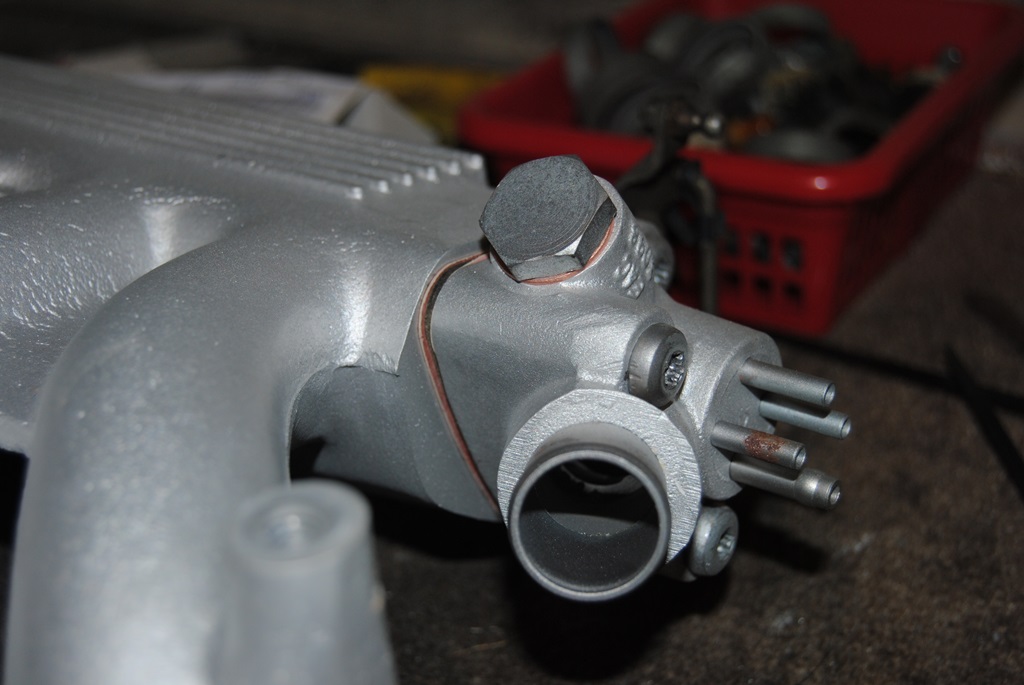
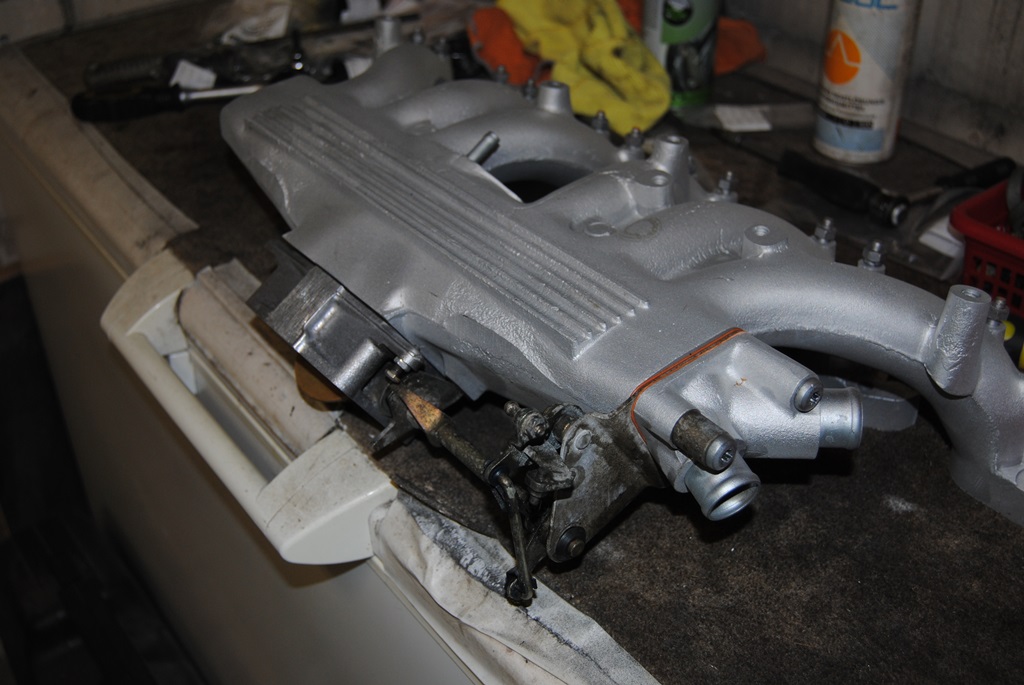
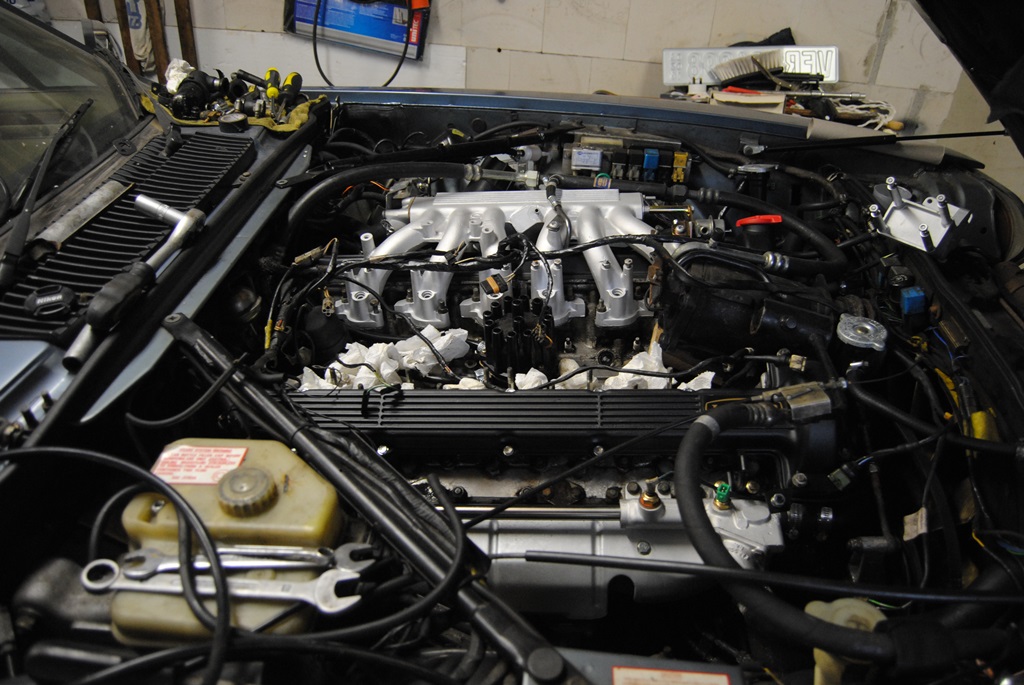
Well then... I started to assemble the intakes/plenums again... And they look nice. Sandblasted, cleaned and new parts... Just the throttle bodies could be cleaner but heck, the engine will get dirty sometime again! 
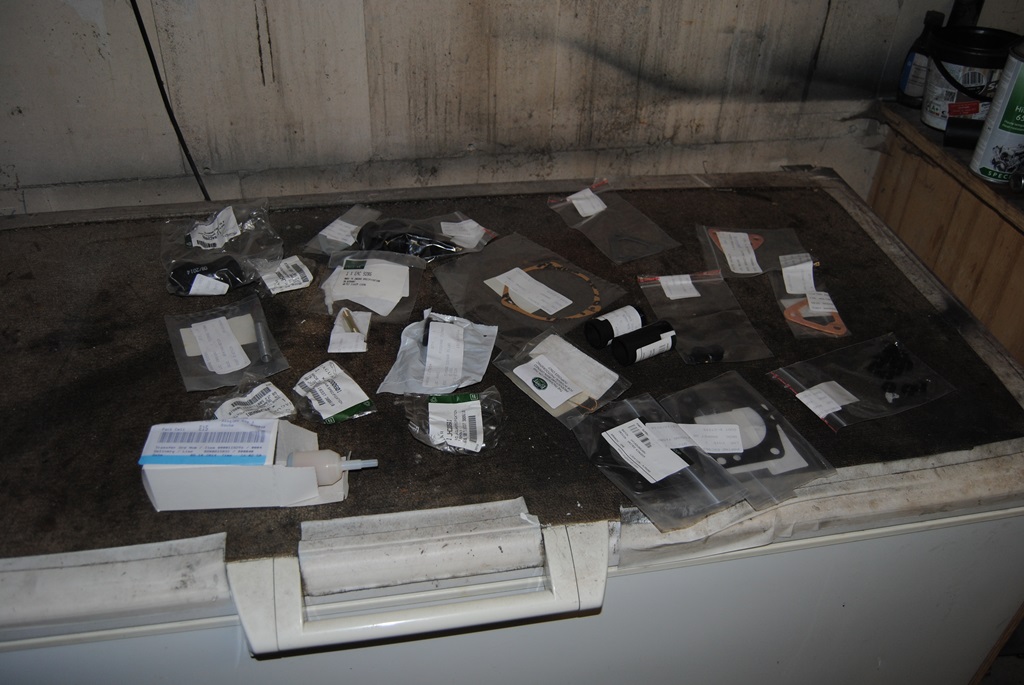
Missing parts:
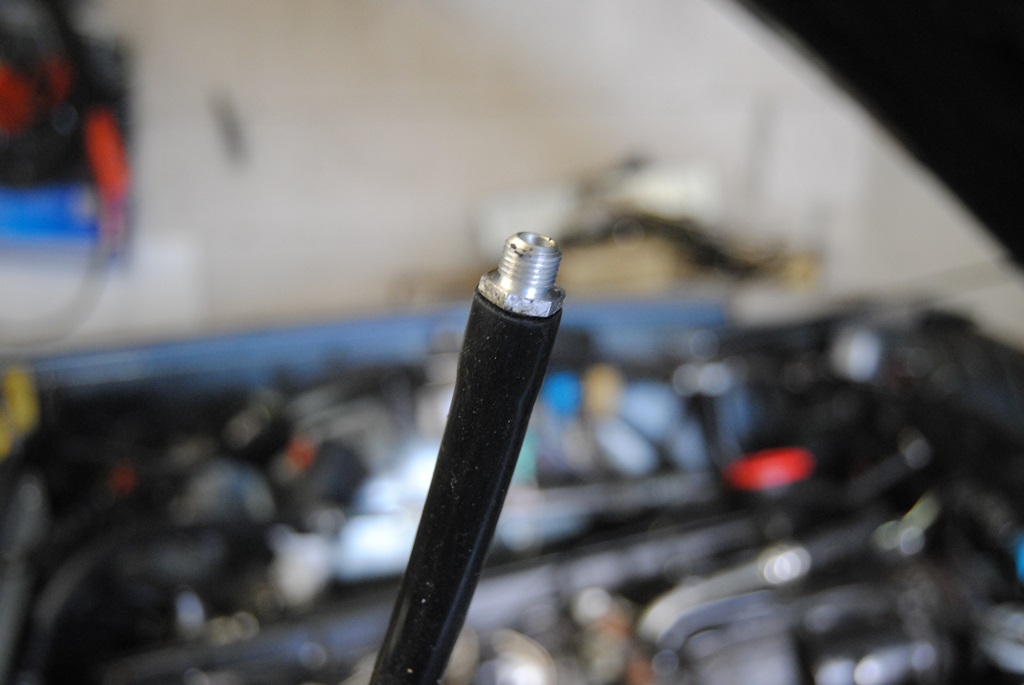
Vacume hose for distributor:


Intake re-assembly:

Just a lot more to do yet Hopefully ready by the weekend! Can't wait to hear that V12 start up again!!!
Missing parts:
Vacume hose for distributor:
Intake re-assembly:
Just a lot more to do yet
Hopefully ready by the weekend! Can't wait to hear that V12 start up again!!!
The following users liked this post:
Greg in France (10-24-2014)
#70
10-25-2014, 11:42 AM
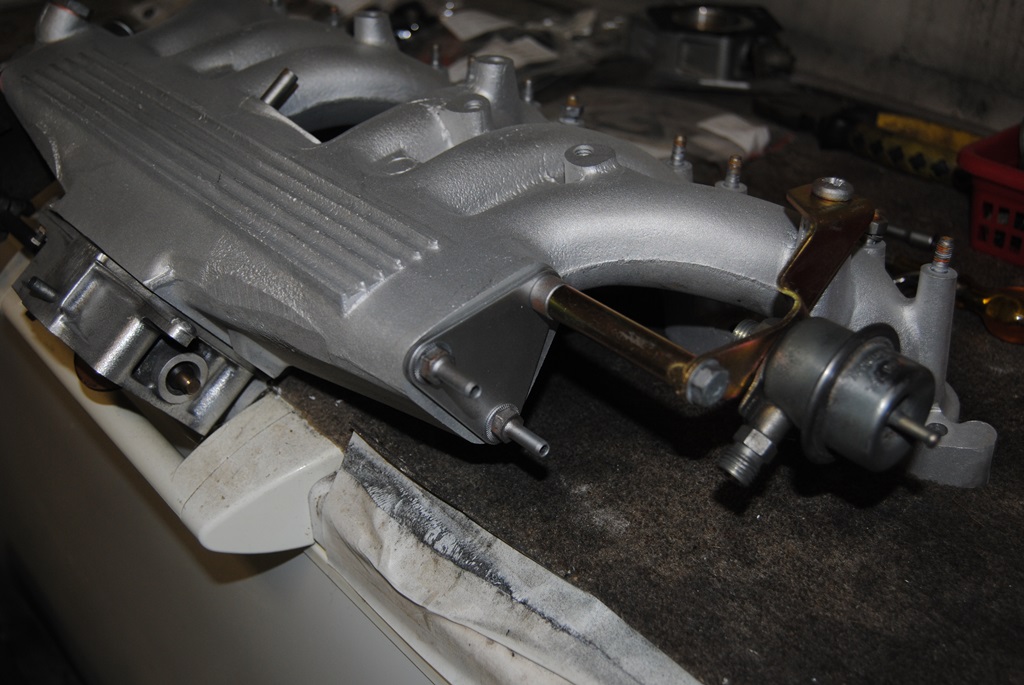
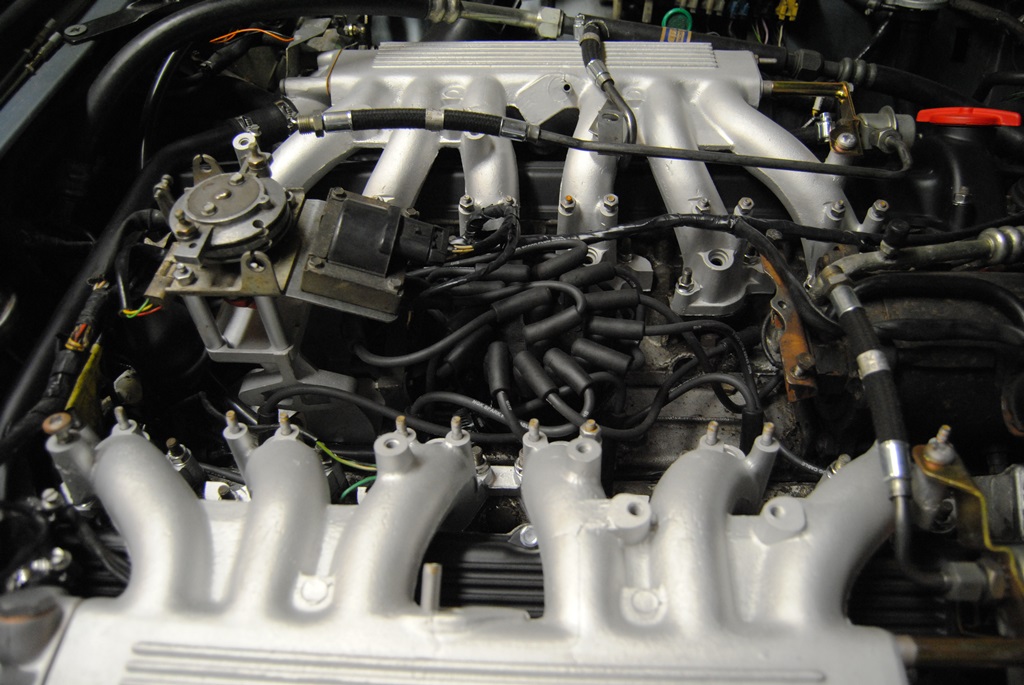
Okay, more detailed pictures


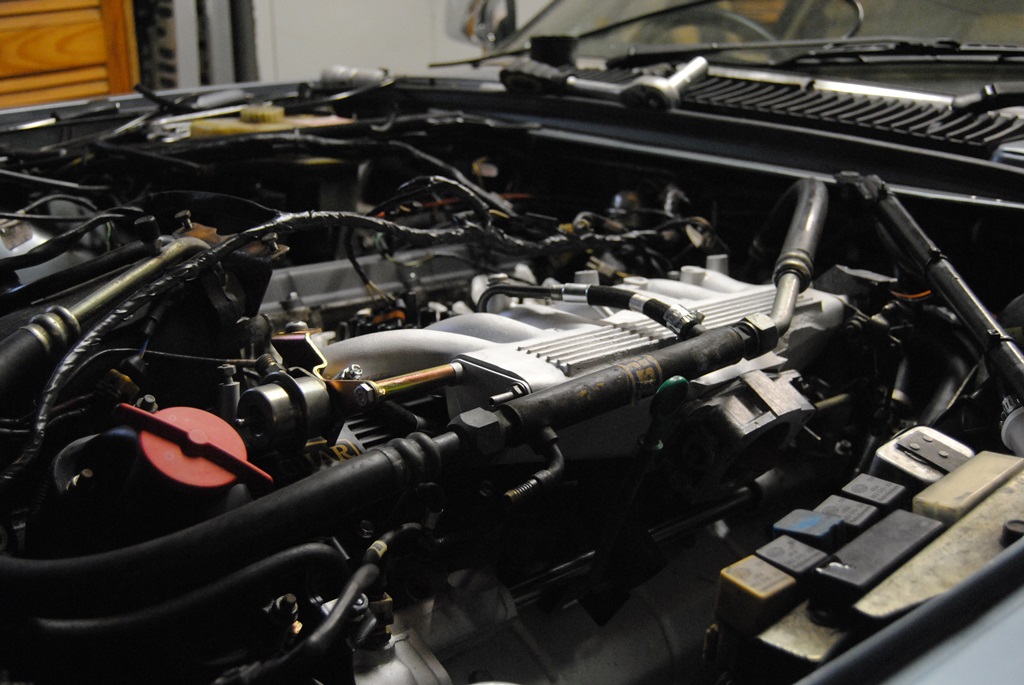


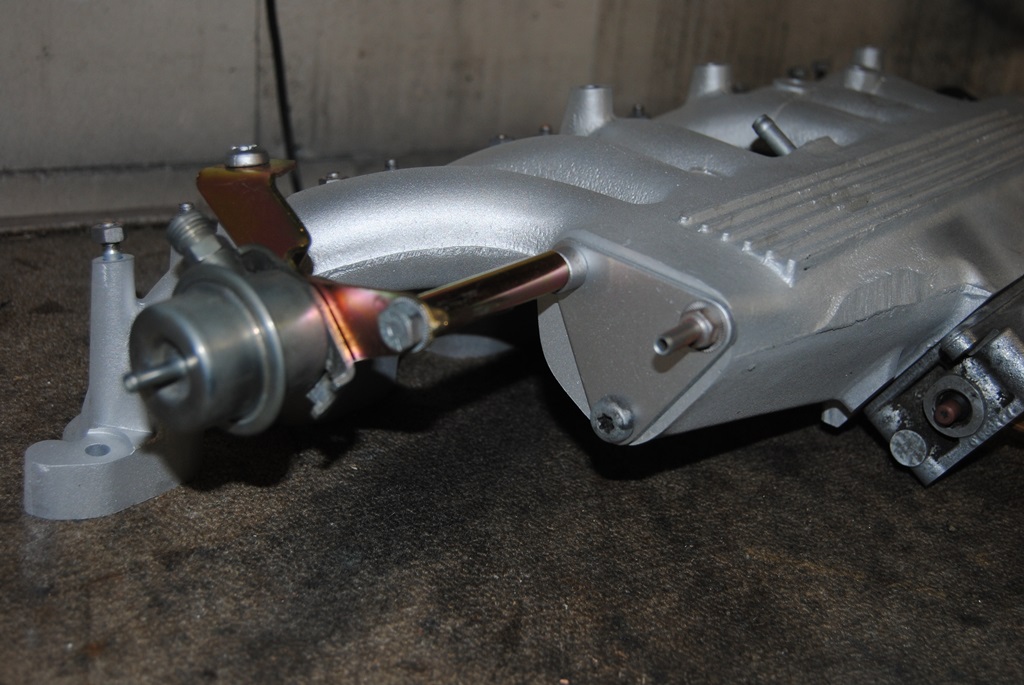
I love it already! A few little things were moved from where they used to live (temperatur sensor/switch, ground terminal, piping, etc.) and a few little changed to other details like the balance pipe (now black instead of standard steel) and it is already looking nice and tidy! Hopefully she'll be ready tomorrow!
I love it already! A few little things were moved from where they used to live (temperatur sensor/switch, ground terminal, piping, etc.) and a few little changed to other details like the balance pipe (now black instead of standard steel) and it is already looking nice and tidy! Hopefully she'll be ready tomorrow!
#71
11-01-2014, 04:28 AM

#73
11-01-2014, 05:04 AM
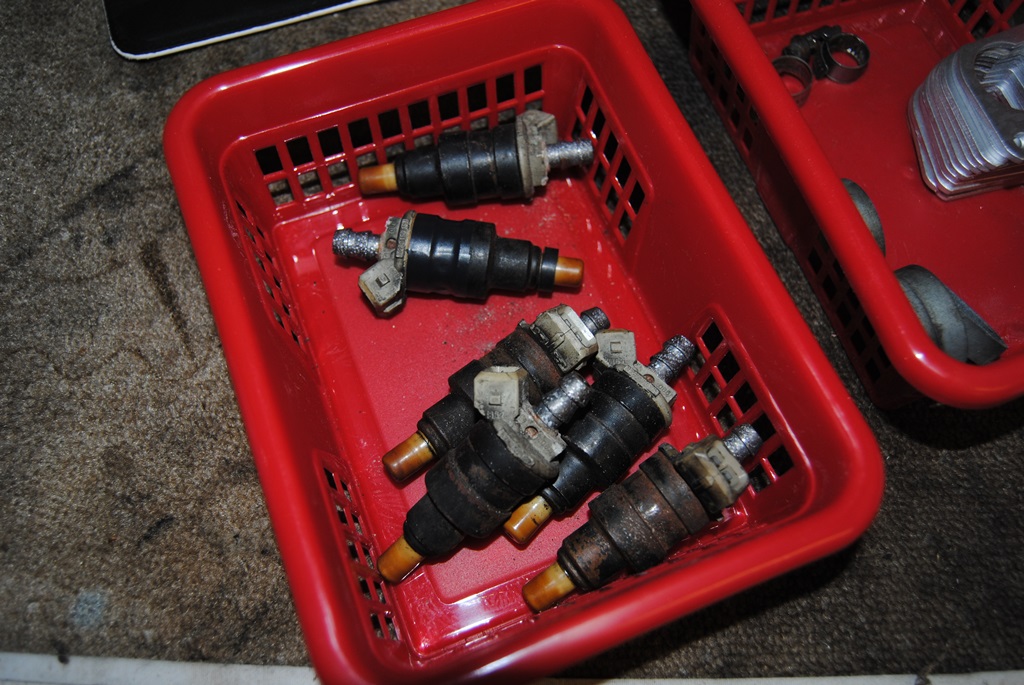
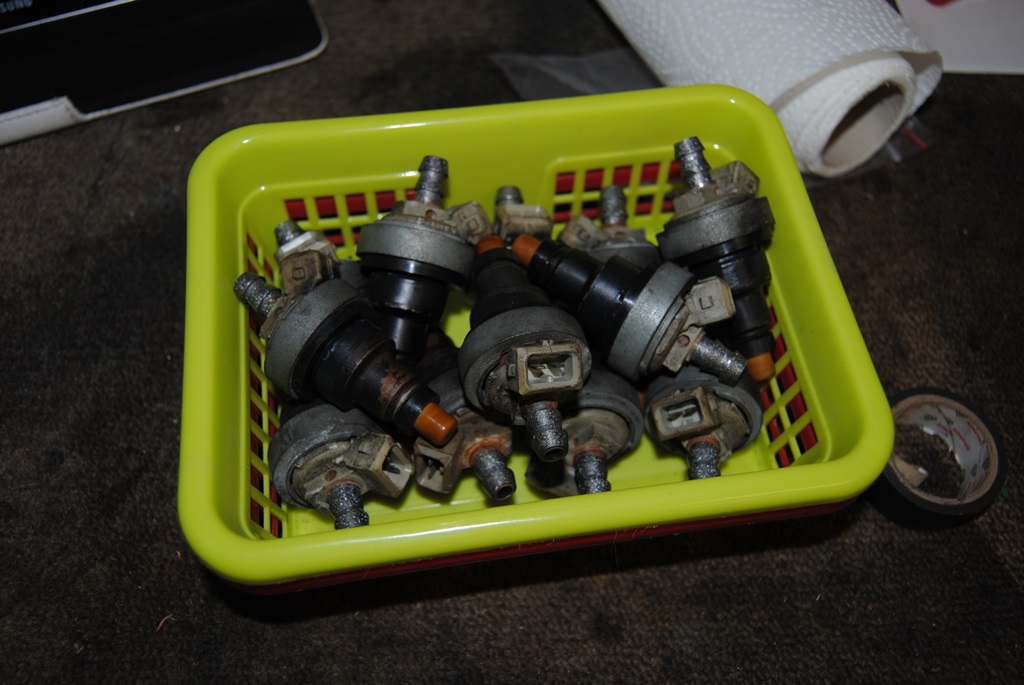
cheers...
The injectors will face differently with my loom. They'll be grouped in pairs facing each other
I prefer a more "equal" look
#75
11-01-2014, 05:49 AM
#76
12-13-2014, 11:41 AM
More than a month passed and no new updates!? Can't be!
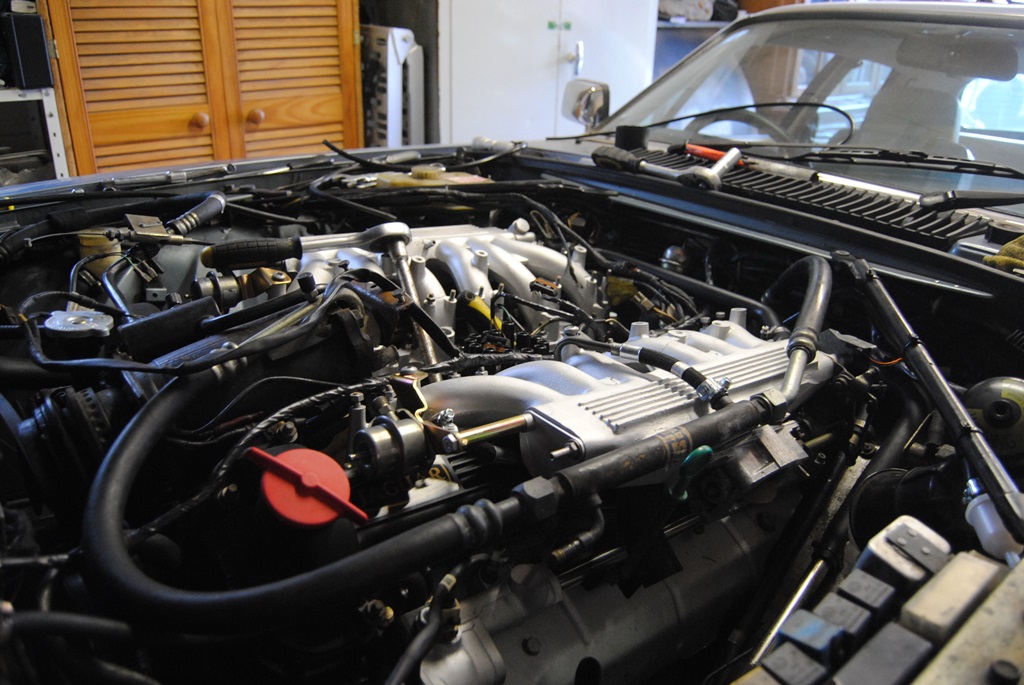
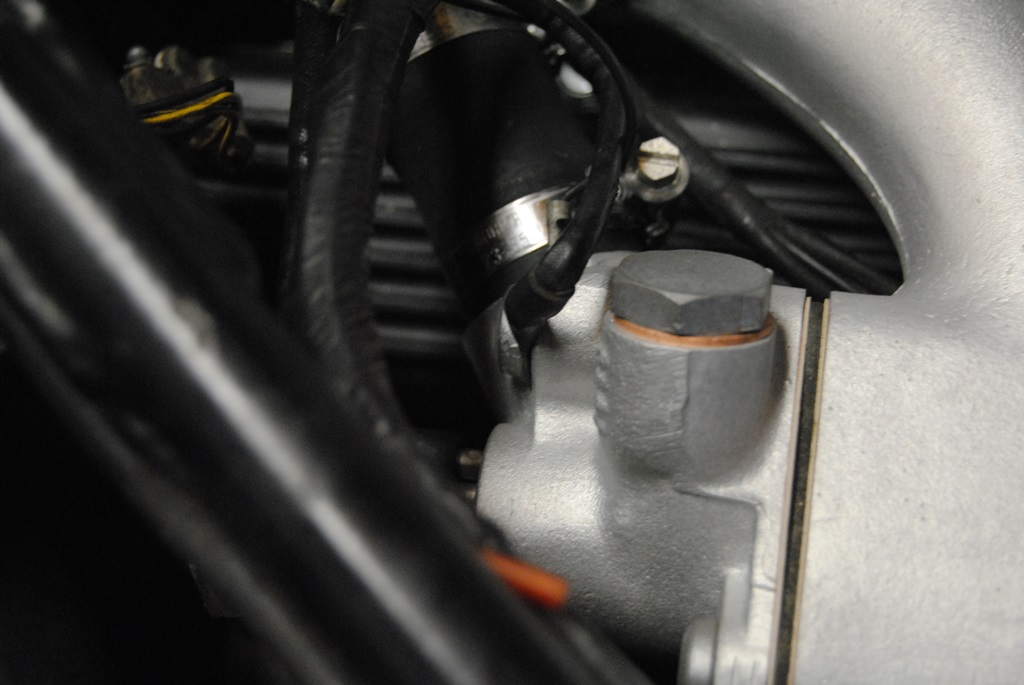
So here she is, sitting outside (still not totally finished) and losing her oil as we speak (drop by drop... She's had PMT for like 12 months now...):
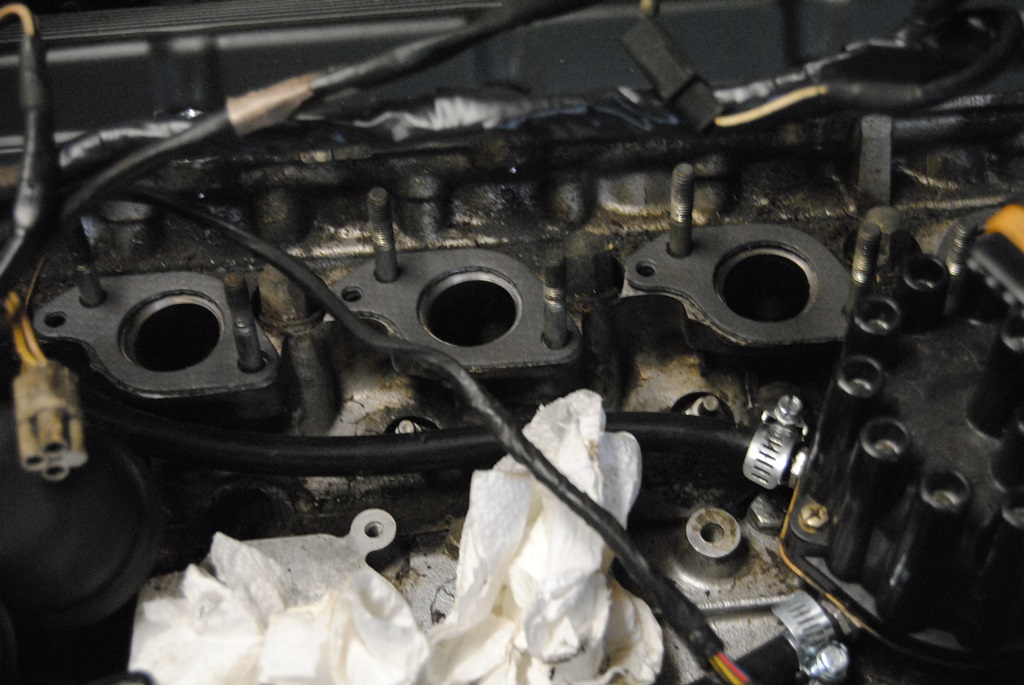
And the engine bay is still shiny and not finished. I experienced some issues with the fuel injectors... And at the same time finding the odd hose which wouldn't sit properly. But otherwise she's nearly ready for her start up:
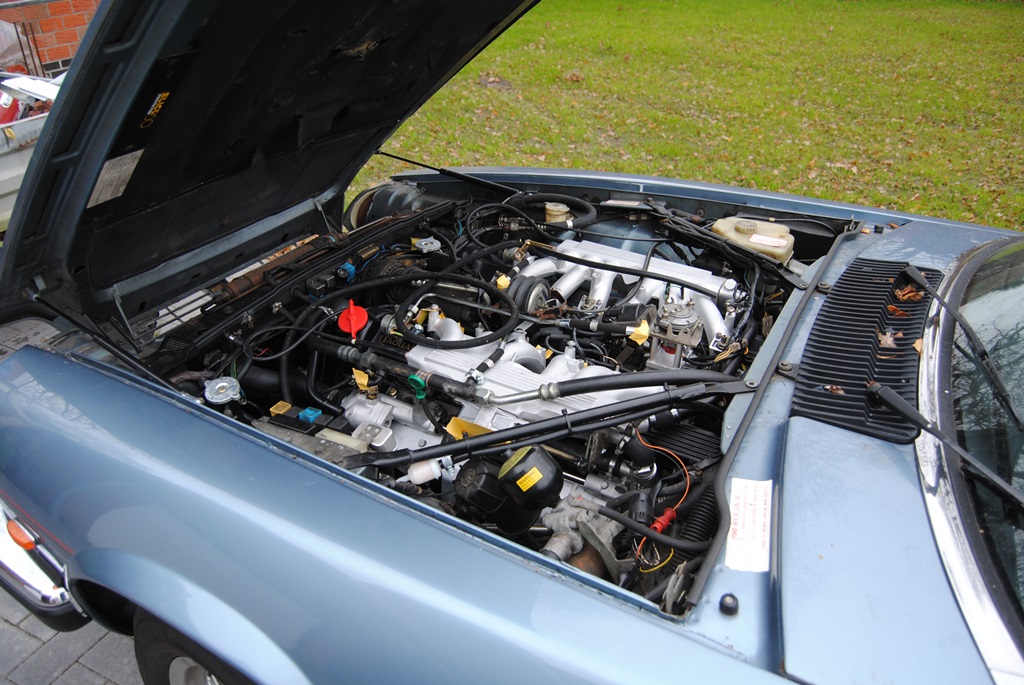
At the same time, I am sorting the air filter boxes out. They were all rusty around the edges and I think a nice and clean engine should have some rustfree boxes.
A few parts are to arrive this week coming and I should then be able to have them in by Xmas... Looking forward to hearing this piece of art purr again
So here she is, sitting outside (still not totally finished) and losing her oil as we speak (drop by drop... She's had PMT for like 12 months now...):
And the engine bay is still shiny and not finished. I experienced some issues with the fuel injectors... And at the same time finding the odd hose which wouldn't sit properly. But otherwise she's nearly ready for her start up:
At the same time, I am sorting the air filter boxes out. They were all rusty around the edges and I think a nice and clean engine should have some rustfree boxes.
A few parts are to arrive this week coming and I should then be able to have them in by Xmas... Looking forward to hearing this piece of art purr again
#78
12-13-2014, 02:27 PM
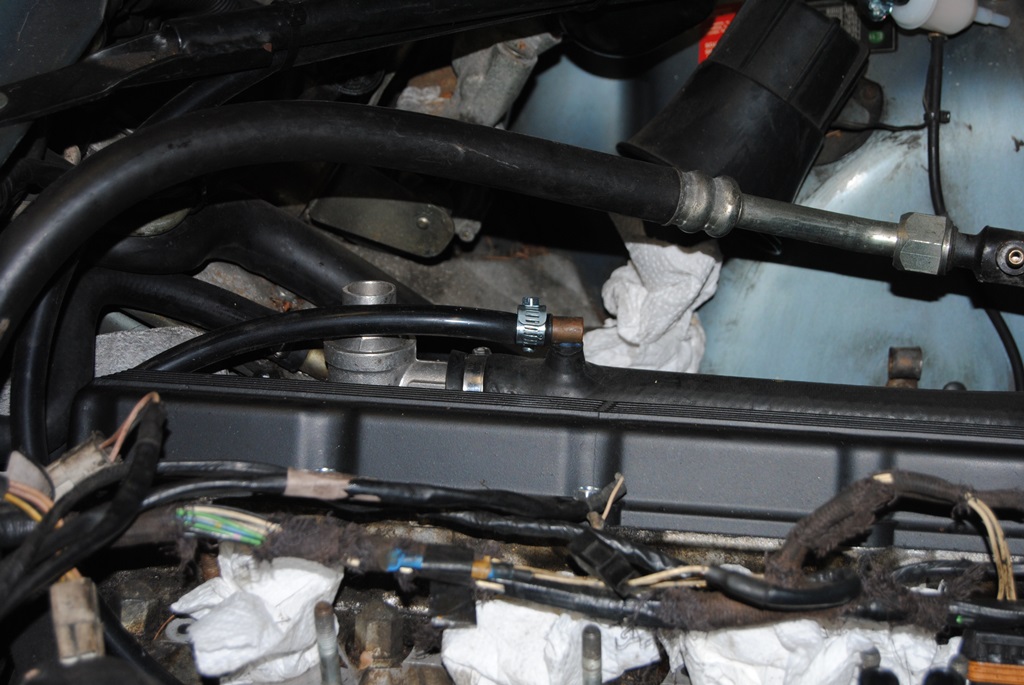
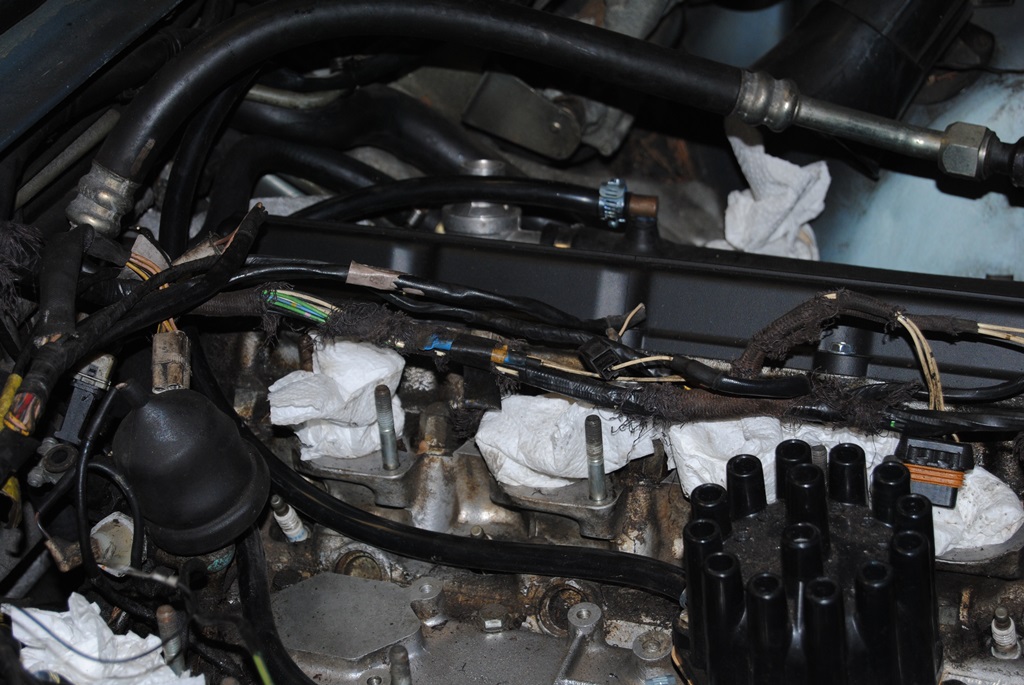
It's not finished yet, as some parts are still being worked on.
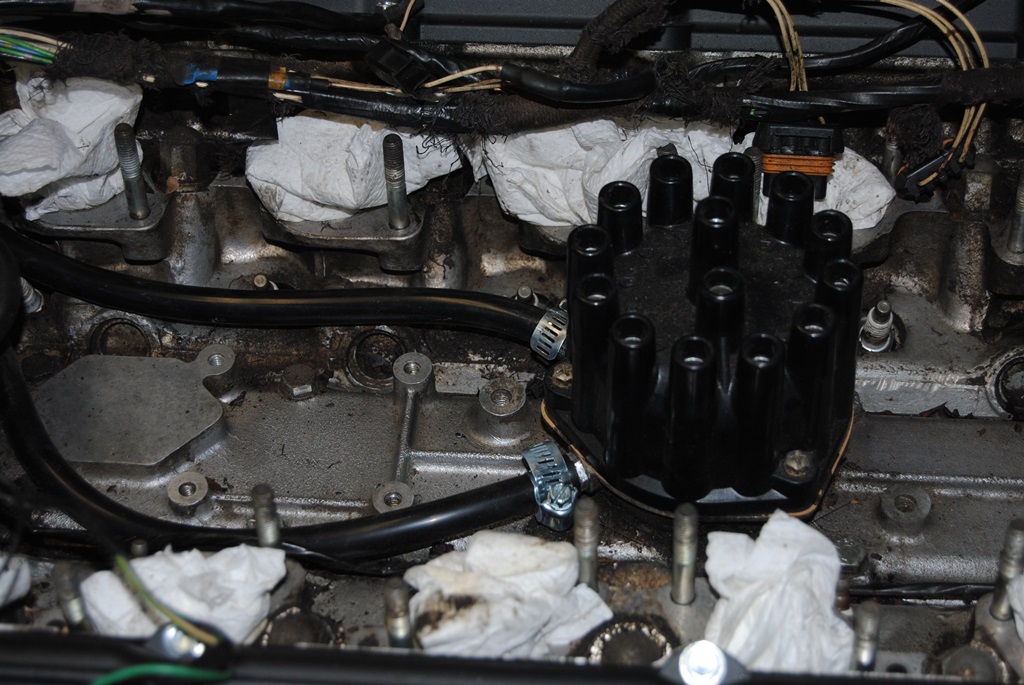
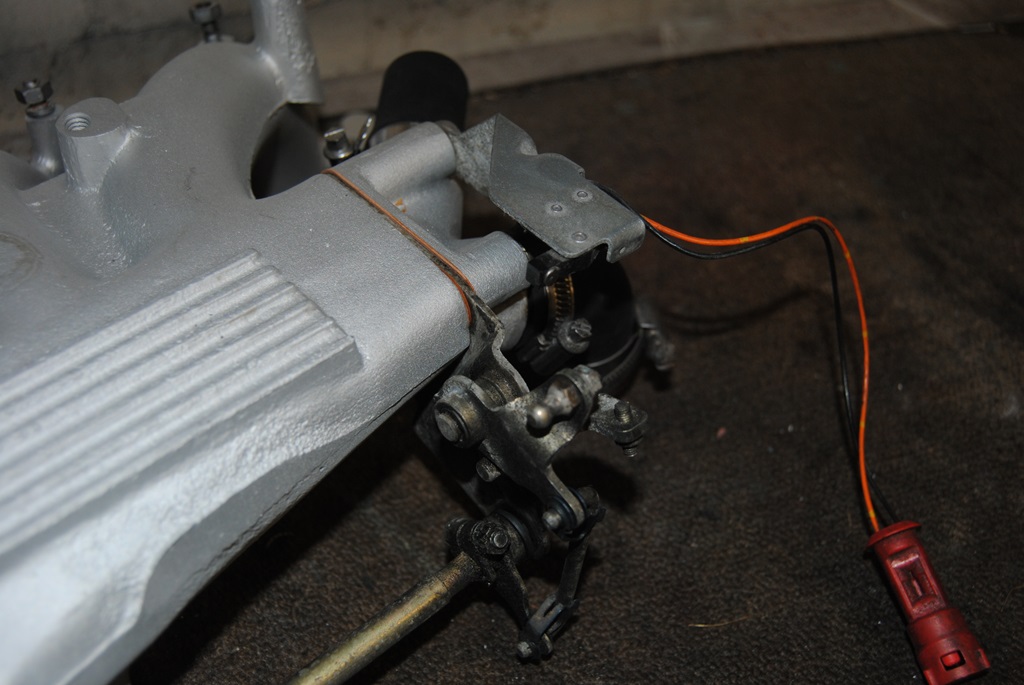
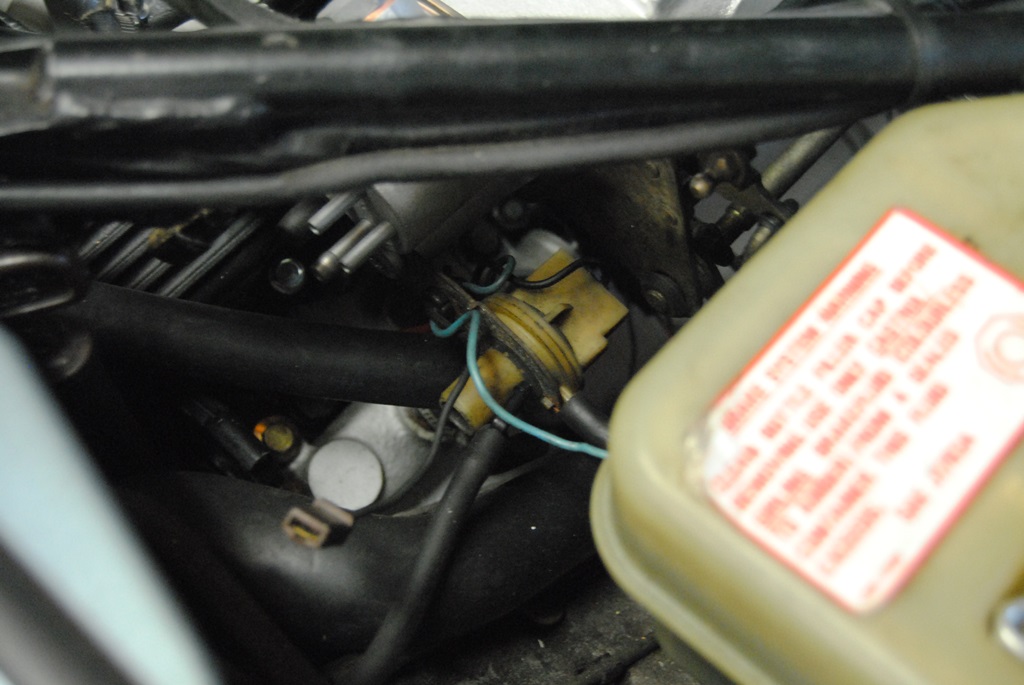
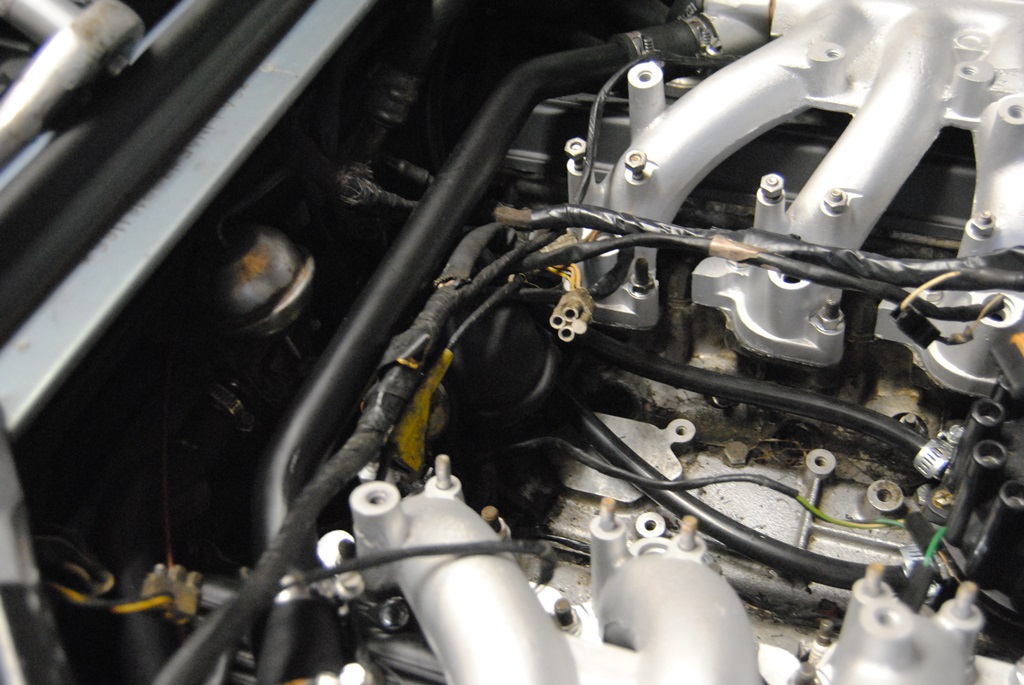
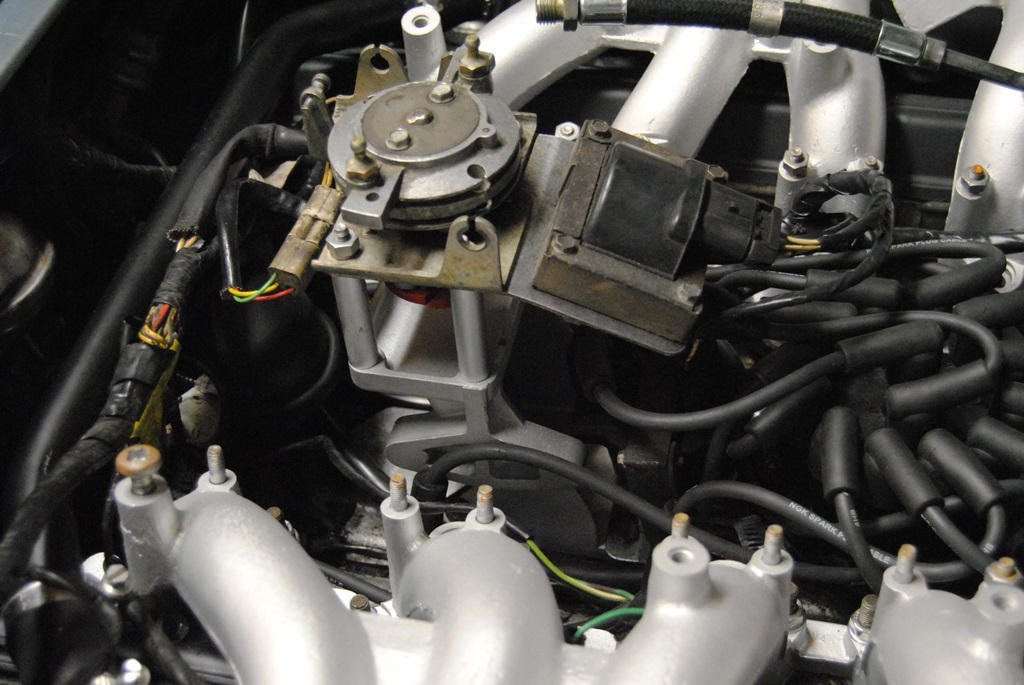
My intension was to only have those hoses visible, which are needed to be in that place. For example the vacume switch, which sits on the rear end of the right hand intake, was moved a few inches back and is now mounted to the triangular end bracket/housing of the intake. The vacume hoses to and from that area are all running in that area only.
The hose for the cruise control actuator actually used to run to the front of the engine, along the valve cover and then clipped to the intake. That now runs under the intake and is totally invisble.
The cables for both sides used to run along the intake manifolds and then lead to the front. I've moved them to under the intakes but out of the V. The injector cables will be sorted too, as they aren't in the picture there. They'll be moved under the intakes too Just enough not to get too hot as in the V area
In the picture above, there are a few hoses just running chaotically around, as I had to seal a few holes before I could store the car outside. But when finished, I'll take some detailed pictures of how the piping runs. The pipes are now - btw- silicone instead of rubber, as silicone is better for high temperatures (which are common in this engine bay)...
My intension was to only have those hoses visible, which are needed to be in that place. For example the vacume switch, which sits on the rear end of the right hand intake, was moved a few inches back and is now mounted to the triangular end bracket/housing of the intake. The vacume hoses to and from that area are all running in that area only.
The hose for the cruise control actuator actually used to run to the front of the engine, along the valve cover and then clipped to the intake. That now runs under the intake and is totally invisble.
The cables for both sides used to run along the intake manifolds and then lead to the front. I've moved them to under the intakes but out of the V. The injector cables will be sorted too, as they aren't in the picture there. They'll be moved under the intakes too
Just enough not to get too hot as in the V area In the picture above, there are a few hoses just running chaotically around, as I had to seal a few holes before I could store the car outside. But when finished, I'll take some detailed pictures of how the piping runs. The pipes are now - btw- silicone instead of rubber, as silicone is better for high temperatures (which are common in this engine bay)...
The following users liked this post:
TheWarlock (12-14-2014)
#79
12-13-2014, 02:42 PM
Veteran Member
The following users liked this post:
Daim (12-14-2014)
#80
12-13-2014, 02:55 PM
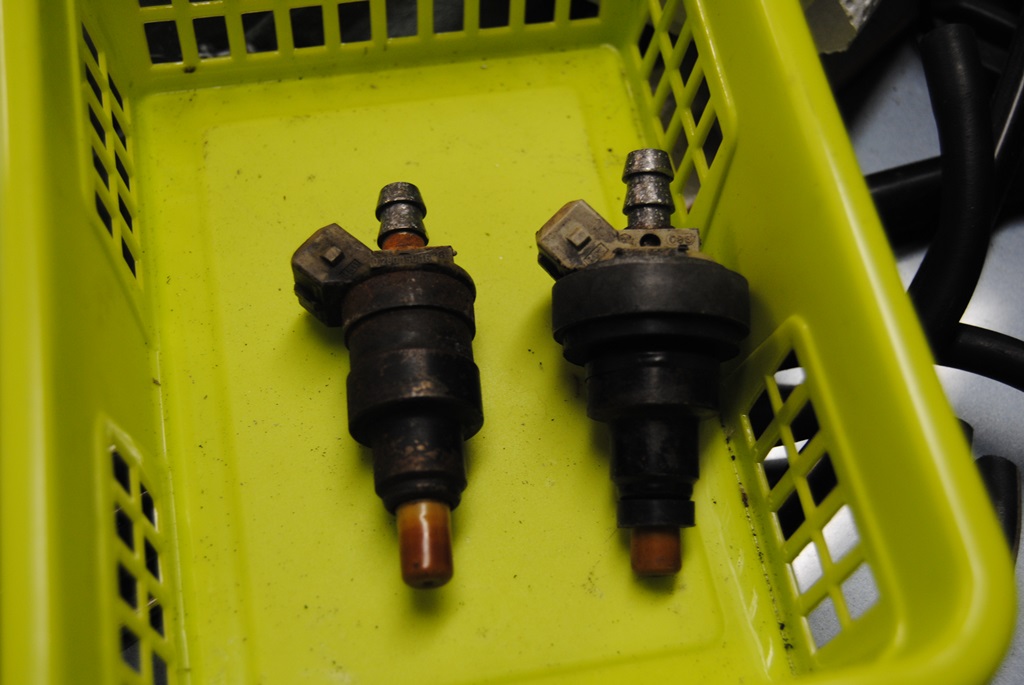
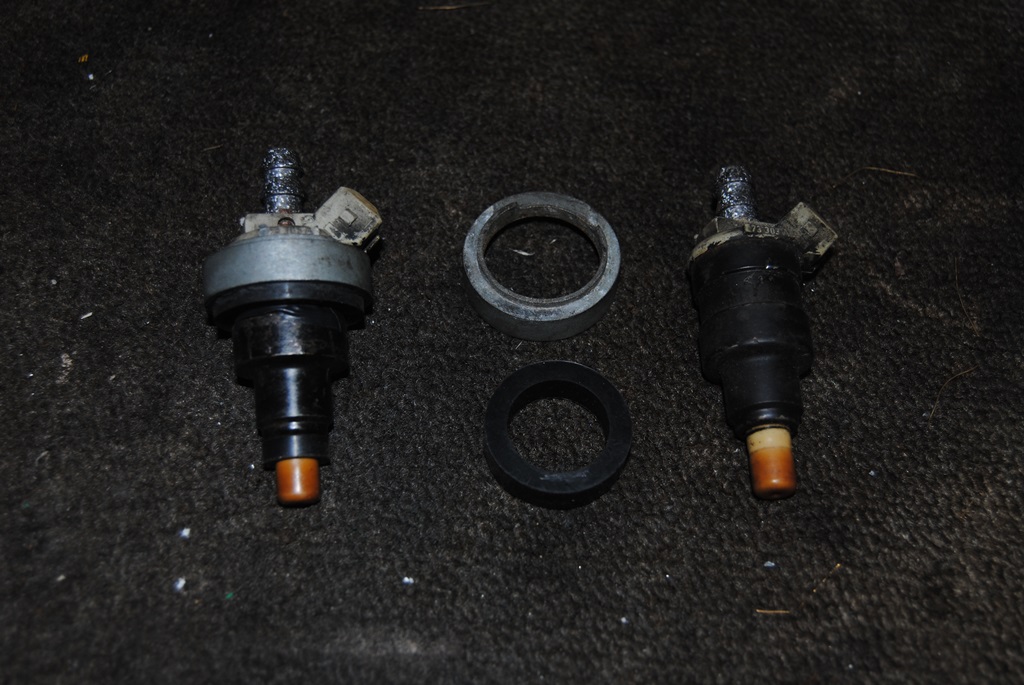
They are spotless... I haven't cleaned them externally, as they won't be seen in full sight when fitted. Internally they are/were clean. I've just got to install some new pintle caps as one has broken and all other 11 are not far from the same. So they'll all be sorted when the next parcel arrives