When you click on links to various merchants on this site and make a purchase, this can result in this site earning a commission. Affiliate programs and affiliations include, but are not limited to, the eBay Partner Network.
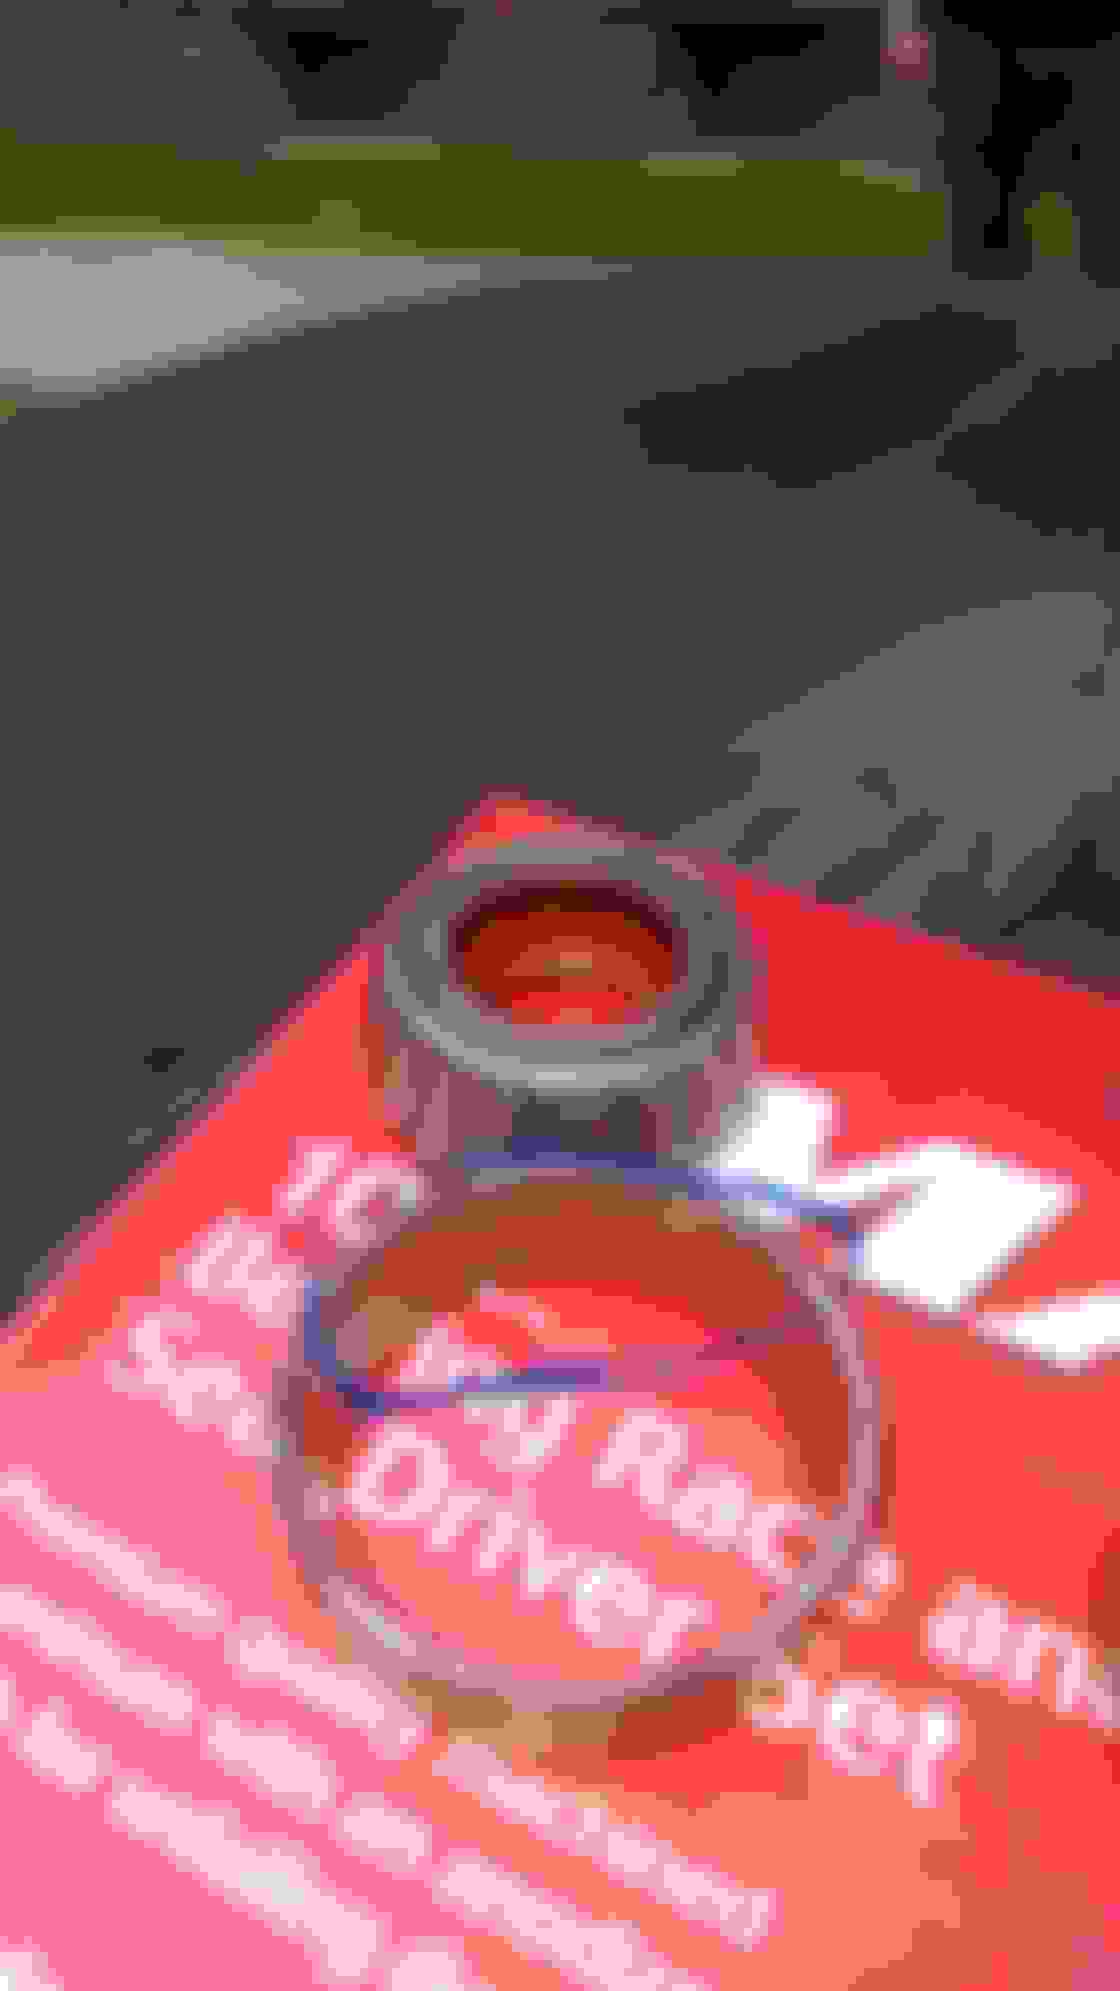
Been driving more (finally) and who would have guessed it? My driver's LH wheel is humming a song. It's rhythmic, more at times, and I decided to rest until some parts arrive... About a month ago I went to try to figure out an ABS light (that since has gone off - not sure why) and on the driver's side, when I removed the sensor to clean, I could kinda tell (I'm getting better at tell tale clues) that the inner seal had failed as the sensor head was COATED in bearing grease. I mean thick covered like coated.
Again, not looking before I lept, I ordered the parts from Rock before asking. And I am hoping set 12 and 13 are right for the 1990 XJS in you all's experience?
Also looking for any of those gem super top secret pointers, tips and short cuts if anyone is offering??? First I will try just tightening a turn and see if that makes a difference.
Going to harbor freight to get me one of those race tools. Also wondering about what is needed to remove old races?Will a cold chisel or long punch and hammer work?
Anything else I should be thinking about?
Do I need to undo that ARM on and around the caliper and deal with shims or can I leave that kind of stuff in place?
Any tips on resetting?
Grant walked me thru it once but that was like 3 yrs ago. I was just regreasing what I had at the time because driving her was still so far off. Also on a steep learning curve and still am. I think I did it as a good measure process of replacing brake calipers and rotors and stuff - in the beginning.
This is what I got. And the fuel pump with the hopes of lessening voltage drain,,, something I've been wrestling with in another thread. Things have improved BTW with the voltage issue by cleaning headlight relay contact points to shiny metal - even though one of the thread thin coil wires broke. I soldered it. I will update that thread.
Anyways... I hope I have these parts right. Should have checked in first... I read some experiences other have had where with ABS, bearings were not an easy match...?
For the set 12 - Alternate/OEM Part Number(s): 0029802002, 2033300051, 2109810227, 251405645B, 31211106032, 5097738AA, 5134594AA, 9036822001, C45710, D0AA1215A, E7TZ1216AD0AZ, XD0AA1215I, YMP4
For the Set 13 - Alternate/OEM Part Number(s): 211405625D, 31211106033, 40215M0205, 9036835004, C45709, D0AA1200A, DOAZ1201A, DOAZ1202B, F4BZ4221A, XD0AA12001, YMP10, YMP5
Nothing to add on bearings other that Iv had my recent set fail within 6 months. The tell tale sign prior to vibrations etc is an interesting grease pattern that shoots out through the rims like light brown. :/
BUT I see you've got a fuel pump have you changed the swirl tank super-fine sock filter?
Nothing to add on bearings other that Iv had my recent set fail within 6 months. The tell tale sign prior to vibrations etc is an interesting grease pattern that shoots out through the rims like light brown. :/
BUT I see you've got a fuel pump have you changed the swirl tank super-fine sock filter?
Wow. 6 months? What happened? Do ya know?
I had/have grease on the back side. And looow level noise. They are at least 10 yrs old. Car sat and the last thing I want to do is find new hubs so I figured I would just do it now. I also have a ball joint job I want to finish at the same time.
Rock (unless I missed it) didn't have the sock so purchased it from somewhere else. I'm also replacing the FP relay and main relay... One reason is to change out a few of the full time ON relays to (hopefully) lower current draw. The fuel pump, it's gotten loud, and was a used pump in the first place. I got the pump knowing I wouldn't be putting real real miles on the car anytime soon and,,, I also hope the new pump will draw less current... Well see. Just cleaning the headlight relay had a pretty good effect on voltage,,, we'll see if the new one (I might install it today) helps even more.
About the bearings... What was needed to remove the inner bearing? Anything I should know? Puller of some sort?
About the bearings... What was needed to remove the inner bearing? Anything I should know? Puller of some sort?
The part on the stub axle just pulls off. The cone outer part of the bearing set into the hub has to be drifted out. If you shove your finger into the greasy mess in the middle of the hub behind the cones, you will feel a machined groove in the rim the cones are set against, one groove 180 degrees opposite the other. Place your drift into this machined groove and the end rests against the inner, wider, edge of the bearing cone. You then use the drift to knock it carefully out, alternating side to side.
The part on the stub axle just pulls off. The cone outer part of the bearing set into the hub has to be drifted out. If you shove your finger into the greasy mess in the middle of the hub behind the cones, you will feel a machined groove in the rim the cones are set against, one groove 180 degrees opposite the other. Place your drift into this machined groove and the end rests against the inner, wider, edge of the bearing cone. You then use the drift to knock it carefully out, alternating side to side.
Understood... I'm sure I'll understand better when I see it and have it in front of me. Thanks Greg!
Q: are cones races? Or are the cones you refer to the shape bearing themselves...?
This is the part of the bearing, the outer bearing outer tapered part, that you have to drift out from the inside of the hub using the specially machined grooves. The same with the inner bearing's outer part.
Ok. I think I see what you're saying but I am sure I will understand better once I have the hub in my hands, real time...
One other thing and I hate to do this to ya. I was just reading another thread where a member said that the Timken #473454 Seals will not fit a 1990 with ABS. Is this your experience? do I need to go ahead and order the Beck Arnley part #0523413. Will I be stuck without what I need when doing the job if I dont?
Got all my bits and peices in today. Bearings... But, I still have the questions about the Timken Seals with the XJS and ABS.
I have Timken #473454 in hand. Wil they fit or do I need the Beck Arnley 0523413?
I got ahead of myself and ordered what Rock said would fit and LATER read (I think) that another member found that fitting the Timken Seals on and ABS car was a no go,,, or was that just anecdotal information?
Are the weird lines/striations a tell tale for TOO TIGHTly seated?
The old bearings and races didn't look bad at all. No groooves or pits. Not much for heat marks but I did notice these odd lines, like crushed steel lines, in the outer race only on the LH front. It was the bearing that was making noise.
I did the 20ft/lb, then back of a quarter turn method, on installing the new bearings. I hope that ends up being the right thing... I'm all ears. Slight drag on hand turning the disk and wheel.
That is a bearing on the cusp of failure, JJJ. Changing them a good decision. That is not evidence of too tight, more likely of too loose/poor greasing/shock loading /old age/standing unmoved at all for long periods/ etc etc.
As for your method of setting them up, a quarter turn back seems a lot to me. If the bearing can make a very slight "click" when you grasp the disc at 3 o clock and 9 o clock and try to move it in and out it is too loose. Just tighten it reasonably tight to settle the lot in, then turn the nut back and try the click test until you get a very slight looseness, then tighten until it has just gone.
Rechecking after a 100 miles if a good plan too. They do settle in a touch. Taper roller bearings need to be in contact all the way round the tapered outer bearing cone.
Last edited by Greg in France; 04-24-2020 at 12:39 AM.
That is a bearing on the cusp of failure, JJJ. Changing them a good decision. That is not evidence of too tight, more likely of too loose/poor greasing/shock loading /old age/standing unmoved at all for long periods/ etc etc.
As for your method of setting them up, a quarter turn back seems a lot to me. If the bearing can make a very slight "click" when you grasp the disc at 3 o clock and 9 o clock and try to move it in and out it is too loose. Just tighten it reasonably tight to settle the lot in, then turn the nut back and try the click test until you get a very slight looseness, then tighten until it has just gone.
Rechecking after a 100 miles if a good plan too. They do settle in a touch. Taper roller bearings need to be in contact all the way round the tapered outer bearing cone.
Understood and will do all you say...
Thanks Greg!
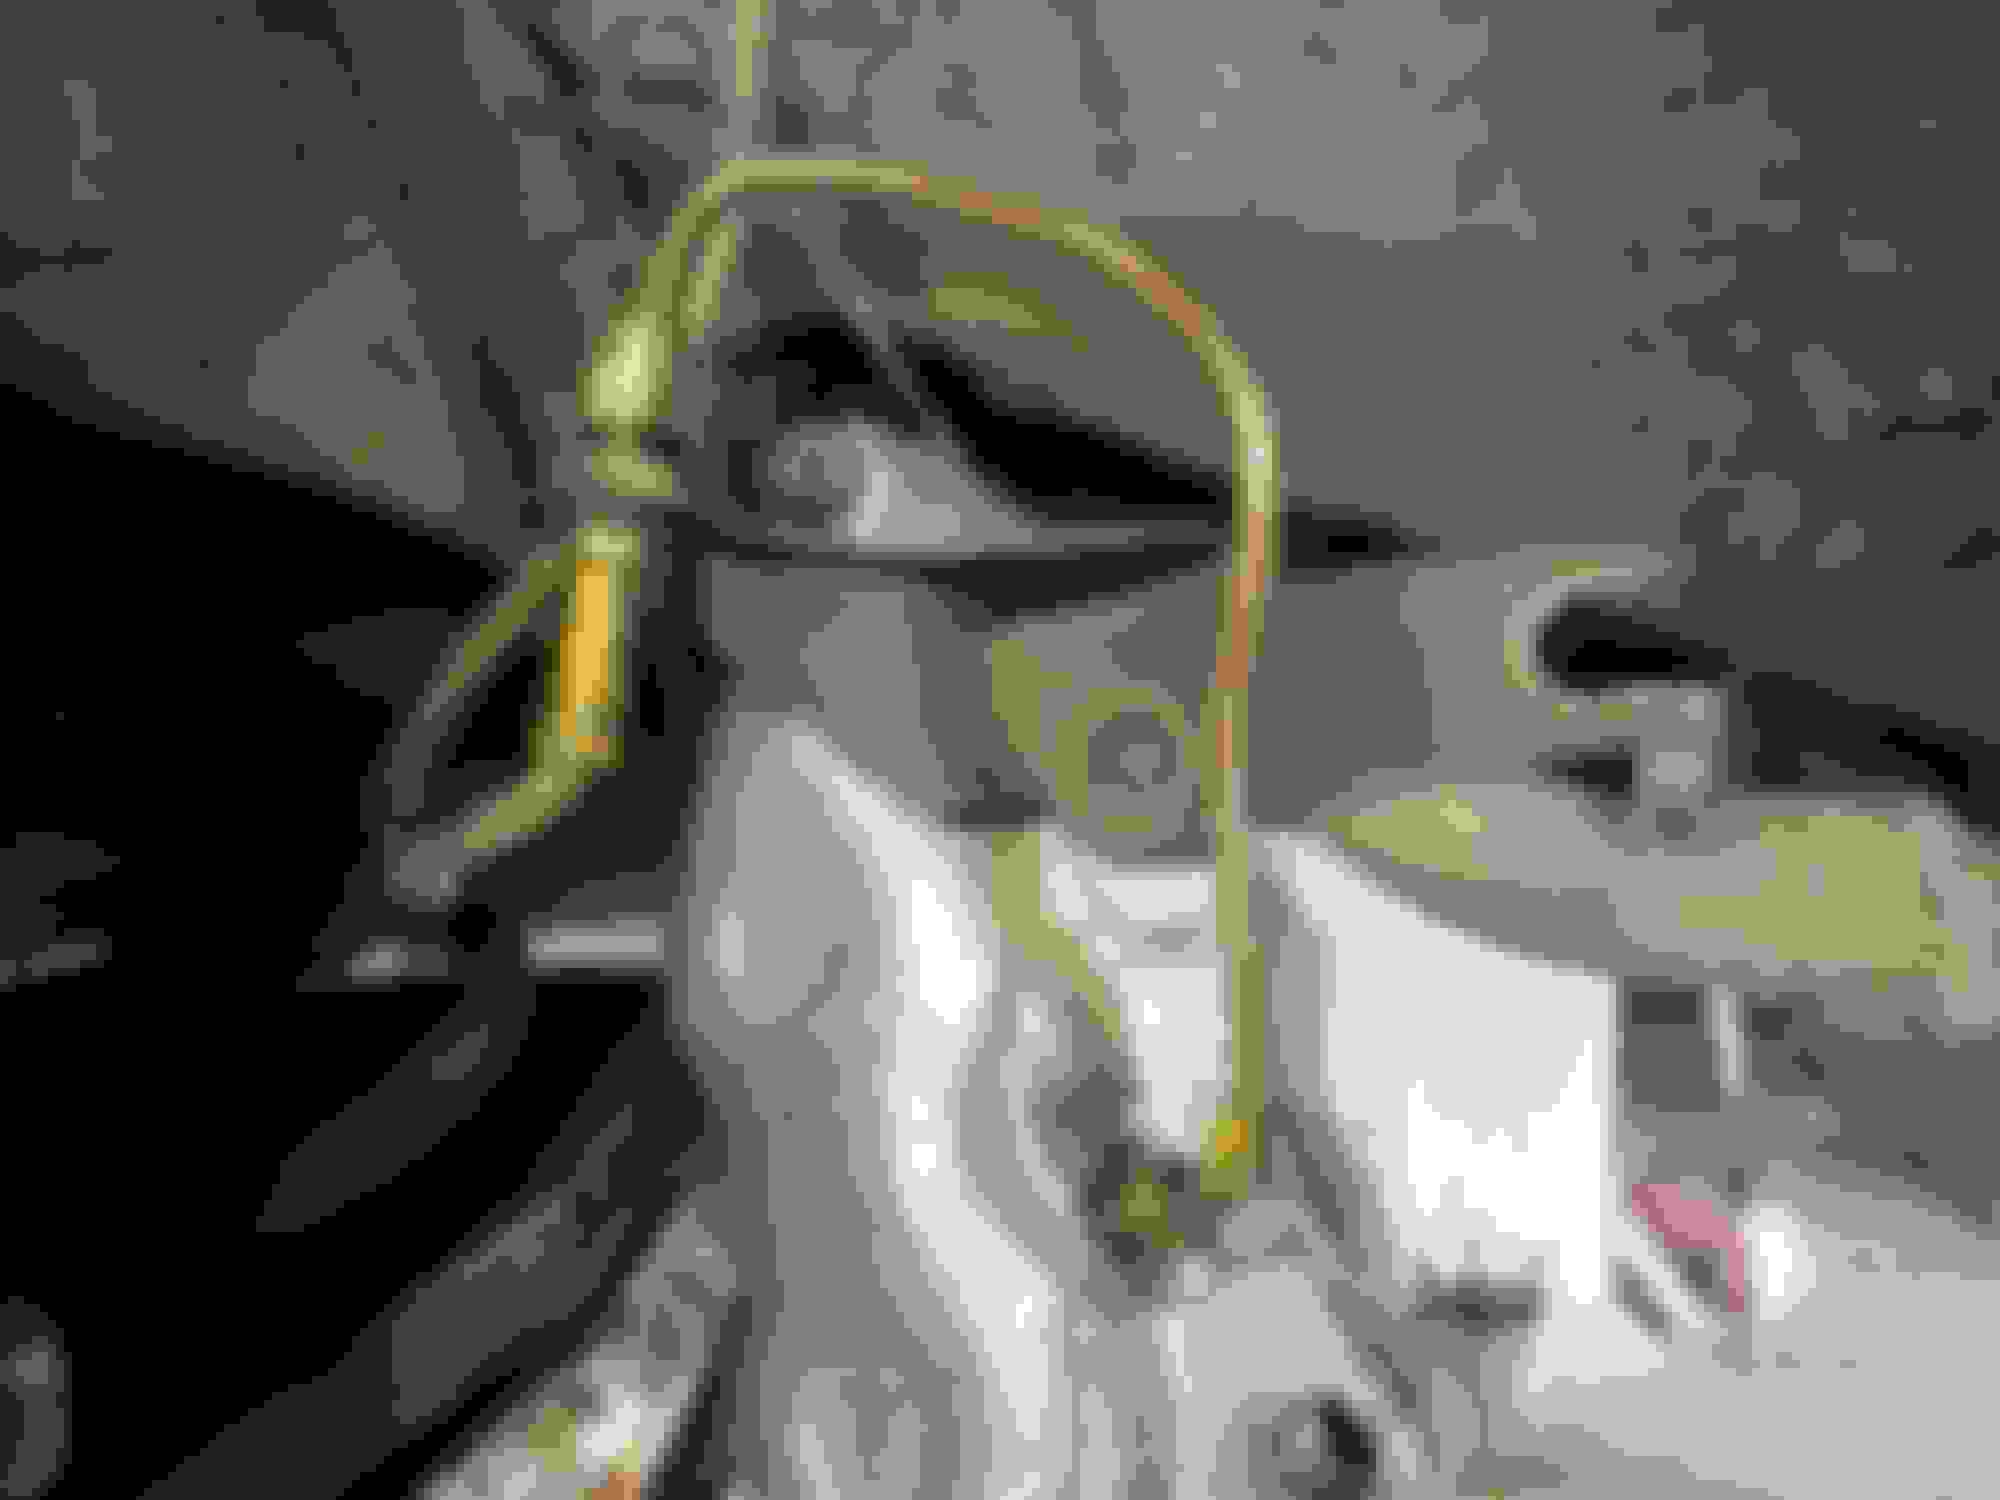
I ordered a new disc today, and maybe, along with the RH bearing set, and replacing the ball joint nuts I will have another go at setting the LH bearing tomorrow and swap the disc. I know you must think I'm nutts but I was thinking I would be able to take a DA sander today and take a bit of YUCK off of the LH side rotor disc (pic). Sadly, it's gone... I'm not a native NY'er and I learned something about the damage (there are lots) caused by owning and parking a car on city streets today I think. Crazy! As the hundreds and thousands of cars drive by the car parked (especially in the winter) they splash water and salt water into the rim and into the disc where they would otherwise be somewhat protected from the elements by the well and tire/rim when parked. Rim, caliper and rotor (and other forms of rot) happen MUCH quicker on the LH driver's side than the RH passengers. Hence,,, new disc on the LH front. Thank goodness for inboards, lol.
The Timken seals didn't fit. Got lucky that with the Zombie Apocalypse a really good local supplier had the Becks on hand.
Also,,, because the bearing and seal STAYED on the stub, I was able to get the hub and rotor off by simply pulling the pads out of the caliper. Didn't expect that. Didn't go back on that way, tho. Not with the seal and bearing installed - which I MIGHT(?) have been able to push onto the stub FIRST and then push the hub on/over... Leaving the caliper in place? Is that possible???
Also, the Becks seal was SUPER tight and I have some worries about how tight. Q: How does the seal work? Which part stays still against the moving part? Does the inner rim of the hub spin on the seal? Does the seal spin on the stub axle? If the seal is supposed to spin on the stub it's going to shread - it seems. I had a very differcult time getting the seal OVER the widest part of the stub. Yeah....
I'll have a TABLESPOON for the grease in the hub tomorrow, lol. It was THICK. Y'all didn't warn me RIGHT about that, haha.
There was very light wear on the stub. I was satisfied that it was not needing to be replaced. I cleaned it up with steel wool and kept going.
All and all a good day. did this damage with the drift. Cleaned up "ok" with some medium grit sand paper then the #1 steel wool.
Went to replace that front rotor today (on andthe side of the completed bearing) the small S shaped brake line going into the caliper broke. Dharrrrrrr!!! Fabricated a new one and popped it on, no leak, good. Bled the brake, replaced everything - including new rotor and took a nap. Wanted to do RH bearing but the brake line took the wind out O me.
I hear instructions for taking off the caliper and hanging it (as to not stress the flexible rubber line,,, but my flex brake hose goes into what looks like a permanent bracket only to be dealt with by breaking the junction between the soft line and the S shaped 4 1/2 inch 3/16th hard line that bolts directly into the caliper. Am I missing something?
What a day! I like AutoZone but HATE cheap rental tools. Damn that rickety flare tool!!!
JJJ
That bracket is a royal pain, as you mention, and nothing for it but to undo things! Either separating the flexible, or undoing the bracket. I have no brake dust shields on my car, just the bracket, and the inner end of the bracket is held in place by the steering arm/upright bolt. If you undo this and then slot that hole, in future removing the caliper means you just have to loosen that bolt a touch and then slide the caliper and bracket out.
Ok, thanks... Damn thing...
I still have the bearing on the passengers side (RH) to do and I will take the bracket off, I think... But I am noticing something - and I will have to get a photo of what I have.
My soft line comes into the bracket from the top. I was just looking (your post is timely) at a set of photos posted by OB from a while back and now yours. Both of your soft lines comes in from the bottom. Mine, coming in from the top, makes the connected hard line take a needed (PITA) S shape in order to get the male end to thread into the caliper side connection. Is mine rigged up backwards?
Know what. I'll get the photo now...
What I was wondering looking at the set up with it connecting to the bottom is that it in effect shortens the soft line giving less slack for hard turn and wheel lock when the back of the tire travels furthest from the body of the car. Think it might stress the line?
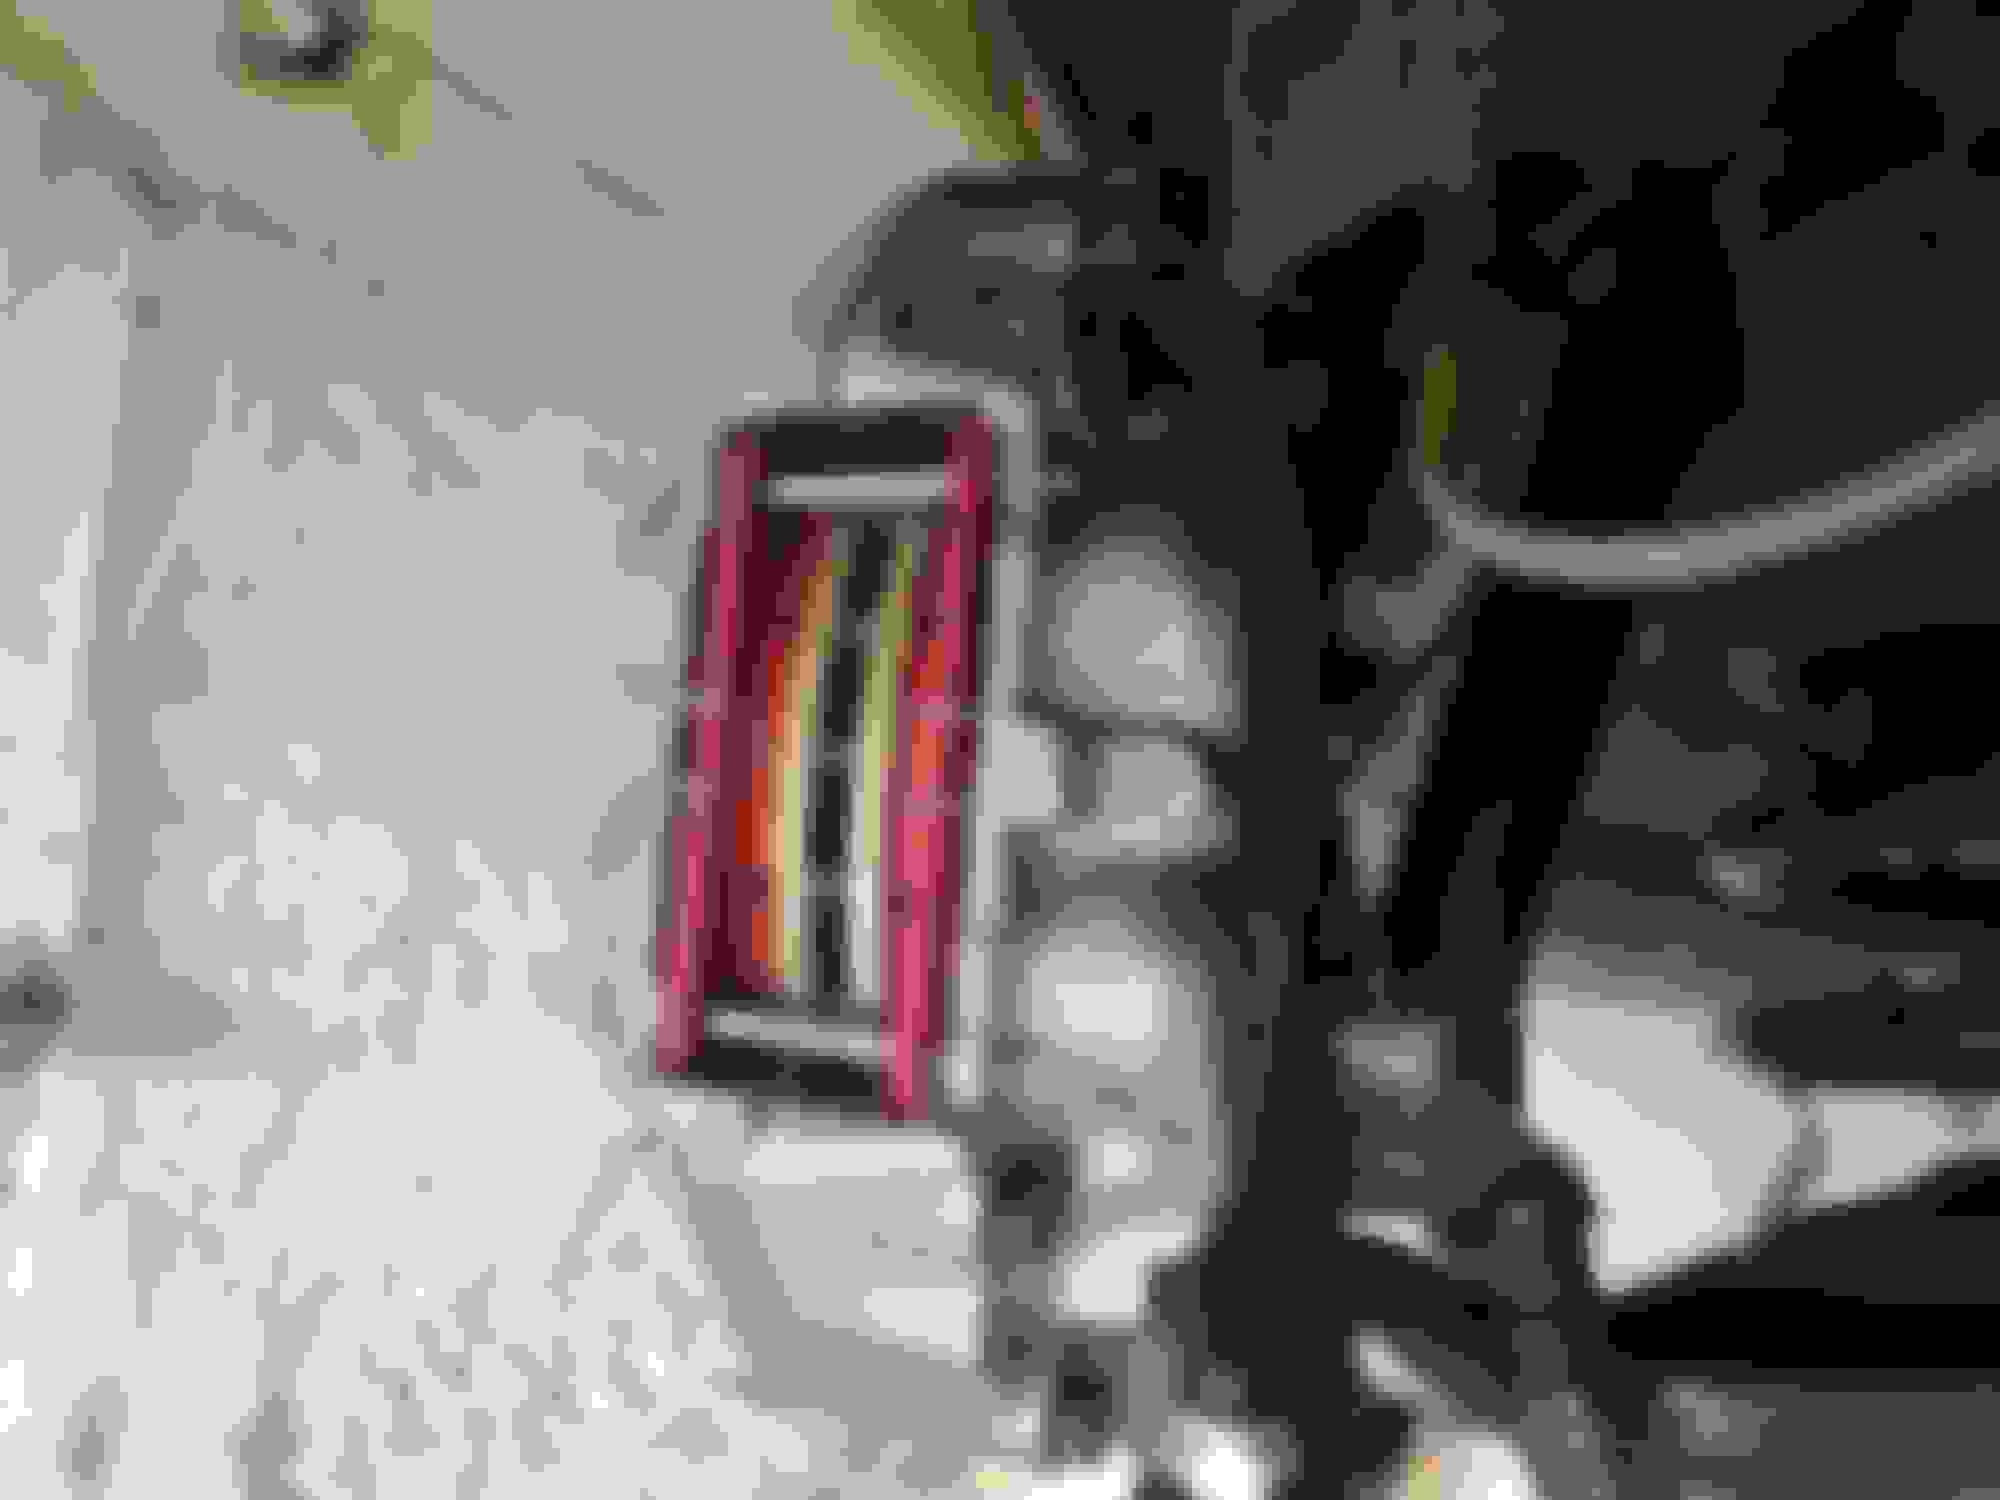
Another question I have is about shims. I have always heard about these shims and care with them. But, mine had none. What I'm understanding - often scary, lol - Is that if I loosen/remove the BOTTOM caliper bolt, then tighten up the top, this in effect will produce a gap in the lower caliper bolt area/connection??? Then, I can measure the space/gap with a feeler and place shims? Will a normal right sized washer do for the/a shim? Are the shims a specialty part? If the car needz shim'n,,,, I want it, shimmmmmed G-Damn it, lol. OMG does it ever stop???
BTW,,, all that oily wetness in the photo (I hope) is from the fiasco, earlier today. I don't believe my new line and fix is leaking but we will see. Worst flare tool in the world during the ER today.
The soft line is attached upside down, JJJ. However, if it is long enough to not be stretched at all when on full lock AND full suspension travel, it will be OK. If you change it round, you will have to make a new hard line of course.
Shims: read carefully:
The steering arm is attached to the top of the upright, above the inner end of the stub axle
The steering arm is ALSO attached to the upright TOGETHER with the BOTTOM caliper fixing bolts.
This bottom caliper bolt goes: a) through the arm, then b) through the caliper, then c) through into the upright (as shown by the lockwired bolt in the photo below.
Because the top bolt of the steering arm goes into the upright, and the bottom caliper bolt goes into the upright in through the steering arm a different plane, it is possible that the two bolted surfaces are not exactly parallel to each other.
To ensure that this possibility does not result in a permanent bending moment on the steering arm when all the bolst are tightened, you have to insert a shim between the arm and the caliper to take up any space that may be there when the top steering arm bolt is tightened.
So the procedure is to a) loosely insert the top caliper bolt not quite even finger tight, then b) loosely insert the bottom bolt through the arm and caliper into the upright but not even finger tight, then c) do up the top steering arm bolt tight, then d) tighten up the TOP caliper bolt, then e) try a feeler gauge to see if there is a gap between the arm and the caliper on the lower caliper bolt!
If there is, get shims to this thickness and insert them, somehow into the gap!
Don't you love these cars!
Last edited by Greg in France; 04-26-2020 at 07:13 AM.

 04-16-2020 | 12:38 PM