When you click on links to various merchants on this site and make a purchase, this can result in this site earning a commission. Affiliate programs and affiliations include, but are not limited to, the eBay Partner Network.
I found another difference between the 6.0L and 5.3L, valve retainers and shims. So after deliberating and advice from Norm I machined the retainers to fit the 5.3L shims.
All my intake valves were about 0.025" longer than the original ones. The shims Norm gave me were mostly between 0.094" and 0.102" so I needed to nip 0.030" - 0.035" off the ends of each valve stem.
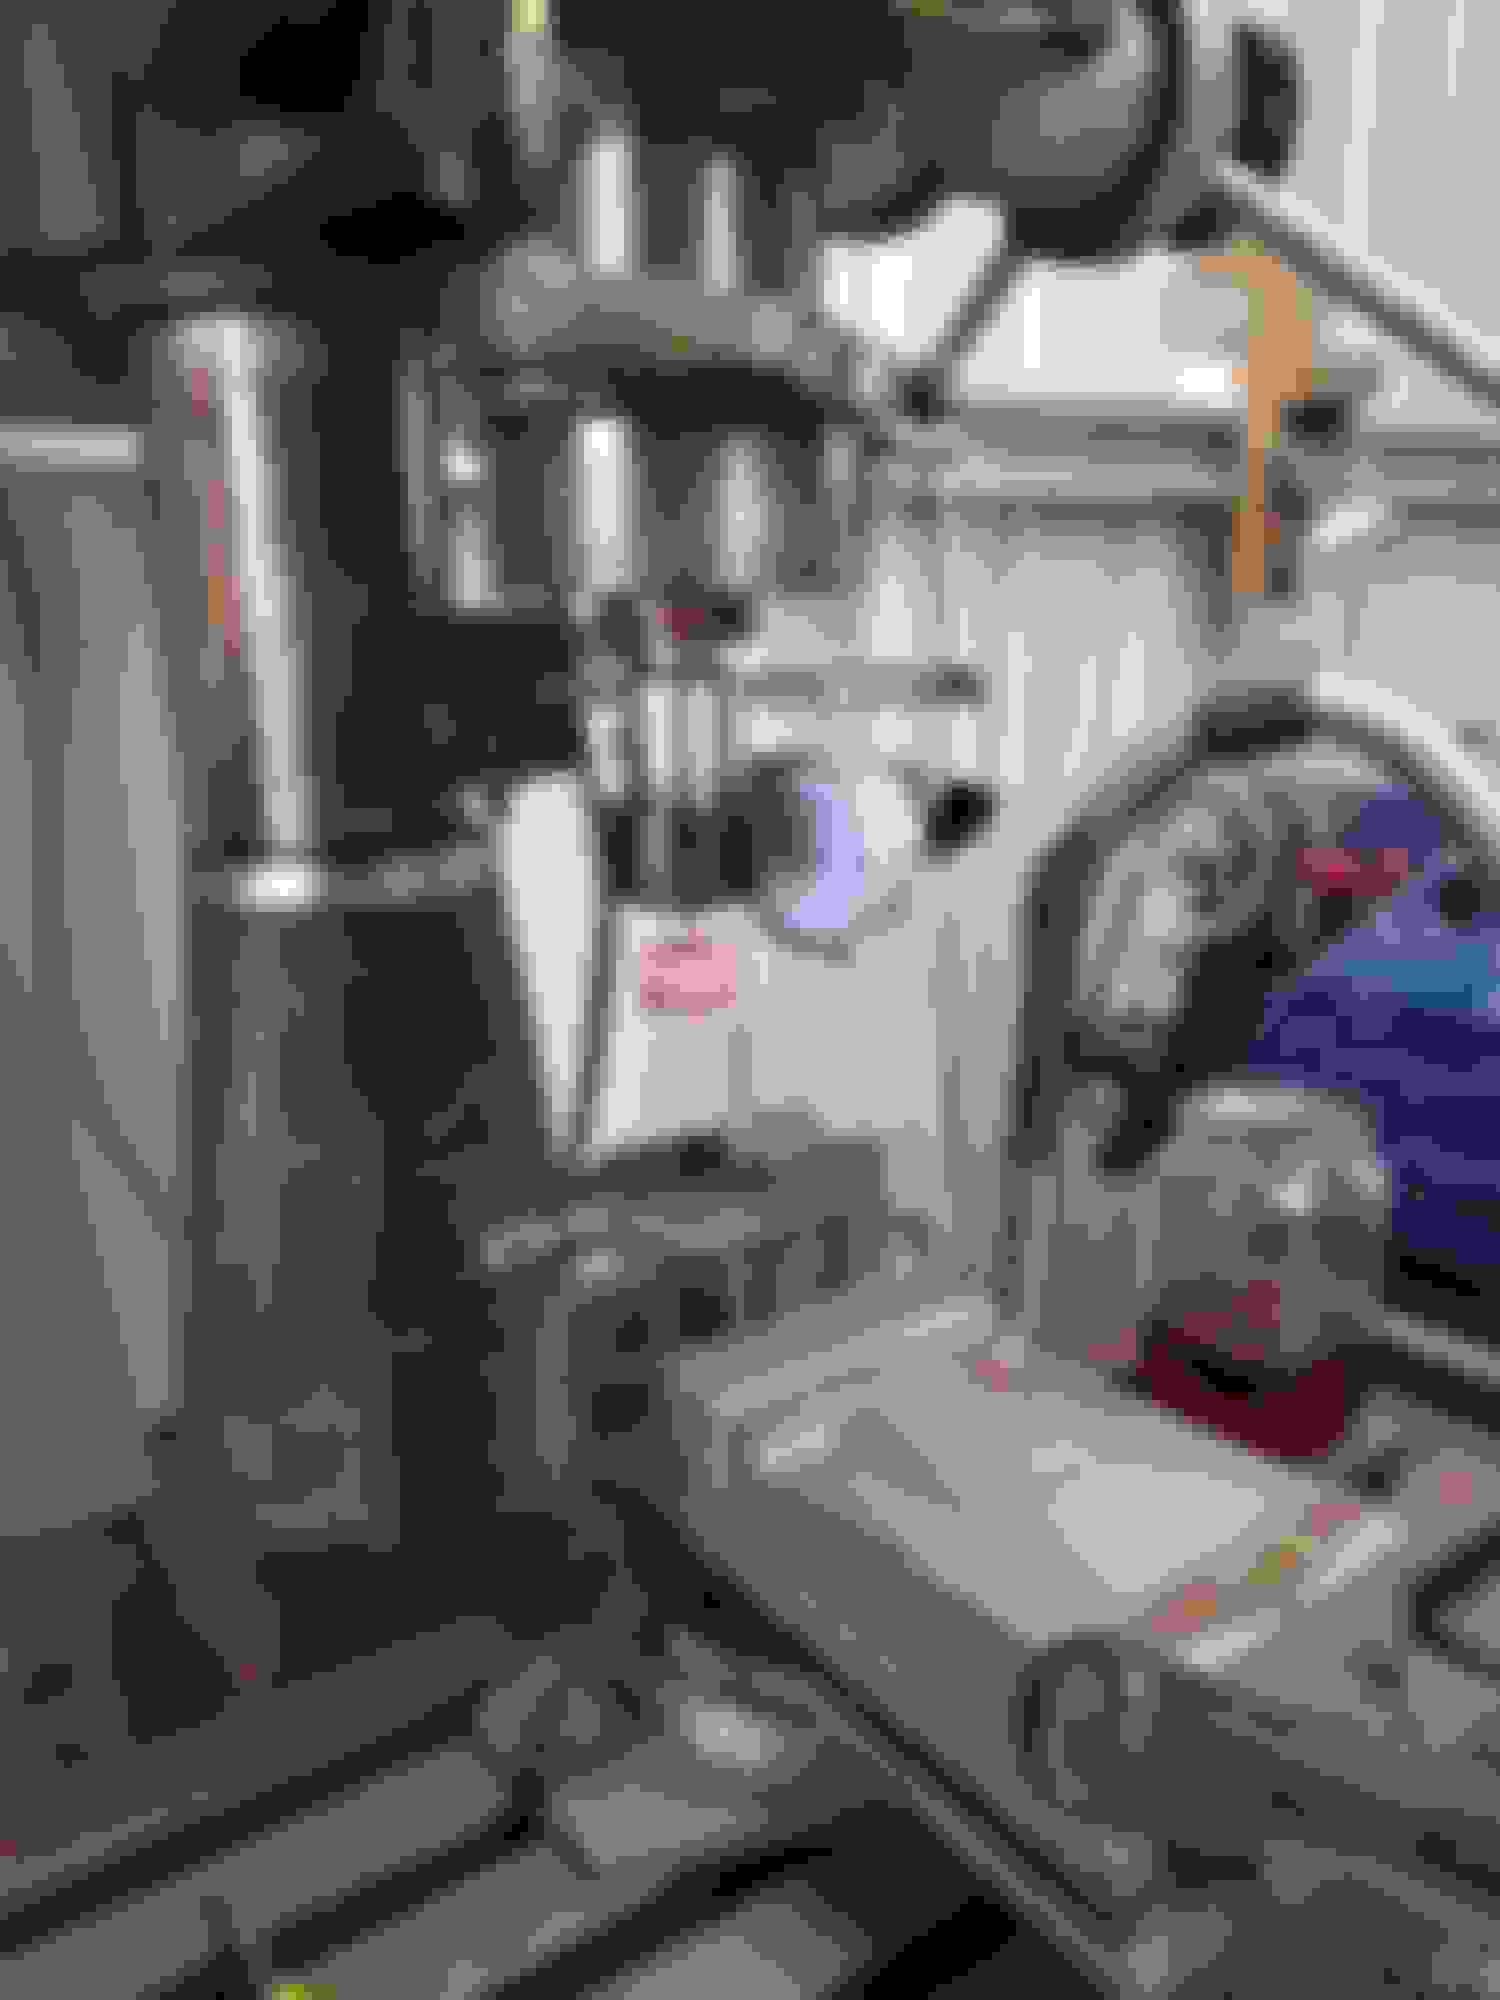
I decided the mill was the go and put a valve in a collet to square the V block in the vice. With this setup I can take as little as 0.001" off the stem. then set clearance with the tolerance in the shims and buckets. A bit time consuming but clearances will be spot on across all 12.
Warren, just a question, aren't valves hardened materials? Would you need to have the top then hardened again? Or are they left 'soft' to take some bashing better?
I really am jelly about your build! Going by all the effort you're giving it, I really hope you get the goal you want.
In an OHV V8 like a Chevy 350 or any valve train that has rockers directly on top of the valve stem then the ends are hardened, But with the V12 bucket and shim the valve stems are not hardened.
I've never built an engine before and I want to make sure it is right.
My goal is not peak HP but a good fat power band, the increased torque in the lower/mid RPM range will increase power significantly under 5000rpm.
All good stuff and a very impressive effort; I even learned something with the shims being different.
Do let us know the time you guess you have taken. It can be frightening when you work it out honestly.
I would have gone the top hat shim route but I have them available in a 2 day turnaround in the UK. Sizes from 0.040 to 0.300 in 1 thou increments.
Keep up the good work.
.
I would have gone the top hat shim route but I have them available in a 2 day turnaround in the UK. Sizes from 0.040 to 0.300 in 1 thou increments.
Keep up the good work.
Could you explain the difference for the enthusiastic amateur, please XJR5?
Greg
They are a small diameter shim and look like a tophat they fit over the top of the valve stem and slightly down the stem, where these shims also sit on the valve stem but inside the retainer as they are flat.
I have 100's of hours invested in the heads, I have almost finished the A head. But 1 intake valve I can not match bucket, shim and stem length to get the clearance 0.010".
SO.............
I'm in the process of truing up my lathe ATM so it turns 0.001mm over 200mm, so I turn a precision circular square to true up my mill so I can grind a shim. See it's all in the journey.
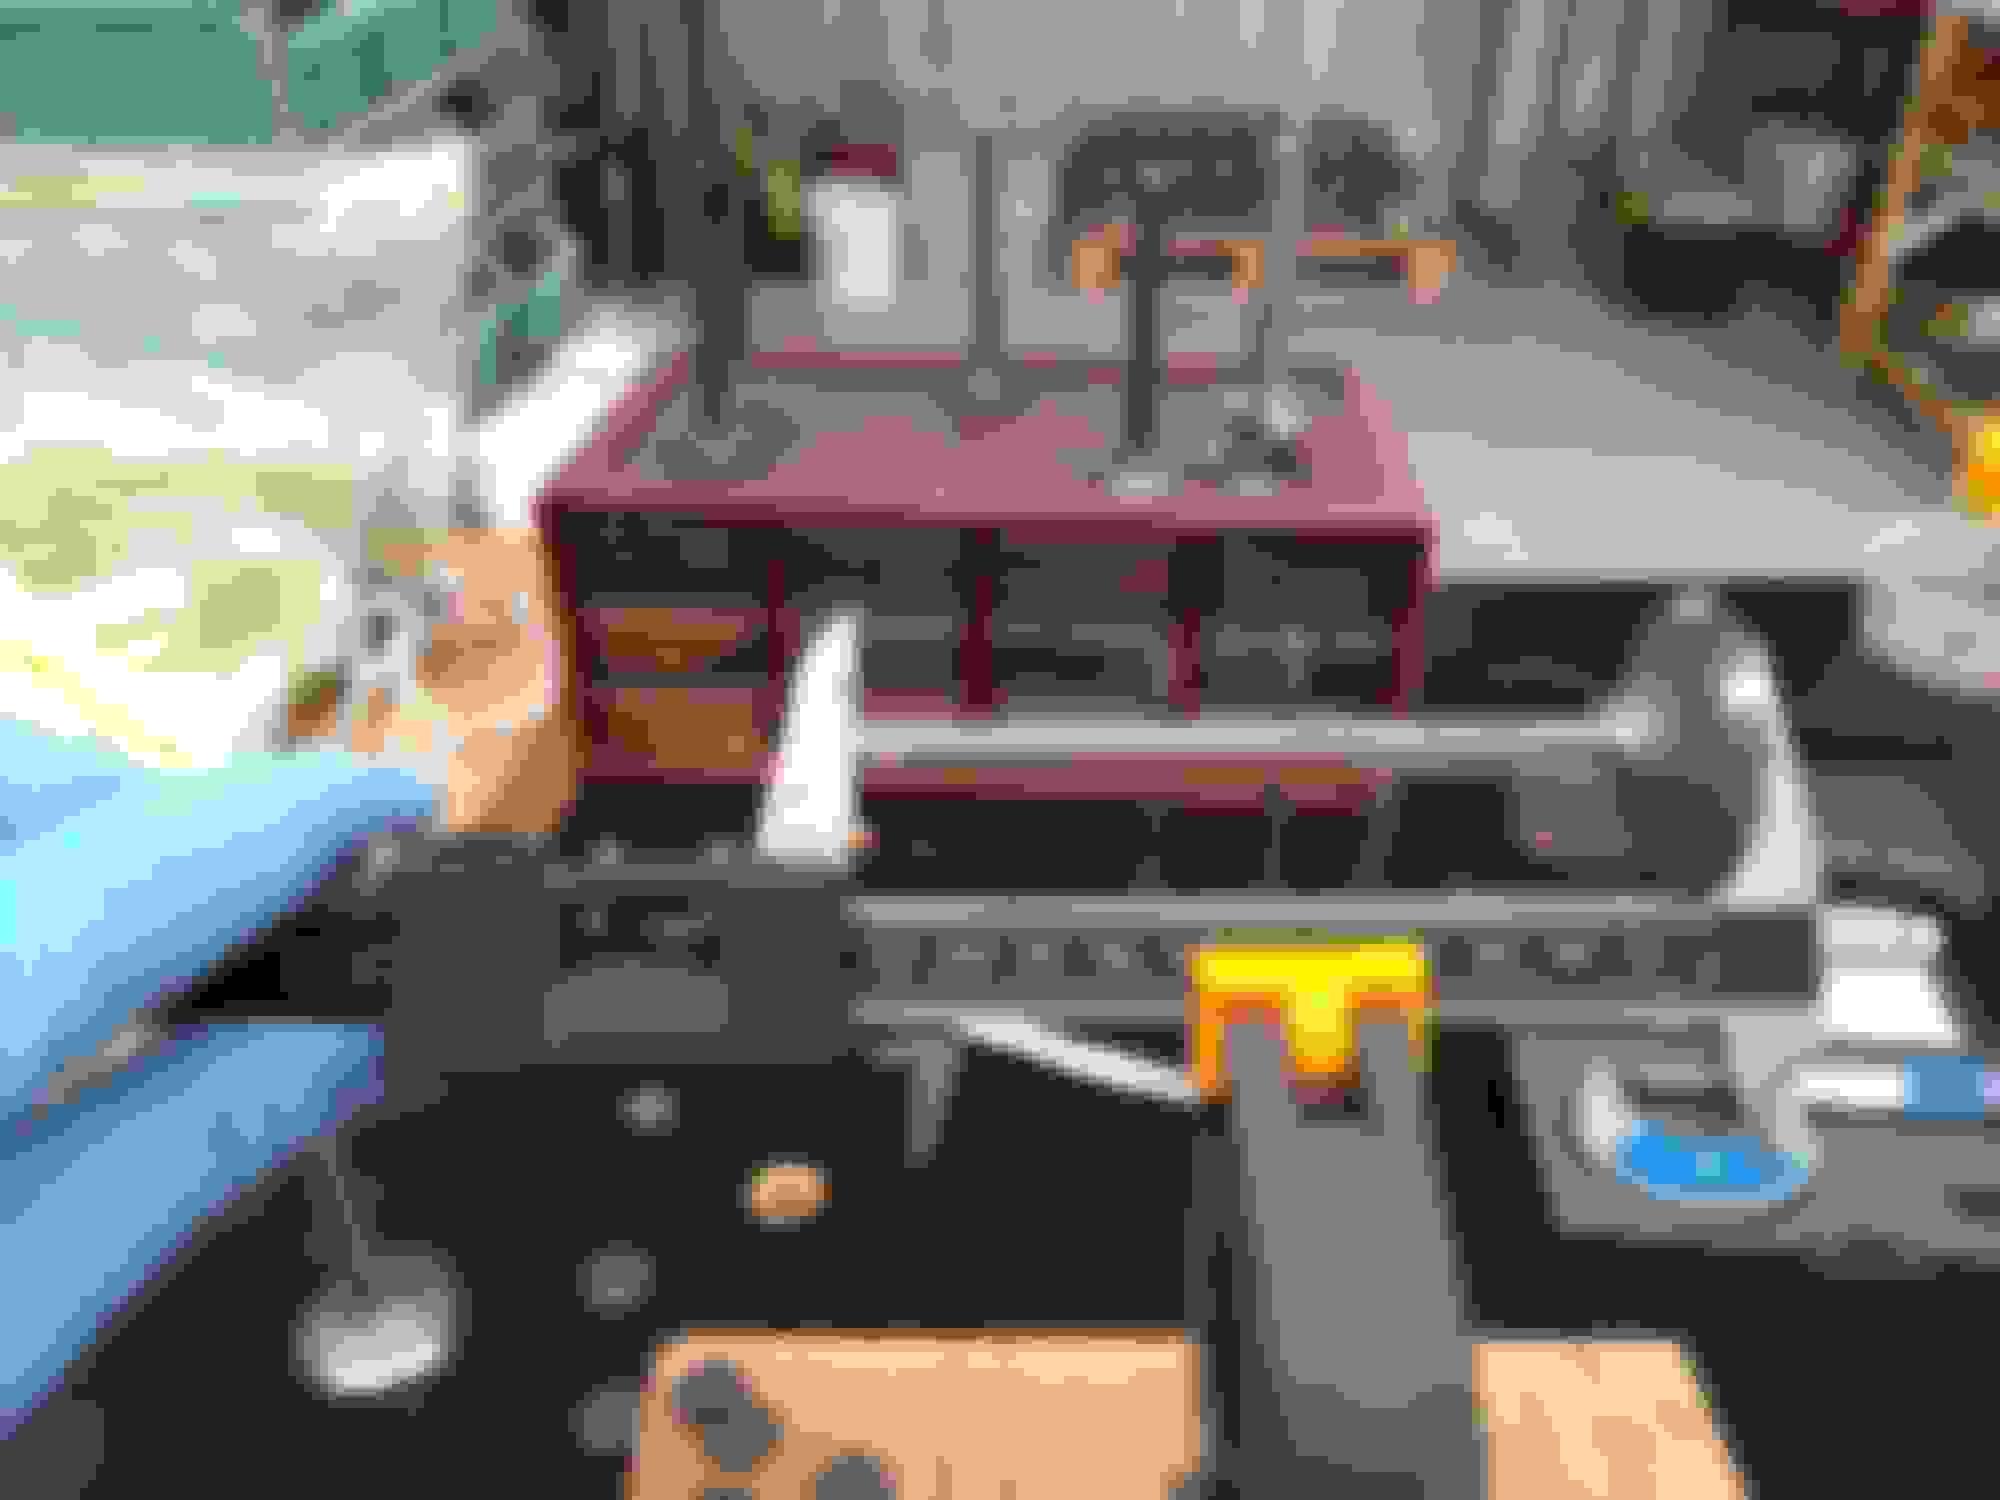
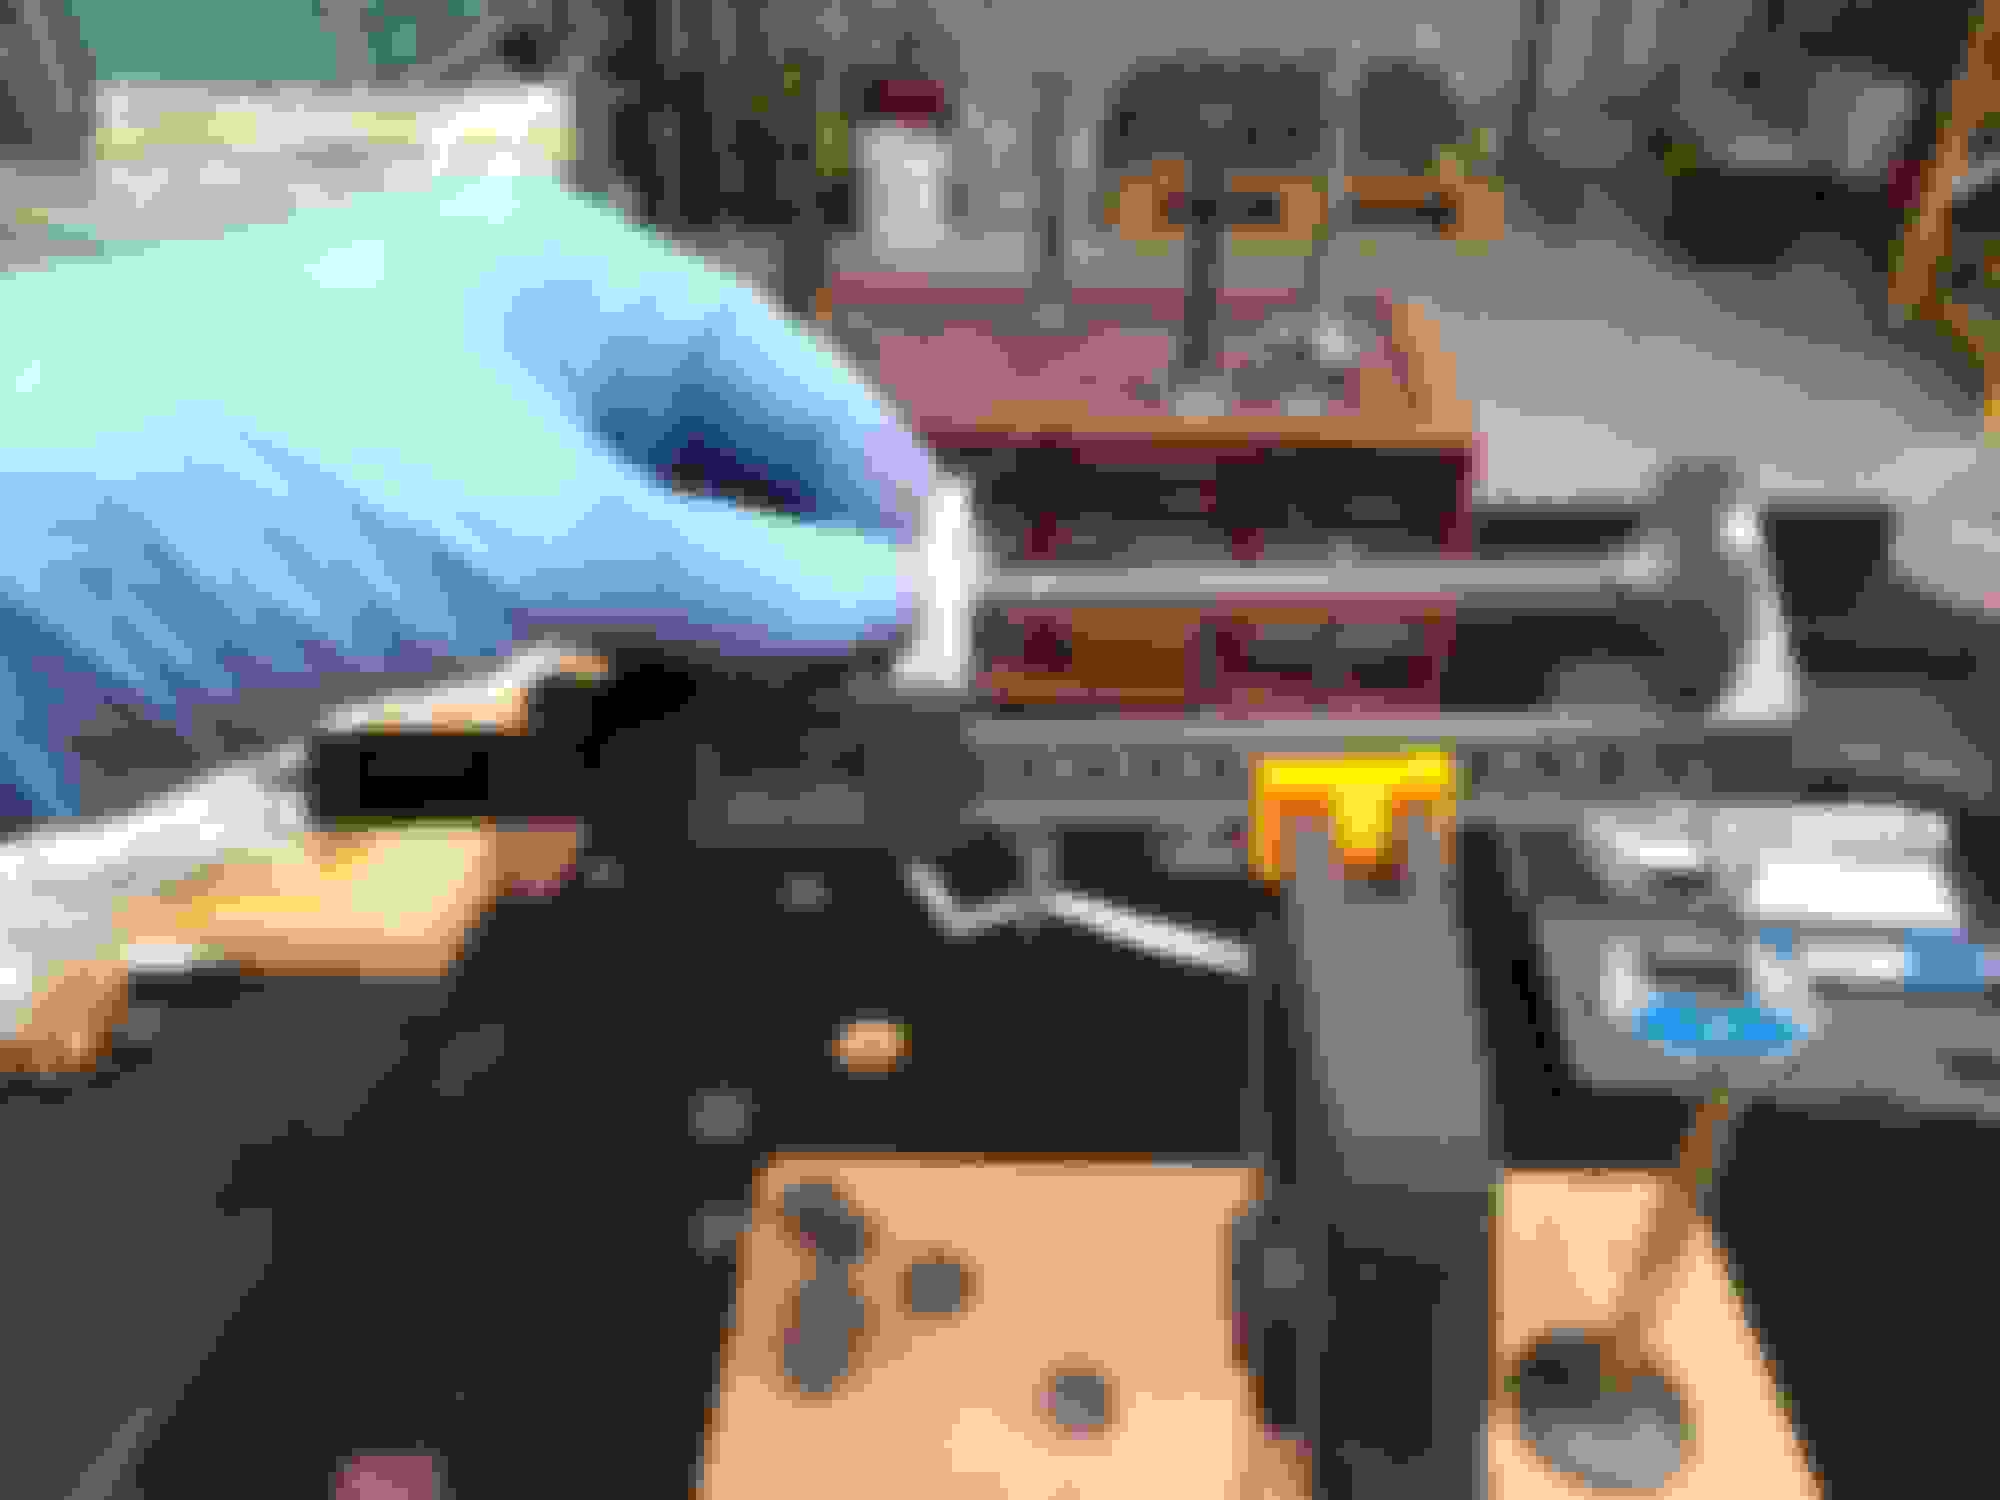
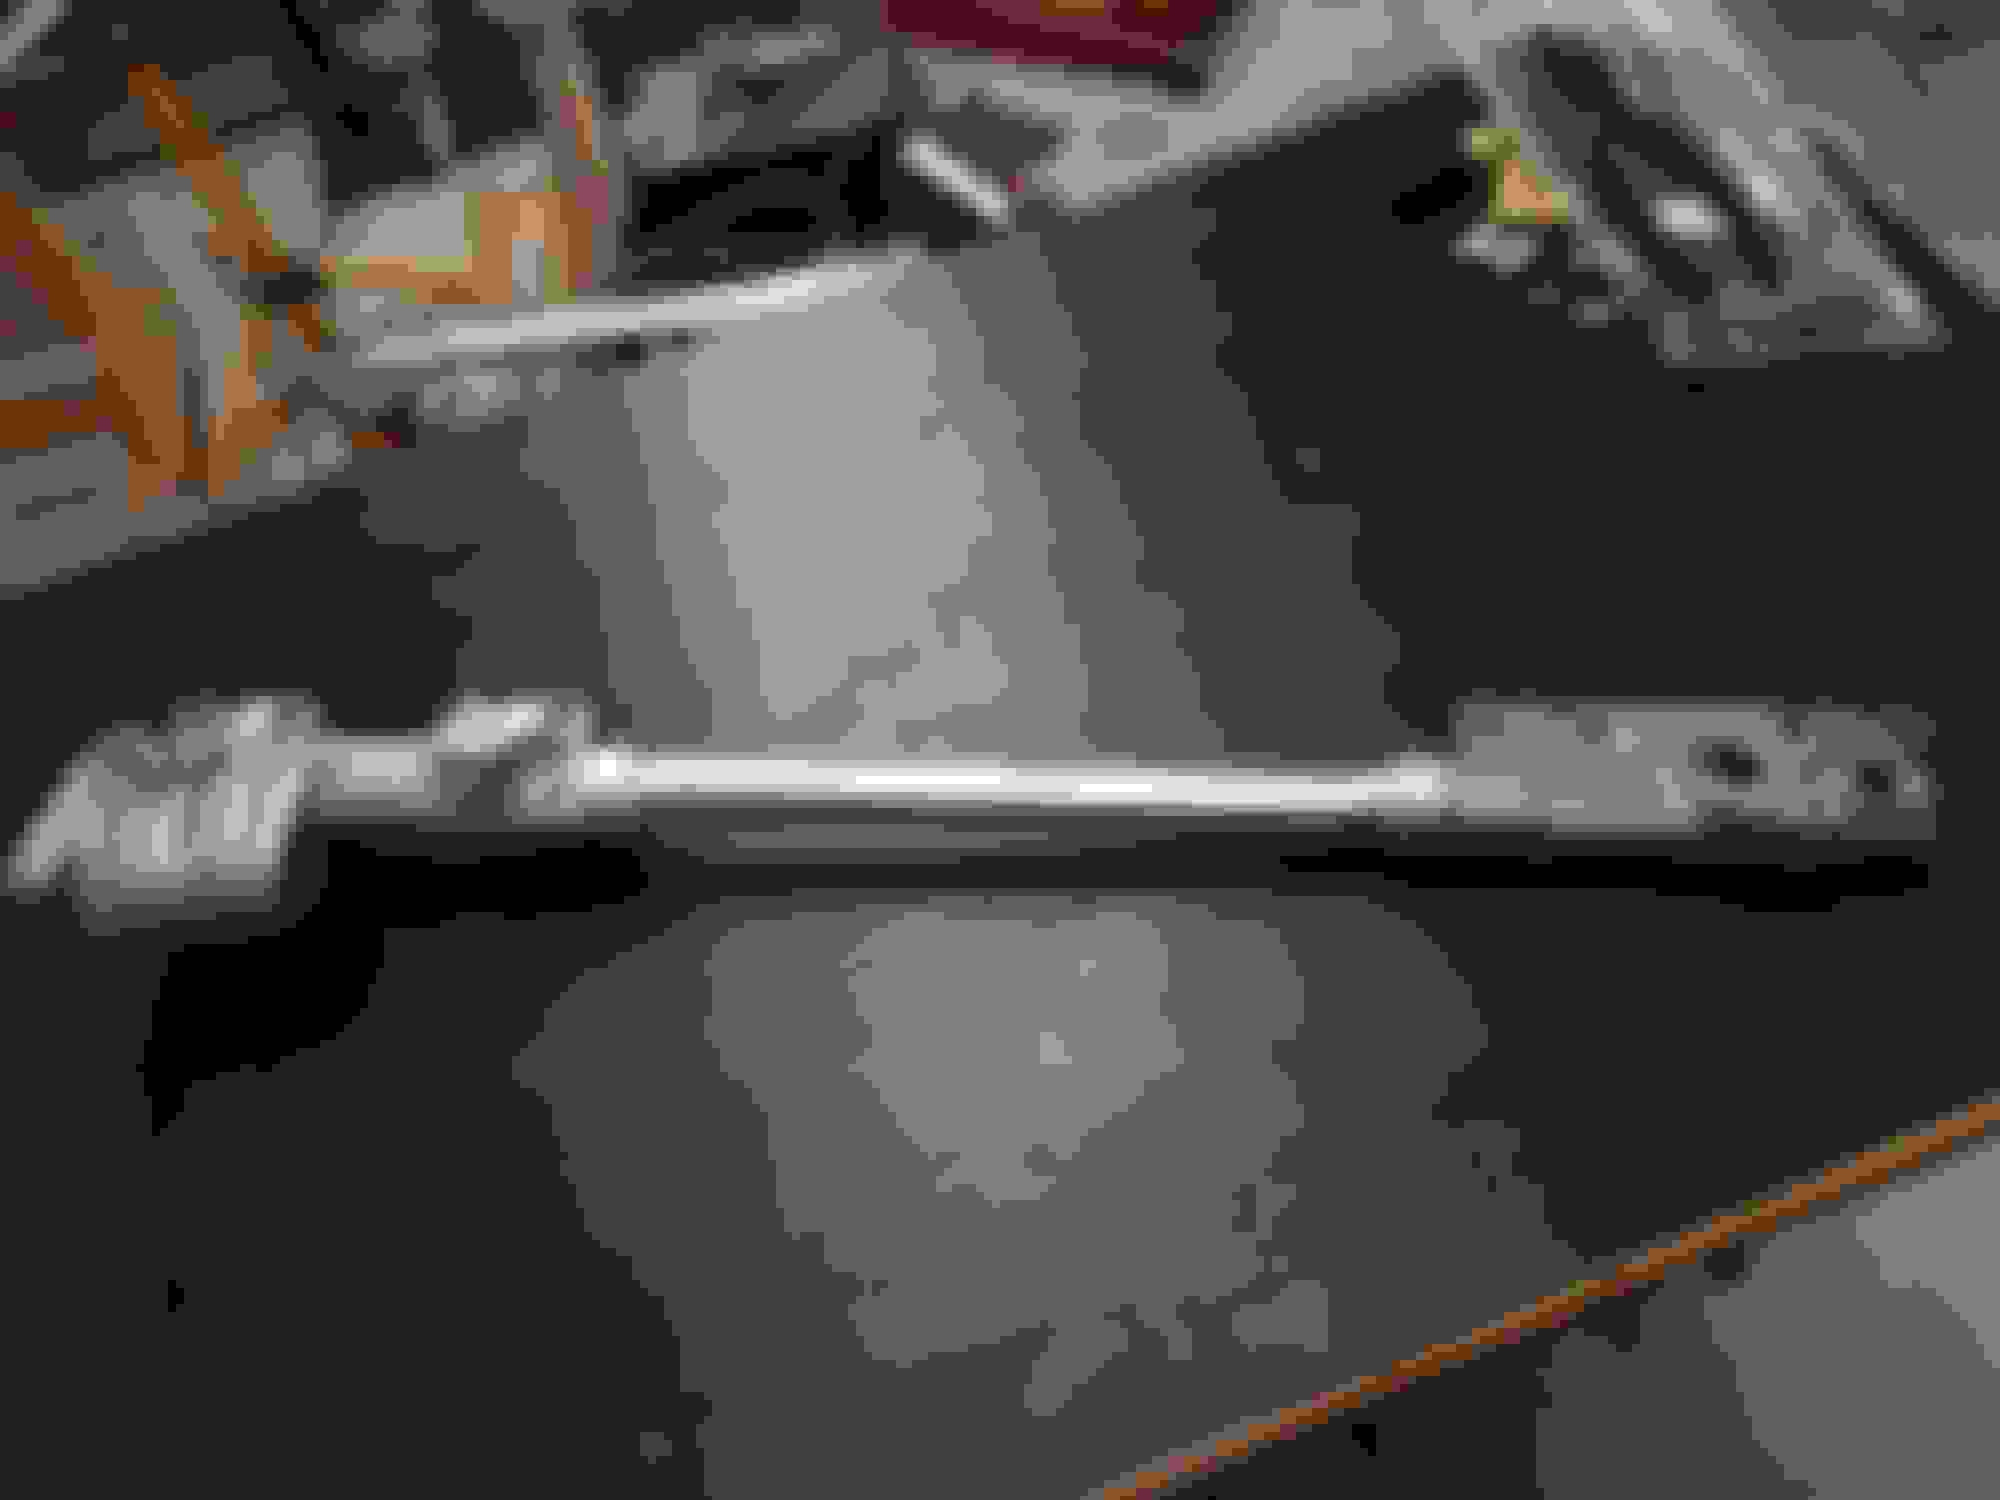
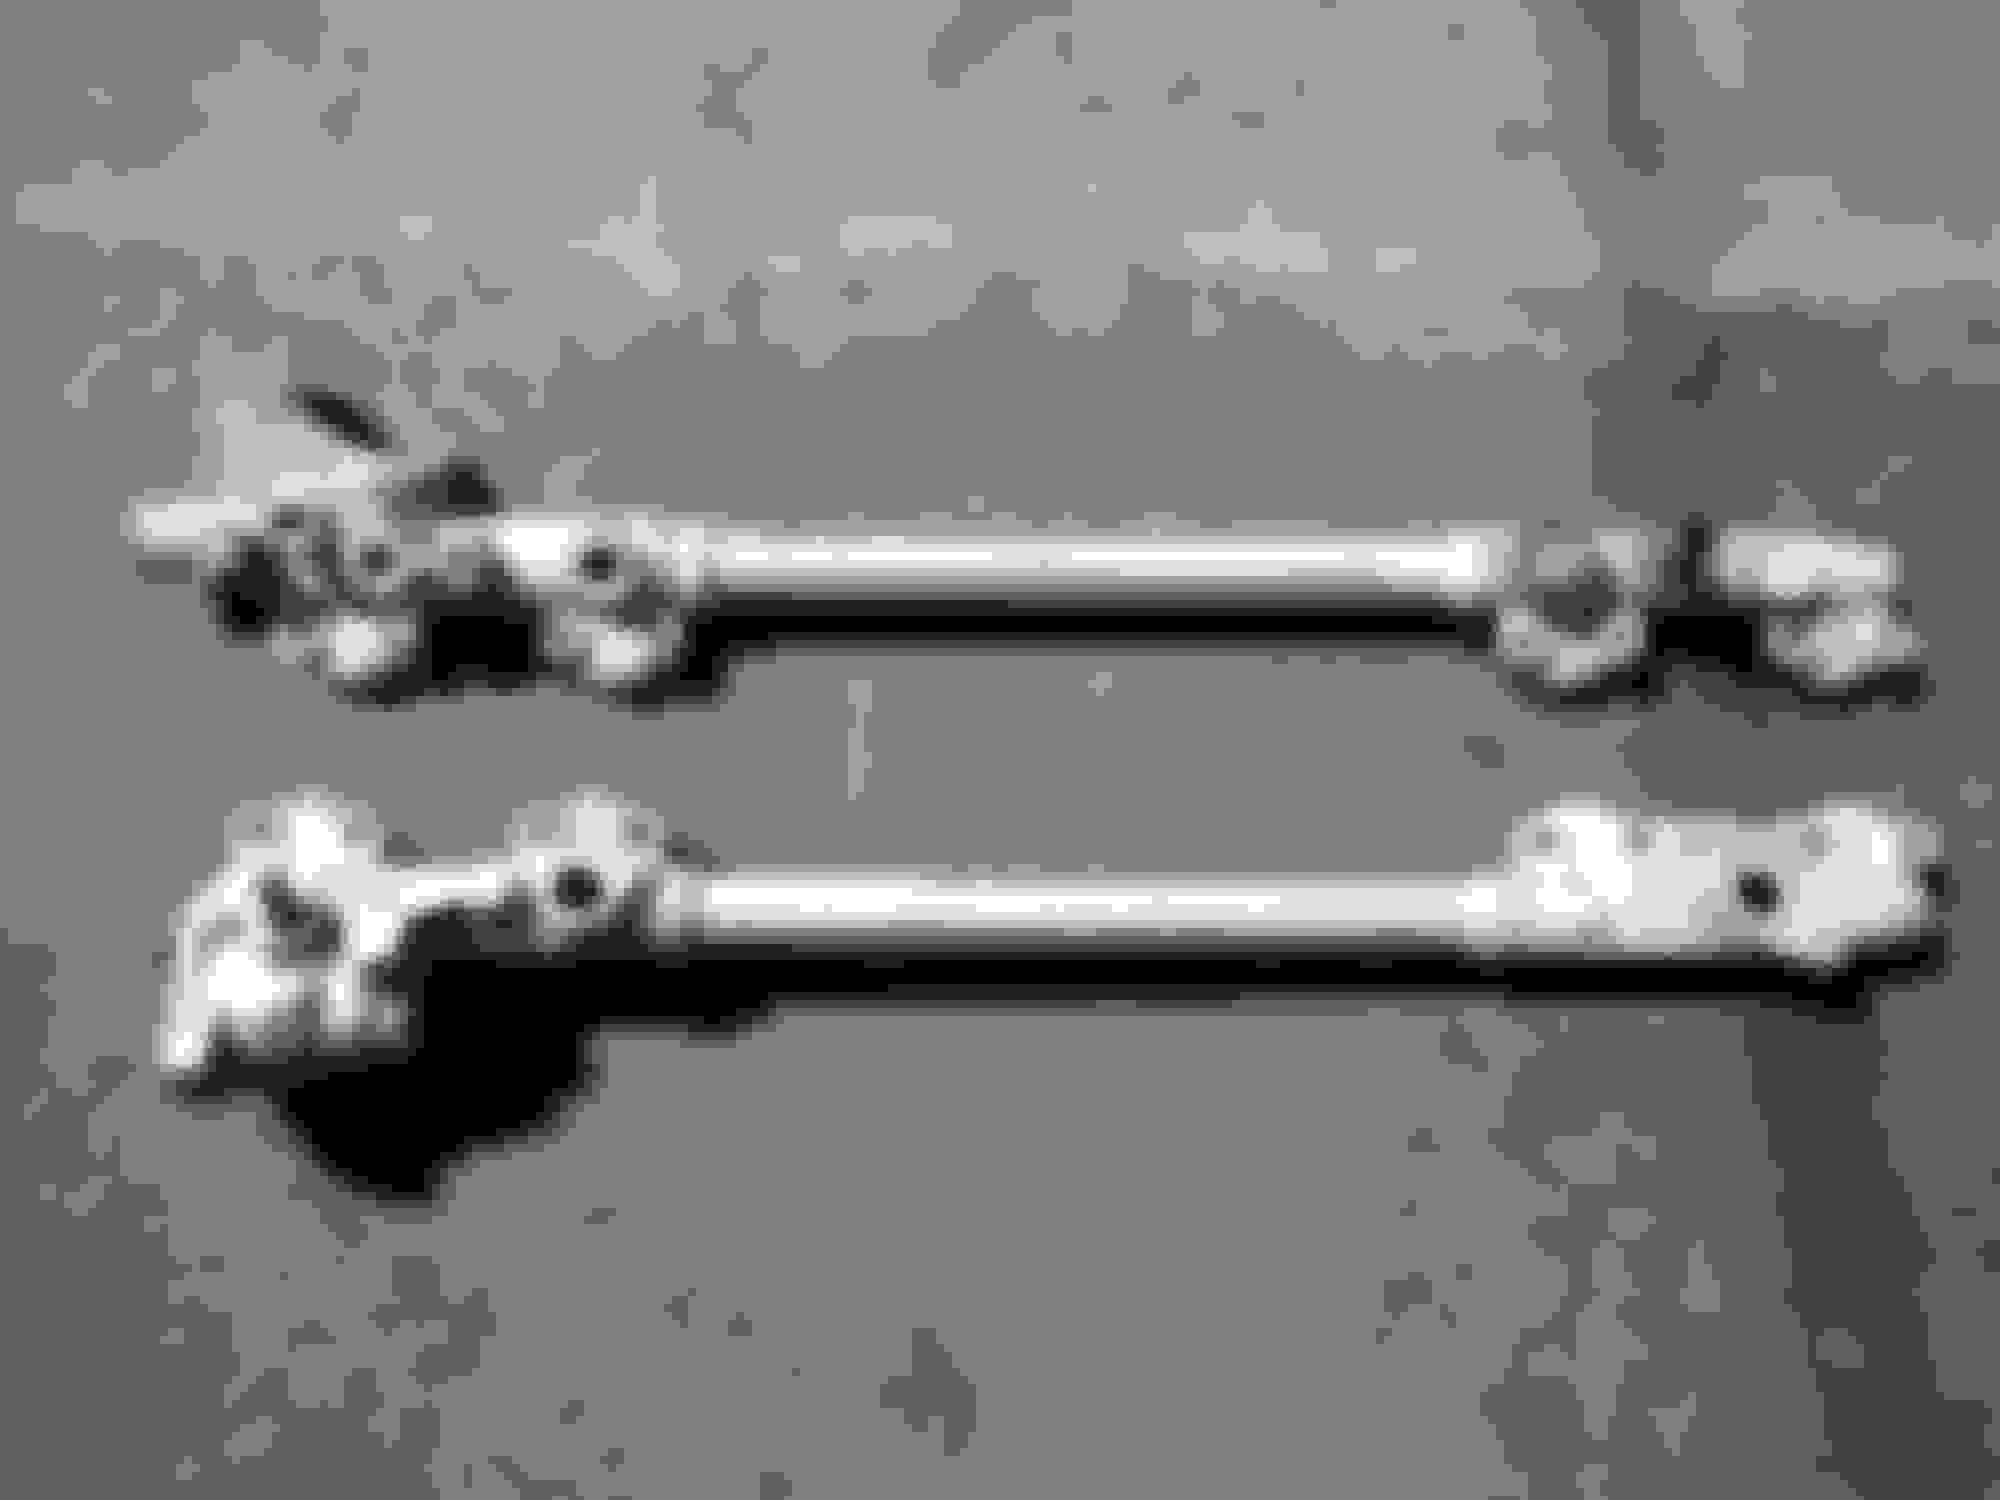
I fabricated a new water rail. The pipe is 25mm OD aluminium. The ends are turned to allow about 0.010" clearance for the pipe. They are then sweated in using aluminium brazing rods.
The manifolds have been bored to 26mm to accept the turned ends. I was thinking of using JB Weld to hold the ends in the manifolds, it is good to 287�C and the ends are a tight press fit into the manifolds.
The shim issue became very clear to me when I installed Isky cams in my 6.0 rebuild. Isky only sells one size of shim. They are .680 in diameter. So not only did I have to have them turned down in diameter, I then had to grind them individually for valve adjustment. By doing this, it is easy to see how Warrjon put hundreds of hours into these heads.
Just try and rebuild the 6.0! It came with NUMEROUS part numbers for main and rod bearings as Jaguar (Ford) tightened the tolerances on the V12. Most of these bearings are NLA. I had to use 5.3 bearings. The tolerances are within spec for a 5.3, but a little "loose" on the 6.0. I don't have any concern they won't work, but can see how Jaguar(Ford) improved oil pressure on the V12 during its last years of production.
The valve shims were reduced in size to make the V12 valve drivetrain more quiet. I imagine to put the engine on par with Mercedes and BMW? as far as quietness goes.
Hi Daim, the copper/brass would look awesome polished, but I am not a fan of aluminium with copper/brass in close proximity.
I will polish the aluminium rails once I have them finished.
SC6 I'm lucky I have Norman who has built more hipo V12's than I've had hot dinners, he has been advising as we go. once the heads are finished I will ship them off to him bolt the engine together. My 6.7L is using 5.3L bearings too, no problem at all, just use thicker oil as per 5.3L.
Old Softer Tappet Shims 0.680"in / 17.27mm: (or 0.710"in depending on source)
C2243A to C2243X (V12)
or
EAC5013/2 - EAC5013/48 (AJ6)
(Vins specified.) Replaced by:
New Hardened Tappet Shims for AJ6 & Jag V12 6.0L 1993 & onward
0.610" in / 15.49mm
EBC11360/2 - EBC11360/48
Apparently the change was to cure noise and wear issues.
I didn't find a part number for the spring retainer change.
I know that Chad Bolles uses lash caps instead of shim changes to change clearances (and save weight), but I've also heard it's difficult to find lash caps that fit with the standard 6.0 keepers that go with the smaller tappet shims.
I like the extended size water rail. JB Weld would be expedient, but did you consider making a small groove in the pipe so that an O ring or double O ring setup could be used? e.g.
Last edited by FerrariGuy; 03-27-2018 at 08:50 PM.
Reason: Adding picture
Hi Daim, too difficult to machine a one piece water rail. I ended up brazing the whole thing together, All I need to do now is build a jig to pressure test it.
First pic is my rail, the second pic is what gave me the idea, it is one off a V12 race car Norman Lutz built. Cooling is all about flow, increase the flow increase the cooling.
 01-08-2018, 02:43 AM