When you click on links to various merchants on this site and make a purchase, this can result in this site earning a commission. Affiliate programs and affiliations include, but are not limited to, the eBay Partner Network.
I have recently started a 700R4 conversion using the kit by John's Cars. I have an 88XJ-SC with the TH400 that still shifted fine but had a pretty bad leak due to a stripped pan bolt. I was digging in to work on a rounded 12 point starter bolt head and with the weakest use of the "while I'm in there" rationalization decided to change the transmission too :-). The TH400 had 100,000 miles and a leak and I decided to revive this car that had been sitting in my garage for 12 years and make it very desirable to drive. According to what i had read, gears were a good substantial start and the 700R4 had multiple benefits with a better first gear and better cruising gear, and according to John's website was a "Bolt in" swap.
Let me just say, it is not that simple. The biggest non-bolt in aspect of this is the 700R4 modifications. Lots of cutting. I'll get to that later.
I'll put the list of costs I've incurred so far so that you can see it early in the thread.
$895 - John's kit (add $200 for a flywheel core so you send yours back to be modified for the next kit he sells).
$525 - 700R4 rebuilt w/o core.
$170 - Torque converter
$360 - Camaro aluminum drive shaft ($100) and cut to length ($260)
$37 - Speedo adapter
$37 - Flywheel cover
Total= $2024
My evaluation of using this kit is mixed but mostly very good.
Pro's - mostly complete kit, very good instructions with extensive cautions to save redo's
Con's - mostly complete kit is missing GM parts you have to order as you go through the instructions. I read them through before hand but wasn't sure if I needed these parts until i started to swap parts from teh TH400 to the 700R4.
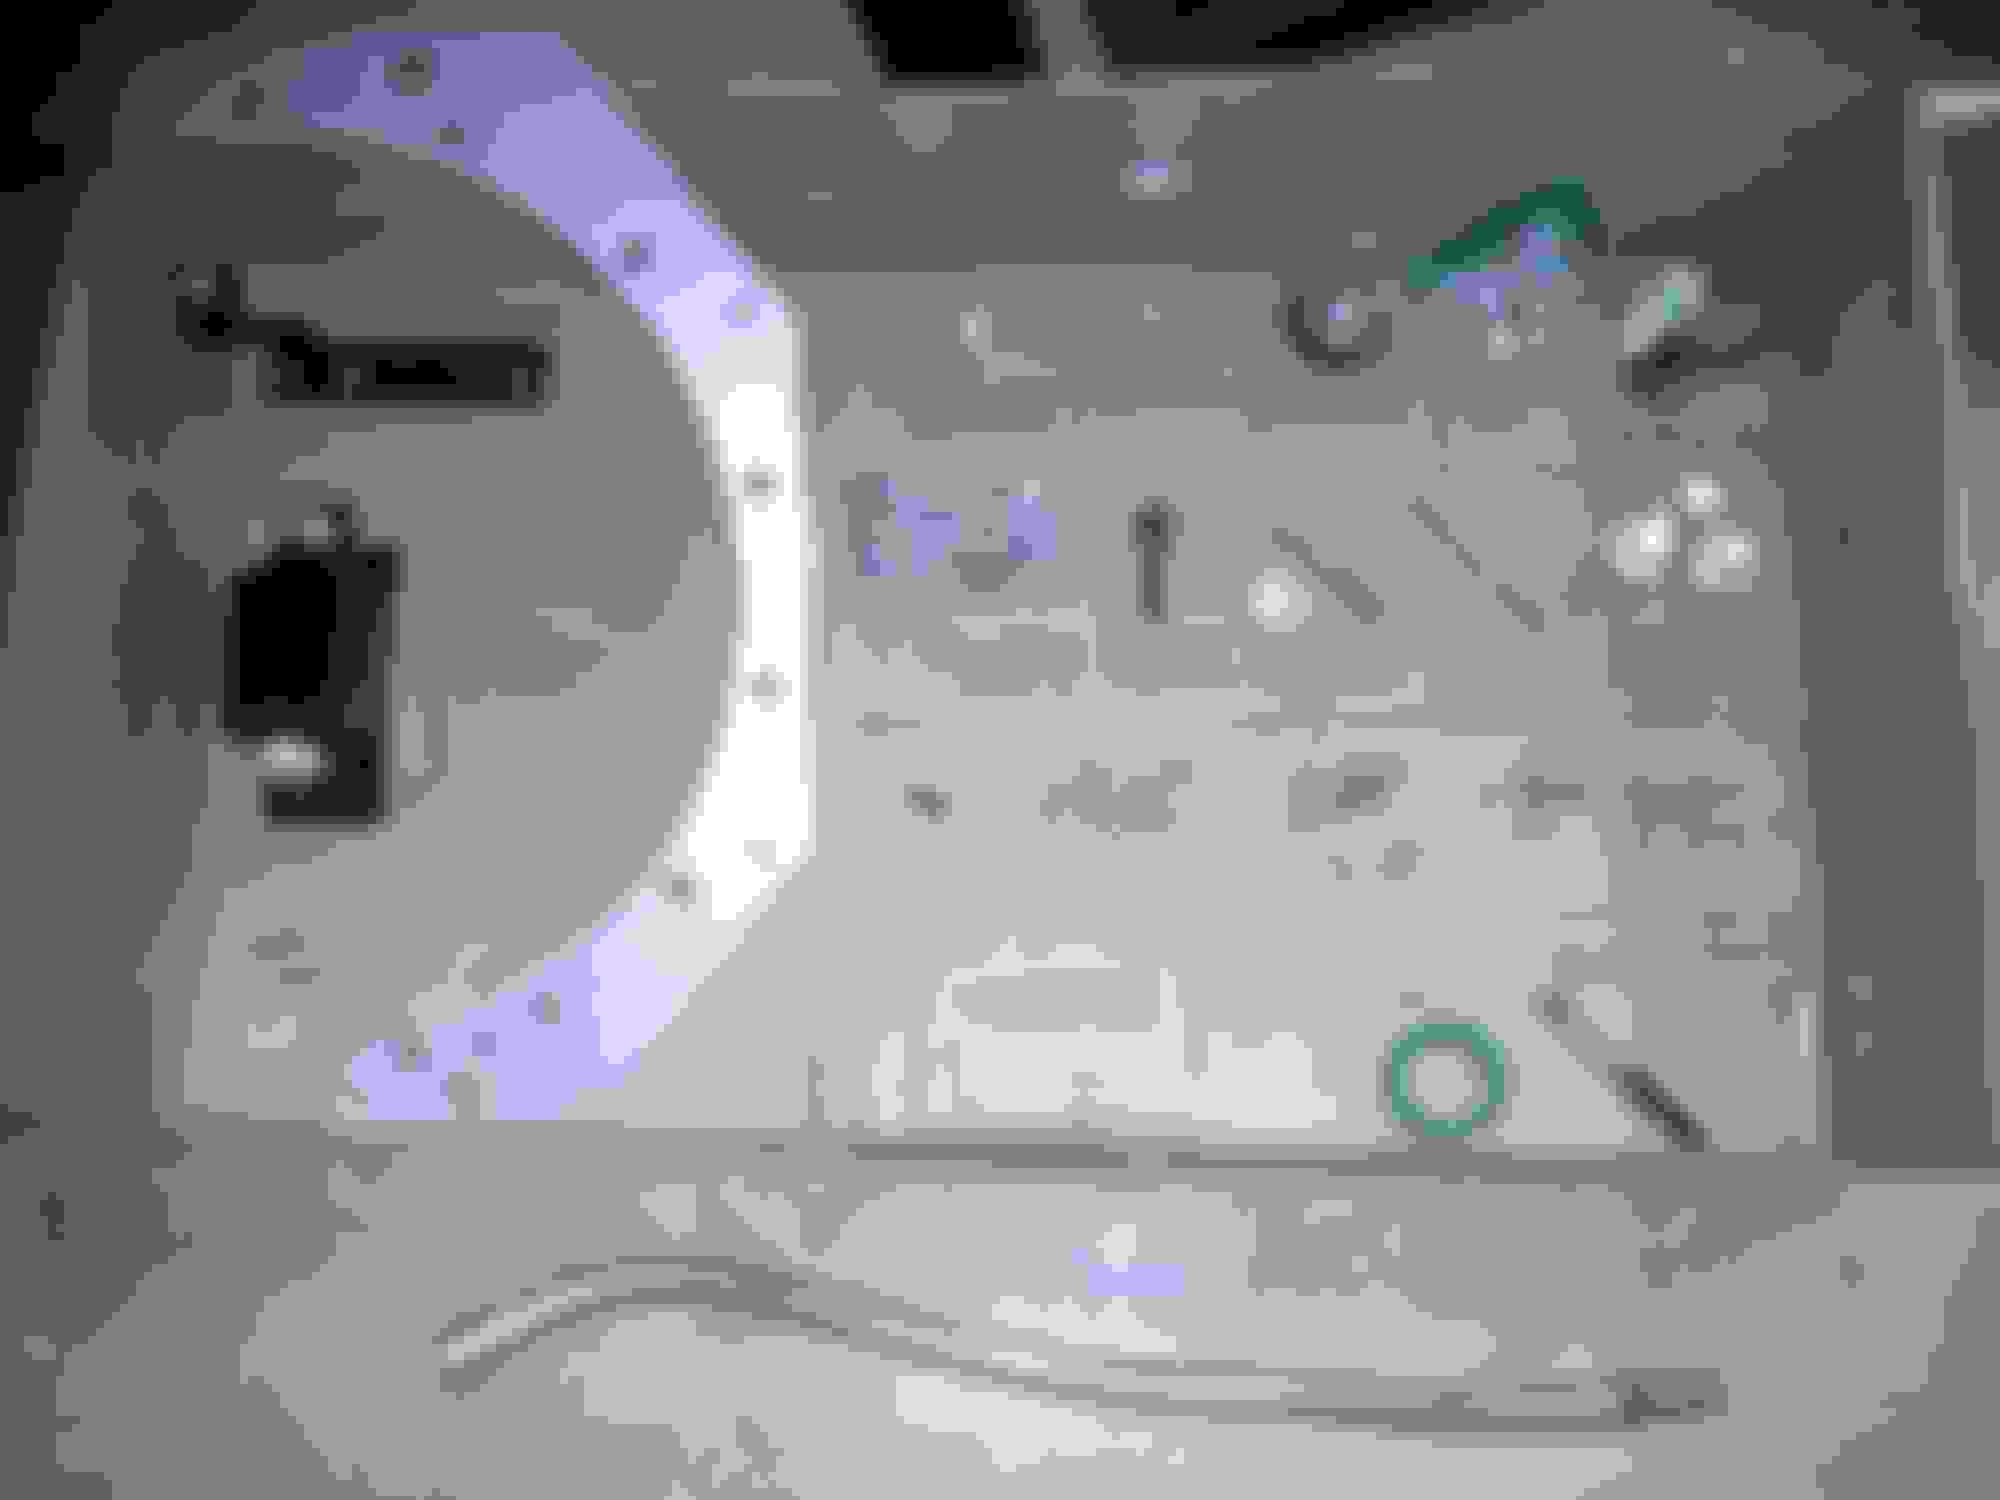
You receive the kit with the warning of notifying him within 72 hours if anything is missing or he'll charge you to send you what's missing. Then you receive what is essentially a parts list and a bag of bolts and specialty parts and tools with no description on any specialty part to know what is what. So i had to go through by process of elimination and sent him a pic of what i thought i had for him to confirm if i was right. I was missing a couple things. Only one was noted on the list. Here is a picture with everything labeled (the modified flywheel and a pretty nice new trans crossmember are in the following picture) for if you decide to take this on.
As you start to move your way through the instructions, they are very thorough but not always clear. With just a few pictures and illustrations, it would be great. Especially with the modifications to the 700R4 that you have to do.
Some of the modifications are actually illustrated on Monster transmission's website, so that was a huge help to watch those. Then his instructions make sense.
incidentally the monster transmissions's look like they have all the tabs to cut off already removed. It's possposs that if you buy one, you're only mod could be the hole in the Bell housing.
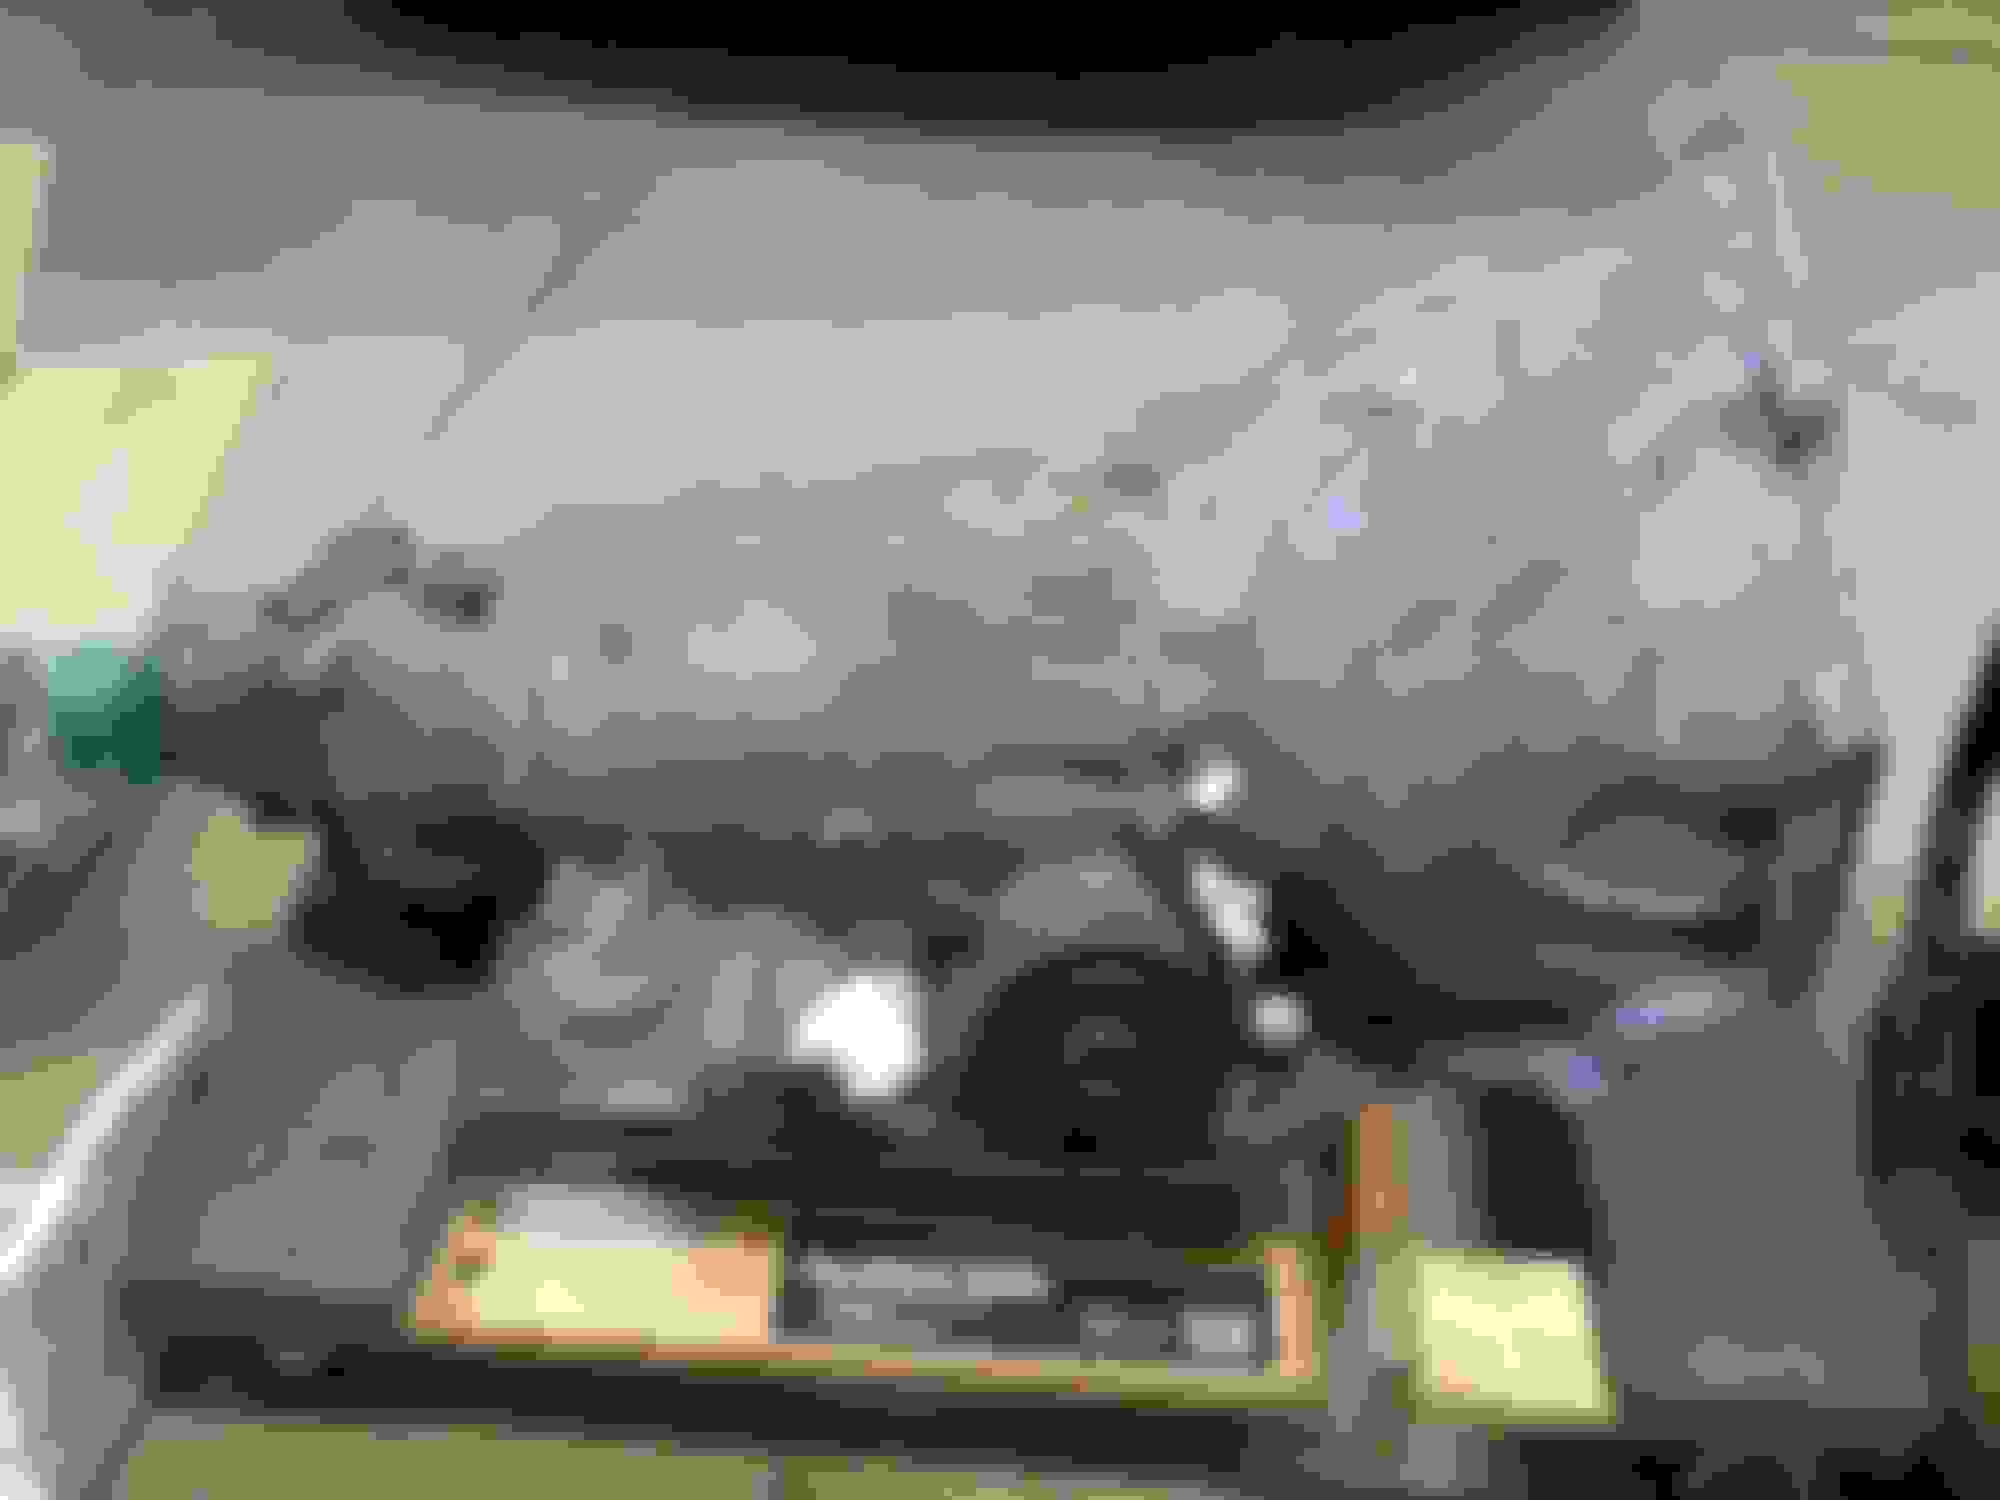
The modifications to the 700R4 are to remove 4 tab on the outside of the case, cut a pretty large hole to access the 12 point starter bolt after installation (he provides a decent tool for this). I still did a test install to make sure I could access it, removed the trans and cut the hole quite a bit larger.
The tab I had to cut off is below the hole and was clear in the instructions. The second tab wasn't clear but i did figure out that it was a tab where the hole now is. Above is the access hole I had to make. Pneumatic tools were extremely helpful
The other huge modification for which there were no instuctions was how to modify the TC shield. I essentially had to cut out the entire piece that slides behind the flex plate because the trans is now 10mm farther away from the flex plate. I modififed the TH400 shield and will use sheet metal screws once the trans is in place and I can measure that up.
The trans removal process is pretty straight forward. It required about 2 feet of extensions and a swivel 9/16 socket to get all the bolts loose. The very top one i had to convert to a 1/2" ratchet 24" long to break it free.
What it took to break the TH400 bolts free next to my size 13 shoe and fashion sock
I'm sure it works, but I can't say as I'd be comfortable cutting a hole in the case like that.
Make sure you are very careful setting up the TV cable, I was sent a youtube video this week of a 700R4 that burned up in under 5 miles because of an incorrectly set cable.
Thanks for posting this, I have never seen the contents of the kit before and was curious what it contains.
Great write up, I will be following with interest to see how this turns out.
Excellent upgrade!
TV cable.. what does that do?
My impression is that it's the input to the transmission from the throttle and impacts line pressure, which impacts your shift points and shift feel. Seems like it replaces the vacuum modulator (?). With heavy throttle it increases the shift points and firmness and with light throttle it lowers the shift points and firmness.
My impression is that is the input to the transmission from the throttle and impacts line pressure, which impacts your shift points and shift feel.
Correct, TV stands for Throttle Valve, it controls the hydraulic pressure in the transmission. If it's too low for example, then the bands only partially apply and then there isn't enough force to stop the drum they are supposed to stop, so two gears are engaged simultaneously and it burns up the clutches. That's part of the reason I like the electronically controlled transmissions, plus then shift points are programmable both up and down, that can't be done with a mechanically controlled transmission.
Good Brother.... What would it take to get precise measurements of the machined parts in the kit...? Just wondering.
Sorry, I'm not up for precise measurements but most of it seems intuitive. I believe the adaptor pieces are 10mm thick.and have common dowel positions. If you have a Jag trans and 700R4 you could overlap the bolt paterns with common Dowel pin positions. There is an adapter between the TConverter center and the pilot hole of the crank and the flex plate needs holes cut in the TC hole diameter width.The trans mount doesn't seem difficult..
This seems like a simple task but again the instructions did not work well as I had to freeze the dowel pins and pound them into the block. Instructions recommended mounting the adapter with all the bolts and driving the dowels through it into the block before they warmed up. That didn't work well, so i ended up pounding them into the bare block. This worked fine but probably because i bought a brass hammer and feared mushrooming the dowels much less and beat the crap out of them. I was using a regular hammer originally and was probably too cautious. I live in a sad neighborhood where none of my neighbors had a brass hammer and i had to buy one. I was impressed that all teh bolt holes lined up perfectly even with the dowels pounded in. I expected some slight difficulty but there was none.
This process took a couple tries, which meant refreezing them a couple times. But now i'm back on track. I'm on the last stretch now and should be done shortly.
Note the torque converter access hole to the left of the crank. You get to it by removing the oil filter. I was elated that this was in teh instructions and save a lot of frustration of trying to get it from the bottom.
I have an electronic speedo pickup, so i am assuming these part of the instructions don't apply but it isn't clear. What does EGR mean?
Doesn't this seems like this is a speedo cable and doesn't apply if you have a speedo sensor?
EGR is usually Exhaust Gas Recirculation, but the early Series III XJ6 ( roughly 1979-84(?)) had a counter that turned on a light every 50,000 miles to remind the owner to change the oxygen sensor. I think that is what these instructions refer to. I don't believe the cars with the transducer pickup ( instead of a cable) had that.
If you have an electronic speedometer I don't think this section applies.
I have an electronic speedo pickup, so i am assuming these part of the instructions don't apply but it isn't clear. What does EGR mean?
Doesn't this seems like this is a speedo cable and doesn't apply if you have a speedo sensor?
XJeff
Your 1988 does have an electronic speedo, not a cable. Your model is about the change time: your speedo signal may come from the diff, or from the rear LHS of the GM400. If from the diff, no worries about the speedo if he gearbox is changed. If from the GM400, then the kit seems to have adaptor instructions; essentially the signal is provided by a mechanically driven electronic signal generator fixed to the gearbox, it it just a matter of installing it into the new gearbox.
Last edited by Greg in France; 07-08-2020 at 02:15 AM.
XJeff
Your 1988 does have an electronic speedo, not a cable. Your model is about the change time: your speedo signal may come from the diff, or from the rear LHS of the GM400. If from the diff, no worries about the speedo if he gearbox is changed. If from the GM400, then the kit seems to have adaptor instructions; essentially the signal is provided by a mechanically driven electronic signal generator fixed to the gearbox, it it just a matter of installing it into the new gearbox.
2nd. My build date is March 1988 and my speedo is in the diff. The th400 has a blank plate pressed in where the speedo would have went in earlier th400.
See ot here
Good job so far Jeff.
This is why I decided not to got 700r4 route and rebuild my th400. Nothing wrong with rebuilding and its a proven transmission in race/drag/muscle car applications. You are already at 2k plus USD which is about 2.8k cdn. Plus the extra shipping and taxes etc. For me it would be about 4k I bet when it was done which at this time that money needs to go elsewhere in this old cat.
Keep up the good work though.
What stall converter did you go with? I'm.looking to put a 2500rpm on in mine but still looking at different manufacturers
EGR is usually Exhaust Gas Recirculation, but the early Series III XJ6 ( roughly 1979-84(?)) had a counter that turned on a light every 50,000 miles to remind the owner to change the oxygen sensor. I think that is what these instructions refer to. I don't believe the cars with the transducer pickup ( instead of a cable) had that.
If you have an electronic speedometer I don't think this section applies.
Thanks, that's always been my assumption of EGR, i just couldn't make out how there was something to count or that it would be tied to a speedo cable. I appreciate the input.
2nd. My build date is March 1988 and my speedo is in the diff. The th400 has a blank plate pressed in where the speedo would have went in earlier th400.
See ot here
Good job so far Jeff.
This is why I decided not to got 700r4 route and rebuild my th400. Nothing wrong with rebuilding and its a proven transmission in race/drag/muscle car applications. You are already at 2k plus USD which is about 2.8k cdn. Plus the extra shipping and taxes etc. For me it would be about 4k I bet when it was done which at this time that money needs to go elsewhere in this old cat.
Keep up the good work though.
What stall converter did you go with? I'm.looking to put a 2500rpm on in mine but still looking at different manufacturers
Thanks. I admire your bravery in rebuilding the TH400. I got a quote of $1200 to rebuild my 100k+ one since I'm not so brave and an $800 addition didn't seem like much at that point to upgrade to a "bolt-on" kit
John recommended an 1800--2000 stall out of a 92 Camaro/Firebird. So that is what i went with. That may be because of the lowered engine speed at highway speeds so you don't feel the TC lockup bump?
I should have the flexplate installed tonight and possibly the trans.
Thanks
All I've read is recommended 2300 to 2500 stalls. But that is with the 3spd so maybe why.
I was quoted 1200cdn for out of car and 1700cdn if in the car. I will have maybe 800cdn into it doing it myself plus the experience and learning is priceless and something i can pass onto my sons since each of them will be getting a classic car.of some sort for their 16th birthdays. Lucikly im 6 years away from the first one still lol...who by change wants the jag which may or may not happen. Lol.
Maybe it's just me, but that seems like a lot more "figuring it out as you go" than I would have expected using a pre-engineered conversion kit -- including having to figure out whether your kit is missing any parts! I admire your bravery. That's not something I'd want to put myself through.
Three speeds + OD behind the V12. + the deeper first!! My oh my that will be fun to drive...
I used a kit from Johns cars to install the LT! in my 83 XJ6. Very complete, but not everything.
And a big plus was the help in making things work... It was a huge step for me..
Done in 2006, the day it passed the SMOG referee test.. Still on my garage, and fun to drive. well, not any nowadays, I am in "Lock down"!!
Maybe it's just me, but that seems like a lot more "figuring it out as you go" than I would have expected using a pre-engineered conversion kit -- including having to figure out whether your kit is missing any parts! I admire your bravery. That's not something I'd want to put myself through.
I agree with you, it's more than I anticipated. I used to hesitate to get in really deep when I didn't know what I was in for, but I'm getting past that. It helps to just always believe there is always a solution even for unknown problems, especially with the support of a great forum like this.
I am providing a lot of feedback on his instructions for John also. I'd almost rather rewrite them.
I got the flex plate installed and the pilot adapter into the crank shaft. The instructions were again backwards. Adapter first but the flex plate didn't fit over it . I should've even waited till after the locking tabs were bent up. It was a pain to do this around the adapter. The adapter has a friction fit in the pilot hole of the crank shaft. It is slotted with an Allen screw in the middle to spread and tighten into the pilot hole. The design is good though, pretty ingenious.
note the redrilled TC holes. There are only 3 needed for the 700R4.
I am having a decent sized issue. I need a GM AC Delco TV cable #2#25515598 and it seems it is not available anywhere, any more. It is NOT recommended to use a universal cable, although it is probably doable. This is all I need to put the trans in.
 07-06-2020, 08:52 PM