When you click on links to various merchants on this site and make a purchase, this can result in this site earning a commission. Affiliate programs and affiliations include, but are not limited to, the eBay Partner Network.
Has anyone ever looked at putting a modern transmission in an XJS? Having seen all the work that Xjeffs went through with the Quarterbreed conversion, it seems like a lot of effort to put in a tranny designed in the 1980s.
A 6 speed electronically controlled transmission would seem better suited to keep the car in the sweet spot of the torque curve and offer the option of �manu-matic� shifting without the need for a separate clutch.
Is there just not enough of a market for someone to justify doing the engineering work to design a conversion kit?
The shop that did my 700R4 conversion tried to talk me into a 4L60E. I've had so much trouble out of those transmissions over the years, though, that I decided against it.
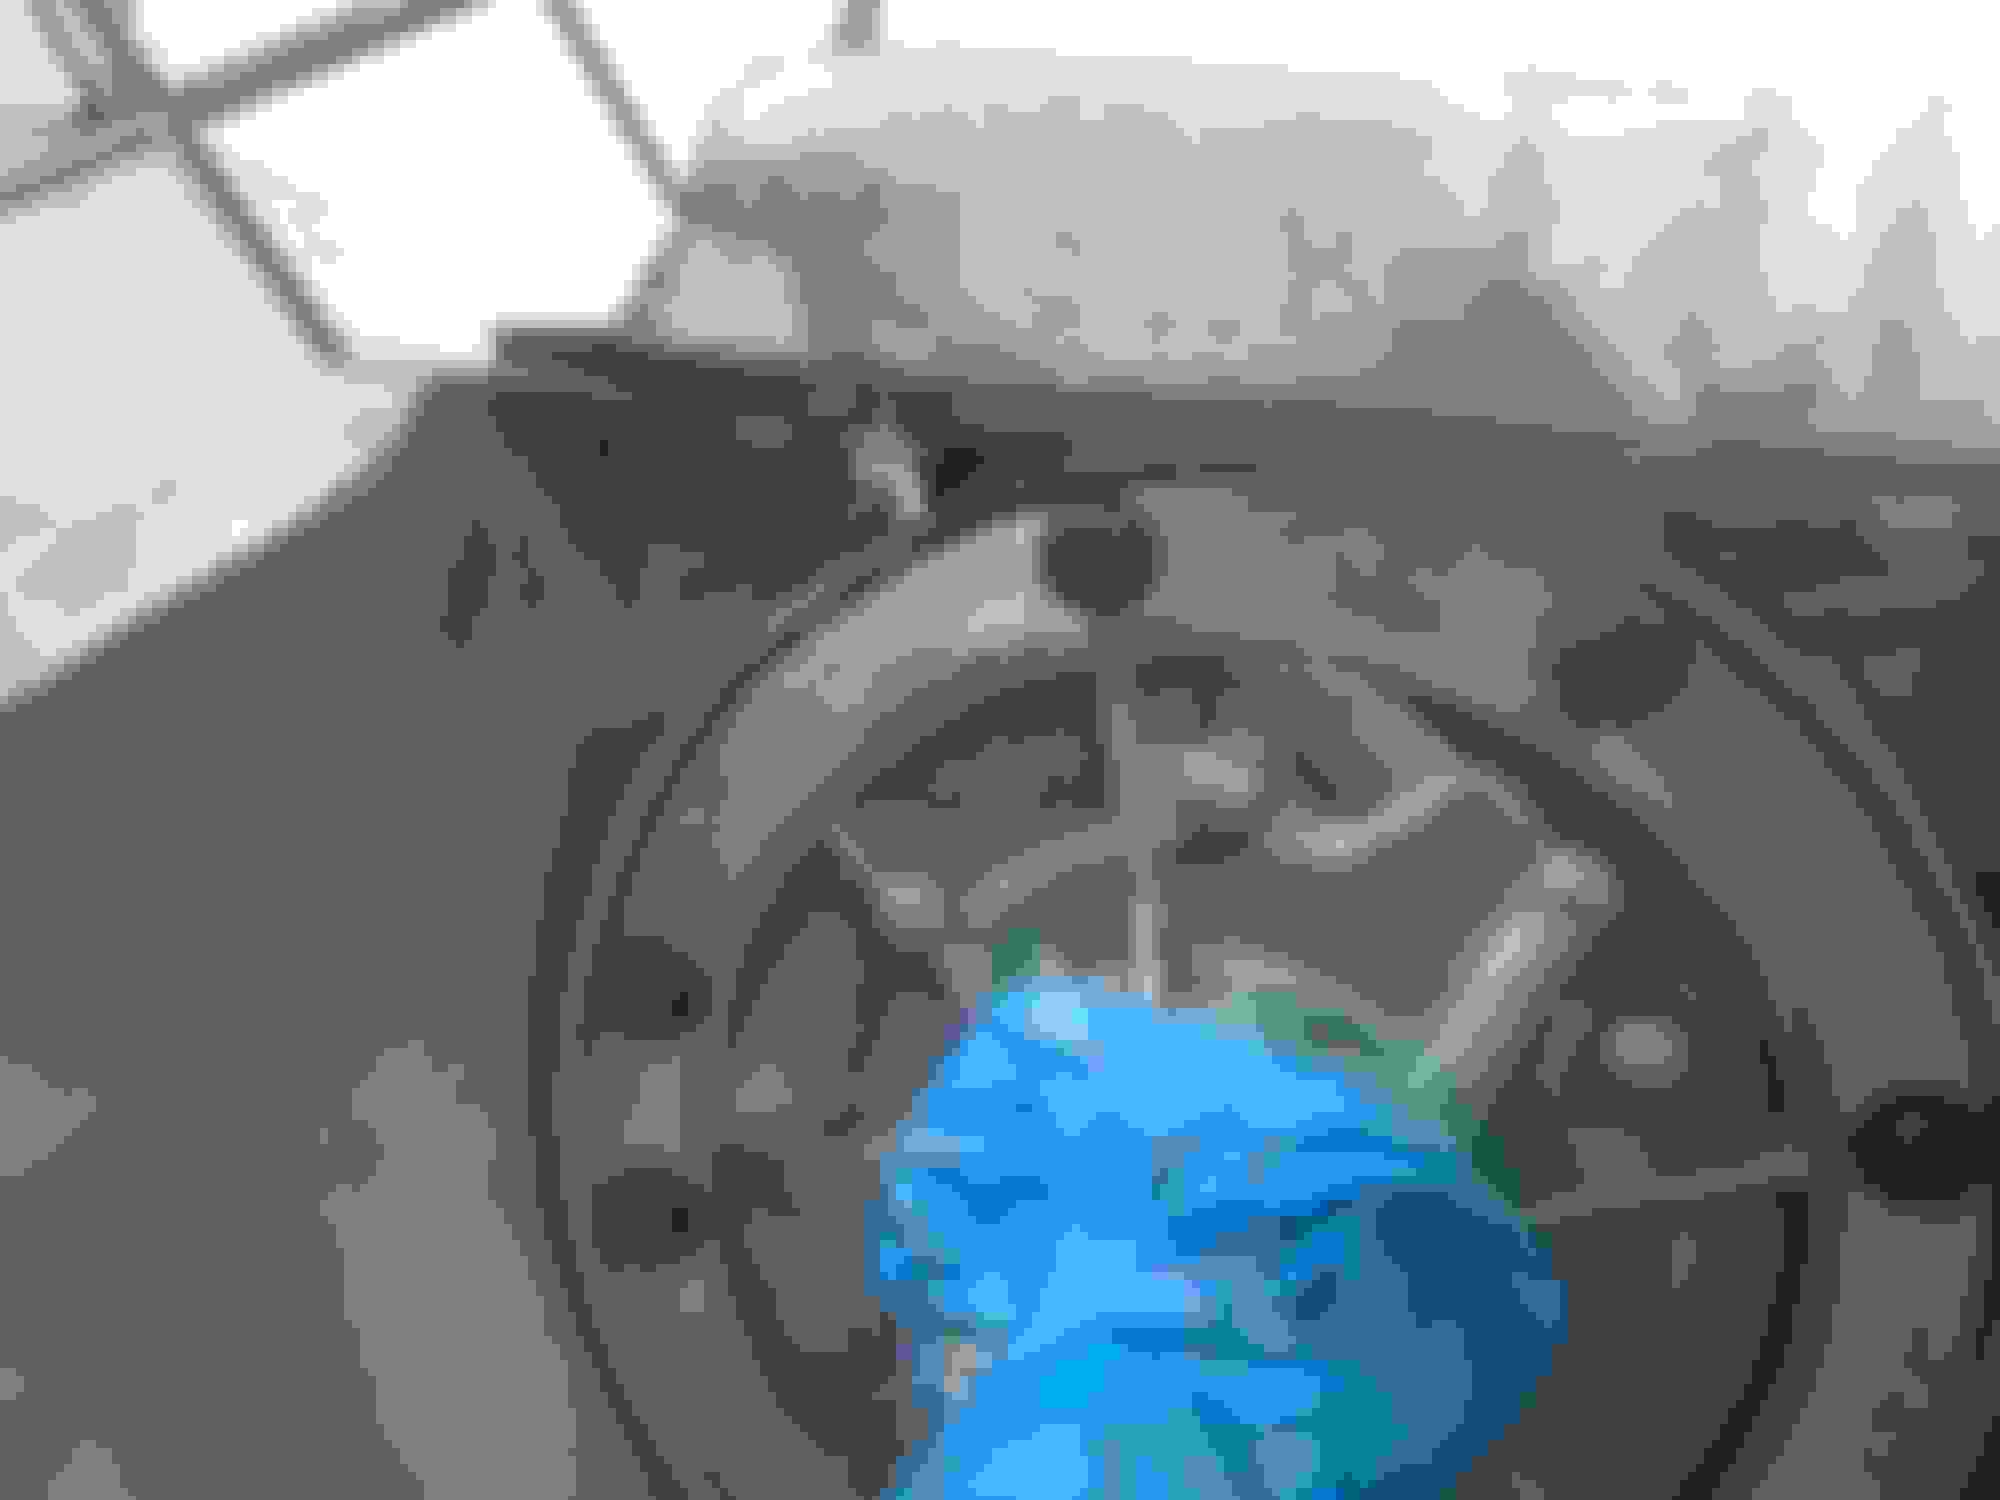
My latest work could easily fall in the brain fart category. I went to install the new TV cable and pondered why the hook for the cable was outside the trans. So against my better judgment, I tampered with the fragile balance that is the oil pan seal and pulled the pan. You see, unbeknownst to me when i bought it, one of the bolt holes was cracked and tapped to a larger size. I found it when i went to reinstall the pan the first time, but it torqued down to 12 ft-lbs so I kept going. Well, after pulling the pan a second time, I inspected the TV mechanism and realized the TV hook was supposed to be outside the trans, and promptly reinstalled the pan and over torqued the bolts to 20ft-lbs and stripped a few, including the one with only 3/4 of a hole. DOH!! Some holes i fixed with longer bolts, 1 I had to tap out to a larger size and the bad hole, I used a wing nut and blue thread locker. The pan is back on.
I liked Greg's suggestion to cover the hole in the casing so I used some left over shield to fab and extension to the flywheel cover.
It should be installed by this weekend.
A friend helped me install the trans tonight. It is bolted in but there are a couple things to sort out:the trans cooler lines and the Speedo sensor. I was really impressed with how well all the dowel pins, bolt holes and torque convertor hub lined up and went together. I'm hitting the home stretch now.
I had to disconnect all the trans cooling line brackets and bend the lines but they reached and connected to the trans. The issue is that it will take massive bending to get it to snug up to the engine and be secured by the brackets.
The speedo sensor was going to hit the tunnel if we lifted the trans high enough to bolt in the trans cross member. I will likely have to remove the sensor and bang the tunnel into submission.
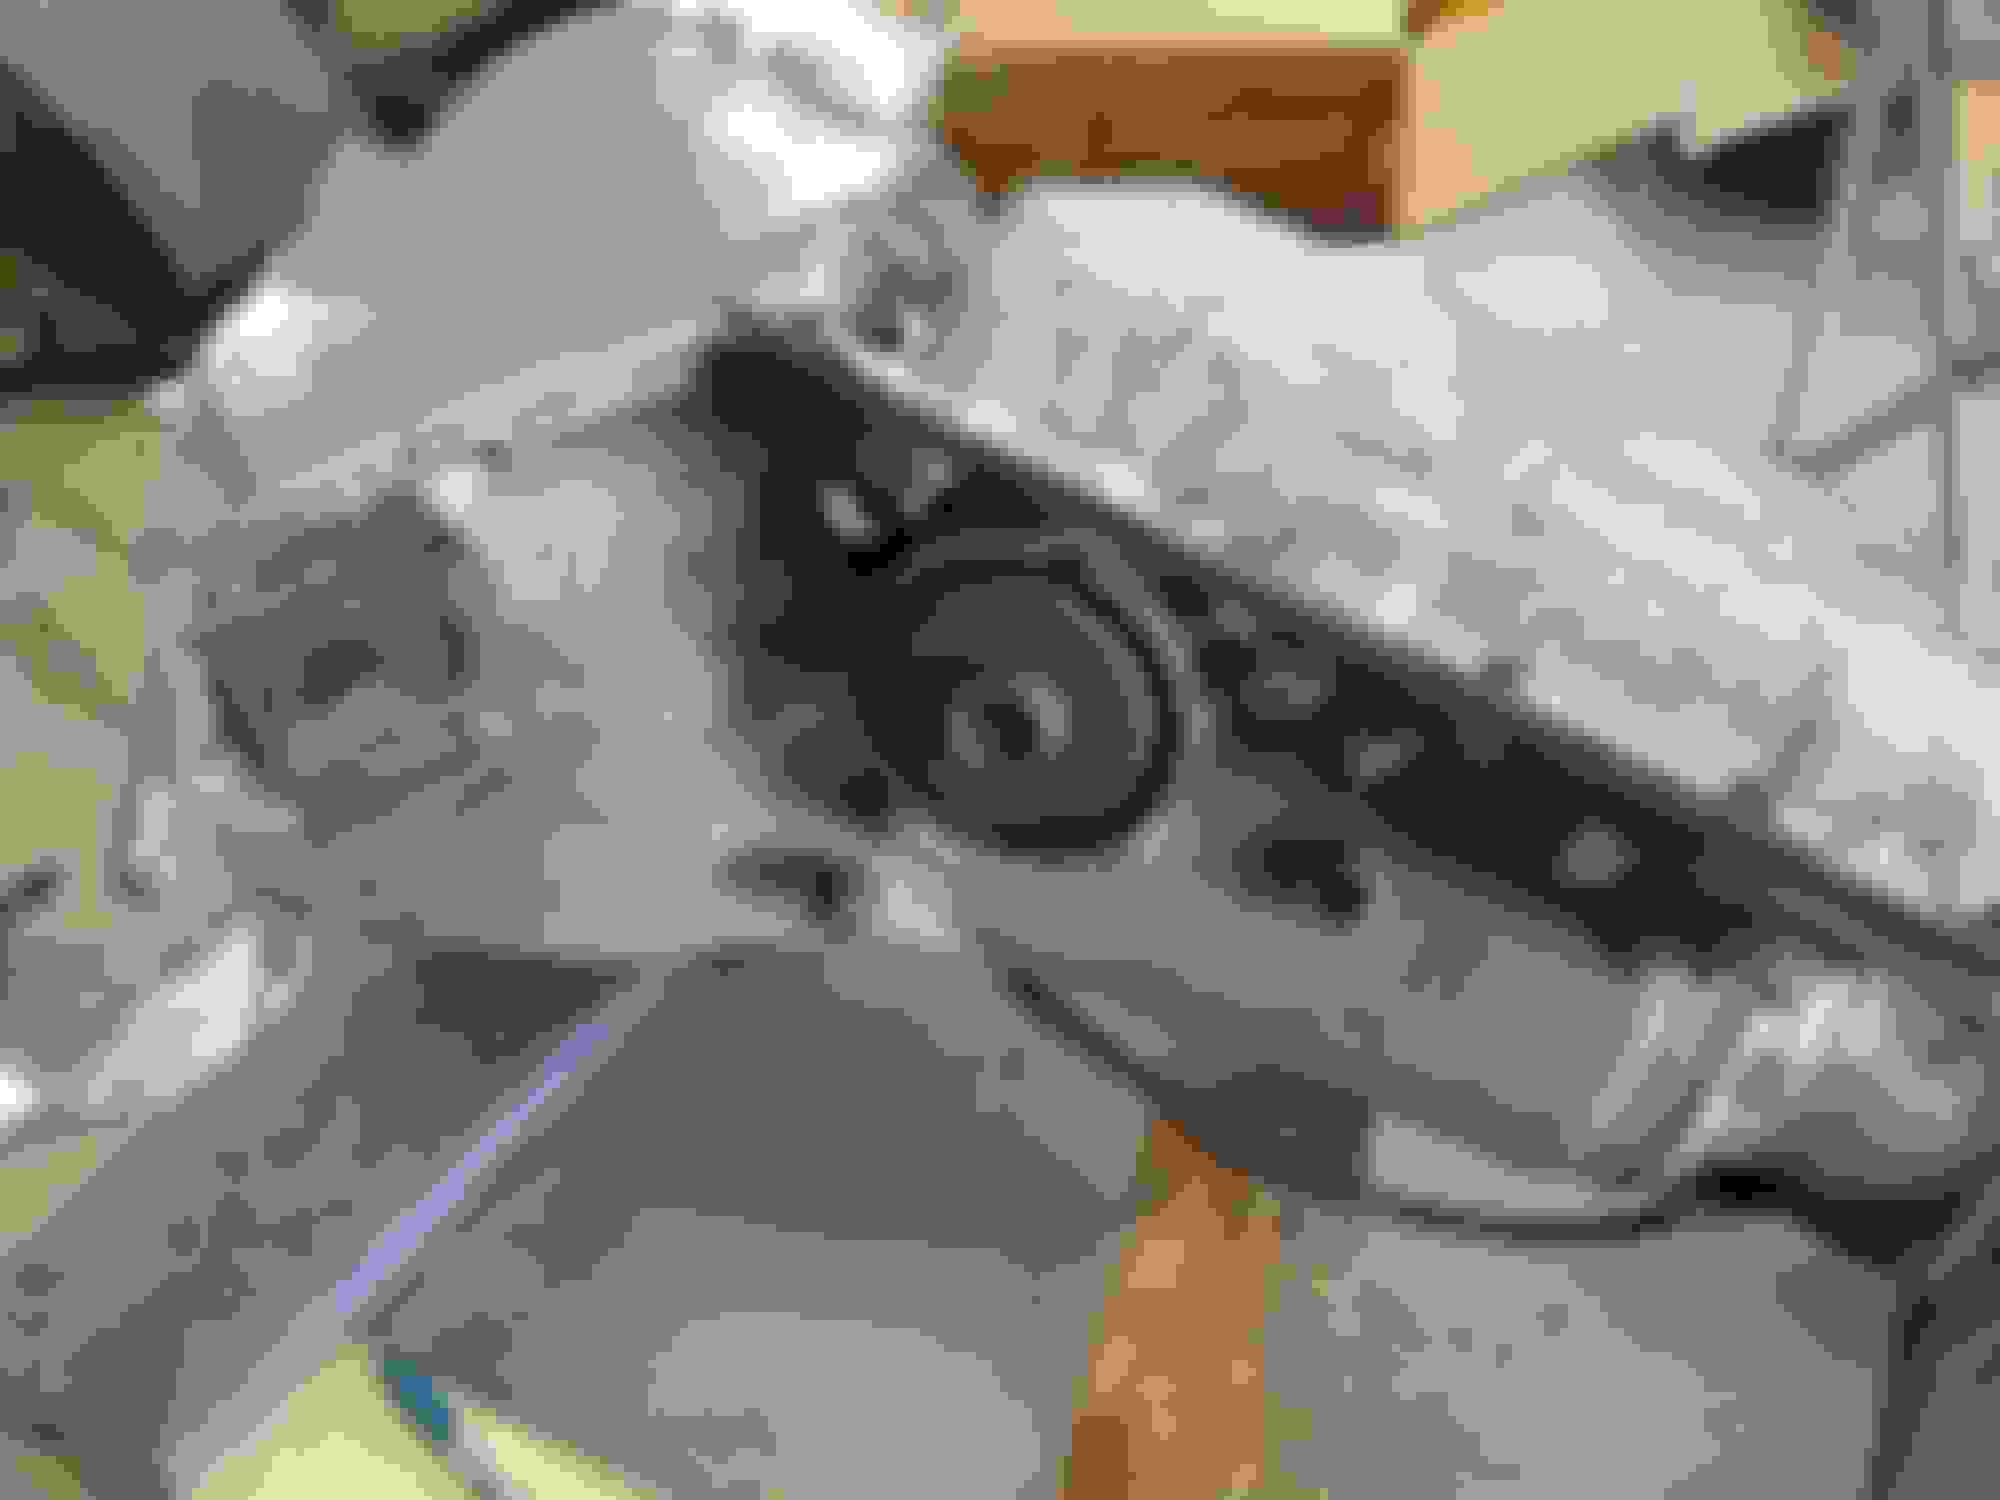
I'm looking for some input here. The speedometer transducer does not really squeeze into the space and mine is not working, according to a continuity test, drill spin test, etc. The VSS spead pickup is a tighter solution and could convert to a pulse generator through some conversion box, which is an option. Or I found a guy selling this, but know nothing about it. Does anyone know anything about this 700r4 transducer? I'm not getting any hits on google.
edit: he said it is from an 89 Camaro. I need to check if this has the same pulse per rev with the xjs transducer. It would be a great solution. How many pulses per rev on 80s trans mounted transducer?
Thanks
And can anyone tell me where this Brown wire with Black stripe plugs in? It runs down the passsenger side and looks like it might go to the alternator but I'm not the risky type to just plug it in.
The S57 guide does show a brown/black wire to the the alternator, so you're probably right. It's the 'exciter' wire that goes to the warning light on the dashboard
The S57 guide does show a brown/black wire to the the alternator, so you're probably right. It's the 'exciter' wire that goes to the warning light on the dashboard
Not sure where you at with the speed transducer issue, but have a look at this 90 degree offset one from Dakota Digital or Classic Instruments respectively.
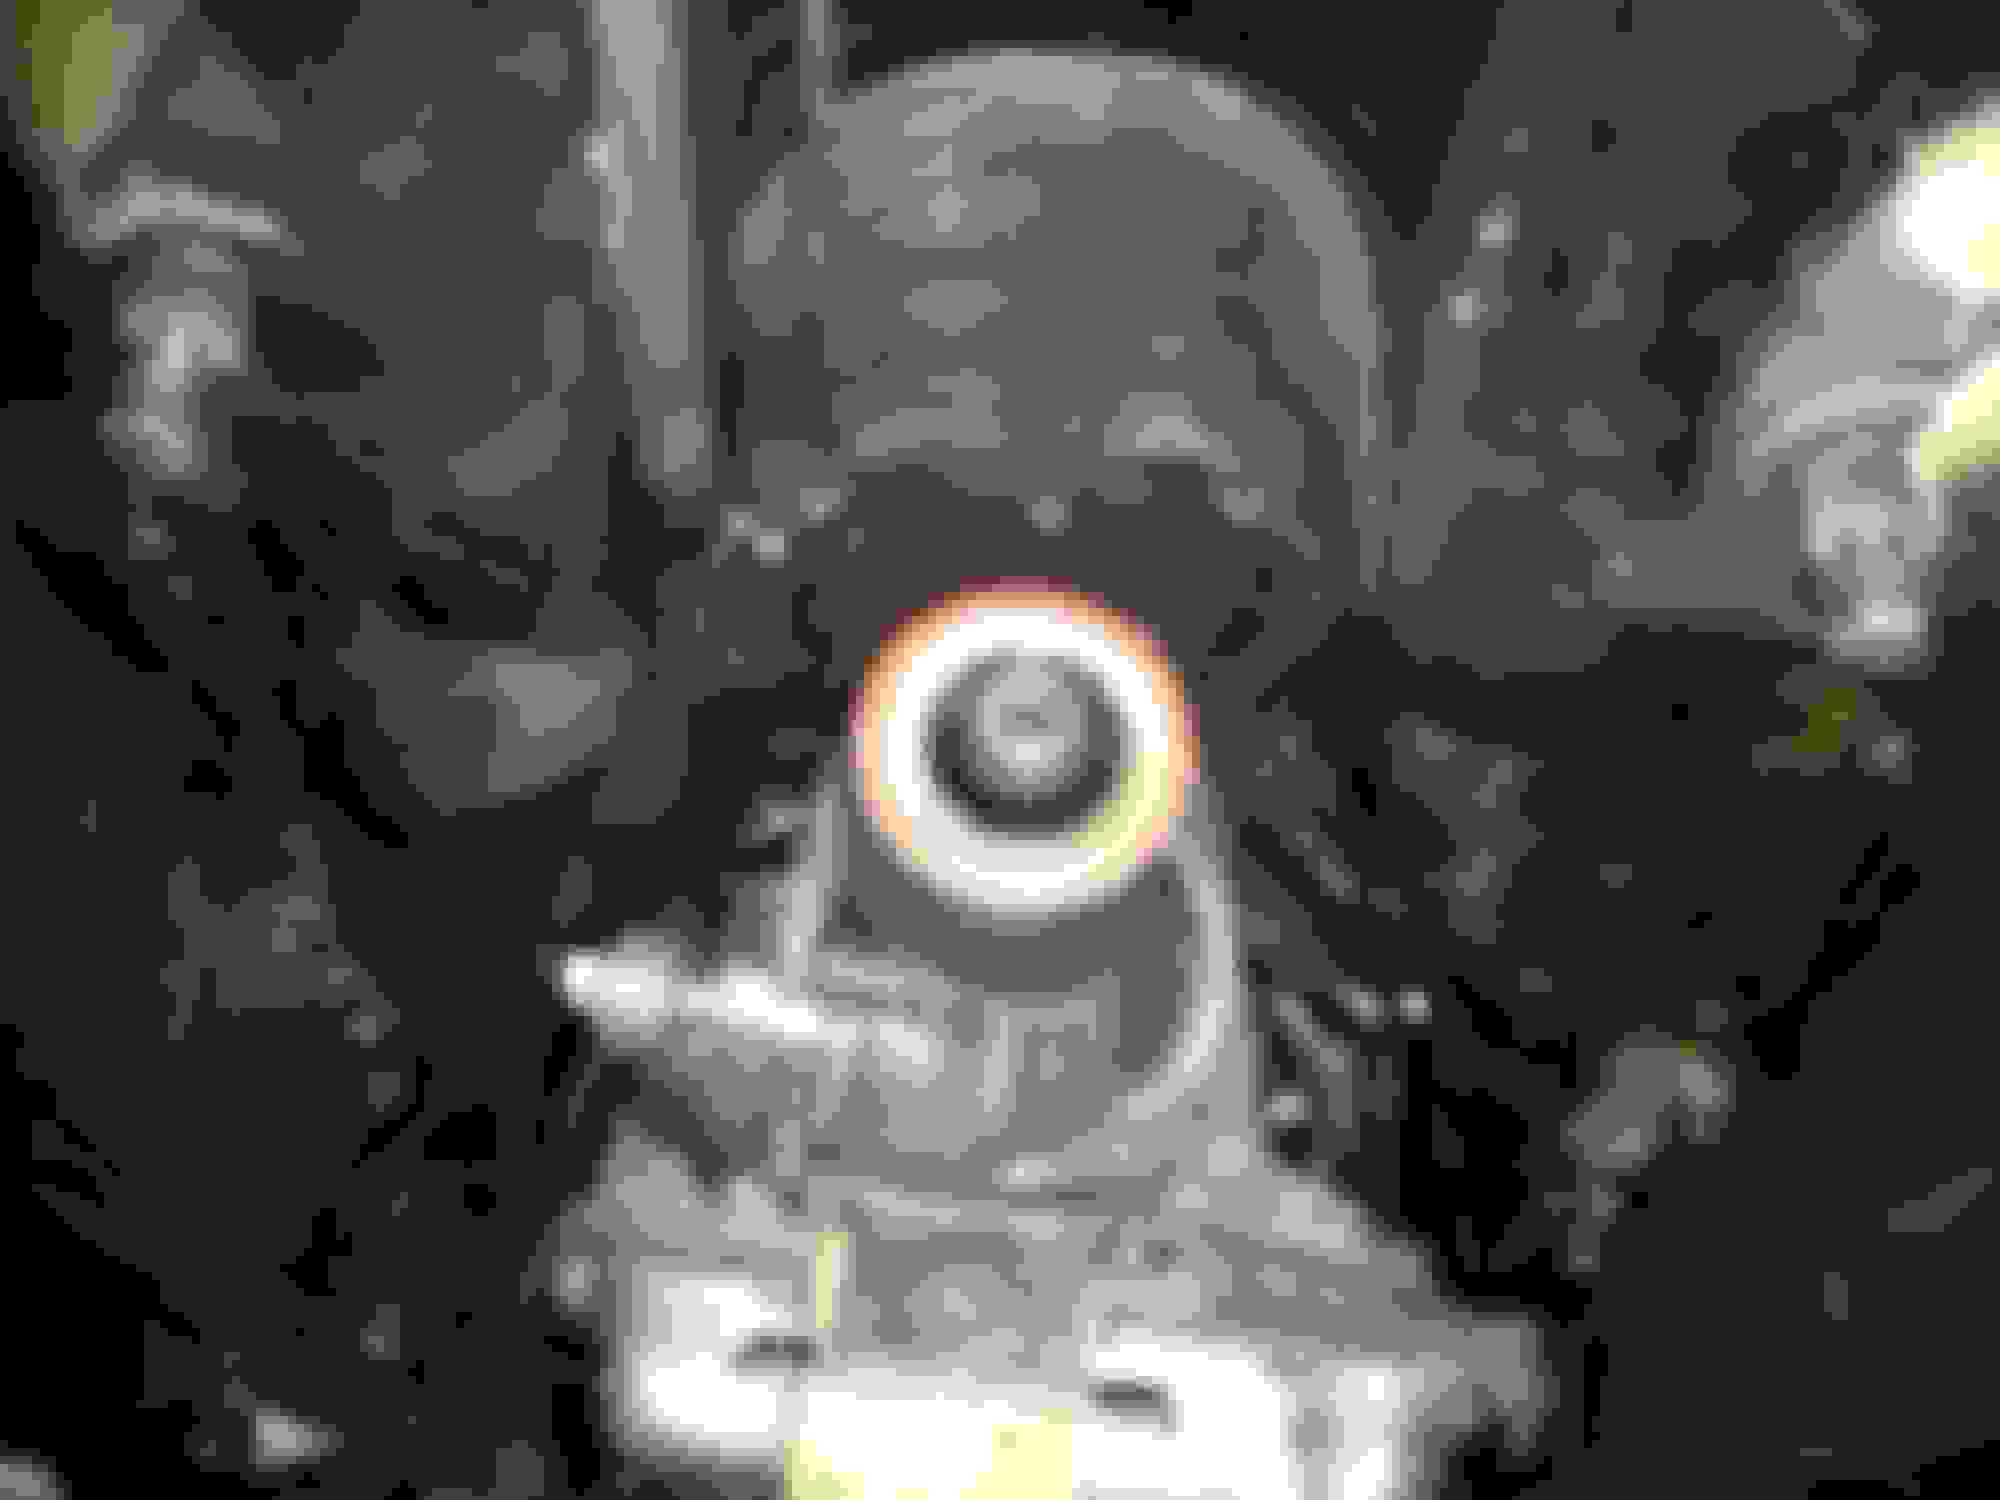
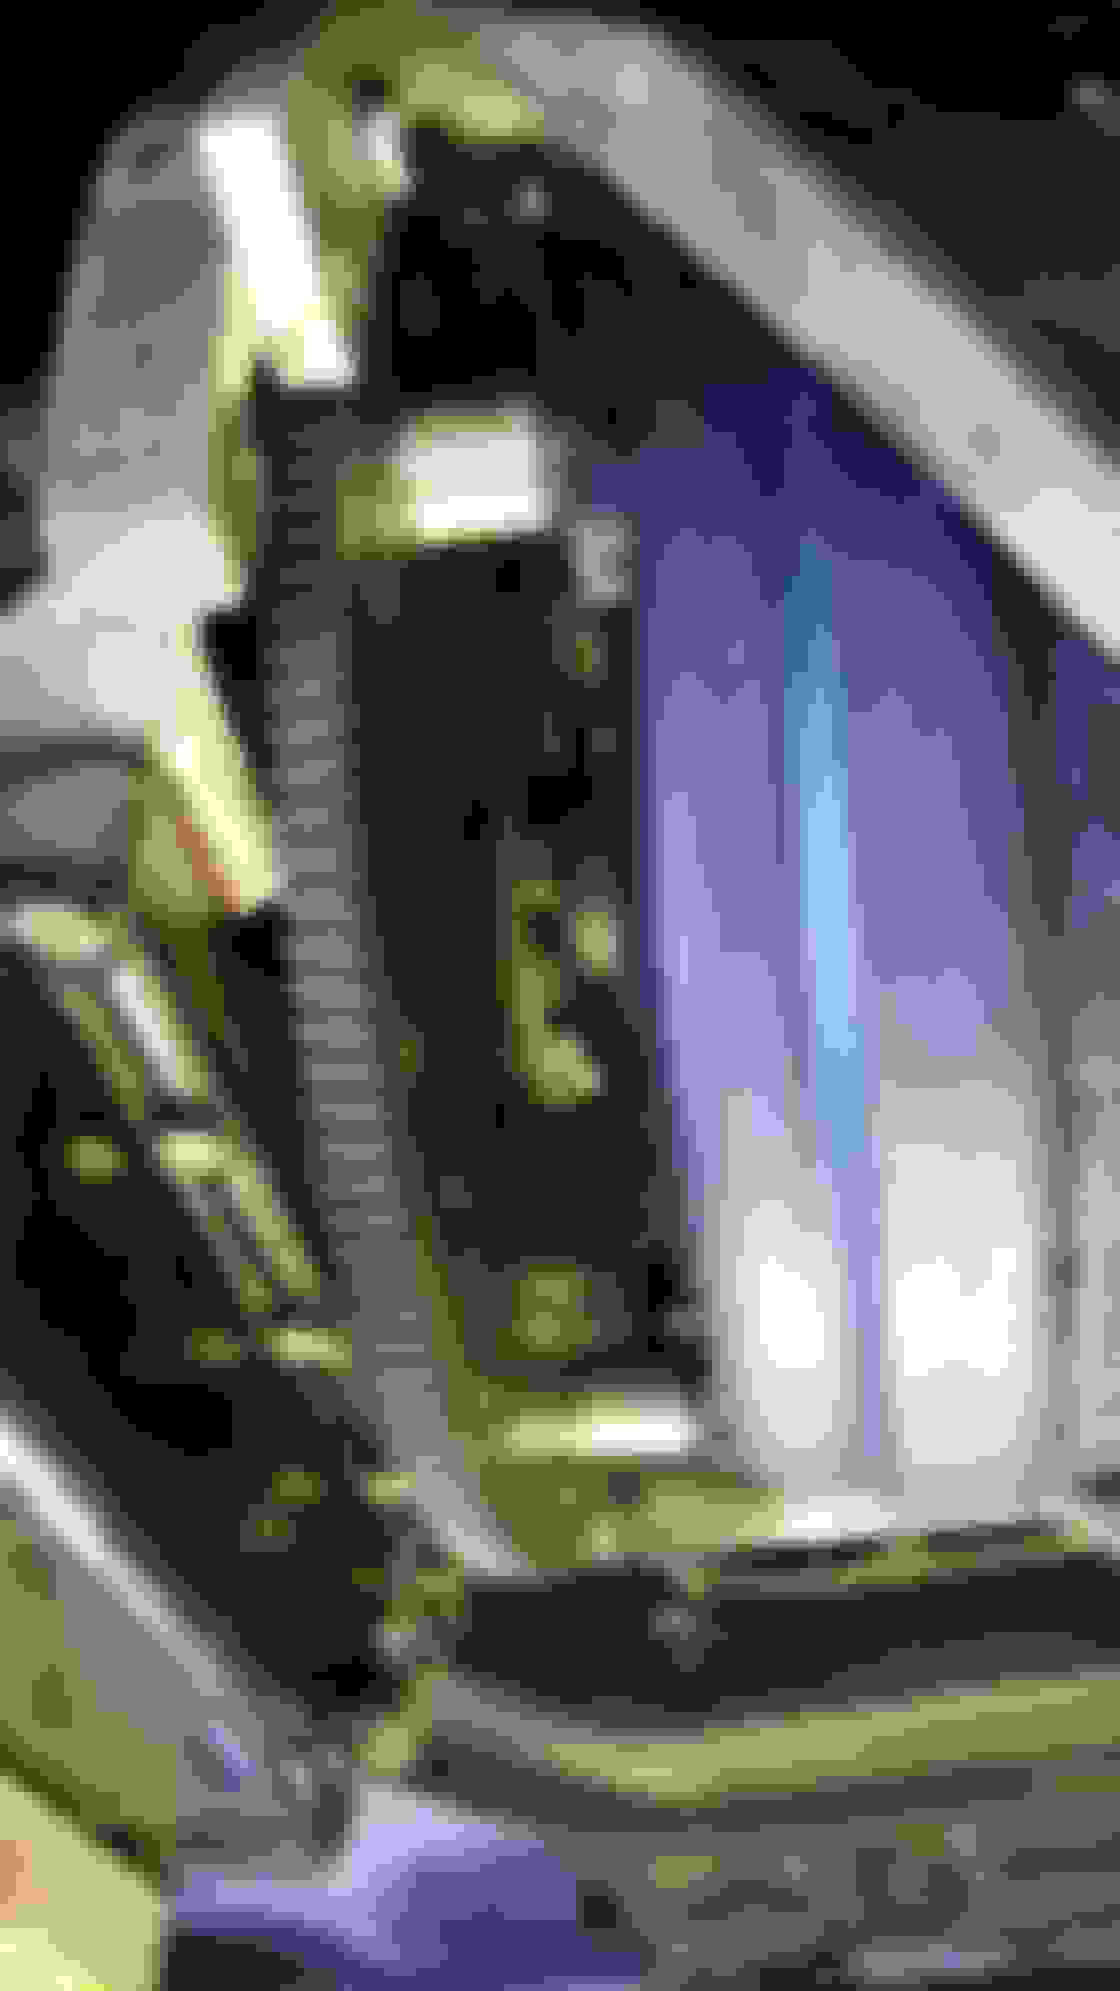
I ran into a huge issue after the trans was installed and ended up having to pull it out again. The torque convertor nose adapter that slides into the crankshaft pilot hole was made incorrectly. The pilot hole fit but the wider section was too wide and would not slide into the crank all the way. I had not idea how deep it was supposed to go and only realized there was a problem when the torque converter bolts would not reach the torque converter through the flex plate. I talked to John and after some discussion he checked his inventory and found that they were made incorrectly and would have to send me a new one. He offered to pay to have it cut until the price came in kind of high and said he'd send me another one. He did resist just sending a new one because his supplier wanted to cut them all at once and wanted to wait to receive mine back. We talked it out and he finally agreed to send me one ahead of receiving mine. Here is how a bad adapter installs vs a good adapter. The knurl shoud be completely covered when installed. I did not know this. Be warned Good adapter installation. Torque Converter with good adapter, bolted up with spacers.
So the transmission is reinstalled, looks good and I'm making the final connections before firing it up. STAY TUNED!
I think you have been very patient and calm. I would be absolutely furious to have bought a dedicated kit and found that a key part was so badly wrong. Also, you (and the supplier more to the point) have been lucky that no damage was done to associated components.
I think you have been very patient and calm. I would be absolutely furious to have bought a dedicated kit and found that a key part was so badly wrong. Also, you (and the supplier more to the point) have been lucky that no damage was done to associated components.
The boiling frustration is buried in "we talked it out." I'm a little concerned with the banging that I did on the crank shaft may have damaged something, but it was more light tapping with a 2lbs brass hammer. The good adapter tapped in with a rubber mallet. I'm assuming there is a thrust bearing in there too. We'll see.
The more I see the more mickey mouse this kit looks. Thank you very much for posting your experiences and the photos.
Yeah, there is much improvement that can be had for this kit to be great and i don't think it would take much. Where a picture is worth a thousand words, he uses a thousand words in most cases which means you spend much precious time trying to process what he means sometimes, and they aren't always accurate either.
The TC adapter quality is disappointing, but i get it. The trans adapter is an extremely good piece, as is the trans crossmember. When you are selling low volume parts, you are just looking for someone that will build them and hand built gets expensive. He's not in the production parts business, he's in the XJS business, so there are hiccups because of that. But they could be worked out pretty easily.
The instructions on what to do here are slim. "Bend the tubes from 20 degrees to 10 degrees." This didn't do it for me. Once i did that, I had to pull them towards the new trans to get them to reach. Fortunately they are attached at the radiator with hoses that have a lot of slack. Pulling the tubes towards the trans now means that the bends to get around the starter are now in the middle of the starter and it wont clamp down.
So i had to straighten them and angle them back to the block, which really didnt work out well because i mangled and kinked them pretty bad as you can see below.
In the end, i ended up cutting the part from the block around the starter to the transmission and reforming new lines. It turned out much better and I'm less worried about choking the flow to the cooler.
The big notes i would add here are these:
1. Take the whole hard line out of the car to reshape them, it is way easier and less frustrating. I first tried to bend them in the car. You'll probably need to remove the exhaust cat/down pipe and possibly drop the rack. I had already done this because i was removing the starter. It was very easy to get the line in and out quickly and make an adjustment and try it out. Cutting the line in half and adding a fitting for the new line also made it easier.
2. I move the mounting bracket on the oil pan back one bolt to clear the catalyst better. I also used some of the heat shielding on the outside of the line considering how close it is to the catalyst.
3. I also replaced the phillips screw in the hold down clamps wih hex head screws. Way easier to tighten and loosen.
After all is said and done I'm very happy with the result. The first mangling took about 4 hours and then fabbing new lines took about another 3 hours. I have way too much time in this conversion.

 07-21-2020, 09:53 PM