When you click on links to various merchants on this site and make a purchase, this can result in this site earning a commission. Affiliate programs and affiliations include, but are not limited to, the eBay Partner Network.
Guys
This concerns the pre-facelift, or at least pre-changed sometime in the facelift period, original cable and lever operated bonnet closing mechanism.
Herewith a tale of grief and pain, followed by a revelation - once I got my failing brain cells to function, and really thought out how the mechanism works!
The problem I started by having was that the bonnet rubber along the firewall (bulkhead) top seam, was causing a most annoying squeak. So I bought a new rubber (NLA from Jaguar) that was taller in the vertical plane than the OEM one. After a bit, the extra depth stressed the bicycle-brake type actuating cable that connects the LHS catch (hereinafter often referred to as the "LHS parrot's beak") and the lever in the cabin, and the cable broke. Thinking "how hard can it be" I fabricated - as in bodged up - a new one and fitted it; whereupon my troubles really started. I also broke the second cable that connects the LHS catch to the RHS one, and had to have another go at my home made nipple when my bodged repair failed. I spent more than 5 hours messing about over two days until at last, with the aid of the Aussie/Franco hotline, the penny dropped. If you want to adjust your bonnet closing fit, this is how you do it!
First: the LHS catch how it works
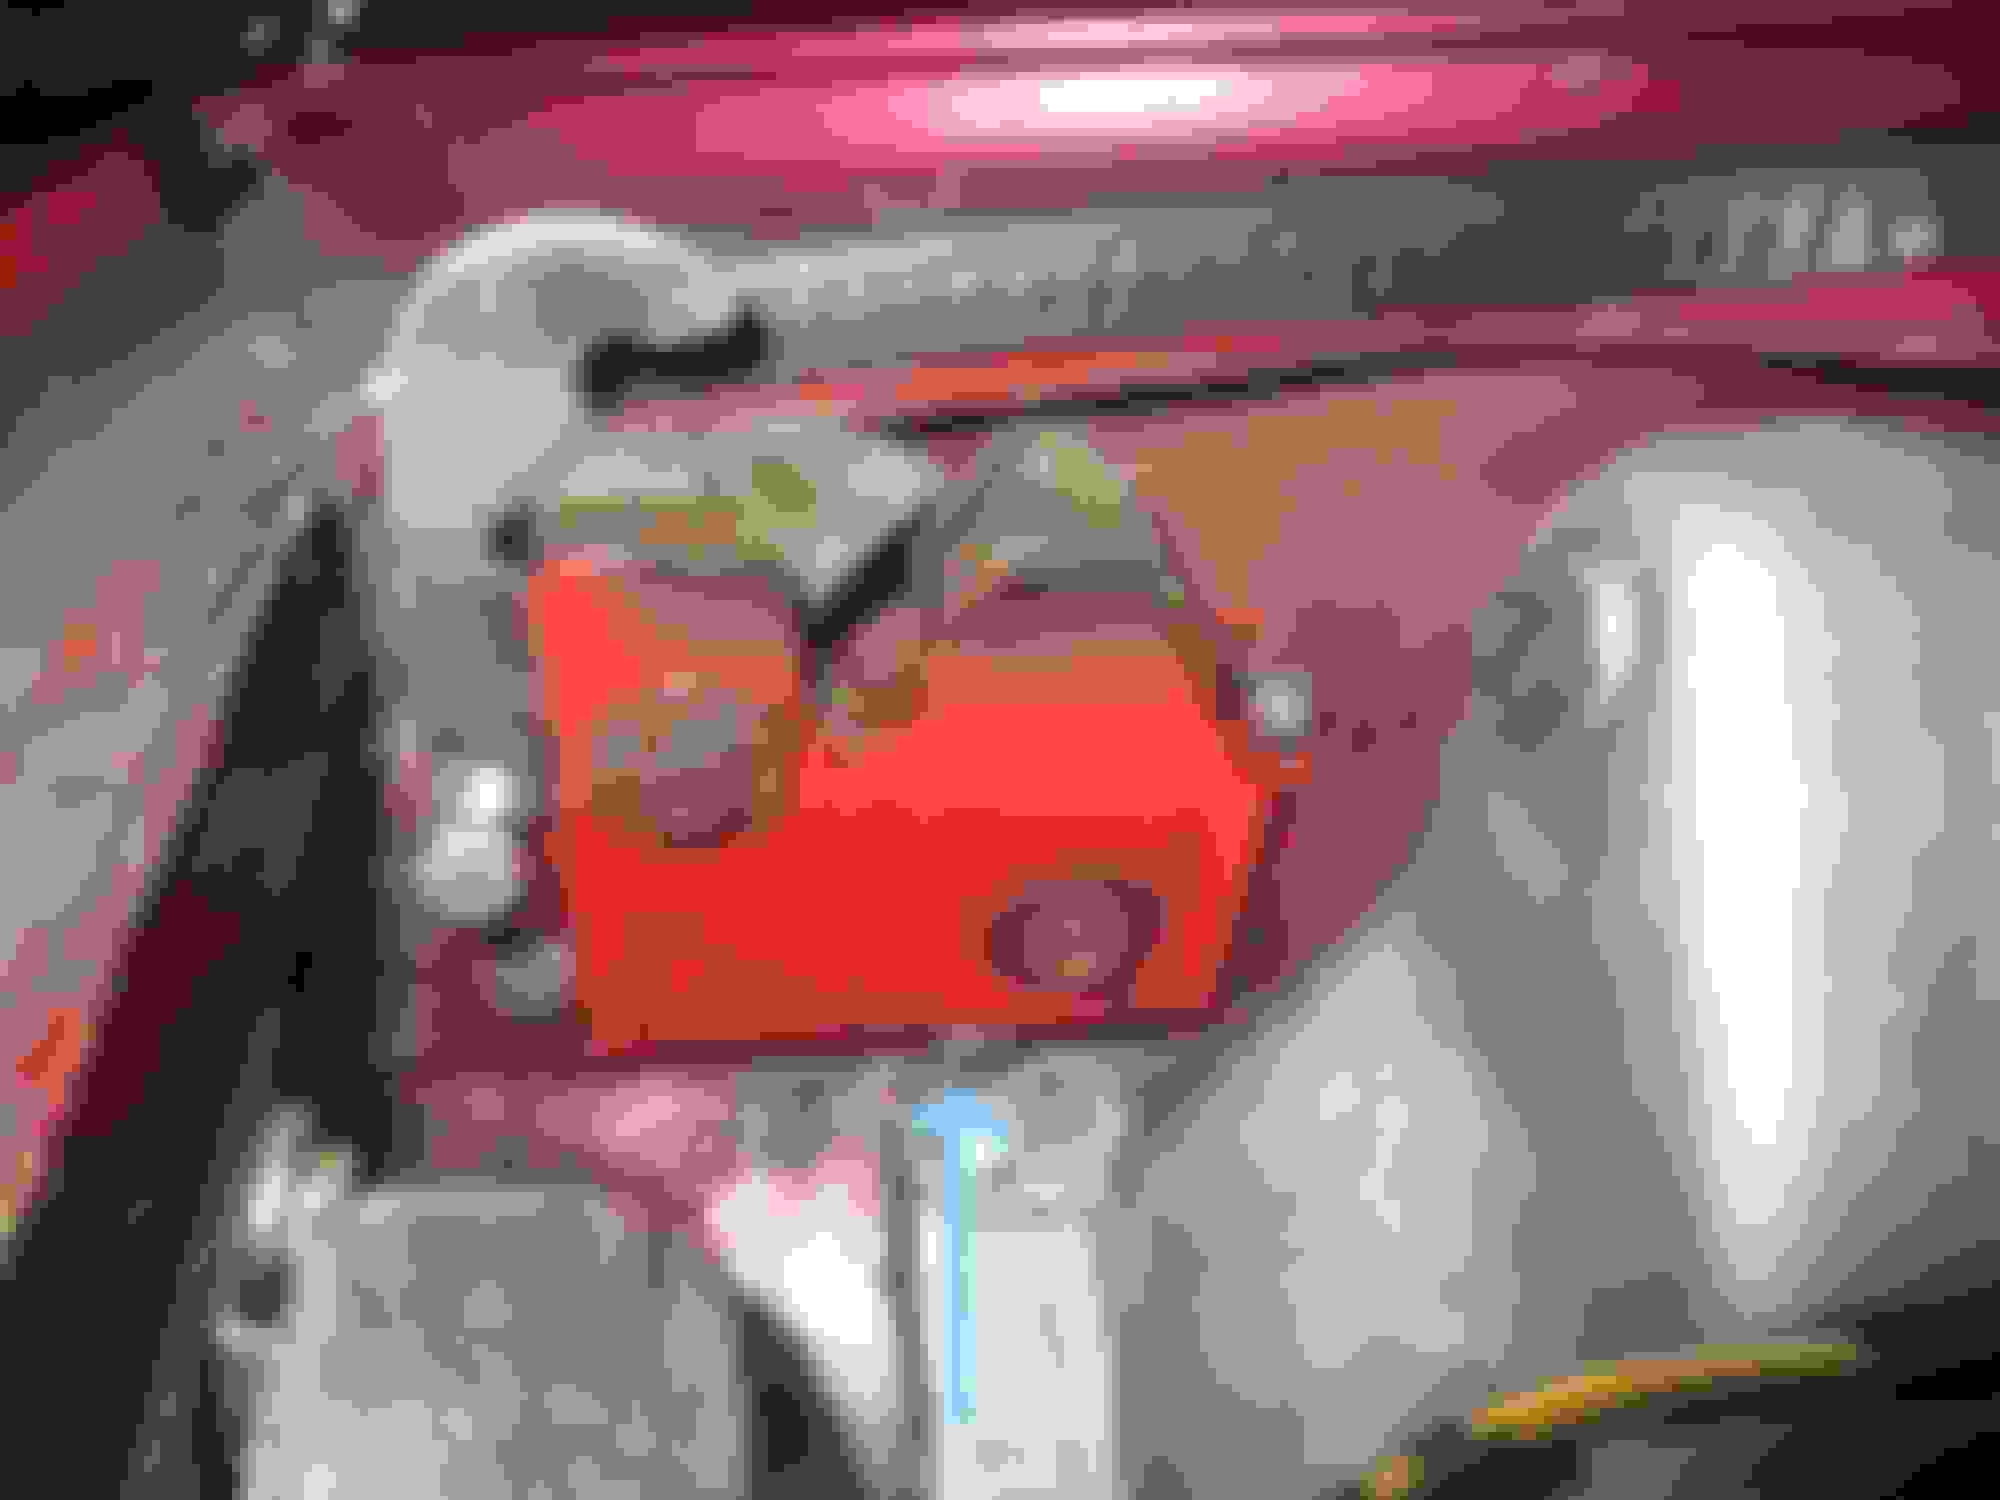
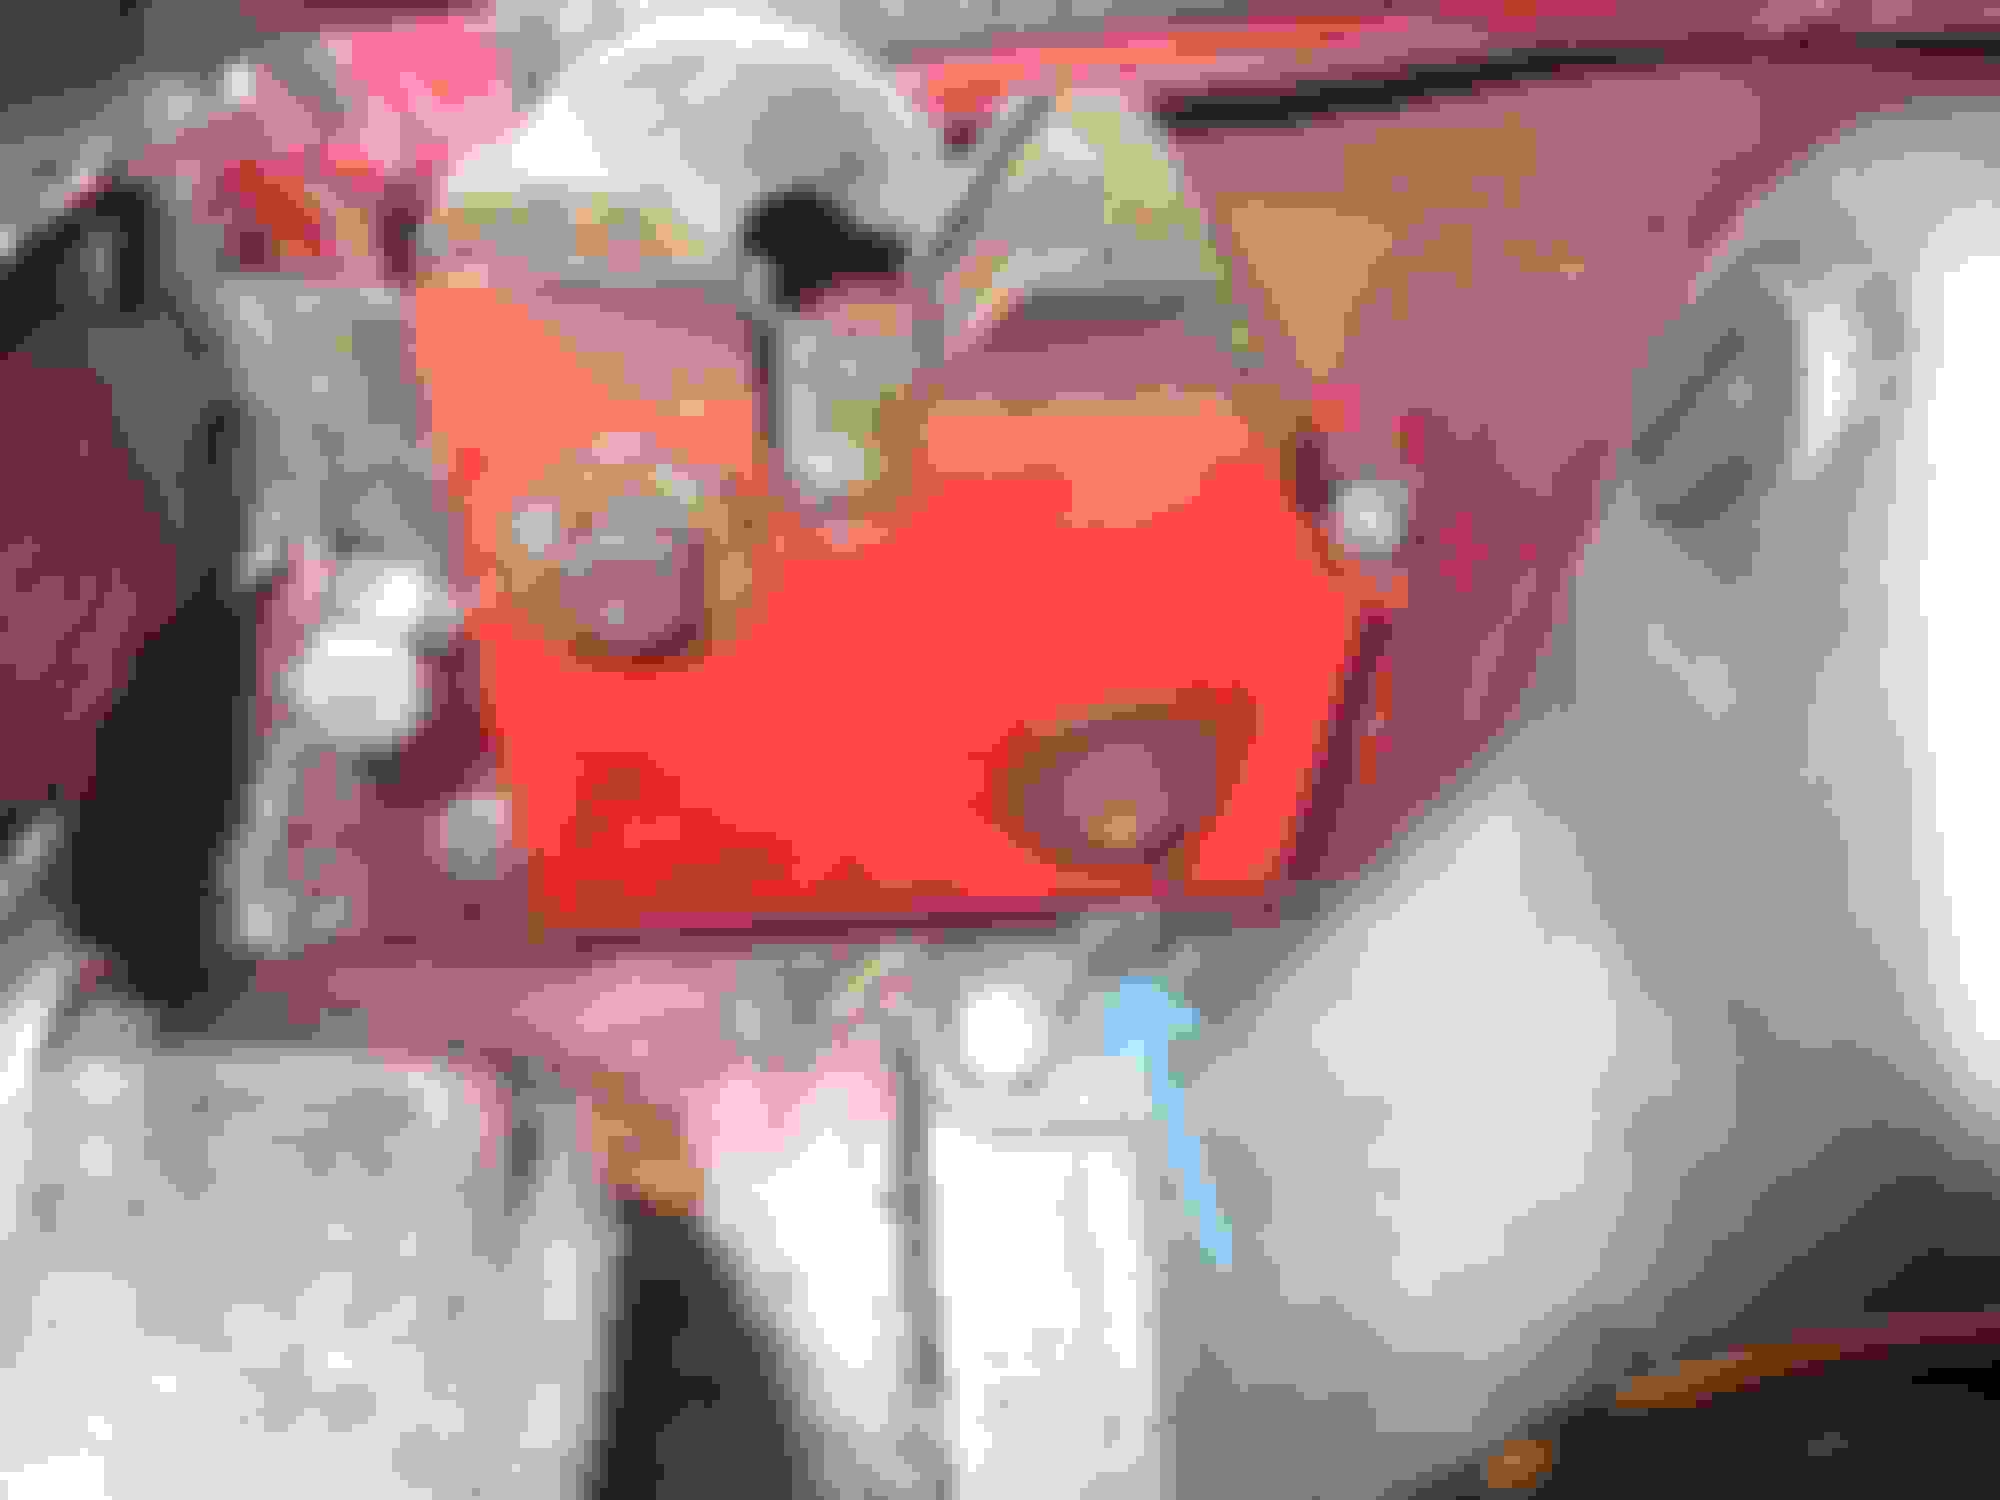
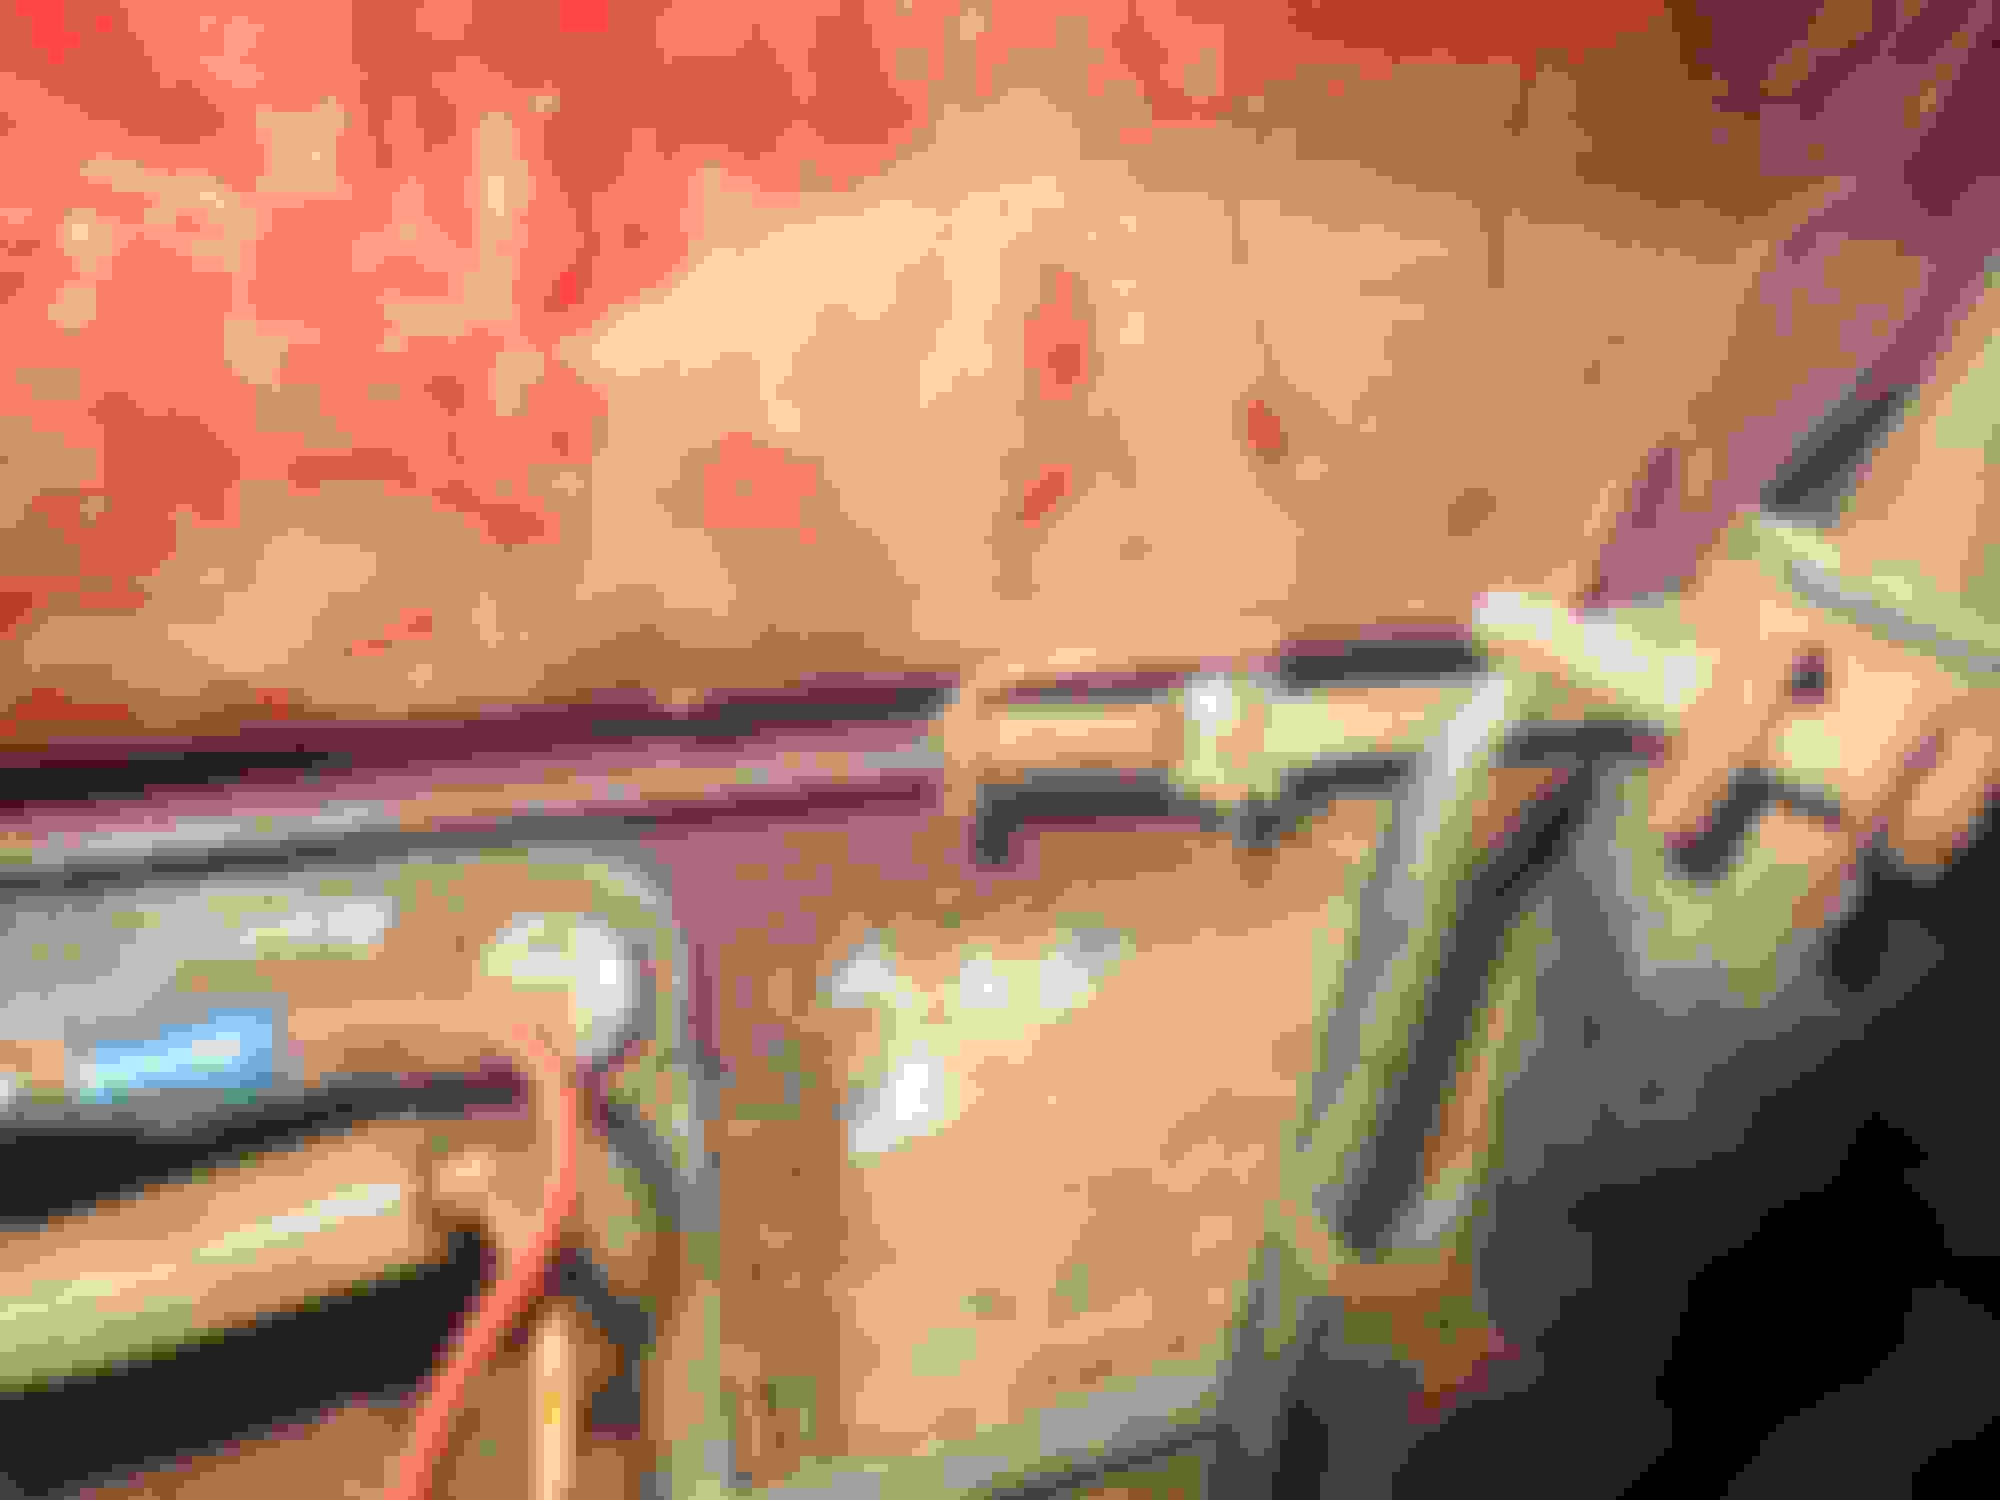
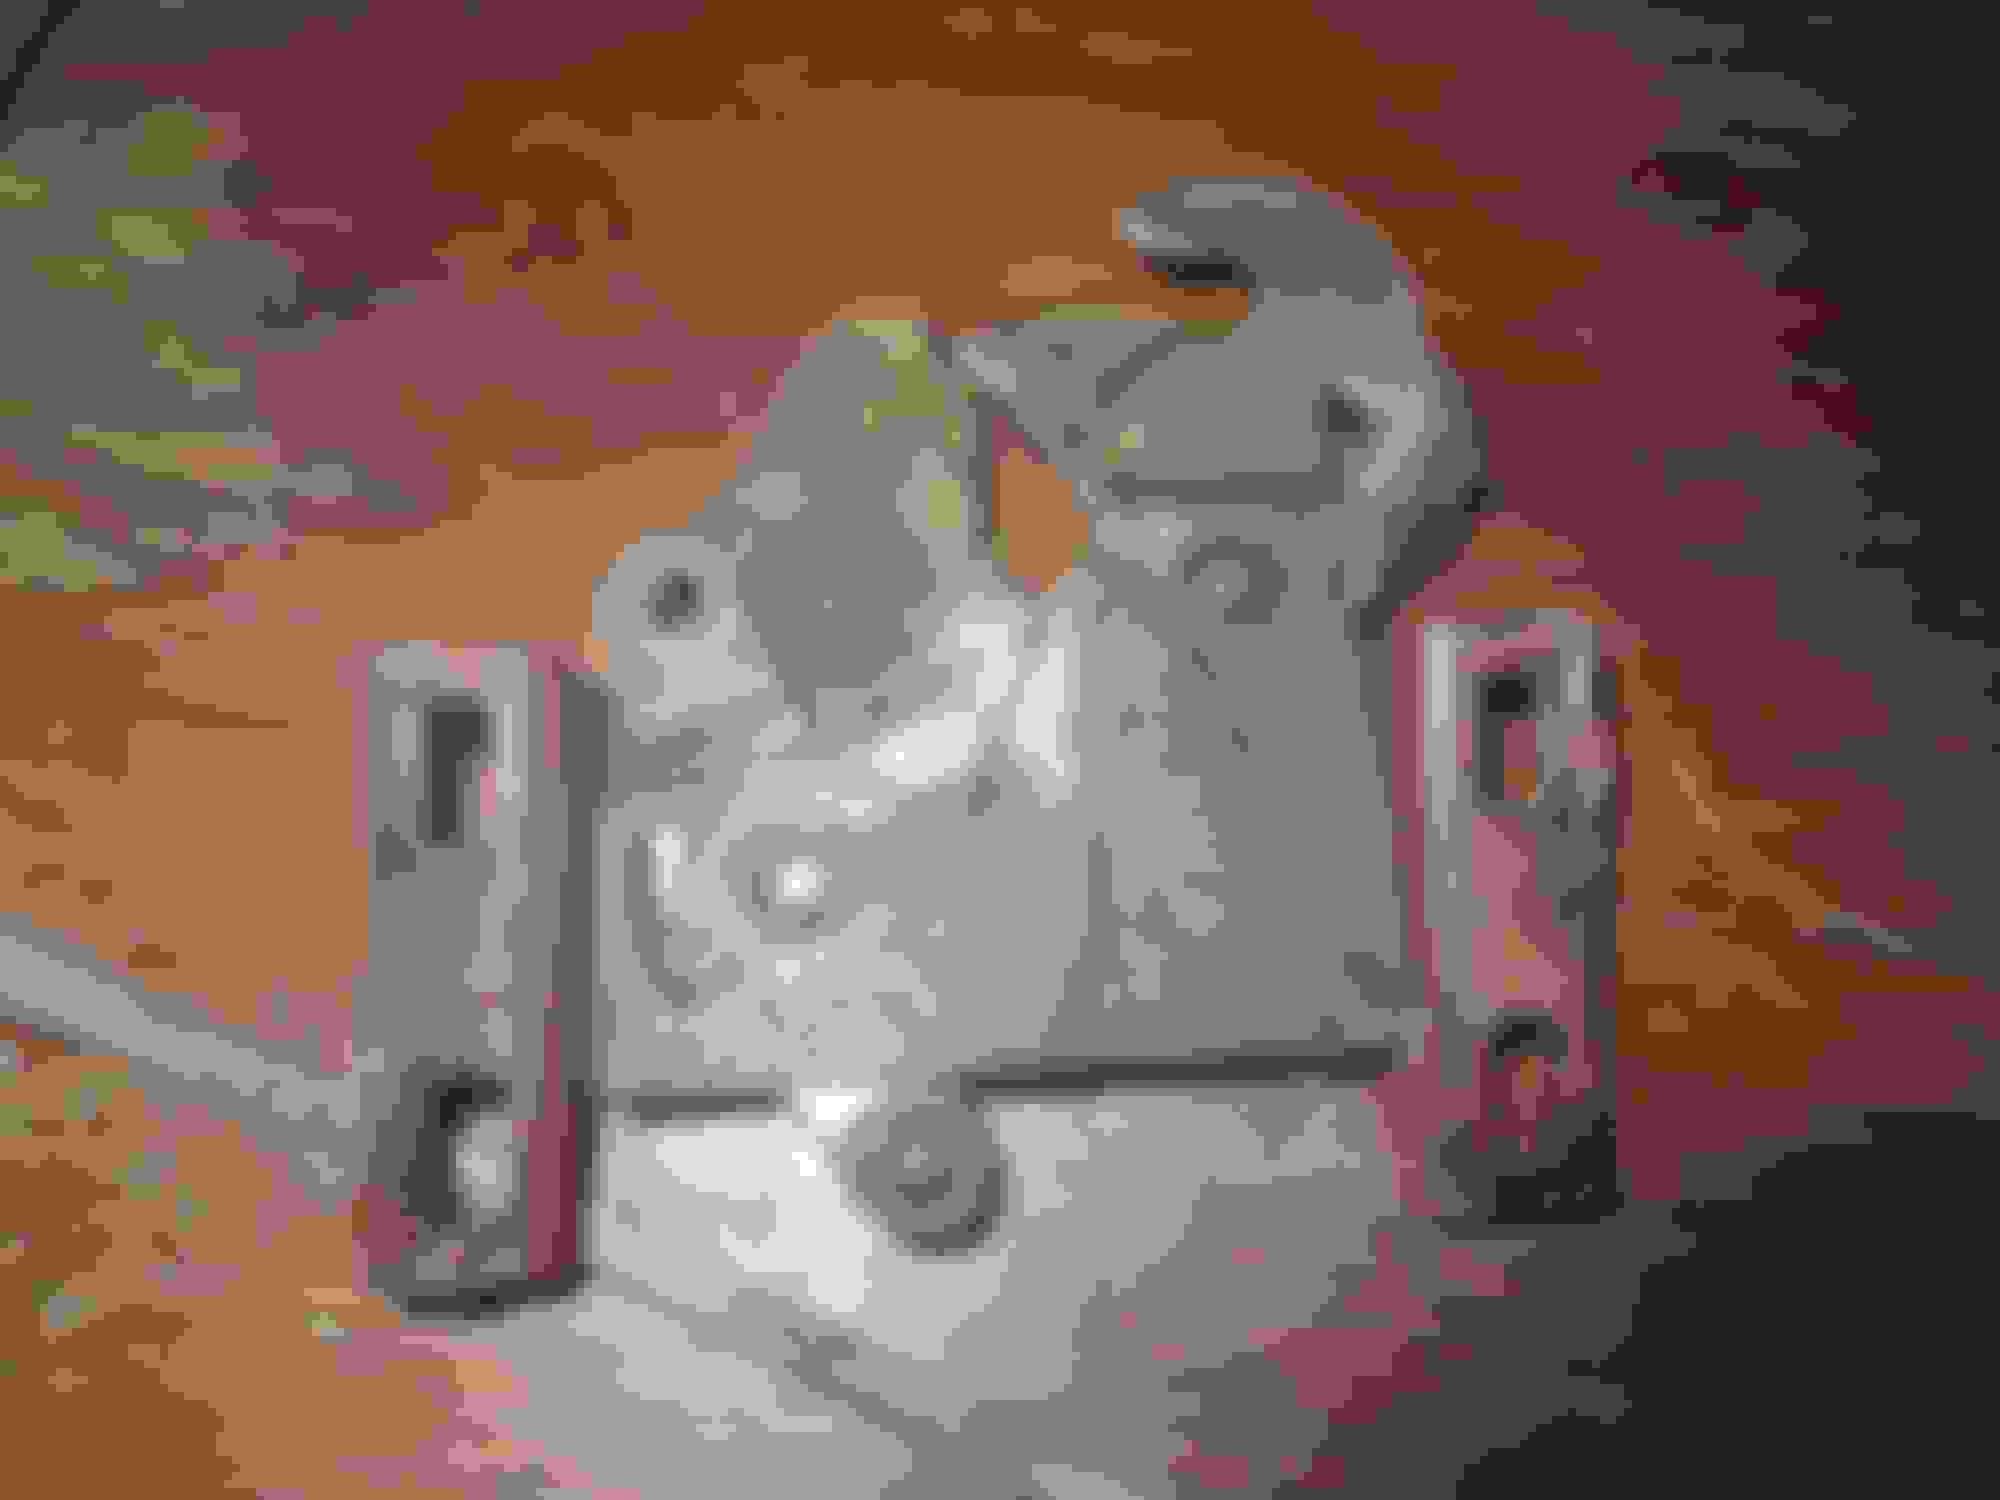
Here is a snap of the LHS catch in the open position:
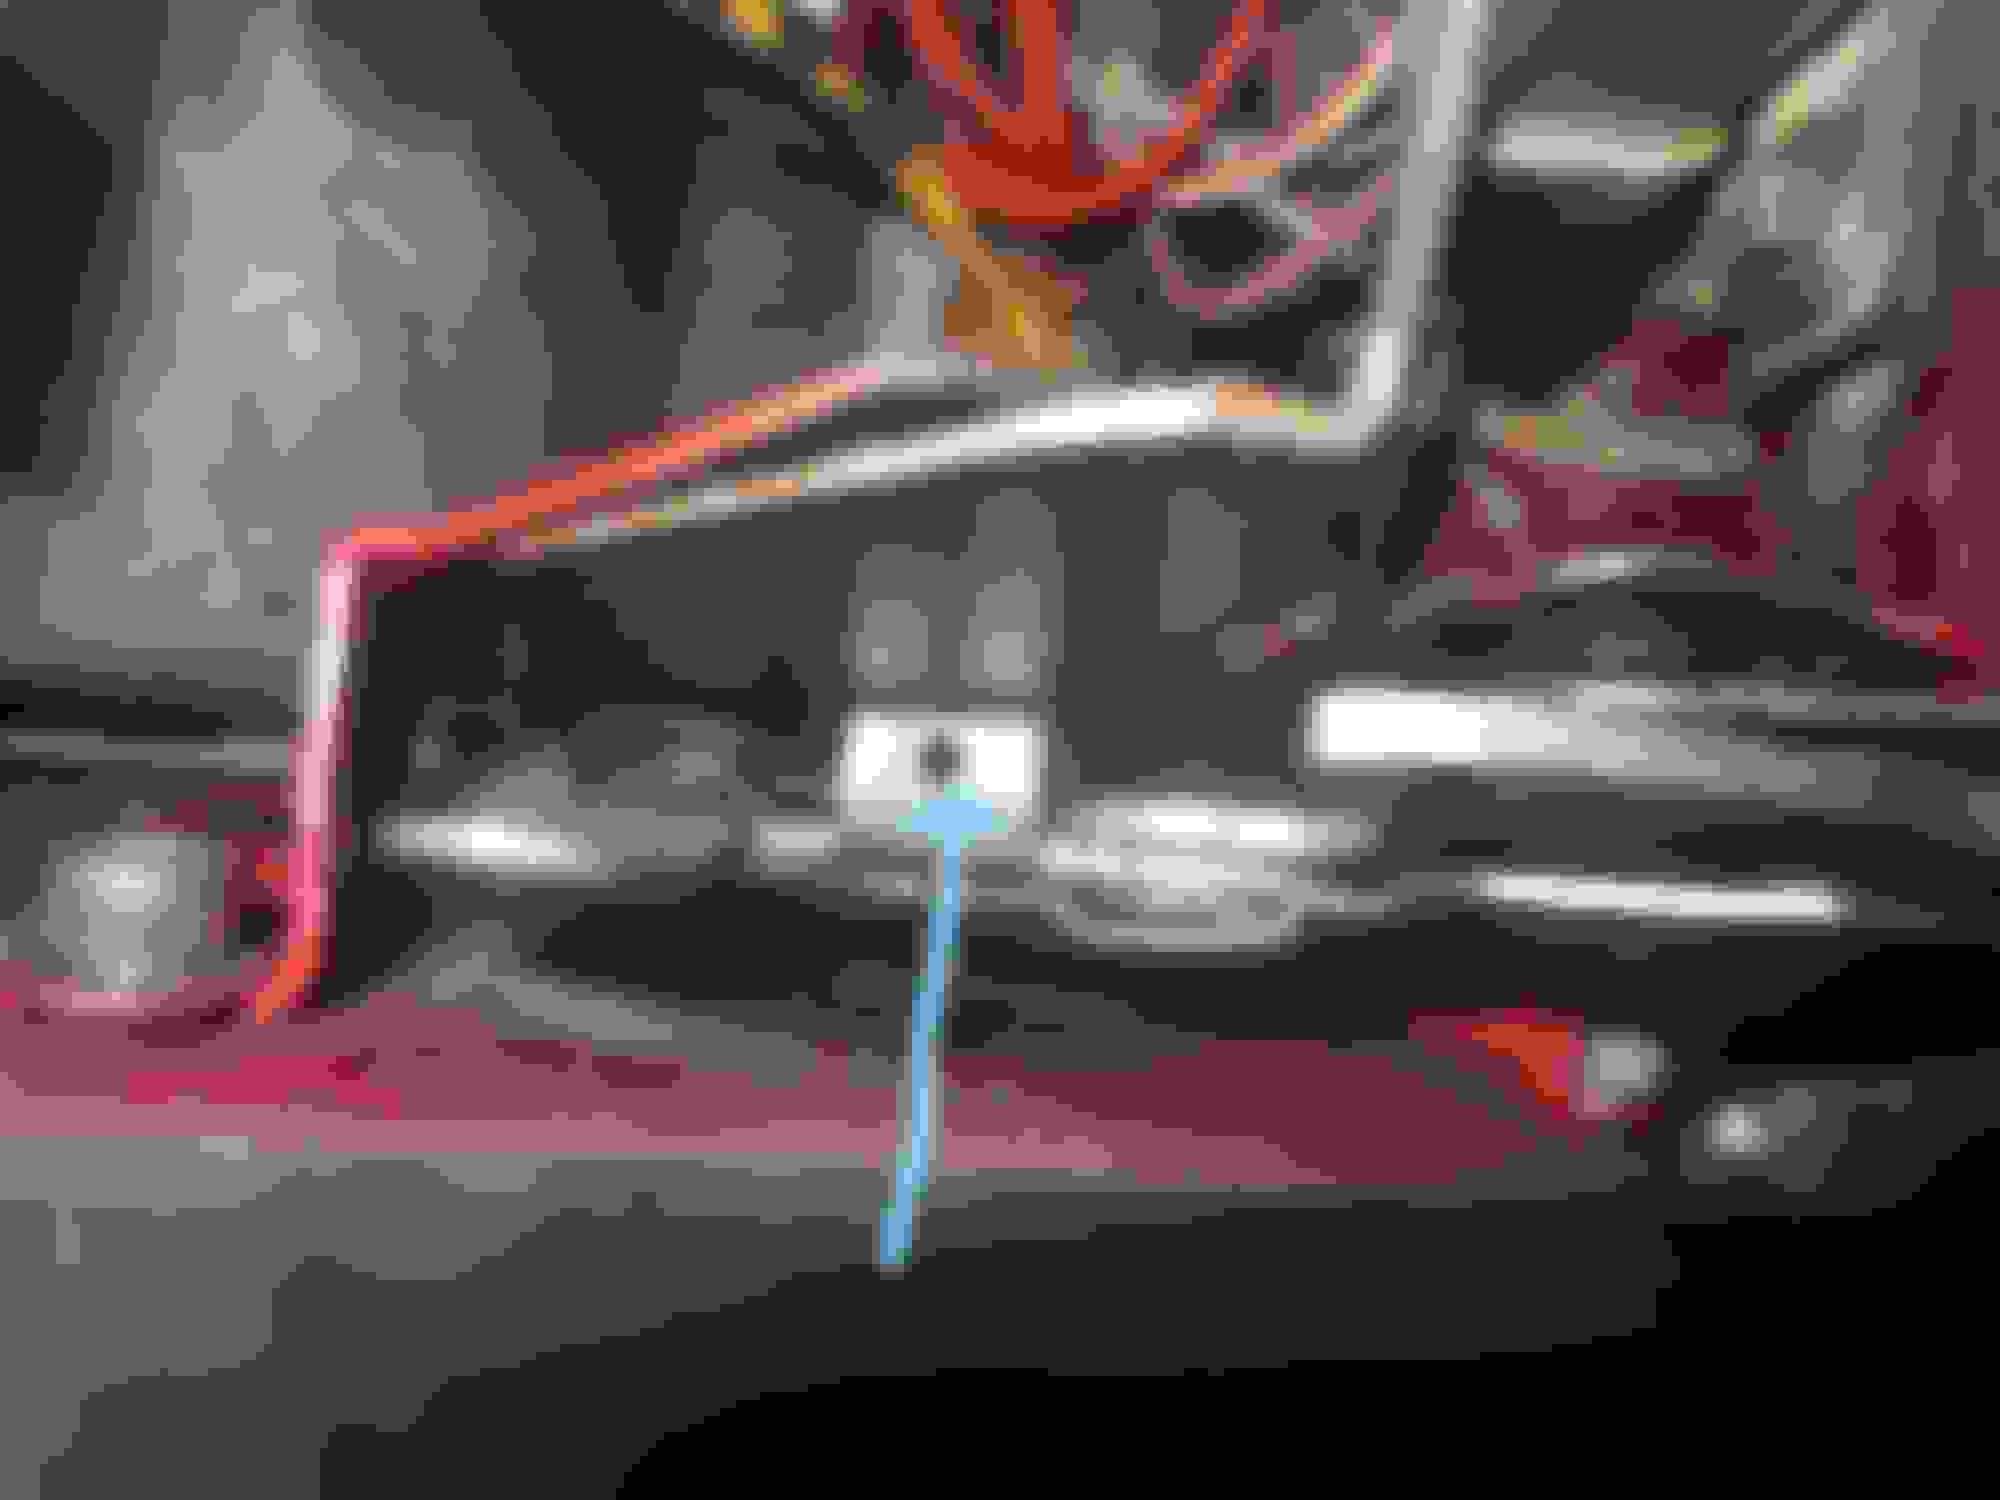
Here is a snap of a catch with the arrow pointing to a lever with a hole in it:
It is this hole through which the actuating cable gets threaded, and the cable goes vertically downward through a small hole in the bulkhead to the closing lever. The soldered nipple on the end of the cable cannot pass through the hole, so the cabin lever pulls the cable and the nipple applies the pull force to this part of the catch mechanism. Below a shot of my home-made nipple - it looks rough, it is rough, but it does the job: Note in the above photo, there is a small grub screw that obviously is trapping the end of a second cable. This screw MUST be loosened while the LHS mechanism is adjusted. It actuates the RHS catch which is adjusted separately. To trial the LHS catch the bonnet can be closed without danger when this cable screw is loosened.
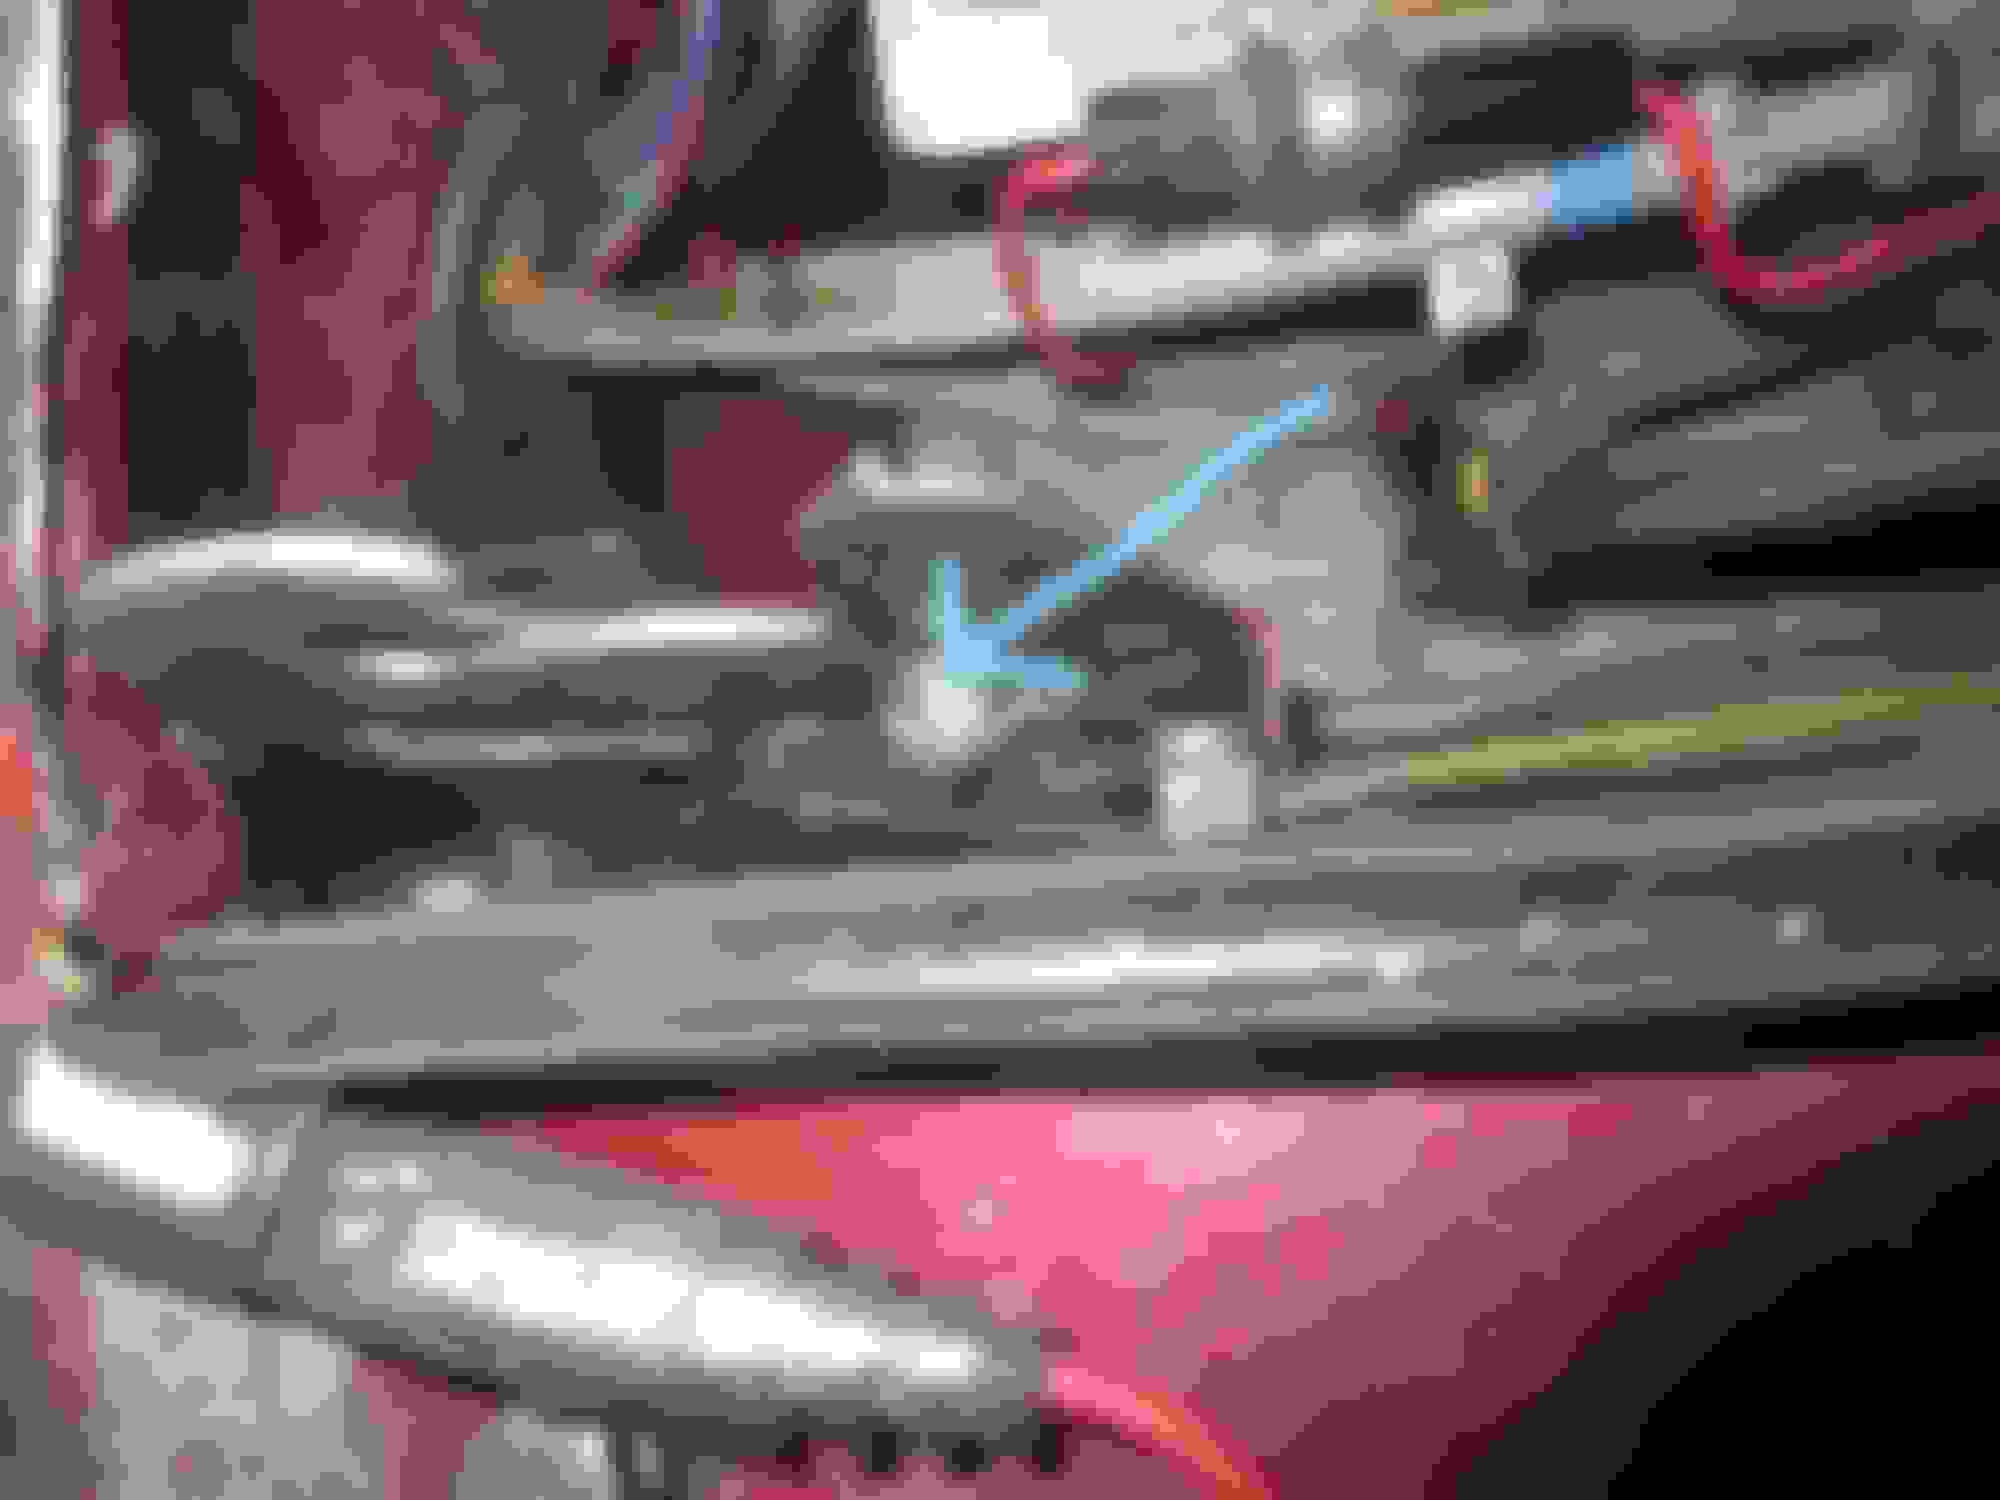
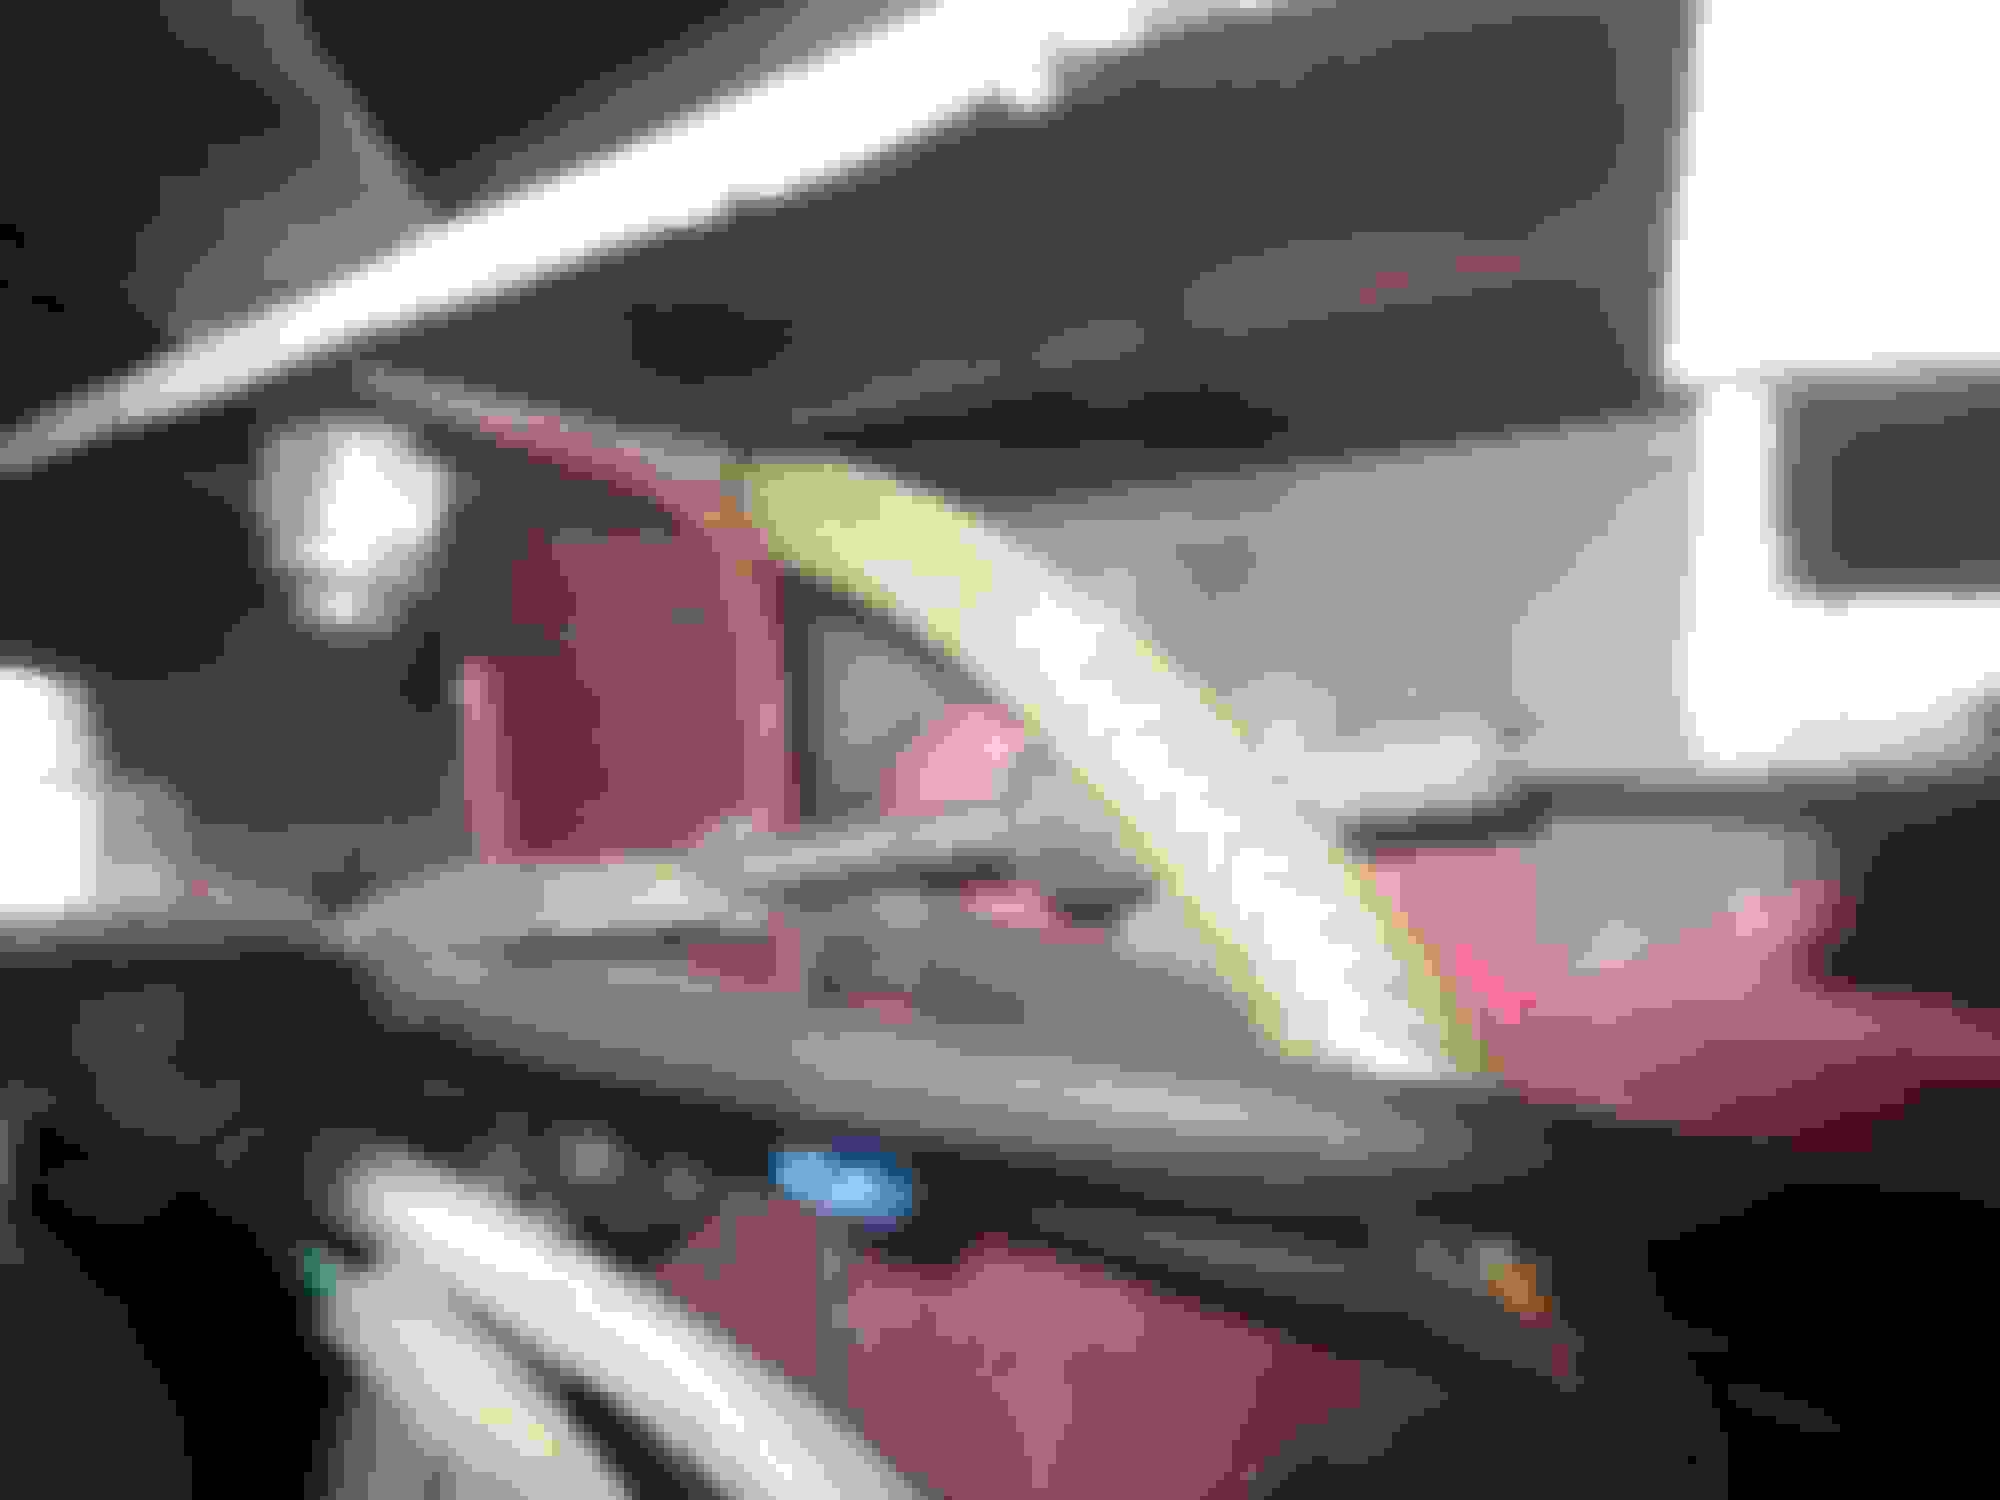
When the part of the mechanism arrowed blue above is pulled downwards by the cable attached to the cabin lever, the parrot's beak closes, as shown in this snap:
Note that the beak has TWO distinct movements: 1) it pivots over and grabs the prong on the bonnet, then 2) it moves downwards, thus pulling the bonnet down to its stop in the gutter. The key to adjusting the mechanism is to ensure that movement (2) is sufficently great to adequately pull the bonnet to its intended position.
Given that the lever mechanisms' movement range cannot be altered (not the closing lever's range nor the catch mechanisms' range) the ONLY way to ensure the bonnet closes to the desired point is to adjust the point that the operating cable is attached to the cabin lever. Remember, we are at the moment considering ONLY the LHS catch.
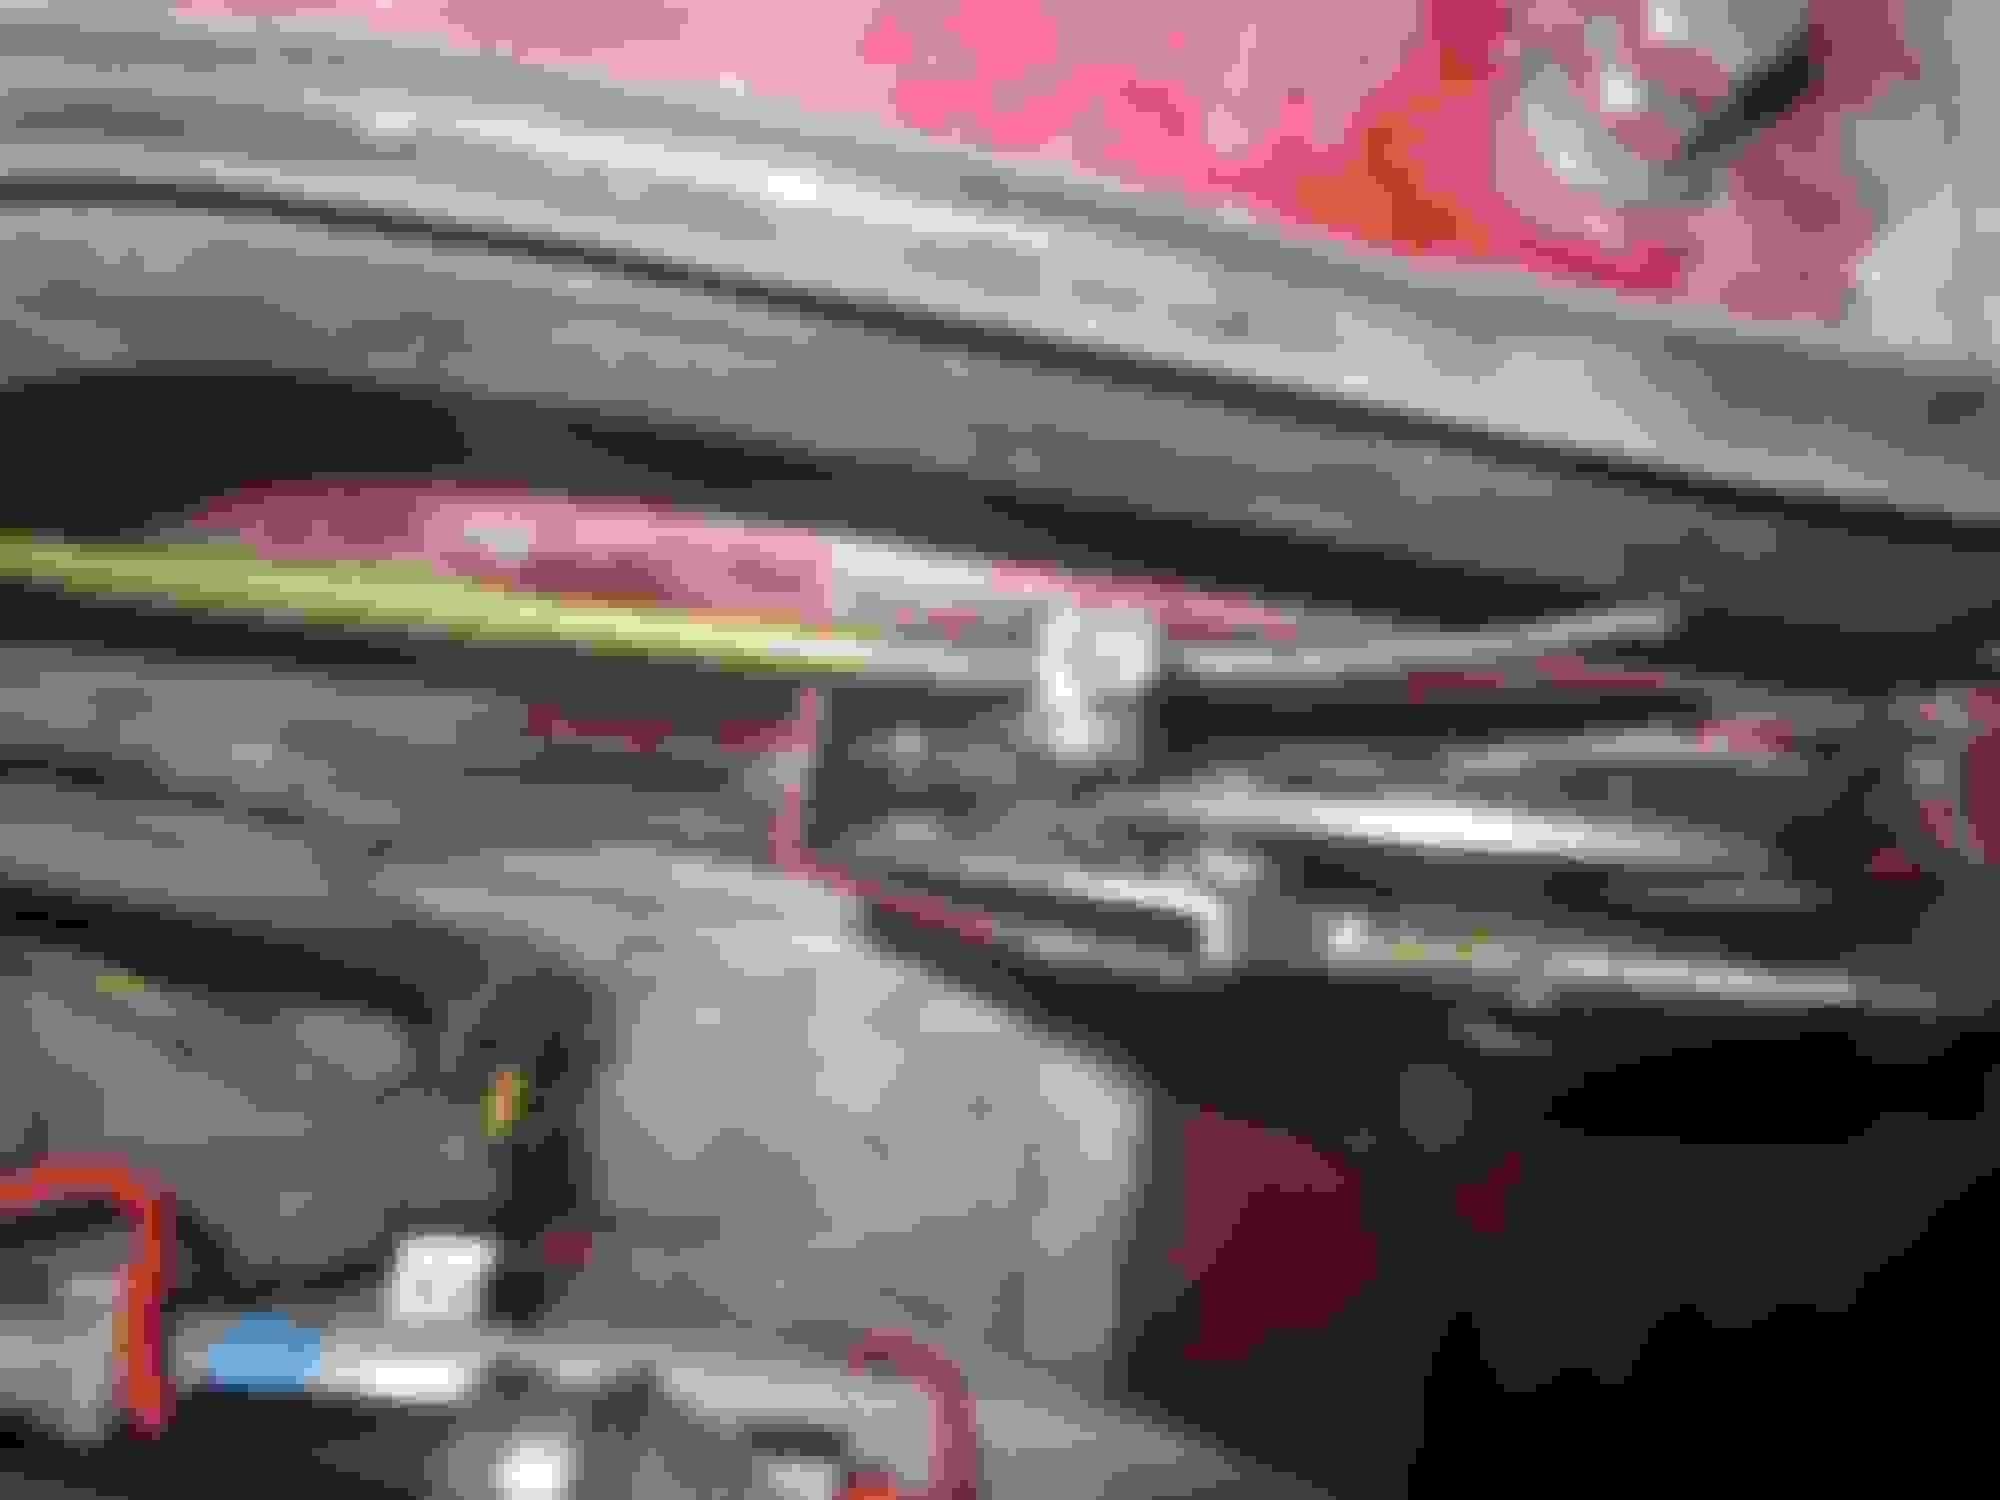
Here is a snap of the cabin lever in the open position:
The cable attachment bolt and the block it locks the cable to is obvious; less obvious is the small allen-keyed grub screw going into the block opposite the small bolt. This is to provide a flat surface against which the cable can be trapped by the bolt. Unbelieveably, the allen key size required is 3/32nds, and believe me NO other size will fit! 8mm will do the small bolt, though I suspect it is actually 5/16ths.
So to get the LHS catch pulling the bonnet down on that side to the desired position, loosen the screws on the lever block and with the lever in the open position, head in the footwell, pull the cable through, tighten and try closing the bonnet. If too tight, lengthen the cable, if too loose, pull it further until the desired point is obtained. Do NOT do what I did and keep pulling if the lever seems to jam or get stupid tight (copyright G Francis), just release it and adjust the cable a tiny bit longer.
So we have the LHS perfect, but the RHS may well not be, so now to deal with that:
Adjusting the RHS catch
The RHS catch is a mirror image of the LHS one, with TWO differences: 1) it is operated by a long Bowden cable (not a simple pull cable as on the LHS, but a cable with an inner and an outer like a bike brake cable) running across the firewall which is attached to a mechanism on LHS parrot's beak catch. 2) the Bowden cable inner is attached to a lever at the bottom of the RHS catch by a nipple that fits into the cable block. The Bowden cable inner thus must be threaded through this block before the cable and its outer are connected to the LHS catch:
Open position showing actuating lever:
The following shot shows the RHS lever in the closed position. NOTE that the distance the actuating lever travels is not very great. Consequently the mechanism is VERY sensitive to the adjustment of the actuating cable where its attaches to the LHS catch; particularly so as the downward movement of the parrot's beak is only actuated by the last few mm of this lever's travel
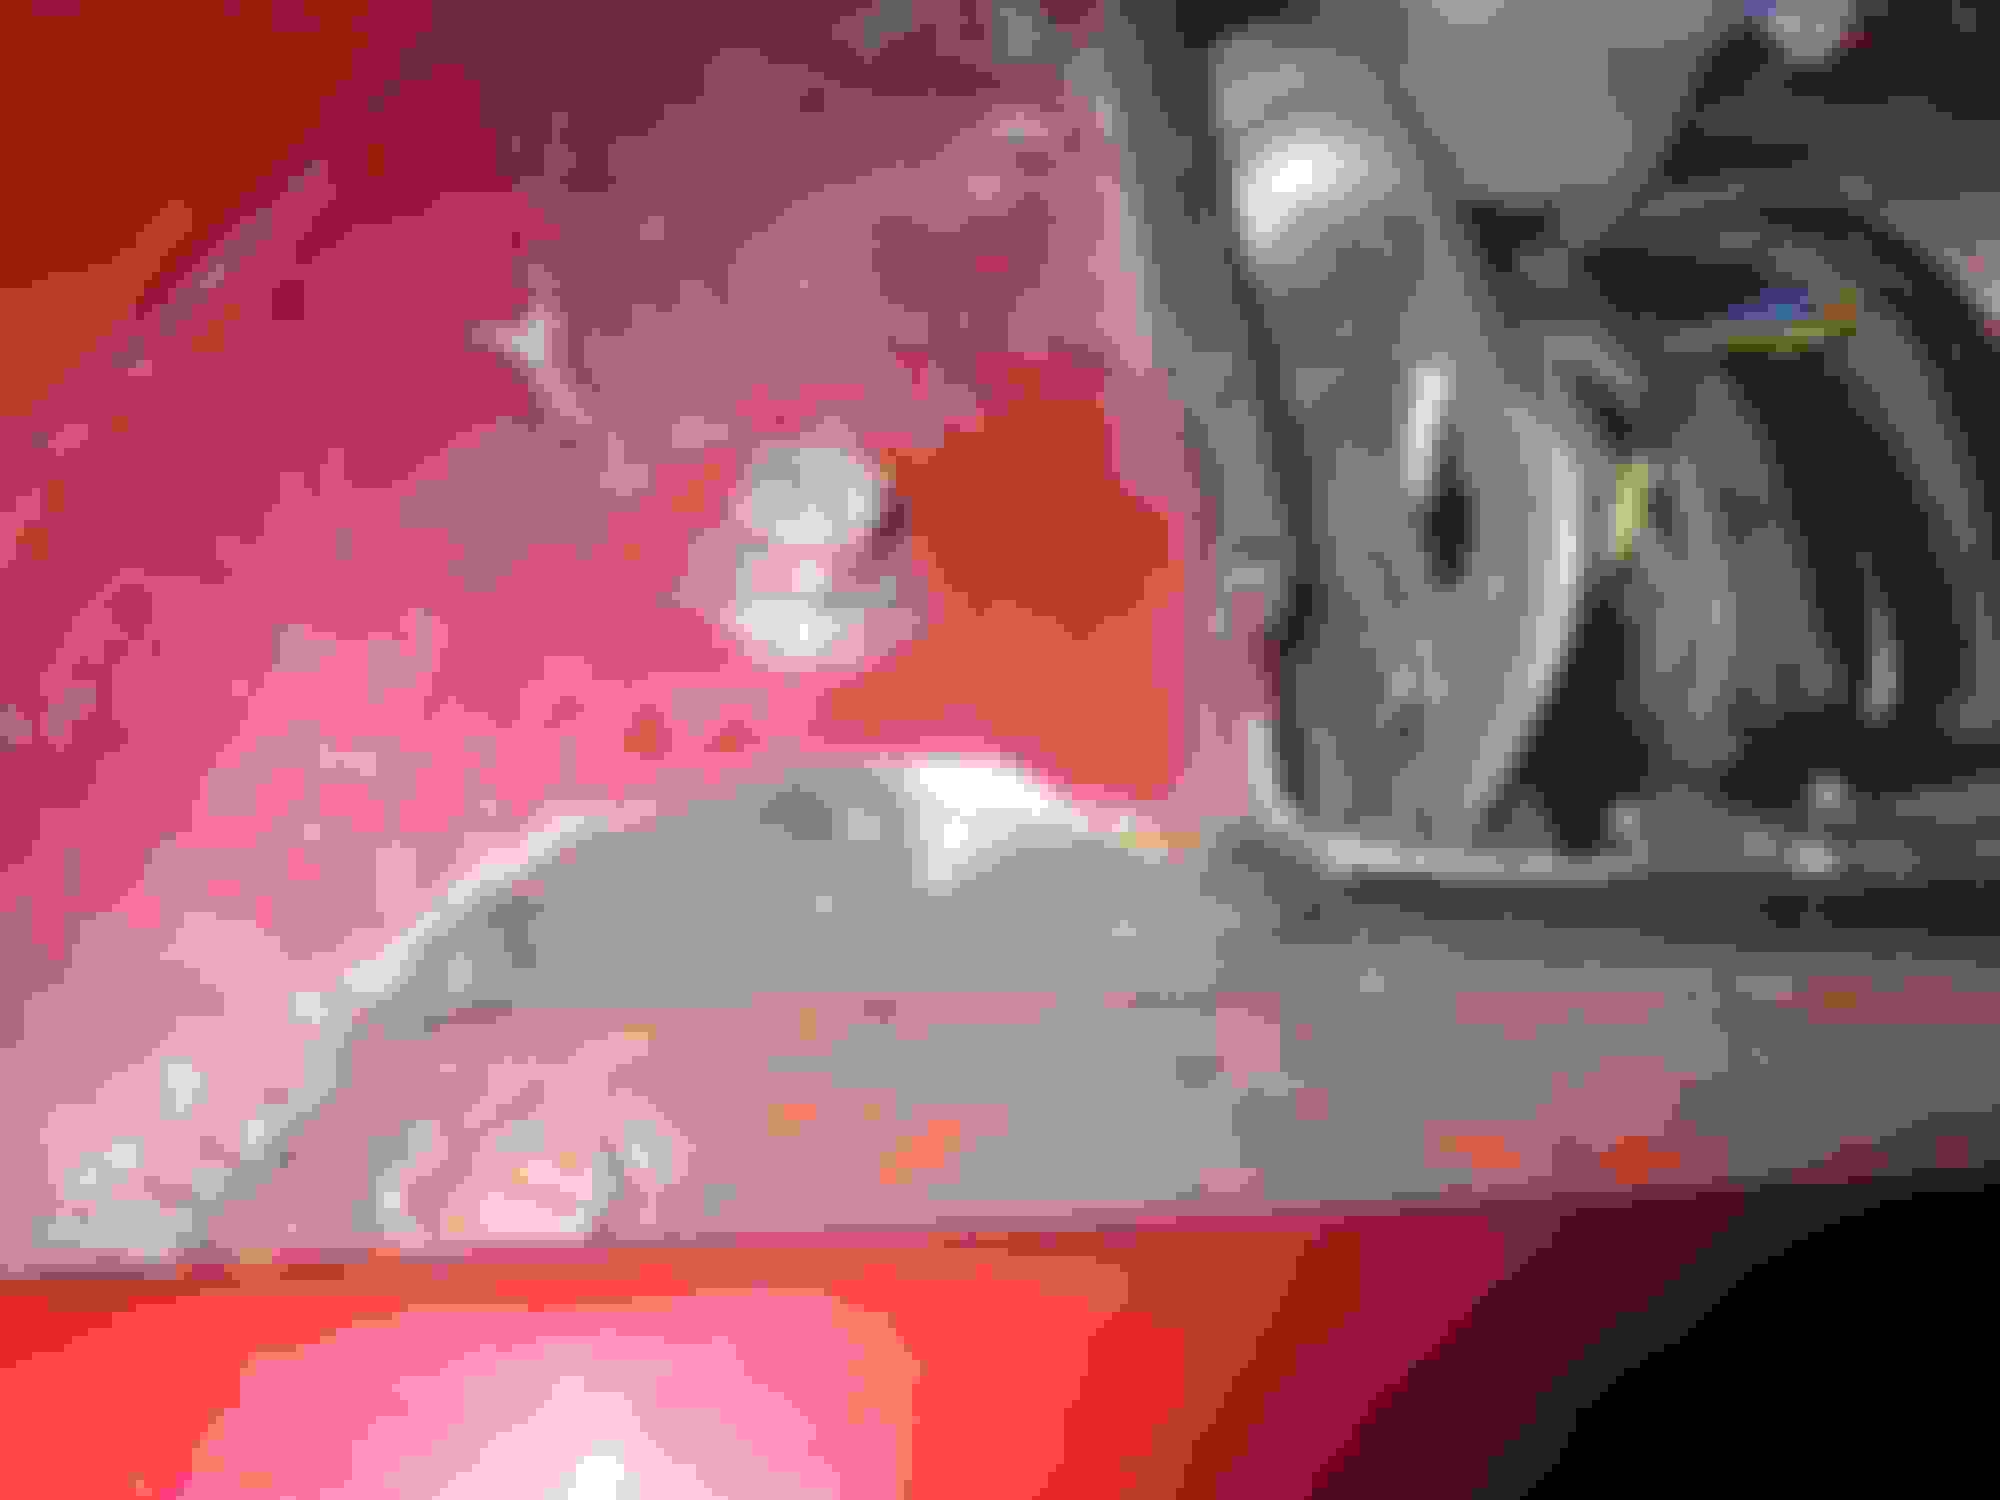
The Bowden cable runs through two "stops" (ie points at which the outer is anchored to the body) as it traverses the firewall from the RHS to the LHS catch: Above: Bowden cable outer anchored to the body on the RHS of the firewall. Above: Adjustable anchor point on the LHS of the firewall. This is just about invisible, in reality. I am prepared to bet almost no owners realise it is there! It takes a 12mm spanner Where the inner cable from the RHS catch connects to a lever on the top edge of the LHS catch, being secured in place by a block and a screw.
Now, remember, we are trying to ensure the RHS catch pulls the bonnet down to the desired position. If it does not go down far enough, loosen the bolt holding the cable (as shown in the above photo) and with a pair of long-nosed pliers pull the cable further through the block. If too tight (and do NOT force it or like me you will break the cable) loosen the cable a touch. When you tighten this cable, you are actually pulling the RHS catch closed slightly, so you need pliers to do that as its spring is quite strong. Trial and error will get it just so!
Further points:
In extremis, there are two further points of possible adjustment.
1) the prongs on the bonnet can be flattened out a bit using a vice, but if too close to the bonnet the beak will jam in the gap between the prong and the bonnet: Note the foam stuck to the bonnet on the LHS of the above shot. See next photo and its text.
A point to note is that a badly adjusted bonnet stop in the gutter below the scuttle can either prevent the bonnet closing, or stress the cables, or mean the bonnet is not supported well when closed. OEM it has a rubber cover, but is is hard to tell if the bonnet is contacting this properly or not. I recommend foam rubber stuck on the bonnet which is a more forgiving material, and it shows up if the stop is touching it or not.
The second point of adjustment: If all else fails, the catches themselves have slotted brackets, but undoing the OEM Pozi number 3 screws is fun and games as accessibility is a nightmare. I am in the process of replacing mine with allen key headed bolts and hex headed bolts depending upon access.
Last edited by Greg in France; 08-31-2022 at 10:56 AM.
Very nice write up! I noticed my bonnet not closing flush the other day and saw my cable to lever was fraying. I thought "gee i have some thin cable, i can just make one!" Unfortunately my thin cable wasnt thin enough and of course I didn't notice until after I had removed mine, so i had to put the frayed one back in. What I ended up doing to help with the left latch was i actually used a small flat rock, and placed it between the lever and the body and it have it a little "preset" when i reinstalled the cable. I broke down and ordered both actual jaguar cables. I have them in my barn waiting for me to take the time to stand on my head to undo the lever bolt again lol smh
I feel your pain, brother! I've replaced the cable twice over the years, the 1st being the learning curve. Absolutely GREAT article that everyone with models applicable should save (and print) since "it's only a matter of time".
Is the bonnet release handle on the left on RHD cars? Or did they move the cable depending on the steering column?
The release lever for pre- and facelift cars is on the left. It was designed on that side and left there for LHD cars also, presumably as it was deemed too complex to switch to the right for LHD cars.
The release lever for pre- and facelift cars is on the left. It was designed on that side and left there for LHD cars also, presumably as it was deemed too complex to switch to the right for LHD cars.
Paul
Actually Paul, I thought about using two levers, which would greatly simplify the adjustment! particularly so in view of the fact that the RHS catch has the same lever and cable nipple hole in it that would connect to a cabin lever, just like the LHS one does. In fact, even if the lever could be mirrored to make it useable on the RHS, when I offered it up it was clear that it would interfere with the accelerator pedal operation. On RHD cars the driver's right calf is too close to the A pillar, there just is not room.
Last edited by Greg in France; 09-01-2022 at 02:00 AM.
 08-31-2022, 08:56 AM