
checking and repair/relocating wiring under bonet,
#1
 11-27-2014, 04:03 AM


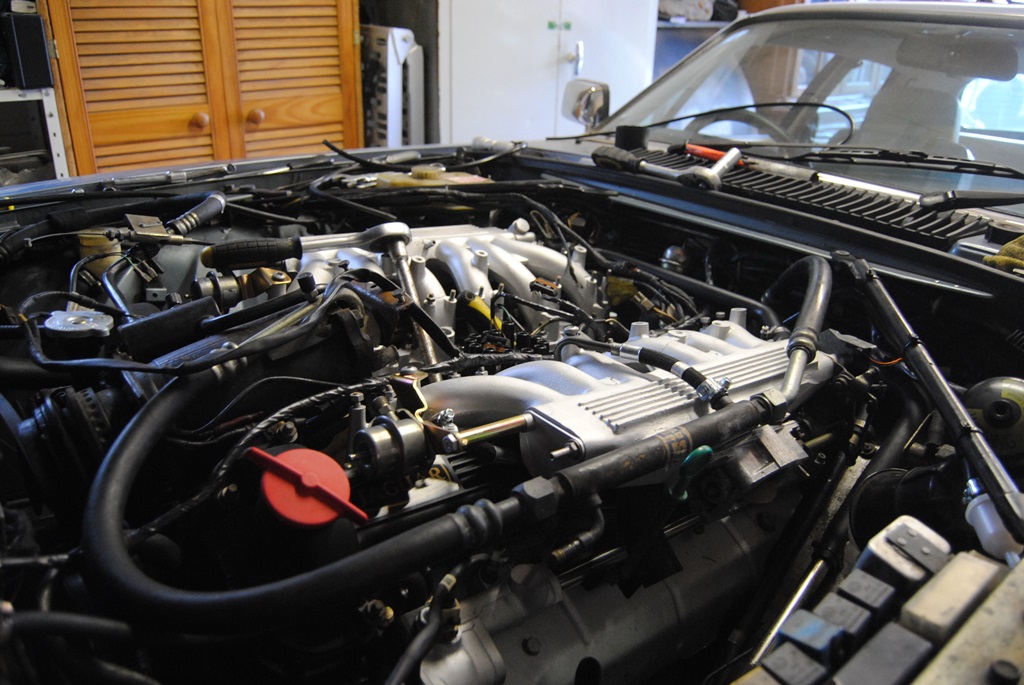
Since it was time to put up the XJS, I cleared out my woodworking tools and am going thru wiring under the bonnet and plan on relocate some. re paint the parts that need it, also plan on , remove the intakes valve covers and thermostat housing to replace gaskets, install new hoses and belts
May take me a bit of time due to injuries from my days in the service but I will get it done. oh and of course new plugs and wires. hope the link works to some of the pics I put in my album
Jaguar Forums - Jaguar Enthusiasts Forum - daverb's Album: Under Bonnet wireing checks and redo/relocateing
May take me a bit of time due to injuries from my days in the service but I will get it done. oh and of course new plugs and wires. hope the link works to some of the pics I put in my album
#2
11-27-2014, 04:21 AM


The best therapy I have ever found. The V12 is SOOOO soothing in so many ways.
I rewired the whole engine bay, my way, back in 2000, and basically had the loom come across the back, tucked up under the panel where the fender struts attach at the scuttle panel, and then branched off to the RH and LH side with a multi pin loom connector right at the branch.
The starter relay, EFI resistor pack, a/c relay (my fitment), all were relocated into the aperture behind the RHF wheel, and in front of the RH door hinge. Basically where the atmospheric radiator bottle is on the LH side.
The EFI loom was mounted up under the inlet manifolds, between them and the camcovers, and wrapped in heat protective (header wrap). That way when the engine needed to come out, I simply unplugged 2 connectors, and the rest stayed ON the engine.
It took me months, and I only did it coz the old was so untidy, and wires going everywhere and nowhere at the same time. In MY opinion it simplified much of the mystery of the Jag engine bay wiring fiasco.
The following 2 users liked this post by Grant Francis:
Greg in France (11-27-2014),
warrjon (11-27-2014)
#3
11-27-2014, 04:30 AM
Veteran Member
#4
11-27-2014, 05:03 AM
HA.
What started as an EFI loom short circuit, went the full whack.
I basically unplugged the loom/s at the RH bulkhead connector/s, hung it from the rafter of the shed, and found a printer mob that could blow up the wiring diagram from my book to 4 X A3 papers, and away I went, one wire at a time. Grants logic quickly took over, and nearly everything I could move got relocated out of the engine bay.
The c/control bellows ended up tucked under the vac tank in front of the RHF wheel, now that took some serious juggling, LOTS of drinking, more jugglng, and there it still is today.
The atmospheric bottle ended up as a 1ltr Moreys bottle in the engine bay, LHR corner, with a smaller windscreen washer tank finishing that little set up.
A/c compressor replaced with a Sanden compact, and the plumbing sorted so it was near unseen. NO fuel cooler used.
See why it took me MONTHS. Lost count of the empty JD bottles, whoopee.
Last edited by Grant Francis; 11-27-2014 at 05:05 AM.
The following users liked this post:
Greg in France (11-27-2014)
#5
11-27-2014, 09:03 AM
Veteran Member
The following users liked this post:
Greg in France (11-27-2014)
#6
11-27-2014, 09:58 AM

Veteran Member
Greg
#7
11-27-2014, 10:56 AM
Veteran Member
I'm using a 94 6.0 in my engine swap, and like the look of the engine cover to hide the V, yet the wiring on a 89 is overly cumbersome it seems. I deleted several things when I did my Marelli rewire, as well as made the harness much more tidy in the process. I became very comfortable using the automotive coax, and feel that even more improvement can be made.
Trending Topics
#8
11-27-2014, 01:54 PM
Veteran Member
I know the job...
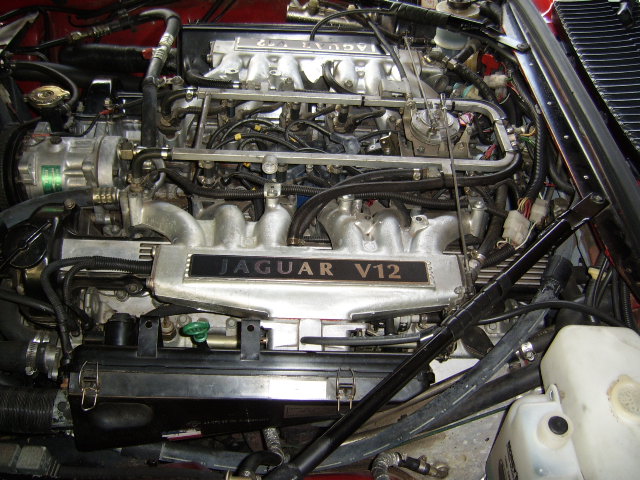
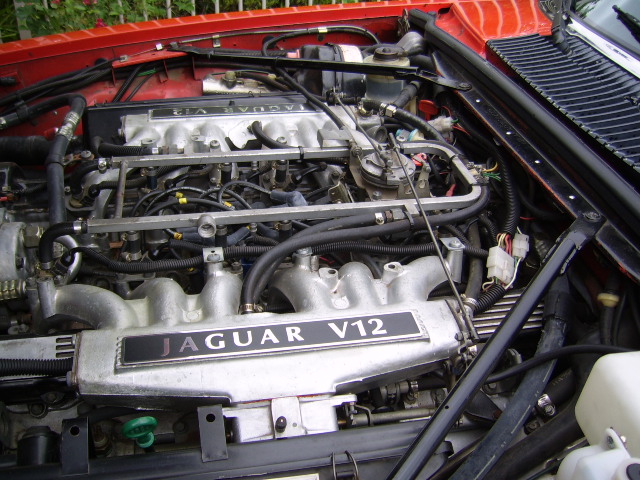
My job started replacing the radiator hoses. Refilled, it leaked from the water rails. Removed them, blasted and tried tomrefit. Couldn't get them in place again (not enough space) so I removed the intakes. As they were removed I removed the valve covers to replace the gaskets and half moons. Valve covers blasted and repainted. Intakes blasted and spotless. Injector rail cleaned and piping being sorted right now. New hoses and co fitted. Vacume piping rerouted. Shabby looking wiring replaced. Injector harness is to be finished yet. Etc. Etc. Etc.
What started easy has turned into an engine bay cleanup mission still not finished yet! And I started around May!
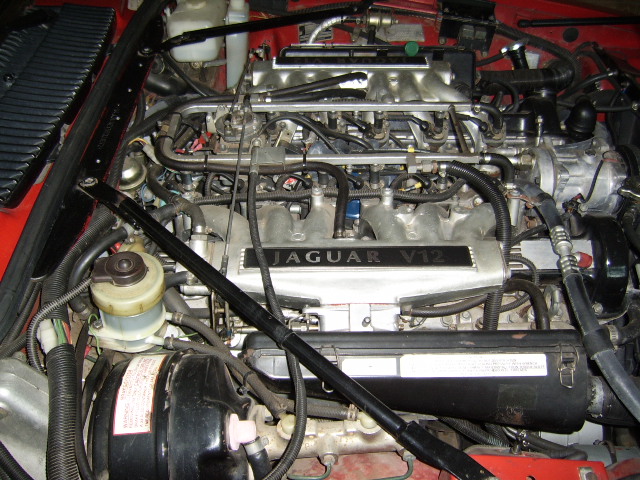
This is how the engine looks at the moment (the V is a tad fuller now):
My job started replacing the radiator hoses. Refilled, it leaked from the water rails. Removed them, blasted and tried tomrefit. Couldn't get them in place again (not enough space) so I removed the intakes. As they were removed I removed the valve covers to replace the gaskets and half moons. Valve covers blasted and repainted. Intakes blasted and spotless. Injector rail cleaned and piping being sorted right now. New hoses and co fitted. Vacume piping rerouted. Shabby looking wiring replaced. Injector harness is to be finished yet. Etc. Etc. Etc.
What started easy has turned into an engine bay cleanup mission
still not finished yet! And I started around May!This is how the engine looks at the moment (the V is a tad fuller now):
Last edited by Daim; 11-27-2014 at 01:58 PM.
#9
11-28-2014, 05:50 AM
one think I did't get to do is have the A/C drained. the car wasn't running when I put it in the garage, and as most all garages, you have to take the car in for them to hook it up to their recovery system. Hope to find someone close to me, and cheap to drain it with a portable system, I want to change the lines and check some other parts to see if need replacing. and I am going to cover the new line with a heat resistant wrap. 
#10
11-28-2014, 05:55 AM
500ml of JD, RHF wheel off, after you secure the car in the raised position, plastic bolts and nuts of front undertray removed, and the plastic 1/2 liner ripped out of the way. Cruise bellows fiasco without cable attached held in one hand, and imagination squarely switched ON, and start placing it around in the space available. Up under the headlamp bowl, and wedged into the tank bracket worked for me. Made a steel "thingy" to secure it where I wanted it.
The factory cable is NOT long enough. Local Harley shop had throttle cable (inner/outer) on the roll, so I got some (2mtrs from memory) and a couple of joiners. Attached one end to the bellows, and threaded it thru a convenient grommet into the engine bay just forward of the fender brace mounting point.
The factory cable was CAREFULLY cut so the inner was past this point, the outer was secured to the flat surface (go look at your car) that is just there, and then the bellows cable met at the same point with one of the Harley joiners.
The vac hose and the wires were obviously simple extensions of what was there in the first place.
This bellows died, surprised, I am not, I knew it would, it was/is rubbish. I found a Command Cruise set up at a local aftermarket store, and fitted that, and the bellows was 1/2 the size of the Jag unit, so I now had room in there for the 2" cold air intake ducting to pass thru on their way to the air cleaner snouts, win, win.
Why didnt I find/fit this unit in the first place, REMEMBER, I had the 500ml of JD, so driving the car was a no no.
Also:
The ign amp ended up out the front where the 2nd coil once lived.
The inlet balance pipe went west.
The AAV followed very quickly.
The over run valves simply disappeared.
Due to the electric fans, I removed the front "V" of the crankshaft pulley pack, that gave MORE room, and being lighter, it went faster HAHA.
Many little tidy up things went on over the years.
Last edited by Grant Francis; 11-28-2014 at 06:01 AM.
The following users liked this post:
Greg in France (11-28-2014)
#11
11-28-2014, 06:08 AM
I kept at it from time to time, and it did look really neat and tidy when we sold it. I believe it is now sitting in a barn with a blown engine?.
The following users liked this post:
TheWarlock (11-29-2014)
#12
11-28-2014, 06:09 AM
Veteran Member
Love it Grant. Great plan. I would like ly CC back, and the fact that a modern aftermarket will go in is fantastic.
All I have to do now is re-attach the CC cable to the throttle pedal and refit it. All that was done away with. Curses, as the mechanism is complex I seem to recall and I cannot recall!
Greg
All I have to do now is re-attach the CC cable to the throttle pedal and refit it. All that was done away with. Curses, as the mechanism is complex I seem to recall and I cannot recall!
Greg
#13
11-29-2014, 04:42 PM
Senior Member
I'm using a 94 6.0 in my engine swap, and like the look of the engine cover to hide the V, yet the wiring on a 89 is overly cumbersome it seems. I deleted several things when I did my Marelli rewire, as well as made the harness much more tidy in the process. I became very comfortable using the automotive coax, and feel that even more improvement can be made.
Any source /links for the coax wire online?
#14
11-29-2014, 07:49 PM
Veteran Member
I live in Greenville SC. There is a town nearby called Harleys Electronics, in Spartanburg SC. I don't recall the exact name they called it, but it definitely was stranded core, which is needed for automotive use. I really don't think there was any coax used on your car. My car is a Marelli car, and it was used to send ignition signals in the Marelli system

Thread
Thread Starter
Forum
Replies
Last Post
jagent
XJ6 & XJ12 Series I, II & III
10
09-12-2015 01:40 AM
Currently Active Users Viewing This Thread: 1 (0 members and 1 guests)