When you click on links to various merchants on this site and make a purchase, this can result in this site earning a commission. Affiliate programs and affiliations include, but are not limited to, the eBay Partner Network.
Just to help me remember or more likely never forget, I always keep the dates of my MOT TAX and INSURANCE written down and then once having done so always keep it somewhere I can find it
So knowing that the MOT for '50 Shades' my Grey XJS was looming on the Horizon in June of this Year, I gave her the once over just to ensure that everything was all up to snuff and ok
Which turned out to be a good job that I did, as one of the Number Plate lights had gone out and so I made sure I had plenty of time to fix it, as when you try and replace the bulb its certainly not unusual to have the flimsy bulb holder literally fall apart in your hands, which is where the Glue Gun comes in handy
Everything was looking good for the MOT and even the Windscreen Washers were pumping out more Water than Niagara Falls, then add to that the welcome fact that the Weather was perfect
What on Earth could possibly go wrong!
Well how about me turning up Six Months early for the MOT!
Hard to believe that could happen but unfortunately its True
As because of the 'Virus Thingy' I had completely forgot, that over here in the UK they had gone and granted us a Six Months extension to get our MOT's done except this wasn't all bad News as now I had the choice of either getting the MOT done now or else I could come back again in December
So not wanting to risk her failing in the middle of the very short Summer we had, I decided December would be better which was a decision that I would later regret as you will see!
As on the Day in question that I took her in too early for her MOT, the Sun was Shining her head off and even the Sky was Mediterranean Blue and everyone including me was in a really good mood, so unbelievably good in fact that my MOT Tester, even offered to give my Car a Pre MOT inspection
Just to reassure Paranoid me, that '50 Shades' my Grey XJS was really not about to fall to pieces and kept coming out with more positive vibes, than a battery charger!
'I can see you really look after her' 'She's in Amazing Condition' and all sorts of stuff like that and when you bring her back in December then I reckon She'll Sail right through without any problems. I could go on but I think you have got the idea
Music to my little ears or what!
So Super duper, elated by what he had to say and on Cloud 9 or even 10 and full of the 'Joys of Spring' I then Sailed back to 'Orange Blossom Towers' to break the Wonderful News to the GF!
What a Fantastic Day that was, it doesn't get better than this and so with the GF now sat beside me in the Passenger Seat, we went out for a Picnic on one of the best days of the Year so far
Where '50 Shades' was purring like a kitten and everything was absolutely perfect!
Unlike a couple of days ago when I took her for that MOT and everything went wrong, as the handbrake pads sheared off. while being tested on the rolling road, which then created more problems than you could ever imagine
As it looks as if the Cage will have to be dropped and that's not exactly the kind of a job that you want to be doing at this Festive time of the Year, or on any other day for that matter, as those handbrake pads are so wimpy that I could fix it and then have this happen again
So all things considered not a great start to 2021
Hello OB. I know it's been over two years since this post, but I was going through it because I'm contemplating replacing the fuel pump all by myself on my 1994 XJS, 4.0 L convertible and I haven't been able to find any specific info/details on getting the convertible top assembly/parts (pump, valve, lines, etc.) out of the way in order to be able to pull the tank backwards towards me, so I can clear and expose the pump port at the top. Maybe the info is there and I've just missed it, so I wanted to verify this with you. Will it be necessary to disconnect the hydraulic fluid lines?
On a different subject and regarding your comments about Chinese parts, let me tell you that I have Chinese head units on both of my Jags, my 1994 XJS and my 2002 XJR and they are the best radios I've ever owned. They both have features galore, including BT, mirror link, Internet via mobile hotspot tethering (which I still have to set up) dual USB inputs, etc. The XJS radio has a HD 4.1" super sharp touch sensitive display plus remote control, for how much...uuh how about US$44.00 ?
The XJR head unit has a 7" HD display with similar features at similar price. Of course, the sound is phenomenal, but what helps these radios is that both of these Jags' ICE systems have been 100% "overhauled" right after I acquired the cars a while back, meaning there's nothing left from the OEM hardware and the amps, the speakers and even all cables and wiring are all top aftermarket choices, so these Chinese wonders are the icing on the cake.
Finally, in regards to non-OEM parts, I've just asked a local shop for a quote here in Oceanside, CA, who works on Jags, to replace the fuel pump on my XJS and their response was that the fuel pump for my car would be around US$650.00 (just the part alone because it is the OEM pump) but then, he says he can't find a pump because they're out of production, so he won't be able to do it because they won't use any after market stuff that's not OEM because they only work with OEM parts exclusively.
Can you believe this? Oh man...
Pulling back the Fuel Tank in itself is not too hard to do, except that in order to do that, every single thing is in the way because on a Convertible, you need to take that baffle plate right out, which has been cut to fit where it is 'inch perfect' so you don't really have any play to play with
On my Car a 95 I even had to remove the CD Player in the Boot/Trunk as the Baffle Plate was just a couple of mil too wide to get past it, which is the sort of thing to make you scream!
As for the Hydraulic Pump, that also has to be unbolted from the Baffle Plate before you start, which is super awkward to do, when you see how its been bolted in though as for the Hydraulic Lines, you can either disconnect them of find some way to hang the pump up in the Air
And then there are the Gas Struts in the Boot/Trunk both of which will need to be removed, where that light as a feather Boot/Trunk Lid will suddenly feel as if it weighs a Ton, so if you have Gym Membership then you may as well cancel that now as holding that up will give your arms a work out, unless you want to get 'Arnie' round to help!
If you think that this sounds bad, then you are only on the nursery slopes, as removing the Fuel Filler could easily take you all day, as it will feel as if its been glued into its rubber neck sleeve so trust me when I tell you that its a PIA on Steroids to try and get it out, unless you want to cut the rubber sleeve which is quite expensive to replace
Though since you'll probably end up having to cut it through anyway, then you may as well factor the Cost of that sleeve as being collateral damage, in the event that you manage to get this far without wanting to end it all, then next job is removing the Fuel Pipes from the Fuel Tank under the Car (which is all that holds the Fuel Tank in)
This takes the word awkward to a whole new different level unless you've got arms about a foot longer than normal, as in order to remove those pipes which are held in by two spring clips (don't lose those clips as new ones may be hard to come by) you have to reach right into the IRS Cage
Which you could find so awkward to do that you could well start thinking that your quotation of $650.00 was a Bargain! as 95% of this is for labour and although its not an impossible job for a Diy Guy to do, the best advice I can give you is to leave all those sharp objects at home, as at some stage you might feel like ending it all!
Ask me how I know or rather don't as I have now done this job twice and it certainly wasn't any easier the Second time around, having said that icsamerica has come up with a totally different way of doing this which as yet I haven't tried and so it might be well worth while to look for his Post
Although which ever way you go, its not really a 'Walk in the Park'
Check out my post on this. You will not find an OEM pump, but there are several generic pumps that will replace the stock in tank.
The most difficult past will be adapting the in-tank electrical connector to match the pump. But mant aftermarket pumps use a standard generic 2 pole connector, so it is not that big a deal.
But as I found out. Check your wiring first. Turned out that was my problem. Remove the rear cage, and put a meter to the external conmector before going any further.
Finally, in regards to non-OEM parts, I've just asked a local shop for a quote here in Oceanside, CA, who works on Jags, to replace the fuel pump on my XJS and their response was that the fuel pump for my car would be around US$650.00 (just the part alone because it is the OEM pump) but then, he says he can't find a pump because they're out of production, so he won't be able to do it because they won't use any after market stuff that's not OEM because they only work with OEM parts exclusively.
Can you believe this? Oh man...
It might be that they've had a few instances where using aftermarket parts has caused them a major headache or expense so they've sworn them off forever.
Or it might be that they simply don't want the job...for various possible reasons. Rather than admitting as much they dream up a crazy excuse.... or quote a price so high that nobody would ever say "yes". This happens all the time.
I've not tackled an XJS in-tank pump so I may be talking out of my hat but most in-tank pumps are easily replaced with high-quality, brand-name aftermarket units with just very minor modification, if any at all. I've done so numerous times.
If the repair shop in question has been there a long time and has full service bays, and lots cars waiting outside to be repaired, then whatever policies they impose are apparently working for them, or at least not hurting them. They're in the enviable position of being able to turn away work.
As much as I would like to I can't put it off any longer, as when I looked at the running gear on ''50 Shades' My Grey XJS it was unfortunately much worse than I thought and not just a case of having to replace the hand brake pads, as I was hoping
The Calipers had gone rusty and one of the Rotors had a big chip on the edge which either may or may not have been caused by a hand brake pad when it came off, not that this really matters as one way or another the IRS Cage must come out, although I'm doing it differently to when I removed the Cage on 'The Ice Princess'
So 'Biting The Bullet' in Freezing Cold Fog, I 'Cowboy'd Up' and made a start by removing the Hand Brake Cable from the Handbrake Calipers on this Car, which can be a total PIA as you very often have to slack the Hand Brake Cable right off from inside the Car before you start
But Not this time! and all because 'I had a cunning Plan' that worked like a Charm and only took a couple of minutes instead of a couple of hours, where as you will see from the Photo, I used a pair of Locking Pliers on the side of the lever which operates the hand brake and then I simply pulled on this as hard as I could
And then when I had enough slack I used my other hand to pulled the slackened hand brake cable right out of its slot and though it was a bit awkward to do in such a confined space, it was well worth all the pain along with some skinned knuckles! to be able to do that job in such a short space of time
After that the next thing was to disconnect the Exhaust, where once again this can be a total PIA job, especially if all of those bolts have gone rusty but not this time! because earlier on in the game I was having a problem with the Exhaust and 'Thankfully' replaced it, using all New Bolts, so this was another nice little Five Minute Job
Then it was onto the propshaft where owing to a schoolboy error my luck then ran out, as I forgot to leave the Car in Neutral which meant that I couldn't turn the propshaft in order to make it easier to get to the uppermost bolts, although by this time I was so freezing cold that I decided to call it a day and have a very nice hot cup of Tea!
Though not being someone who ever gives up, I had to put a New Alternator on my Daily Driver which is my Merc, where compared to working on the Jag doing a job like that was a 'Walk in the Park'
Where in the process of doing that I found out something that saved me a fortune! as instead of a New Bosch Alternator which can be quite expensive for bargain hunters like me! it was then that I suddenly realised that any generic alternator that has the right output will bolt straight into the brackets without any problem
So I used the one that I bought for my MGB and although I wouldn't recommend doing something like that on your XJS it was plenty good enough for my daily driver and any lest I digress its back to the XJS where this time I'm taking the Cage out, with the Car down on the ground instead of up in the Air on a Car Lifter
As the last time I did this job by using a Car Lift, the Runways of the Car Lift got right in the way, though as I hadn't got a Two Post Lift or one of those Mid Risers which is still on my Shopping List, I didn't have much choice and so it will be interesting to compare the difference to how I did this using a Car Lift last time
Removing the Handbrake Cable like this was really 'A Walk in the Park'
Last edited by orangeblossom; 03-03-2021 at 05:58 PM.
Good work! I'm sure you're doing it anyway, but remember to put a scribe line across the prop and diff flanges to make sure it goes back in exactly the same alignment. Otherwise you're extremely likely to end with prop vibration afterwards.
Glad you dropped by as there's something I need to know!
Having got the 2 bottom bolts out of the Propshaft, I need to turn the Propshaft round to get to the other 2 but I can't get the T Bar Shifter to come out of Park and so in order to do so, do I need to have the ignition ON and then touch the Brakes, as I don't know that at the moment as I have taken the Battery off
The later 4.0 transmissions have an interlock button which you can release by removing the plinth on the selector quadrant and then the button is accessible beside the Park position (I think) . You just press it down. I can't remember if the same functionality exists on the GM-equipped 5.3 boxes?
I guess you could remove the selector inhibitor switch from the box from underneath which might then enable you to move selector positions? However, the much simpler way seems to be just to connect the battery and do it the normal way with ignition on and press brake pedal.
Also, to protect the prop gaiter, the recommendation is to tiewire the prop yoke back whilst it is disconnected from the diff to prevent the prop gaiter stretching.
Brilliant, just what I needed to know as I had a feeling that you had to give the Brakes a press with the Ignition on, except that you always do these things so automatically that when you don't you tend to overthink it and forget
What with it being a Saturday, I just didn't feel like rolling around in the dirt under the Car, so me and the GF decided to do some Industrial type Spring Cleaning and empty out one of the Sheds we have at 'Orange Blossom Towers' where fate can play strange Tricks!
As underneath some of the rubbish, I happened to come across a pair of rear XJS Calipers that must have come off one of my old and probably sold XJS's which then sorta gave me what I thought was a great idea
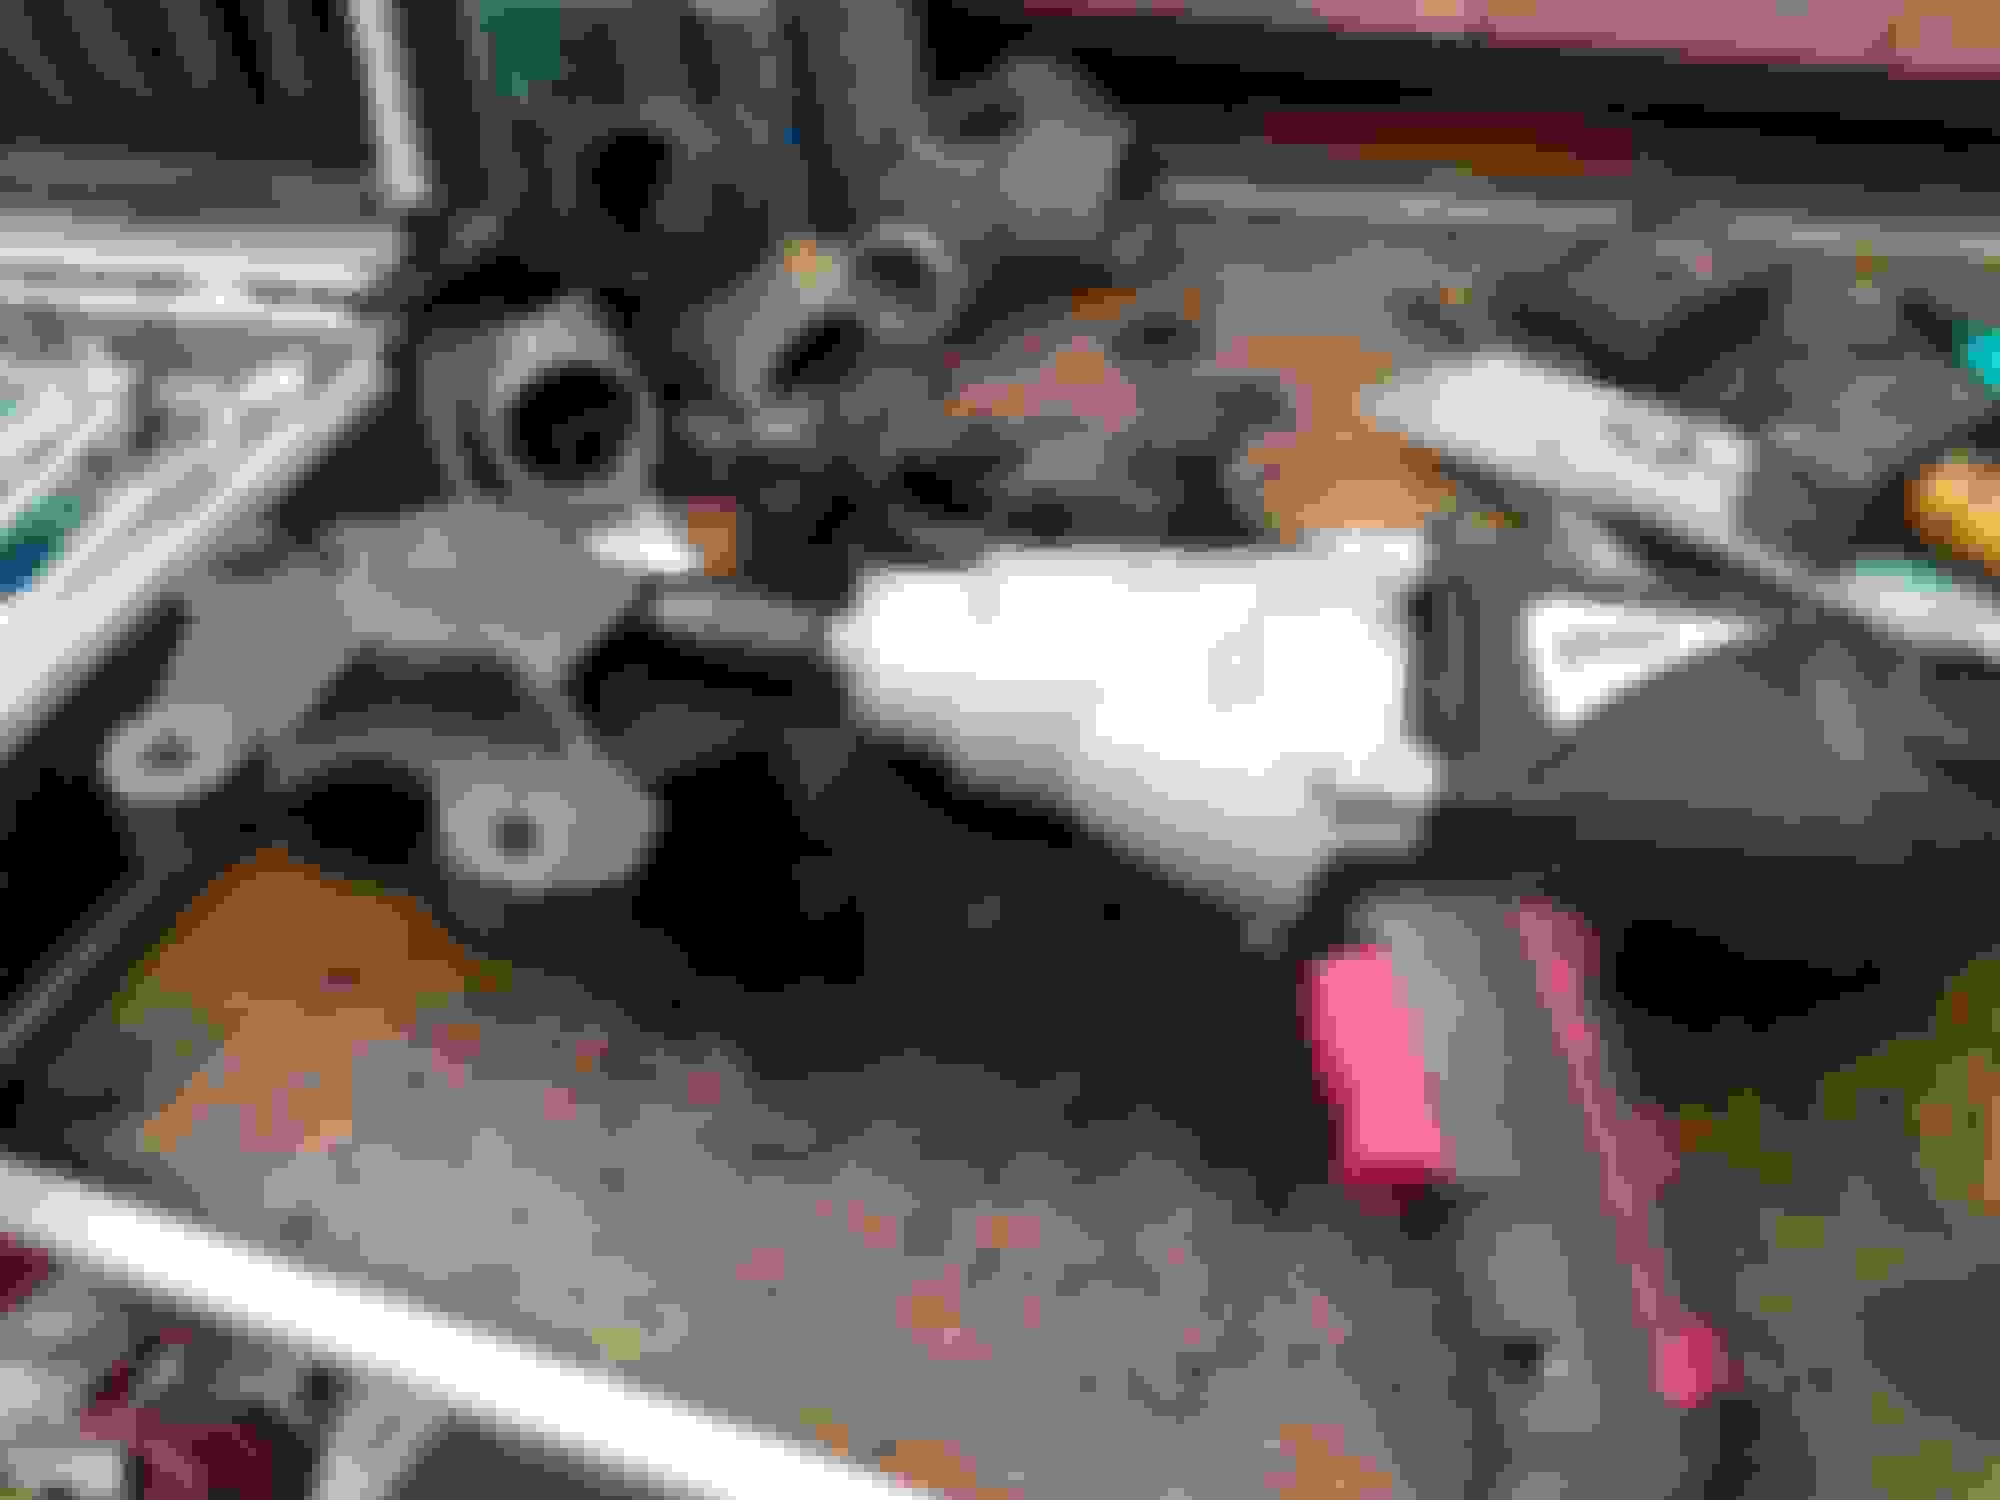
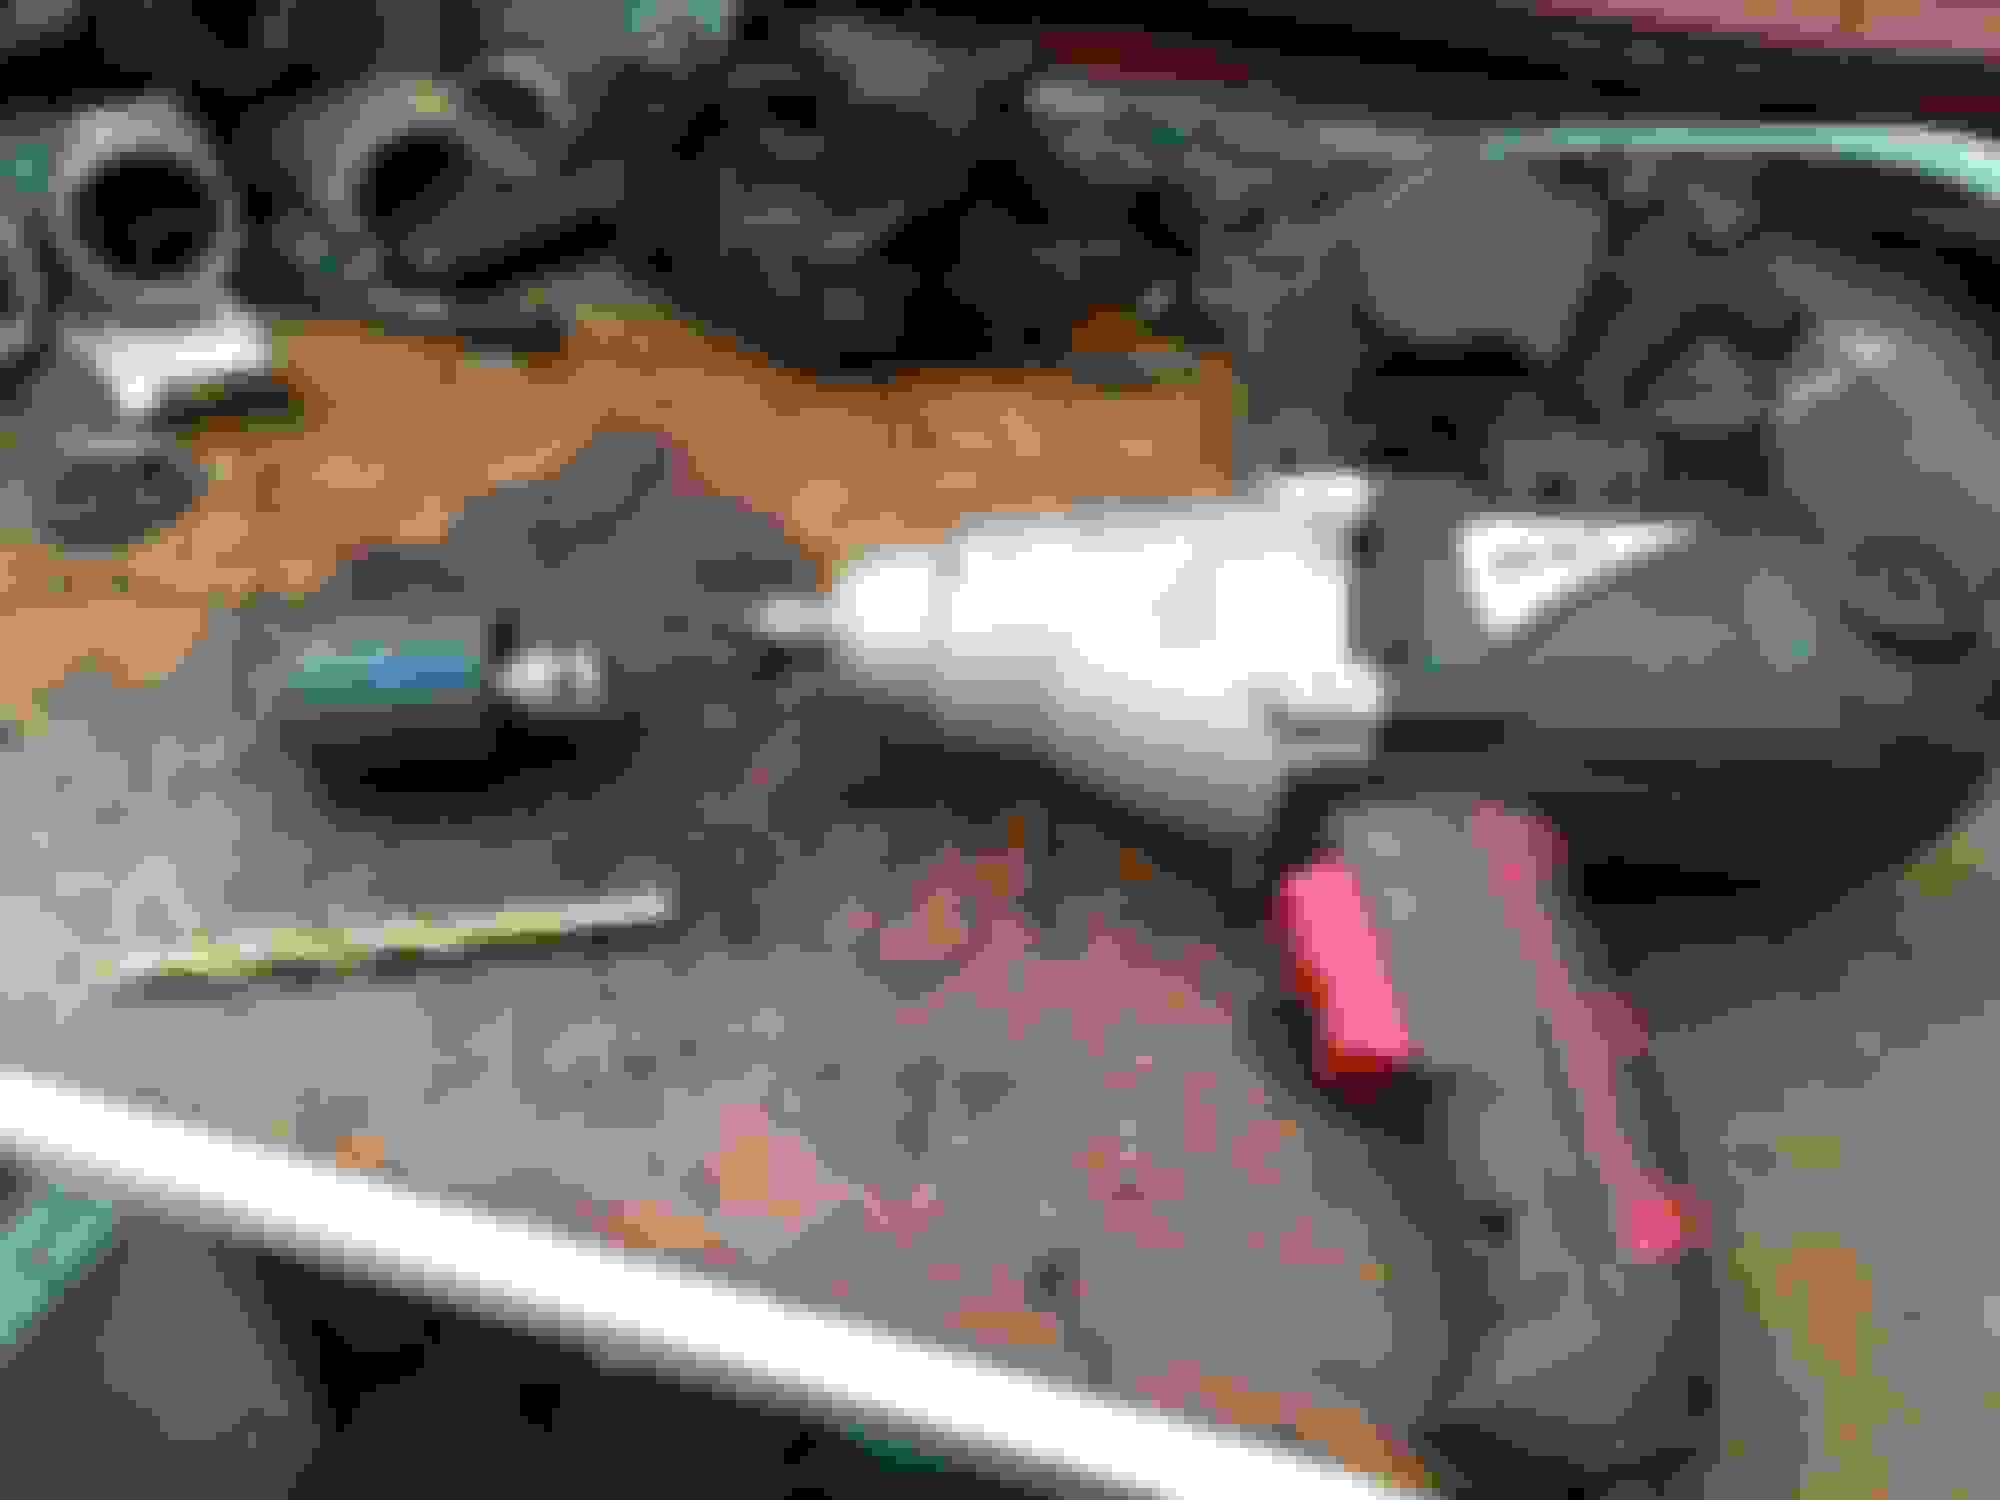
Which was to have these Calipers reconditioned, so that when I take the Cage out of '50 Shades' my Grey XJS then I'll have a New Set of Calipers already to go back, the only problem being that the Original metal Brake Pipes were stuck fast in the threads and just didn't want to unscrew, not even with heat or a thump from a FBH
And just in case you were thinking of asking and even if you weren't, I did have one of those proper Brake Pipe Spanners with the slot but that wouldn't shift it either, at which point I decided to go for 'The Nuclear Option' and break off those stubborn Brake Pipes where they went into their fittings and get out the Impact Wrench!
Although the Calipers looked in good condition some of those Brake Pipe Fittings just didn't want to come out
Time for 'The Nuclear Option' and break out the Impact Wrench, which removed that stubborn fitting in a second
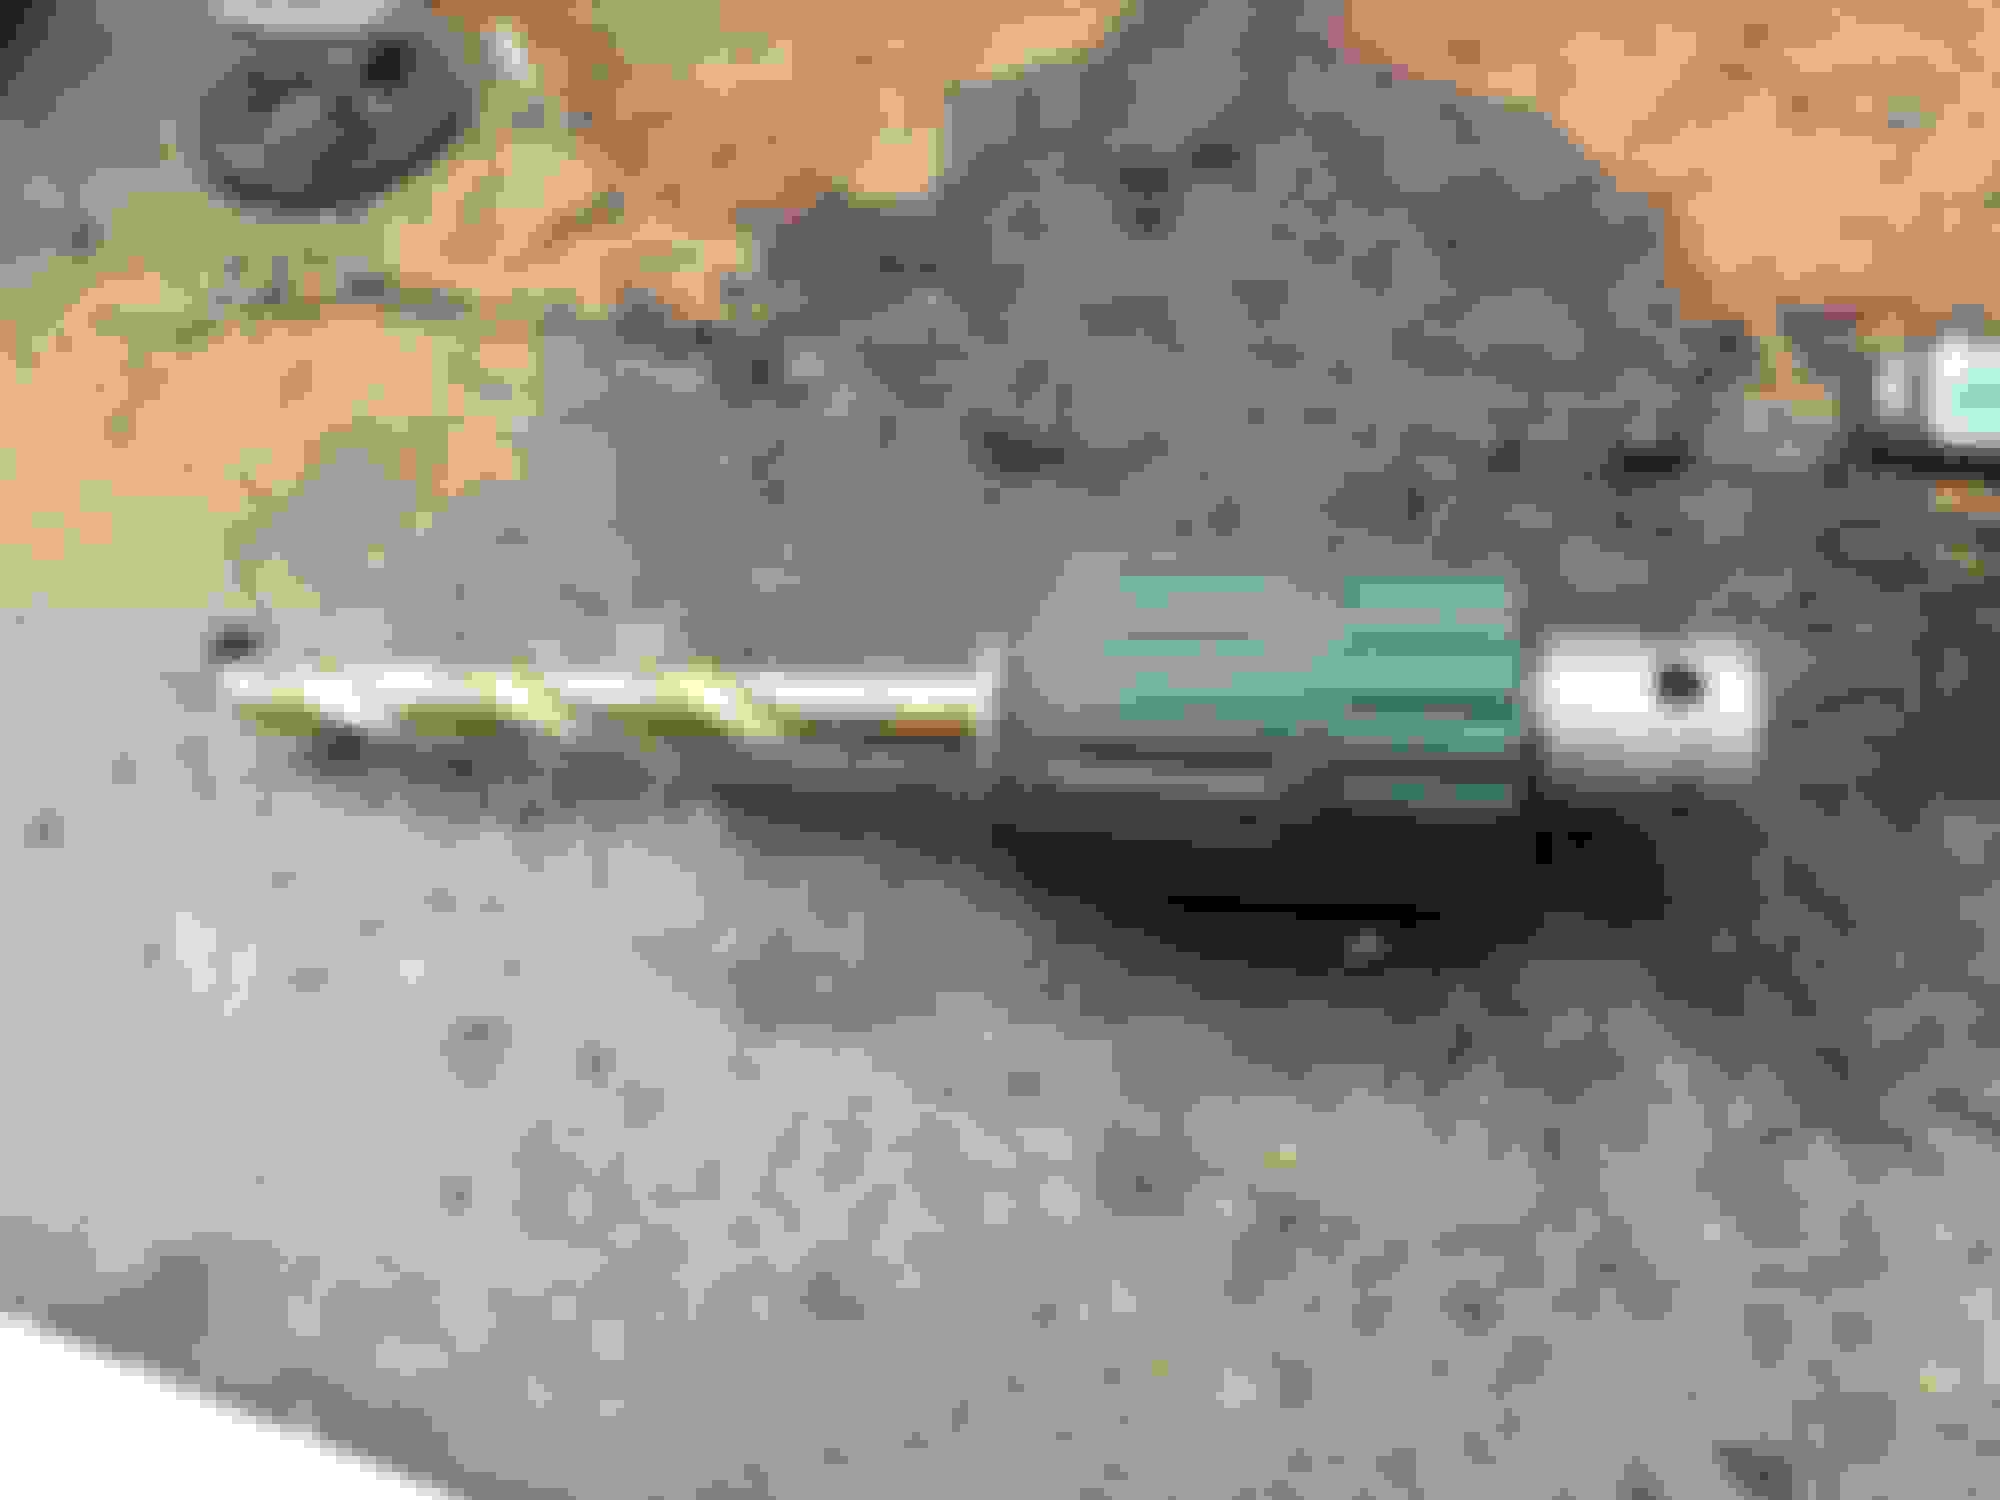
Also a chance to Play with my 'New Toy' which was a Drill Chuck that can turn an Impact Wrench into an Impact Drill
Never used one of these before but it's an inexpensive and awesome piece of kit
With a Masonry Bit instead of a Wood Drill it could probably go through anything
One of the most useful things I've bought for quite some time
Calipers in the Process of being packed up and sent for reconditioning, so they will be already to fit in the Cage of '50 Shades' when I've removed the old ones after the Cage has been taken out
Last edited by orangeblossom; 03-06-2021 at 04:59 PM.
The Weekend was a washout in more ways than one, Freezing Cold and soggy where as much as I hate to admit it my heart just wasn't in it so instead when Shopping with the GF in her Mazda MX5, as my daily driver the Merc is off sick at the moment when this dude on ebay sent me some Caliper Pistons
That were not the same size as were stated on the Box, which as a result lead on to Brake Failure and could have caused a fatal accident, so as much as I'd love to give it a go I'm not taking any chances with the XJS and am sending them off for a rebuild by the Professionals
Maybe a break from the XJS did me the World of good, as today being Monday the Sun was starting to Shine and I was chomping at the bit to get on with it and so I did just that, where my enthusiasm for the task in hand resulted in what I considered a very worthwhile result, as spanners were flying everywhere but in a very good way
Where I had no doubt at all that I was able to do this and no doubt spurred on by thinking that if a Shop can do this, so can I and save a couple of thousand pounds into the bargain, as the labour cost of doing this job must be truly horrendous
But taking out the Cage on a Jag, is easier than it looks and in my book far easier than Changing all the drive belts or replacing the In-Tank Fuel Pump on an XJS 4.0L because by the time I have finished this I will virtually have a New Car
New Rotors New Brakes and New Calipers, providing that nothing goes wrong, which of course it could do so I'm hoping the 'Jaguar Gods' will be there at my side and so to give you an update, as to the progress thus far
The Exhaust has been disconnected with the bolts just 'finger tight'
The Joy of undoing Brand New Bolts was like a dream come True!
Next to go were the Eight Bolts that held the Cage in place, which were all really corroded and a bit of a PIA to try and undo and although they took about half an hour each for reasons that I found hard to explain, I was really enjoying this part of the Job as every bolt that I took out was replaced by a New one
Isn't She lovely! Brand New Passivized M10 Bolts which I picked up for peanuts, in a Hardware Store Sale (Two for 50p) if I remember correctly
Hard to get a good Photo and even harder to get the Bolts out but we got there in the end!
Every time I removed an Old Bolt I replaced it with a New one, no Nuts on the end of these so I can easily pull them out when I drop the Cage
Still left to do are the following jobs
(1) Disconnect the Trailing Arms
(2) Disconnect the Prop Shaft which has two more Bolts left to undo
(3) Disconnect the Wheel Speed Sensors
(4) Disconnect the Speedo Sensor Wire
(5) Disconnect the Rear Flexy Brake Pipe and although I've got the Special Spanner with the Slot to do this, I am betting on this being a really Total PIA to do as I don't want to mess up the fitting from the Main rear Brake Pipe (Any tips on this appreciated)
Unlike the last time I removed the Cage, this time I'm not using a Car Ramp as for one thing the Runways of the Car Ramp kept getting in the way, so this time I'm doing it down on the ground, although a 'Mid Rise' Car Lift would have come in handy a made the whole job easier than it has been so far
So maybe I'll treat myself to one with all the money I'm saving by doing this job myself
Alex
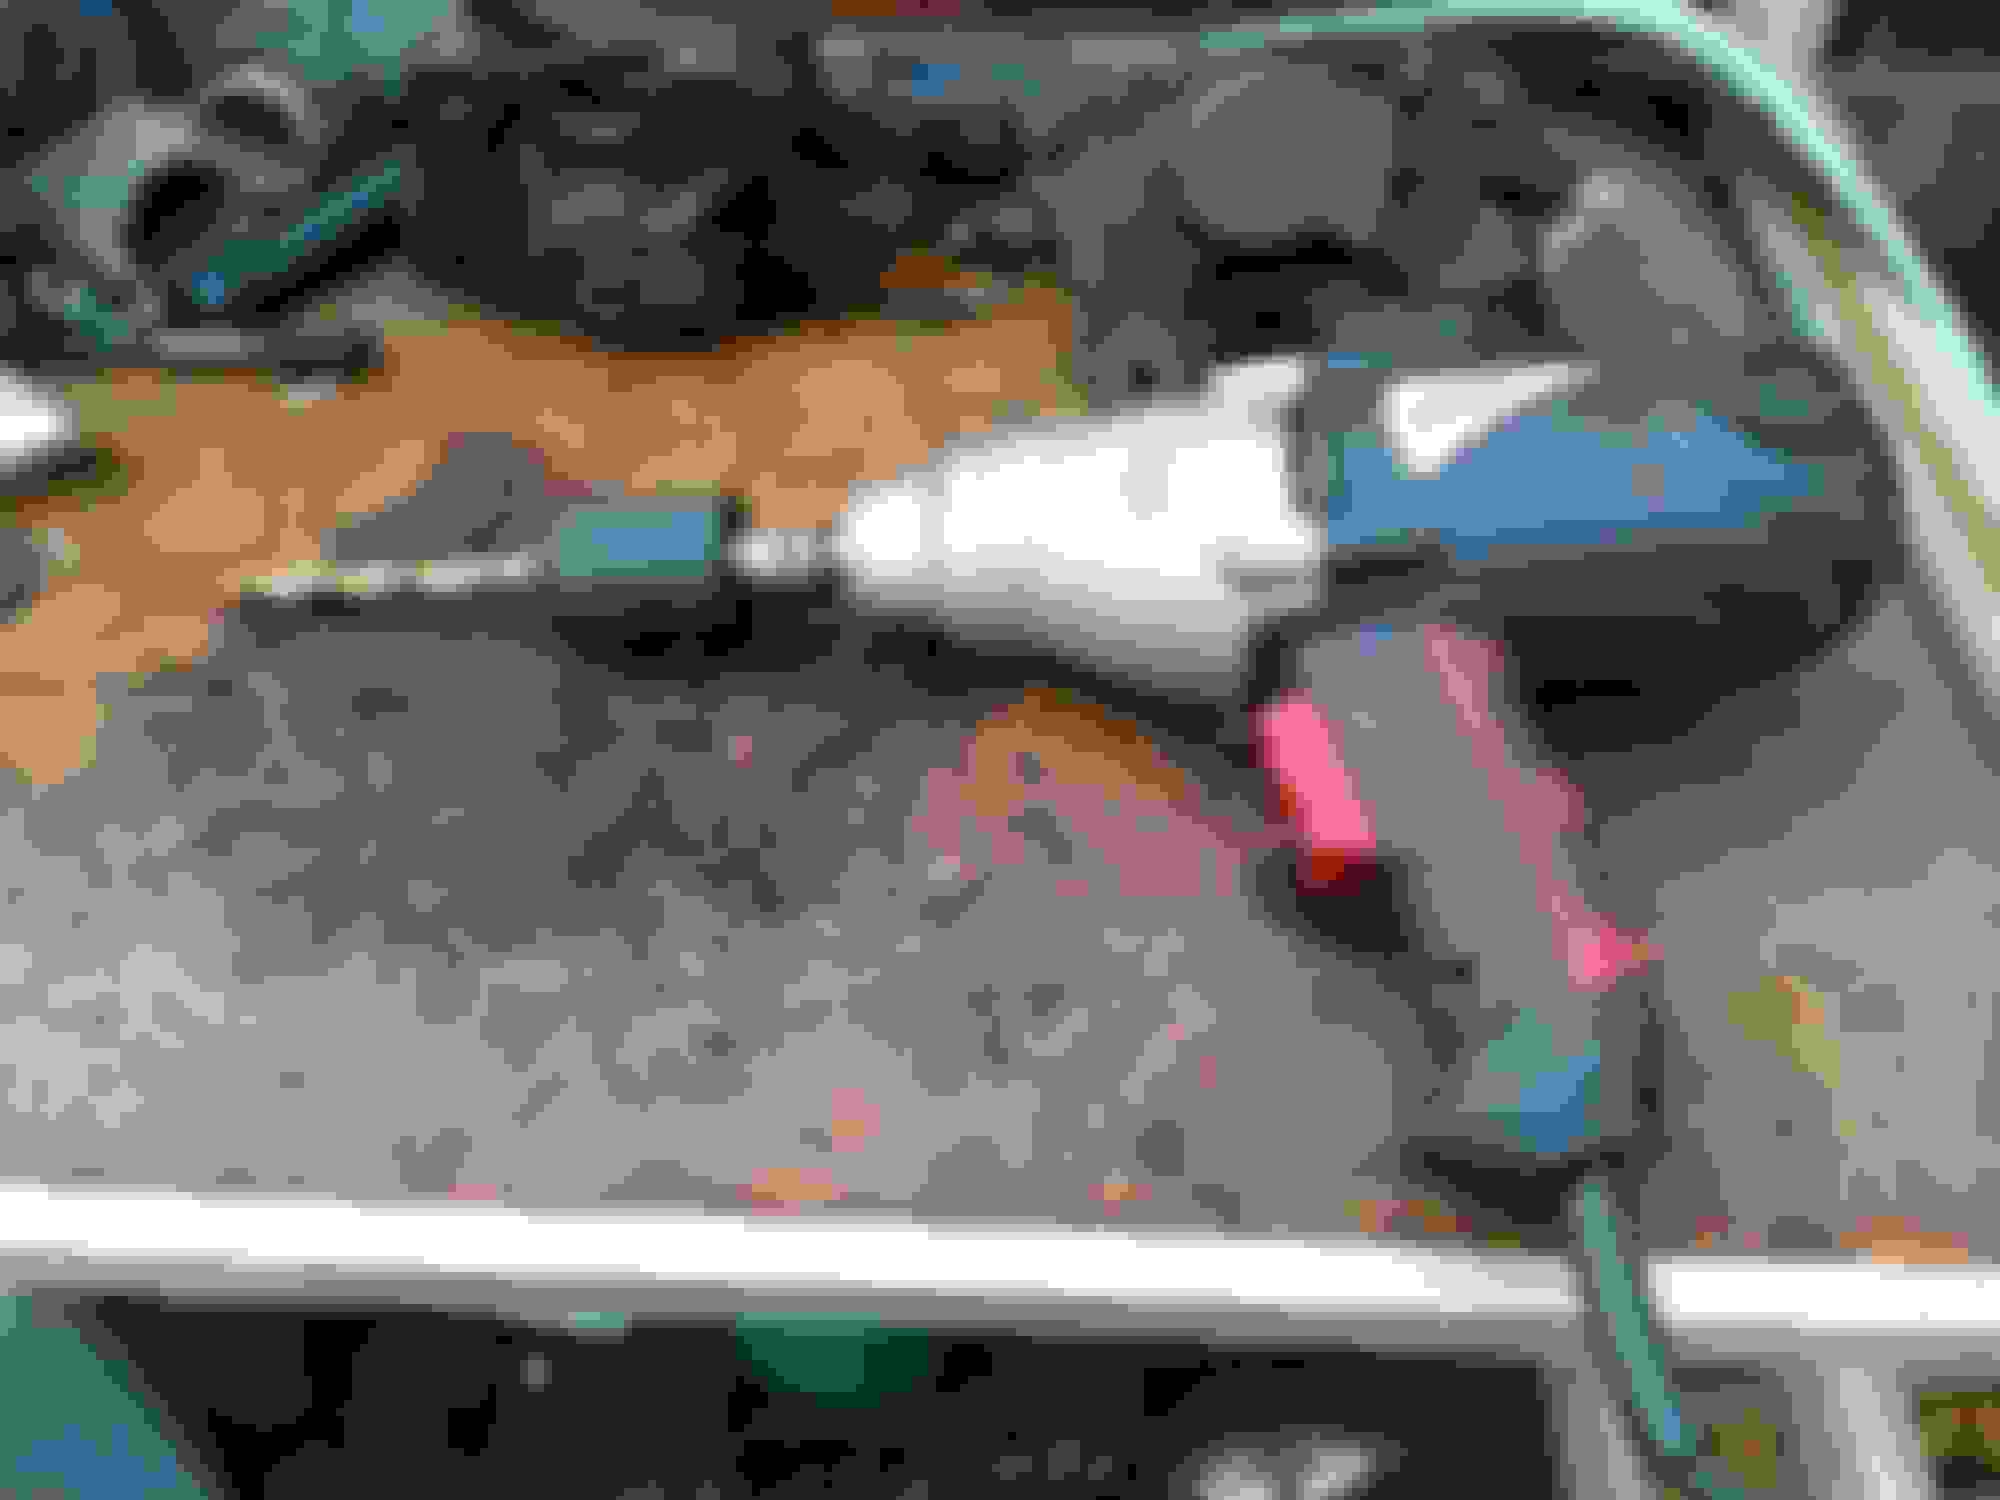
The brake line connector must have a spanner on each fitting, so when you undo it, the actual line is not twisted by the torque of the spanner. Also there are two elements to the connection:
the actual connector fittings that hold the solid and flexible brake pipes together
the nut that runs down the threaded solid part of the flexible that is used to clamp the flexible to the bracket that holds it to the car. You should find that this bracket is fixed to the chassis rail by the frontmost bolt of the RHS frontmost cage fixing.
So the way I have found best is to loosen the actual pipe connector fittings turning the long nut on the actual hard line, then loosen the clamp nut holding the flexible to the bracket; BUT, in both cases you must have a spanner on both sides of the fittings.
On the attached snap, the blue arrows show the actual connector fittings, and the green ones the bracket clamp fittings. This photo is the cage end of the flexible, in your case the end to undo is the other end, but the fittings are the same.
Also, as a useful tip, if you can find a spare brake bleed nipple rubber cover, this can be pushed over the flared free end of the hard line, and will stop the fluid coming out, and will mean you only have to bleed the rears when you refit the cage. Also, now is the time for some remote bleeders!
Good luck
Greg
Last edited by Greg in France; 03-09-2021 at 01:47 AM.
Woke up this morning and raring to get to work on my XJS where the Weather was pretty much perfect for around this time of the Year so the next job to do was to disconnect the Trailing Arms from the Car, which can be problematic if the bolts that hold them in have gone rusty
This proved a bit of a problem when I was removing the Cage from my other Car the 'Ice Princess' which needed my Impact Wrench to undo those bolts but not today as my luck was in and everything ran perfect, so all I needed to do the job was a couple of Sockets and a Socket Wrench
Removing the Bolts from the Trailing Arms was easy where the only tool I needed was a Socket Wrench
In order to get to the Trailing Arm Bolt a Metal Keep first has to be removed and although it looks a bit rusty, I undid it easy enough
Once that keep has been removed you can get to the Trailing Arm Bolt which undid without any problems, where having done that the Trailing Arms themselves can be removed most usually with a Clump from a Hammer and Chisel, which I really didn't want to do on my own Car just in case I damaged it in the process
So I knocked up a Slide Hammer, which was perfect for doing the Job
Welding a Nut on the end of the 'quick and dirty' Slide Hammer that I knocked up
Isn't She Lovely! my 'quick and dirty' slide hammer which took 10 minutes to make
Slide Hammer in position poking through the Rubber Donut of the Trailing Arm
Using the Slide Hammer kept the Donuts free of doing any damage
One good 'Clump' with the Slide Hammer and the Trailing Arm was off
Having removed the Trailing Arms on both sides of the Car, I then tied up the Exhaust Pipes to take any strain off the Manifold when I undid the bolts
Having done that the next job was to remove the remaining Two bolts from the Propshaft which again was very easy and went without a hitch
That was all I had time for today but the Jobs lined up for Tomorrow are:
(1) Removing the Wheel Speed Sensors
(2) Removing the Speedo Transducer
(3) Disconnecting the Rear Brake Pipe
And that's it!
Then after that the Fun of removing the Actual Cage from the Car, which is so Satisfying that if all goes according to Plan I'll also do the Cage on 'Cherry Blossom'
As far as dropping the Cage is concerned things have not been going very well, as to start with we were battered by an unexpected Storm and freezing rain that would not go away which was very frustrating as having undone all the fastening bolts the Cage was ready to drop or so I thought!
But then again no job is ever complete unless you hit a few snags along the way, which came out of nowhere after I had finished removing the Wheel Speed Sensors which was an easy little job with just a couple of small bolts to undo
Removing The Wheel Speed Sensors was a very easy job
Having done that I ran into a couple of very annoying small problems that seemed to take for ever to sort out, the first of which was the Sensor Wire for the Speedo, which runs from the Boot/Trunk to the rear diff
Which then threw up an interesting 'Design Quirk' as the Sensor Wire for the Speedo runs behind a Steel Baffle, where the Plug that's on the end of this is about 0.5mm too big to go through the slot in the side of the baffle plate
Where the only means of solving this was either to cut the plug off the end or else do what I did and then dismantle the Car! Okay maybe I'll grant you a very slight exaggeration here but it ended up taking me Two Hours to get that Plug to go through that slot as it had also been wound around some other cables in there
Speedo Sensor Wire Nightmare as the Plug wouldn't go through the hole! which was very easily solved by dismantling the Car!
But that was really nothing when compared to what happened next! As the only bolt now left to undo before I dropped the Cage was the last one of the three that held the exhaust pipe together
What could possibly go wrong!
How about every single thing you can think of
Because as I undid that final bolt guess what happened next!
Tell me, Tell me, what happened next as the Suspense is killing me!
Ok well you are never gonna believe this but the thread inside the Nut sheared off and wrapped itself round the Thread of the Bolt like a Helicoil insert OMG! and so I thought I'd lever it off with my Best Screwdriver, which up until now I'd never used as a Chisel but having said that there is always a first time!
Or in this case a first and last time, as when I hit the end of the handle with a FBH it snapped the end of the blade off, which kind of made it useless for undoing any Screws
So next I bashed the end of the Bolt with a smaller FBH which broke this Helicoil 'Thingy' off the Bolt, the only downside being that I'd somehow turned that bolt into a rivet which was now too big to go through the hole!
Where the only option left was to cut the bolt through with a Hacksaw, if only I knew where it was and had to phone a mate up, so he could lend me his who actually thought this hilarious and then proceeded to tell me everything that I'd done wrong
And then just to make matters even worse the GF turned up with Doughnuts and a Couple of Cups of Tea, which then prompted him to say 'I can't believe you two are still together! so Alex just take my advice and just make sure She never sobers up'
Note to self, remove this idiot from the Christmas Card list!
Home made Helicoil Bolt that I managed to turn into a Rivet that wouldn't come out of the hole!
As for the Cage, its still on the Car so I'll try again Tomorrow
Over here we call it Murphy's Law, which is basically,
If It Can Futch Up! It Will !!!
Cute side note, I was 13 (a long time ago) I had an Uncle Don, Murphy. Well being 13 and a Smart AZZ, I looked at him and said. So you're that Murphy S.O.B. Uncle Don looked at me laughed, and said no it's not me. And don't worry, cause he gets me too!
Believe it or not removing the 'Cage' is one of my favourite jobs on the XJS and although it looks intimidating easier to do than a lot of many people think, where the hardest part of the job is Jacking up the Car so that it cannot fall on you and kill you, where in order to prevent that I put lots of fail safes underneath the Car
As I don't want the GF doing handstands on the lawn while she's cashing in my life insurance
So while this is a simple job in the scheme of things, I reckon with a Mid Rise Lift, I could have that Cage out in less than 4 hours, although having said that if I were to do this job for anybody else then I would want a Two Thousand bucks to take the Cage out and then put it back, if they were to go and buy a refurbished one
Where it has occurred to me that this could be the ultimate 'side hustle' where I could pull in 20k per year, except of could I just don't have the time as for one thing your Mate 'Murphy' has been up to his old tricks again, as this has been another day when everything went wrong!
Oh No!
That gap is only about an inch too small and both those 'failsafe' drums are in the way! and that took me an hour to get that sorted!
But then things just got worse!
This looks the perfect Set up until you get to see what happens next
Perfect! what could possibly go wrong!
When those Exhaust Pipes came crashing down it scared the hell out of me, as that was not was what was supposed to happen, except that wasn't the problem, as just wait and see what happens next!
'Houston I think we've got a problem' as that is a low as it will go
Murphy's been up to his Tricks again as the Cage only need to drop a 1/2 inch which happens to be the thickness of the piece of plywood underneath the bottom plate!
OMG! just how unlucky is that!
By this time it was getting dark and 'Murphy' was up to no good and so I thought that I would call it a day and then have another go Tomorrow as sometimes you can't 'buy a goal' and Today was just one of those days!
As I was properly sick of 'Murphy' calling all the shots and making my life even more difficult than it was, so having solved the problem at least in my head, I opened up the door of my Shop and went in all guns blazing, as no matter what else happened today, failure simply would not be an option
So instead of raising the Car up just a little bit higher so that I could get the Cage out, I pushed it off the trolley it was on and then once having done so dragged it out from underneath the Car, then jacked it up and put it back on the Trolley so that I could move it around
Going off my Trolley!
That IRS weighs a Ton!
Yass! done it at last but now comes the job of Cleaning and Dismantling everything before rebuilding
Those Rotors were looking really worn out and as you may be able to see one of the Handbrake Pads is missing which was probably torn off during an MOT Test
 12-05-2020, 08:14 PM