Cherry Blossom - Restoration 1990 XJS V12
#2321
The following 2 users liked this post by orangeblossom:
Greg in France (03-22-2021),
Rescue119 (03-22-2021)
#2322
Removing The Cage From '50 Shades' My Grey XJS
The Axle And The Calipers
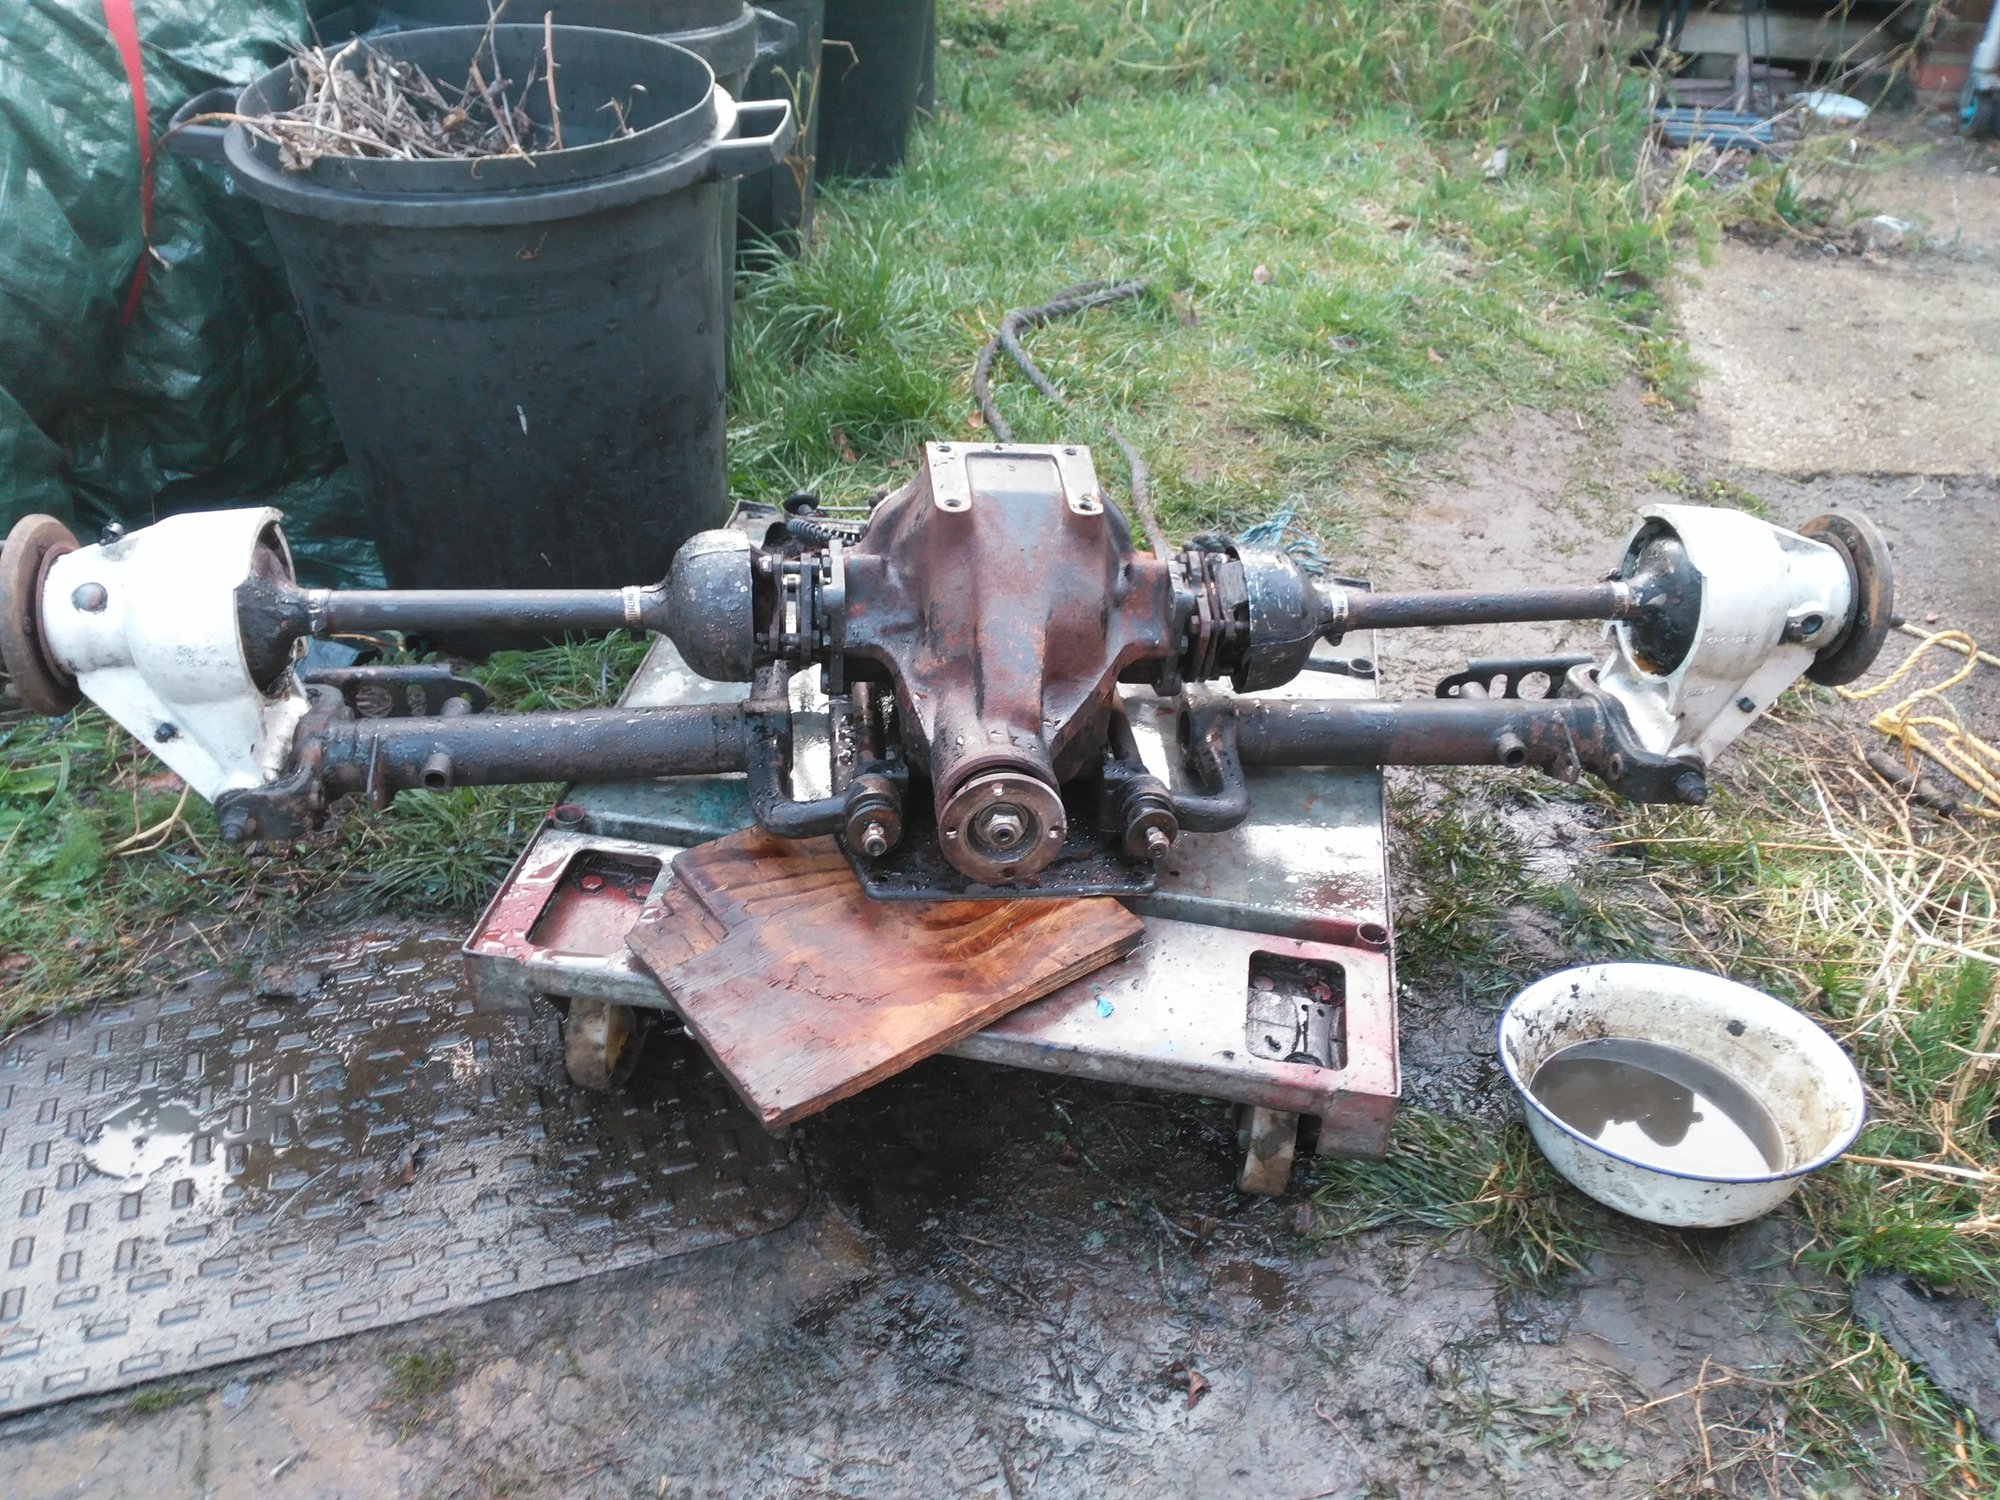
Lovely Weather once again so having Cleaned the Axle Yesterday, it was time to put the Primer onThe Axle And The Calipers
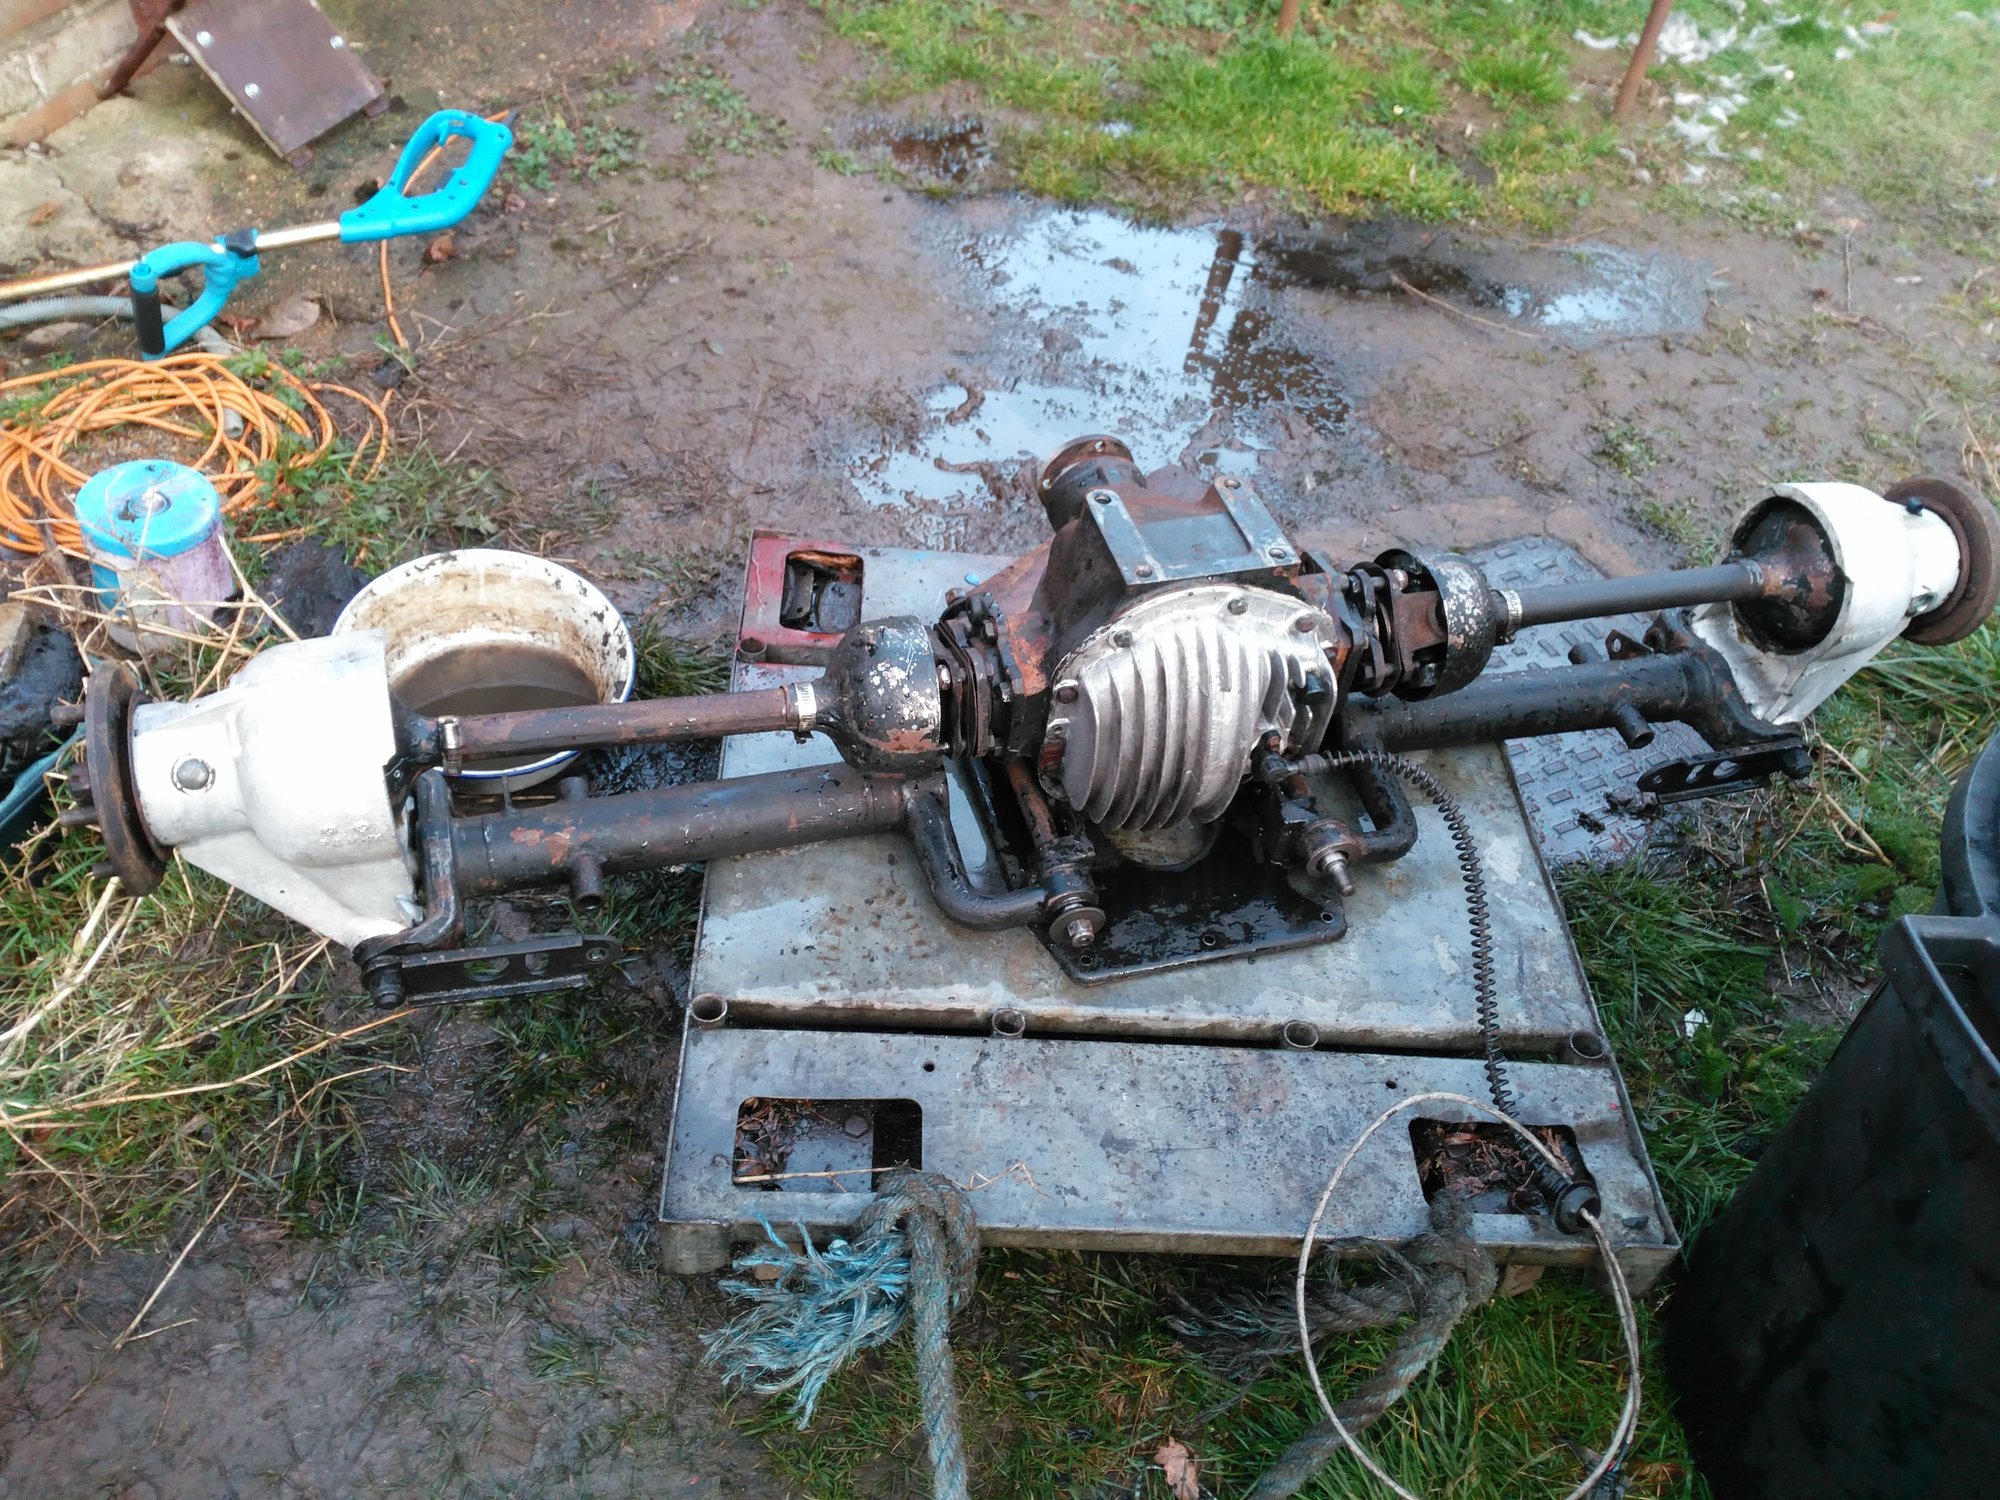
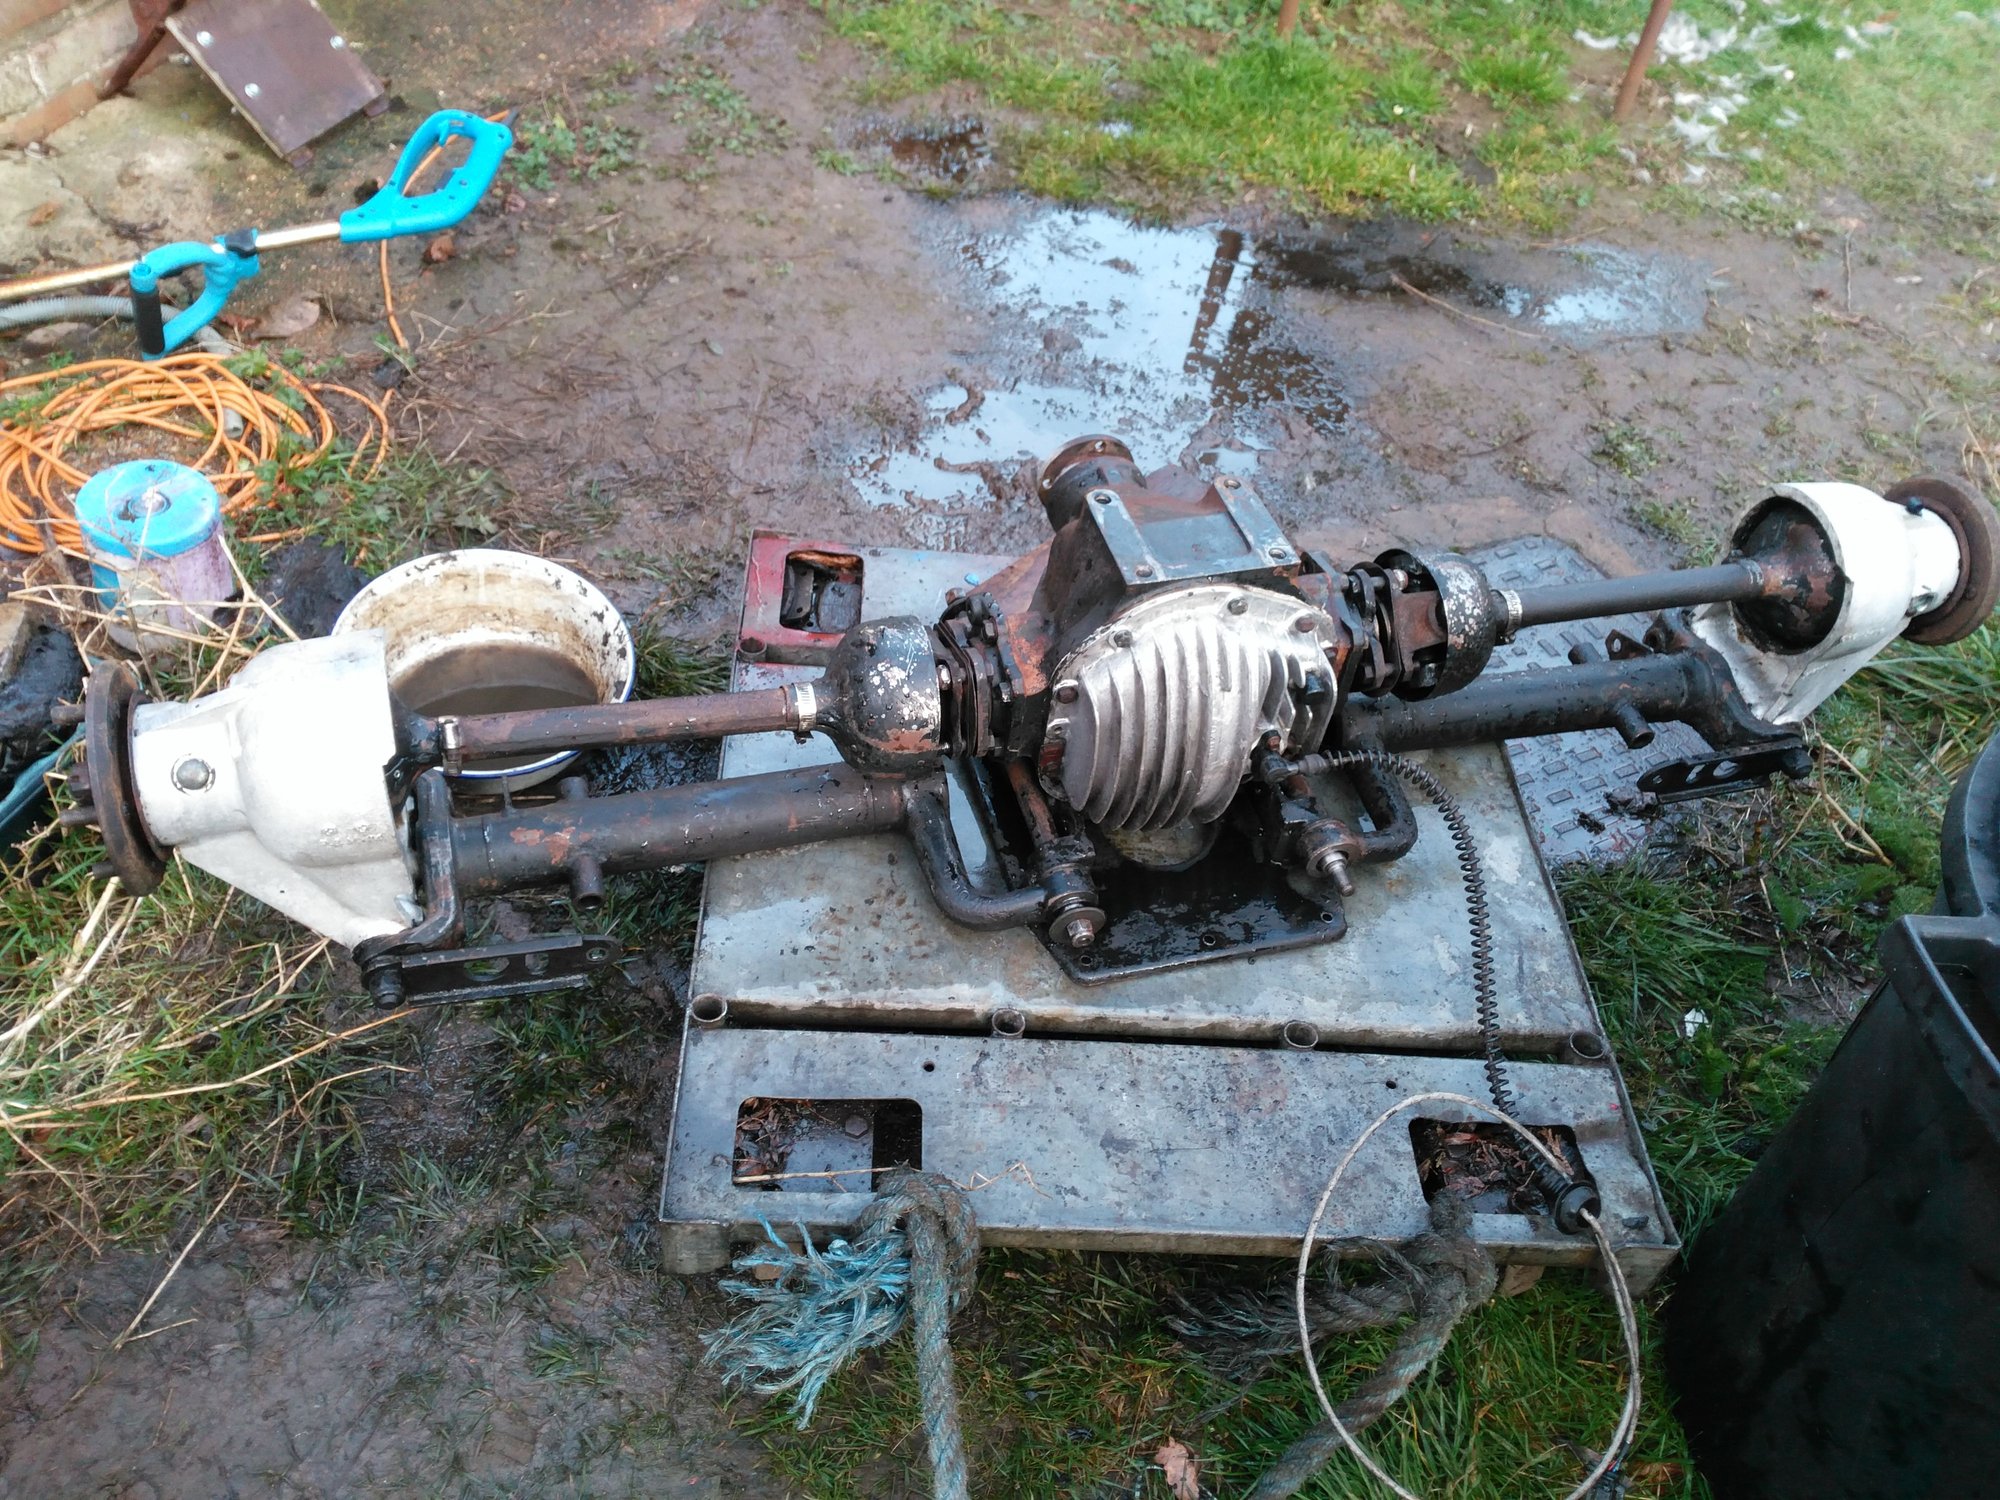
Cleaned and ready for Primer
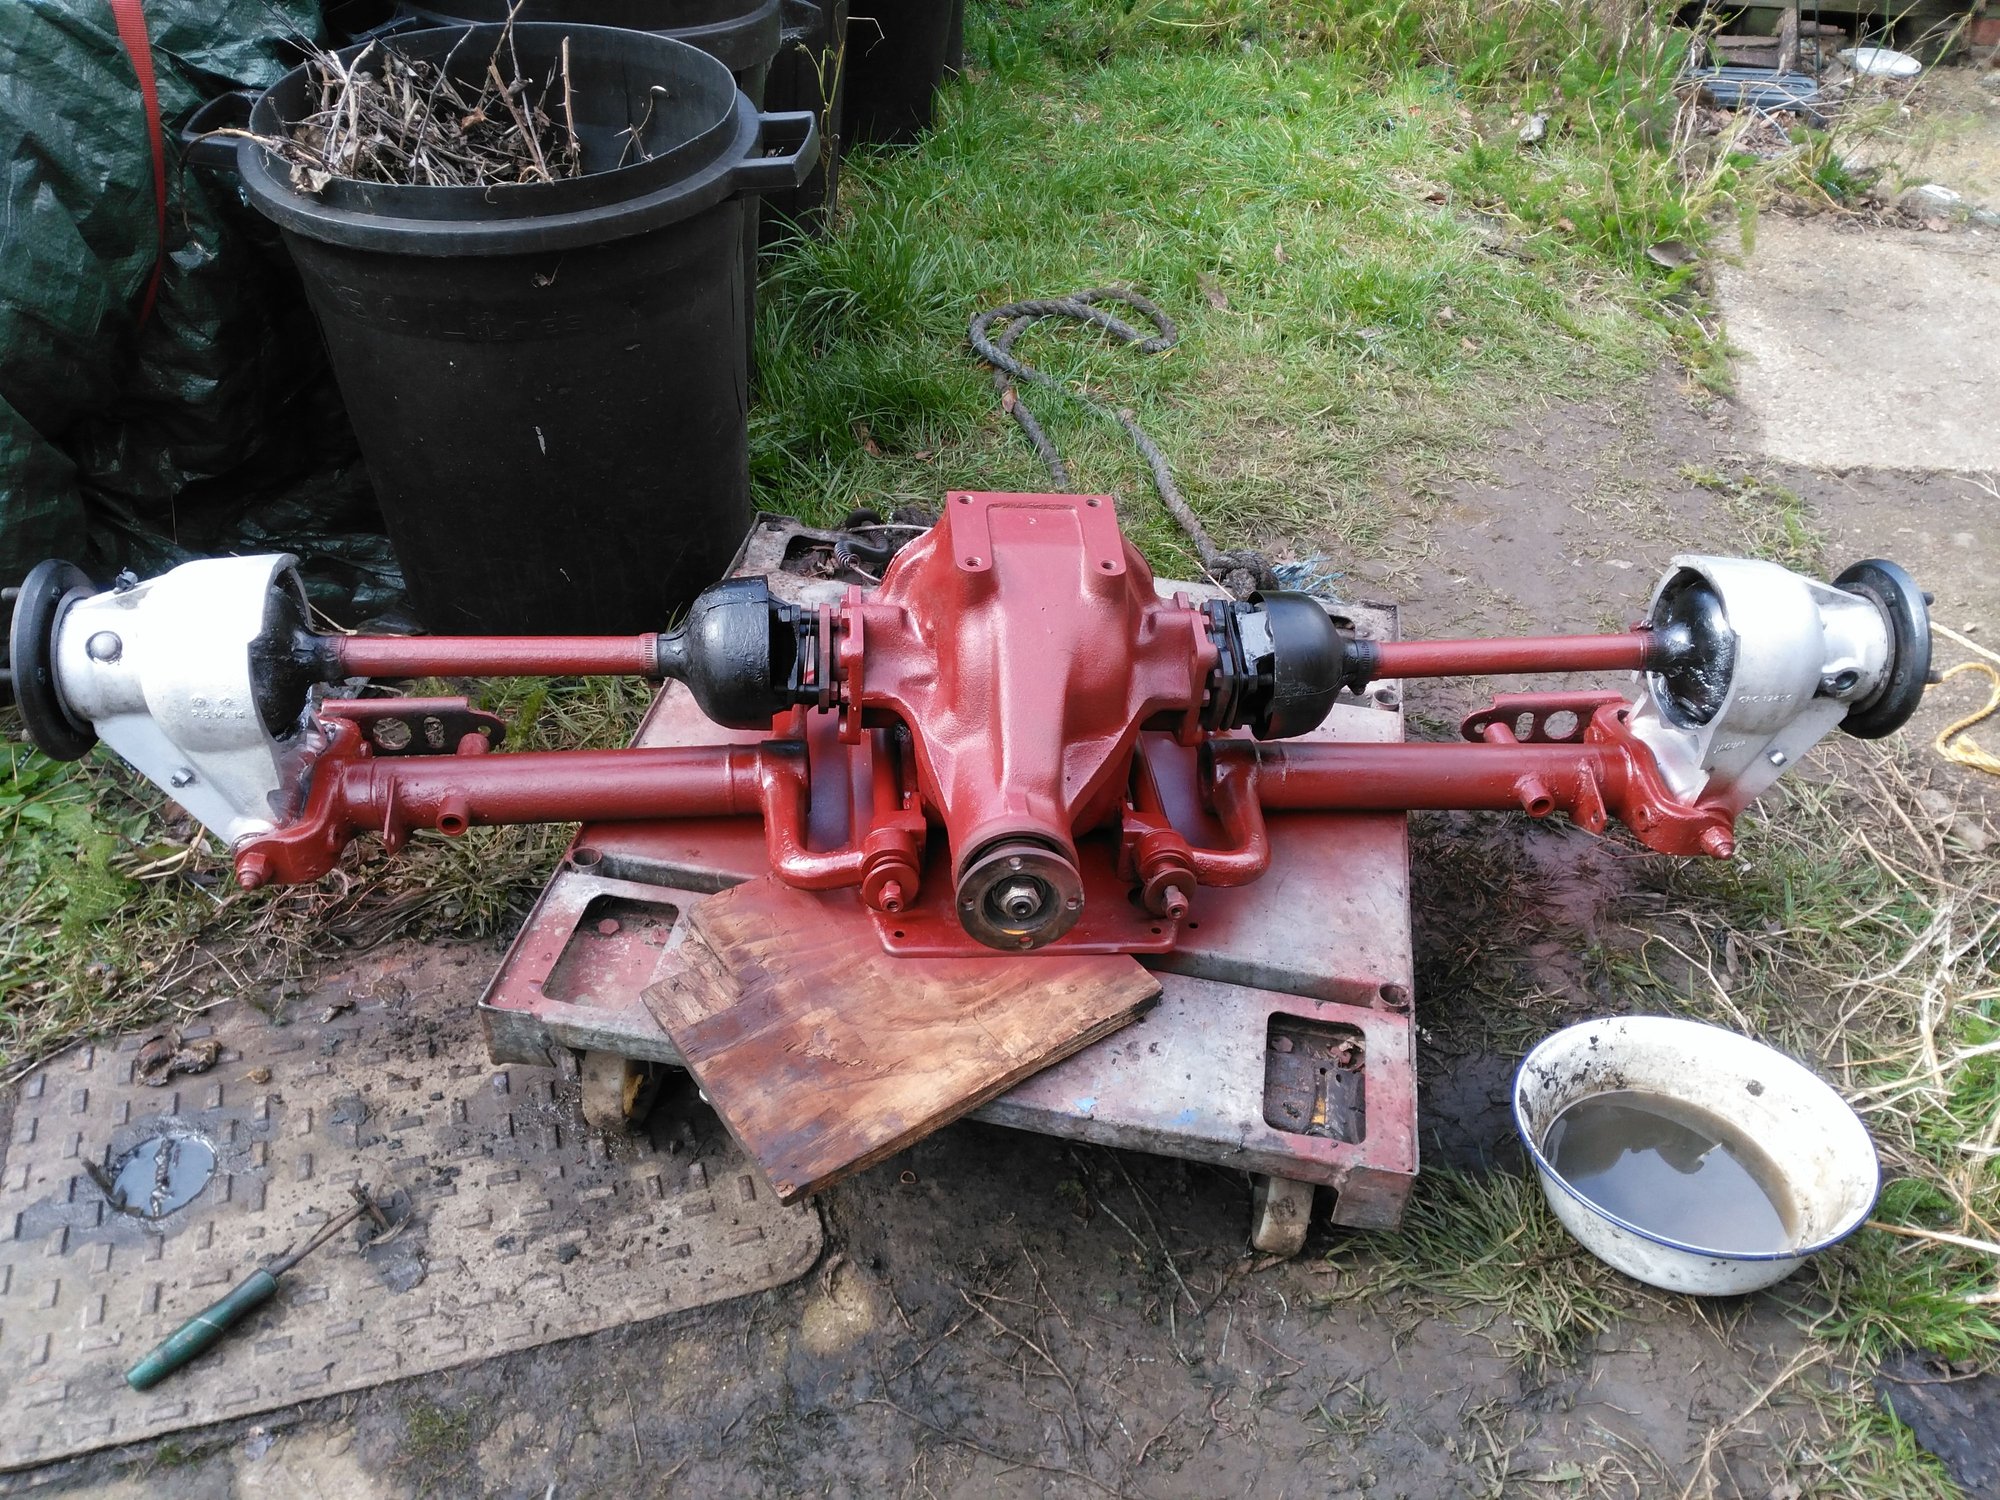

Axle in Primer and ready for Top Coat
While I am waiting for that to dry, time to get on with rerurbing the Calipers for which I received a Quote Today for £290!
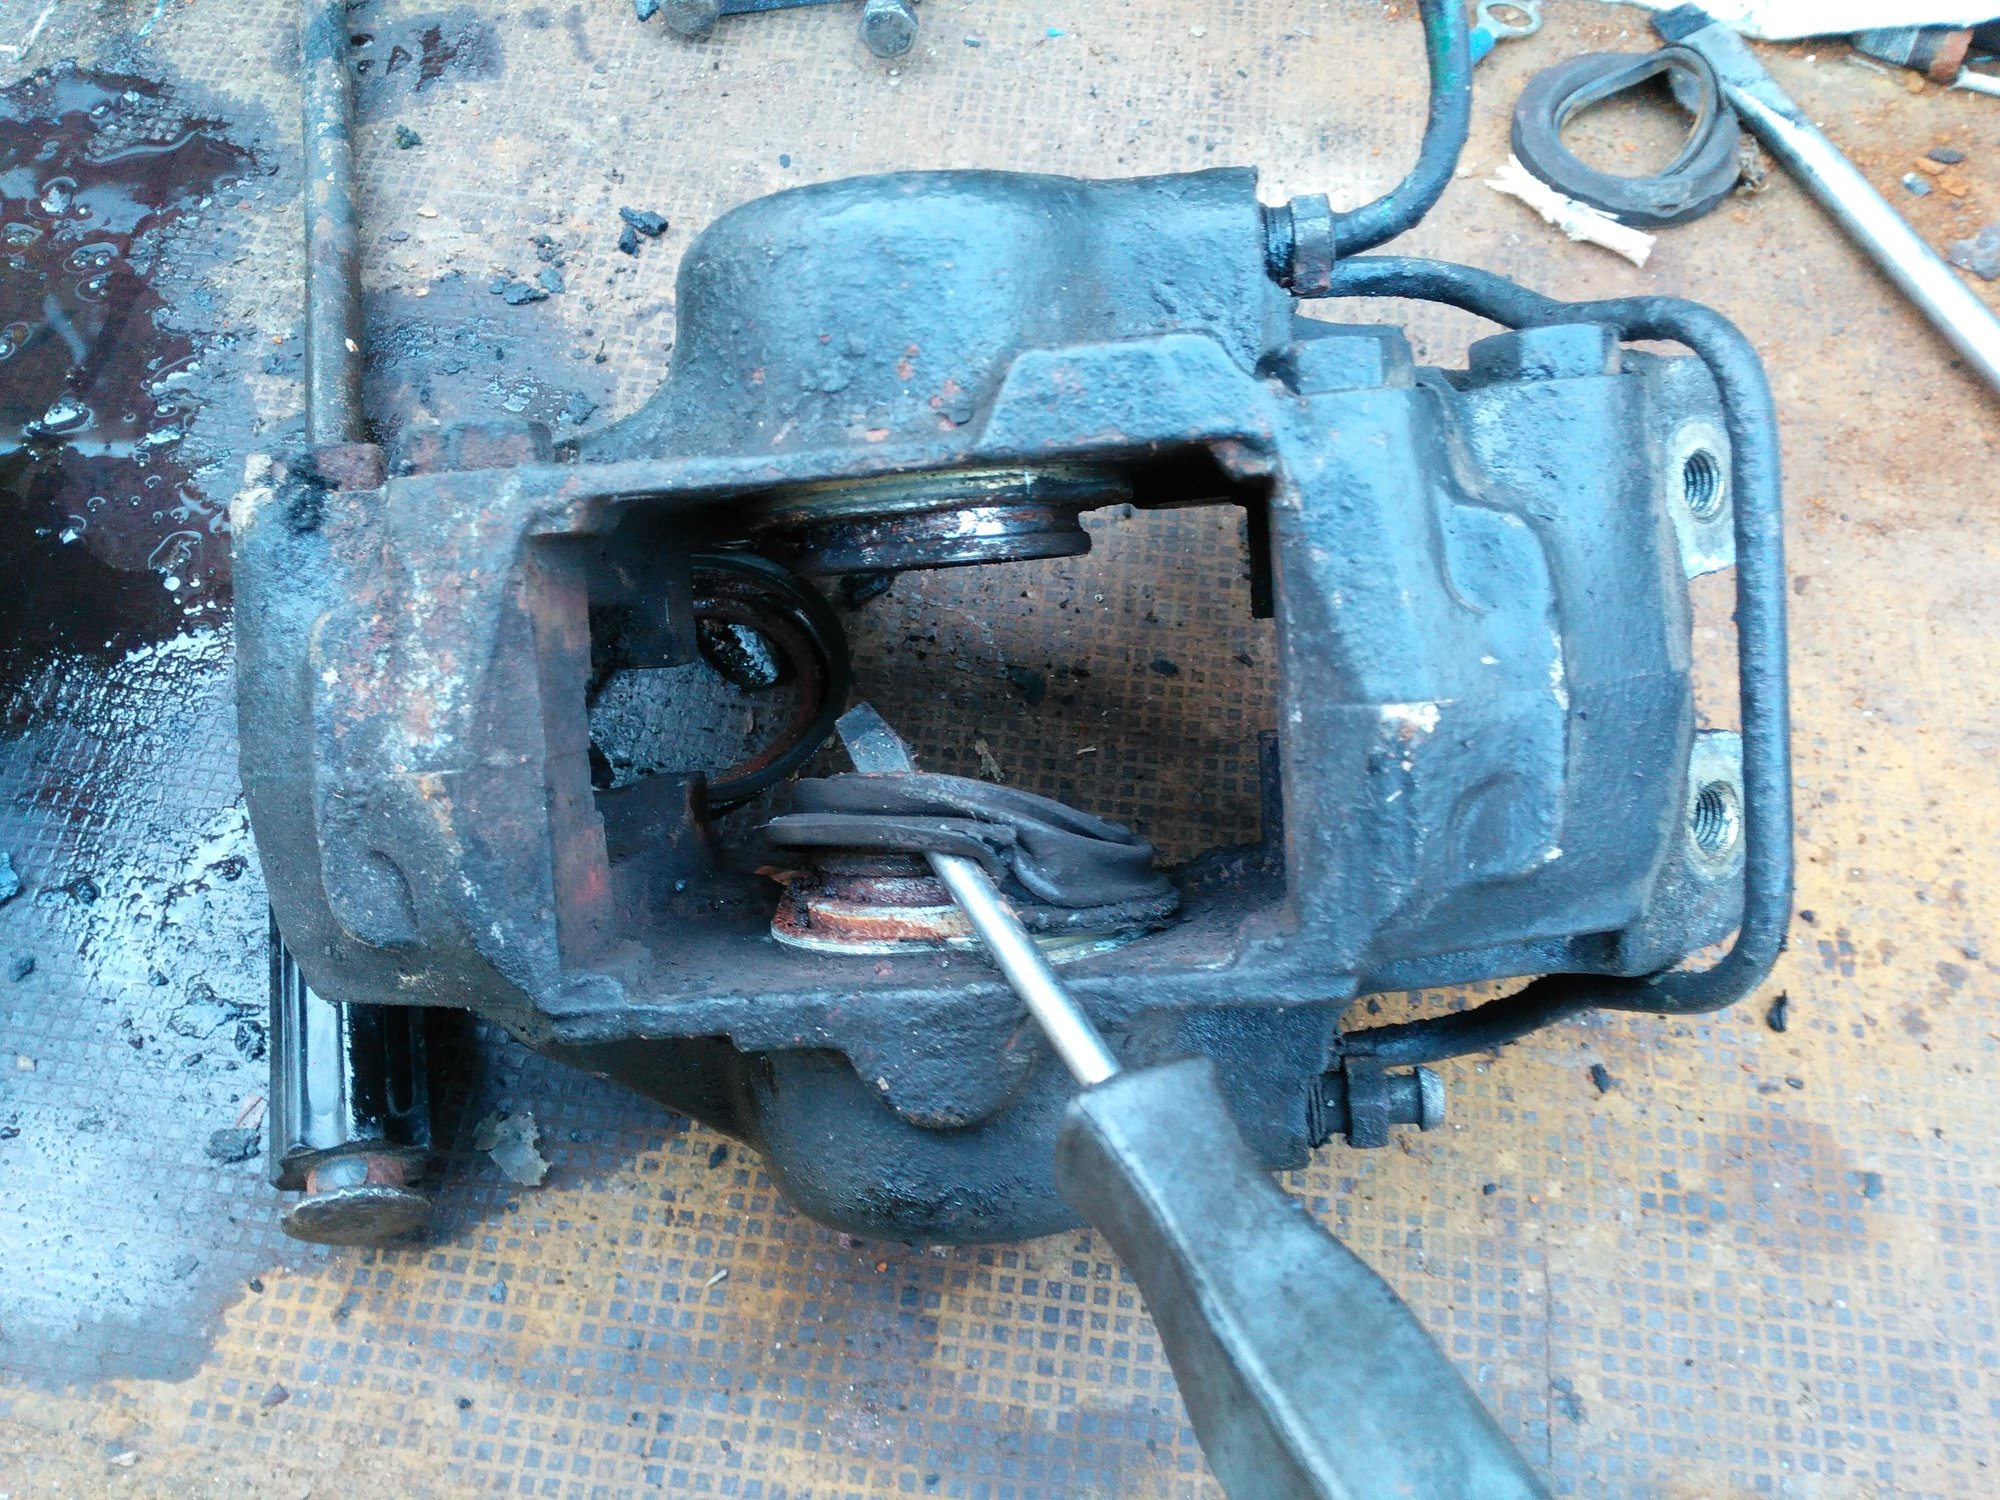
Not looking Great at the moment!
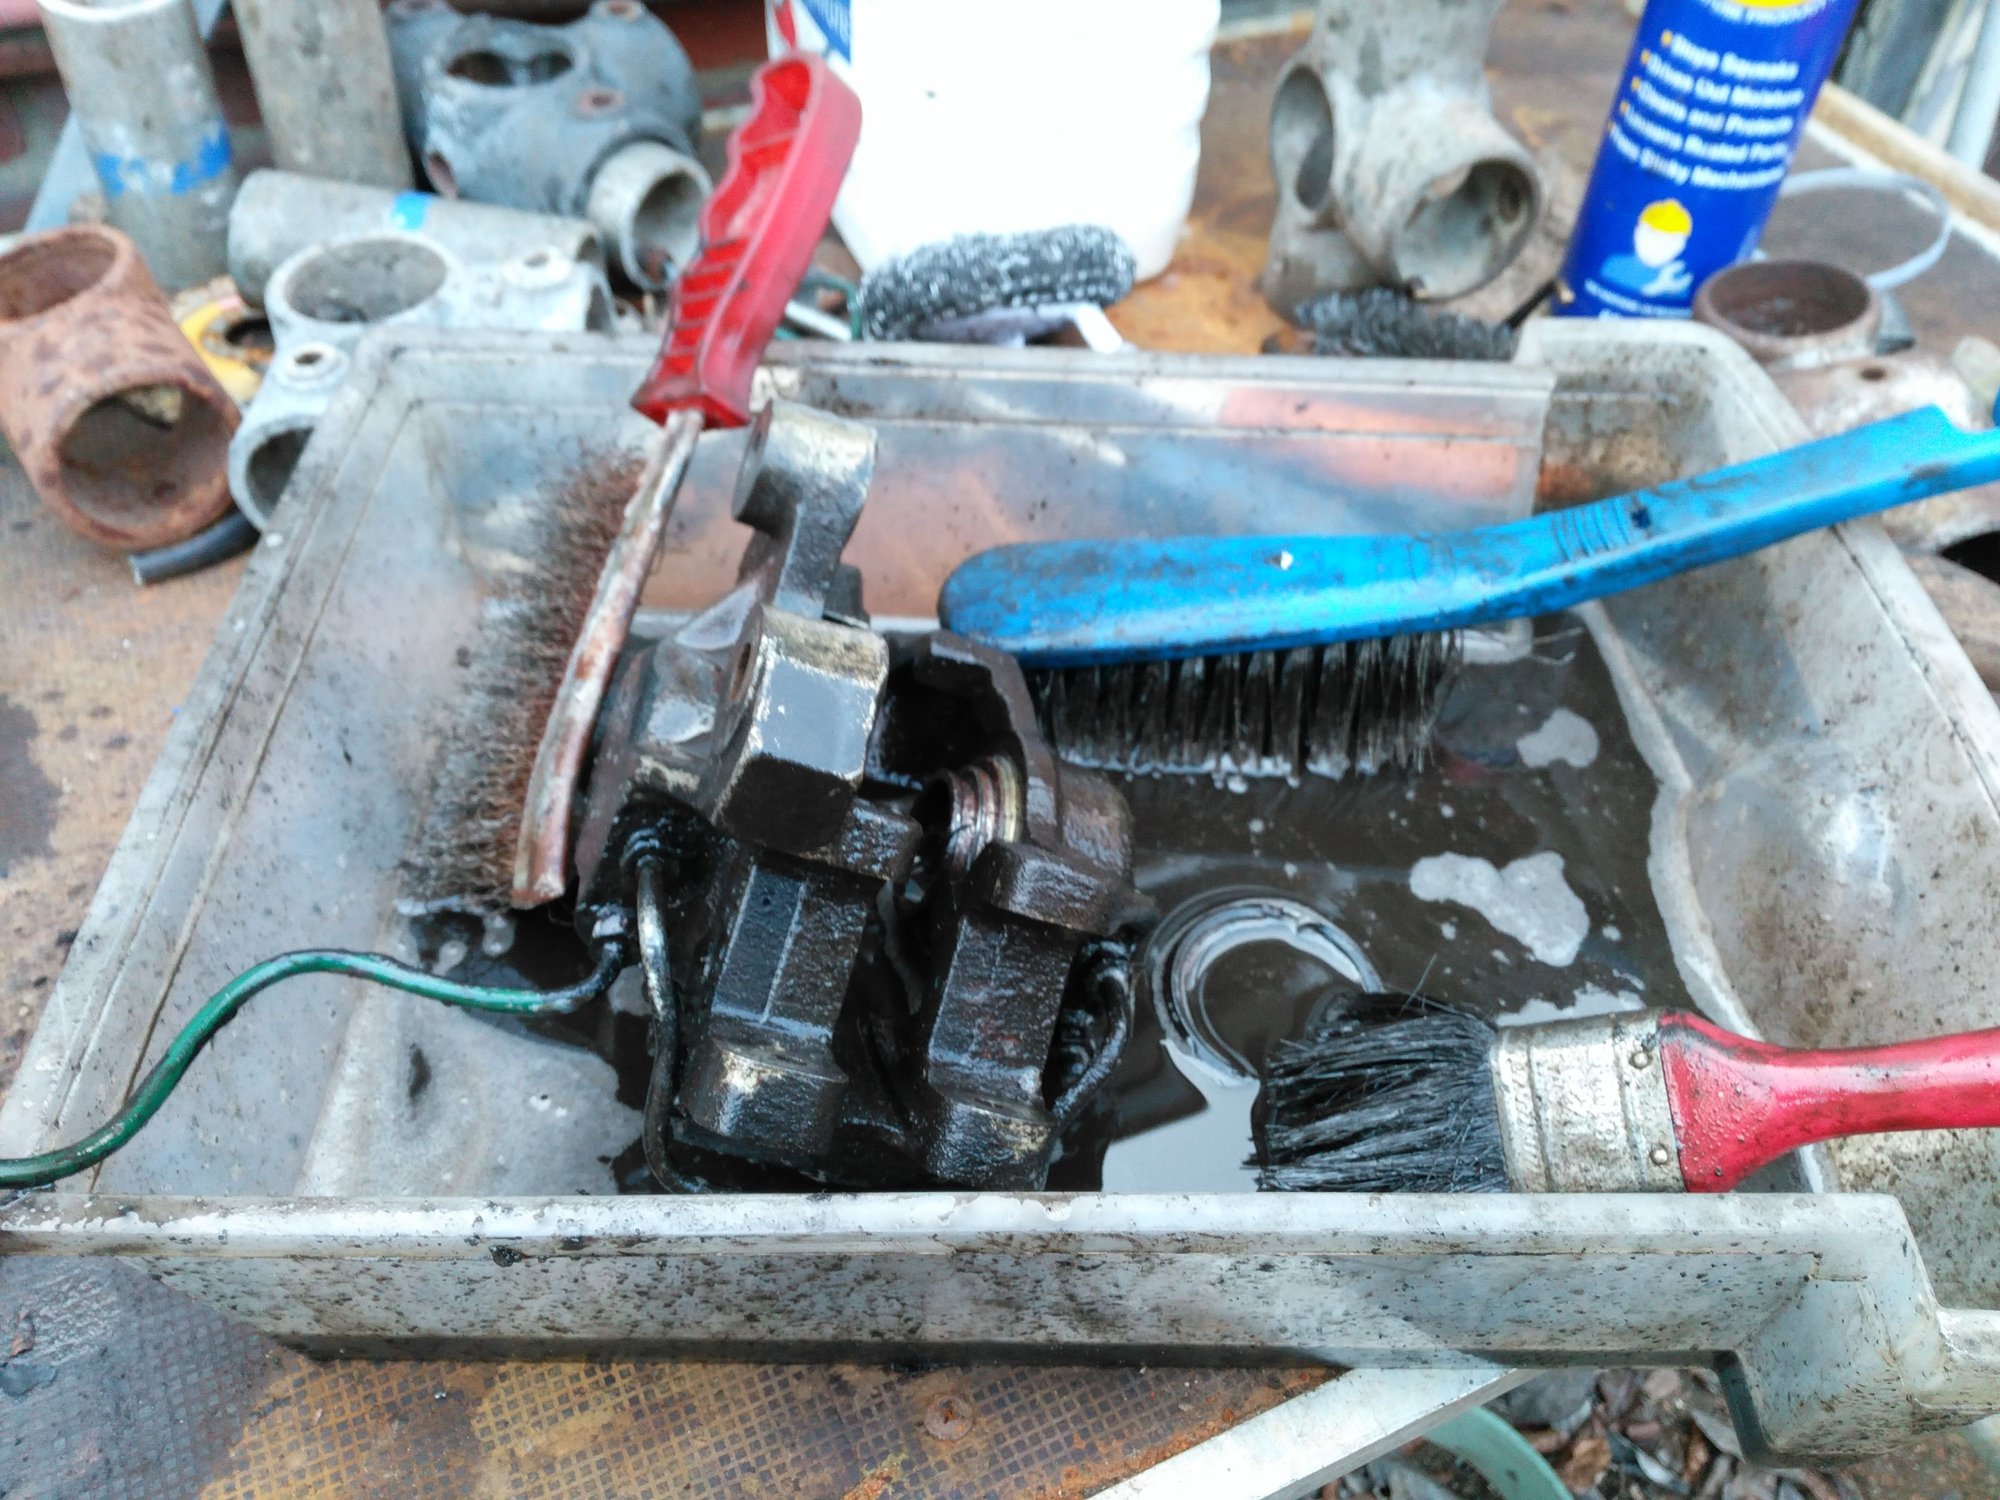
First a 'Wash and Brush Up' in some Degreaser
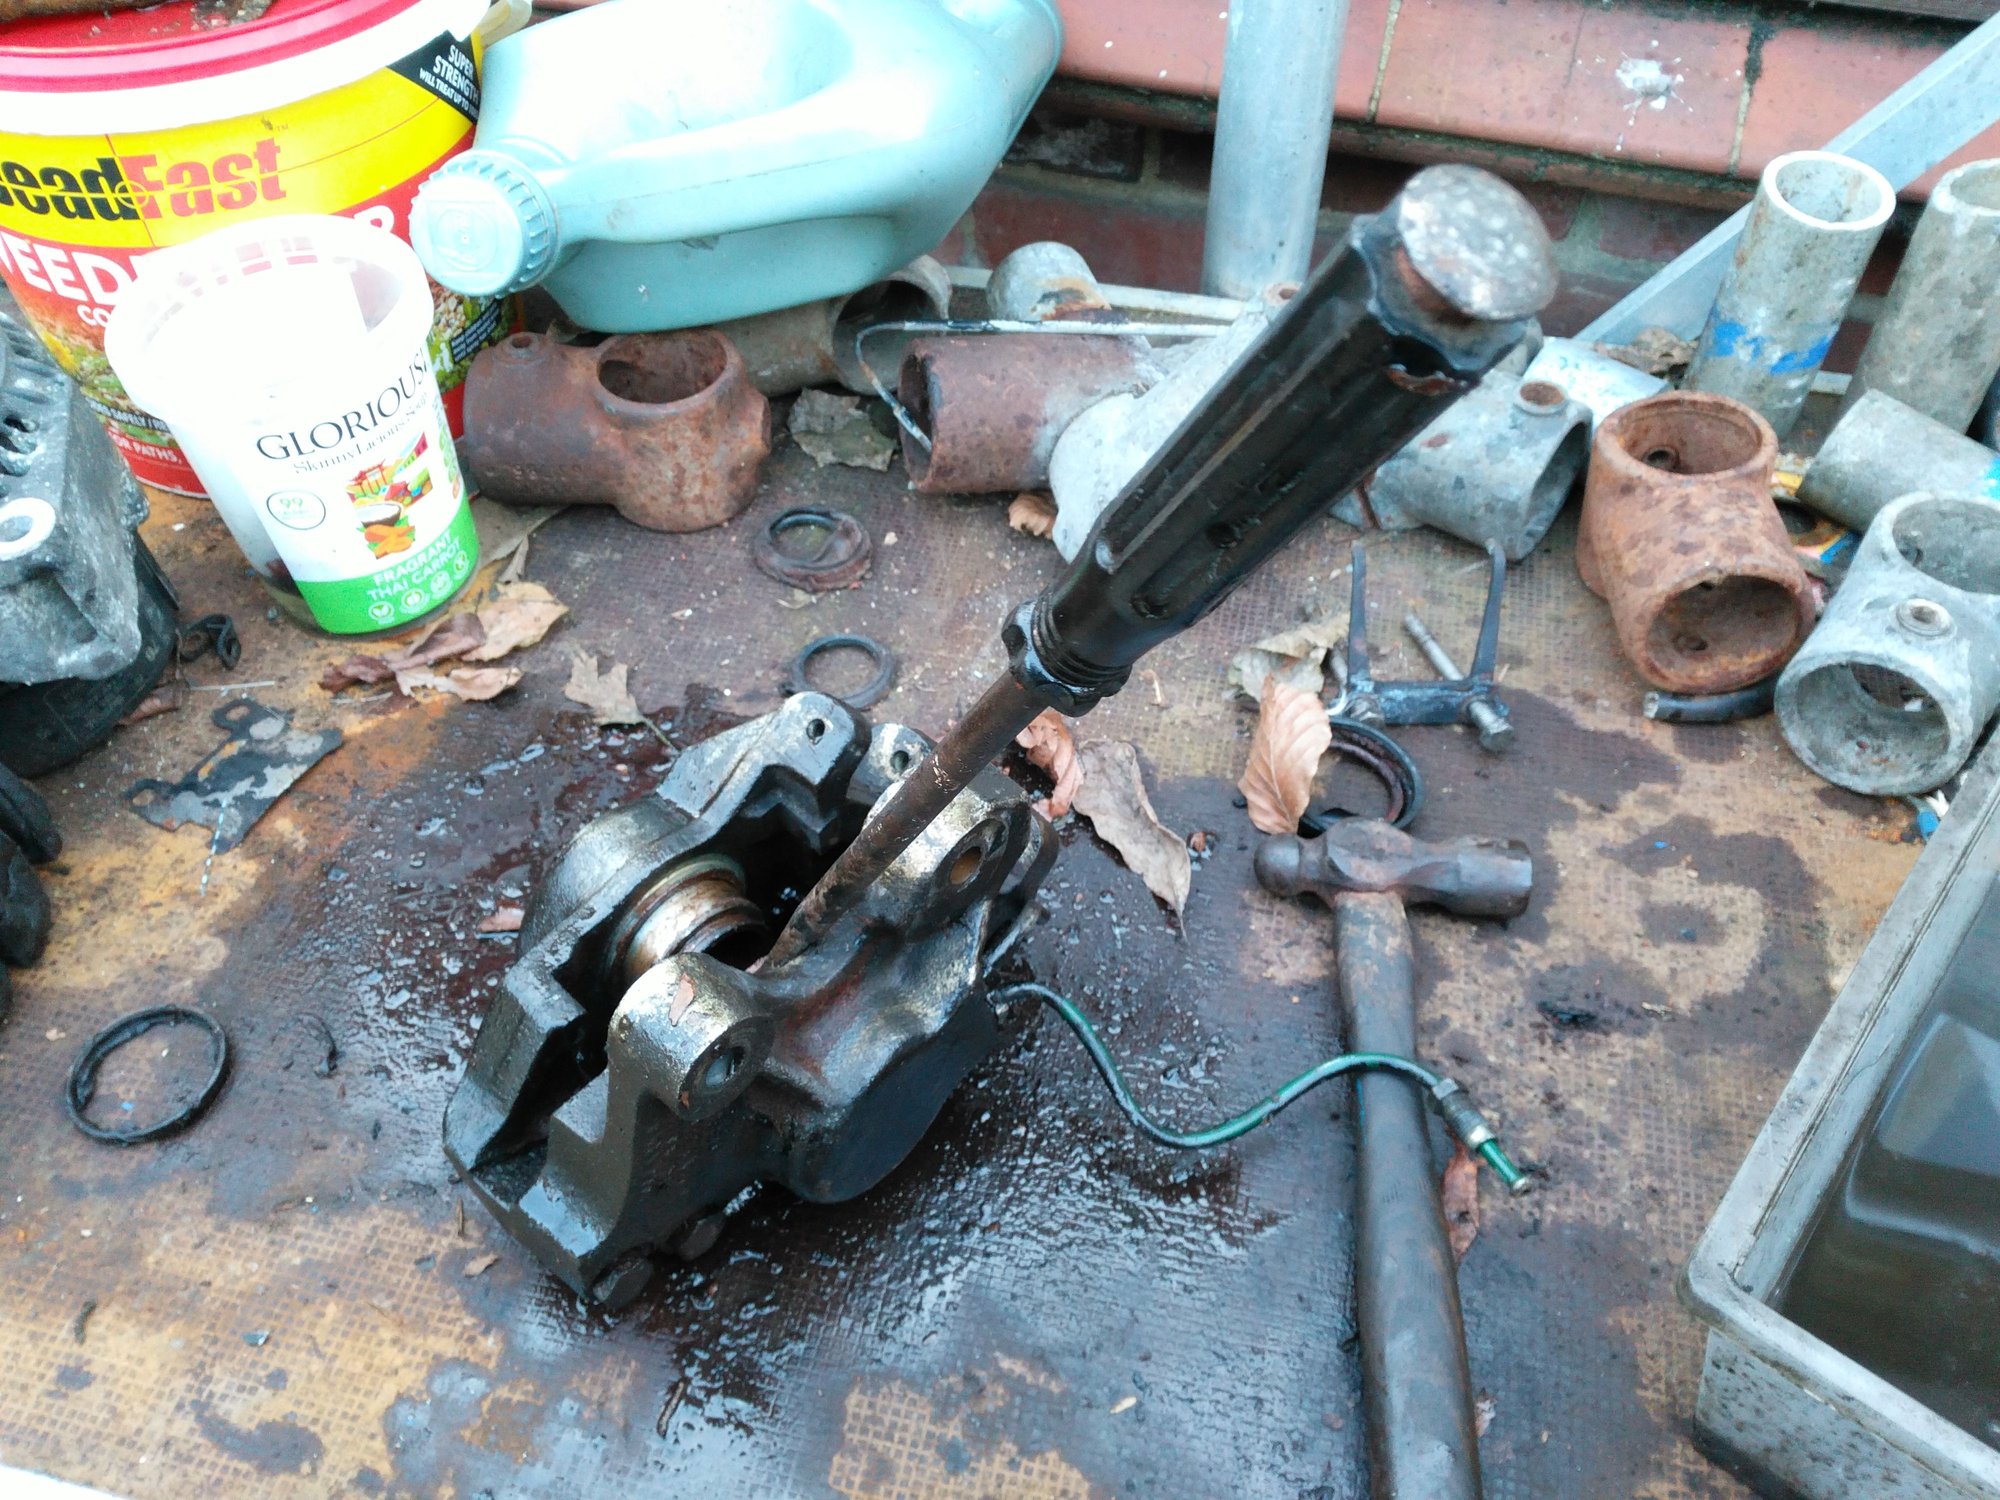
Eventually I managed to lever the Pistons to the point where they were about to drop out but stopped at that point to prevent any 'Crud' getting in
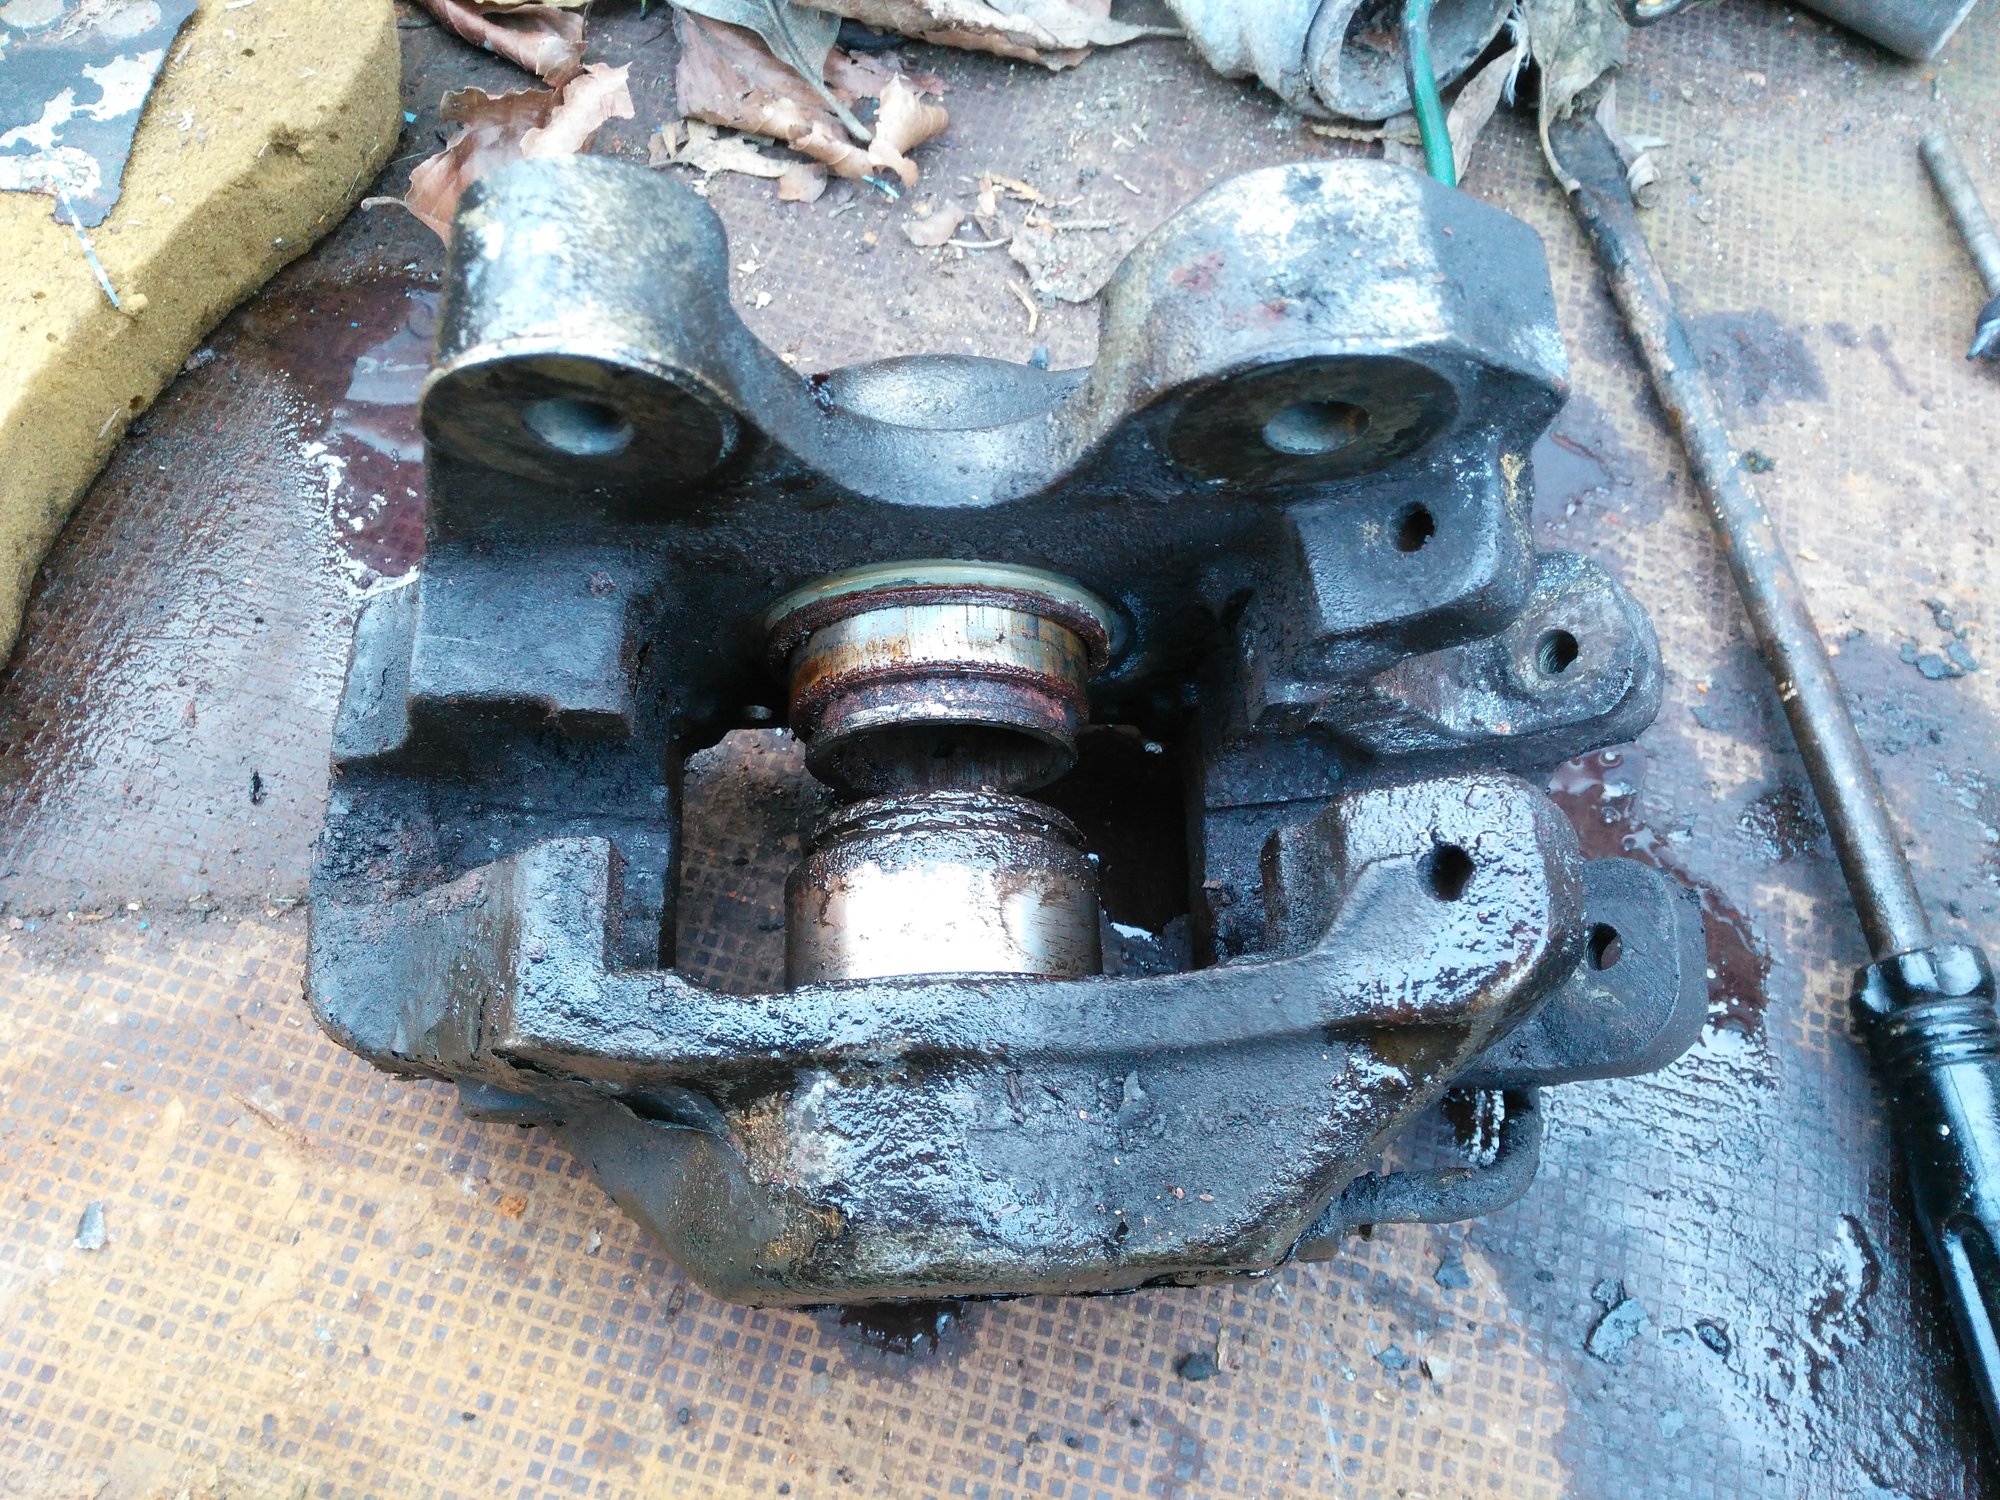
The Pistons were now only finger tight and ready to be removed when the New ones arrived
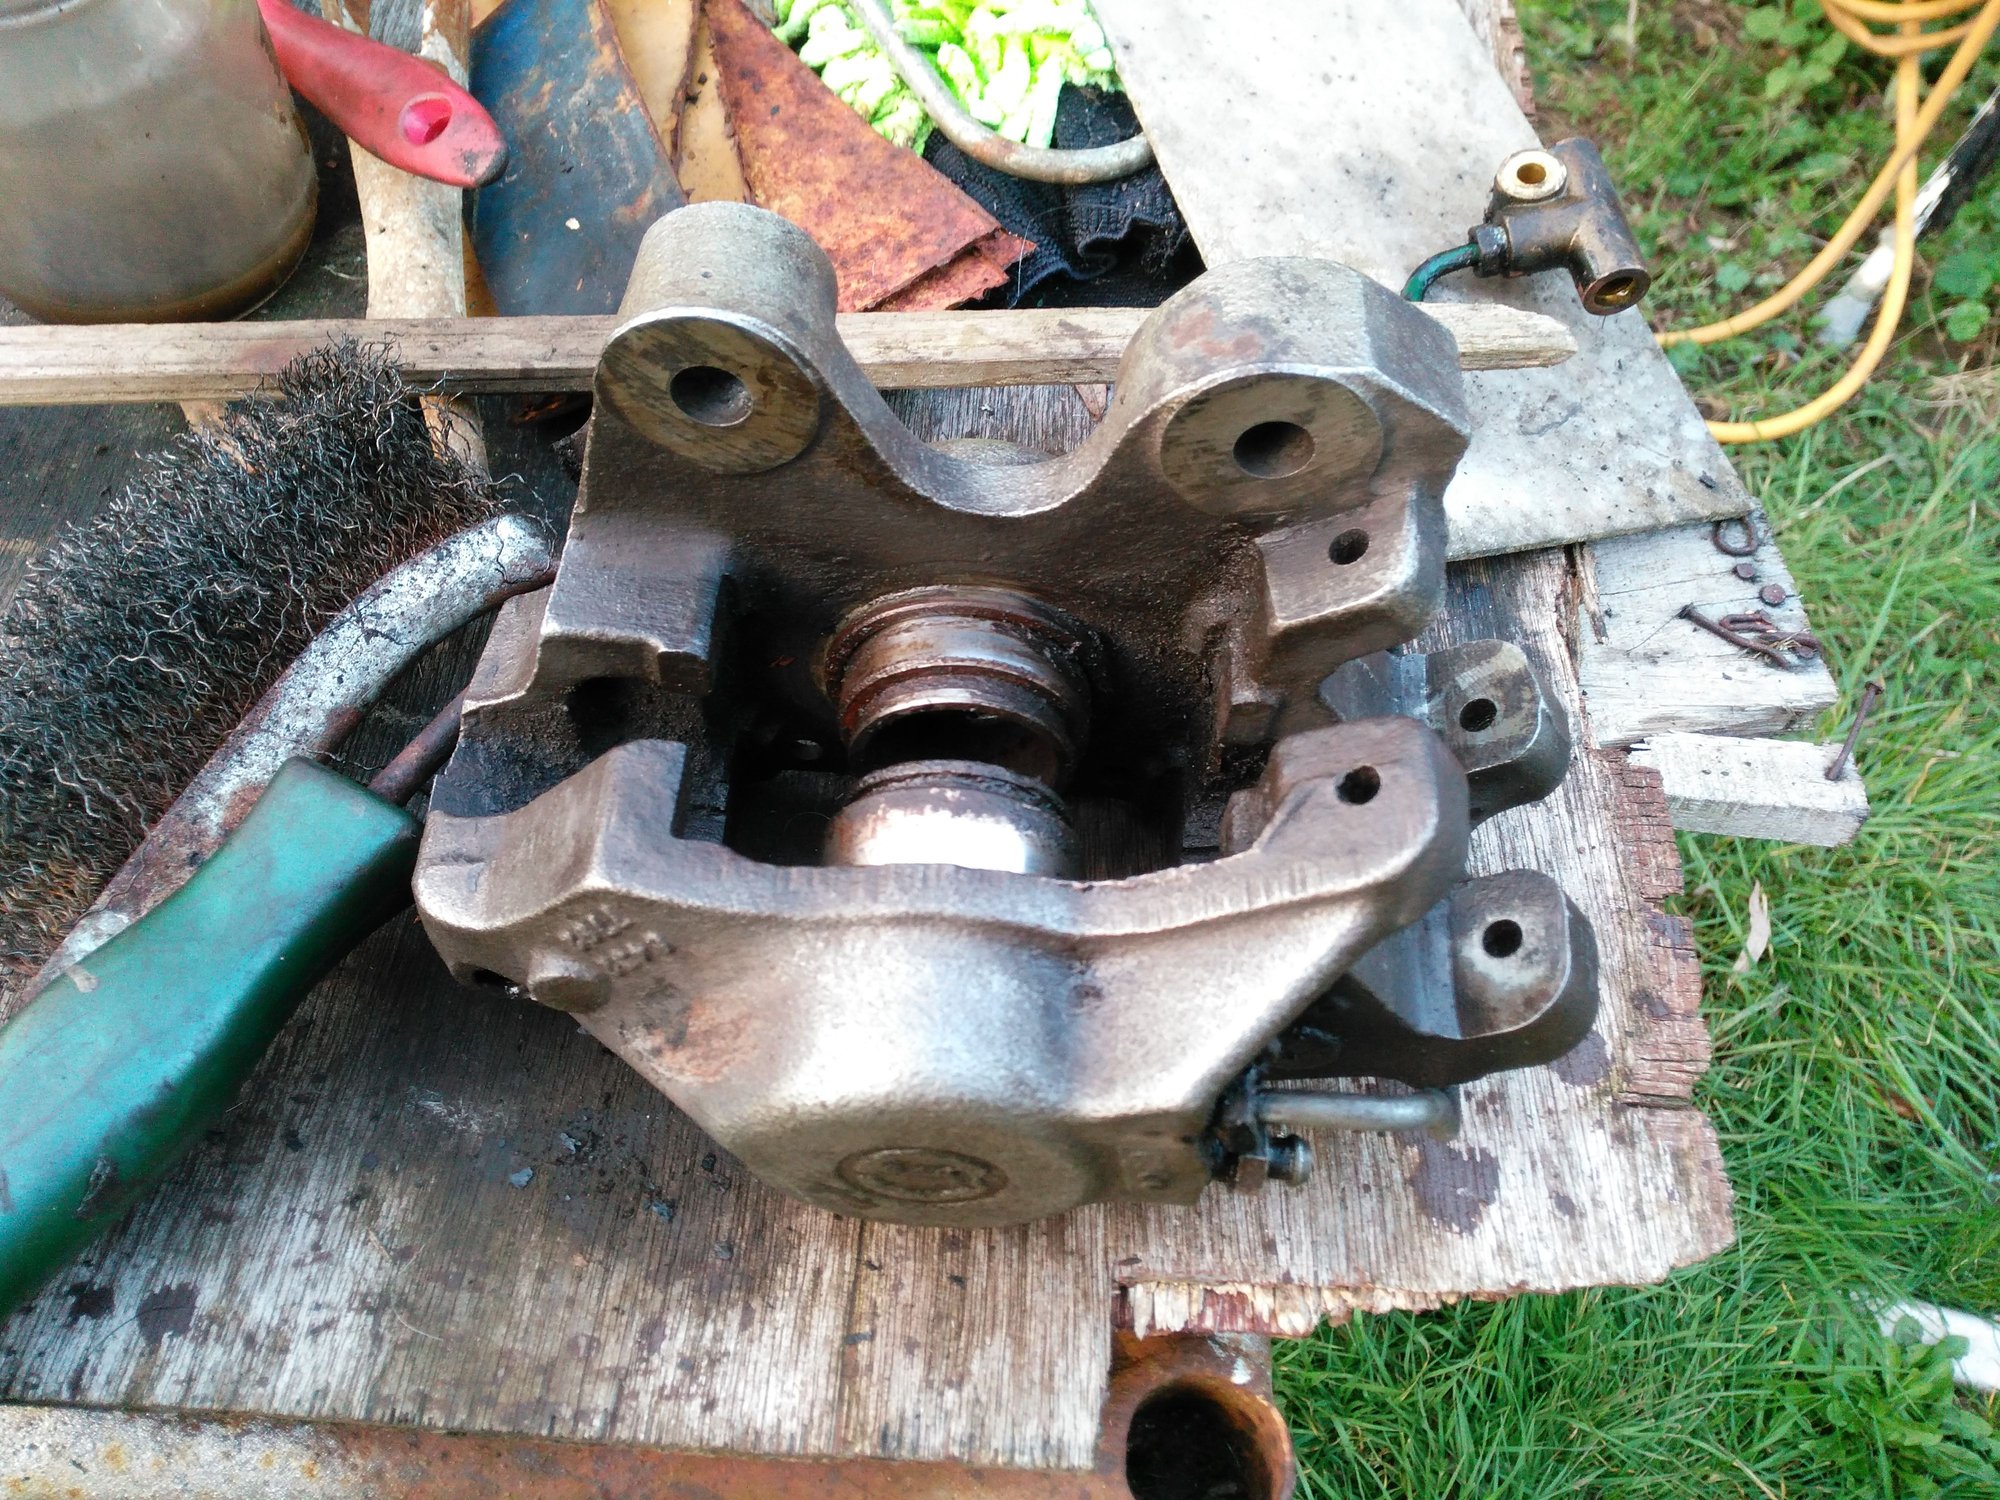
Getting there with the 'Clean up' and already looking quite good
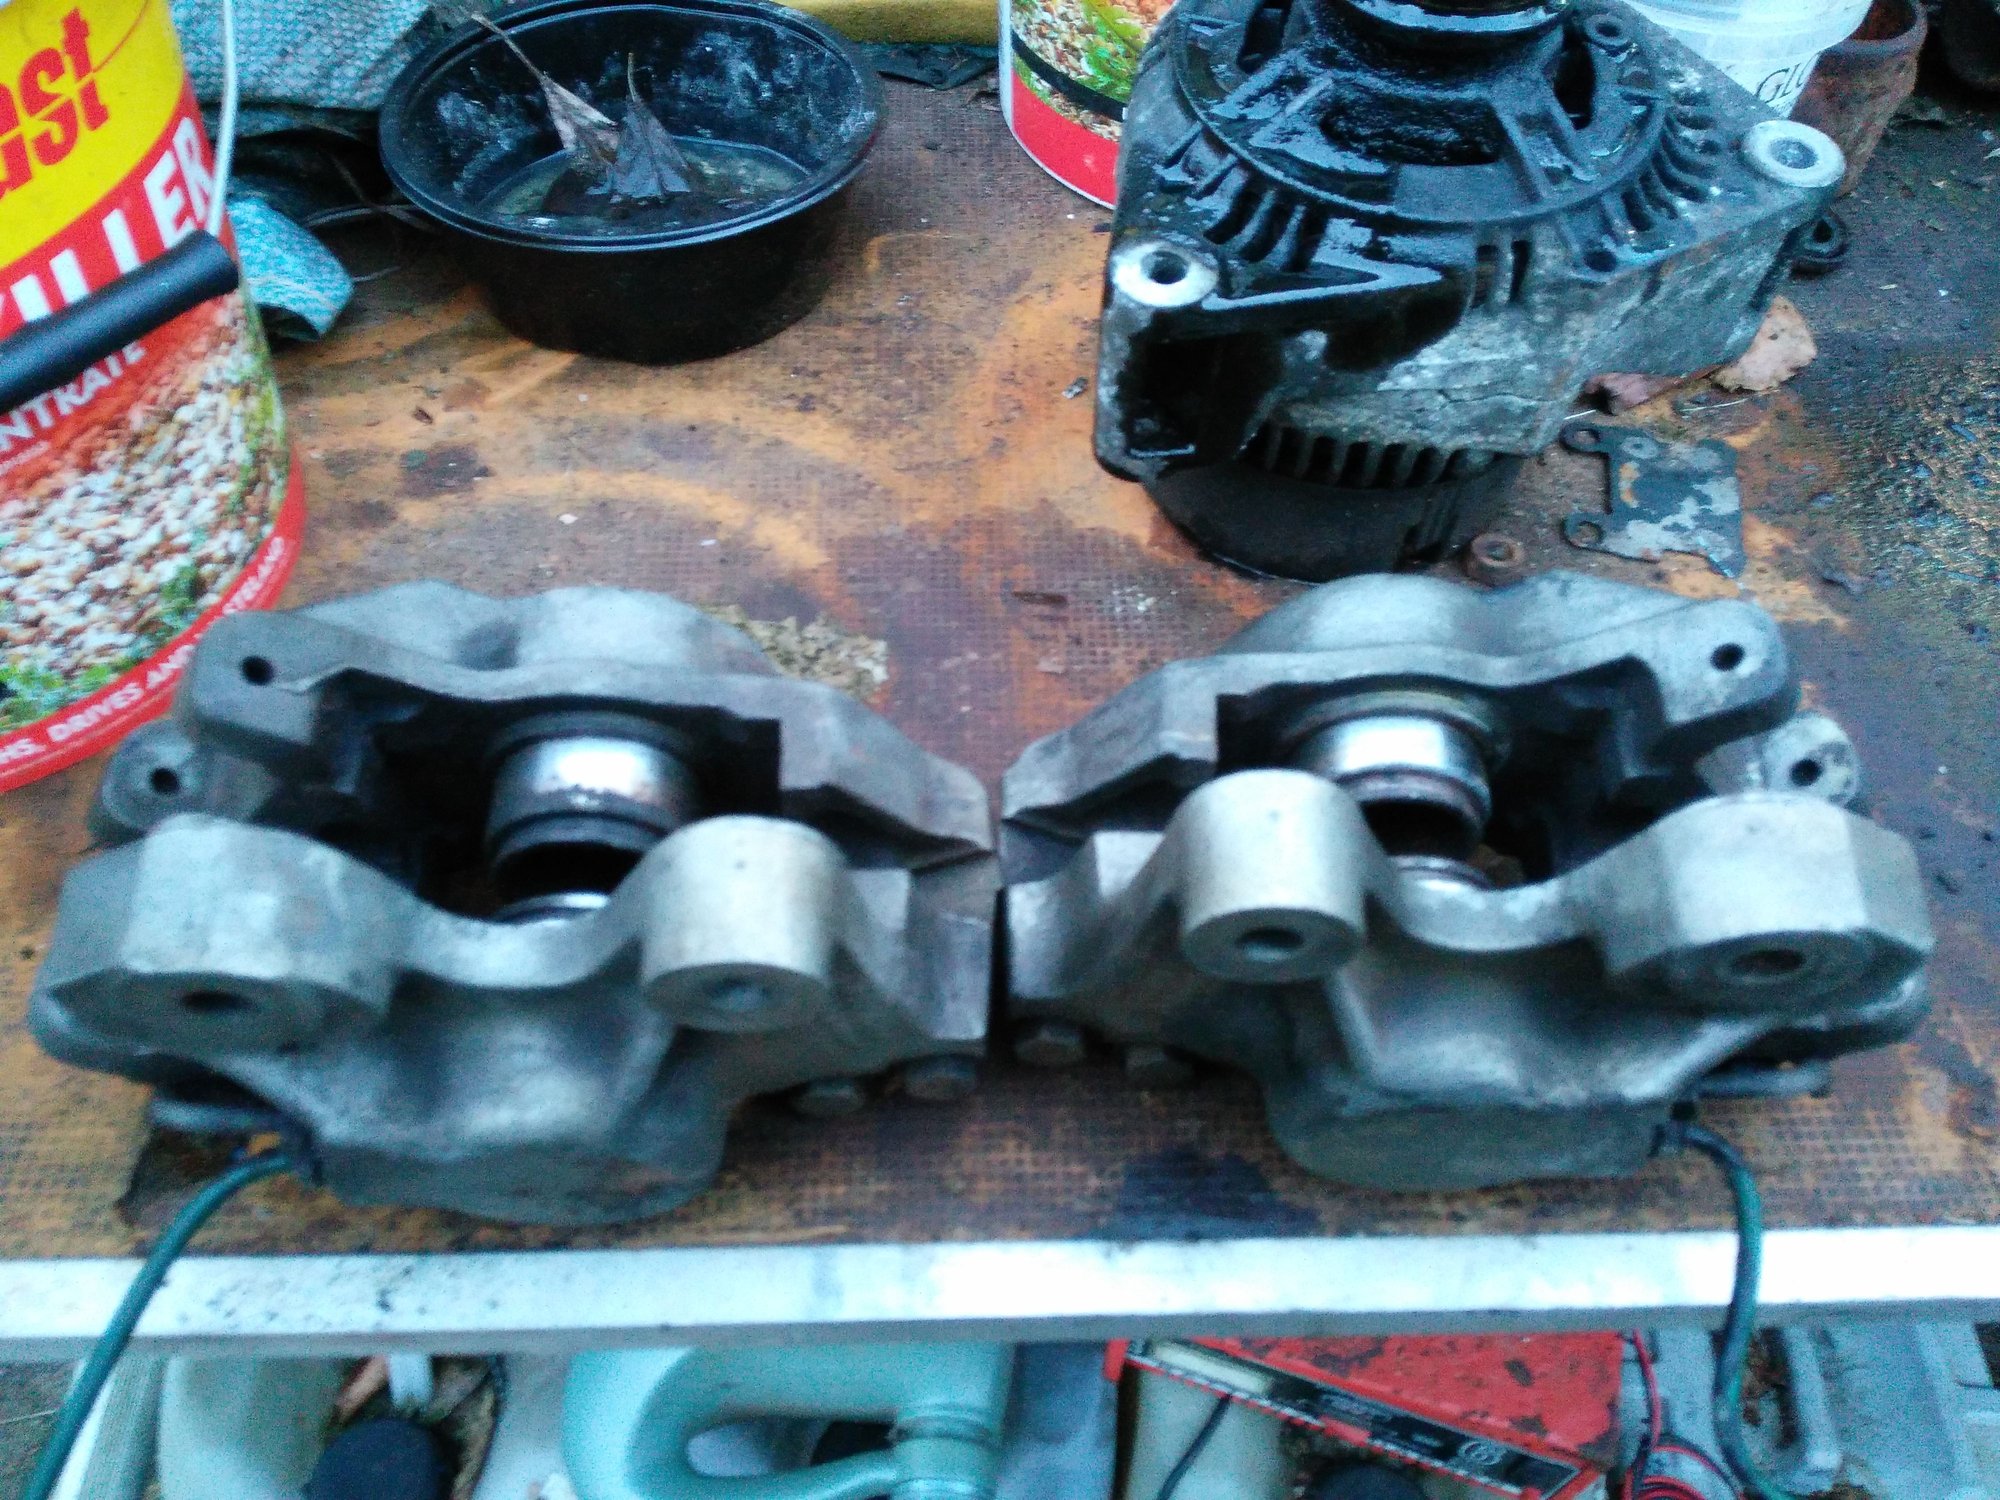
Decided to go the Full OCD and ended up by taking all the Paint off
The following 3 users liked this post by orangeblossom:
#2323
Looking good
I guess no one told you about using compressed air to pop out the pistons? Just put a price of 1/4 plywood between them. Plug on whole and put compressed air into the other. Usually 50 to 75 psi unless they are stuck. Come out easy and with a bang lol
Also those inner covered for the u joints (one by the diffs) they can go. All they do is collect dirt and road grim. Plus it's easier to grease the u joints.
The following 2 users liked this post by Rescue119:
Grant Francis (03-25-2021),
orangeblossom (03-23-2021)
#2324
Hi Rescue
I thought those covers were there to keep the grit out, so not sure I'm ready to ditch those just yet as we have a lot of Sand down my neck of the woods that might get into those joints
I was going to try Compressed Air but levering them out didn't take very long and so I stuck with that, Cleaning them up was much harder but I got there in the end!
Thanks very much for your advice which is appreciated
#2325
Hi Rescue
I thought those covers were there to keep the grit out, so not sure I'm ready to ditch those just yet as we have a lot of Sand down my neck of the woods that might get into those joints
I was going to try Compressed Air but levering them out didn't take very long and so I stuck with that, Cleaning them up was much harder but I got there in the end!
Thanks very much for your advice which is appreciated
I thought those covers were there to keep the grit out, so not sure I'm ready to ditch those just yet as we have a lot of Sand down my neck of the woods that might get into those joints
I was going to try Compressed Air but levering them out didn't take very long and so I stuck with that, Cleaning them up was much harder but I got there in the end!
Thanks very much for your advice which is appreciated
You would think that they wouldnt but because its not tight on one end the finer dirt / sand will git in there and have no place to escape and you ar enable to wash in there better and a little grease up.
Or like Greg and Grant suggested to me but at the time I didn't do it replace them with non greasable u joints and don't worry about them again.
If you think about it most vehicles u joints are exposed on axles / drive shafts etc and go for 100sk km on them.
My rear Calipers, if you remember my thread when I was doing with them were seized solid so I think I went up to 100 psi to pop min out lol.
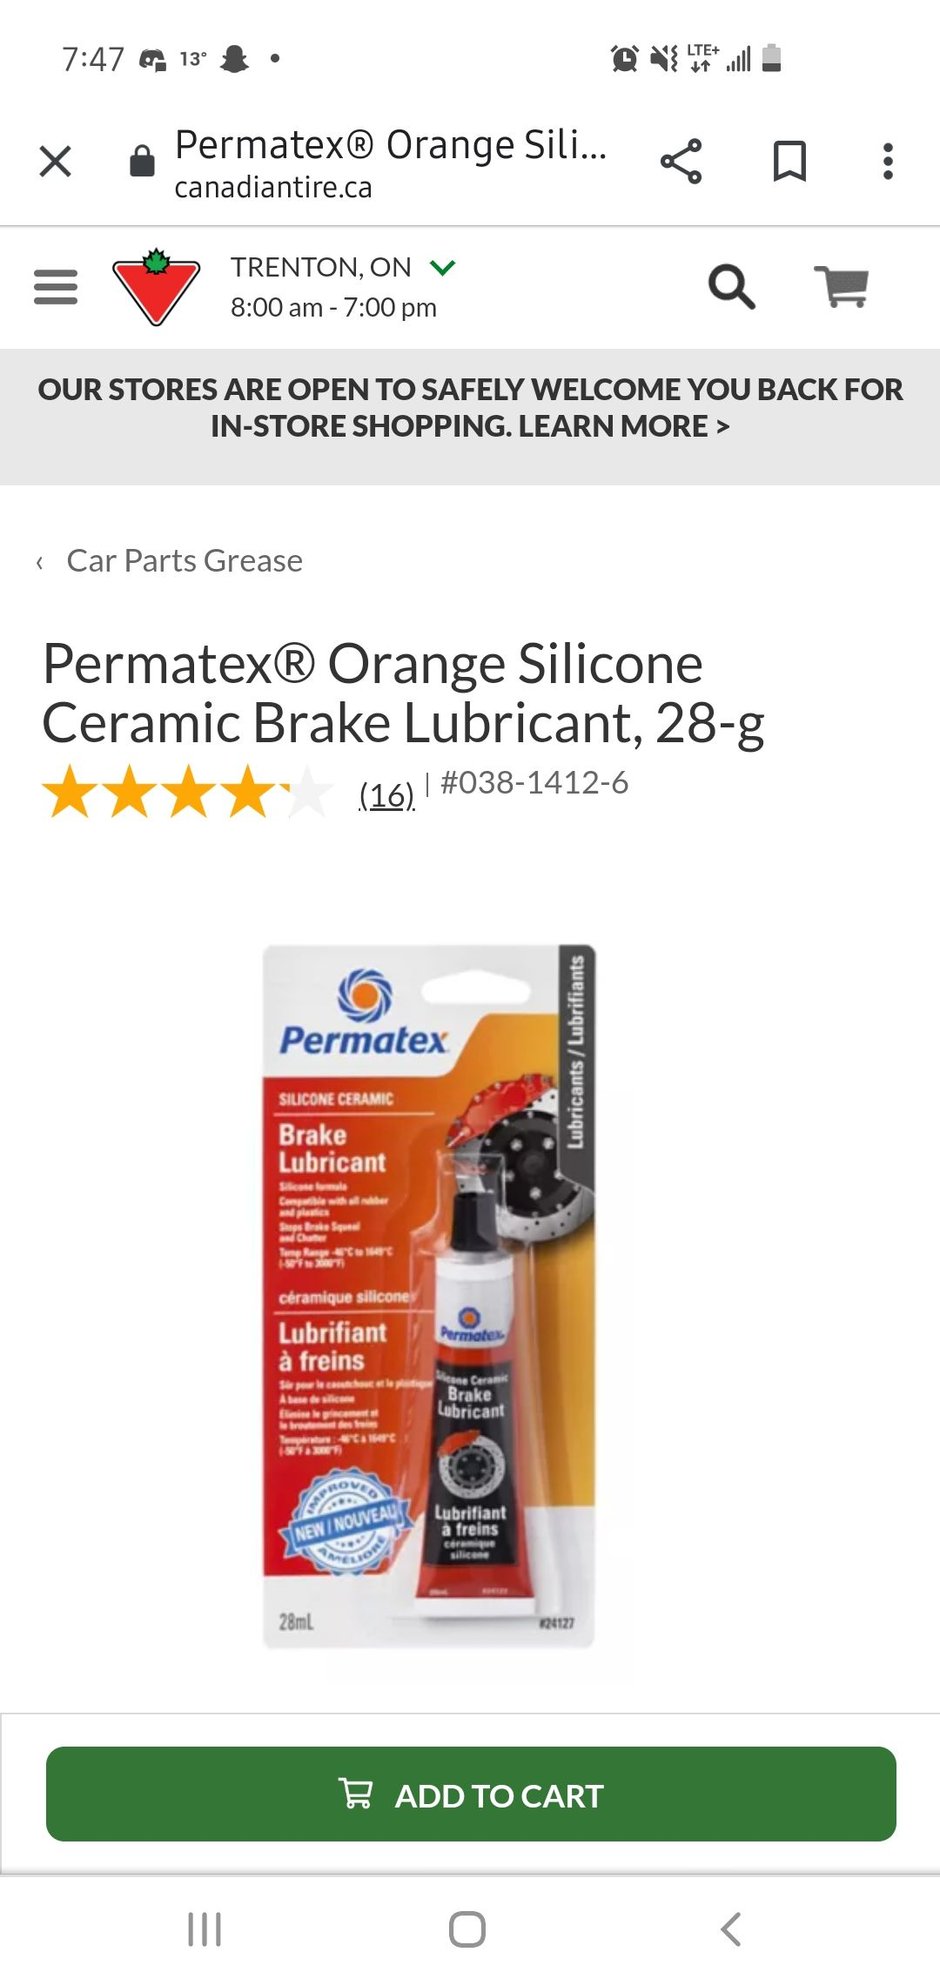
also when reassembling I used this stuff its great. Not sure if you get it on your side of the pond.
The following 3 users liked this post by Rescue119:
#2326
Also, calipers in the dishwasher before painting is a great plan!
Last edited by Greg in France; 03-24-2021 at 01:42 AM.
The following 4 users liked this post by Greg in France:
#2327
Removing The Cage From '50 Shades' My Grey XJS
Custom Made Pads For The Handbrake
With my style of Driving, or maybe I should say Parking I never use the Handbrake on my XJS as I always leaver her in 'P' (Park) and avoid any steep slopes, though in the event that I couldn't do that I would turn my Wheels into the kerbCustom Made Pads For The Handbrake
And so for me the only reason for having a Handbrake on the Car, is because I have to have it working for the Annual Ministry MOT Test, which presents a slight problem where the XJS is concerned because when the Car is Tested on the 'Rolling Road' the Torque involved is more than enough to rip the Brake Pads off
Because I don't think they were ever designed to put up with such forces, where in my opinion the Handbrake should be Tested on an incline, which after all has to be one of the main reasons for a Handbrake to be fitted to any make of Car

These Handbrake Pads got ripped away from their Calipers during an MOT Test
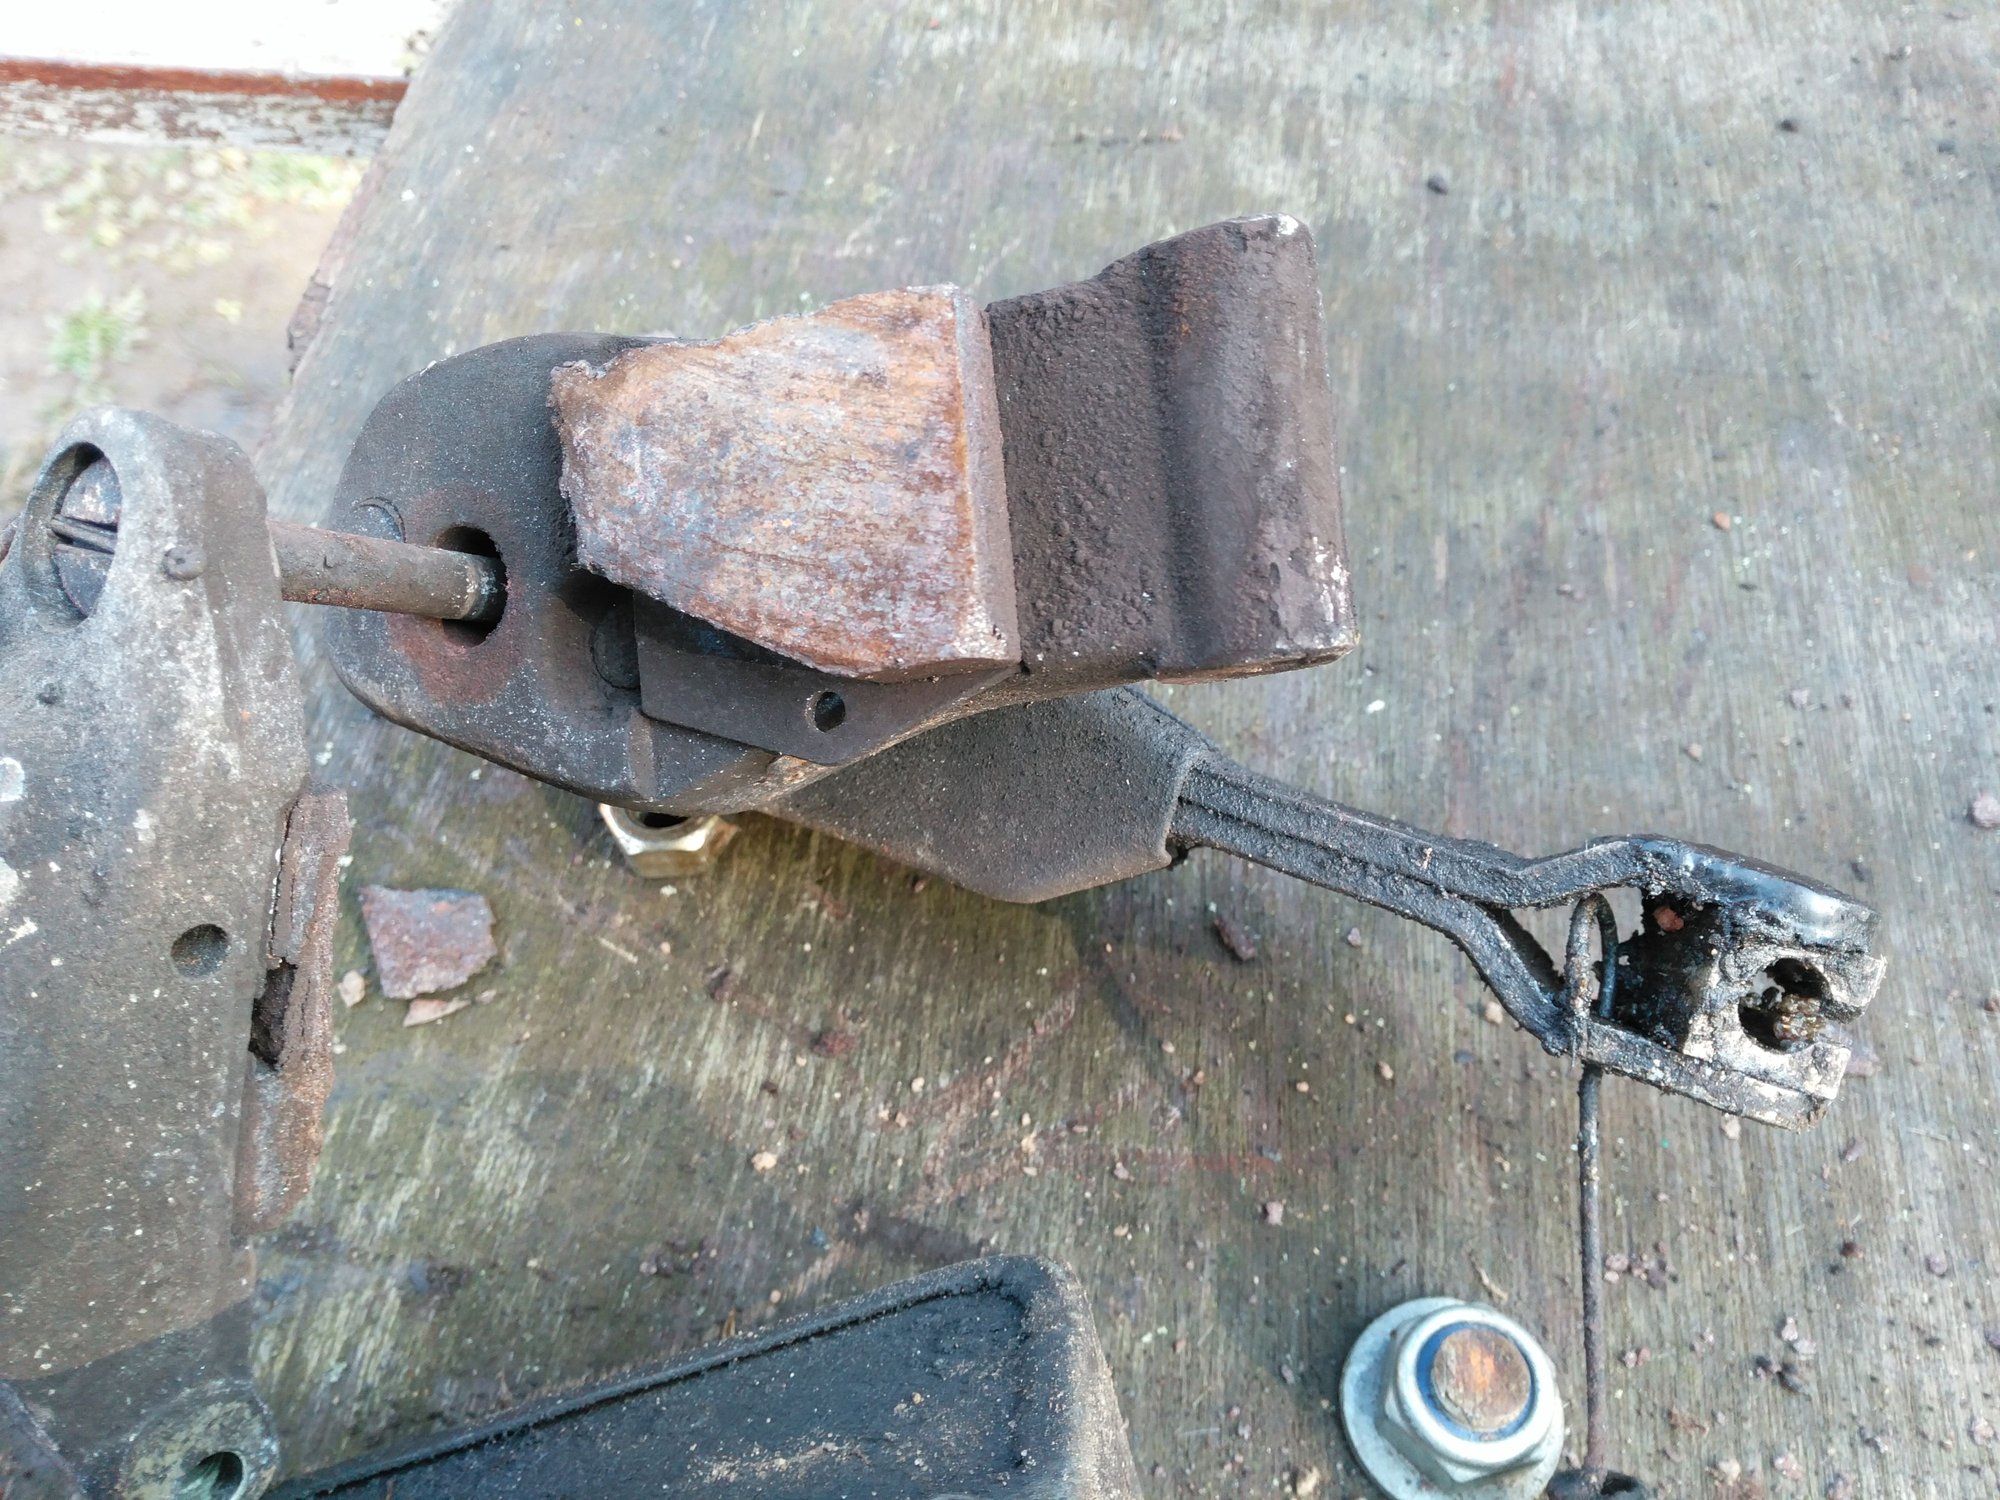
Not a great design in my opinion to withstand the Torque of a Rolling Road Test which is maybe why the later models were fitted with outboard Brakes
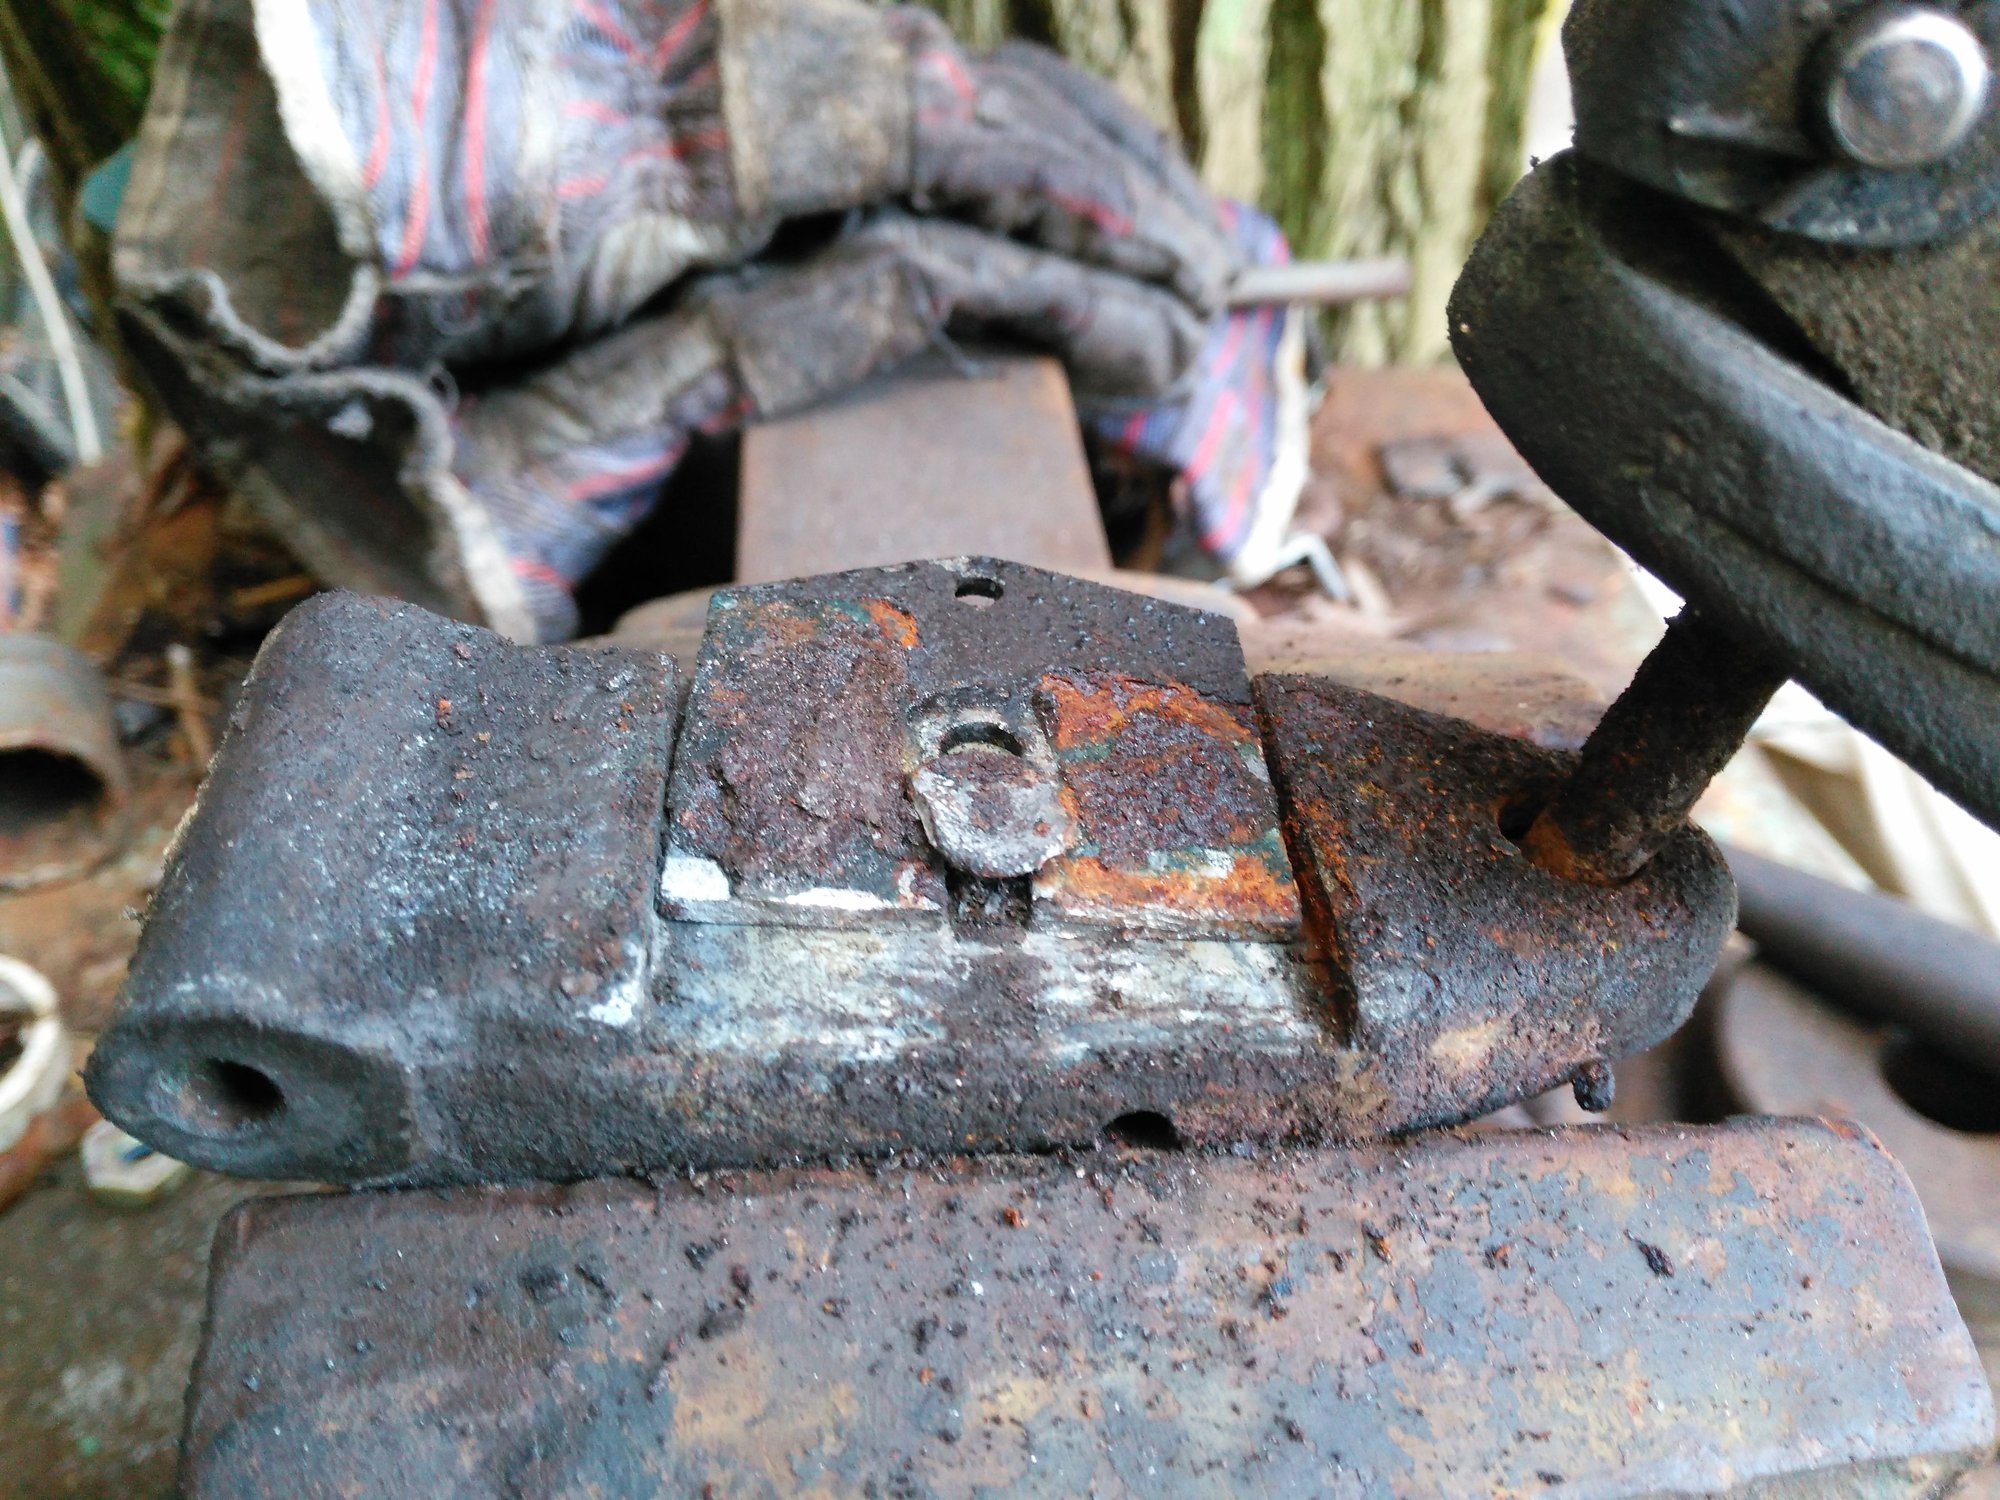
Another Brake Pad ripped away from the other Caliper and if and when that happens replacing those Brake Pads can be a bit of a 'Nightmare' where in order to prevent this 'Greg' came up with a New type of design, to which I have added my own modification to the way that they are fixed to the Caliper in the form of a 'Bolt'
And also making the fixing slot of the Caliper deeper to give it extra lateral strength although 'Greg's' Mod works fine the way it is, so put my little extra Mod down to Paranoid me!
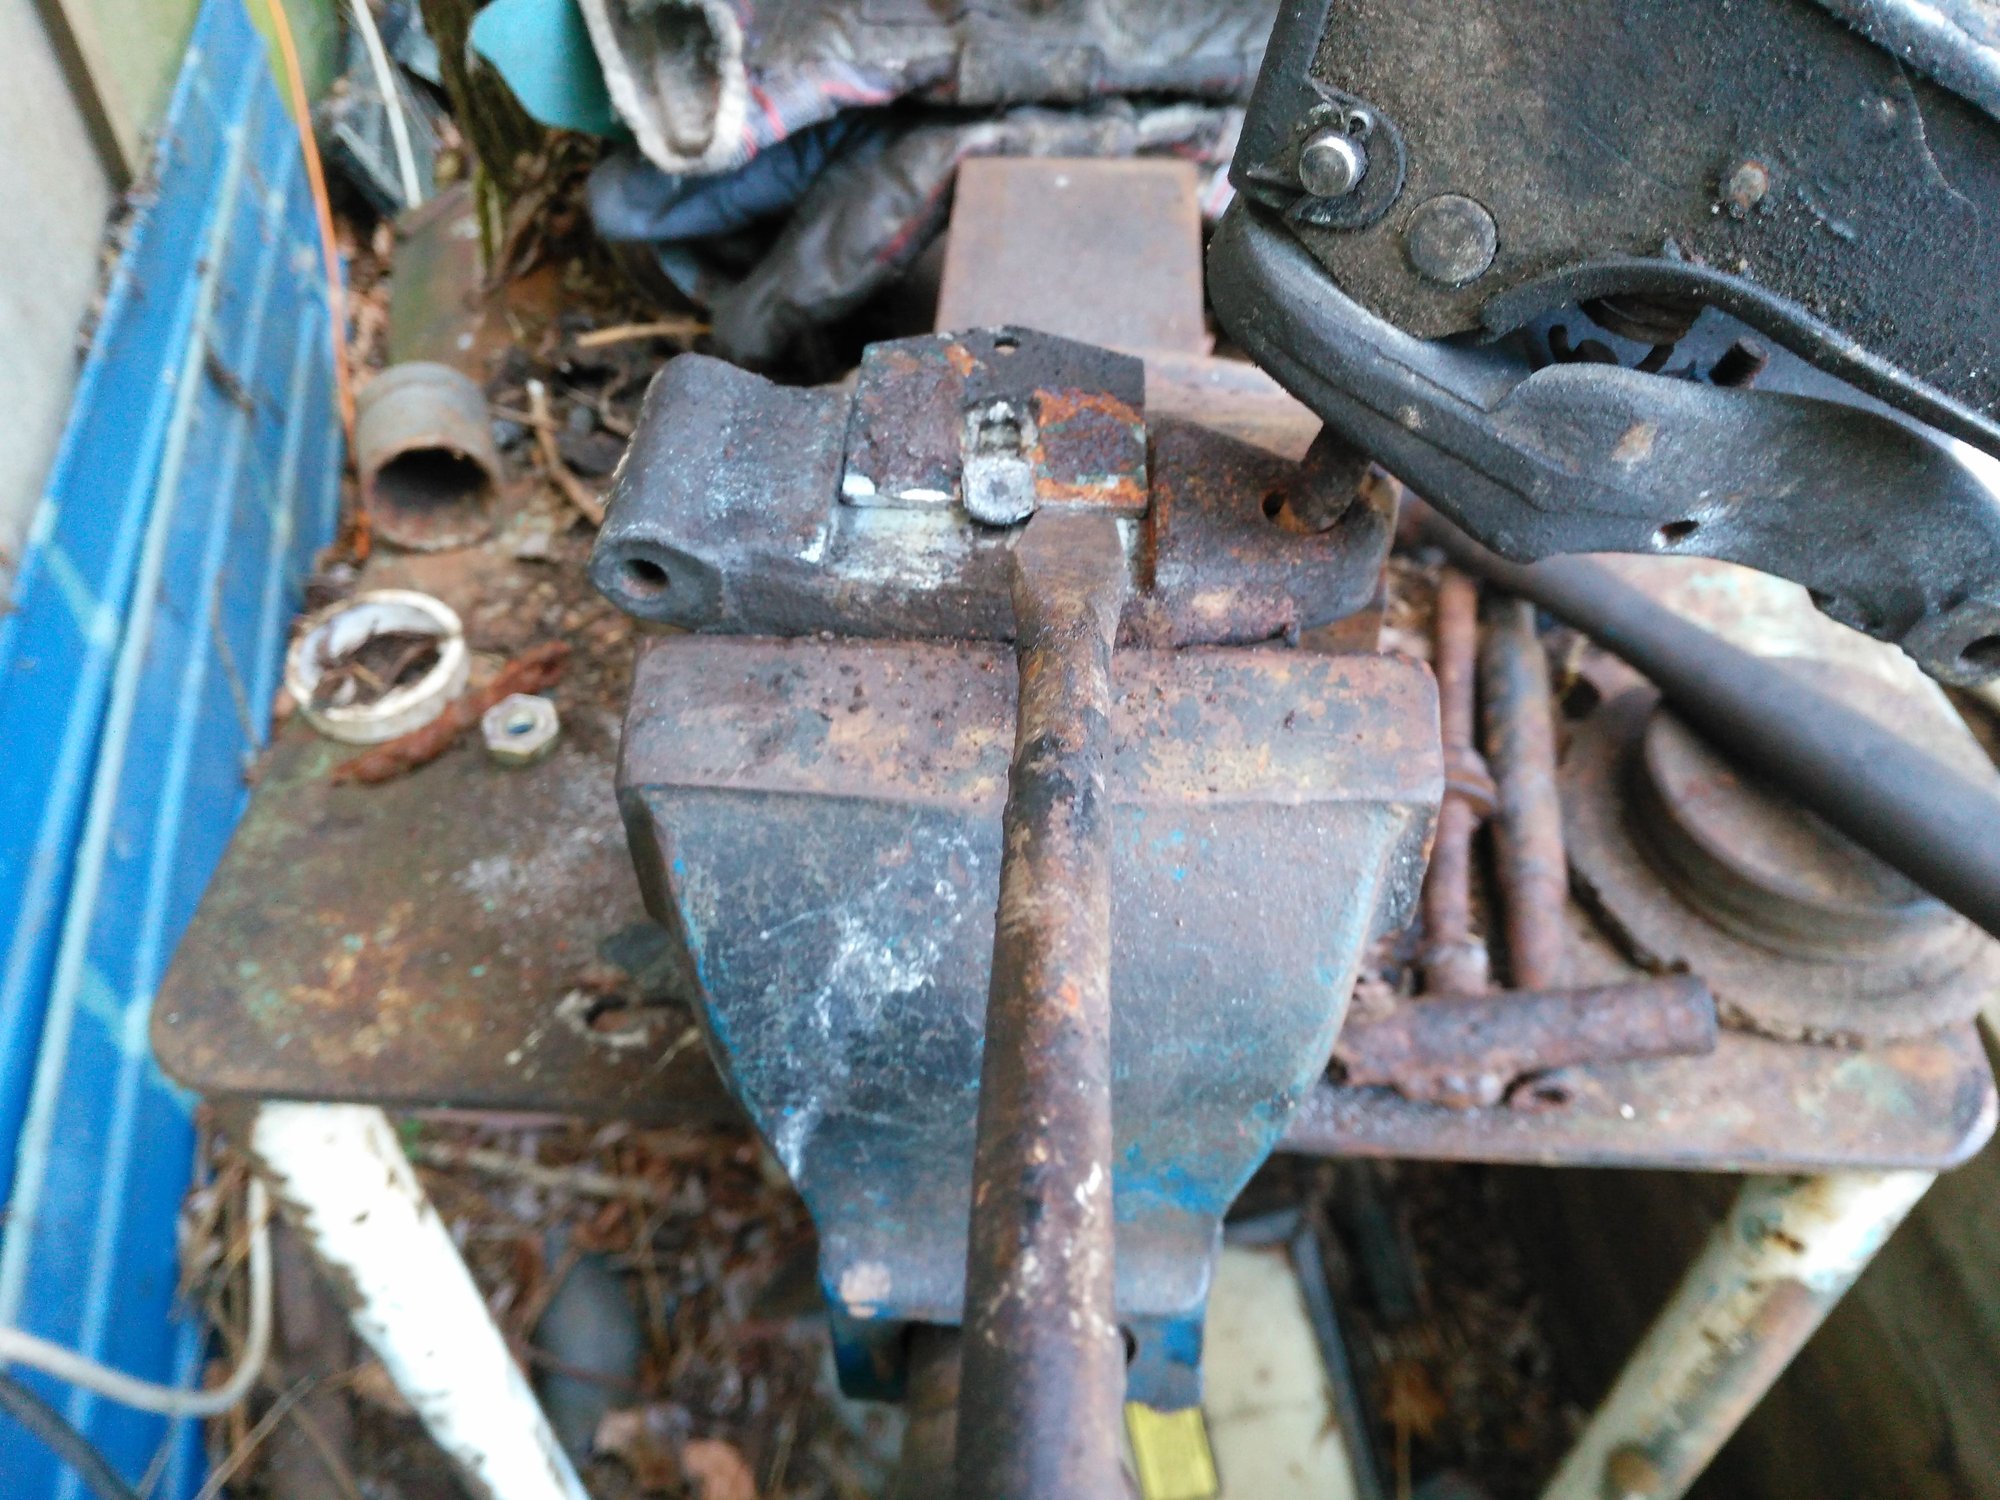
Drifting off the Old Brake Pads using either a Chisel or an old Screw driver 'as you do'

Next Job cut that very wimpy looking fixing Peg away!
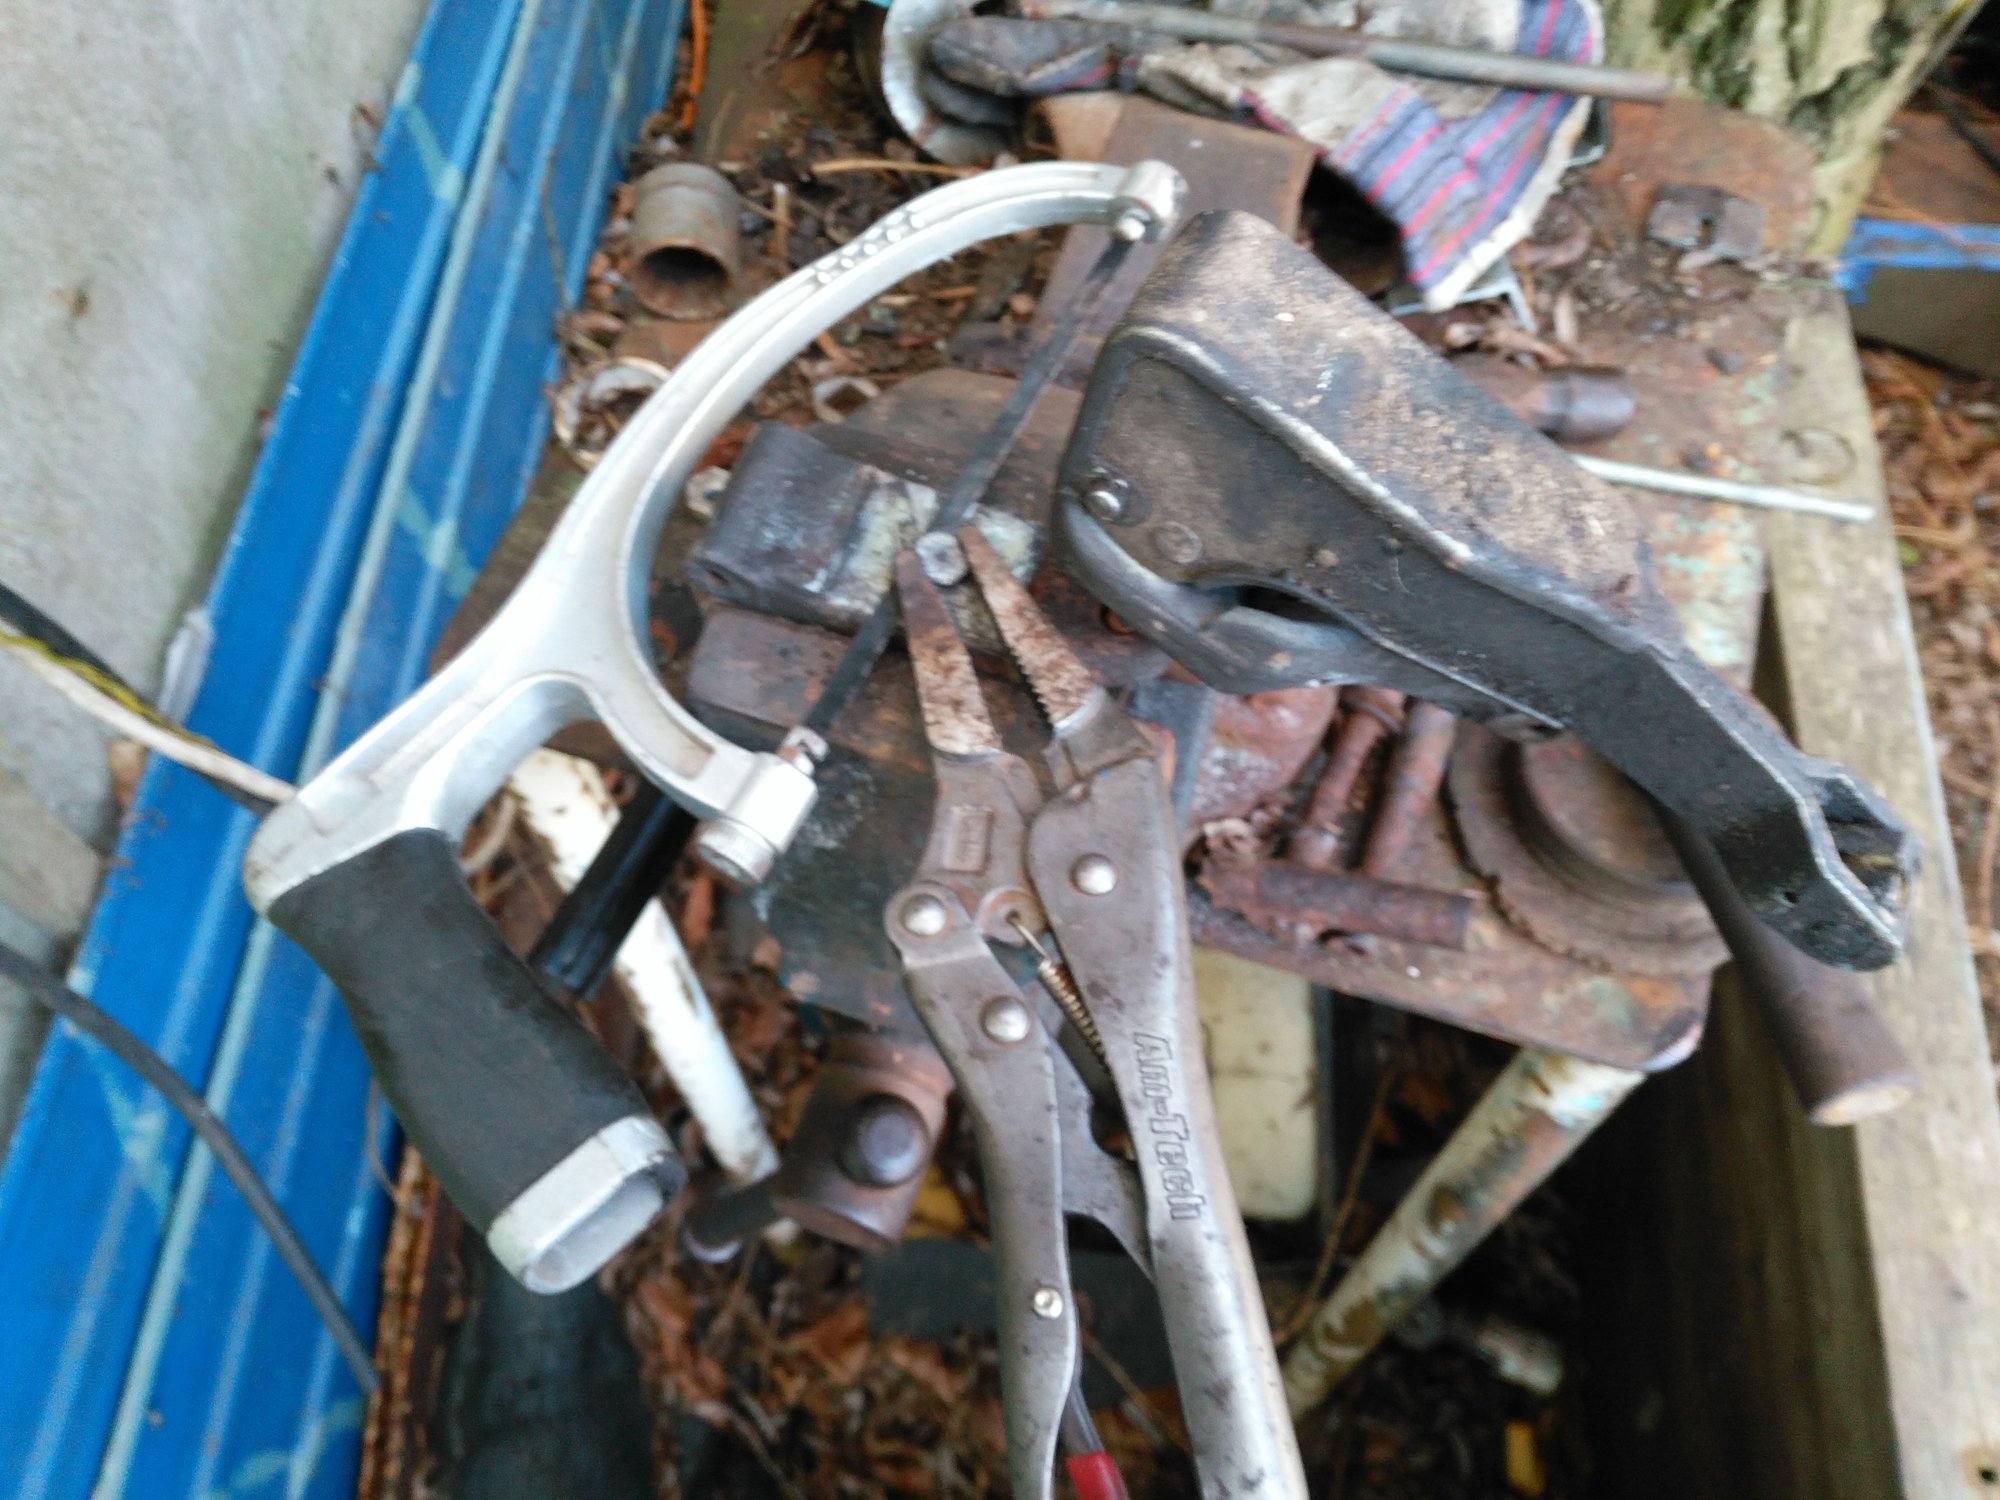
Cutting off that Fixing Peg with a Hacksaw
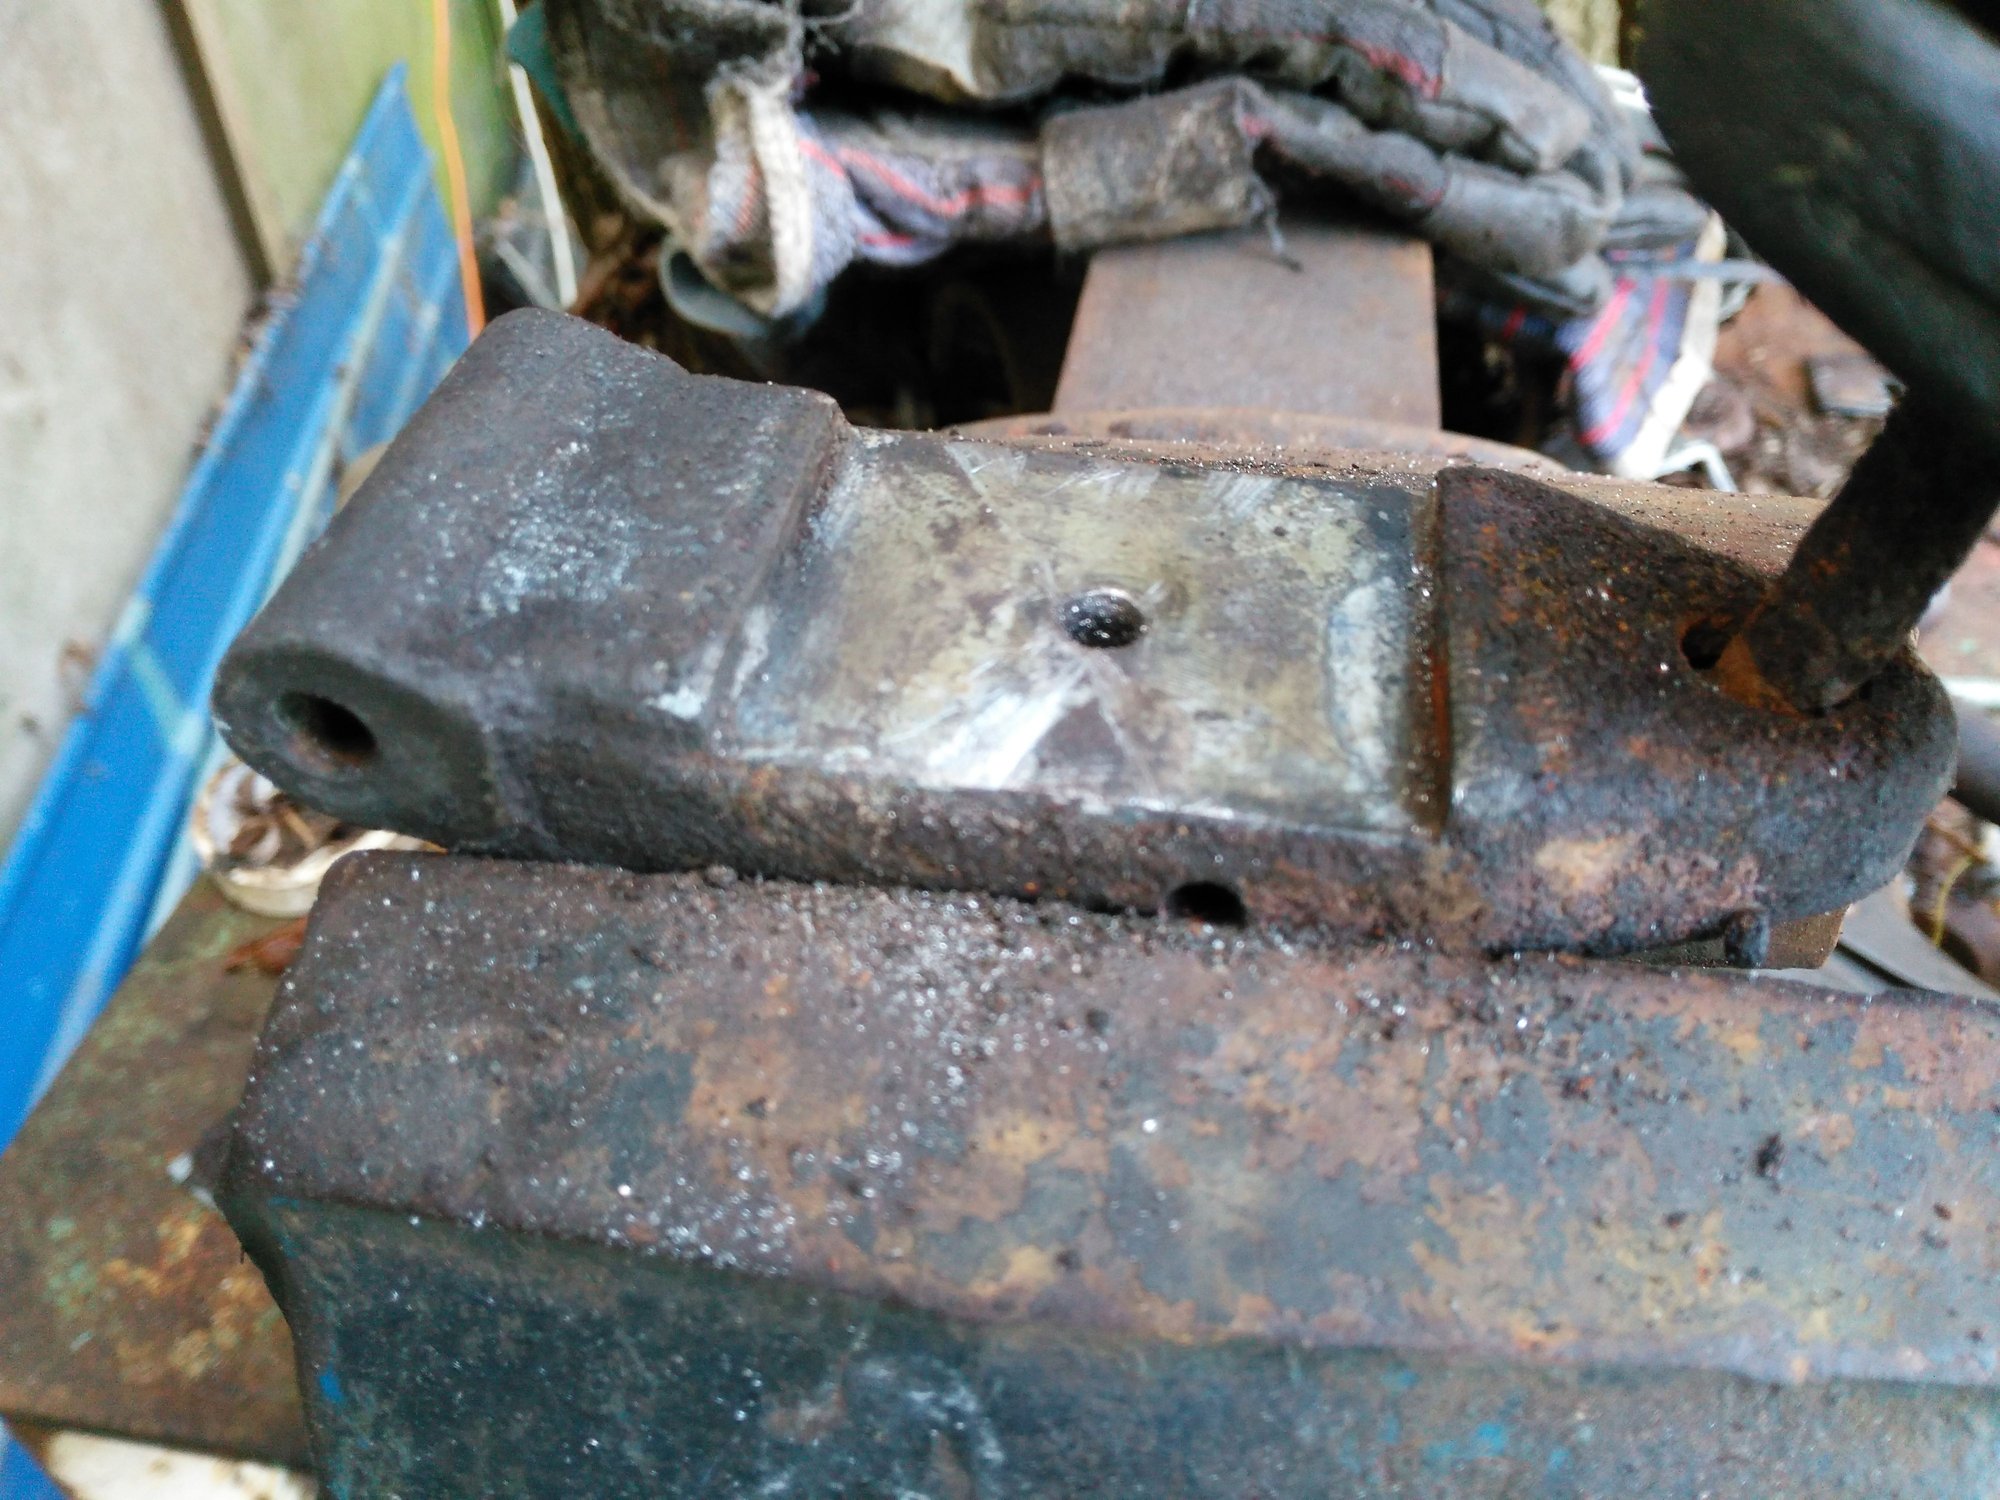
The idea is to make a Brake Pad out of an Old/New Brake Pad the same Size as that Slot
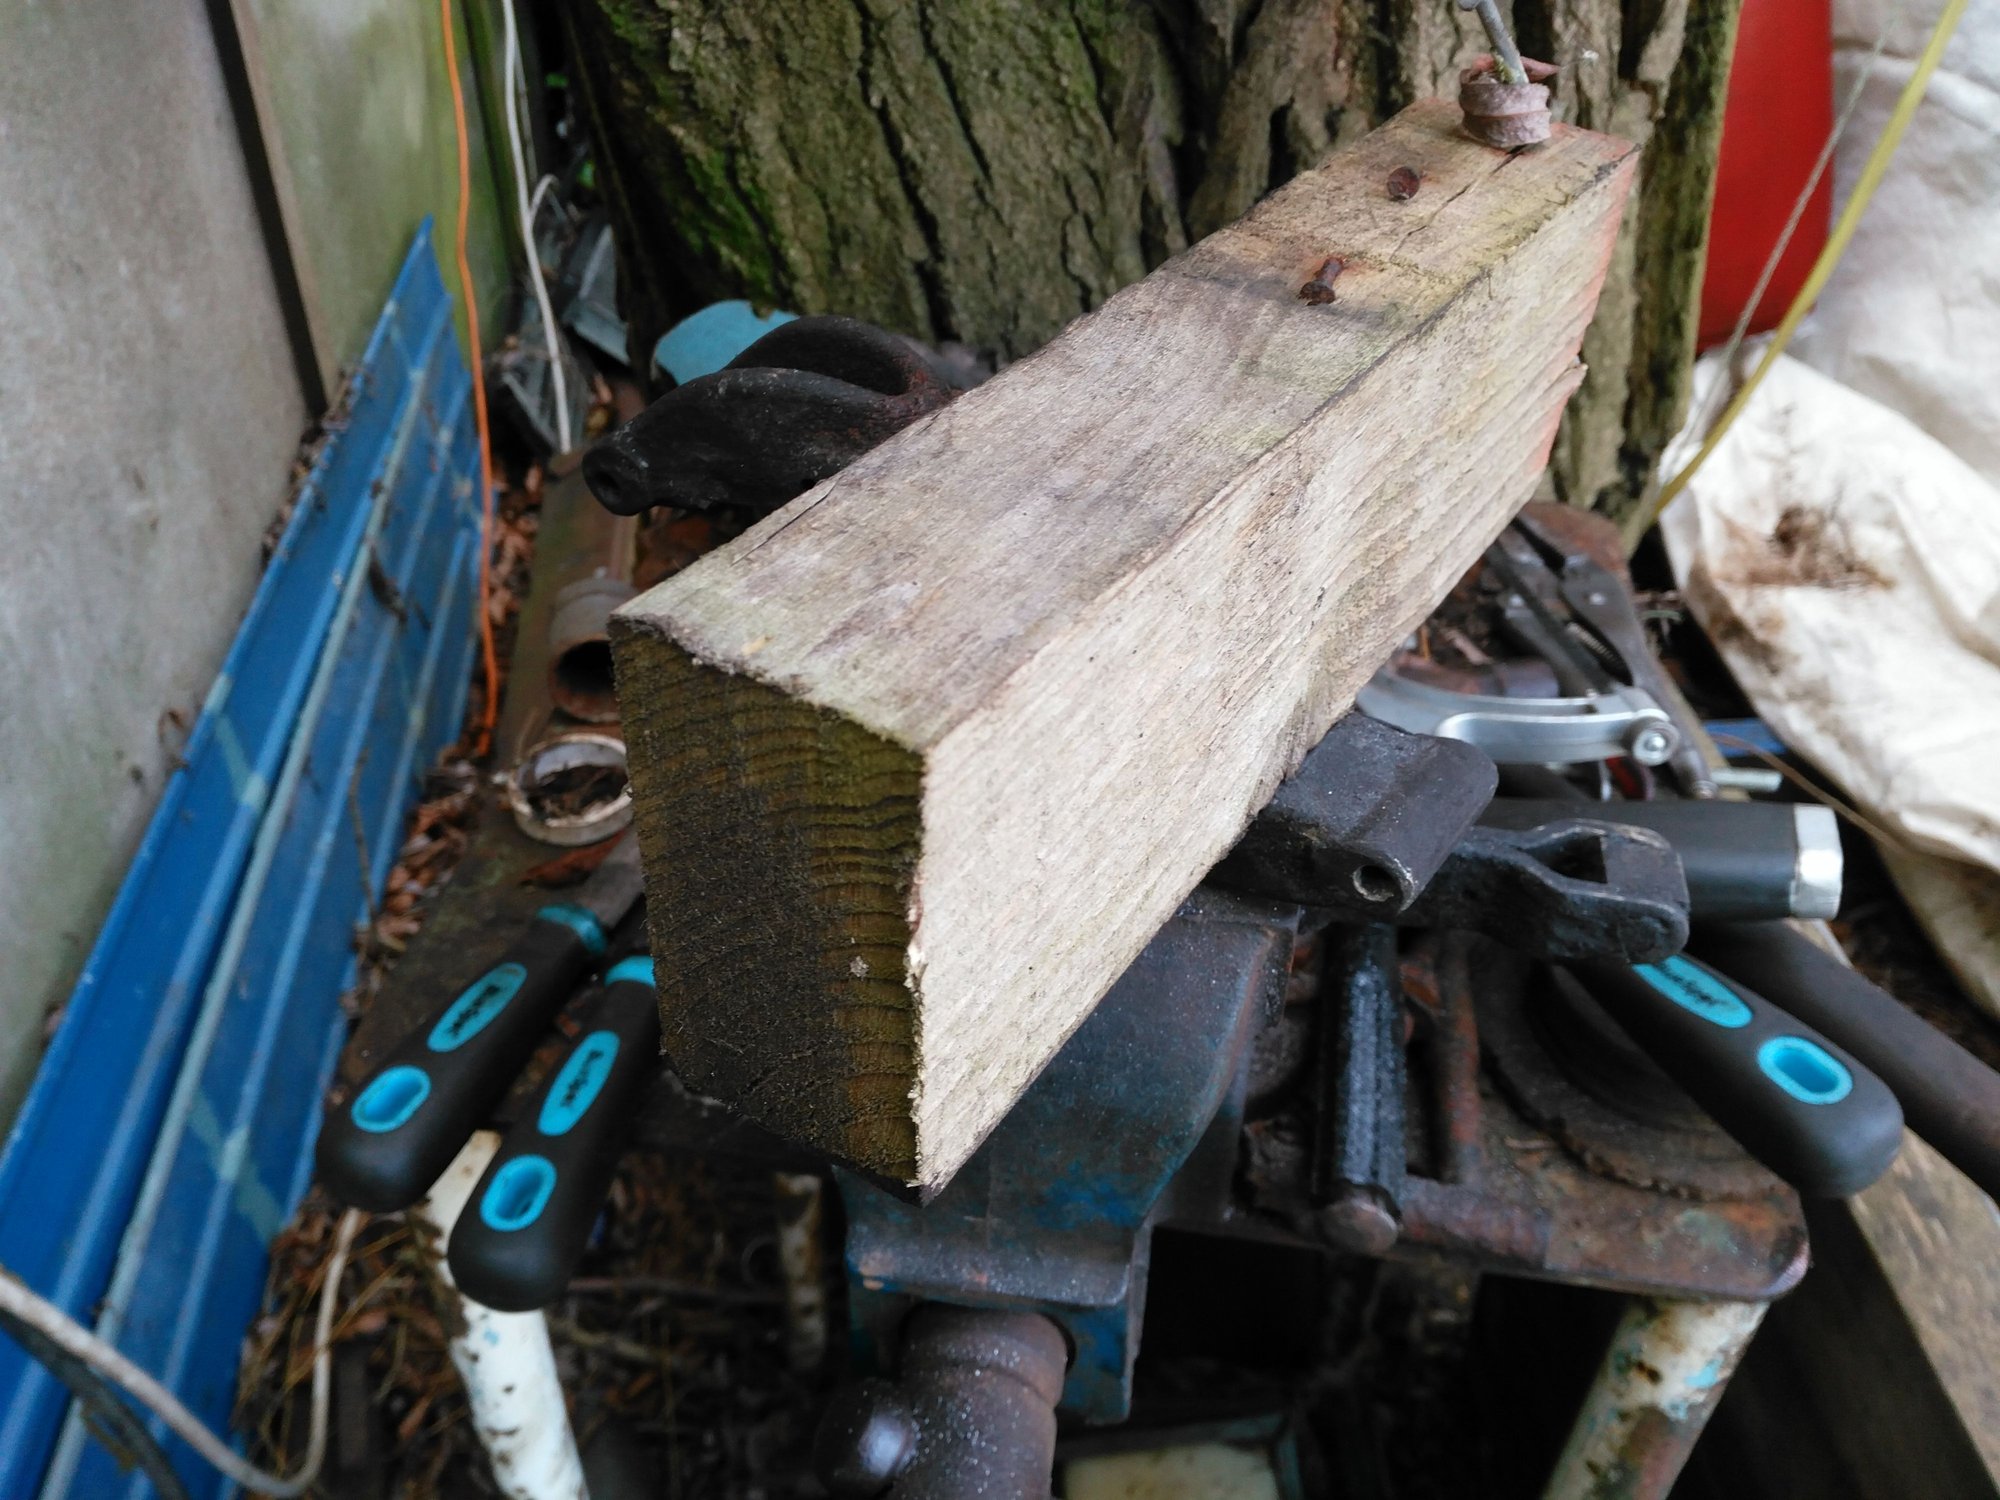
This Block of Wood was just the right width for a Template
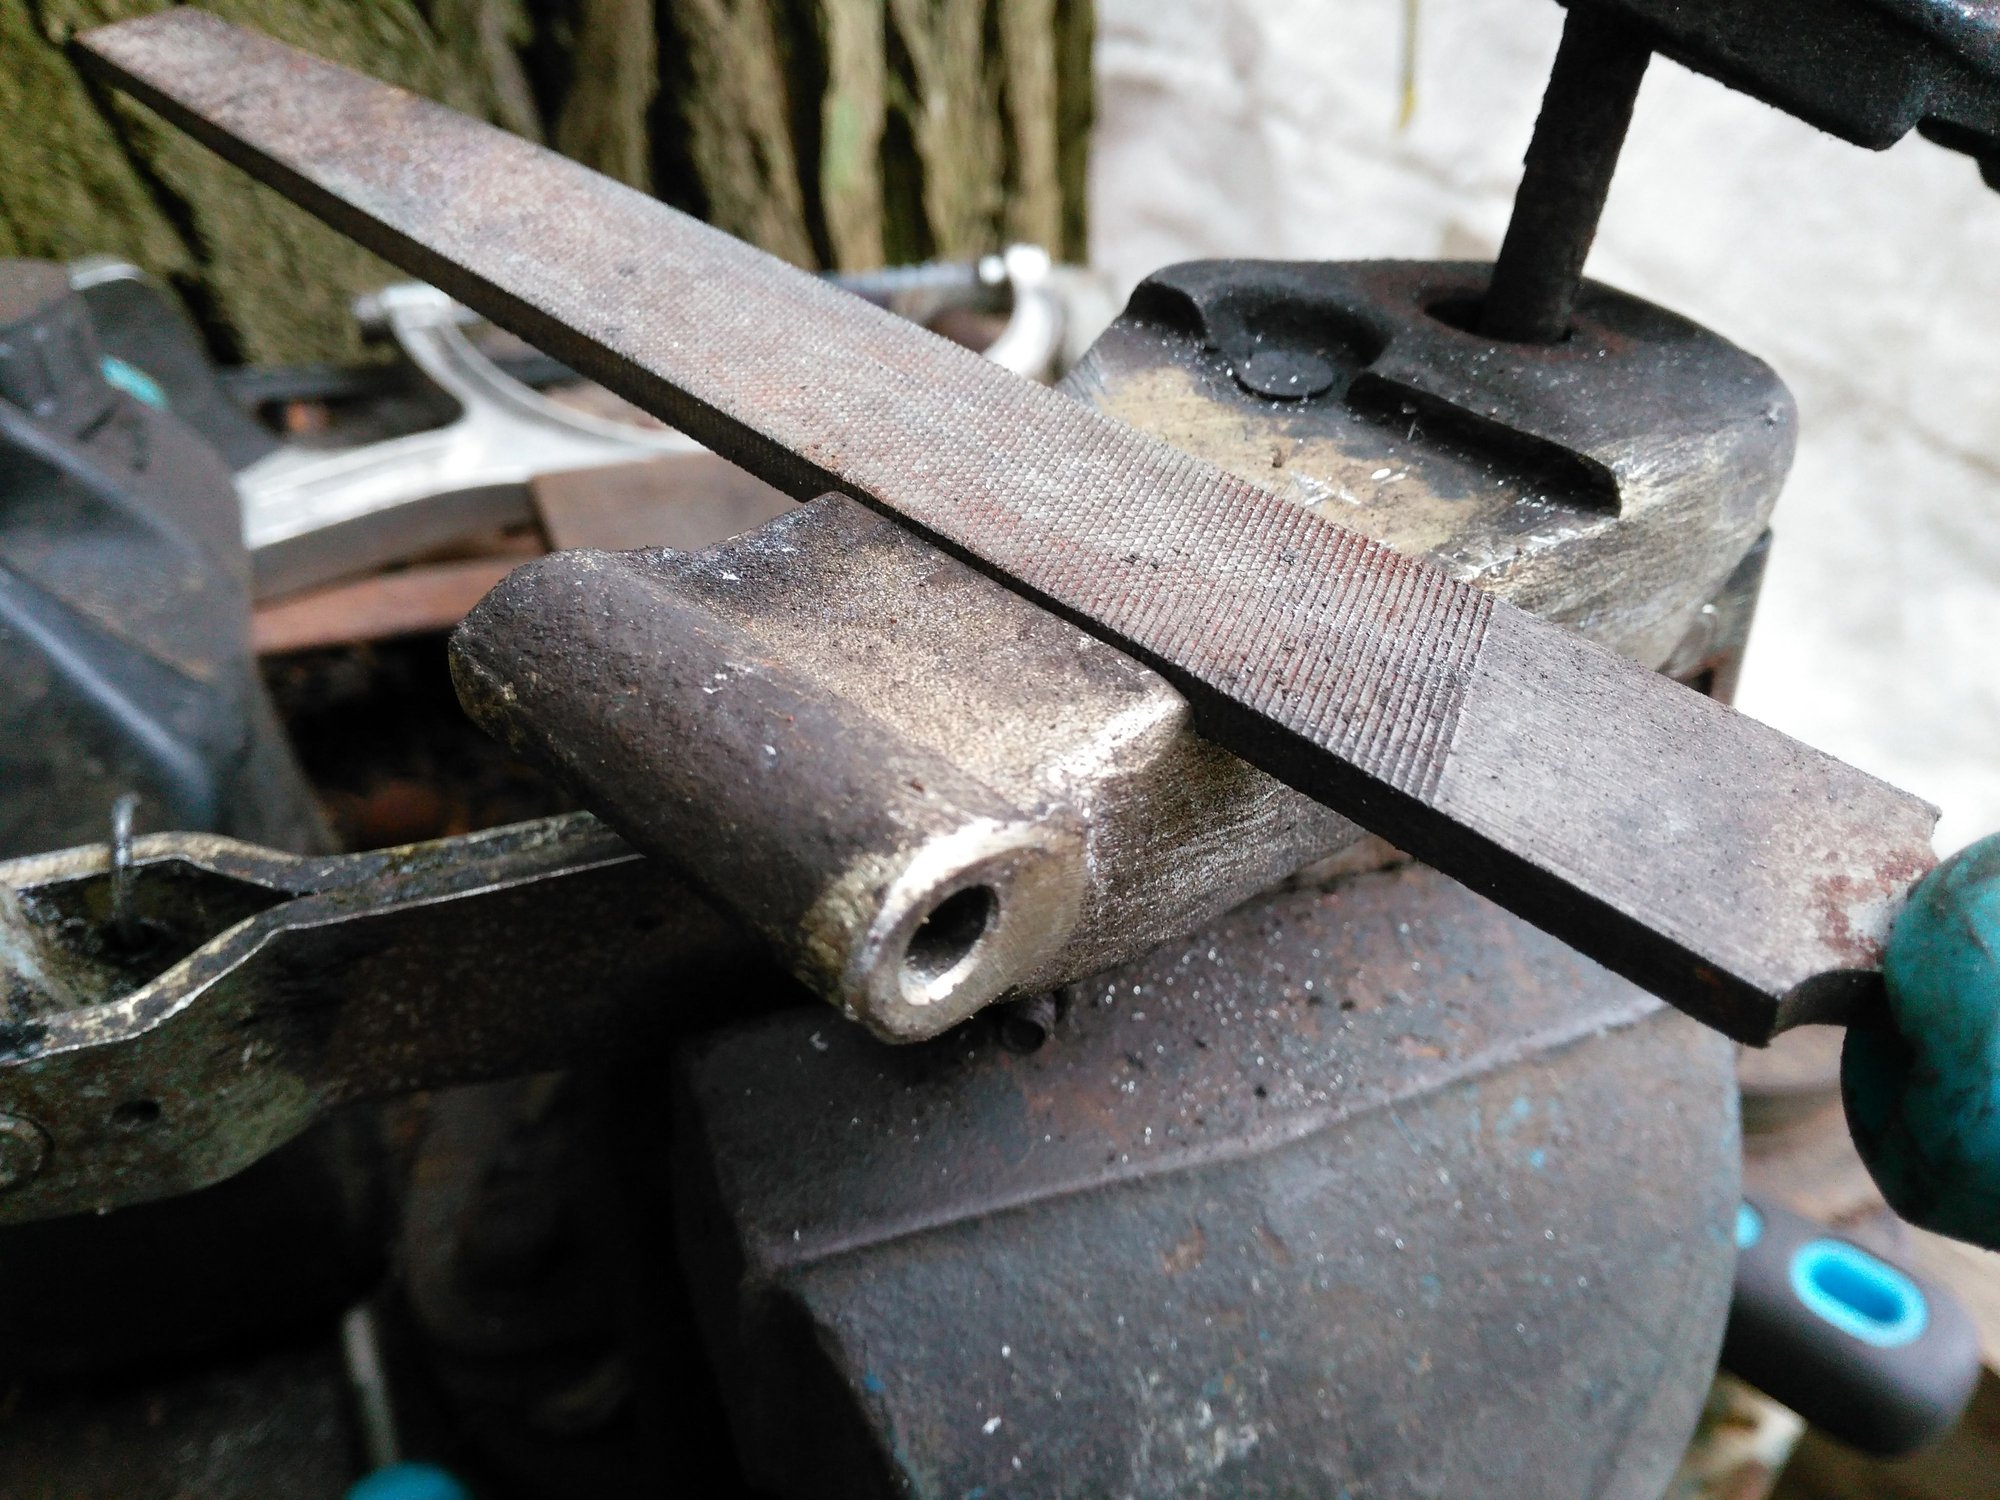
My Mod of the Mod was to make that Slot a lot deeper to help to overcome any Lateral Forces, which involved an awful lot of filing!
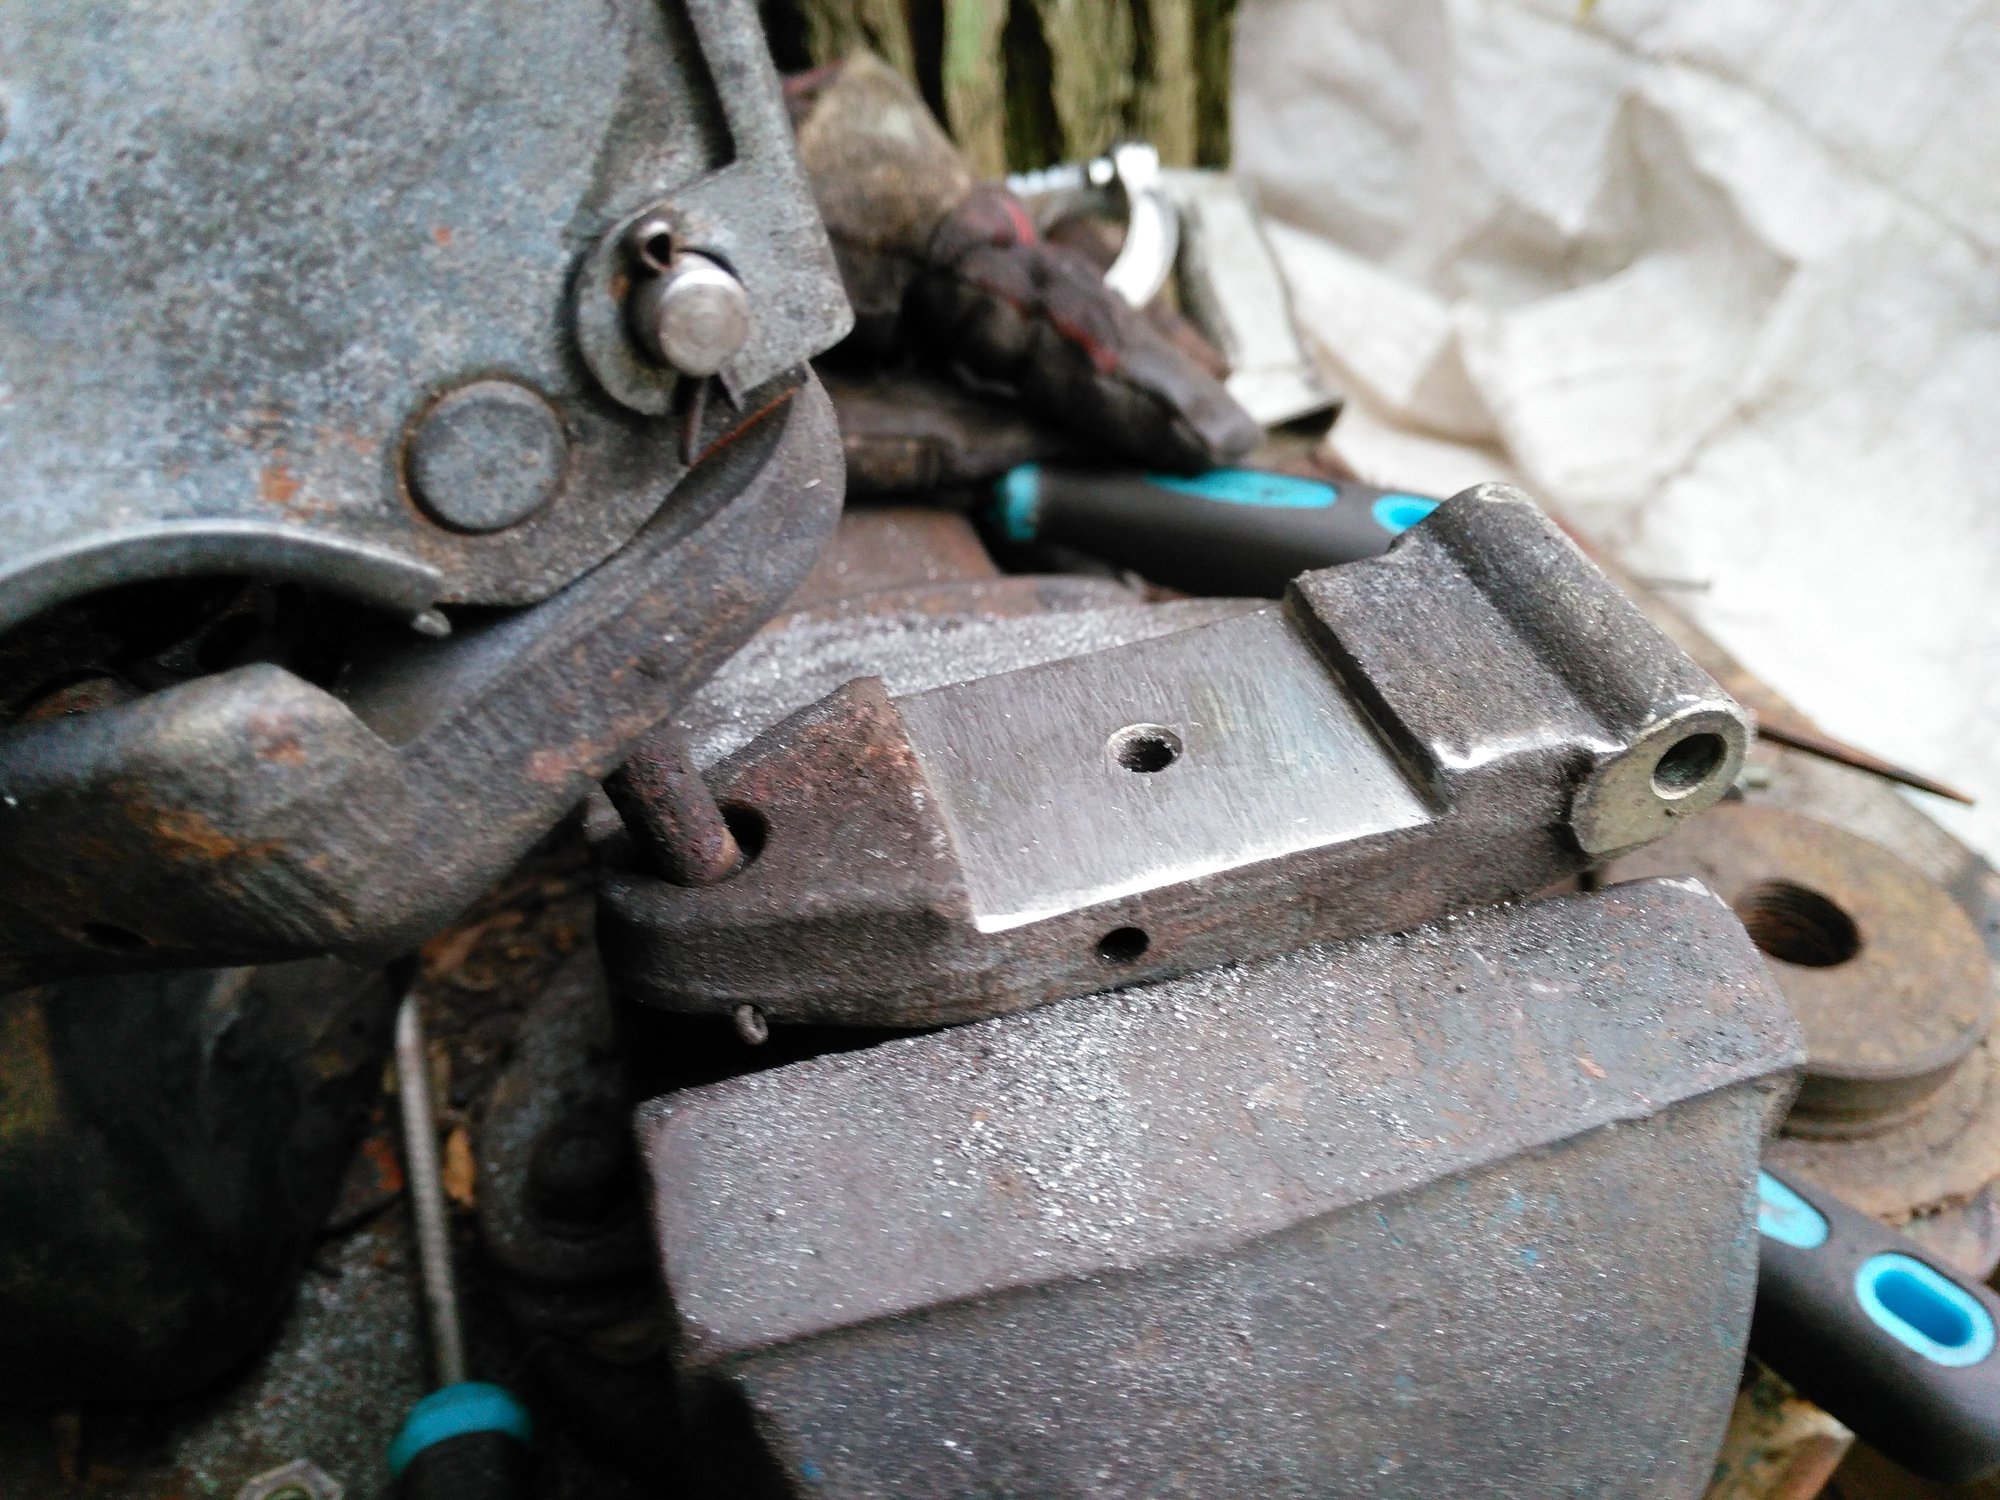
Yass! Only another Three deep Slots to Cut out!
Next will be making the Brake Pad and fixing it into the Slot with a Mod on the Mod as filing out Four of those deeper Slots took me nearly all day!
To be Continued..................
Last edited by orangeblossom; 03-25-2021 at 03:38 AM.
The following 2 users liked this post by orangeblossom:
Grant Francis (03-25-2021),
Greg in France (03-25-2021)
#2328
The following 2 users liked this post by Greg in France:
Grant Francis (03-25-2021),
orangeblossom (03-25-2021)
#2329
#2330
Removing The Cage On '50 Shades' My Grey XJS
Making New Handbrake Brake Pads As Designed By 'Greg' With A Couple Of Small Mods
'Precision 'ish' Engineering!'
Not sure if there is such a word as Precision 'ish' Engineering as although I'm not an Engineer, I wanted to try and do the best job I could, which without a Milling Machine meant eight hours of filing the metal away on the Calipers by hand, as I wanted to deepen the Slots to the Thickness of the Backing Plate on the Brake PadsMaking New Handbrake Brake Pads As Designed By 'Greg' With A Couple Of Small Mods
'Precision 'ish' Engineering!'
So tempting to use a grinder but I wanted to try and make those Brake Pads a really tight push fit, which is what I eventually did, give or take a Zillionth of a Thou, or whatever its called
As for the actual Brake Pads themselves, I made them out of 4 Mercedes Rear Brake Pads, which I then cut down to the Size that I needed to fit in the Slot but really any type of Brake Pad would have done the job but since I had these Merc one's hanging around in the Shop, I though I would use them
Which then involved a lot more filing and drilling
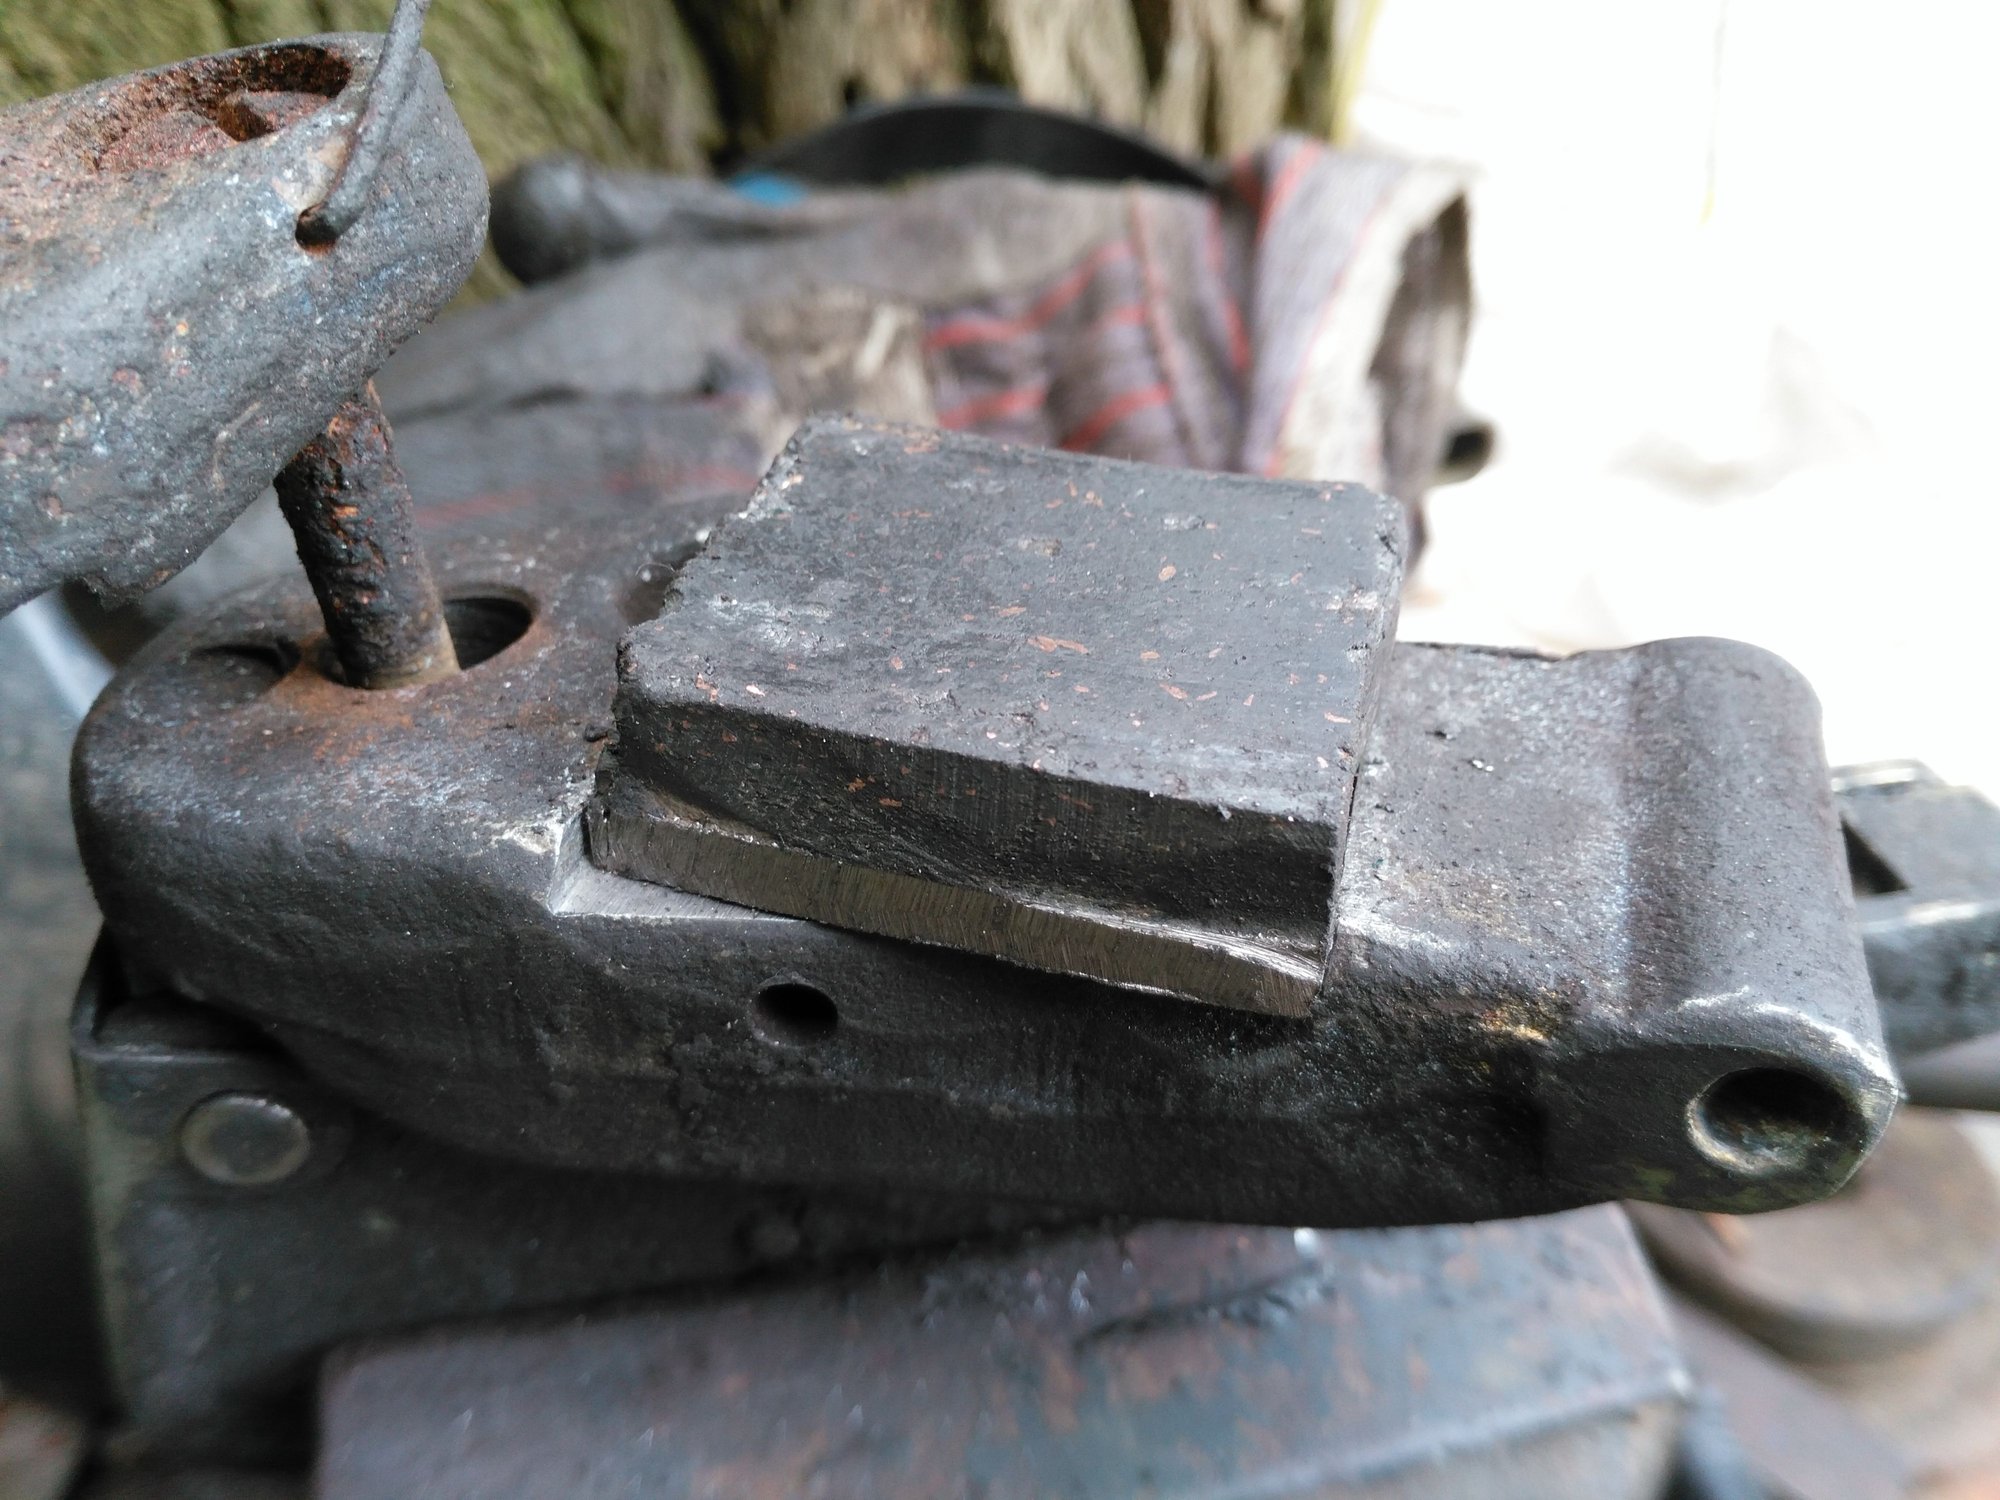
Precision 'ish' cut for a really tight fit in the Slot
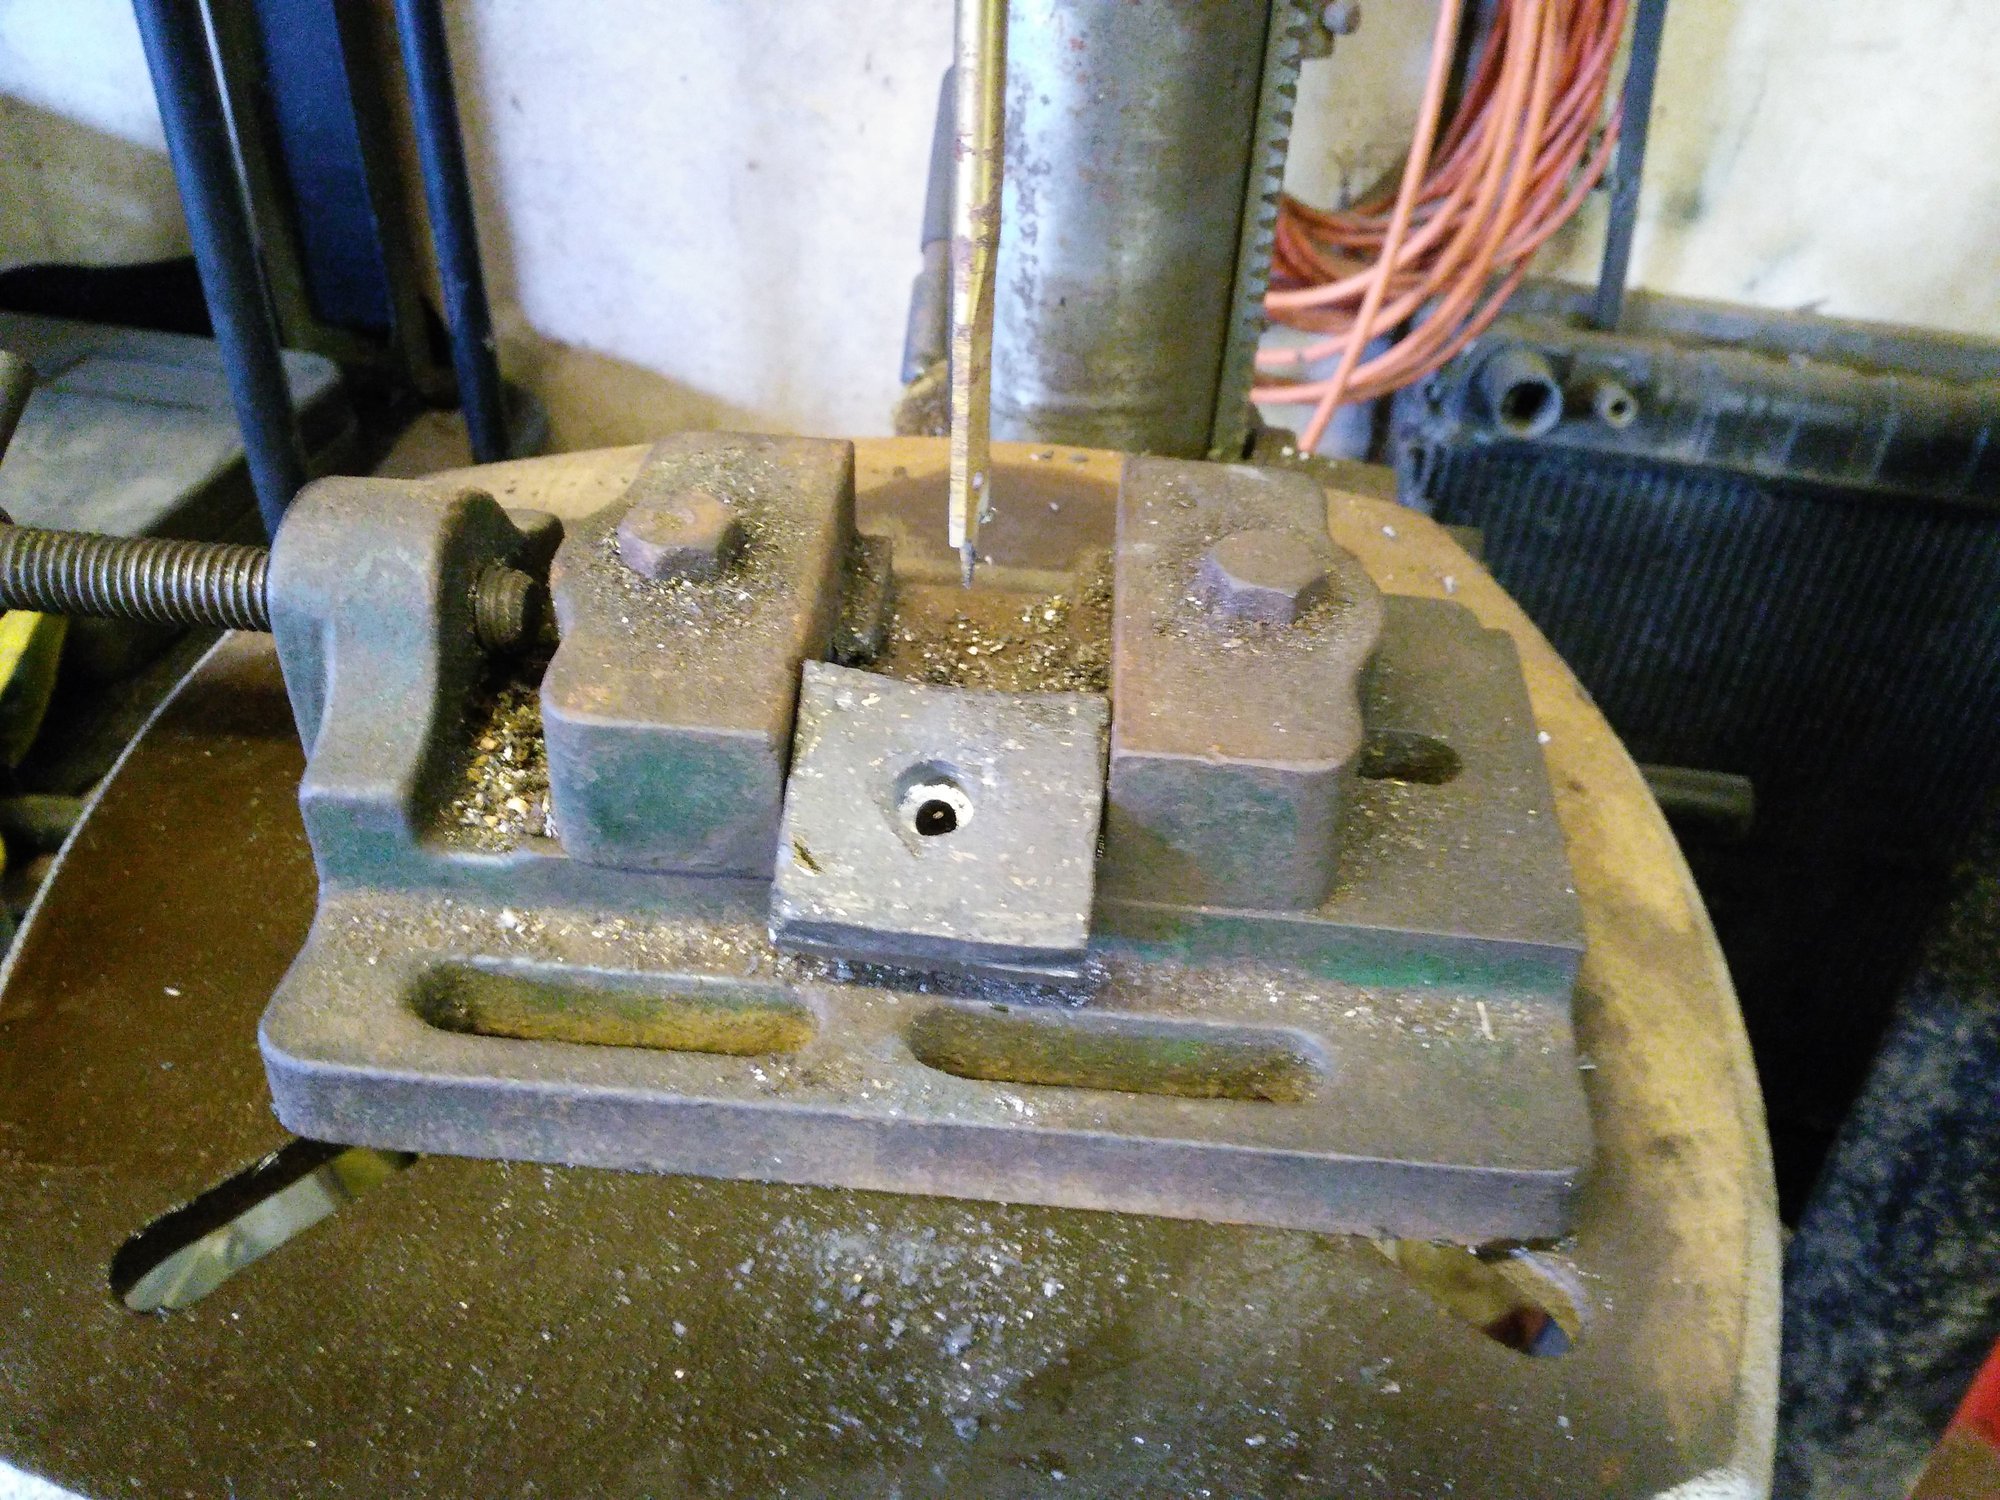
As I wanted to Bolt these to the Hand Brake Calipers, I recessed a Hole right down to the Backing Plate, using this drill and others, so that I could pull the fixing bolt right down into the Brake Pad, as far as I could
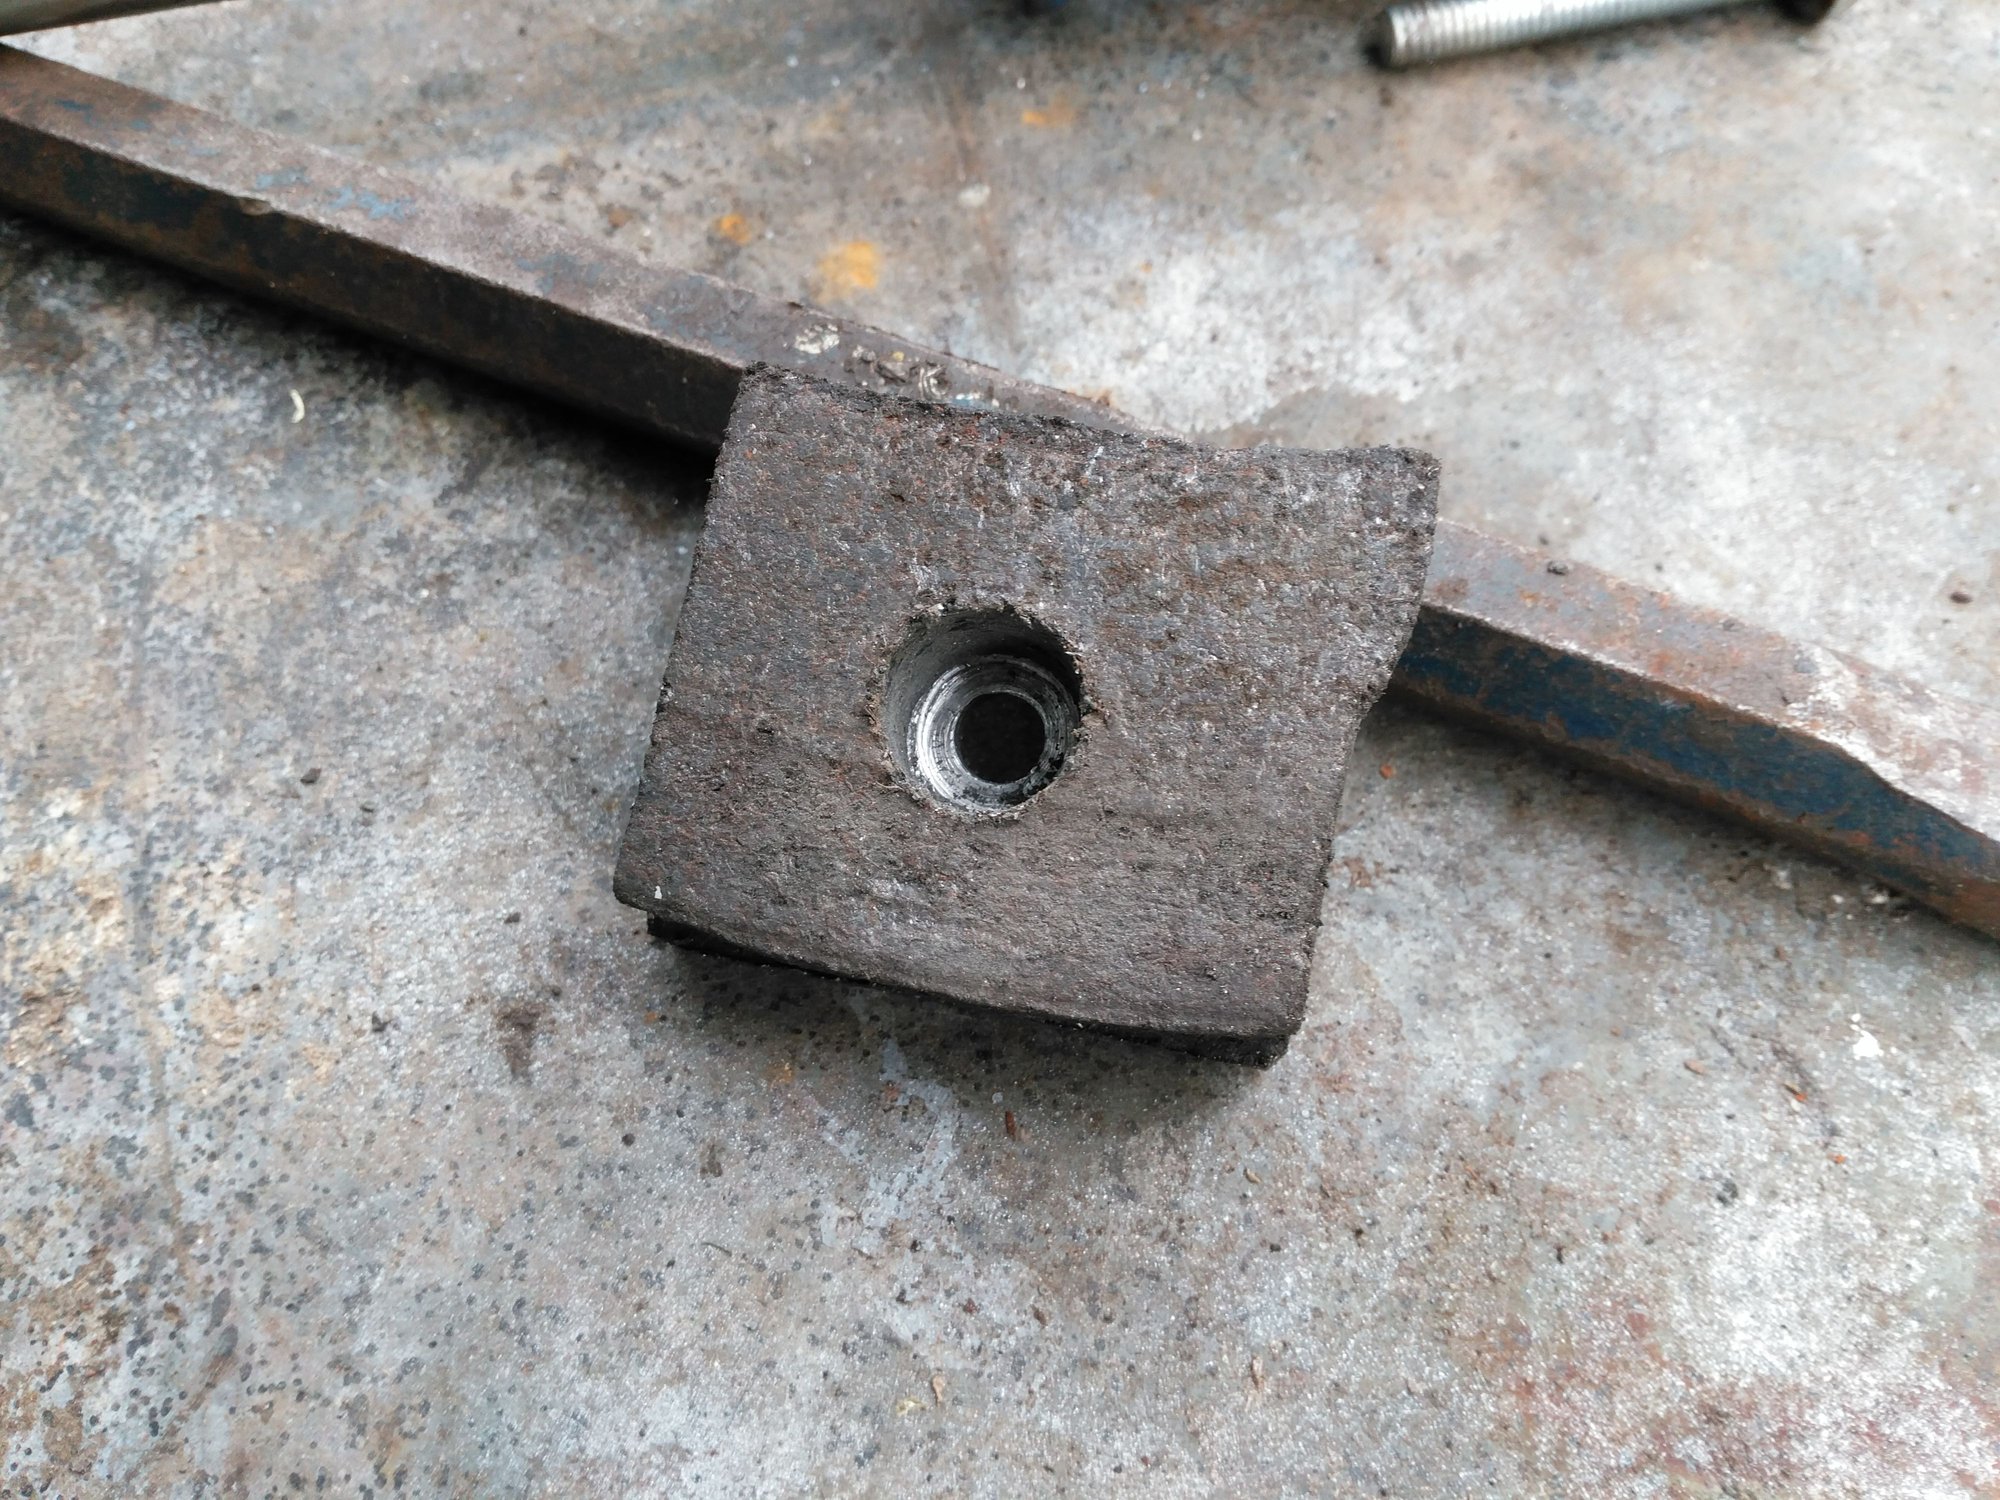
Recessed Hole already for the Fixing Bolt
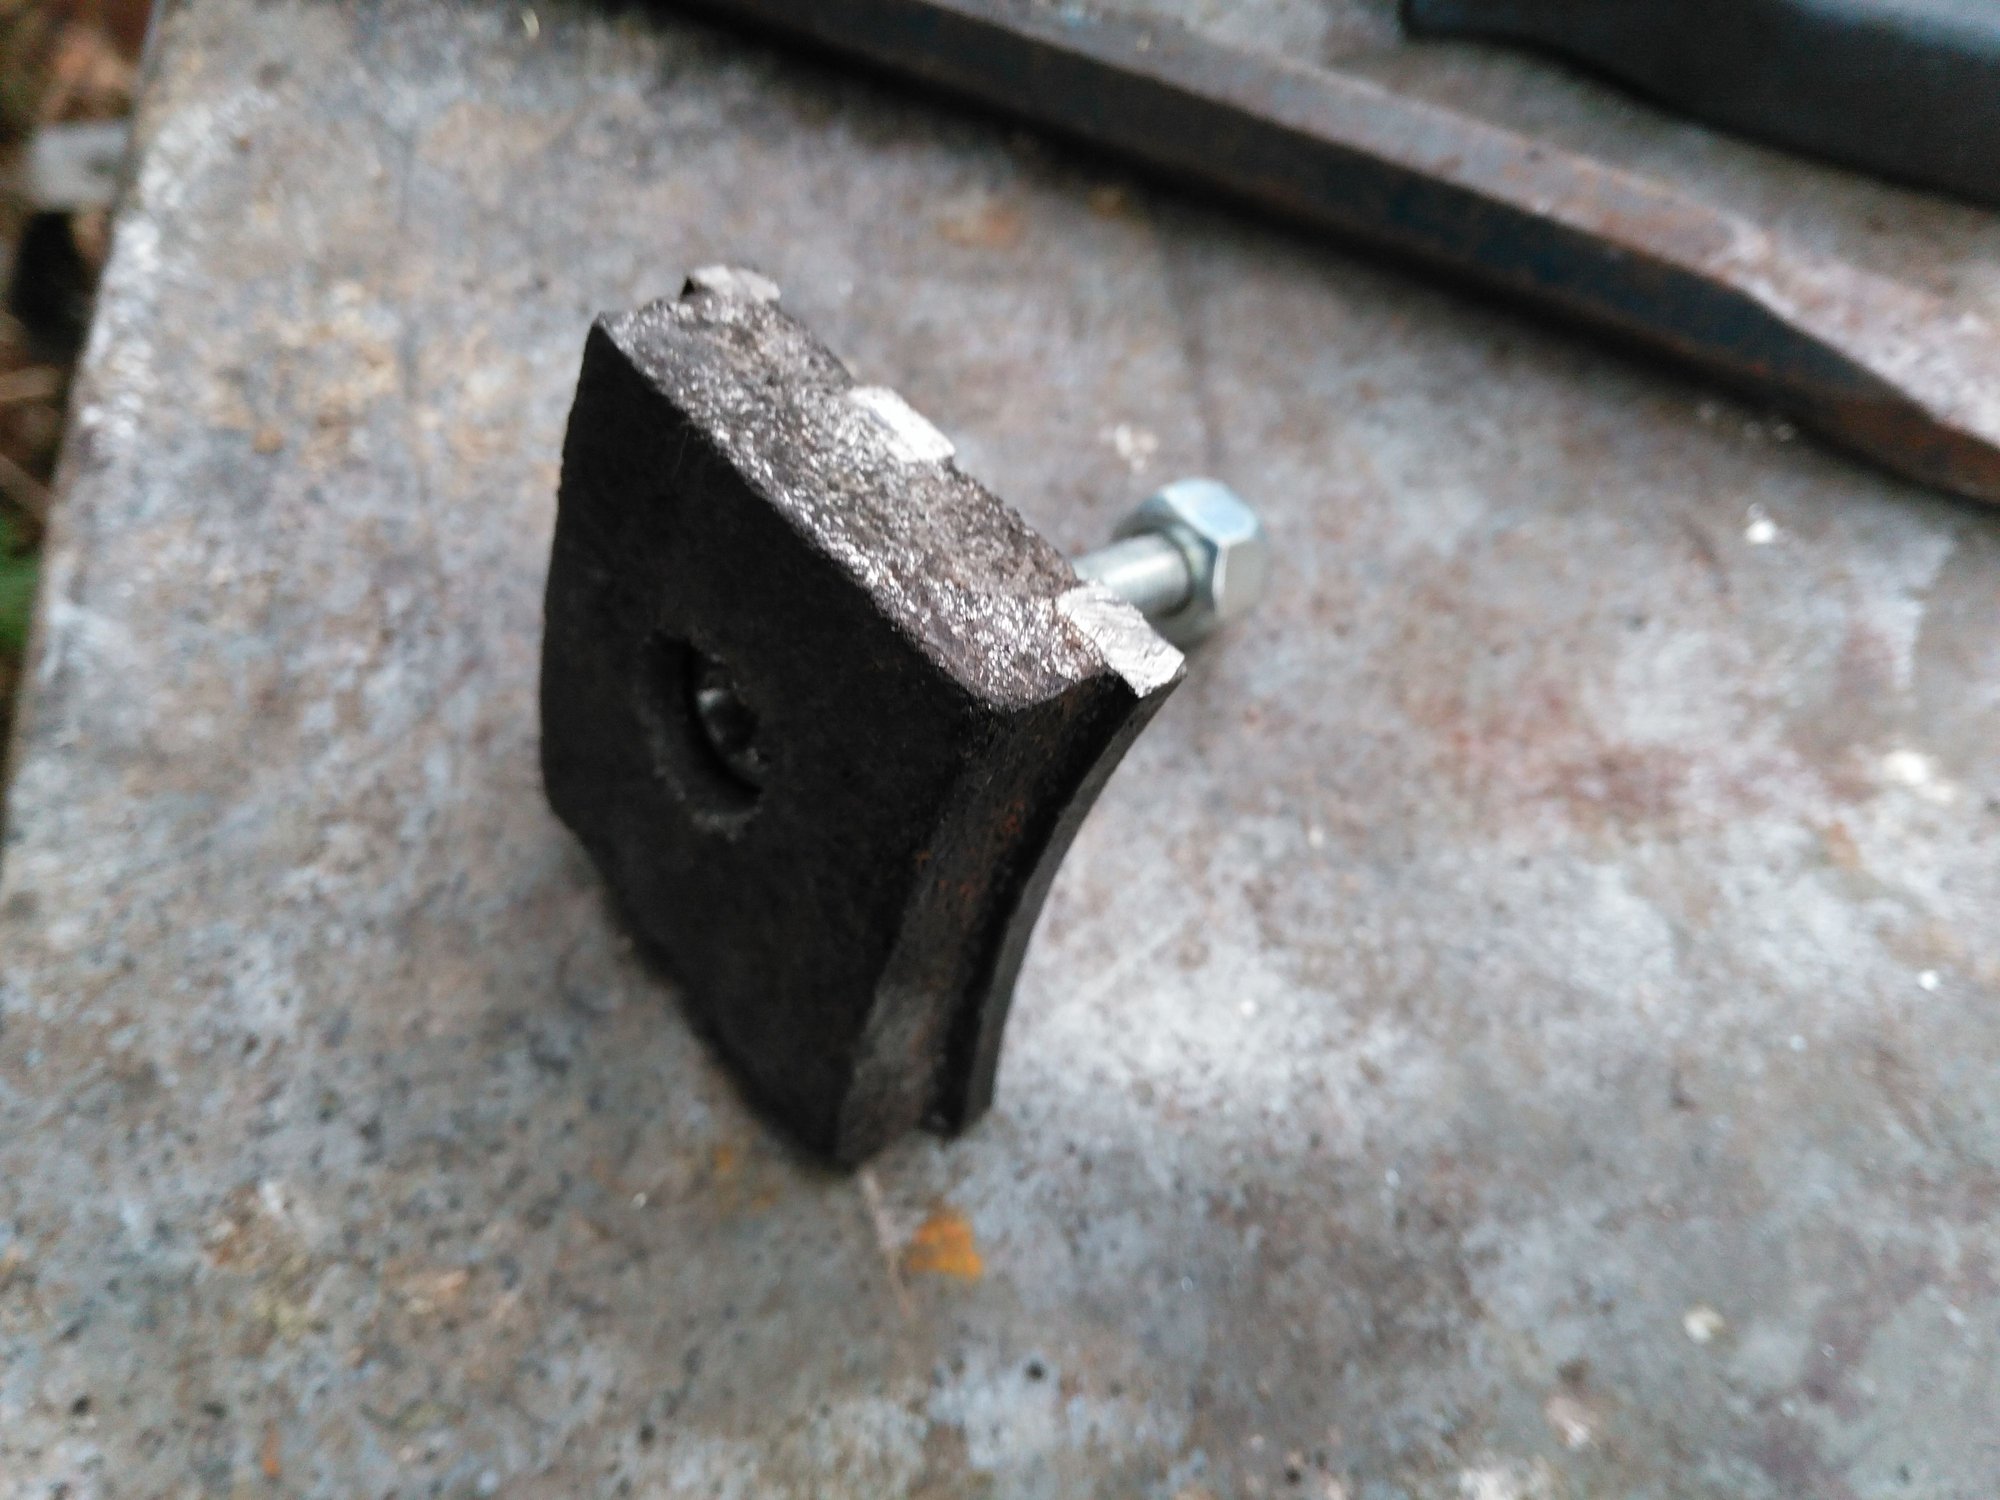
By a minor miracle, I had some Nuts and Bolts of the right size!
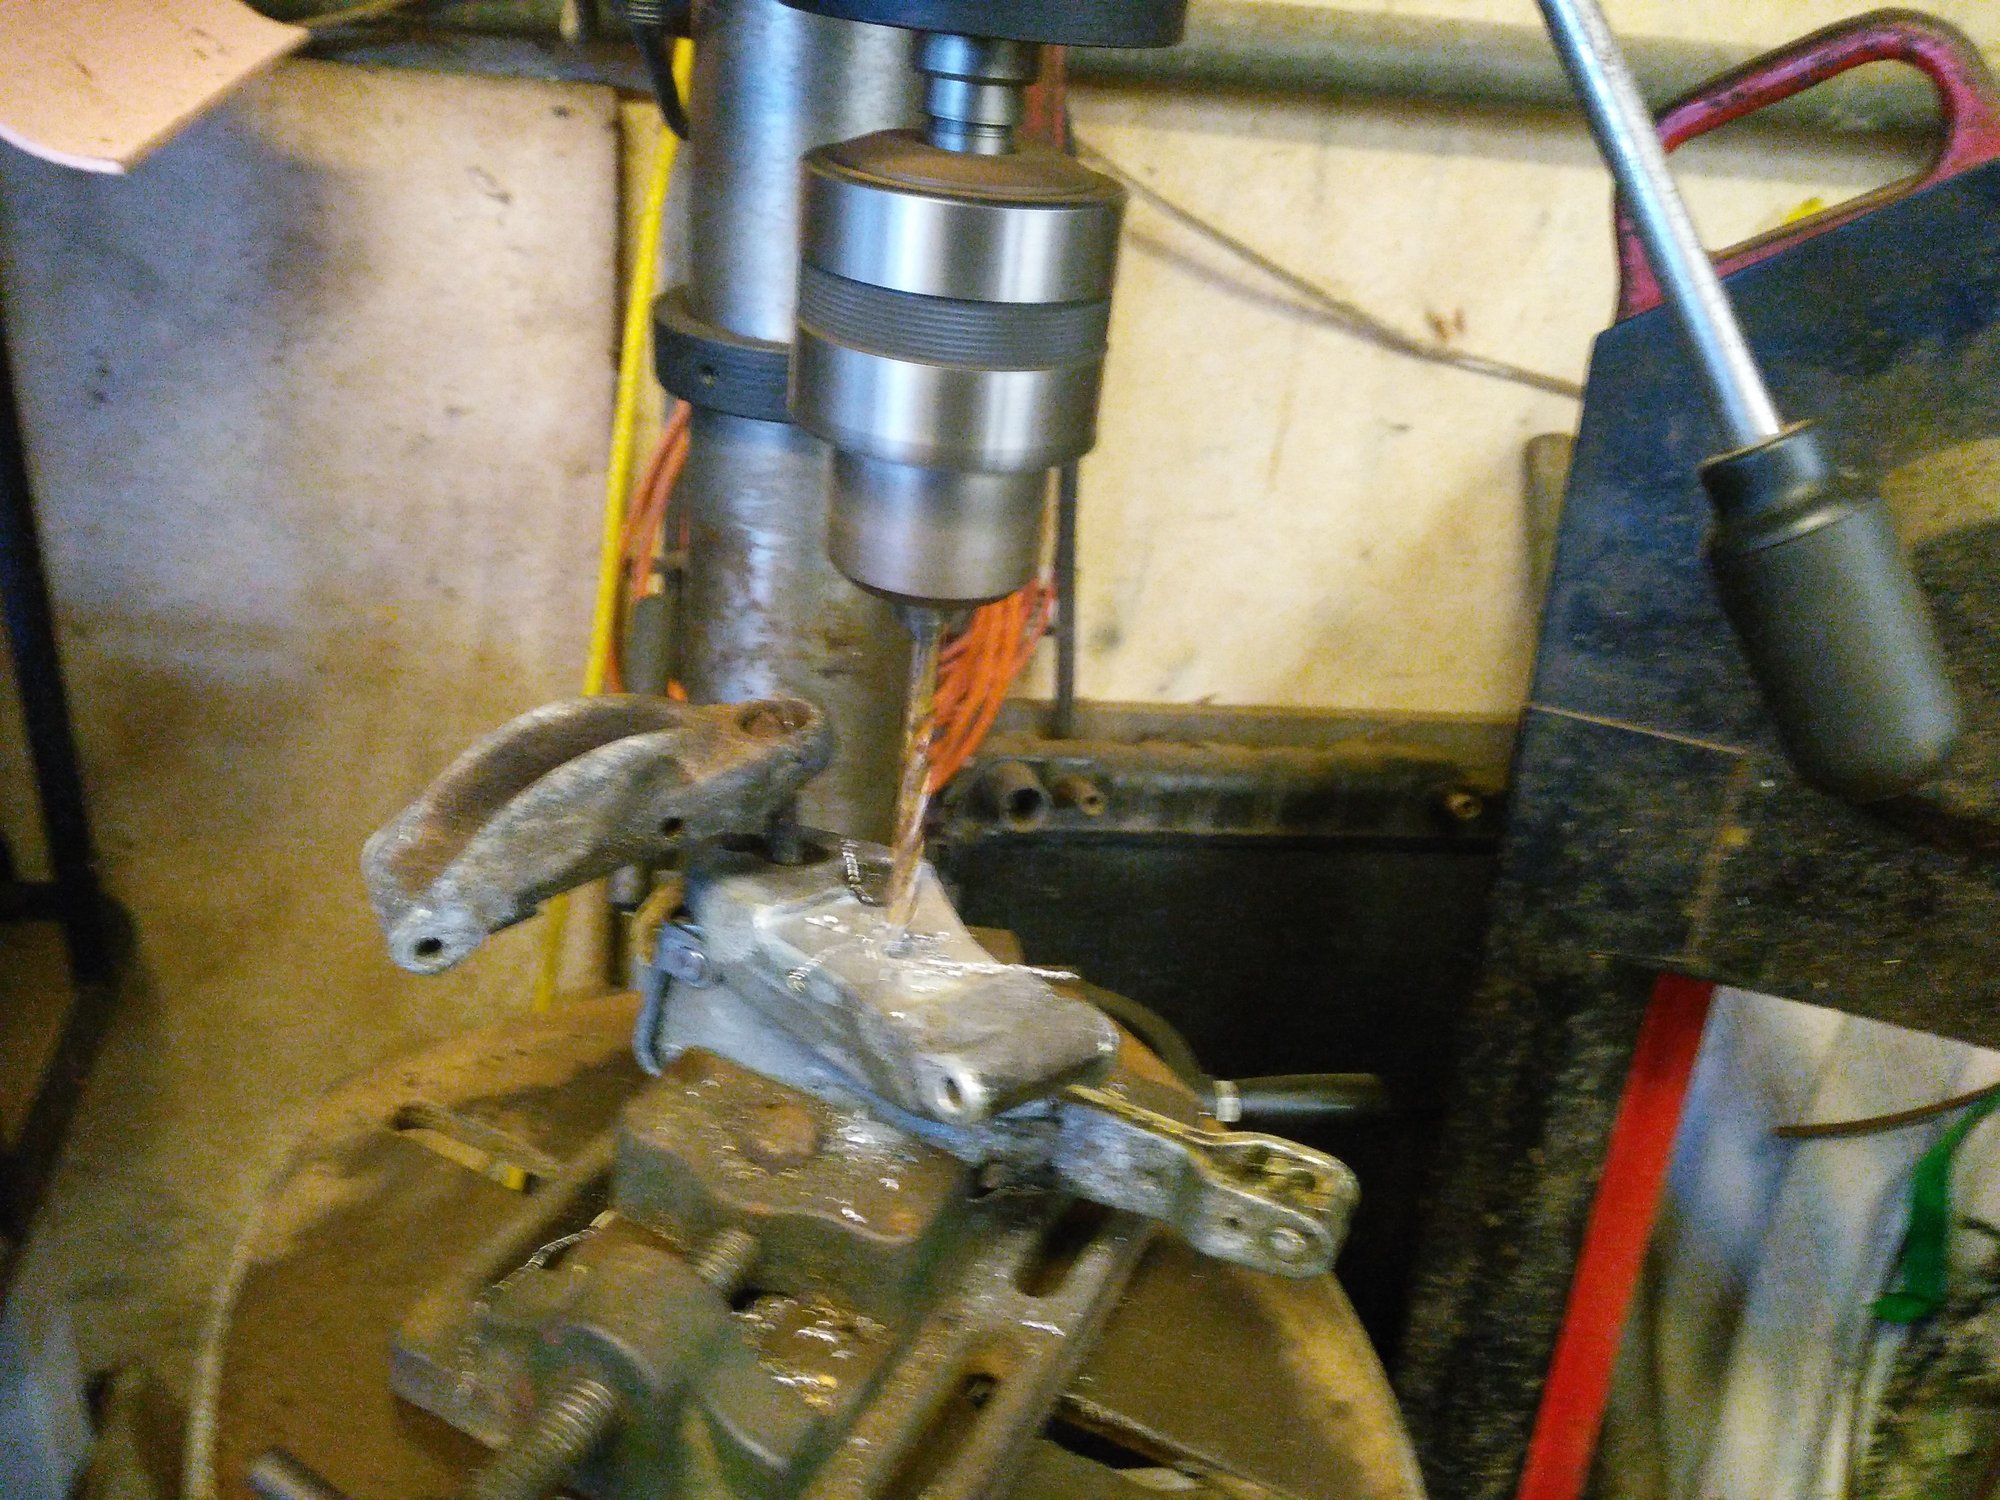
More by luck than judgement, I even had a drill the right size as well! as I had to drill the Calipers to take a bigger bolt, as I didn't want the 'Rolling Road' MOT Test to snap them off, as it had done last time
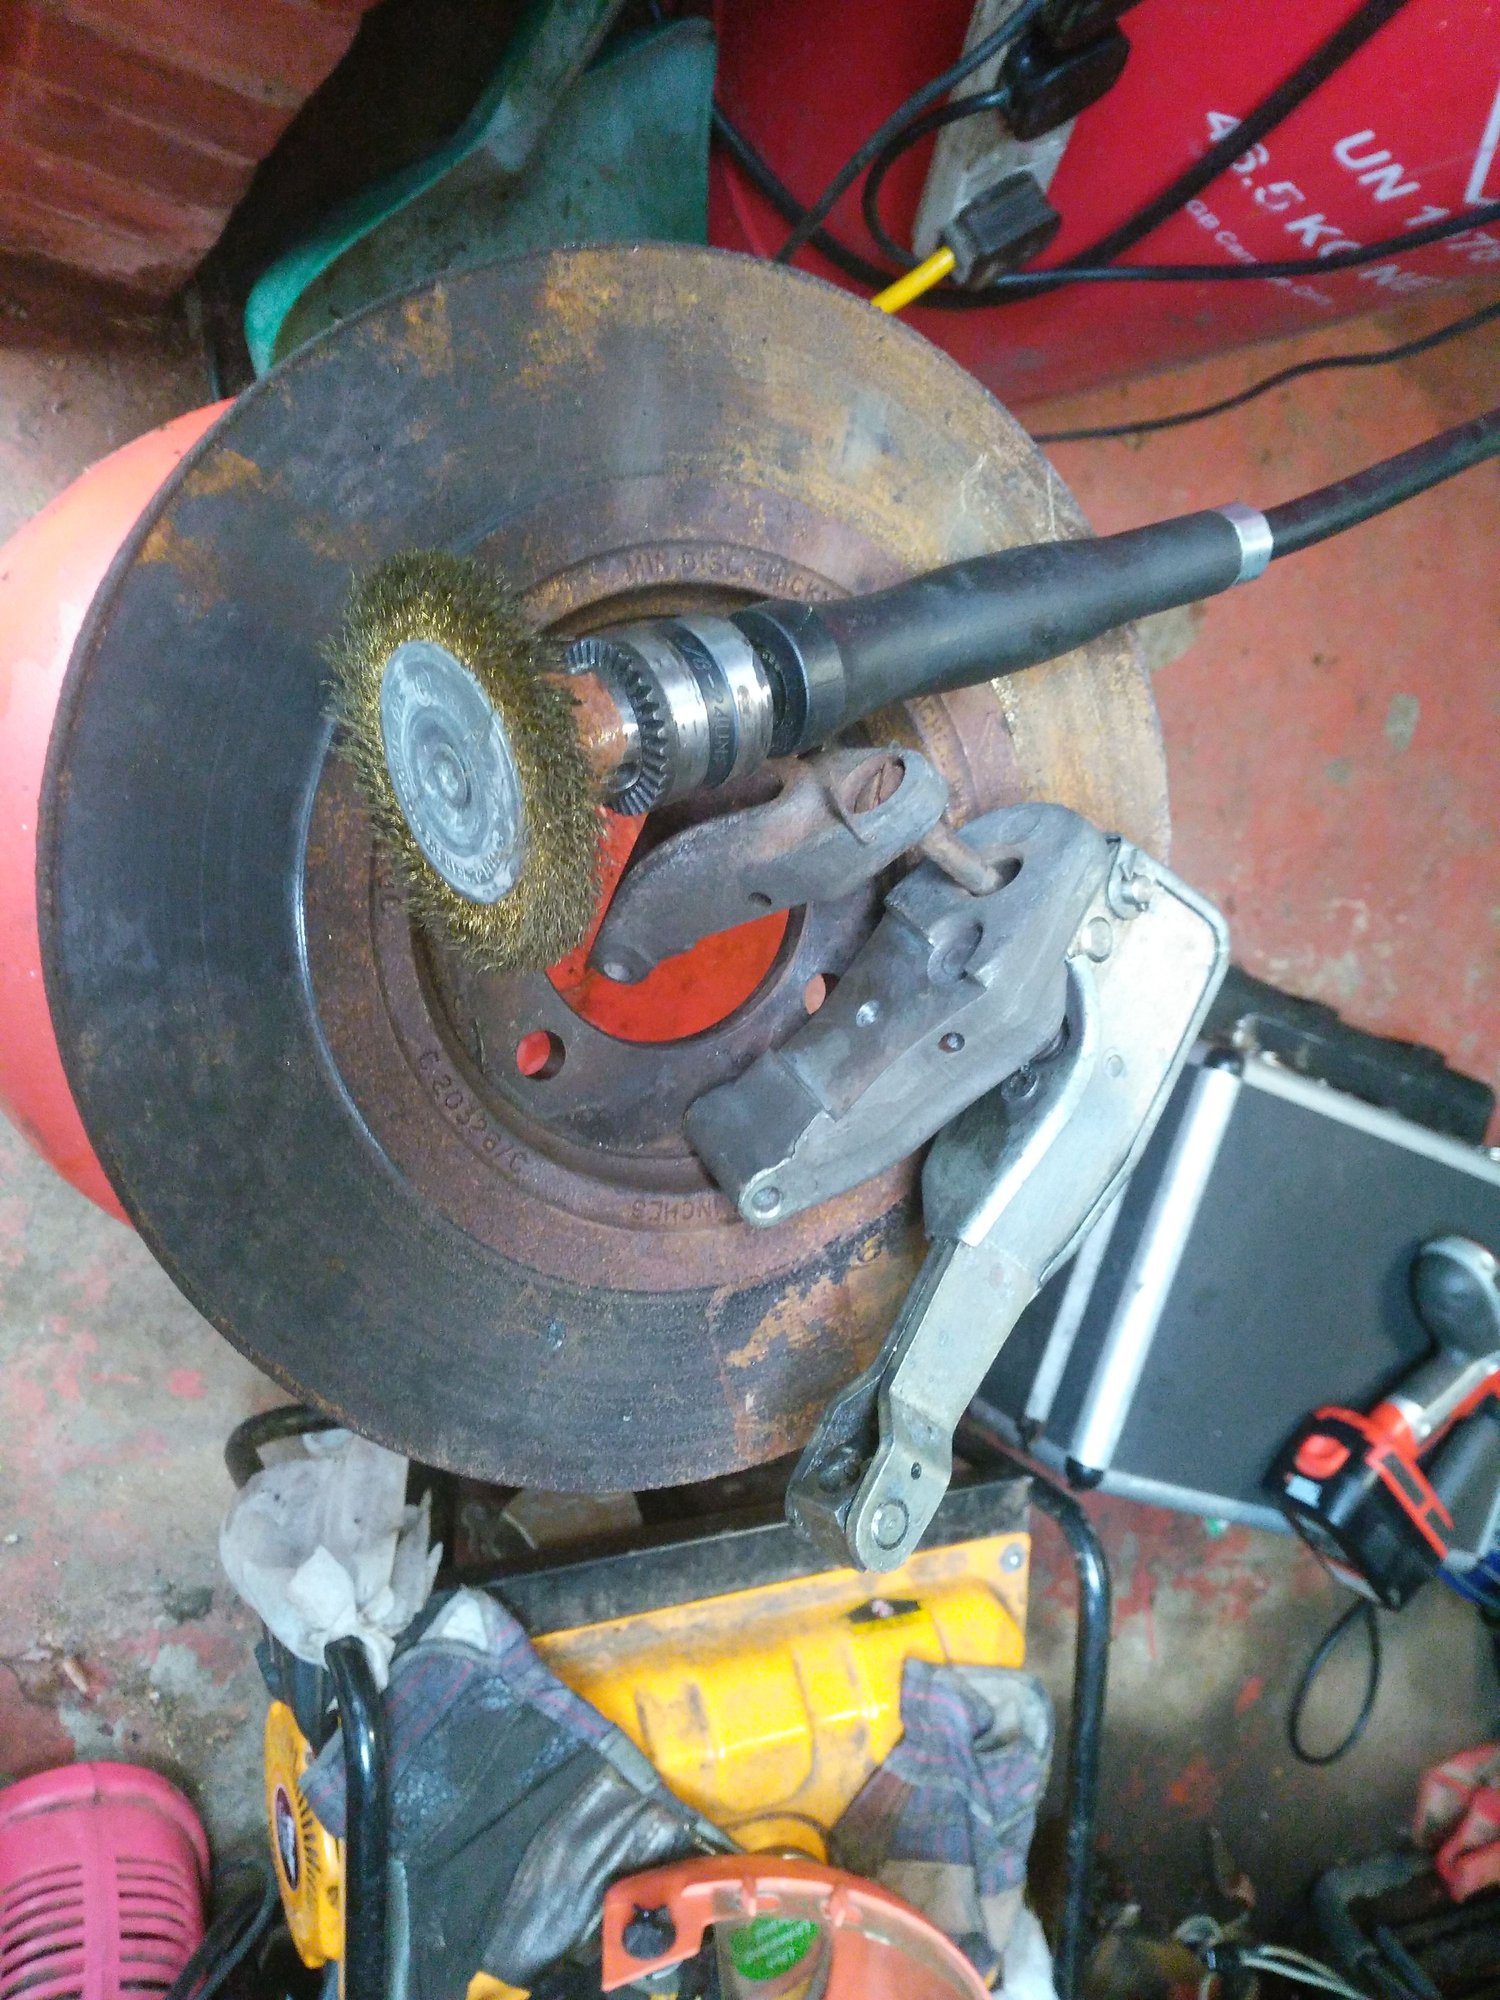
Having a bit of a 'Clean Up' with a Rotary Wire Brush
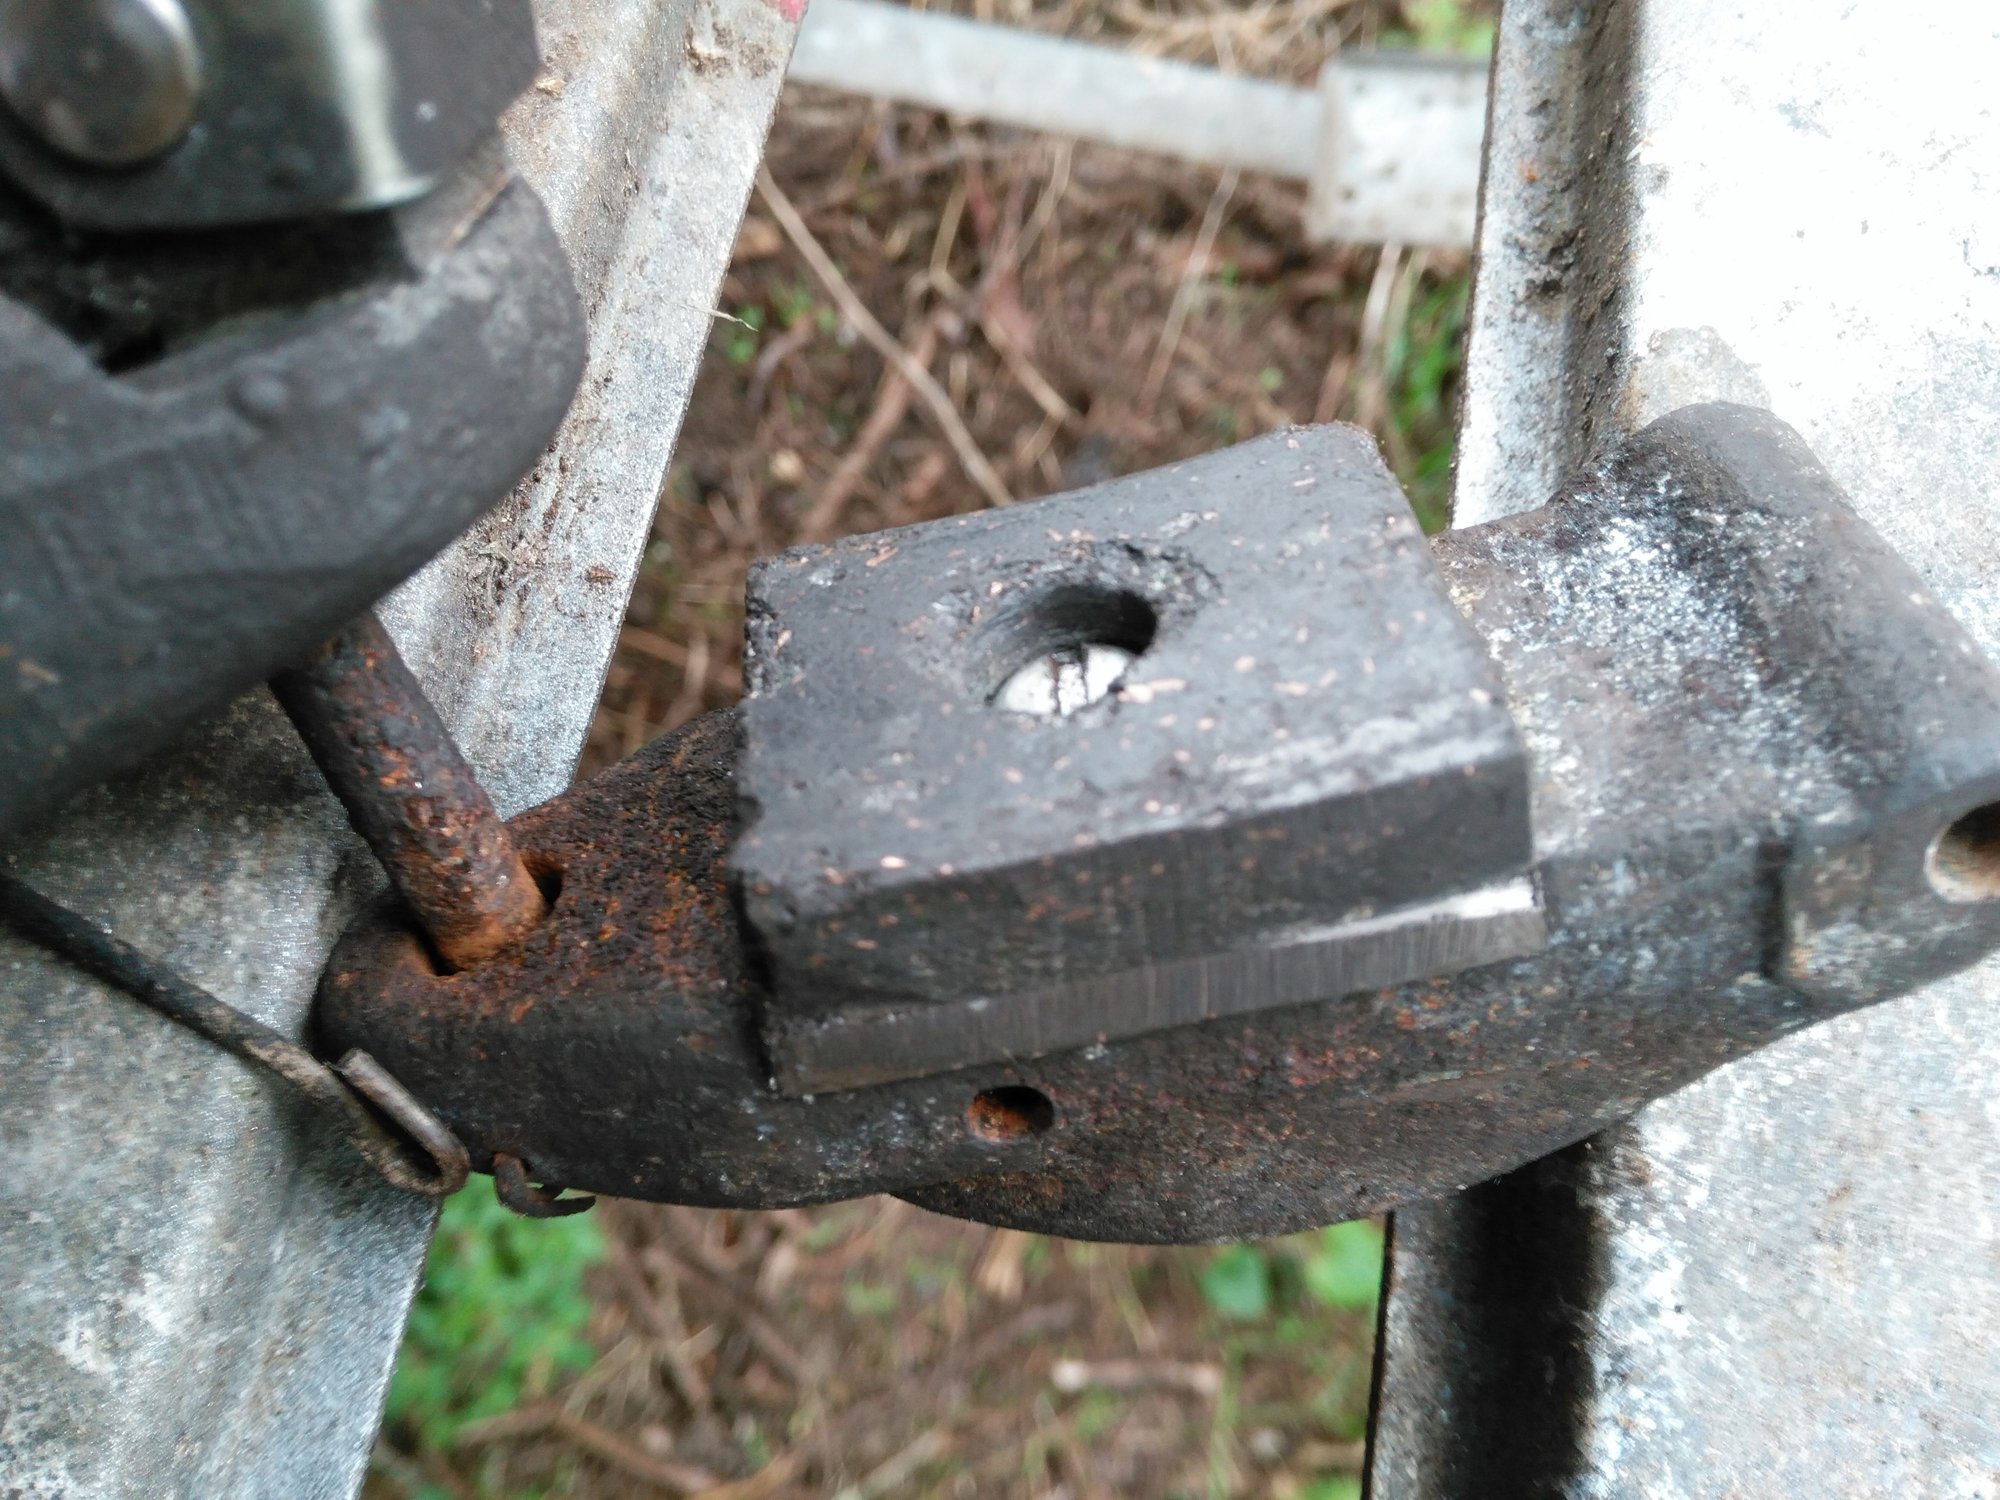
Trial Fitting one of the Brake Pads, where this Sketchy looking one was used as a pattern
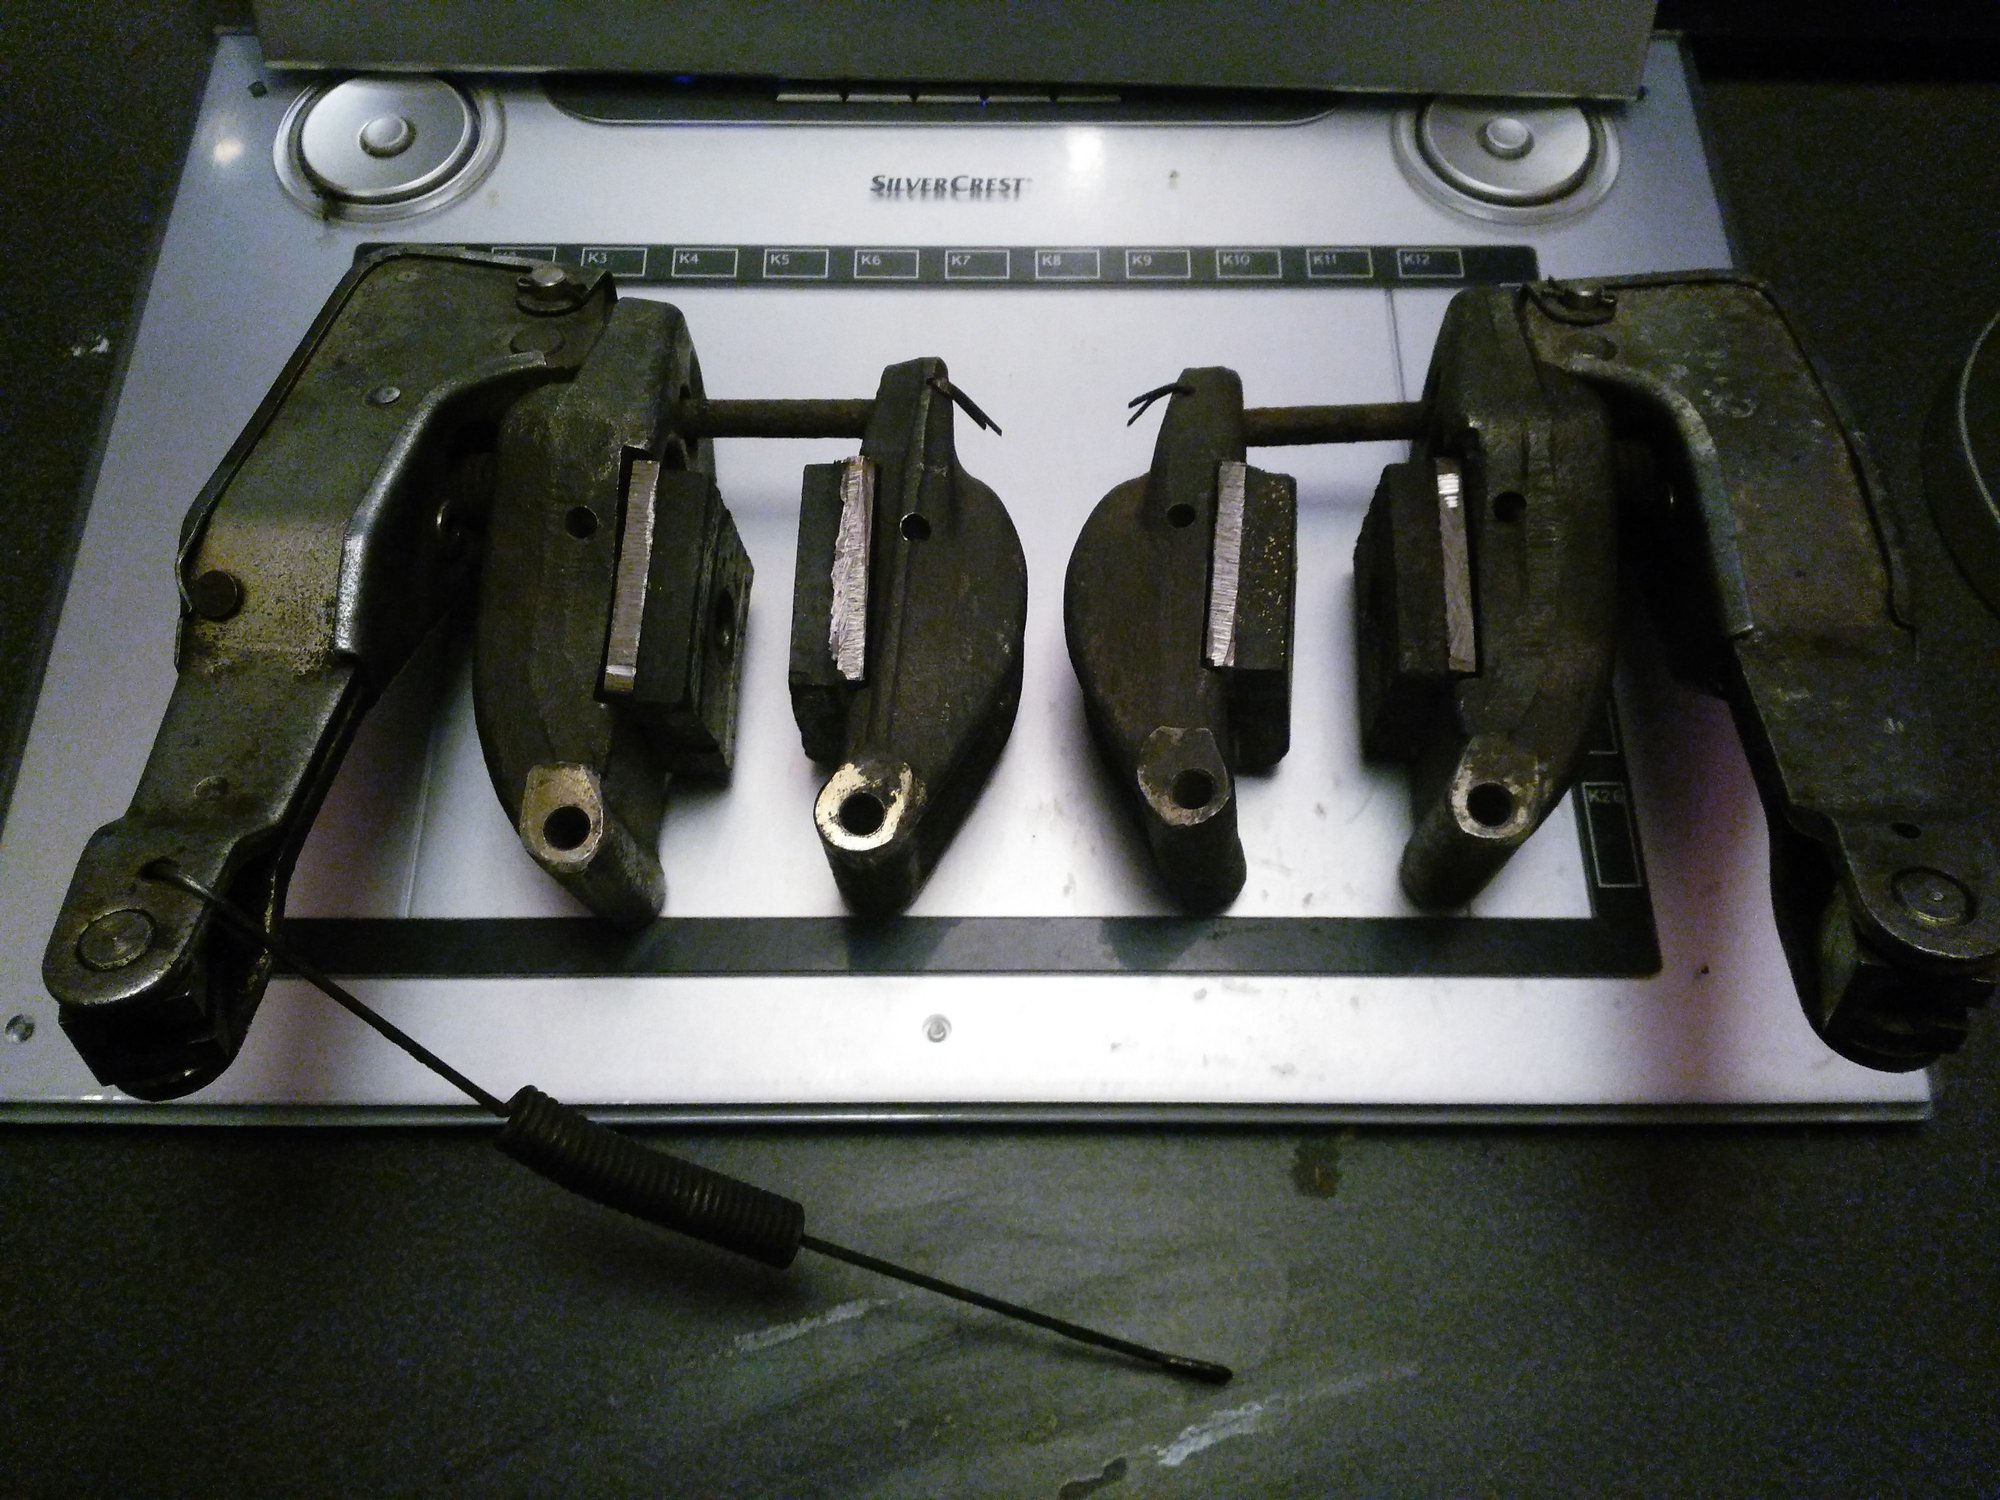
Finished at last! better Photos to follow but it was getting dark!
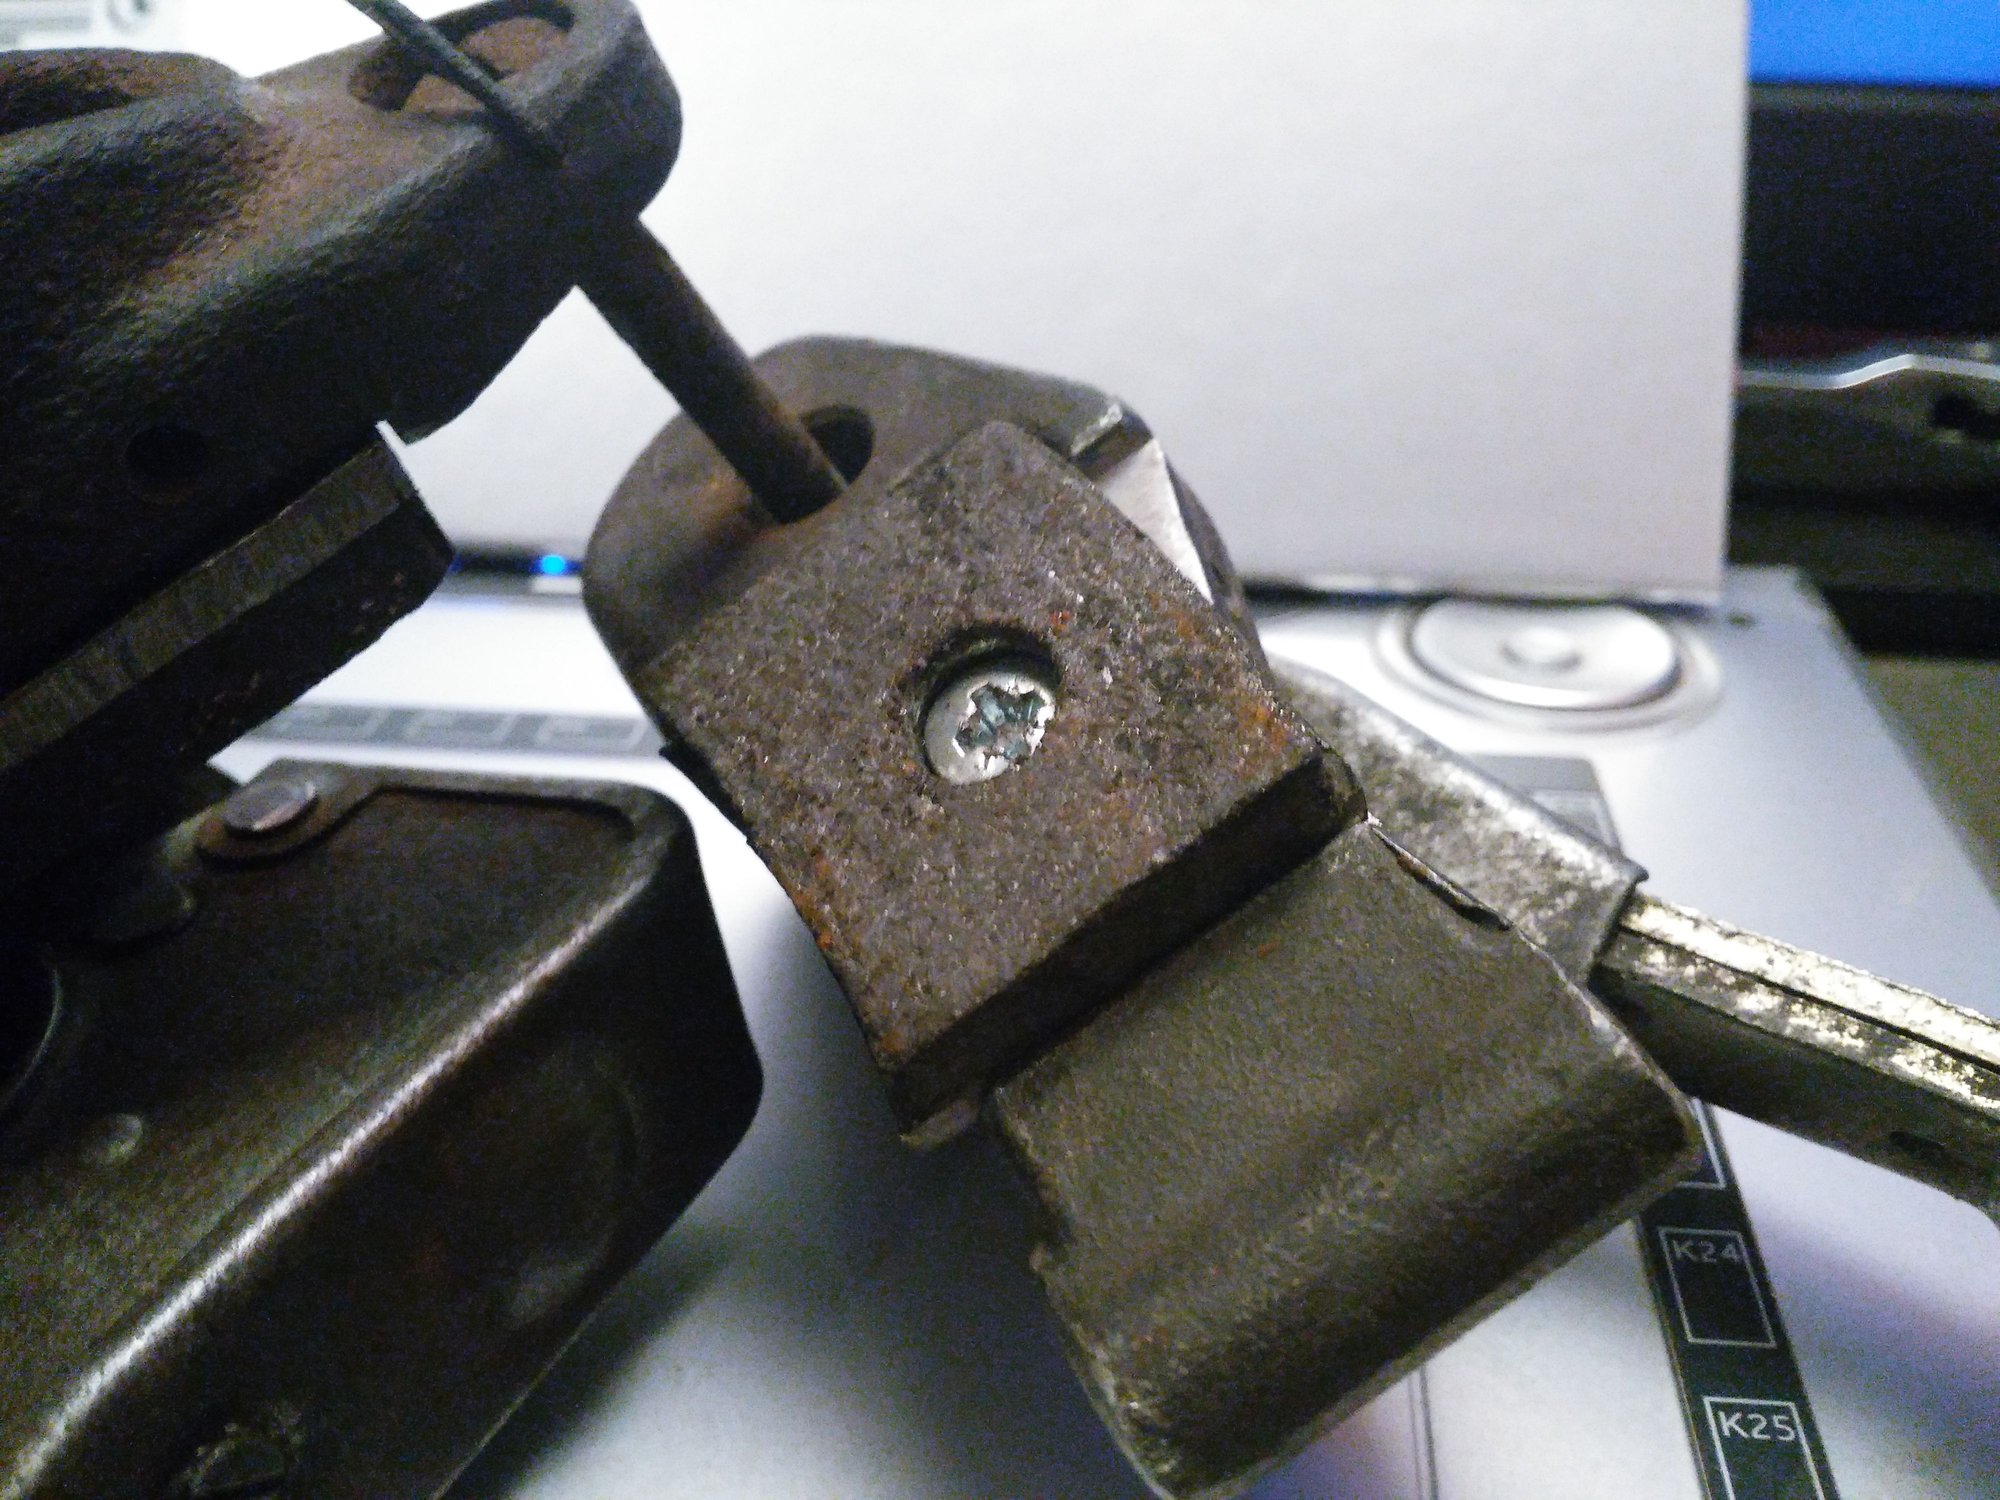
Recessed Bolt through the Brake Pad backing plate into the Calipers
Hopefully once the Gap on the Rotors has been finely adjusted they will work
All the Parts required for the IRS rebuild have been ordered and should be with me either this Friday or Monday, which was quite a Shopping List!
So while I am waiting for those to arrive, there is lots of other Stuff to do one of which is to Top Coat the Axle and the Cage, for which I have chosen a slightly unusual Finish, which I saw on a 'Harry's Garage Video'
The following users liked this post:
Greg in France (03-26-2021)
#2331
The following 2 users liked this post by Dukejag:
Greg in France (03-26-2021),
orangeblossom (03-26-2021)
#2332
#2333
Hi Duke
Good Question!
After seeing your Post even I was wondering if I should cut the Pads at an Angle like you did but I thought it might be a good idea to go for more Surface Area, so hopefully 'Greg' will jump in and hopefully he will tell us that it doesn't make any difference, or why one is better than the other
And if I've got it wrong, I'll just do it again
The recessed Bolt was one of my 'Mods' as opposed to Drilling and Tapping, because with our 'Rolling Road' MOT Test those Pads will need all the help they can get to avoid being Torn off, so I don't really think I went OTT on that one
The worst part was filing that Slot to the depth of the Backing Plate, which as it turned out was the same thickness as the File I was using, so that really helped in keeping everything level
I thought that it might take an hour to do, though in fact it took All Day! so if I have to do this again as I think that I probably will on my other Car, then I will find someone with a 'Milling Machine'
What Motor Bike Pads did you use on yours, as they look really good so maybe I'll use those next time
Also good job you are doing yourself and always follow your Threads
The following users liked this post:
Greg in France (03-26-2021)
#2334
Because, Rescue, the standard pads are so fragile any use of the handbrake will rip off the pads. If you refer to Duke's thread. you will see my writeup on the subject attached, plus Duke's own experience of the problem. This mod turns the handbrake into a robust useable one.
#2335
Nice OB - I like the counter sunk bolts.
Question, do the pads need to be cut on an angle like the original?
Will part of the pad be hanging off the disc?
Any clearance issues?
I might be wasting my time cutting my pads on an angle?
Why did they do that with the original pads?
Question, do the pads need to be cut on an angle like the original?
Will part of the pad be hanging off the disc?
Any clearance issues?
I might be wasting my time cutting my pads on an angle?
Why did they do that with the original pads?
It depends. When OB offers up the pads and calipers, he may find that the top of the pad goes above the outer rim of the disc, so that in use the pad will be cut at an angle by the disc as the top portion will be outside the disc outer rim. If he has 100% copied the original's shape it might happen. In this case, all he has to do is grind that portion of the pad, not the backing, away.
The handbrake pad only sweeps the outer section of the entire disc area; the home-made pad could be made bigger, which would of course make it even better, but it has to be extended towards to centre of the disc. In which case part of it would be unsupported directly by the caliper, as it would be hanging down below it; but FWIW, I do not think this would matter at all given the much thicker backing plate of the home made pad, and its far stronger attachment.
On the photos below, you can see that my home made pad hangs down below the caliper bit, giving me more surface area. It could be more without any detriment.
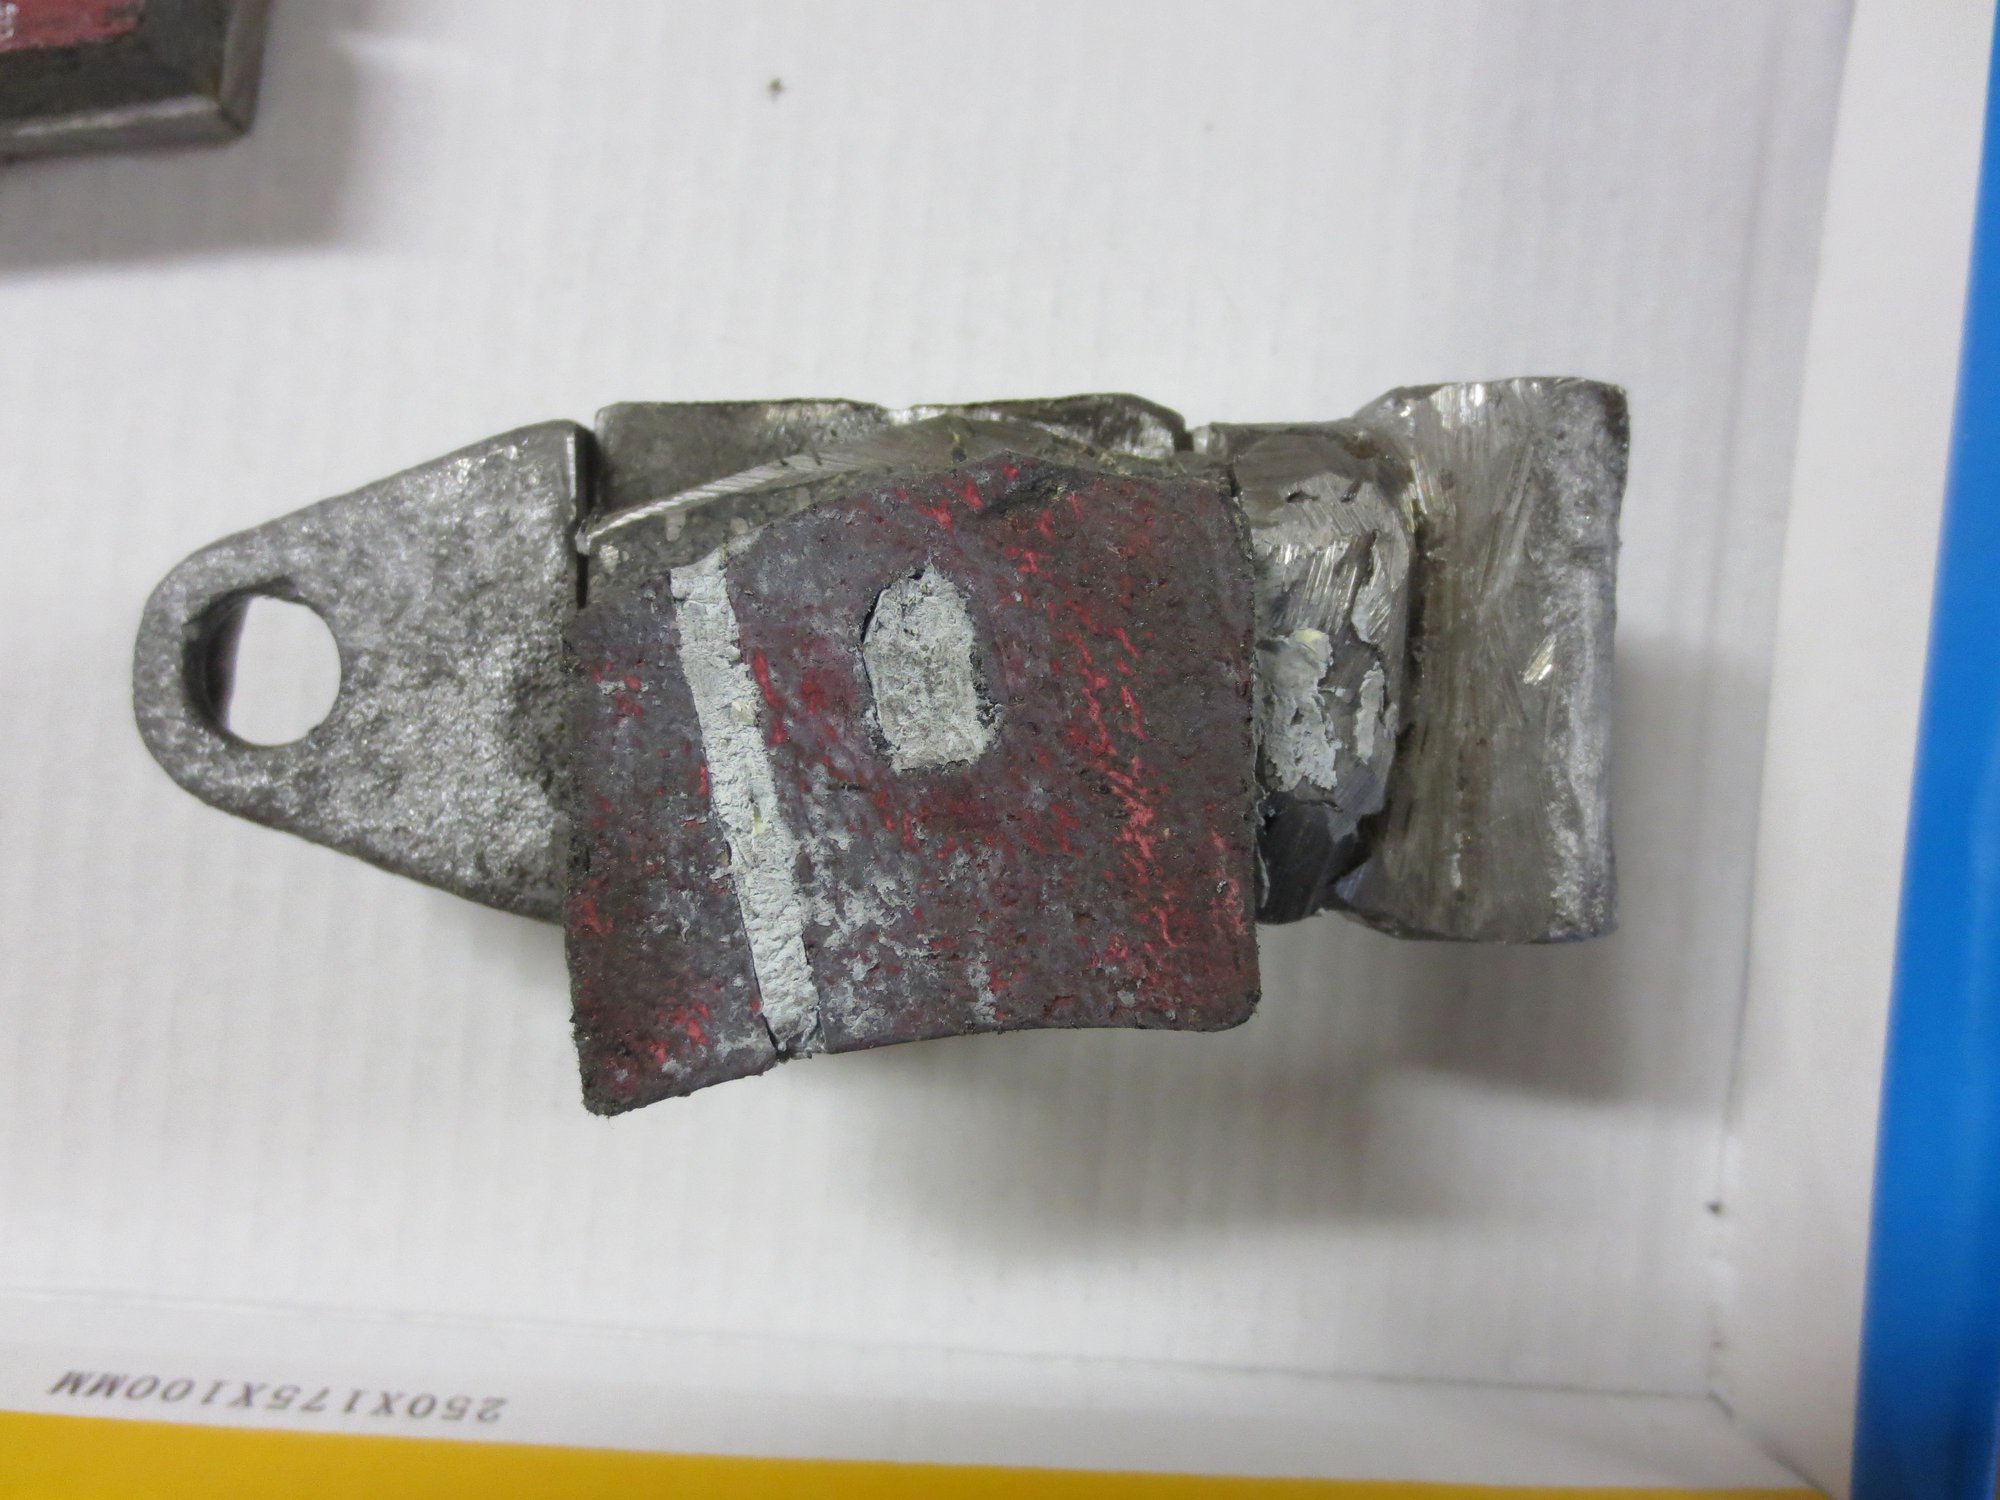
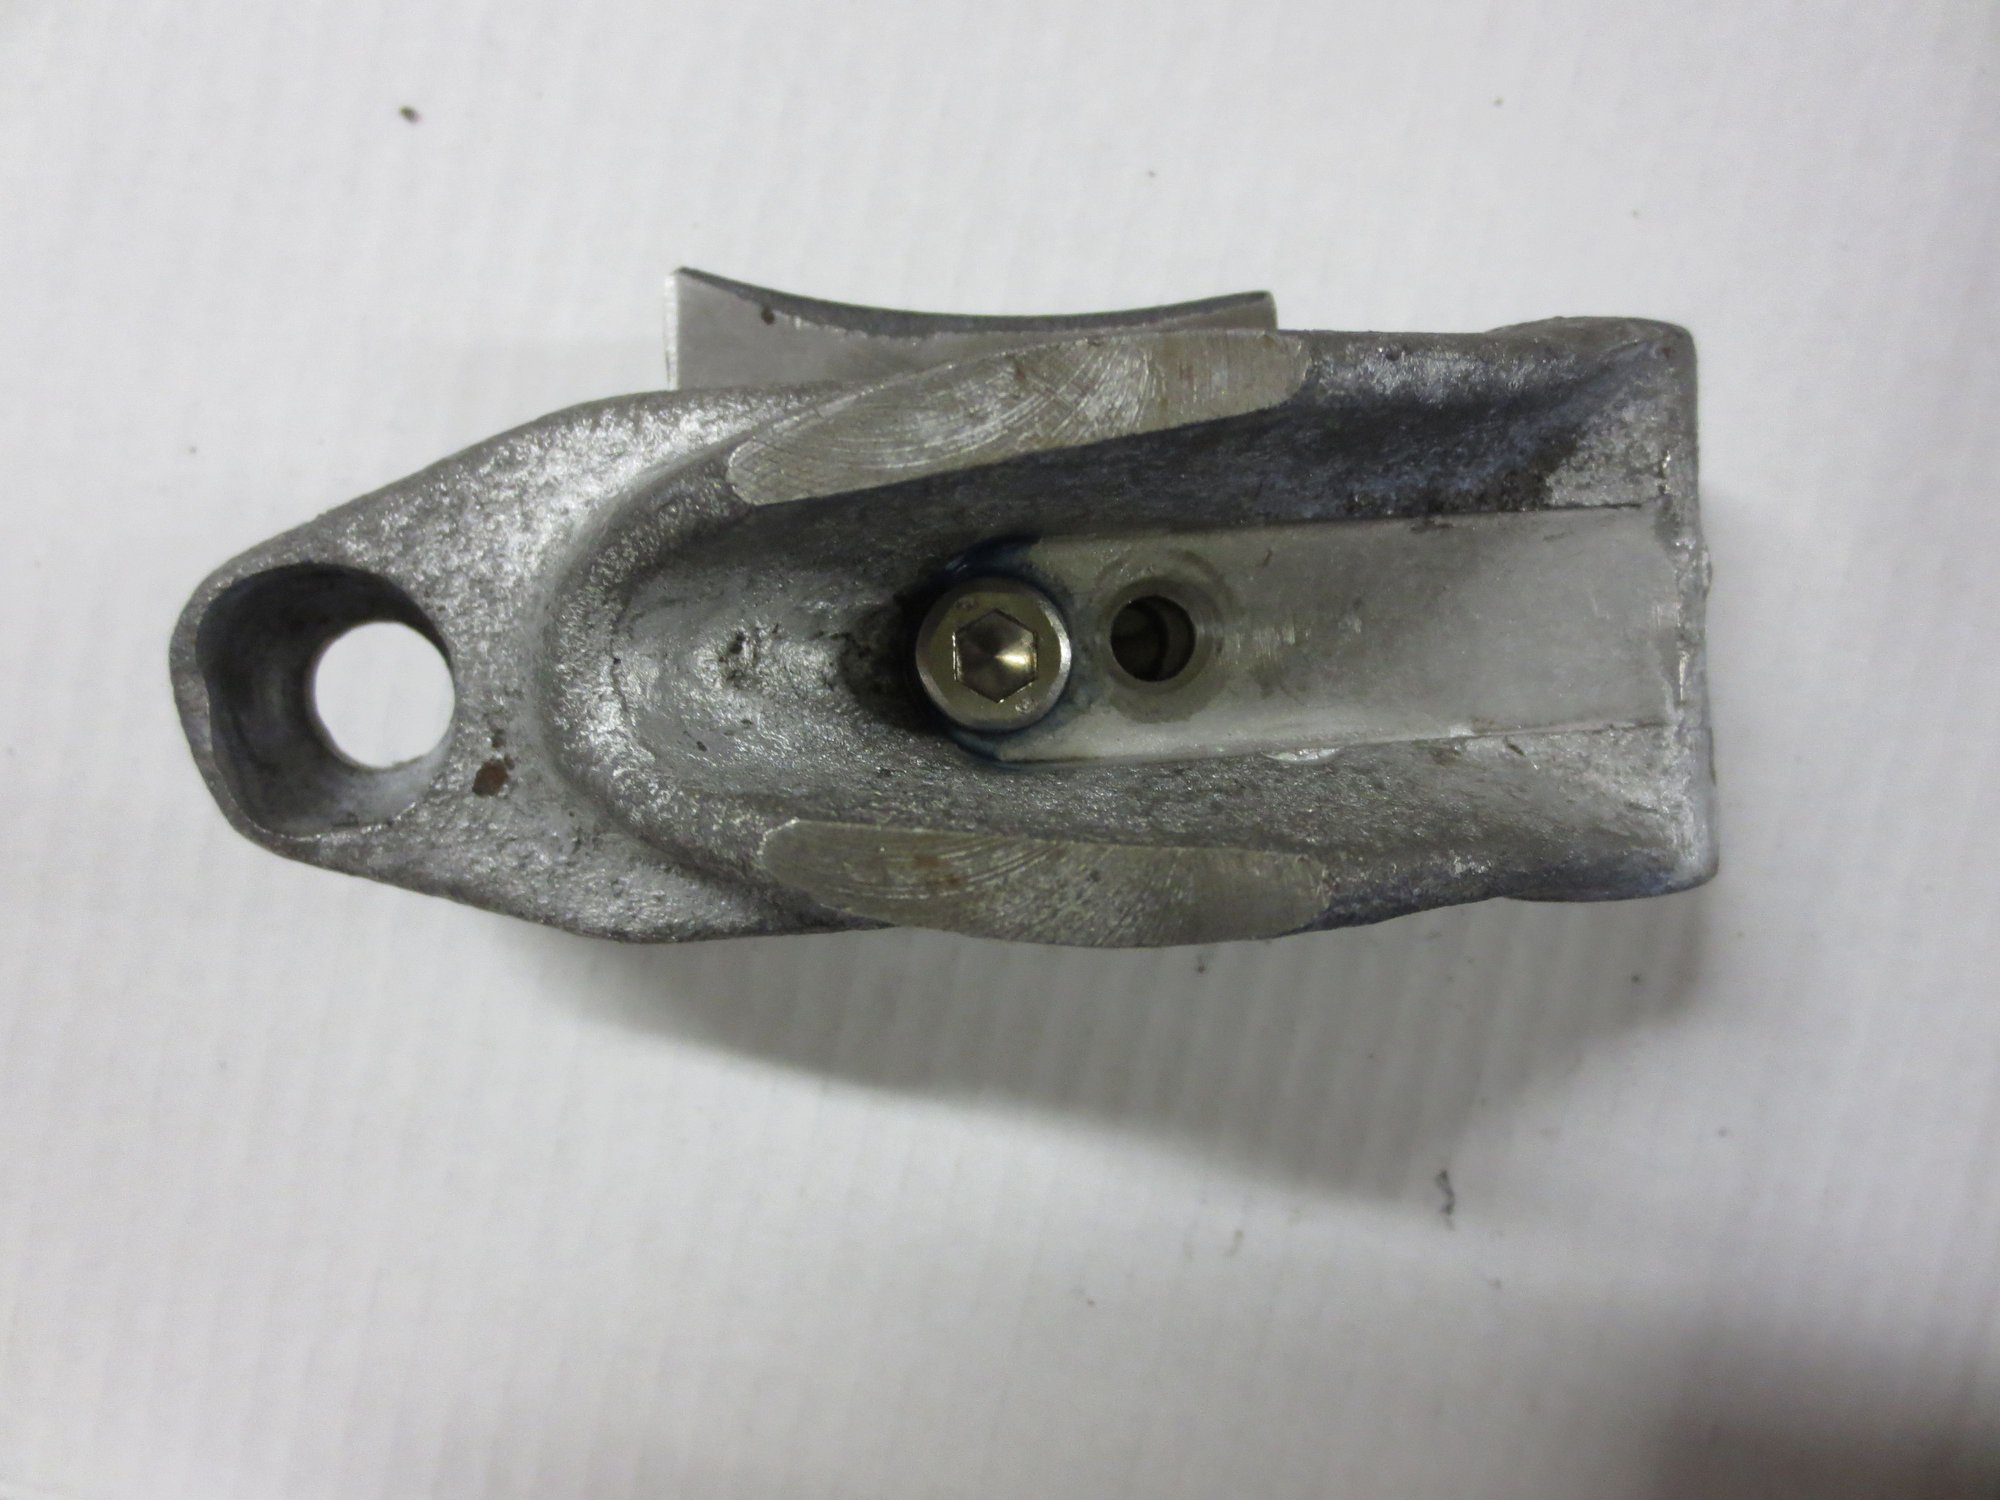
The following users liked this post:
orangeblossom (03-26-2021)
#2336
Hi Rescue
Just to add to what 'Greg' was saying, the handbrake on an XJS works in a somewhat different way to that found on some modern Cars, where once during an MOT the Tester pulled the handbrake 'ON' but didn't know how to release it, as you don't push the button and drop it like you do on many other Cars
During which time the Rolling Road seemed to be doing its best to tear the pads off, because as us XJS owners know before you can release the handbrake, you have to pull it up a little bit higher before you 'smartly' then drop it back down
Which you also cannot do if the handbrake has been pulled up so tight that it's gone past the pawl, which can then present you with a whole World of problems to sort out so while I wouldn't suggest you drop the Cage if there's no need
Since I was doing that anyway to replace the Rotors, it made a lot of sense to me to do 'Greg's' handbrake modification while I was about it while resisting the temptation to just replace the handbrake pads with some New OEM ones
According to the Tracking, all the Parts I ordered should be delivered on Monday, so unlike today, Weather permitting I should then be able to hopefully make some more progress
Though when I do my other Car I will be very tempted to fit Outboard Brakes as the inboard handbrake system on an XJS is to be polite quite disappointing, as if the brake pads get ripped off, it can be a total PIA to fix, which may or may not involve dropping the Cage
#2337
I dont know about over there but when I get my inspection done if they **** it up, after l explain it to them, they will be paying for it and all related costs.
I only used handbrake in manual cars or for snow drifting in autos. I'll probably never use this. Also since I replaced the rotors as well and the new pads came with hardware its all knee back there and no corrosion anymore I wouldn't expect them to stick.
On the going to outboards, yes they are easier to.maintain but there's a reason hot rodders buy xjs for the rear end inboards. Wider tires and also for racing keeps your weight near the center.
I love the IRS on these xjs.
Last edited by Rescue119; 03-26-2021 at 07:22 PM.
The following 2 users liked this post by Rescue119:
Greg in France (03-27-2021),
orangeblossom (03-27-2021)
#2338
OB,
Please don't change to outboard rears on this car! It's all part of the style of the car!
As you know, I've got one of each type and of course, I only ever use the handbrake in order to operate the hood on my convertible. I've thought of just bypassing the switch but it's actually a good excuse to exercise the lever and mechanism now and again. With auto cars, you just don't use a handbrake imo.
I think you'd be better off just cultivating a great relationship with a local MoT as I have, so they agree not to use the rollers for the handbrake!
Cheers
Paul
The following users liked this post:
orangeblossom (03-27-2021)
#2339
The following users liked this post:
orangeblossom (03-27-2021)
#2340
Hi Paul (ptjs)
I'm going to stick with the inboard brakes, as I agree with you its the style of the Car and hope 'Greg's' Handbrake Modification also works for me, as today I even went even more OCD and swapped all the bolts in Handbrake 'Mod' for High Tensile ones, as well as having a bit of Retail Therapy
As I bought a load of Spring Washers for just a couple of quid and a great big box of Brand New assorted Spanners for only £10 inside of which was a couple of 5/8 and also 16mm either of which were perfect for doing the Caliper Bolts, together with some paint to do the Axle
All the Bits and Pieces should be arriving on Monday between 0900 to 1800 so I'm really looking forward to putting it altogether, where with any luck I might just have her on the road for the Summer 'lockdown' permitting
BB Thanks for that info but unsurprisingly there is no sign of the Sticker!
Hi Rescue Cheers! for that but I have yet to find any 'Shop' who will pay for any damage done while they are either fixing or doing work on a Car, as any work that's carried out is 'nearly always' at the Customers risk, so let's just hope that they know what they're doing
Thanks again Guys your help is very much appreciated
The following 2 users liked this post by orangeblossom:
Greg in France (03-28-2021),
ptjs1 (03-27-2021)


