When you click on links to various merchants on this site and make a purchase, this can result in this site earning a commission. Affiliate programs and affiliations include, but are not limited to, the eBay Partner Network.
Rebuilding the MGC engine, starting it up and realising that the zero oil pressure is caused by the new oil still being in the containers on the workbench.
O.B absolutely loving this post! (I like to think I am laughing with you and not at you ha ha ha!)
Mate good on you yet again. A true warrior on the wrench!
Mate you probably already know about this but just as much as there is "Growler vs Leaper" debate there is also a small "Pre-Fill vs No Pre-Fill" of the oil filter debate. I asked the same question earlier on in the year and there was a few schools of thought. I ended up not pre-filling the oil filter and she was fine but as they say there is a few seconds of utter terror when you go to start it up and look at your oil pressure lol.
Oh and also, whilst we are on the subject of oil, here is an interesting fact:
But I never quite realised how much Oil that Filter actually holds and when you've filled it up with Oil it feels very heavy and since the retainer thread on the Car is offset, you really have to stretch your arm to try and get it on.
Followed by moments of Panic when you can't locate the thread, because within seconds your arm starts feeling dead coupled to the fact you cannot see, as one wrong move will fill your eyes with 'crud' and wearing Safety glasses just steamed up on me.
Its almost a 'rite of passage' of sorts and I did get Instant Oil Pressure, which makes it all worth while and everything would have been Ok if I hadn't had that bowl of Oil behind me, which was one of those enamel ones with a narrow base and a wide rim.
Which was an accident waiting to happen and it did!
GF refused to allow me anywhere near the Washing Machine and just stood there in front of it with Arms and legs outstretched, which made her look like a demented Spider as the 'itinerant dirt caked Wrencher' with Oily Clothes in hand unsuccessfully tried to advance towards it.
Exibit 'A'
The Bowl was right behind me as I leaned back to 'High Five' The 'Jaguar Gods'!
Who were a bit less helpful than they could have been on this occaision.
Exibit 'B'
Favourite 'T' Shirt All it needs now is a Wash!
Exibit 'C'
Scene of the Grime
Just when you think its Safe to go back in the Water!
Last edited by orangeblossom; 10-20-2016 at 07:38 AM.
5 gallon bucket and DAWN, dishwashing liquid... it was good enough for the wildlife after the EXXON Valdese... should be good enough for your favorite shirt...
5 gallon bucket and DAWN, dishwashing liquid... it was good enough for the wildlife after the EXXON Valdese... should be good enough for your favorite shirt...
Hi Jonathan
I was thinking of having it Framed, just to remind me to never do that again but I've got another Favourite 'T' Shirt now.
Only time my XJS has stranded me was when I let a shop (a Jaguar specialist) work on it.
Do everything myself now. I think it's a right of passage in owning a V12 Jaguar.
It took me 2.5 years to replace the rear shocks..........lol ended up in a bare metal respray and full (except engine and trans) rebuild.
Looking at some of your Photos, it never ceases to amaze me what you get up to with your Car, when I saw that big bunch of electrical wires it was really hard to imagine that anyone could ever put that lot back together.
Looking at some of your Photos, it never ceases to amaze me what you get up to with your Car, when I saw that big bunch of electrical wires it was really hard to imagine that anyone could ever put that lot back together.
Too far out of my comfort zone for me.
I've been repairing electronics all of my life so that part was easy. This is why I chime in with help on electrical issues as much as I can.
I really take my hat off to you guys who persevere with repairing and restoring your cars. Don't worry if you make a mistake this is just a learning experience
I painted my car myself in my garage, this took me 18 months to get it right, that for me was a challenge. I ended up painting it 3 times (blocked back each time) as I was not satisfied.
Well it certainly looks Amazing now! and very pleased to know that we have an 'In House Electrician' to help us fix those head spinning jobs, that we can't figure out.
But its the wrong arm on the wrong Caliper with the Bolts the wrong way round!
This is a Big improvement for me, as last time I put the Calipers on upside down! Doh! (No wonder I couldn't get to bleed all the Air out)
So trying to Airbrush that incident out of my mind for a moment, don't they just look good enough to eat!
Only �100 for the pair, bargain or what!
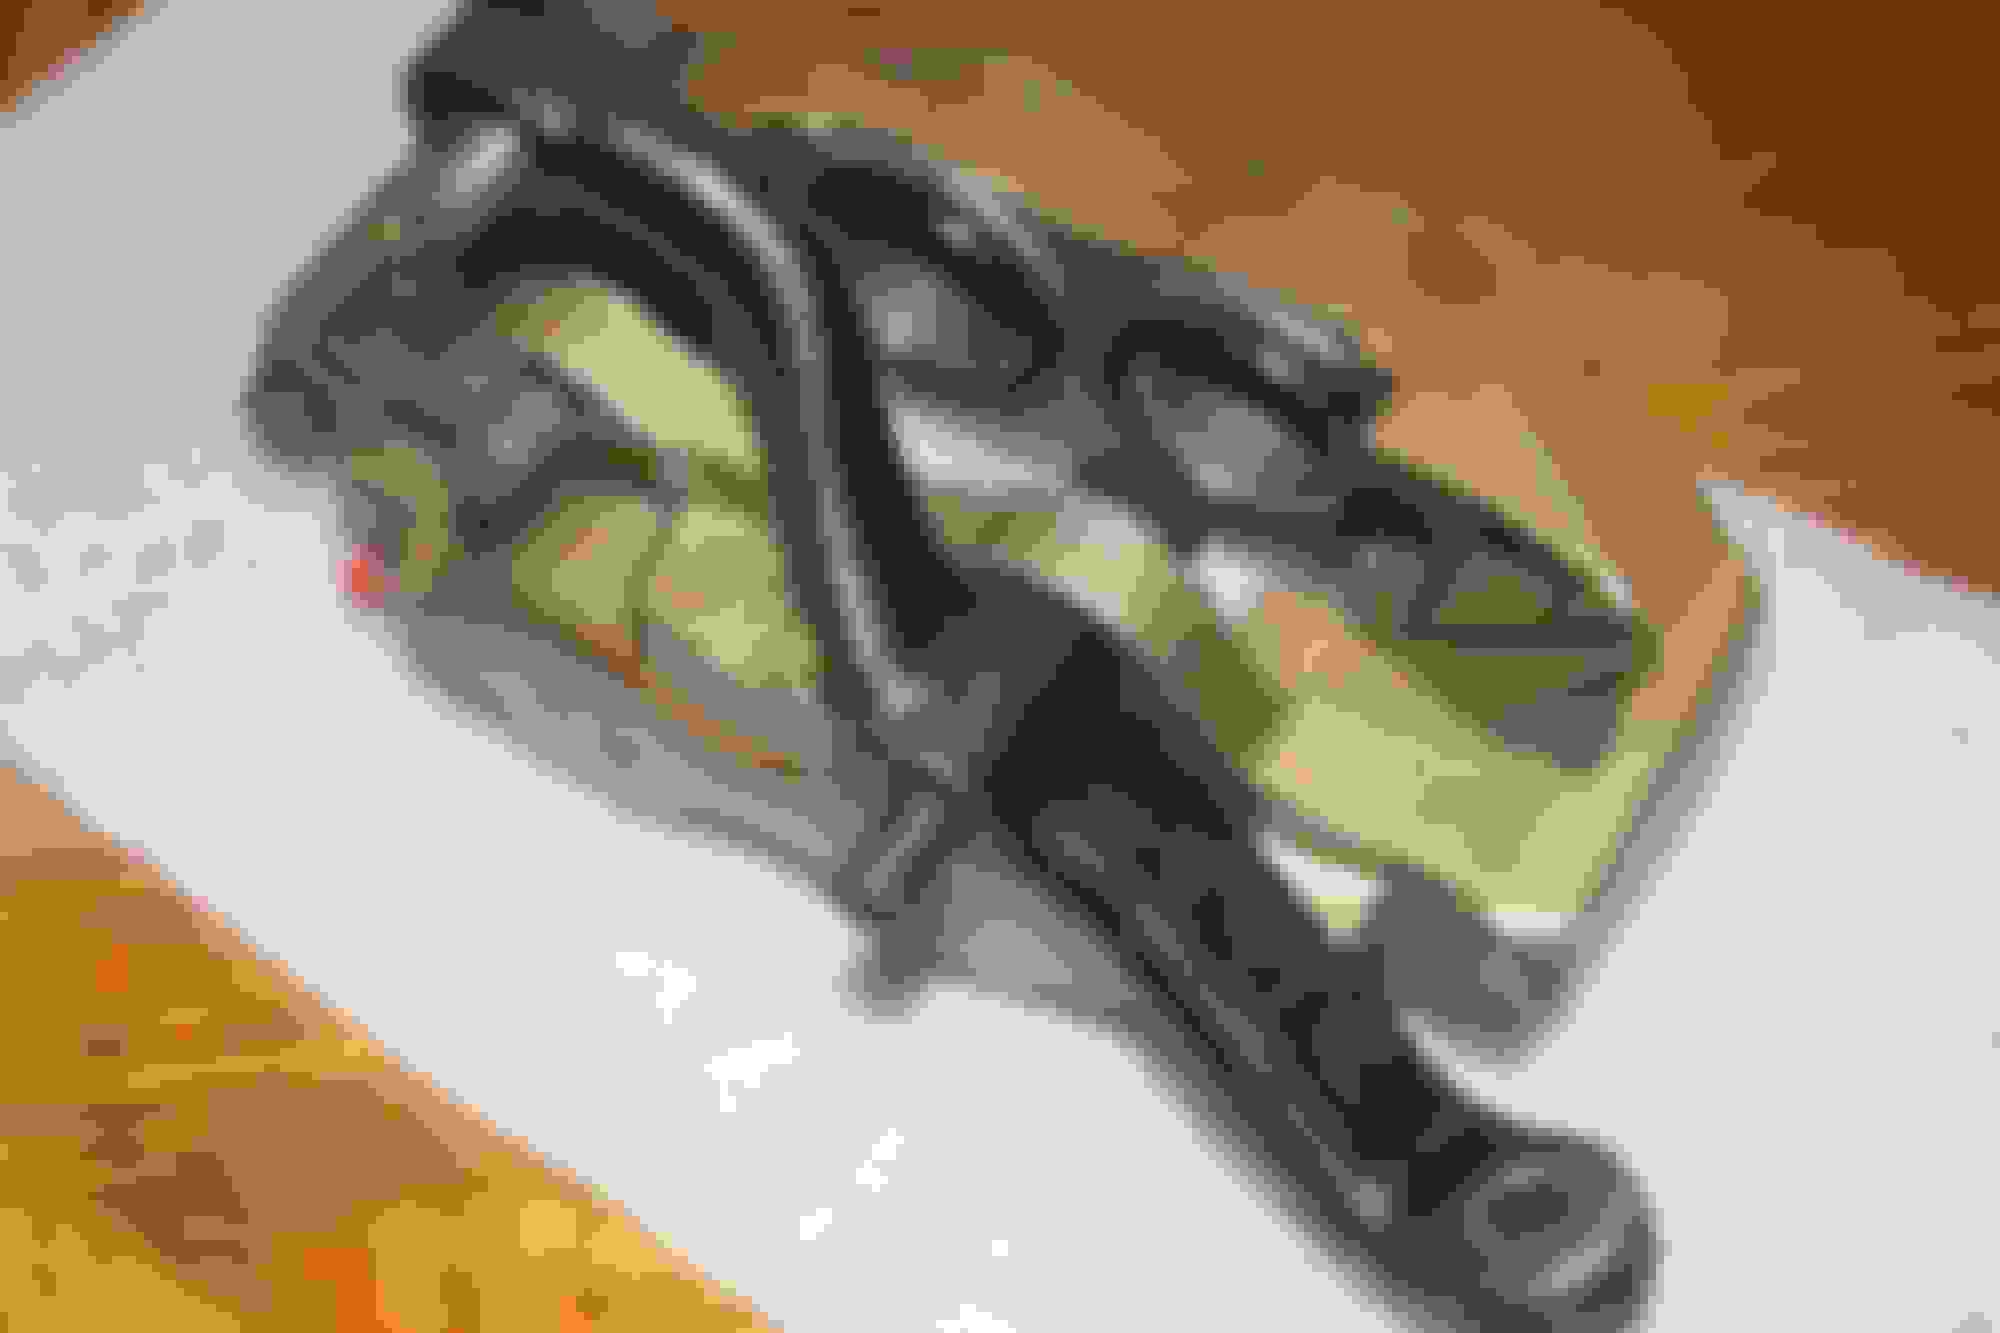
But first some preparation in the form of a bit of a Clean up of the Back Plates.
Back Plate before Cleaning and Painting.
That piece of kit on the right hand side is one of the best things I have ever bought.
Take a closer look at my Mini Sander, one of the best pieces of kit I've ever bought!
all over ebay for around �35
My Amazing Mini Sander!
So useful for all sorts of jobs, cleaning off rust detailing and all sorts of stuff.
Back Plate Cleaned and Painted.
Test Fitting of Steering Arm before Fitting Shims and Caliper.
As the Steering Arms were already off, after I Trial Fitted them I measured the Gap for the Shims then got the right amount of Shims together to fill the Gap.
Then Fitted the Shims on the 'Long Bolt' between the Arm and the Caliper.
It was So much easier doing it that way.
Steering Arm Trial Fit
Next time to Check out the Brake Pipes
Nuff said they really need to be renewed!
Rusted Solid
Time to get the Angle Grinder out!
Brake Pipe Nut is also Stuck on the Inside
This Brake Nut has got to come off without damaging the Pipe, or it could be a nightmare to replace.
No Dice with a Spanner, its time for the 'Nuclear Option!'
Heating Nut with my Mini Gas Blow Torch
Also used for Browning the Top of 'Creme Brulees' apparently (Whatever they are?)
The Nut came undone No Problem after that.
Amazing Mini Blowlamp!
So useful for all sorts of stuff, available from all Cookery Stores but I nicked mine off the GF.
What would make anyone think I don't like 'Leapers!'
Time to Fit The New Calipers and Yes! I got them the right way up this time.
Oh Yeah!
That looks more like it!
Next on the list: Cut off the Old Brake Pipes.
Last edited by orangeblossom; 10-23-2016 at 12:35 AM.
 10-19-2016, 05:55 AM