When you click on links to various merchants on this site and make a purchase, this can result in this site earning a commission. Affiliate programs and affiliations include, but are not limited to, the eBay Partner Network.
My retaining bolts were also wired but there's so little space to move around in the Garage, that all I've done at the moment is to put the main bolt through the Trailing Arm into the Spigot which I've done up tight but not too tight
Then if/when I can drive her out of the Garage, I can tighten that Bolt up properly and then bolt up the retaining strap and then Lockwire them in
And then go back to the 'Special Bolt' on the small end of the Trailing Arm to tighten that Bolt up now its back on the ground
I really can't wait to Start her up, as she hasn't turned a wheel since 'Lockdown' began last year but its much to wet and windy at the moment and I want both Garage doors open, just in case she should decide to take off on her own, without any brakes!
I don't think that will happen but I don't want to find out the hard way that it can, especially as this Car has got 'Light Switch Ignition' since I put in a new CPS last year, where I want to get her in gear as soon as I can to bring down the Revs
Then if all goes well I'll take her for multiple short excursions around the Grounds of 'Orange Blossom Towers' before thinking of taking her out for long drives in the Country
Last edited by orangeblossom; 05-04-2021 at 04:46 PM.
'Apart From The Exhaust Heatshield Falling Off Today'
Having refurbished the IRS Cage with New Rotors and Calipers and then put the whole thing back on '50 Shades' My Grey XJS the only thing now left to do was to put the Rear Wheels On, Bleed The Brakes and take her for a Test Drive around the Grounds of 'Orange Blossom Towers'
The Brake Pedal felt perfect, which helped to reassure me that when I put her into gear, I wouldn't suddenly find myself Shooting out of the Garage or running into a tree but even so when the time came to put the Key in the ignition I felt very nervous, as this Car hadn't been Started up since 'Lockdown' last year!
Although before I actually turned the Key, I did all 'The Pre-Flight Checks' with the Oil and Water and anything else I could think of at this Crucial Time and I was really hoping that She wouldn't Start straight away, to give the Oil a chance to circulate even though that may not have happened or made any difference although I had Plan B
Which was if She did Start, to put her in gear as soon as I could in order to keep the Revs down, with my foot of course still on the Brake and so as I slowly counted to three before I turned the Key I thought 'Lets do This' and so with my Heart beating out of my Chest I turned the Key and waited to see what would happen!
What happened was the Warning Lights on the Dash came on as you would expect, including the all important ABS Light and The Brake Light which normally took around 45 Seconds to go out, when the Brake Pump had built up enough Pressure
Only this time that just did not happen as both the ABS Warning Light and The Brake Warning Light only stayed on for 5 Seconds before they both went out and the Brake Pump itself only ran on for another 10 Seconds making a Total of 15 Seconds in all, which was not only extraordinary and quite unexpected
But also totally down to the method I used to Bleed the Brakes, which I discovered by accident, while I was under the Car refurbing the Cage and will be describing the way that I did this complete with all the Photos and Equipment you will need in my next update, which was in no way a Fluke it just takes 15 Seconds every time!
So once the Brake Pump had built up enough pressure and cut out, it was time to turn the Key to the Start Position where as soon as I had done so She Started instantly with the kind of 'Lightswitch Ignition' that we dream of and no exaggeration to say She didn't even seem to turn even one full revolution
She Started so fast that it felt just like throwing a Match into a bucket of Petrol 'ask me how I know or rather don't' where the Icing on the Cake was almost instant Oil Pressure of the reassuring kind and just in case you were wondering or even if you weren't, the moment that She Fired I dropped her into reverse as quick as I could
At which point the Revs dropped down and '50 Shades My Grey XJS' then gave out the kind of Throaty Roar, that would have the hairs on the back of your neck literally Standing on End, leaving no doubt in my mind that when it comes to pleasure this then really has to be what its all about
OMG! I've just missed you so much and as such could no longer hold back all the tears of joy that I was crying
'Kiss Kiss Muah! Muah' Kiss Kiss Muah!' You've done it you've done it you've done it! Shrieked the GF as She danced round the Garden 'Kiss Kiss Muah!' and though its quite hard to be humble when you have been on a journey like this, I just had to agree that for once in my life She was right!
I will grab a pair of long nose pointed pliers and see if I can get that steel washer out.
I am redoing the floor and need to remove the center console. It looks like in order to remove the center console I have to remove the faceplate on the radio.
One of the biggest downsides of owning an XJS is when you arrive at the moment when you have to Bleed the Brakes, which require a totally different Technique to that of doing this on other Cars
Maybe you changed the Calipers or the Reservoir ran dry or maybe you decided to give the Brake Fluid a Flush and let the level in the Reservoir go down a little too much and got Air in the System
If so then there is every chance that you are one step closer to the kind of Nightmare that many XJS owners have well been dreading, where your Brake Pedal starts to go soft or your Brake Pump take too long to get up to pressure for the ABS and Brake Warning Lights to go out
Where apart from getting hold of 5 Litres of DOT4 you also need the help of a Friend who knows what they are doing and can also read your mind, at least as far as Bleeding the Brakes are concerned, as this is an invariably a Two Person Job
Or Friendships can be fractured, if things go wrong and then the Blame Game starts, where your Friend could suddenly find themselves off your Christmas Card list and never to return, as Bleeding The Brakes is the kind of a job where two minds really need to think alike, or else both of you could find your patience sorely tested
So now the question for you to decide is what method for Bleeding The Brakes you are intending to use
Will you follow the method described in the Manual or one of the many others that you may have seen on YouTube or else read about on one of the XJS Forums, where success or failure, not only relies on knowing what you are doing but also having a Telepathic Connection with the person helping you
According to a topic that I read about in a Manual its not recommended to allow the Brake Pump to keep running for more than 30 Seconds, without a 2 minute break in between to prevent the Brake Pump from overheating, where there is a danger that not doing so could burn it out
Though after using the method that I accidentally came across and am about to describe, the ABS and Brake Warning Light both go out in 5 Seconds and the Brake Pump then cuts out 10 Seconds later, making a Total of 15 Seconds in all and not only that but also leaves me with a firm Brake Pedal with a very Solid feel
This is not some kind of Fluke but happens every single time from a Stone Cold Start even if its left to the following day, though if I have been using the Car and have left it for a couple of hours, then these lights all go out instantly, which is just astonishing when you consider how long it took before
So without any further ado I will tell you what happened and see no reason as to why you should not get the same results as I did
Well as many of you know, I recently refurbished the IRS Cage in '50 Shades' My Grey XJS which included New Rotors and Calipers, which I rebuilt myself with New Boots and Pistons, which was something that up till then, I had never ever done before so all I could do was hope I'd done it right
So there I was laying under the Car bolting up the Exhaust when I felt a drop of Water dropping on my hand, except it wasn't Water it was Brake Fluid, at which point I almost freaked out, as I suddenly got to thinking that I'd done the Calipers wrong and they were leaking OMG!
Although on further inspection, I could see what happened as I had fitted the Calipers with New Brake Bleed Nipples and had forgotten to do one of them up, at which point it occurred to me, that not only that but I had somehow Gravity Bled this Rear Caliper, which I didn't even think was possible with the Teves
So the next thing I did was to get out from under and then fill the Reservoir up, at it had drained down all the way to the point where it was nearly empty and so I filled it up with a Pint of DOT4 then got underneath the Car once more and bled that same Nipple again
Then once having done so, I then Gravity Bled the other Caliper next to it, where it took about 30 Minutes for the Brake Fluid to come through although the first one may have taken maybe a couple of hours, when I accidentally left that Bleed Nipple open
At which point I was excited to think that maybe these Rear Calipers would not need Bleeding at all, as both of these had now been Gravity Bled, where once again I then crawled out from underneath the Car and then Topped up the Reservoir with about another Pint of Brake Fluid
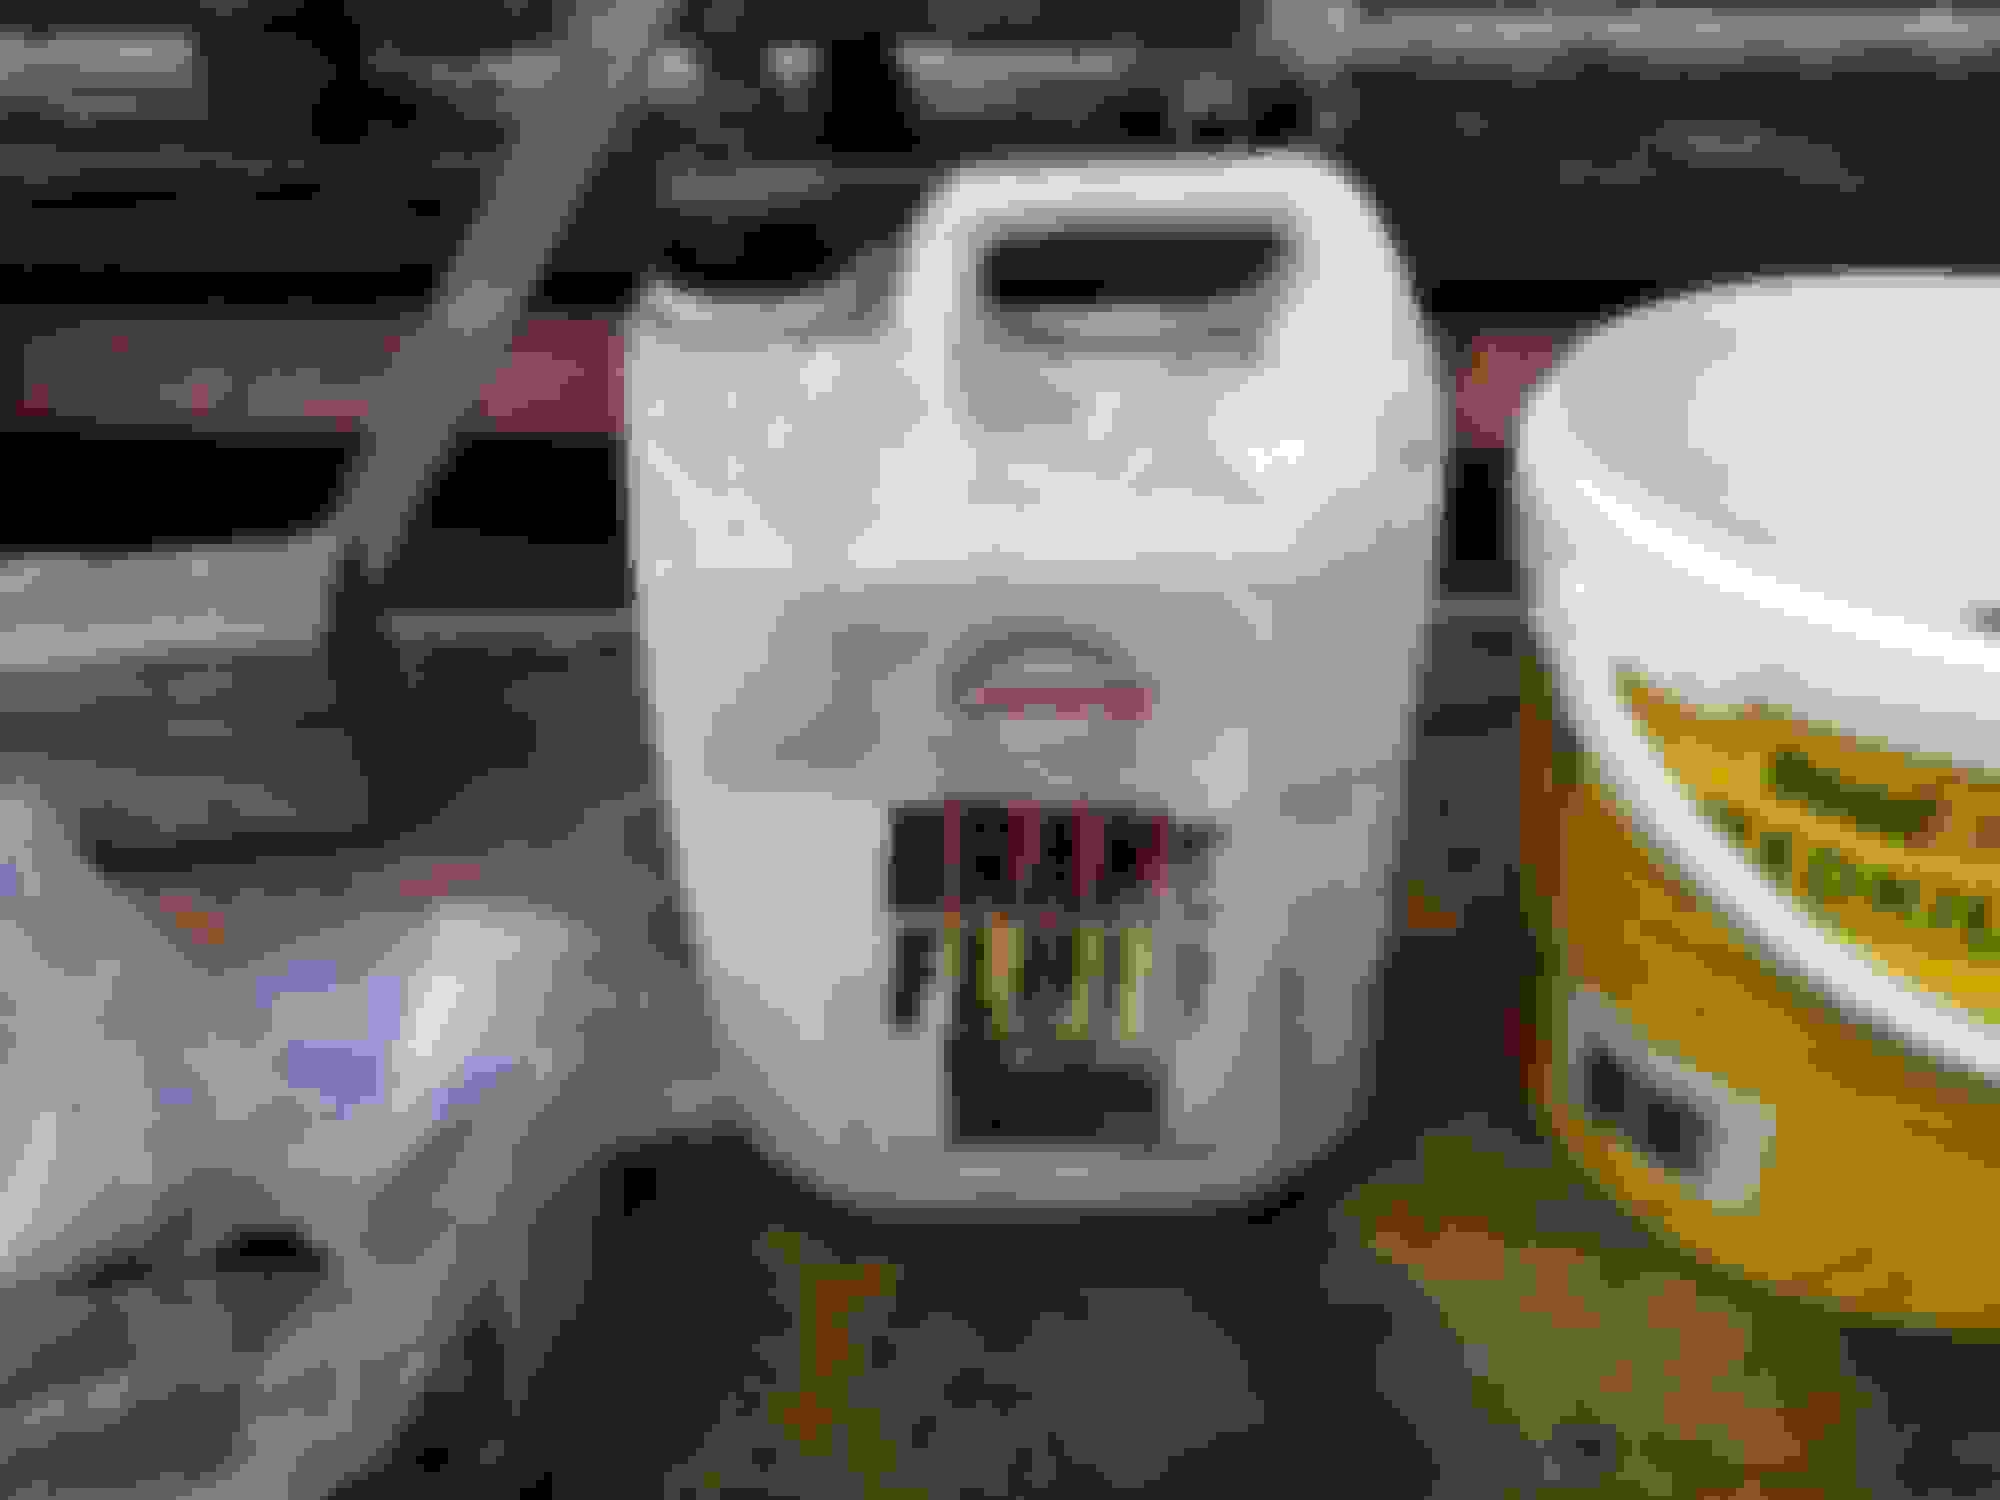
Topping up the Reservoir with DOT4
What's that upturned Soup Carton doing there?
Its there for a very good reason and that's to prevent the phenomenon known as 'The Teves Fountain' where sometimes back pressure will have Brake Fluid Jetting out of the Filler Cap, which if it got onto your Paint would Strip it in an Instant
So feeling Super Curious, as to what would happen when I turned the Key in the Ignition, I did exactly that and then fell back in amazement that the ABS Light and Brake Warning Light both went out in 5 Seconds and then 10 Seconds later, the Brake Pump also cut out, which also gave the Pedal a very Firm Perfect Feel OMG!
Though just as I was thinking that it couldn't get better than this, things just got worse!
As the Brake Pump kept on cutting back in with every press of the Pedal, which you absolutely do not want and which of course meant that Air had got into the System and had to come out, where I correctly then figured out was to do with the Low Pressure Side
In simple terms, this is a Pipe that runs all the way from the Reservoir to the Brake Pump and if the Reservoir ever runs low (as mine did) Air can get into the Brake Pump which if left and not removed can leave you endlessly going round in circles
For as long as Air is Trapped in there the Pump will keep cutting in, which is the very thing that you don't want and where the only way to remove this Air is to remove the little Plastic Elbow from the Pump and then let Brake Fluid run free until all the Air is out
This is going to make a mess so Cover the Fenders and Wings and all exposed Paint Work, as if any Brake Fluid gets on the Paint it will Strip it in an instant so do stuff plenty of rag around and have a Bucket of Soapy Water ready and waiting to sluice down any spills
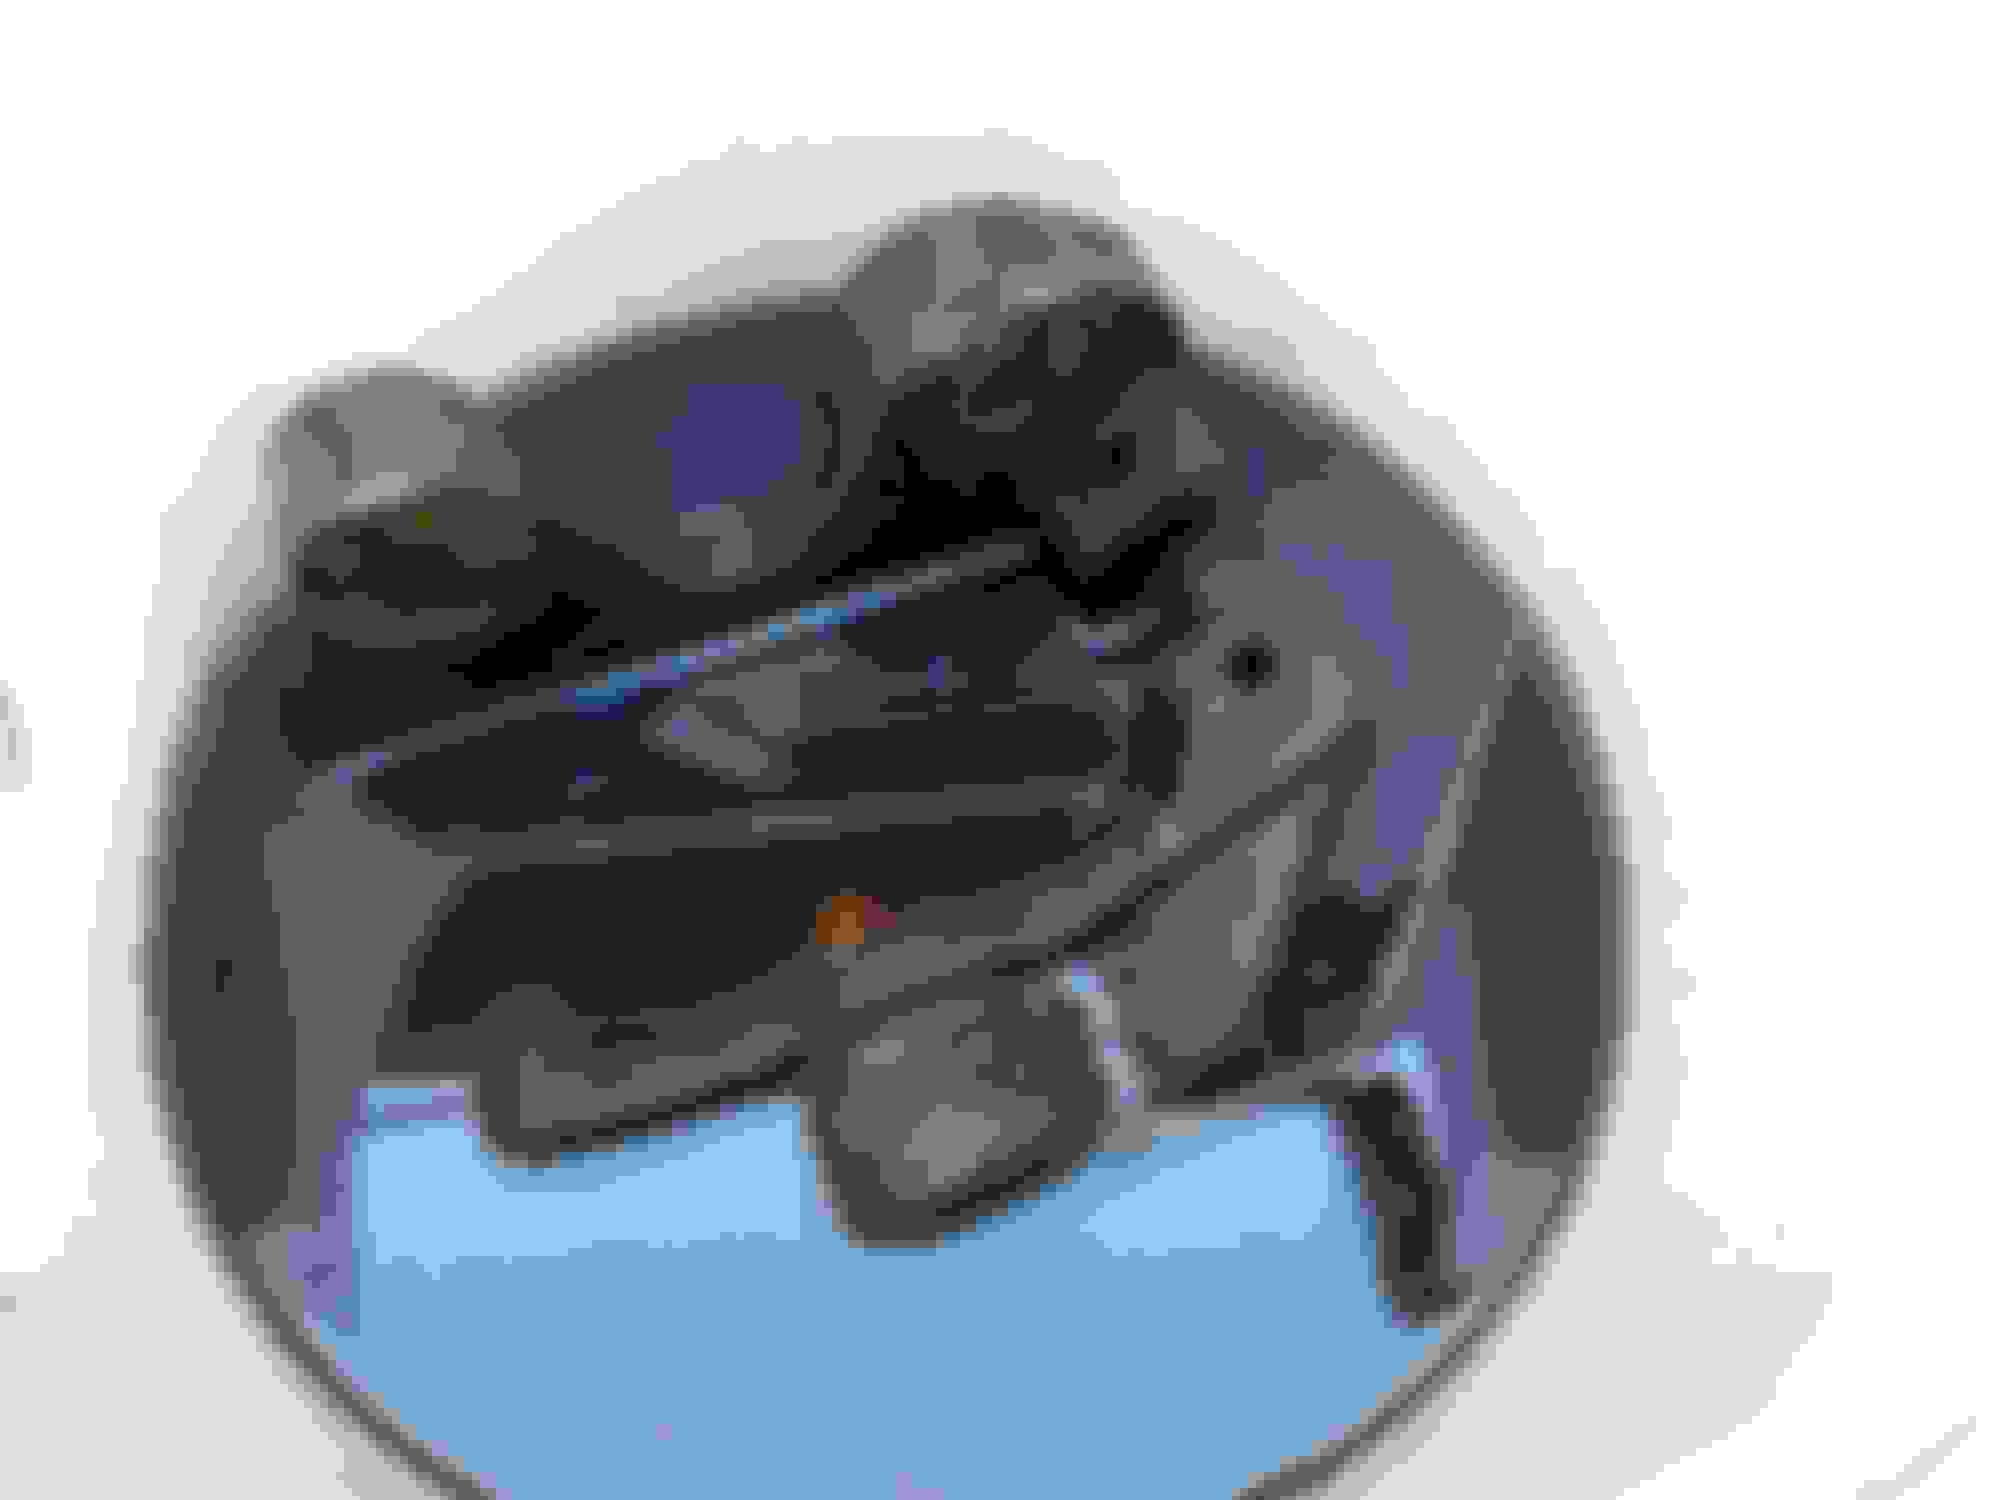
That Braided Pipe is on the end of the metal Pipe from the Reservoir from the Low Pressure side of the System which is only Gravity Fed and then goes into the Plastic Elbow of the Brake Pump which is held in place by an 'O' Ring and a Spring Clip
After removing the Spring Clip by the Red Paint, that Plastic Elbow needs to come out of the Brake Pump so the Brake Fluid can run free in order to get all the Air Out
Its makes a mess but is Gravity Fed so won't be under pressure unlike the other pipes that you can see
So you can put your finger over where the Brake Fluid runs out to control the Flow, into a Container and or a wadge of Rag but as previously mentioned don't let any Brake Fluid get anywhere near the Paint 'you have been warned'
As for the Plastic Elbow be Careful you don't break it! where I am using a Spanner to gently ease it out while also gently rocking it side to side, then when all of the Air is out and the Brake Fluid runs Clear, you can then put the Elbow back and replace the Pin
Also make sure that the Reservoir doesn't run out of Brake Fluid or you will have to Start over again!
So what happened next? I tried it again and Switched on the Ignition, where this time I can only describe the results as Spectacular!
ABS and Brake Warning Lights both out in 5 Seconds and the Brake Pump Stopped Running 10 Seconds later and didn't cut in until after quite a number of presses of the Brake Pedal and so as far as I am concerned, Gravity Bleeding is the only Method I'll be using
All you need is a couple of feet of Clear Plastic Tubing and a Bleed Nipple Spanner
Also while you're doing this
(1) No Need for a helper except to make sure the Reservoir stays topped up
(2) Don't turn the ignition on until you are ready to try it
(3) Don't touch the Brake Pedal at any time until you have completed the whole Gravity Bleeding process
I will grab a pair of long nose pointed pliers and see if I can get that steel washer out.
I am redoing the floor and need to remove the center console. It looks like in order to remove the center console I have to remove the faceplate on the radio.
thanks
[/QUOTE]
It is actually a nut, and needs to be unscrewed. It is called a "switch nut"There is a tool available for this job if you want to find it. e.g. https://www.holden.co.uk/p/lucas_switch_bezel_tools
Great work and the wonderful evocative description that we all enjoy!
It's great to hear that you got a good brake result, but I do think that circumstances perhaps favoured you!
As you'd only originally disturbed teh rear line to the calipers, you didn't at that point have any air in the system at the actuator. So the gravity bleed perhaps enabled the air in the final rear lines to exit via the caliper bleed nipple.
But I don't think that typical gravity bleeding would have worked if you had air earlier in the system and in the actuator primary chamber. The valve on the initial part of the actuator would prevent air gravity bleeding back to the reservoir, I believe. And, as you know, if you have air in the LP circuit feeding the pump, gravity can't resolve that..
So, I understand what you did and the success you had but I think, for once, that the Jaguar gods were smiling on you in recognition of all your recent dedicated hard work! I really think you have to use the official bleeding procedure if you have any air in the initial parts of the system.
Now let's hear about that first successful drive around the estate!
From now on and as for me 'Gravity Brake Bleeding' is the only game in Town as the results were amazing and beyond my wildest dreams!
But I would like to give a Big Thumbs up for your Wire Twirling Method with the Electric Drill, which worked absolutely Fantastic when I Lockwired the Retainers on the Trailing Arms
Jacobra 'Jacks' Amazing Locwire Twirling method with a Cordless Drill
Paul's (ptjs) Method using a Dowel Rod, is even better for Wiring 2 Bolt Heads together, in situations where you need Twisted Locking Wire in between them
My own Method with the Screwdriver was very sadly nothing but a FAIL! but that's why we've got this Forum to get the Best ideas for our XJS's
Re: The much vaunted Test Drive that I've so much been looking forward to, as while I have been able to drive her round 'Orange Blossom Towers' I really have been gagging to take her for a Test Drive on the Road, if only to see if bits start falling off
But today its been Ice Cold In Essex, so Cold that I did not even want to put my head outside the door and so for once I have to say that the Weather Forcasters got it right but Not In A Good Way, as they predicted 14 days of Sunshine and Showers and Sunshine and Showers is what we got, as well as almost Cold enough for Snow!
This Summer has been crazy, as I usually Tax the Car in March and enjoy some fine Weather, which of course I couldn't do with the Cage to put in but now I have done that, its all I can do to resist the Temptation to go and Start her up and hear her run, thanks to having a 'One to One' with XJS Anonymous
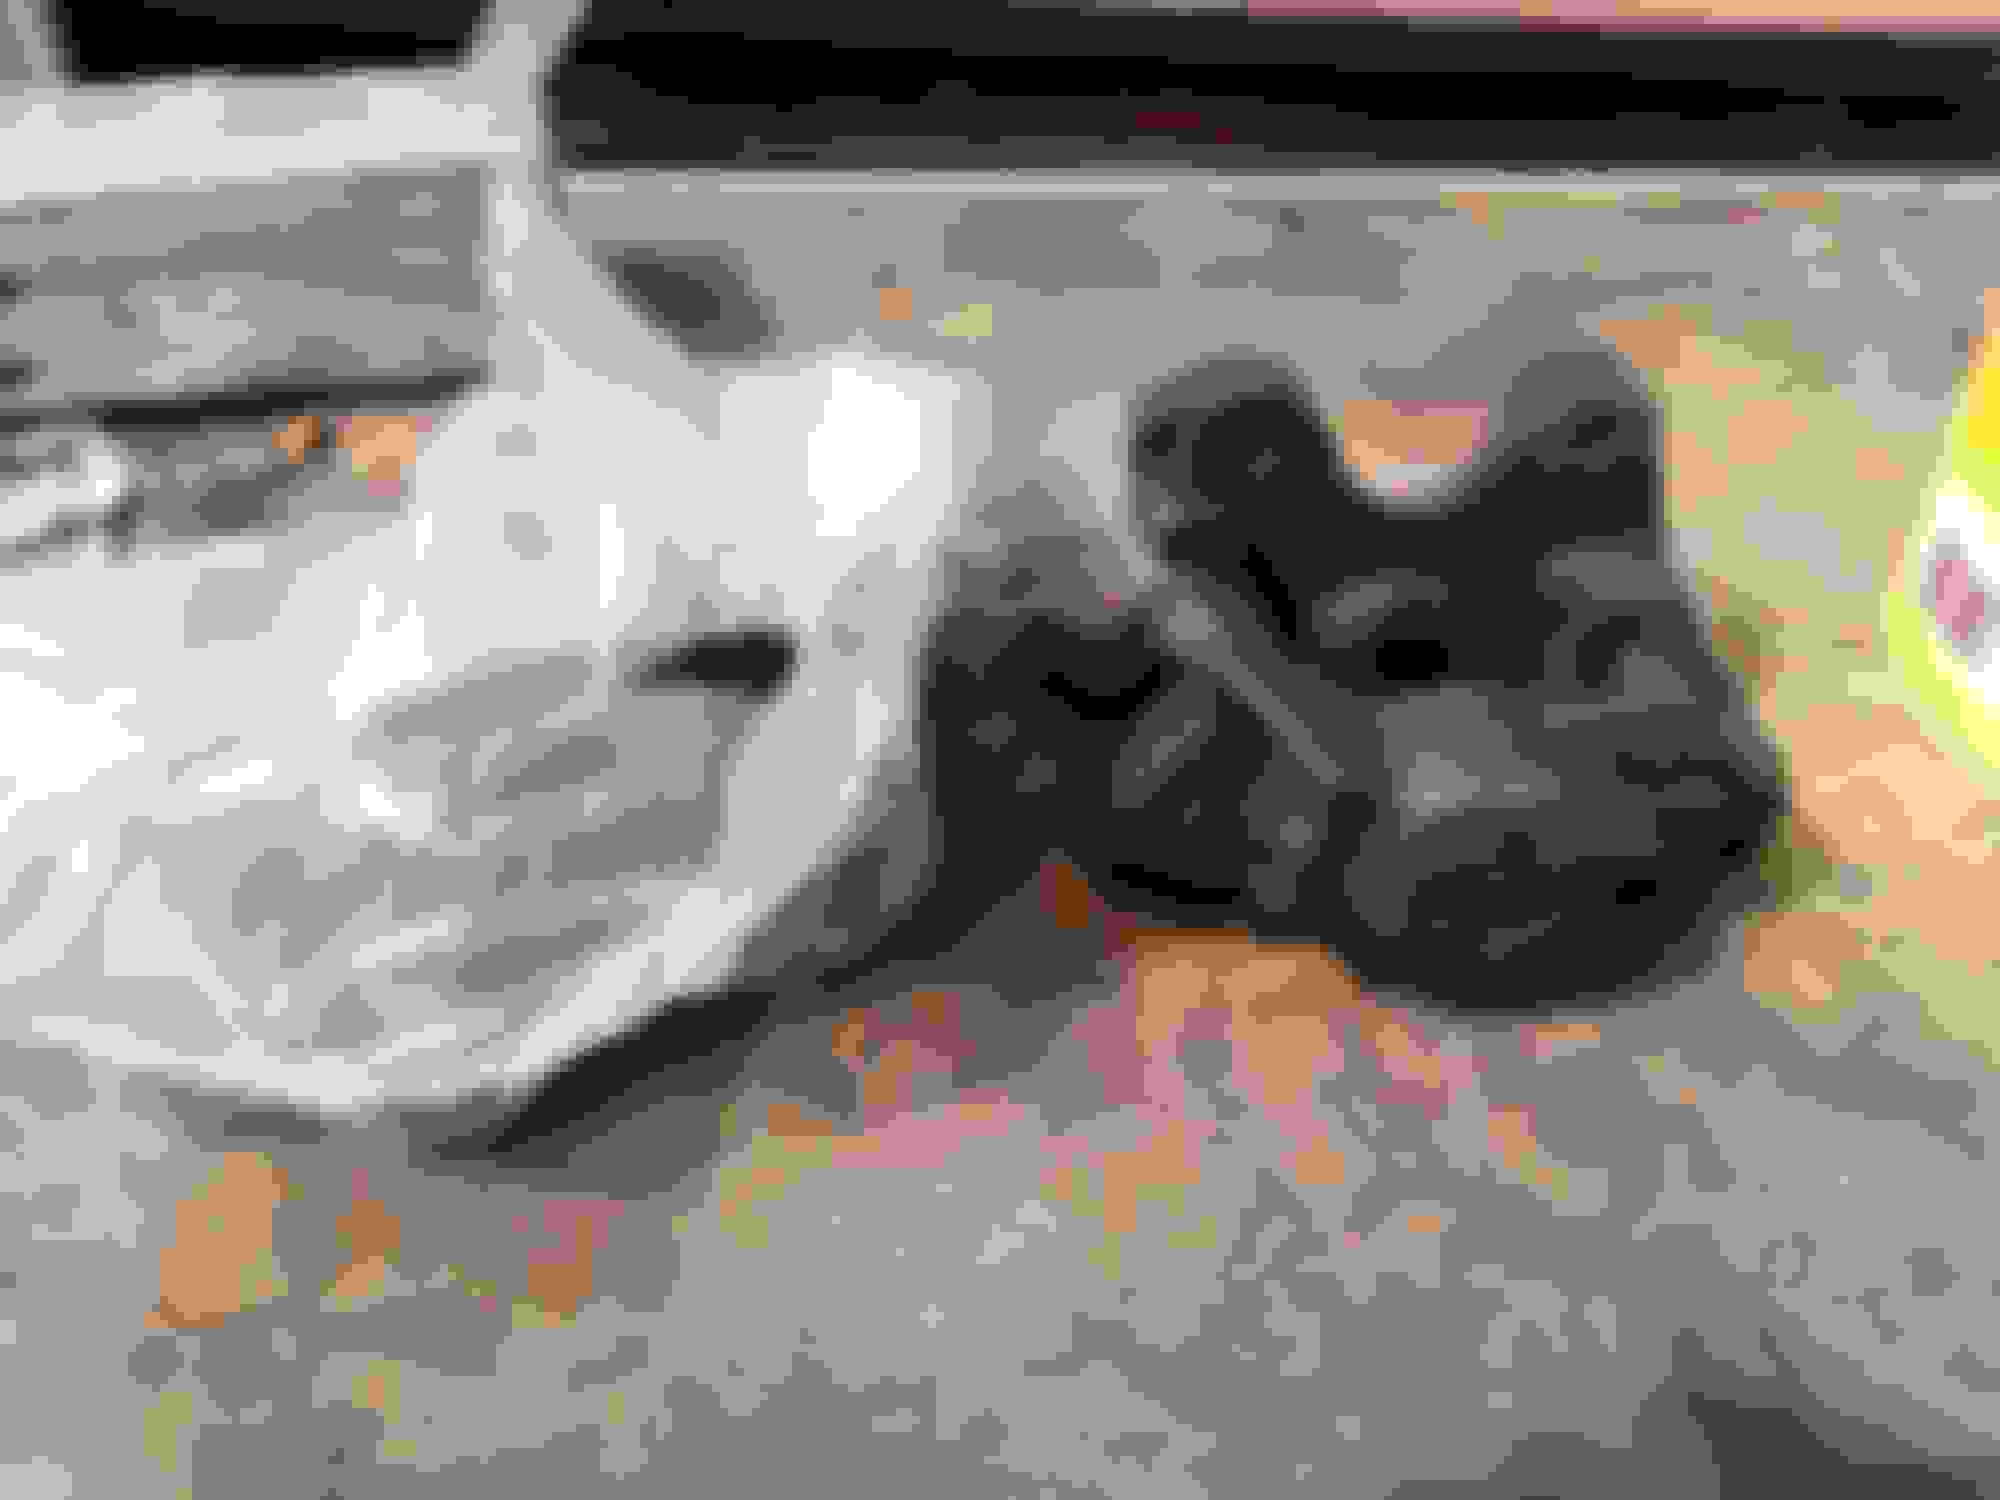
And so in order to take my mind off things I've been stripping down the Calipers of 'The Ice Princess' which I was going to send away until I got their latest Quote for �180 so as before I am going to do these myself, like I did for '50 Shades' My Grey XJS only hopefully a little bit quicker this time, as last time it took 4 hours to do One!
Unpacking the Calipers I was going to send away to be refurbished, as I'm not paying �180 when I can do it myself for 15 quid!
I also wanted to give them a bit of a Clean Up and so instead of Paint Stripper, I found an old can of DOT3 down the Shed which I won't be using in the Car
It didn't take a minute for the Paint to start peeling off
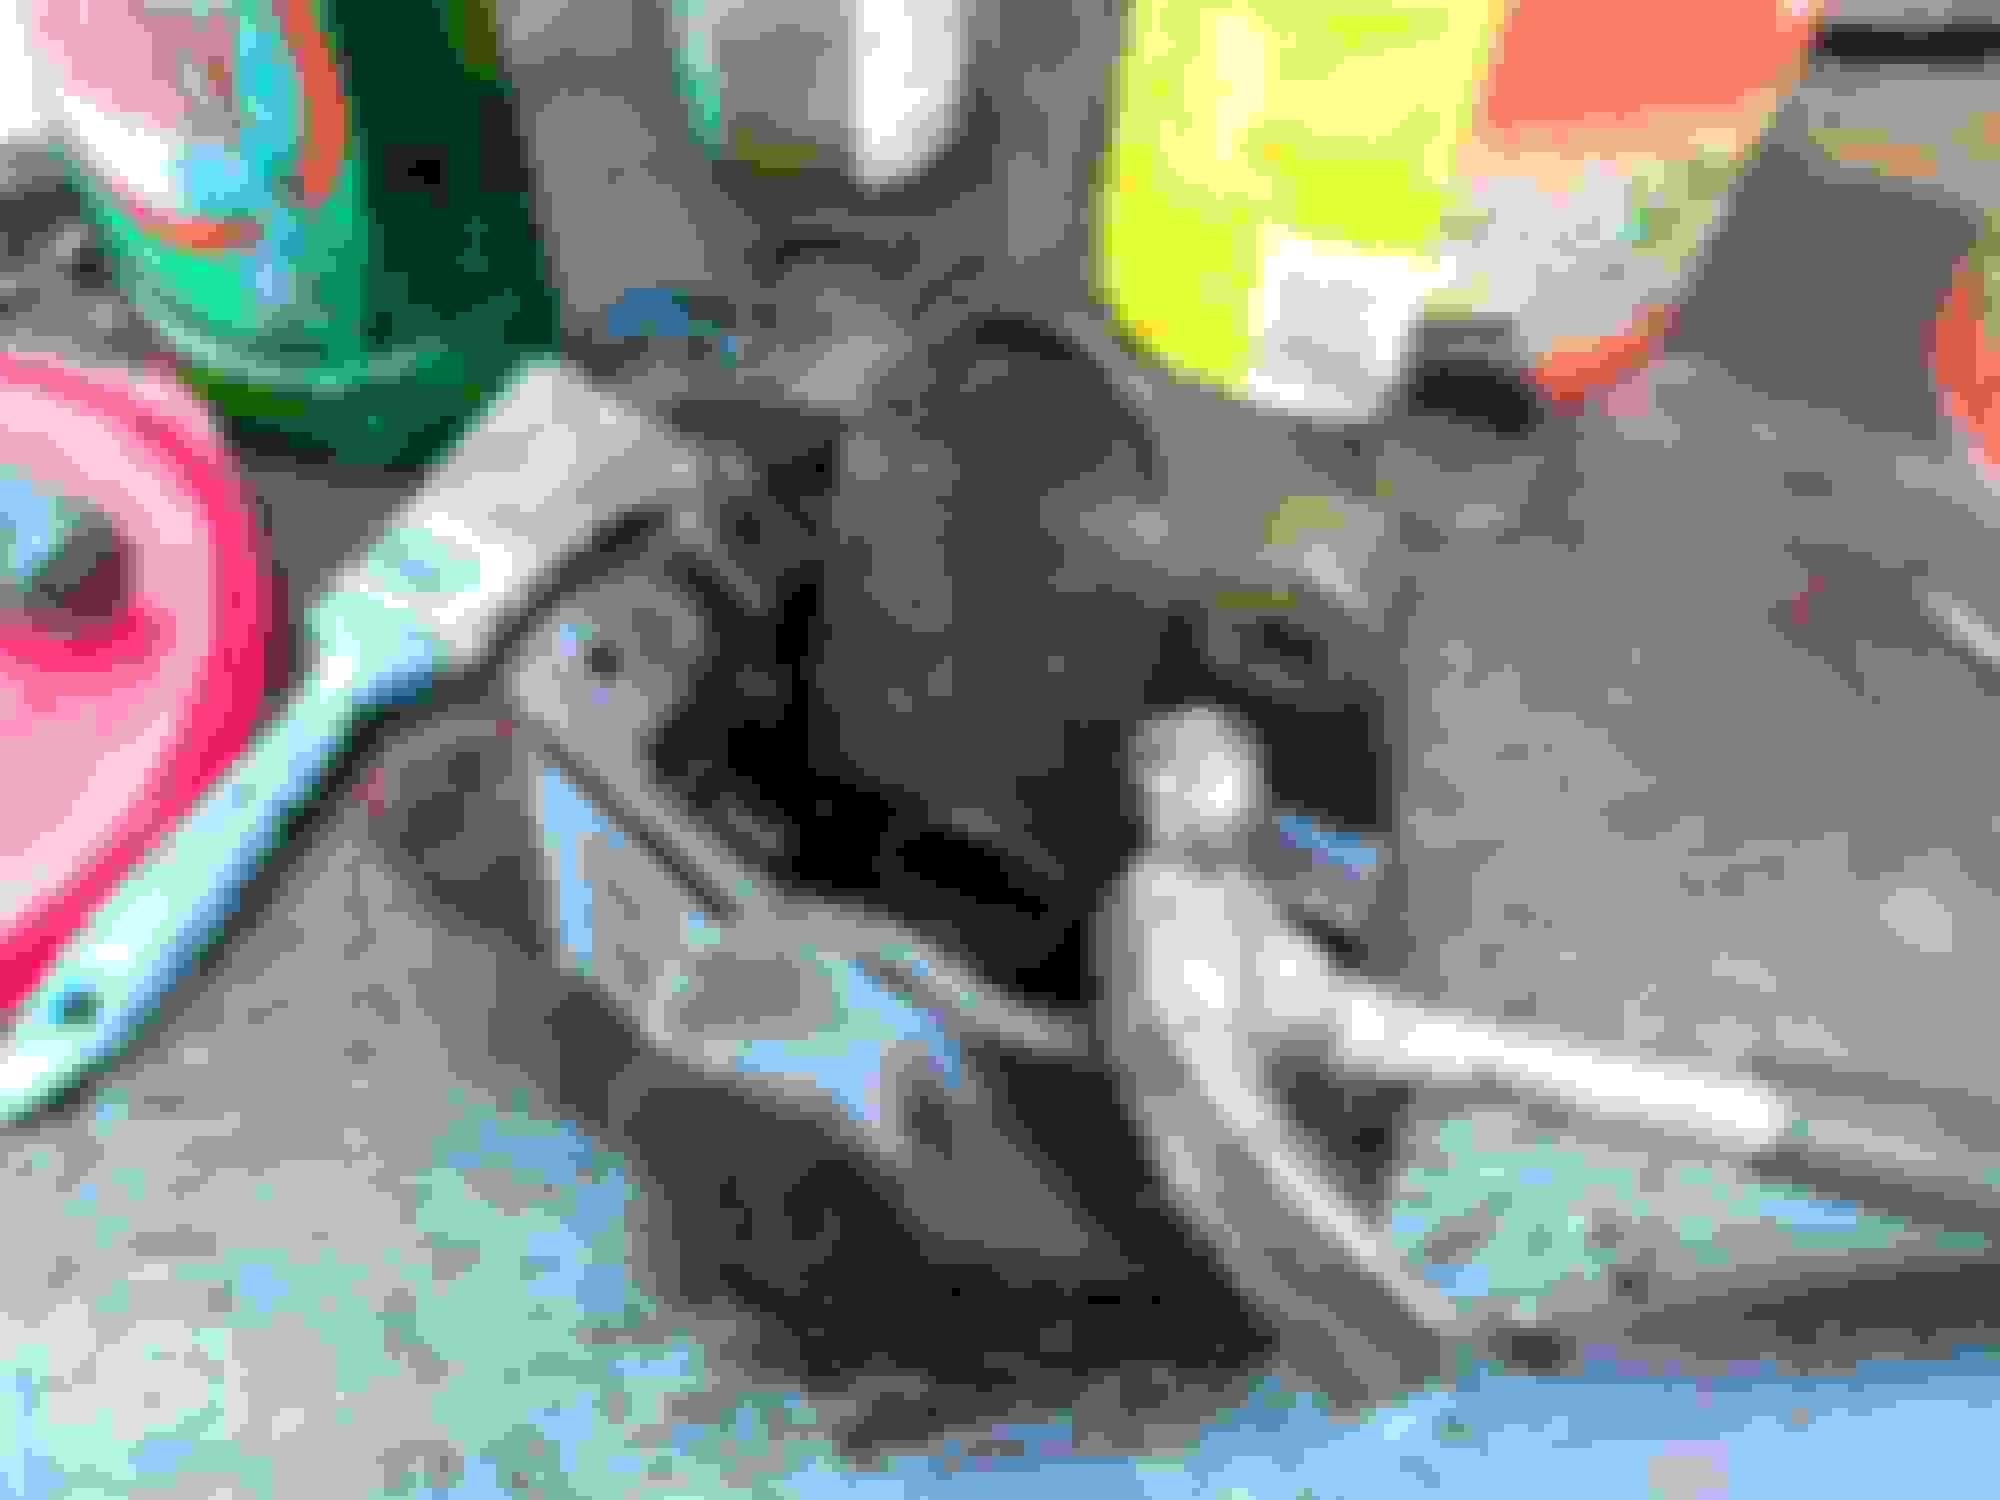
When I've finished stripping them I'll finish them off by using a fine Wire Brush but first I had to get the Pistons out which wasn't all that easy and required the FBH!
Where Compressed Air Fails to do the Job a FBH and Chisel seems to work as those Pistons were rusted in Solid!
Each one took an Hour to do but now I've got them finger tight, I can take those Pistons out anytime I like
But then at about 4 o/clock the Sun started Shining and turned into the Perfect Afternoon, the like of which I haven't seen until sometime last year, which made it very Tempting to Tax the Car and go out for that Test Drive, the only problem being that whenever I start a job I like to finish it if I can, so once again I resisted Temptation
As I really guess that at long last, it was just one of those days where all you really want to do is to lay down on the Lawn and have a lovely Pot of Tea and Fresh Cucumber Sandwiches, with the Crusts cut off obvs as that is what we do in the UK (old habits die hard)
So Weather permitting then maybe I'll Tax her and go for a Test Drive Tomorrow
I know it's too late now, but I have had great success using a small amount of compressed air to move pistons. Even just putting a footpump connection onto the bleed nipple and then using just one or two strokes can help to move the most recalcitrant of pistons! Remember to put a piece of wood between the pistons to stop them flying out and spraying fluid everywhere.
Get on the road tomorrow! I took mine out 2 weeks ago for the first time since last year, and ending up getting involved with police, ambulance, fire engine and even the air ambulance landing beside my car! But that's a story for another day!
Since I was planning to buy some New Tyres, I also thought that it would be a very good idea to refurbish my Wheels which were very Corroded and long past the time that they would just need a good Wash!
Although before I did so I considered lots of other options, including diamond cutting, glass bead blasting and maybe even buying myself some New ones, right up until the moment that I saw the price! and so decided to have a go at refurbishing them myself, which meant a visit to YouTube to see how this was done
As even sending my Wheels away for professional Cleaning, was going to cost over �500 which I could still consider if my own attempt to clean them didn't work out quite the way I planned, where in any event I thought that having a go at doing so might be good fun!
Having removed a couple of Wheels and then examined them, I have to say that these Wheels were much worse than I thought as all the lacquer had started peeling away which in turn made them look horrendous! and so the very first job was to strip that lacquer off, which involved the use of some Paint Stripper
Since I hadn't bought any for ages, I couldn't believe just how much the price of this had increased at nearly �20 for 2.5 Litres but it had to be done so I bought some which was some really strong industrial stuff
And so I started with a thick coating all over the face of the Wheel
Years of Corrosion had really taken their Toll and as such it was hi time that I tried to improve the look of them
After applying a thick coat of Paint Stripper, I was beginning to wonder how much of a difference if any this might make
Steps back in Amazement Wow! underneath that peeling Lacquer their was lurking a New Looking Wheel!
OMG! already looking Amazing and this was just the first part of the process
Two down and two more to go and so I gave them both another good coat of Paint Stripper
As far as that part of the process had now been completed the object of the exercise was to make them Shine like a Mirror, even though I didn't know if that would be possible, except in order to find that out I was going to have to buy in some more equipment, in order to try and buff them up to a Shine
Though how successful this would be, we will all have to wait and see as the Tools to do the job should be arriving this Friday!
There's only one way to say this its all gone horribly wrong, as for one thing it just won't stop raining which it has been doing almost every day since the first of March except when its been Snowing or Blowing a Gale or much too Cold to do any serious work of any description
Where normally at this time of the year we would have been out 'Tripping' in the XJS or at least we would have been save for the bad Weather as well as my deciding that it was time to refurbish the 'Cage' on '50 Shades' My Grey XJS which is at last now finished and put back in the Car two Weeks ago
Though while I'm glad I did that, as of yet there still has been no Test Drive except for backing her out of the Garage and taking her for a drive around the grounds of 'Orange Blossom Towers' where because of the soggy conditions, you cannot build up enough speed to see the 'Speedo' move
And as the Weather Forecast predicts another 10 days of rain! that long awaited Test Drive won't be happening anytime soon, as for one thing it seems a waste of time to Tax the Car with only Two Weeks to go till the 1st of June
So while I've been waiting for that to arrive, I decided to Polish the Wheels of my 4.0L XJS where having first stripped off the Lacquer which was in a really bad state, the next job on a very long list was Buff them to a Shine, where the equipment to do that failed to arrive this Weekend and is now scheduled for delivery Thursday!
Which was a massive let down when you're all geared up to do the job, so while I'm still waiting for that to arrive work is now progressing on IRS Cage Number 2 from the 'Ice Princess' which needs to be taken outside to do, except of course its still raining!
Where since I'm not the sort of person who loves to sit around with nothing to do, I am just about to start removing IRS Cage Number 3 from 'Cherry Blossom' My Red XJS and since I've had the practice on the other Cars, removing the Cage is as easy as changing the Spark Plugs
Although as before I am taking my time to do the best job that I can with what ever skills I can muster, as like on my other Cars 'Cherry Blossom' has those Split Rim Rotors, which are now in dire need of being changed for Solid Discs and I'll also be rebuilding the Calipers as well
None of this stuff is difficult but it just takes time to do and so I the best way of doing this job is to regard it as being a 'Labour Of Love' which for me it really is as I find rebuilding these to be quite fascinating and very worthwhile when you think of the money you save, when compared to what a 'Shop' would charge
Although the big revelation for me, was accidentally finding a very easy alternative way to Bleed The 'Teves Brakes' (everyone's favorite job!) by 'Gravity Bleeding' which reduced the 45 Seconds that it normally took for the Brake Pump to build up enough pressure right down to 10 Seconds with the ABS light going out in only 5 Seconds!
So it will be interesting to see if the Brake Pump still does this, since the Car has now been standing for Two Weeks without even turning the Key, even though the Temptation to Start her up and hear her run has been overwhelming, so I'll just have to be patient a while longer though rest assured that I will let you know
In some ways I think it must have been my Lucky Day, as all the stuff I ordered to Polish the Wheels on my XJS 4.0L has turned up right out of the blue!
What is in the Box?
Two Buffing Pads, Two Bars of Polishing Compound or 'Soap' as its known in the Trade, together with a Micro-fiber Cloth
The Quality seems to be quite good and better that expected
At which point I decided to give it a quick try out before I really get into it and try and do the job properly
The Buffing Pad goes on an Angle Grinder and as mine has Variable Speed it makes it ideal for the Job, then while its Spinning Slowly you touch the edge of the Buffing Pad with the Polishing Soap, starting with the Brown one to Polish out any marks and then you put the other Pad on and Polish it with the Blue Soap to give it a Shine!
That's the Theory anyway, I mean how hard can it be?
The Answer being maybe a bit harder than it looks, as it is quite labour intensive and requires a lot of work to get it right, so here I am doing a very quick Test before I get down to doing the Job properly
I'm only doing half a wheel so you can see the difference
Much more practice needed but also an improvement to the way it looked before
Good start! Make sure that you carefully lacquer them when you're finished. That diamond-cut alloy is exposed to the elements and will deteriorate extremely quickly if not lacquer coated.
Also, once the lacquering is done, check that the wheelnuts can rotate in the wheel stud holes BEFORE you fit the wheel. You may have to relieve the lacquer in the wheelnut hole. There is a very small tolerance in these late wheels, and the lacquering can easily cause a problem. If the wheelnuts can not turn easily, you stand a VERY real chance of stripping the threads on the nut / stud as you tighten them up. I had this problem after my wheels were refurbed and it took me a long time to work out why it was difficult to fit the wheelnuts.
There is a little bit of Sunshine this morning although I don't think it is going to last, so maybe I might just manage to get One wheel done in between Cutting the Grass that looks like a Cornfield because of all the Rain that we've been having
Woke up to a very Strange day, very Hot and Sunny but looked as if it could Rain and guess what it did! so still very glad that I resisted the Temptation to Tax '50 Shades' My Grey XJS for the First of May, even though I'm gagging to take her for a Test Drive to see if any bits fall off after rebuilding the IRS Cage
But then on the Plus Side, there is nothing to distract me from Polishing the Wheels with 'Buffing Soap' in a way I've never done before, where this so called Buffing Soap, is in the form of Wax containing abrasive and comes in a variety of flavours, which you can buy depending on what you are trying to Polish
Whether its Steel or Aluminium as I'm doing now and even Jewelers Rouge for more delicate stuff, where although the process is a lot of Fun to do, it's also quite labour intensive so you really need to be prepared to work for the finish you want
So you could very easily spend two or three hours on each wheel, as trying to get the Shiniest Shine can very quickly turn into an obsession, like everything else you might do with your XJS
Where though this wheel is far from finished and hasn't had the Blue Soap Treatment yet but just the Brown, its already starting to look like its Chromium Plated and then of course it started to Rain, while I was getting my Camera!
Almost looks like its been Chromium Plated
Yass! coming along quite nicely even though it started raining, right at the wrong moment! doh!.....
Those are going to look good when you're done! My first XJS had the same problems yours have. I looked into a set of chrome wheels but decided they were too flashy. I ended up cleaning mine up and painting them with a dull silver paint, I think it was called Stainless Steel. Much less work than what's on your plate - but yours will look much better when you're done!
The Polishing thing looks easy though in fact its a lot of hard work, as once the factory lacquer starts to deteriorate those Wheels that we both have on our Cars look like a bag of old spanners and I'm half beginning to wish I'd thought of using the paint option but I'm too far into it now to change my mind
Though with the really bad weather which is a mixture of Sunshine and Showers, I've got plenty of time on my hands in order to do this job and when it is finally finished I will be very reluctant to lacquer them again
So was wondering if I could Oil them with something like WD
Thanks - that was my first XJS and I liked it, but always kicked myself for not getting the V12. It really was a head-turner. I sold it a few years back.
I think you're going to need to clear-coat them after you're done polishing. Aluminum oxidizes really quickly and they're going to look ratty in short order. You could try the 'normal' spray cans of clear coat. There's also a spray can of 2k clear coat. Its more expensive but is a true two-part paint. I used some on my MGB project but I wasn't super happy with it - it came out lumpy. Another option would be to take them to a body shop and have them clear coated.
 05-04-2021, 01:02 PM