When you click on links to various merchants on this site and make a purchase, this can result in this site earning a commission. Affiliate programs and affiliations include, but are not limited to, the eBay Partner Network.
Doing this job once was enough for me. Not sure how u can do it twice lol.
For those trail arm bushings taking it to a local shop and paying some cash was worth avoiding the aggro of taking them out. Plus the new ones were put in.
Your first cage did you turn the big ones 90 degrees and replace the small ones with poly bushes? I don't recall. O did that to mine to stiffen the rear up.
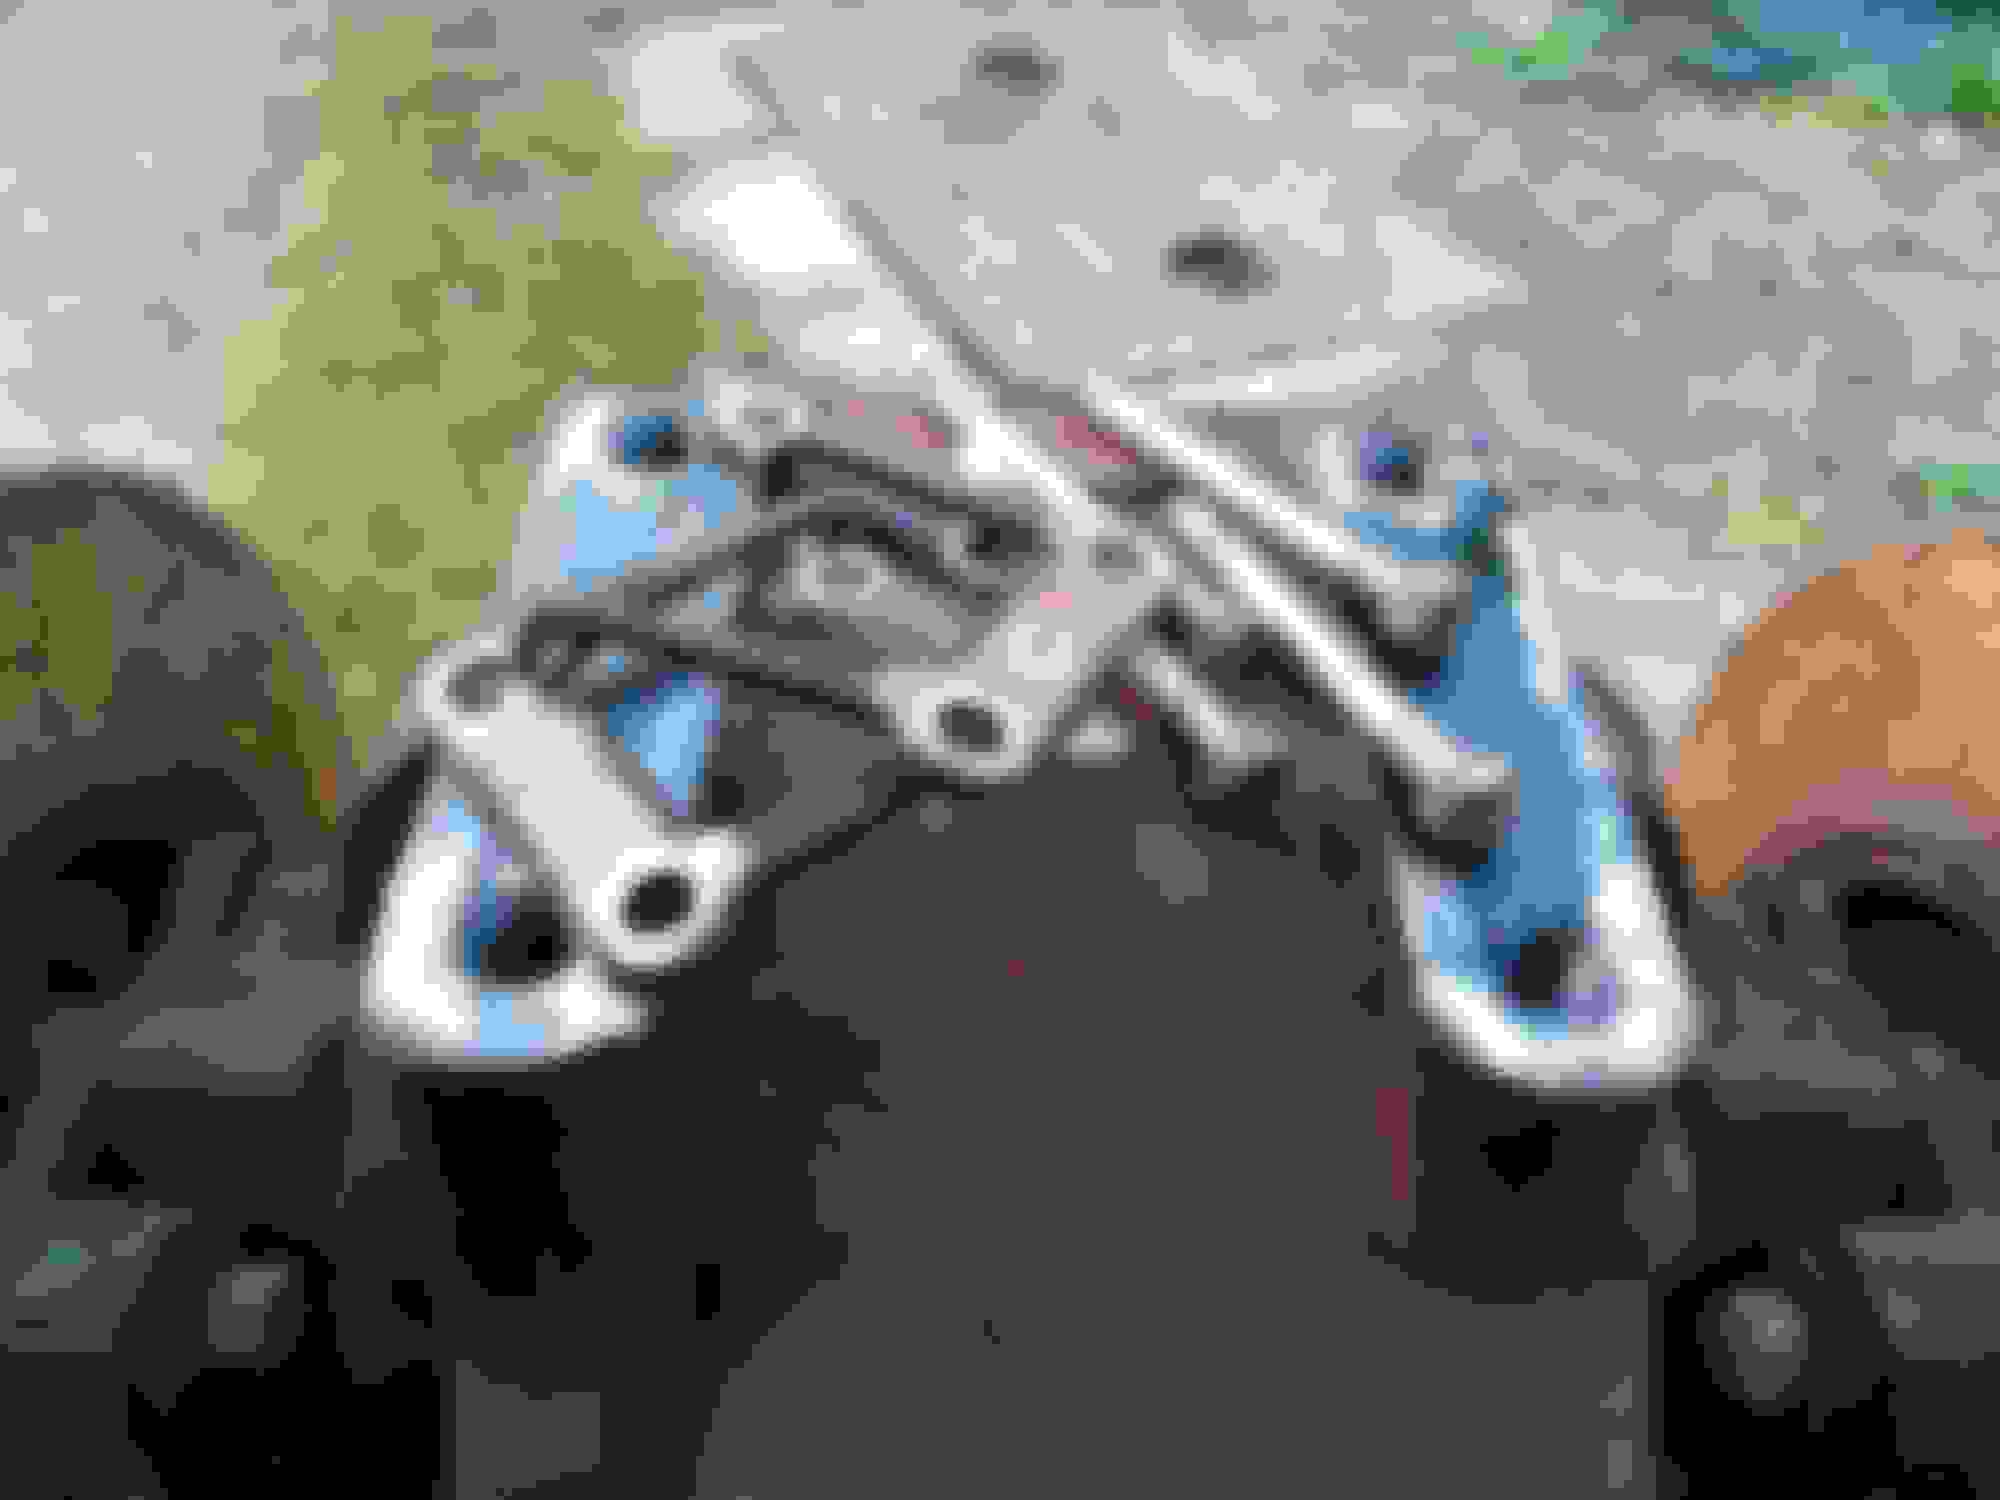
I will try and get a better Photo of how the 'Dummy Shaft' works but once again its just too sunny at the moment
Its not the outside Washers and Seals that are the problem here but more about what you cannot see inside the Fulcrum Shaft Tubes and if those come out of Alignment then you could have a massive problem on your hands
Ideally you could also use a Solid piece of round Bar for the 'Dummy Shafts' as that would be much better than using Copper Tube, where a pair of Old Fulcrum Shafts with the Threaded ends cut short enough to allow the cover to come off would be pretty much perfect
Though as I didn't have either of those, I had to make do with a piece of 1/2 in Copper Tube, though anything similar would do
Have a look at this diagram and you will see just how many Components you need to keep lined up, which is why ideally you need those 'Dummy Shafts'
Do you not plan to replace your bearings ?? - could probably drift them out with the shaft in place though.
I'm sure it will be much clearer when mines out, which isn't happening until my front is back in as I've enough on the to do list for now. The Kirby Palm doc indicates that the top of the bearings don't see much lube - think it was that doc - old timers kicking in. I think it is the same story for both ends of the arms - or dog bones whatever term is preferred.
FYI the 1/2 copper pipe is the 1/2 is the OD not ID as a 1/2 ID pipe is 5/8 OD and doesn't work. Ask me how I found out lol.
when you are doing a refurb you need to know when to stop
One of my singular weaknesses I'm afraid - I know when but the OCD overcomes common sense usually, I've no intention of touching the rear wheel bearings or calipers since they're new already but everything else is under the microscope, whilst I may not replace much like the oil gallery plug behind the flex plate on the engine I have to inspect at least.
One of my singular weaknesses I'm afraid - I know when but the OCD overcomes common sense usually, I've no intention of touching the rear wheel bearings or calipers since they're new already but everything else is under the microscope, whilst I may not replace much like the oil gallery plug behind the flex plate on the engine I have to inspect at least.
Ben
The wishbone inner fulcrum bearings are easy to inspect once the wishbone is off the cage. If the little rollers are all there, the bearing is good.
The Great Palm, I think, was referring to the outer fulcrum bearing in the hub, which is under preload. This bearing has very little chance of grease, as the grease exits across the hub and out the other side, opposite the nipple, through an OEM hole.
Grant just blocks this hole with a self tapper, you can, if you are brave enough, drill a hole (as explained by the Great Palm) through the bearing housing, so grease can actually flow through the bearing. I have done this, but Grant's experience is that just blocking the exit hole and then gently greasing, gets the grease through the bearing anyway.
The symptom for an outer bearing going home is poor tracking through long fast corners, requiring constant steering adjustments. Mine started failing like that, and a new outer fulcrum kit from Manners and a day getting it all in there (getting the correct preload, and then assembling the shims etc etc without it all falling out takes time) fixed it. The car, when right, should track like a guided missile round fast sweeping bends.
If your car tracks well, leave it alone. I suggest that if you do not yet know, leave it alone and just do the Grant mod. It is easy enough to do the bearings later, wishbone-on-car, if needed.
Last edited by Greg in France; 09-22-2021 at 09:02 AM.
Not being pedantic but this is Cage number:3 (Lol)
Although for reasons that can't be explained, I do enjoy refurbing Cages, so maybe I like to try and turn ugly ducklings into swans as best I can and I've also know a Garage with a Bearing Press and all sorts of other stuff that can do jobs for me, although they will never be laying hands on the Car
As for one thing I very much doubt if they have ever done work on a V12 and would be as awe struck as I was, when I first looked at that engine all those years ago and remembers closing the Bonnet and hoping it wouldn't go wrong
Which of course it eventually did when the Ring of the Split Rotors decided to detach itself and clattered round the drive shaft, which sounded like a ringing Telephone!
As for the Big Rubber Bushes I didn't turn them round, as 'Greg' advised me not to do this for some reason, so I left them OEM
Last edited by orangeblossom; 09-22-2021 at 12:14 PM.
If there's stuff you cannot do for whatever reason, then there isn't any shame in getting a bit of professional help if you need it, as rebuilding the Cage on an XJS is not for everyone as it can require quite a lot of physical effort
Which is why I take my time and do it in bite size pieces, or maybe I'm just a paranoid control freak, when it comes to letting a garage get anywhere near my Car, which is why with the help of Greg and Grant (Paul) ptjs and everyone else who's been kind enough to help me, I've been learning to fix her myself
So if you ever hit the 'Buffers of Gloom' during your Cage Rebuild, then you could always contact Ward Engineering of Colchester Essex who are about 200 Miles from you, though having said that when it comes to Cage rebuilding these Guys are the Experts when it comes to doing this sort of stuff
And as such can supply you with with a ready to fit rebuilt Cage for about �3k so using that as a starting point, then you could work back from there if you want discs and Calipers done, or have your own components put back in the Cage
Just a thought and hoping this might help you
Good Luck with your rebuild
Alex
Last edited by orangeblossom; 09-23-2021 at 03:33 AM.
For Starters I have no idea why I'm up this early, except that for reasons that can't be explained I sort of had an obsession to remove the Handbrake Mechanism on 'Cherry Blossom' My XJS V12 while the GF was still asleep
In my own opinion the Handbrake Mechanism was not one of the best ideas that Jaguar ever had, as when it comes to changing the Handbrake Pads then you are in for a Treat! as this can be a Nightmare of epic proportions
But they have to come off for the rebuild of the IRS Cage and so here goes
Step (1) Bend back the locking Tabs
Step (2) Undo the Fixing Bolts
Step (3) Lever them out with a Screwdriver
At last you can get to the Caliper Bolts or at least one of them
Bolts Spring Spacers and Locking Tabs
Handbrake Mechanism now removed
If you needed to Change the Handbrake Pads you would need to undo this Bolt (one to hold each Brake Pad in place) and a really fun Job to do!
The Handbrake Pads slide onto that Pin 'Thingy' in the Photo and are held in place when you tighten up the Bolt
Which in case I forget to mention it, is a 'Nightmare' of epic proportions to do with the Cage Cover on and doubly so if those Bolts have gone rusty and won't undo
Greg has got a Brake Pad 'Mod' which is well worth looking into
A nice bath in some degreaser which I could probably do with myself
Removing the Handbrake Mechanism only took me an Hour though if the Cage were back on the Car then this could be a very different story!
OB
That is a great set of photos and instructions that will be a really useful resource for others. I realise you know this, but in case others do not the items you call "spacers" in this photo (the things with the prongs on them):
Are actually springs that are there to hold the pads off the discs when the handbrake is released. The prongs MUST be located in the holes on each handbrake caliper. It is quite easy to assemble the lot with the prongs not properly located. If they weaken, which they do, it can result in a very irritating squeak from the pads at low speeds. Ensure they actually do hold the handbrake caliper arms (and thus pads) off the disc on reassembly.
Concur - great set of pics that really help show where things 'should' be.
On the letting others near my cars I do when needed, as an 'ex' mechanic (a real one not a PC jockey and box fitter) I like yourself don't trust others on them though. When I see a shop pumping whatever that oil is in the 50 gallon drum into my car that's the day I don't use them any more - I always watch their workshop.
I've seen so much stuff on youtube and places that's flat out wrong and yet it is put across by so called professionals - this doesn't help that trust any. I do things by the book, I also verify the book because I don't always trust those either - guess I'm too old school for some. I do have one place I trust, but they tend not to want the complicated stuff as it isn't profitable enough and ties up resources.
The support and advice to be found here is beyond priceless, it isn't simply a repetition of what has been 'googled' but based on actual experience, often with pictorial proof. Sort of makes me feel a tad unworthy but so far anything I've done would simply be a repetition of existing efforts that I doubt I could improve on.
Have no fear I'll get it done, I'm impressed with your progress for sure.
I also tend to not trust the professionals but pride can be just as expensive and so sometimes I do, like if I need some Hydraulic Hoses or something like that made up and Greg and Grant even fixed my Car all the way from France and Australia
As they've been there and done stuff that I thought I couldn't do and so if anyone's 'not worthy' then its me
There seems to be a general Consensus of opinion that the UJ Covers are not needed and though I was reluctant to remove them at first, there seems to be an advantage in doing so, as for starters its much easier to fit the Over Axle Pipes with those UJ covers out of the way as well as having easy access for greasing
So they had to go and this is how I removed them
The UJ Covers are held in place by just a Hose Clip and a couple of Pop Rivets
Removing the Hose Clip of a UJ Cover
Pop Rivets need to be Cut Off or Drilled out
Grinding off those rivets seems to be the way to go
Next I pulled them apart with a Screwdriver
Now just a case of pulling them off the Drive Shaft
That looks a lot cleaner and easier to get round
Tomorrow: Removing The Calipers and Rotors
Last edited by orangeblossom; 09-24-2021 at 10:16 AM.
Take 1 X 5/8 Spanner and a FBH and hope that this might be your Lucky Day, as if you round off the Heads of those Caliper Bolts then you've got a problem on your hands, as a 5/8 Spanner is almost but not quite a perfect fit
Having first removed the locking wire it was time to undo the first one
One firm Tap with a FBH should do
One down and one to go except the second one is hard to see
Eventually I managed to get a spanner on it as the lower bolt is in an awkward place though having done so needed some leverage from a short scaffold pole
Not too bad, removing the Calipers took about an hour
Replacing the Rear Rotors was the one and only reason for having to drop the Cage on 'Cherry Blossom' My XJS V12 and though not a difficult job in itself, the actual restoration of what's inside that Cage can be a challenge, as can knowing when to stop or else rebuild the whole thing
As for replacing the Rotors every time I took 'Cherry Blossom' for her Annual MOT Test, the MOT Tester gave me the 'look' as if to say replace those Rotors or next time I may have to Fail Her and seeing they were looking warn there didn't seem a better time to do that job than now, just as we were coming to the end of Summer
So I would have her ready for next Spring
Although of course, nothing is that simple as in order to replace the Rotors you also have to remove the Calipers, which as you will see from my previous post I have already done and so it was onto the Rotors, for which I knew I would be needing my Mains Powered Electric Rattle Gun
As that is the type of force that you need to undo the Nuts that hold the Rotors to the Diff which has to be the best �40 that I have ever spent, as that tool is indispensable for doing jobs like this, as well as undoing things like Front Caliper Bolts
My Mains Powered �40 Rattle Gun is almost indispensable for doing jobs like this, as unlike the Air Powered ones the Torque doesn't fade
Once the Nut that holds the Rotor starts to come undone, you can finish the job with a hand wrench if you want to
Once the Nuts are all undone then you can pull off the Drive Shaft and also the Old Rotor
No need to remove the Base Plate as if you lever that up with a piece of wood you've just got enough clearance to take the Rotor off
There are Shims each side of the Rotor that need to go back the way that they came off, so best to separate those with a Zip Tie
Having removed the Old Rotors, I just loosely bolted the drive shafts back until the New Rotors arrive and while I'm waiting for that to happen I can give it a Clean and Repaint including the Cage Cover, which always feels a satisfying job
With almost perfect Weather for the Job in hand, there couldn't be a better time to Clean and Paint the IRS Cage on My Car 'Cherry Blossom' an XJS V12 and while She's not a Garage Queen when it comes to fixing her I like to do the best job that I can
So when it came to Cleaning and Repainting the Cage, the quest for Concourse Perfection can be a waste of time, so what I'd call 'Fishing Boat Finish is plenty good enough for me, as 'The End Of Perfection Is One Muddy Puddle Away' although of course the Mechanical Side needs to be up to snuff
Where I really am the only one that I have to please, even if on some occasions I can go a bit OCD as the object of the exercise is to get 'Cherry Blossom' ready for next Spring, before they put the Clocks back and the Nights start drawing in
So in order to try and make that happen, it was time to really get stuck in, so the first job I did was to remove the Springs, in order to make it easier to Clean and Repaint the Cage and I won't be replacing these as they are plenty good enough as they are
Using my Mains Powered Rattle Gun to remove the Springs
The Springs will be rebolted back with plenty of Copper Grease
Using an Angle Grinder Wire Brush to Clean Up The Cage, which worked much better that I had expected!
Work in progress but getting there with more Wire Brushing to come
Power Washing The Cage
Looking Good Time for a 'Cuppa' while the Sun dries it off
I'm only Painting the inside of the Cage at this stage and will only Paint the Outside when its all put back together or the Paint will get all messed up
Yass! Just got to order up some New Rotors and a Caliper Rebuild Kit and then put it all back together
Wire Brushing The Cage With An Angle Grinder Wire Brush
 09-22-2021, 05:53 AM