When you click on links to various merchants on this site and make a purchase, this can result in this site earning a commission. Affiliate programs and affiliations include, but are not limited to, the eBay Partner Network.
Brighter Bulbs For The Binnacle If My 1989 XJS V12
How To Replace Them
Having taken the Binnacle out, the time has come for replacing those very Dim OEM Bulbs with some Brighter 5 watt ones as suggested by 'Greg' and these can be found underneath the Black 'Top Hats' on the back of the Binnacle
The Bulbs for the Binnacle can be found hiding underneath those Black Top Hats, the only question being how do you take those Top Hats out of the Binnacle? with the Answer being you have to pull them out, as if you were a Dentist extracting Wisdom Teeth!
While on the Surface this seems to be a very easy job, it isn't quite as Simple as it looks, as all it takes is one false move and then things could go 'Pear Shaped' very quickly, so don't get carried away and start ripping them out, as this is a job that requires quite a delicate touch
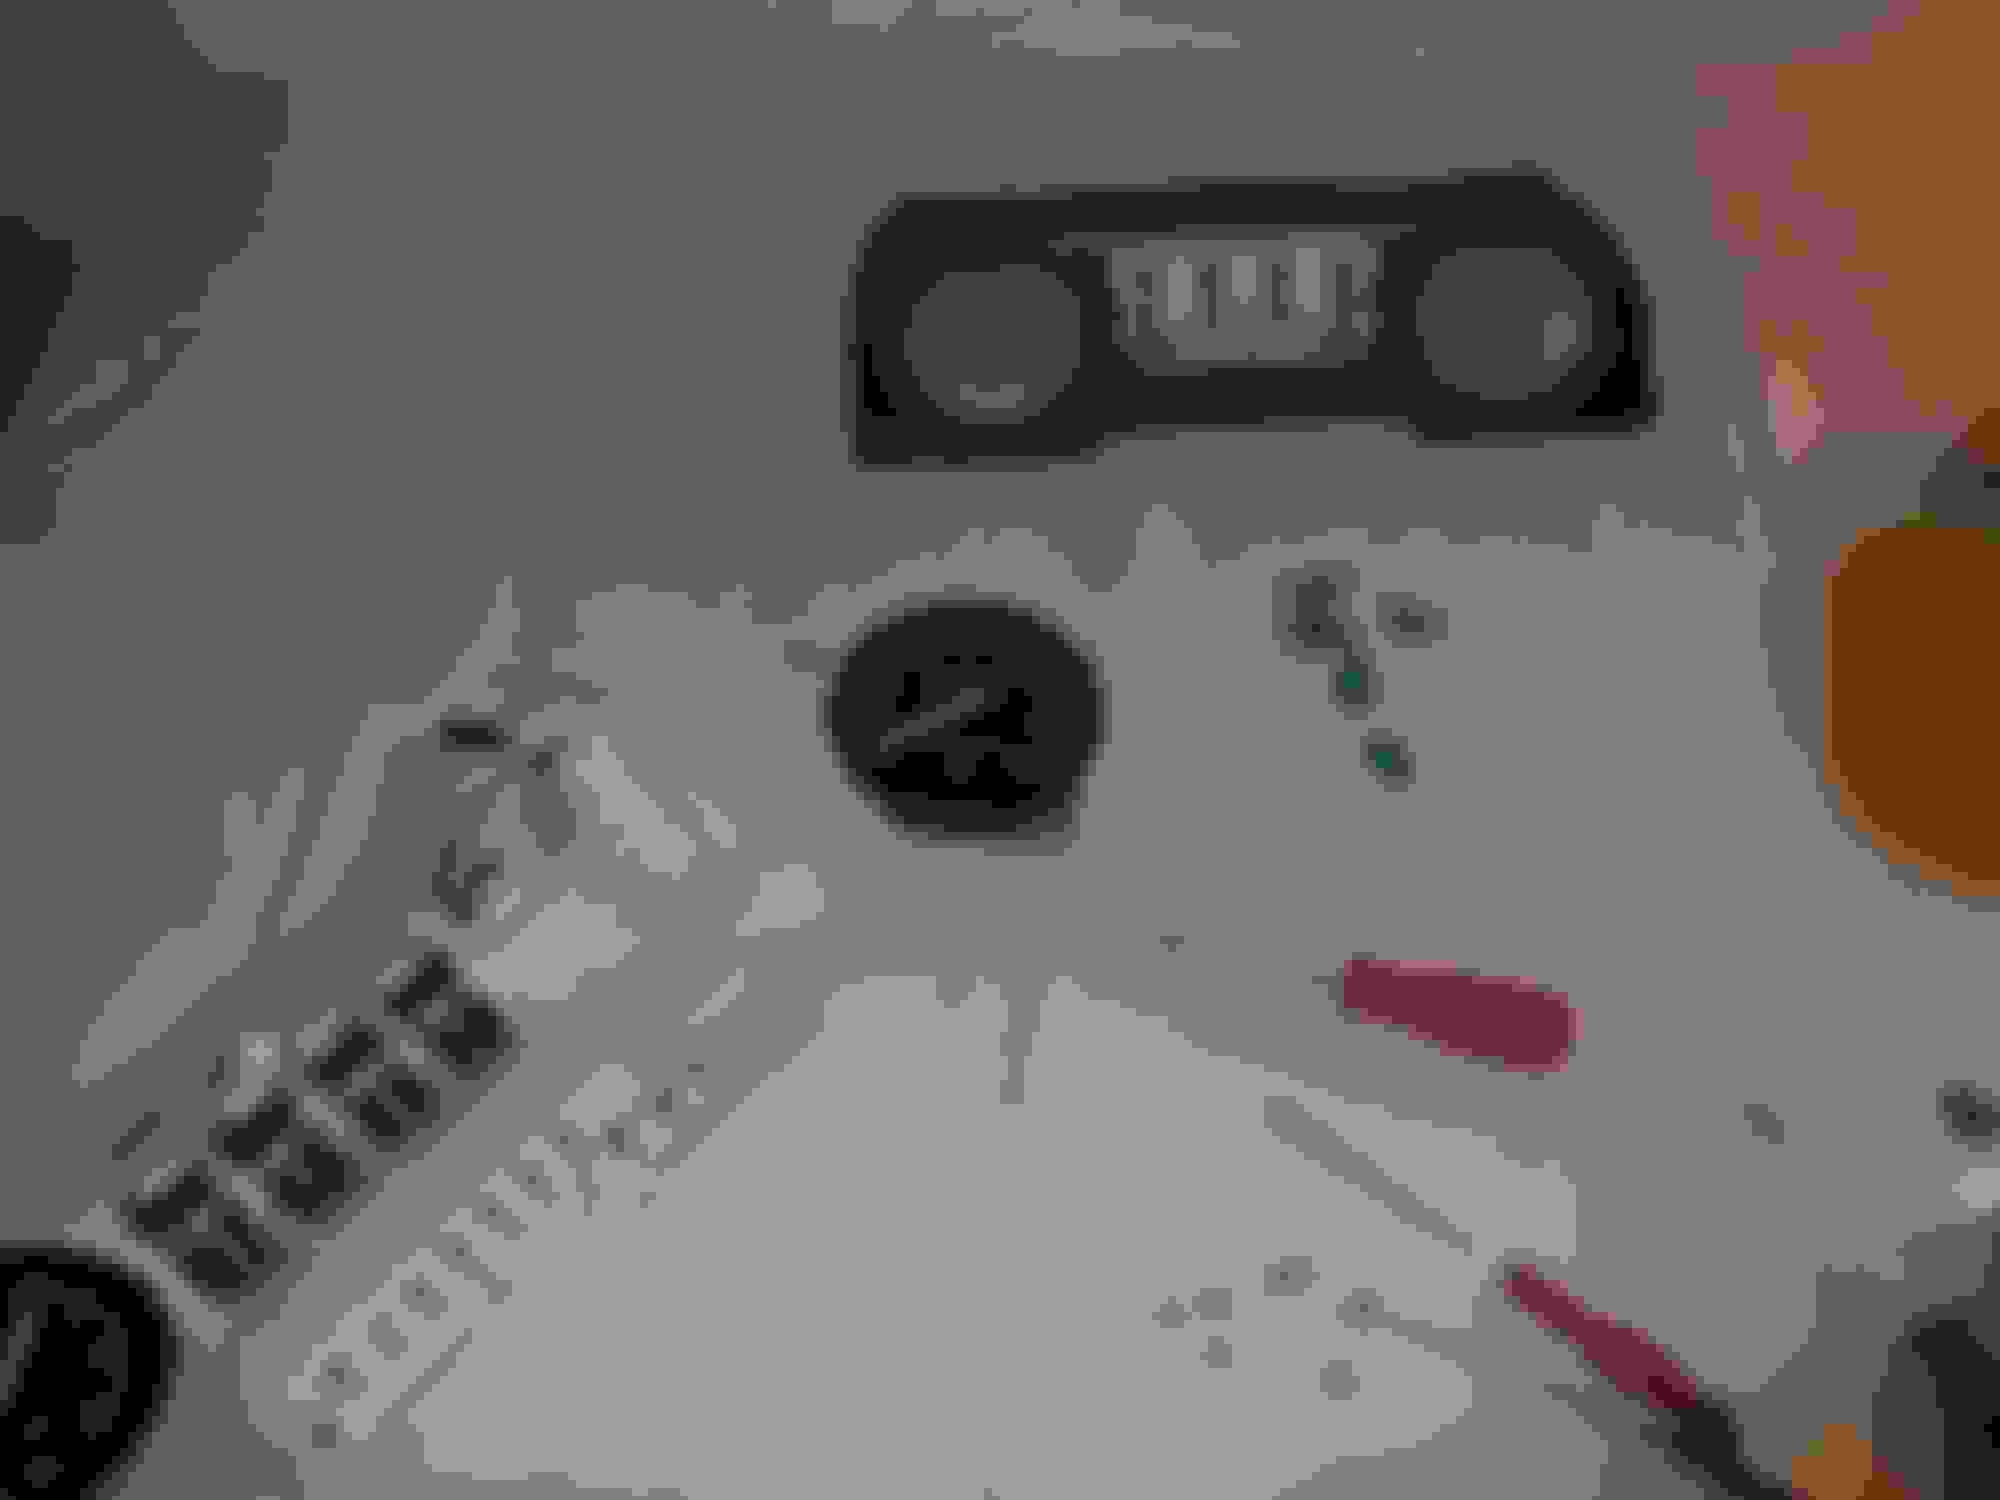
In this Photo you can see the danger of rushing this Job, as if you are not Careful, as you pull out the Bulb Holder it could damage the Printed Circuit and in doing so could leave you with a Non Working Speedo as well as other problems that you could well do without, so I'm holding it down with my finger as I try and Jiggle it out
The only problem being that they don't come out as easy as it looks like this one did
You could well find like I did that those Black Top Hats are Stuck In Really Tight! and need a little persuasion to come out!
Once again be very Careful while you're doing this, as if that Black Top Hat decides to suddenly come free, it could likewise rip that Printed Circuit
So hold that Printed Circuit Down, as you try and pull that Top Hat out
Once the Top Hat is out of the Binnacle, you can then breathe a Sigh of Relief and simply pull the Bulb out of the Holder
Where now would also be a Good Time to Check for Signs of Corrosion, especially in the Area around the Multiplugs and use some Lemon Juice and Cotton Buds to clear that up if you need to
When replacing the Bulbs with Brighter ones, Don't fall into the Trap by trying to push the Bulb too far into the Holder!
Just push the Bulb in far enough until you feel it 'Snug' into position, as if you push it in too far, then it could expand the Retaining Clips a bit too much to push the Top Hat back into the Binnacle, which once again could end up by causing you unnecessary problems
Once you have replaced the Bulbs the Binnacle can then go back in the way you took it out, although I hooked mine up to the Multiplugs to Check the Bulbs were working, before I screwed it back into position
In Artificial Darkness the Binnacle is Glowing so much Brighter than it ever did before, though if you should find that its too Bright for you, then you can Adjust it with the Rheostat under the Dashboard
Alex
Very clear and helpful. I will just add the following:
Inside the actual binnacle, the bulbs are covered by a green plastic "bowler hat" coloured filter. These can blacken over time and make the lighting considerably worse. If, after new 5w bulbs, the lighting is still not quite right, then removing the filters helps enormously.
To do this is a bit frightening, as you have to separate the white part of the binnacle from the black part, which requires the unscrewing of several very small headed self tappers. You just break the filters off their tiny riveted tabs and re-assemble.
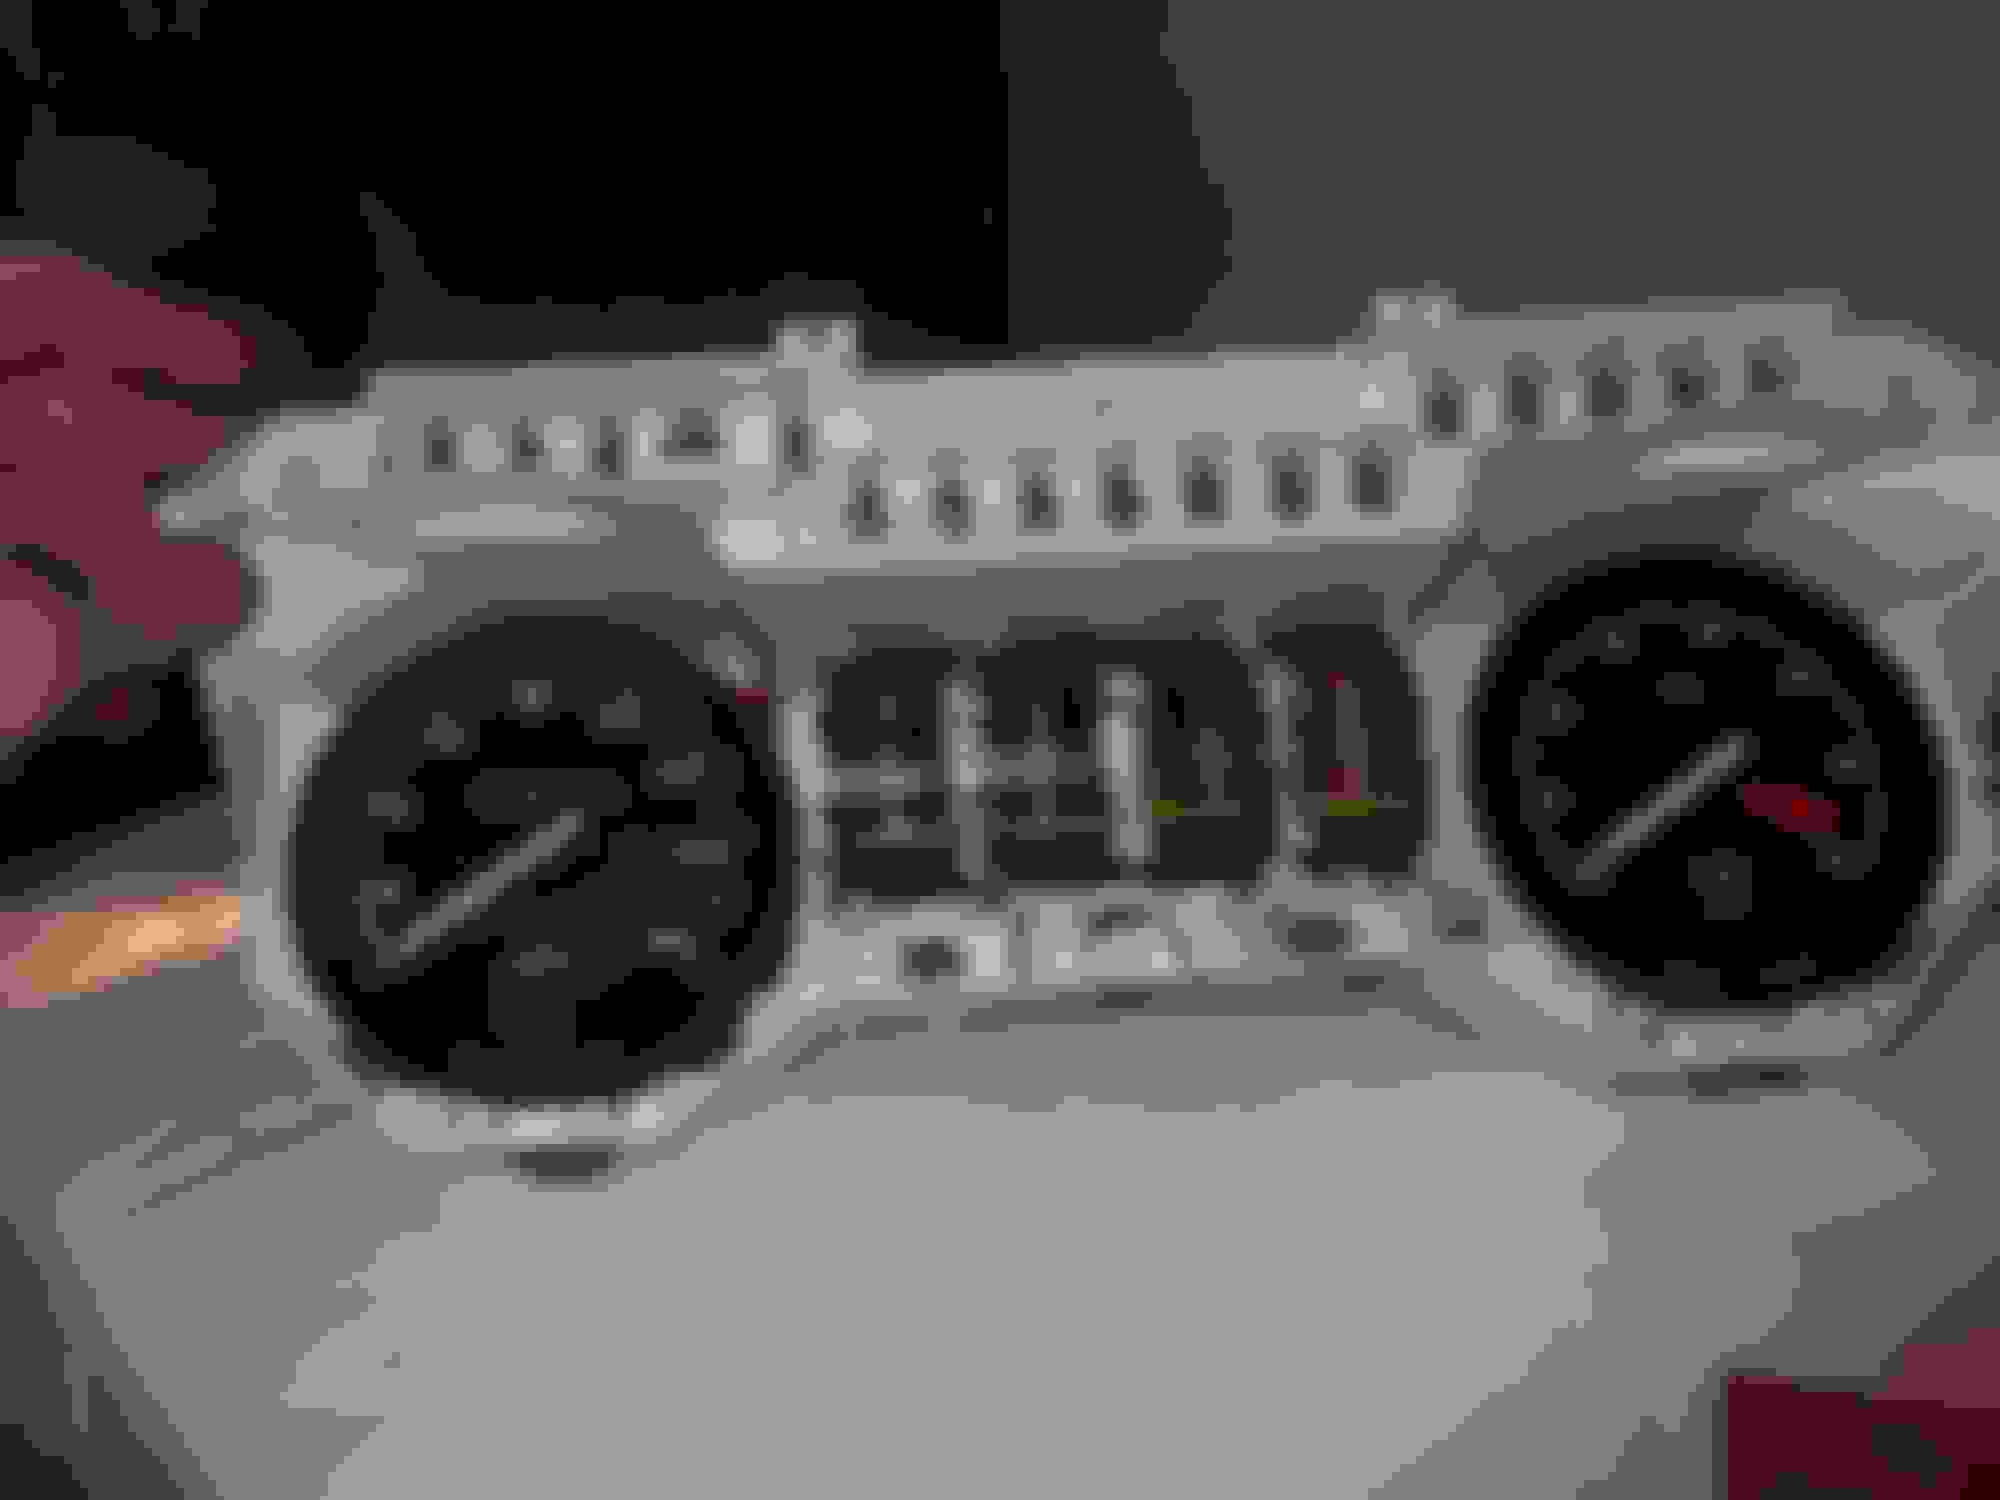
On this shot you can clearly see the bulbs without their green filters
I remembered that you mentioned this a while back although I decided to pass on it, as 'A' it was too Scary to even contemplate! and 'B' the Greenish Jaguar 'Glow' was not too hard on the eyes and so I think that having done the 5 watt Bulb Modification I will leave things well alone at least for the time being and until I've done a Night Drive, to see how things go
And though I've looked on ebay I can't find anything Brighter than 5 watt although in the Speedo at least you get Two Bulbs of 5 watts each
And though I've looked on ebay I can't find anything Brighter than 5 watt although in the Speedo at least you get Two Bulbs of 5 watts each
The 5w are plenty bright enough, and you will probably be pleasantly surprised by the difference once you try it out at night. But if not quite bright enough, removing the filters will make a very big difference.
During one of the Hottest Summers We have ever known, things have been going Crazy down at 'Orange Blossom Towers' with Electric Scooters Zooming past our Driveway on the Pavement, where exiting this either on foot or in one of our Cars is Fraught with Danger!
Where in this respect many of our neighbors have fitted Convex Mirrors to their Gate Posts, to give them a better chance to see who may be coming along and while that is a good idea, I did start to wonder if there was a better way
At which point I literally had a sort of 'Light Bulb Moment' as I remembered an old Lamp Shade that was in the Shed, that I didn't throw away just in case one day it might be useful. where as it turned out. To-Day was that Day! and so I went down to the Shed to find it
Where after giving it a Clean as well as a good Polish, it was absolutely Perfect for the Job! as unlike a Normal Convex Driveway Mirror, the Convex Style of this Chromium Shade, gave that Convex View from any Angle, no matter what position your Car was on the Driveway as you slowly made your way towards the road
Once Mounted on Top of the Gate Post this gave a 360 Convex View as you slowly drove towards the exit and onto the road
Last edited by orangeblossom; 07-31-2022 at 06:23 AM.
Who Cares About The Cost Of Petrol When You Have Weather Like This
As It's Only An Extra �5 For Half A Tank Of E5
So I'm off to get some Motion Lotion and then were off to the Sea Side for Lunch at our Favorite Restaurant
This is a project that I've had in mind for some time, especially during the Burning Hot Weather, that we are experiencing now although I've had to wail for quite a long while for this piece of kit to arrive from China, which also has a multitude of other useful uses, one of which will be for making a gasification burner for heating the house
As rumor has it that energy prices are going off the scale!
But as of now I've just fitted one of these into the Engine bay of my XJS V12 which was a little bit of a Tight Squeeze!
Isn't She lovely and the output from this is absolutely massive! where even during Testing, even half power was more than enough to almost blow this Fan right off the Desk!
Which is where the Speed Controller (supplied with the Fan) wasn't just very handy but almost essential! as otherwise it feels just like a Hair Dryer on Full Power! and so good it will Blow you away!
This is their smallest model, being 30 Watts and can either be run on 240 Volts/110 Volts or 12 Volts which makes it very useful for all sorts of Application, where also buy way of a Bonus, it is Super Silent as well, though not quite so much if you turn it up to Full Power
As you can see I've still got a little bit more Fitting and Fettling to do, as well as wiring it up to a Switch in the Cabin, as I am only intending to use it for Traffic Jams and the like or maybe in an overheating sort of situation
As for the Fan Outlet, I've taken the Tube off the Water Drain for the Windscreen Wipers, as I never knowingly go out in the Rain and this was a Perfect Fit at a Perfect Angle, where unless anyone knows different seems to be a very good place to put this Fan, which even seems to work perfect with the Bonnet/Hood Fully Closed
And really Bangs out Hot Air from underneath the Car, although I haven't got around to doing a Temperature Check, as Today its even far too Hot to step outside the door
You need a two channel K type remote thermometer. Every V12 owner should have one, tape the wires to what you want to measure and run them through the doors into the cabin and read the temps in real time! Cheap as chips too, this is what I have:
OB, if you can find just a few more quid and pick up a 4-channel K-type thermocoupler for about �40 then you'll have a really useful tool.
I bought a cheap 4-channel device some years ago when I was fitting an electric fan setup on a Range Rover and I needed to accurately check temperature simultaneously on hoses, stat housing and rad.
GF Came Up With A Great Idea For Reusing Furry Hot Water Bottle Covers!
Nothing lasts for ever, especially when it comes to Hot Water Bottles and so in preparation for some of those Cold Winter Nights we thought we would buy some New ones now, as no doubt with the present Energy Crisis, they could more that likely be Sold Out at the very time you need them most
Where while I was just getting ready to throw the Old ones in the recycling bin, the GF came up with a Great Idea of reusing the Old Furry Covers, as Polishing Mops for the Car, where as it was such a nice Sunny Day, there seemed no better time that now to Polish '50 Shades' My Grey XJS using 'Mer' which has always been my Favorite Car Polish
The results were pretty spectacular, as the 'Furry Hot Water Bottle Covers' made Amazing Polishing Mops and were ideal for Polishing '50 Shades' to a Bright Shine, especially if you use Two of these together, so I left the GF to it and then made another Video to really Show Her off!
These Furry Hot Water Bottle Covers Polished my Grey XJS to a really Bright Shine! especially if you put one hand in each of them and use them both together!
If you are talking about the Fuesable Link it is on the Battery Positive Cable in the Boot/Trunk and just needs Pushing Together, its very easy to disturb, especially if you have just Changed the Battery and is a very Common Cause of No Crank or No Dash Lights and you can find a Photo of this on Page 133 No Crank No Start No Dash Lights? It Could be the Fuseable Link that needs pushing together
Yes i am talking about that and thank you. on my positve it doesnt have anything i can push it into can i just make a male end that conects to the positve to it
Please can you put up a Photo to show what you have got before you think about adding any connectors of your own, as it would be unusual for your Car not to have one factory fitted
That looks like the Battery Set up on an XJS 4.0L Straight Six rather than a V12 please could you confirm that your Car is a V12 and not a Straight Six 4.0L
How To Bleed The Low Pressure Side Of The Teves ABS Brakes
Lots of requests on how to do this so I am re-posting this updated Version so that I know where to find it to help those who may be having this problem
IGNITION OFF! AT ALL TIMES!
(1) Have a Jar and some Rag standing by and then Cover all exposed Paintwork with Old Towels and also have a Bucket of Soapy Water close at hand to Sluice down any accidental Brake Fluid Spills
(2) Pull the Locking Pin out of the Plastic Elbow of the Brake Pump
(3) Jiggle and Pull the Plastic Elbow out of the Brake Pump being Careful not to break it, as its made of very Brittle Plastic
(4) As soon as you pull the Elbow out Brake Fluid will Start to run out but as its not under pressure put your finger over the end to control the flow Brake Fluid as you catch it in the Jar
(5) Let the Brake Fluid flow into the Jar until it runs Bubble Free (just takes Seconds) and then while the Brake Fluid is Still running out Put the Elbow back in the Brake Pump and lock it in place with the Pin
(6) Its a bit of a messy process so mop up any Brake Fluid Spills with old rag and wash down with a little water but try not to Spill any Brake Fluid so you don't have to do that
That's all there is to it!
In a 'Nutshell' you are Gravity Feeding Brake Fluid from the Reservoir to the Brake Pump via the long Metal Tube that runs across the Back of the Firewall while getting rid of any Air Bubbles just before it goes into the Brake Pump at the Plastic Elbow end
This must be done 'on the fly' while the Brake Fluid is still flowing, as you push the Elbow back into the Brake Pump
The Brake Fluid is only Gravity Fed, so its not going to come squirting out and you can put your finger over the end of the Plastic Elbow if you want to stop the Flow for any reason
Its Best to have an Assistant (who knows what they are doing) to keep the Reservoir Topped up as you do this, as if any Air gets in then you will have to do it all over again!
Do not let the Reservoir run dry
Be very Careful not to let any Brake Fluid drip on the Paint Work, or it will just Strip the Paint off in an instant and potentially ruin your Car
Don't Panic its not quite as Scary as it sounds as the Brake Fluid is flowing out under Gravity and Not under Pressure!
Then having done that go and re-bleed all the Brakes all over again!
I Know its a bit of a PIA but if there is even one Bubble of Air in the System, then it will never be right
Either use the Tried and Trusted method described by Paul (ptjs)
Or My Gravity Bleeding Method
But don't Mix and Match them either use one or the other but after Gravity Bleeding the results of this are so good that I will never do it any other way
Don't Panic! as Bleeding the Low Pressure Side can seem a little bit Scary
And don't drip any Brake Fluid on the Paint! Last edited by orangeblossom; 10-04-2022 at 06:45 PM.
 07-02-2022, 05:05 PM