When you click on links to various merchants on this site and make a purchase, this can result in this site earning a commission. Affiliate programs and affiliations include, but are not limited to, the eBay Partner Network.
Alex
Thank goodness for a lift! The bolts ARE 3/4 AF and you need a single hex socket on them. I have just tried my socket and NO PLAY! Ask Santa for a decent set of 3/8the drive sockets, and forget that rubbishy old spanner! https://www.ebay.co.uk/itm/144626612...3ABFBM2I7OraBi
or
Alex
Thank goodness for a lift! The bolts ARE 3/4 AF and you need a single hex socket on them. I have just tried my socket and NO PLAY! Ask Santa for a decent set of 3/8the drive sockets, and forget that rubbishy old spanner! https://www.ebay.co.uk/itm/144626612...3ABFBM2I7OraBi
or
I've just tried 5 x 19mm spanners and 5 v 3/4 AF spanners + micrometer measurements on the bolt and the spanners!
Even though my bolt is lockwired, a 3/4 AF was a fractionally tighter fit than a 19mm spanner. Even with the inevitable bit of surface corrosion, the bolt measures about 20.1mm with a micrometer across the 2 most accessible flats.
My 3/4AF spanners measure between 20.0 mm (a brand new good quality one) & 20.2 mm (my usual used spanner) in the centre of the jaws
My 19mm spanners measure between 20.1 mm & 20.25 mm in the centre of the jaws.
So for me, I'd be using a 3/4 single hex socket.
OB, if somehow your bolt head is worn, or you haven't got some perfectly accurate spanners / hex sockets, maybe try a 23/32 AF hex socket? I don't have one of those and suspect they are not very popular. Or maybe use a surface-drive 6-sided 19mm or 3/8 AF socket which will enable you to take up that fraction of play. I really like my 6-sided surface-drive sockets as they don't round the points, but admit I've not used one in an impact driver before, so don't know how they'd perform under that situation.
Had to go to Iceland! The Shop Not The Country and then called in a Charity Shop where I picked up a load of Black Impact Sockets! some not even used
Didn't bother checking the Sizes as they were only 50p each so I offered a Fiver for the Lot and they said Yes! and I thought OMG!
And one of those Sockets 'Drum Roll' is a Tight Fit on the Caliper Bolt! so tight that I had to tap it on with a Hammer! not sure of the Size as all the Markings were worn as this had been well used for something but I think it is 18mm
Not a common size I don't think but next time you're in your Garage, offer it up (if you've got one?) and then you will see
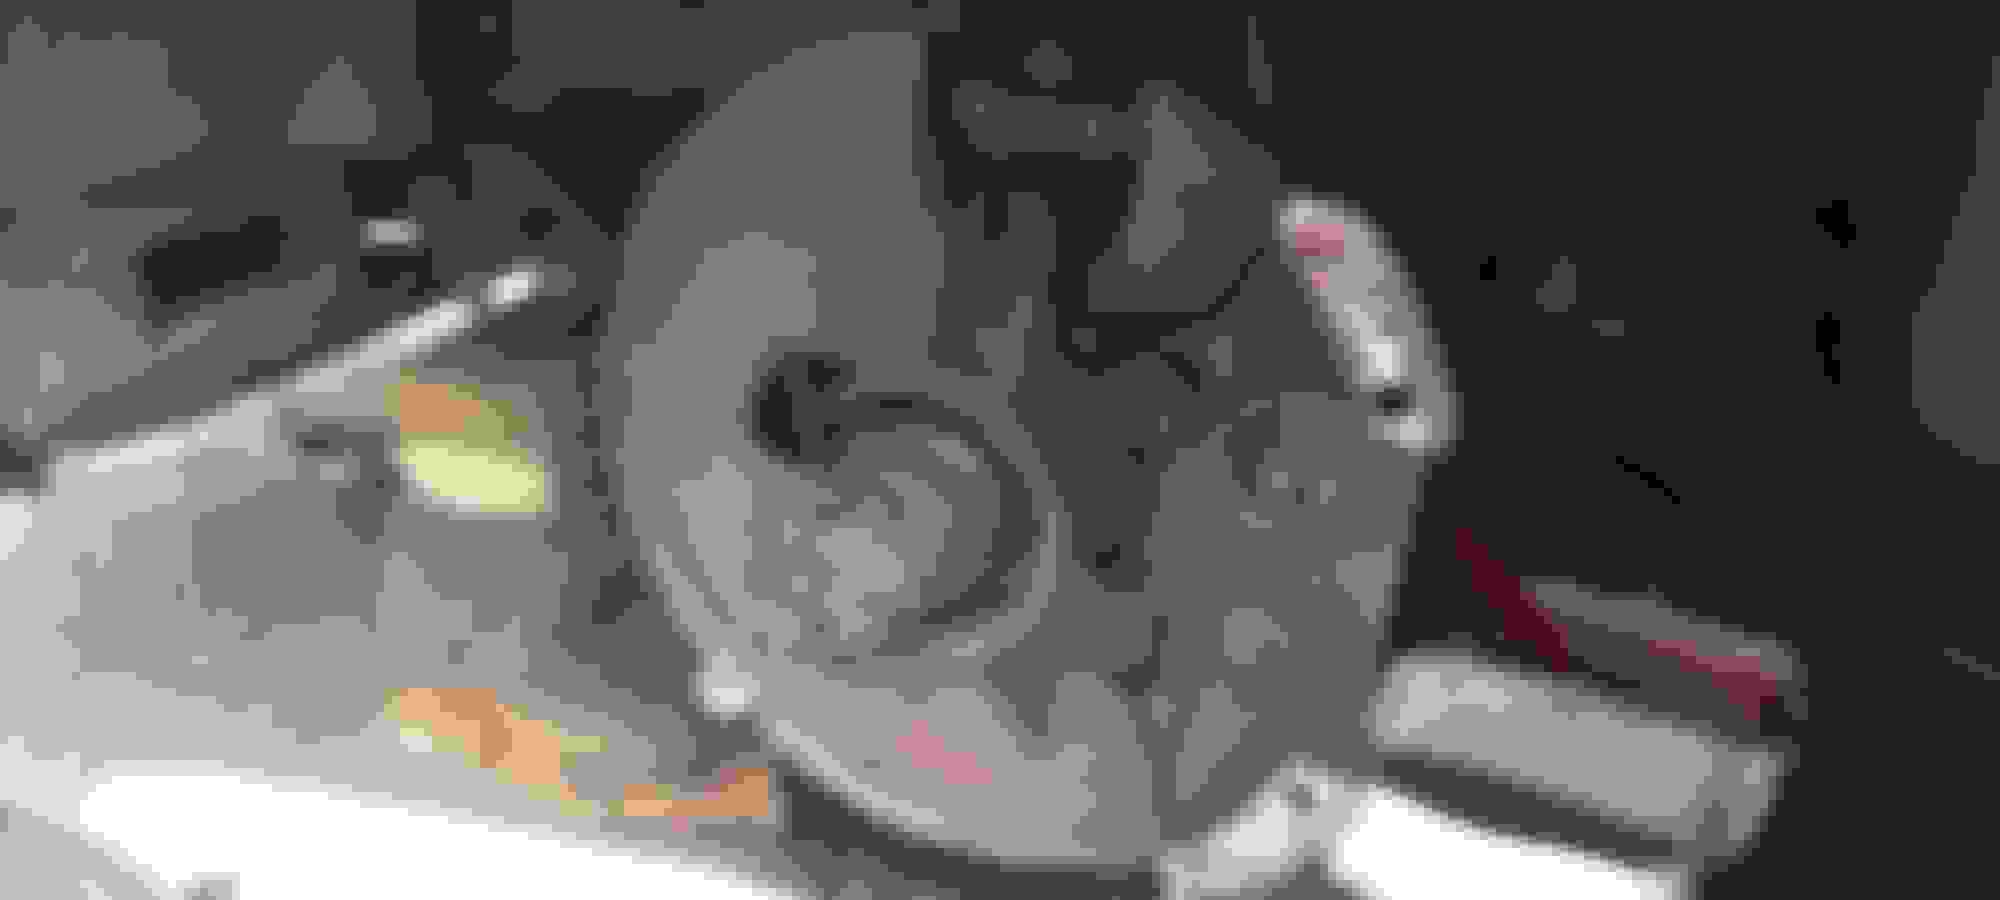
Also been a bit busy: Took the Hub Off, Took the Pistons out of the Nearside Caliper piece that I separated Yesterday and then took the Pistons out of the Caliper Piece that was left on the Car
Cleaned it all up and even put the Hub in a Plastic Bag! so I wouldn't lose all the bits!
So if I got some new Pistons and Seals, it looks to be an easy job to rebuild this Caliper while it is still on the Car and in fact it might be better to do it this way, as I think it would save a lot of dismantling
Typical now I've got the right blinking Spanner! and if I chose that option, the parts for both Calipers would be about �75 instead of �250!
Well done on the purchase! Fortune falls on the righteous!
Despite the fact, you've got that caliper apart, I would still get the caliper off and exchange it. Why?
- Even with new pistons and seals, your calipers won't be as good as a new one that has had all the passages and ports blasted and cleaned. Not to put on new calipers, at the cheap price they are, is just false economy imo
- You need to know you can remove the caliper one day anyway. Tomorrow is that day!
- You're going to end up with new calipers, greased caliper bolts and the peace of mind that your car is better and safer
- You can now try to shock the end of the bolt from the exposed internal caliper side and throw some heat at it
- You're so far down the road that you have to see it through now!
I know its absolutely no consolation whatsover, but I spent 4 hours today trying to extract a rear lower hub bush on my Range Rover. It's still stuck in there! I share your pain!
Unfortunately I must agree with ptjs1 on replacing the calipers. Renewing the seals between the caliper halves can be dodgy and might leak under heavy braking.
Hey OB, good find on the Impact Sockets. You mentioned 18mm being a uncommon size. Well maybe on that side of the pond, but over here if you own a Chevy product, they use 18mm bolts on a lot of things all over the car. Just a tidbit of extra info.
As I am planning to sell this Car I need to limit what I am prepared to spend, as New Calipers with all the other little bits and pieces, would be very close to �300 I've always rebuilt my own Calipers and have done exactly the same with the Car that I'm keeping
Any info is always very well received, as I'm only a 'Hobby Mechanic' with still so much to learn from guys like you who have so much experience working on these Cars, so any extra hints and tips are going to be useful to someone like me
As I was having a Tidy Up in one of my Sheds To-day, I came across a Front Caliper that was on 'The Ice Princess' my Ice Blue XJS I took this Caliper off the Car quite a few years ago, as I replaced both Front Calipers with New Ones
This was from the Passenger Side of a UK Car, although I know the other one is probably in here too, that has no doubt been buried under a mountain of Junk, or else hiding under the Bench, waiting for me to find it
Where since I had some time to spare, I thought that I would try and make a Home Made Caliper Piston Extractor, as the Pistons would no doubt need to be replaced after such a long time, in case I wanted to use this on another Car
Like for instance my XJS Celebration Convertible, although I am still weighing up the Pros and Cons of fitting a Couple of New Calipers
Making the Extractor was quite easy and only took a Couple of hours to do, as whatever I decide, it's bound to come in handy at some time in the Future
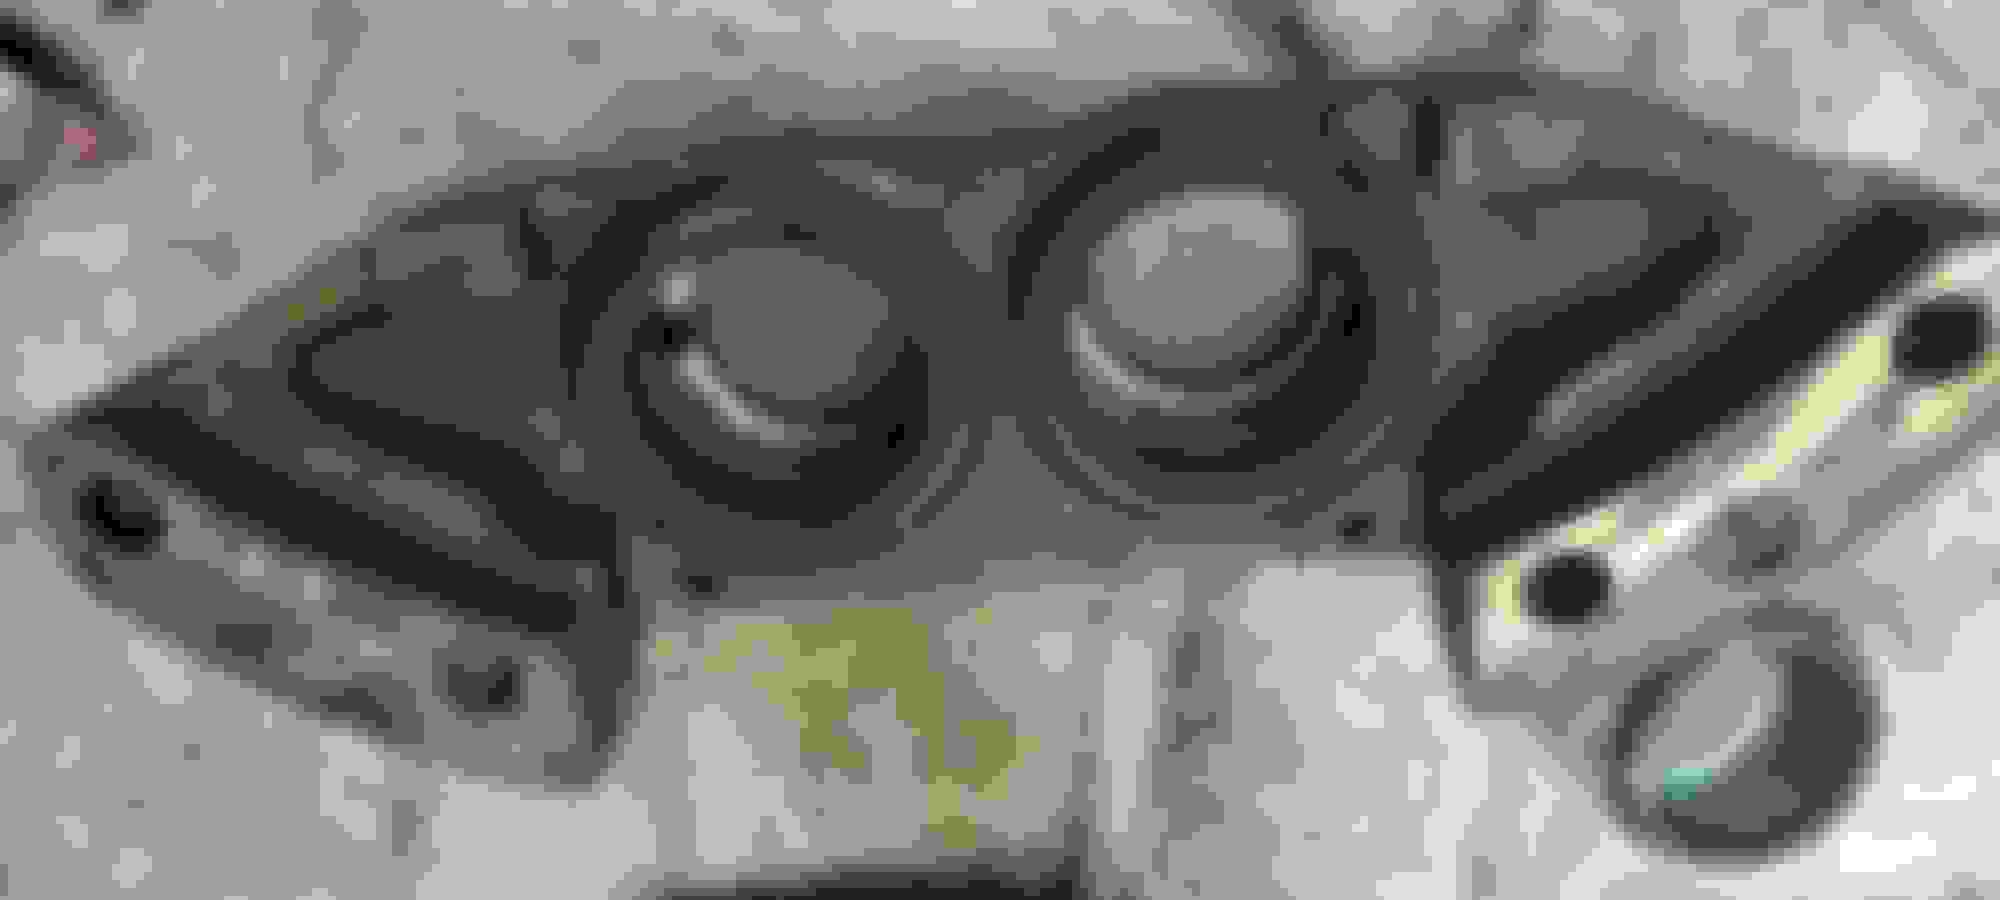
To make the Caliper Piston Extractor, all you need is an Old 1/2 inch Socket, that is a Tight Fit in the open end of the Piston, 2 Strips of Steel and a Couple of Pieces of Threaded Studding
You also don't need the Piston that you see in the Photo, except to gauge the Size of the Socket, that preferably will be a 'Tap In' Fit
Next Mig Weld the Bar on Top of The 1/2 inch Socket (where once again the Piston is for illustration only) as the Piston that you want to Extract will still be in the Caliper
Slide the Caliper Extractor over the Top of the Caliper Piston and then Spot Weld it onto the Rim of the Open End of the Caliper Piston
Caliper Extractor Socket goes inside the Open End Of The Caliper Piston and then Spot Welded in Place, so all you have to do now it to tighten the Bolts of the Caliper Extractor, where as you do so this will pull the Piston out
Piston almost out now, just finger tight in the hole
Piston Finally Out and already to do the Next one!
This Piston was really tight in its hole and so just using Compressed Air on its own would not have been enough and I reckon that the other Three Pistons will be Tight as well
But First The Old Ones Have To Come Off! Requiring Some Brute Force And Innocents
And Also A FBH!
Having found some Brand New Front Calipers at half the Price that I had seen elsewhere!
Decision made I had to have them to go on my 1995 XJS 4.0L Celebration Convertible but first the Old ones had to come off, the only problem being that the Bolts had rusted absolutely Solid
Where it soon became very obvious, that undoing these was going to take quite a bit more than a Clump with a FBH where the best way that I have so far found to undo stuck Bolts like these, was to Heat them up with the Flame from my Plasma 'Pilot Arc Cutter'
So in the event you may decide to buy yourself one of these, then make sure its a 'Pilot Arc Cutter' and not the Standard Version, or you won't be able to get that Very Precise and Super Hot Flame 13,000 o/F
Which is exactly what you need in situations like this, once you've had enough practice in heating a Bolt without cutting through, whatever that Bolt is stuck in, as a Plasma Cutter, cuts through Steel like Melted Butter
And so it should go without saying, that you do need to be Careful and never put your hand in front of it!
Where in order to Heat up these Rusted Bolts, I turned the Pilot Arc down to its Minimum Setting, which is probably still around 10,000 o/F!
The beauty of using a Tool like this, is that the Flame (The Pilot Arc) is so Small and Concentrated, that the Surrounding Area doesn't really seem to get that Hot, where one or two Cobwebs just inches seemed totally unaffected by the Searing Heat of the Arc
If you have ever tried to undo Rusty Caliper Bolts on an XJS then you won't need me to tell you just how hard this can be, as even my Mains Powered Impact Wrench just could not undo them, so really Heat may be the only answer
So probably a good job that I had the Hub Removed, as the Bolts were Rusted into the Hub as well as the Steering Arm, that one of the Bolts passes through and where the last time I did this job, the only way I could loosen this Bolt was to cut the Steering Arm through
Which is a bit of a last resort, that should be avoided as those Steering Arms can be expensive and may be even quite hard to come by
As for the Wrench that I used to undo them, this was a Ratchet that's really been used and abused and surprisingly has never broken, although I don't want to speak too soon, as I've still got the other Side to do and the other sides still got the Hub on and that could easily make it very hard to do
Congrats!
Yeah, the Other side, but now that you've conquered this side, the other should be dead easy.
I detect a BLACK socket this time. Alex, Definitely the proper tool. Did you pop for a set of 2, or merely borrow the one you needed?
(';')
If you mean the Black Sockets I've got 2 of those and that Caliper Bolt hung in there, until the very last turn!
But if you meant the Calipers, I've also ordered 2 of those as well (Brand New and Not Reconditioned!)
Though getting the other one off will not be easy, as with the Hub still on the Car, I won't be able to Heat the Bolt from the Outside, where it was really rusted up, on the one I have just taken off
Then 4 New Tires and that should hopefully be all the main expenditure taken care of, although on a Jag you never say never, when it comes to paying out for 'The unexpected'
If I thought that removing the Caliper on the LHS of the Car was difficult, trust me when I tell you that this was nothing when Compared to removing the Caliper on the RHS which was almost verging on the impossible, as it seemed like nothing would get those Bolts undone
Especially when considering there was only Two of them! 'I mean how hard could it be!'
That little Job took me 8 Hours! of Blood Sweat and Tears!
Even dropping an IRS Cage was literally a piece of Cake compared to doing this!
Mains Powered Rattle Gun and Even a Spanner with A Jack underneath, where even a 3ft Breaker Bar wouldn't touch it!
The Biggest Problem being that even with a Socket on a Ratchet, you have to give it a Clump with a FBH from Left to Right, which can be very difficult if you happen to be Right Handed!
And so the only thing to do, was to Split the Caliper just like I had to do on the Passenger Side and even that wasn't easy, as those 4 little bolts just did not want to come undone!
Which meant a very Serious amount of Heat from my Plasma 'Pilot Arc' Cutter
Even Splitting this Caliper seemed to take for ever to do and after that I had to take Rotor off the Hub
Not even a 3ft Breaker Bar would undo those 4 little Bolts, at least until each one of them had been Heated Red Hot
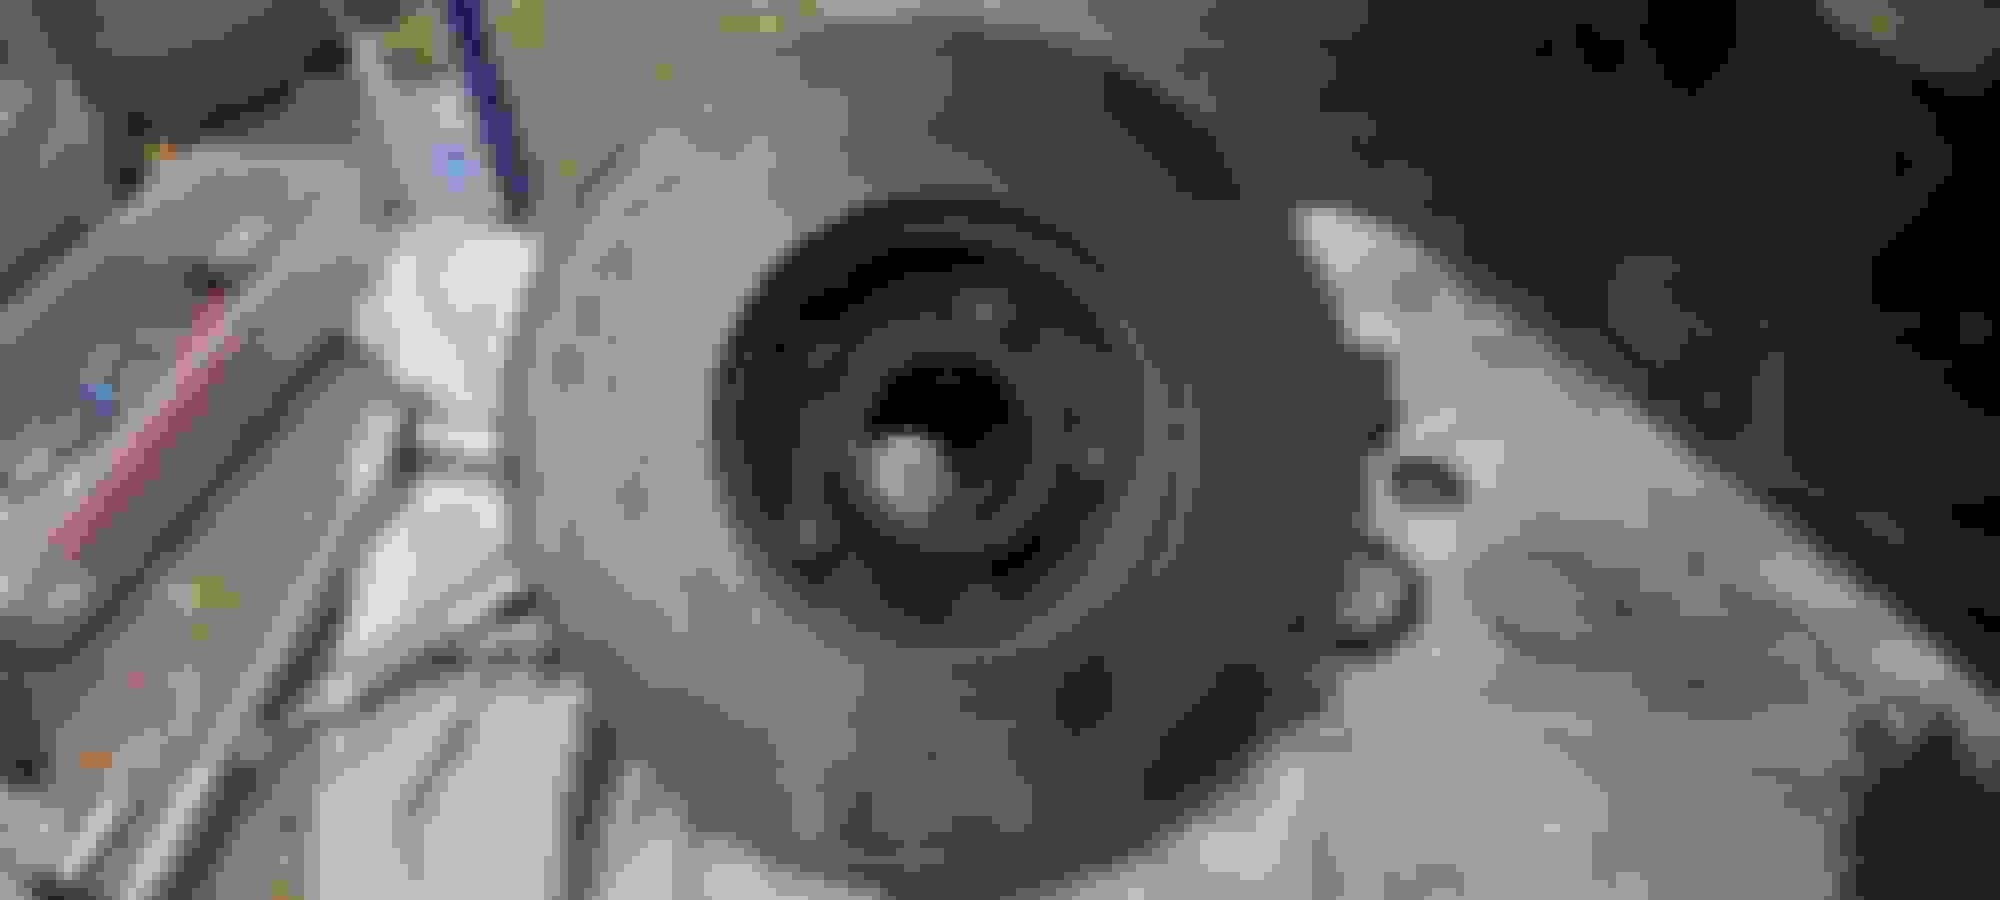
Undoing the Split Pin that holds the Nut that keeps the Rotor on the Hub
Once the Split Pin was Removed, undoing that Hub Nut was easy and didn't even require the use of a Spanner
Once the Caliper had been Split, taking off that Rotor was really a 'Walk in the Park' (unlike what was to come!)
Now you can see the Problem! Both Bolts were Rusted Solid in the Hub and these required lots and lots of Heat in order to get them undone, especially as the Bottom Bolt was also Rusted Solid where it goes through the Steering Arm, making it almost impossible to undo!
(Top Tip) Undo the Bolt that goes through the Steering Arm First, then you can Tap the Steering Arm with a FSH in the direction of what is required to undo the Bolt that is above it (It could still be problematic to get that bolt undone) but at least it should narrow the odds in your favor
Once the Caliper had been Split and the Rotor was off, I was able to get some serious Heat on where the Caliper Bolts on to the Hub
Splitting that Caliper was the Job from Hell but 8 Hours Later I got there in the end!
And so what happens Next?
Paul (ptjs) and others were quite right, New Calipers were needed and so where Common Sense prevails, I am never afraid to Change my mind, in the face of Logic, it was in most part down to the fact that I wasn't too keen on Spending �250 on a New Pair of Front Calipers
Especially as I am also going to put on 4 New Tyres and then there is the MOT and Insurance, where before you know it you have Spent �1,000 and so I always like to think things through before I do so
As while I don't consider myself a 'Cheapskate' (though some do!) its always very easy spending someone else's money, especially for an obsessive Bargain Hunter like me! and this is where the G.F comes in Handy, as She knows all the right people!
Where She was able to obtain a Pair of Brand New Calipers (not rebuilt or Service exchange) for an Amazing �60 each! including a Free Fitting Kit! and is going to have them delivered some time next week, which will give me a few days to get the Hubs all cleaned up and ready to fit them
Alex,
This whole Ordeal of yours has been a Learning Experience for me, which I'm glad to have only observed and not participated, and has firmly cemented in my mind what I would have done in your place (although I will never be in your place) and what I will do if I ever encounter a similar situation of my own: DITCH ENTIRE HUB ASSEMBLY FOR NEW!!
I've had them off as a unit before, it's not that hard and the entire assembly, rotor, caliper, backing plate, steering arm, isn't that heavy although it is a bit awkward.
You give Patience and Tenacity entirely new dimensions of definition!
(';')
None of these Jobs seem to look very hard until you get down to the Coal Face and actually have to do them and this won't be the first time that I've had to do this Job
As I've replaced all the Calipers on my other XJS's without any problems at all, as my Mains Powered Impact Wrench made everything so easy relatively speaking to other Jobs I've done around my Cars
Where so knowing how to do this Job and 'having had the practice' as they say, I had no misgivings about what I should expect and so with that in mind I dived straight in
Only to be confronted by the unexpected, in the form of Nuts and Bolts so Rusty, that it felt as if they had been Welded in!
So that required a little bit of extra 'Grit' together with a Shed-full of determination, that comes in very handy when you do a Job like this, that has to be the hardest Job that I have ever had to do on this Car, as I shudder to think just how much a New Complete Assembly would have cost
Anyway its all done now, apart from getting the Calipers and then putting them on, which hopefully will be easier than it was to take them off, that on a Scale of 1 to 10 was about 110!
I wonder if they had Copper Grease in 1995 and if so why didn't they use it on my Car?
Paul (ptjs) would know, so maybe 'I better call Paul'
Great work in eventually shifting those calipers! Like Greg, I'm intrigued by the level of corrosion around the calipers and bolts. It's almost as if it's been constantly pressure-washed around that area, allowing corrosion to build up? Or maybe the heat from the brakes promotes rust and seizing in that area?
And Yes, Copperease did exist in 1995. However, I suspect very little, if any, preventative anti-seize compounds were used in new XJS manufacture. I think it's for 2 reasons:
- Cost!
- Consistency and optimisation of vehicle build means everything is done in a simple manner. And the use of any lubricant causes a problem with consistent torque settings being applied to all the bolts. So every bolt seems to get assembled either dry or with in-built locking compound on the threads. It's only when us owners take things apart and refit them that we use greases, anti-seize compounds etc. And then of course, we have to rethink the torque settings as it's all too easy to then over-stress the bolts and nuts when using the original torque spec on a lubricated thread.
Anyway, I'm sure you're doing the right thing by fitting new calipers for one very simple reason - you're selling the car! And a prospective purchaser will be far more impressed by a set of new calipers and pads rather than trusting a rebuild process from a person that they've never met! We know how much you care about your car, but sadly they won't!! So, new parts will give a much better impression. And don't tell them how much everything was seized, as they'll then start to look for other problems on the car!
Also, I'm not surprised that you could undo the hub nut by hand. XJS front hubs are quite different to many modern cars with a much lower torque on that nut and a greater level of hub float than modern vehicles. I deliberately nipped up my hubs just a fraction last week for the annual test, merely to avoid the inevitable comment from my test man who always says "I've passed it, Paul, but those front hubs do seem to have a little bit of float".
Looking forward to seeing the pics of the shiny calipers!
A lot of cars use blue loctite on the caliper bolt threads. Early XJS' used lockwire to accomplish the same thing, not sure about the late cars. I wouldn't use antiseize on those bolts. Use blue loctite. It will help protect the threads from rust.
 06-28-2023, 11:22 AM