When you click on links to various merchants on this site and make a purchase, this can result in this site earning a commission. Affiliate programs and affiliations include, but are not limited to, the eBay Partner Network.
I think if it ever gets to the stage where the locking wire is actually the only thing that's stopping the Bolts from falling out.
OB
The theory of locking wire is that the wire is so placed that it prevents the bolt from turning more than a fraction. The loop of wire should go through and round the outside of one half of the bolthead, and then be twisted. The loop should go through the side that, if the bolt starts to move anticlockwise, it would actually tighten the wire. It is, if fitted properly, an anti-joggle thing rather than a second securing thing, so the bolt can never get a chance to de-torque as a result of tiny vibrations taking effect over time.
Unanswered question still: what was the thing you tightened behind the shocker?
Cheers
greg
The theory of locking wire is that the wire is so placed that it prevents the bolt from turning more than a fraction
I have them on my Ducati bikes, for the calipers, the chain wheel, and the single sided rear wheel axle nut.
Besides of giving an extra security, it looks cool as they are in full view.
It's in the details .
OB
The theory of locking wire is that the wire is so placed that it prevents the bolt from turning more than a fraction. The loop of wire should go through and round the outside of one half of the bolthead, and then be twisted. The loop should go through the side that, if the bolt starts to move anticlockwise, it would actually tighten the wire. It is, if fitted properly, an anti-joggle thing rather than a second securing thing, so the bolt can never get a chance to de-torque as a result of tiny vibrations taking effect over time.
Unanswered question still: what was the thing you tightened behind the shocker?
Cheers
greg
Hi Greg
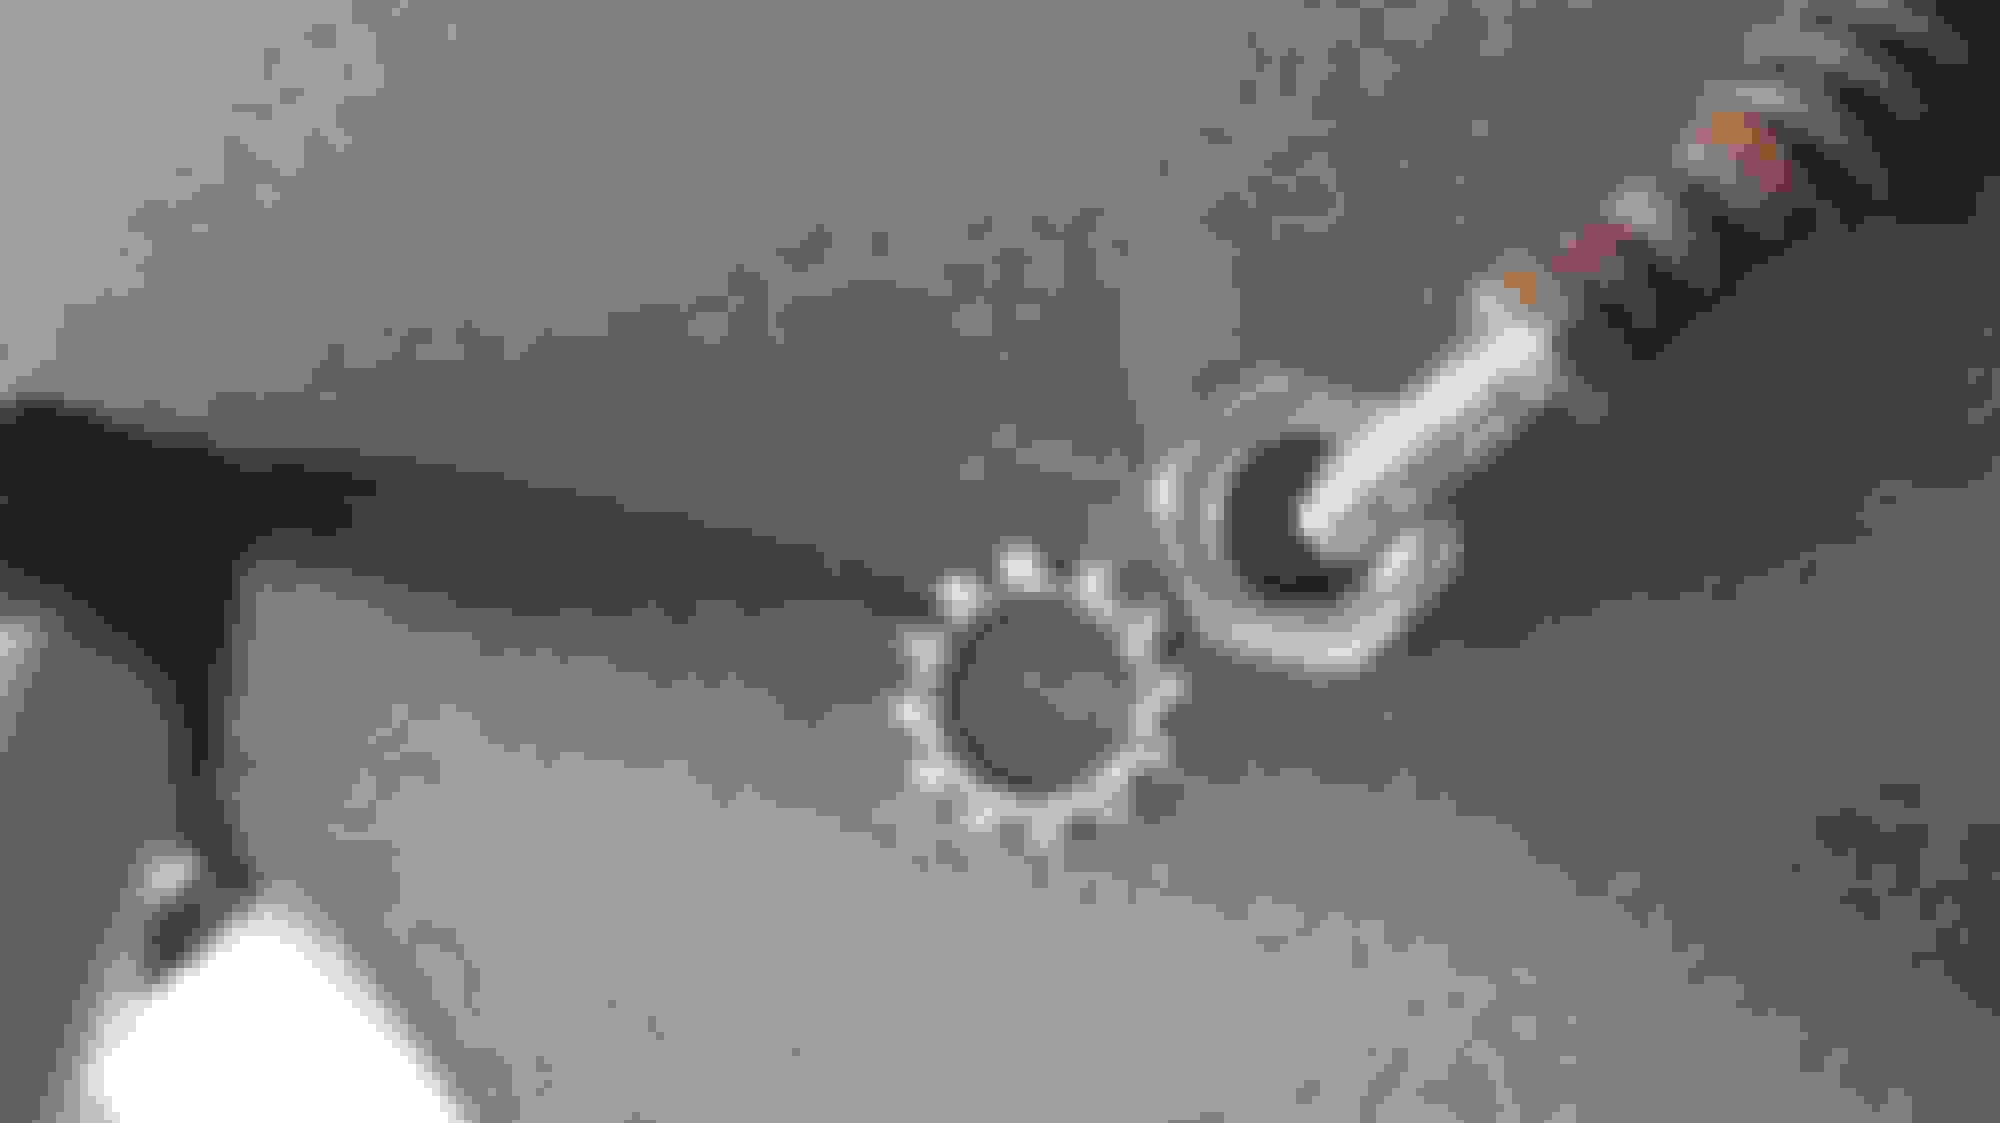
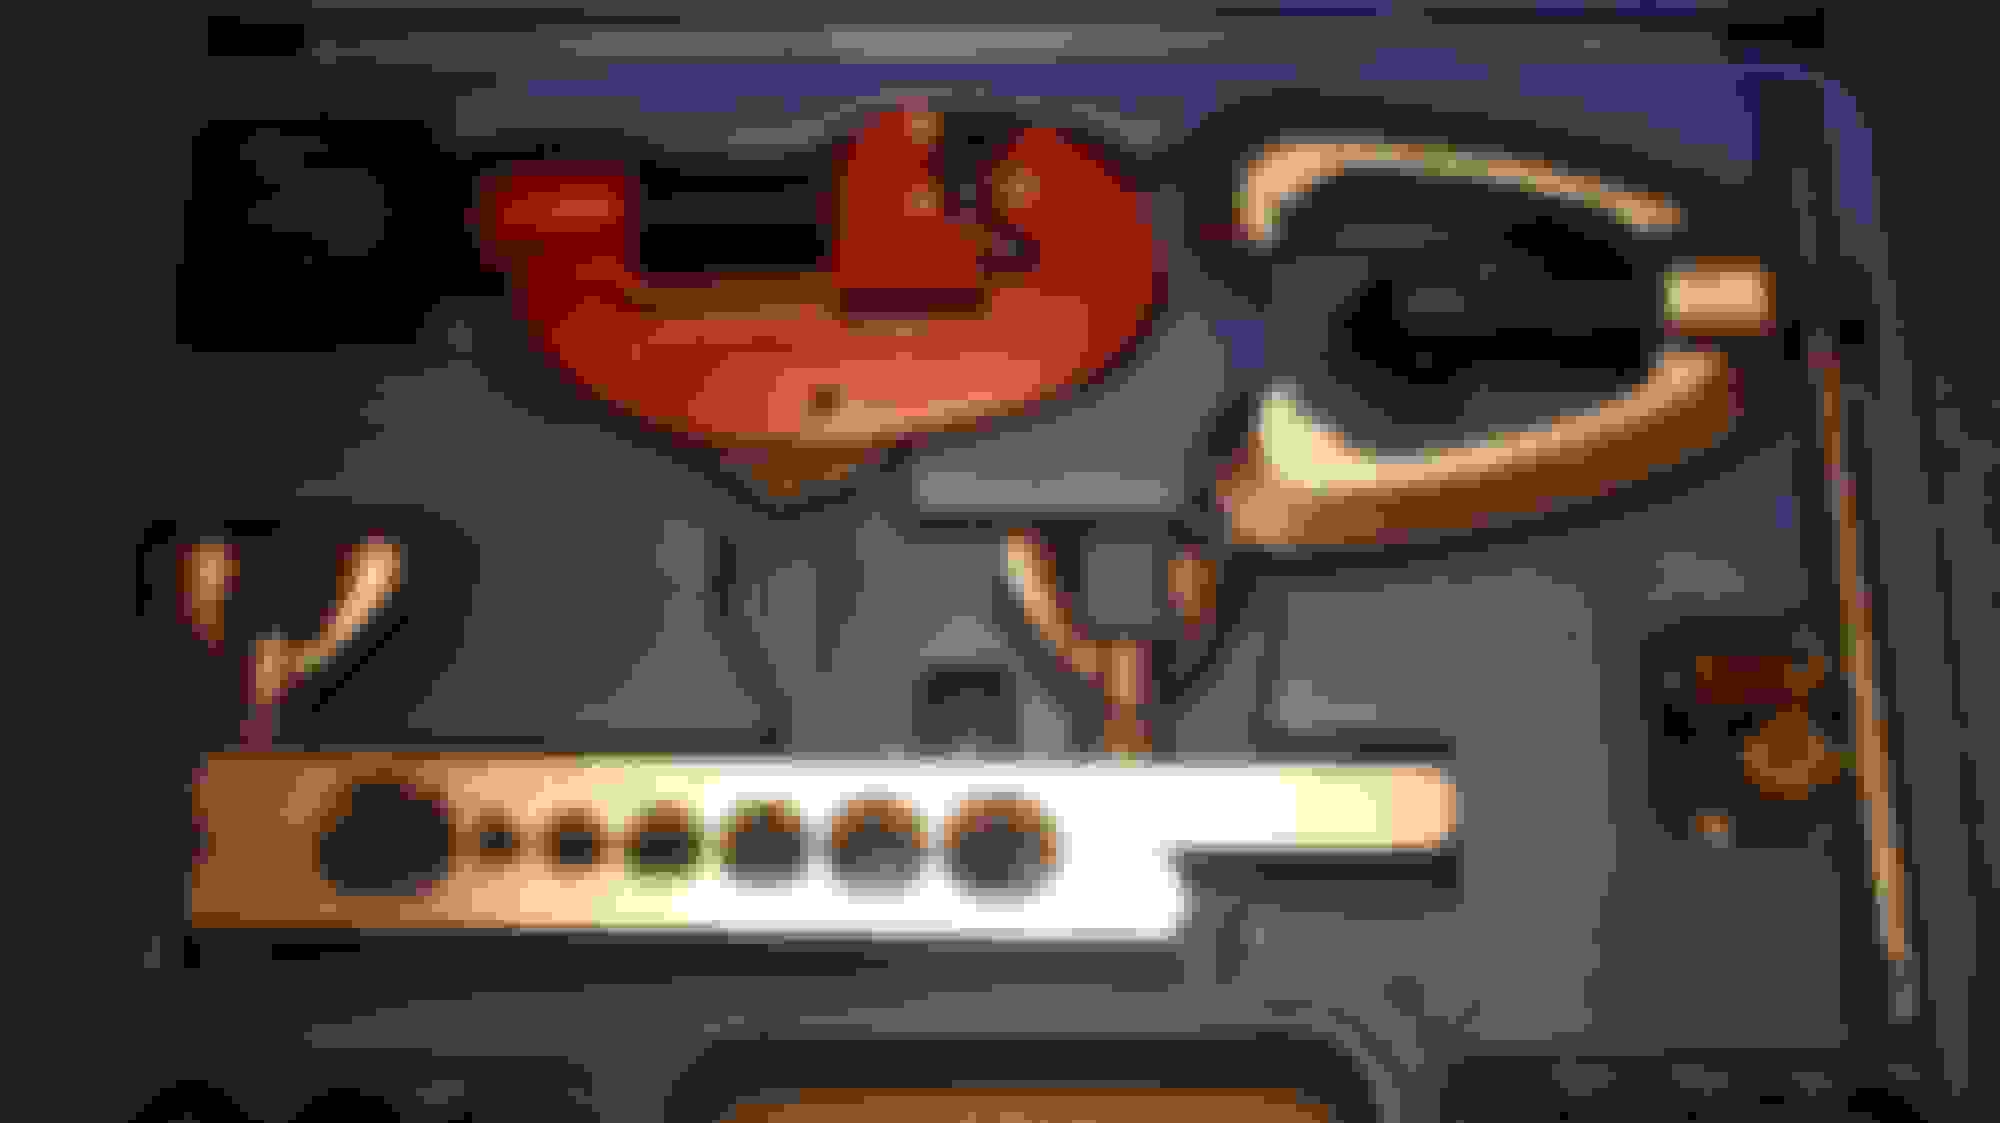
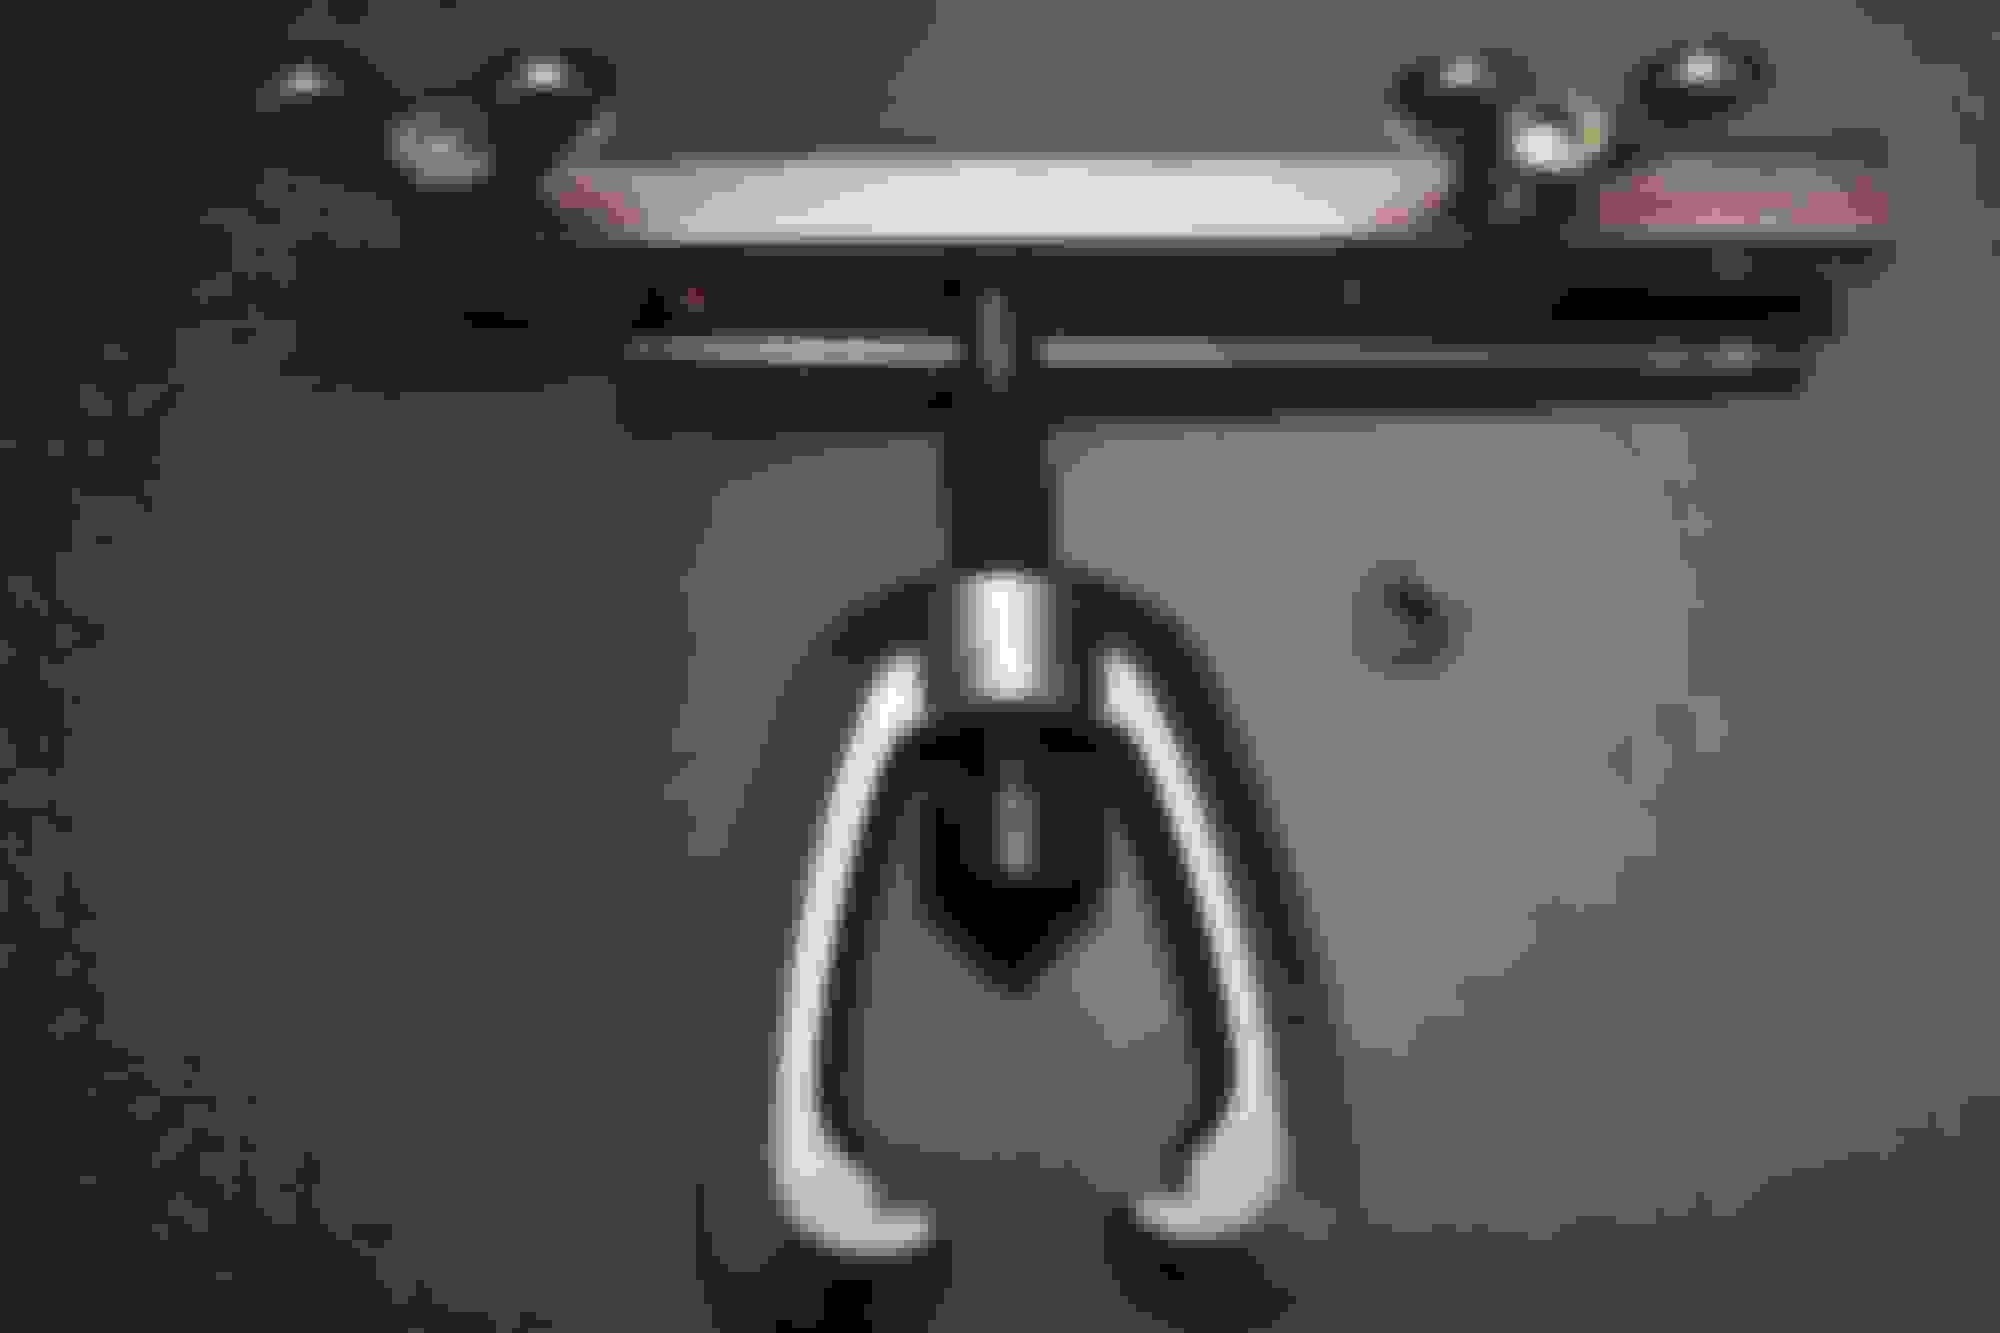
There are 2 Bolts that go through the Steering Arm that are Wired plus another one at the Top that goes into the Strut that isn't 'Wired' and is right behind the 'Shock Absorber'
That's the other one that I tightened up, it is shown on that Photo you sent me where those 3 Bolts form a long Triangular Shape.
Hi Greg
There are 2 Bolts that go through the Steering Arm that are Wired plus another one at the Top that goes into the Strut that isn't 'Wired' and is right behind the 'Shock Absorber' That's the other one that I tightened up, it is shown on that Photo you sent me where those 3 Bolts form a long Triangular Shape.
Got it, that piece (15 below) is called an "upright" in Blighty, and something else I know not what, in the USA. (hub carrier?)
FYI, only ONE of the wired bolts goes though the arm, the bottom one. The top wired one goes through the caliper only and into the upright. The Top UNwired one (17 below) that goes into the strut that you checked, also goes through the arm, as the diagram shows. If not, why would it be there?
The nut that is worth torque-checking if you still have a chance is number 22 on the diagram below. It is directly below the top unwired one we have been discussing, and secures the stub axle into the upright (which I notice was called a "stub axle carrier" by Jaguar):
Greg
Last edited by Greg in France; 11-07-2016 at 05:27 AM.
As you'll see from your workshop manual, that bolt which holds the steering arm to the upright is the one which has the different range on the torque setting.
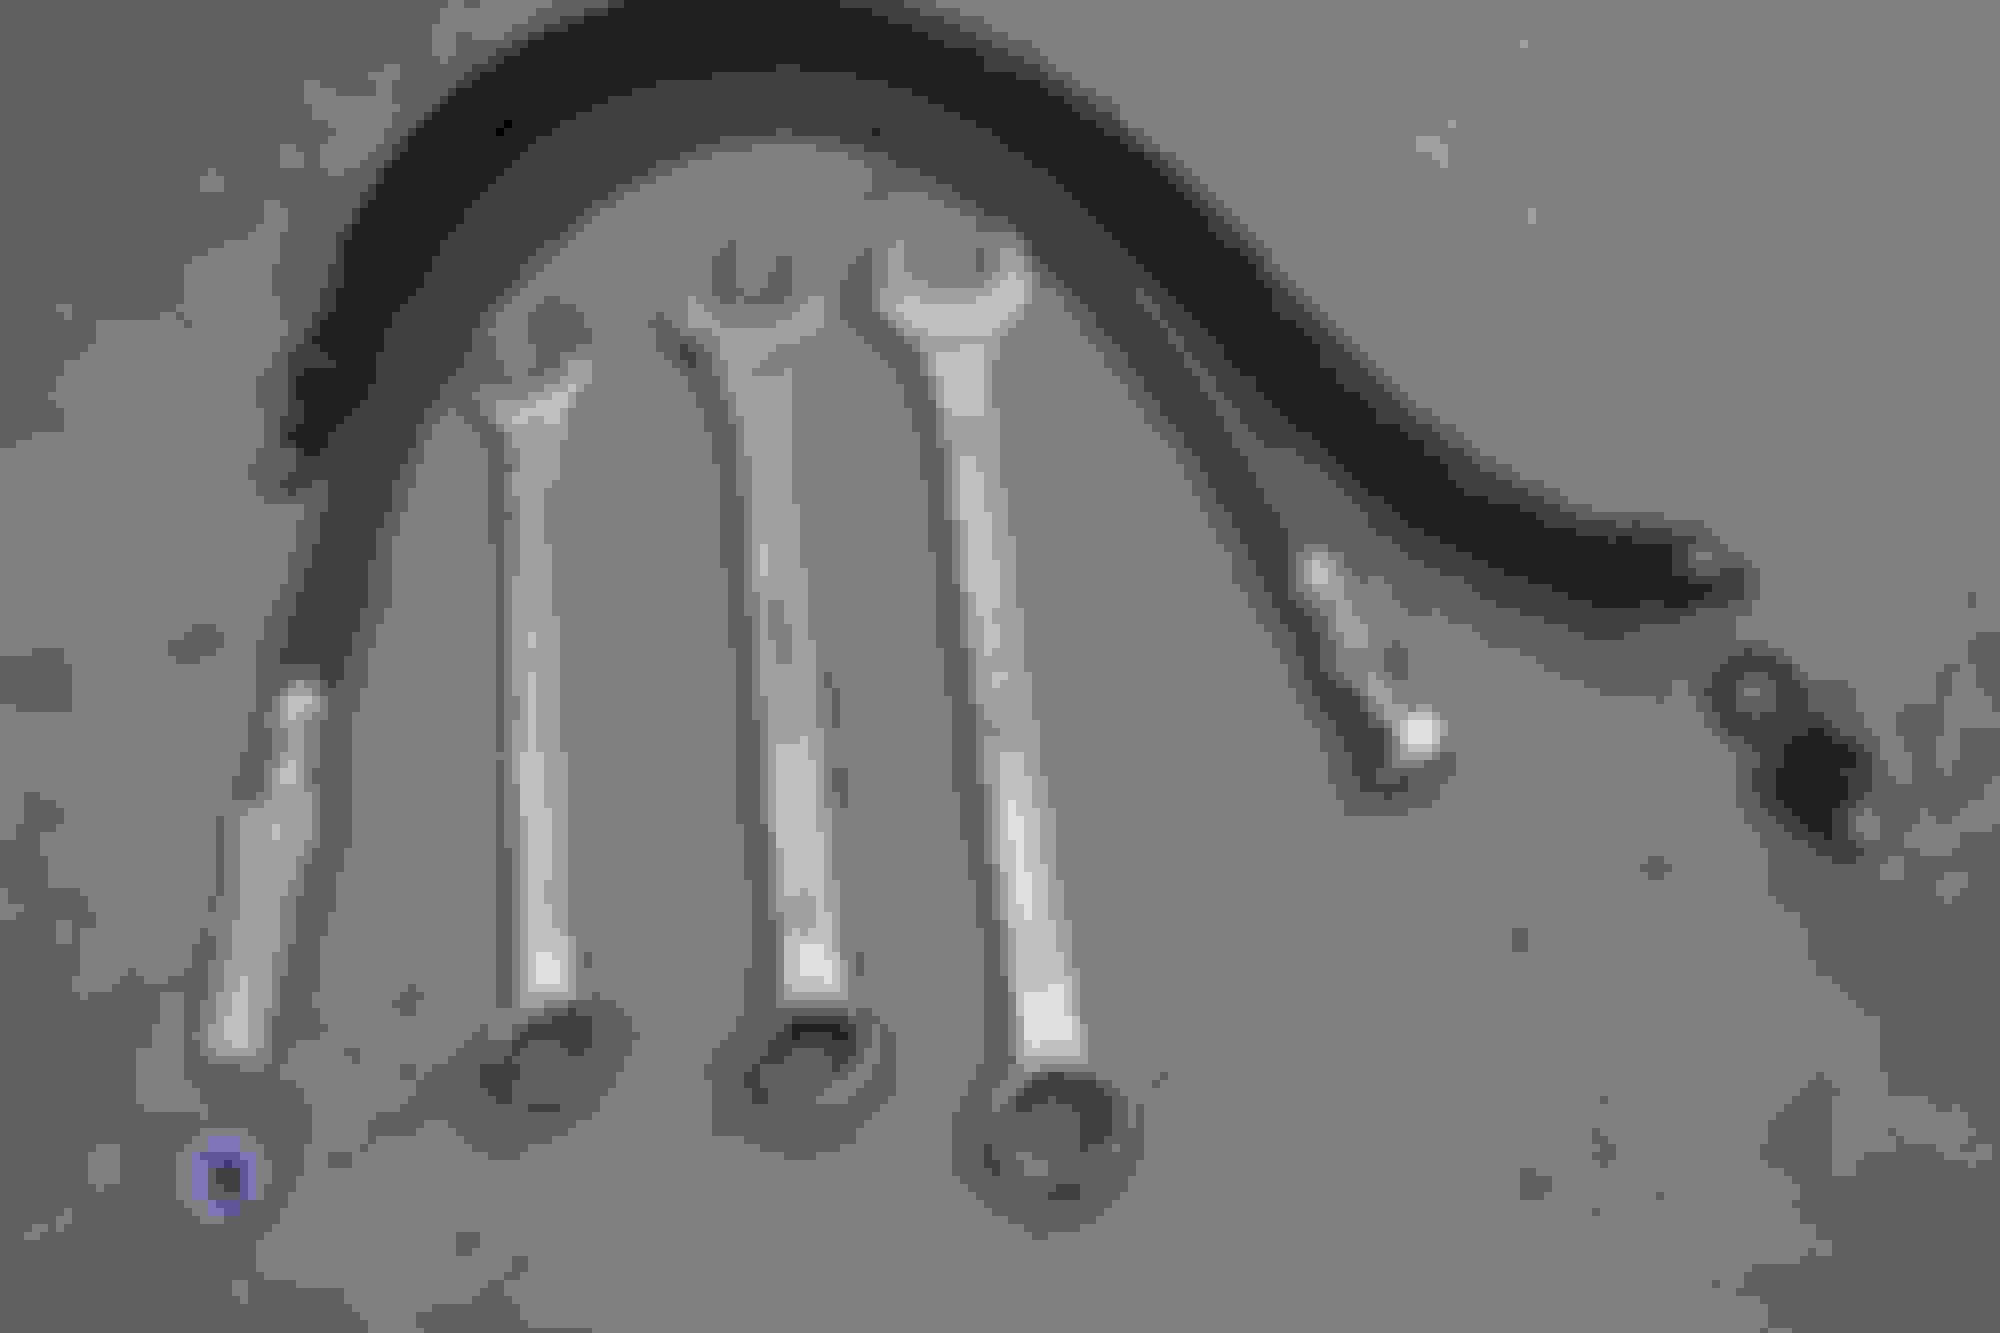
Although I got the Brake Pipes I ordered, another firm sent the Wrong retaining nuts.
They sent the wrong retaining Nuts, which were a bit too big!
So rather than wait another three days for them to change them over, I went to an out of Town Supplier who has the biggest selection of Bolts that I have ever seen.
The Thread on Flexible Brake Pipes is quite an unusual one, which I think is a 'Fine Metric' @Greg.
and the only place I could get them apart from going Mail Order was this 'Specialist Supplier'
And since I've never been a fan of using 'Star Washers' with 'Plain Nuts' I asked them if they had that thread in 'Nylocks'
Which of course they did! as they have Nuts and Bolts I've never heard of.
So they were the ones that I decided to go for, even though they were a bit too deep.
I decided to use 'Nylocks' instead of 'Star Washers' with 'Plain Nuts' even though they were a bit too deep.
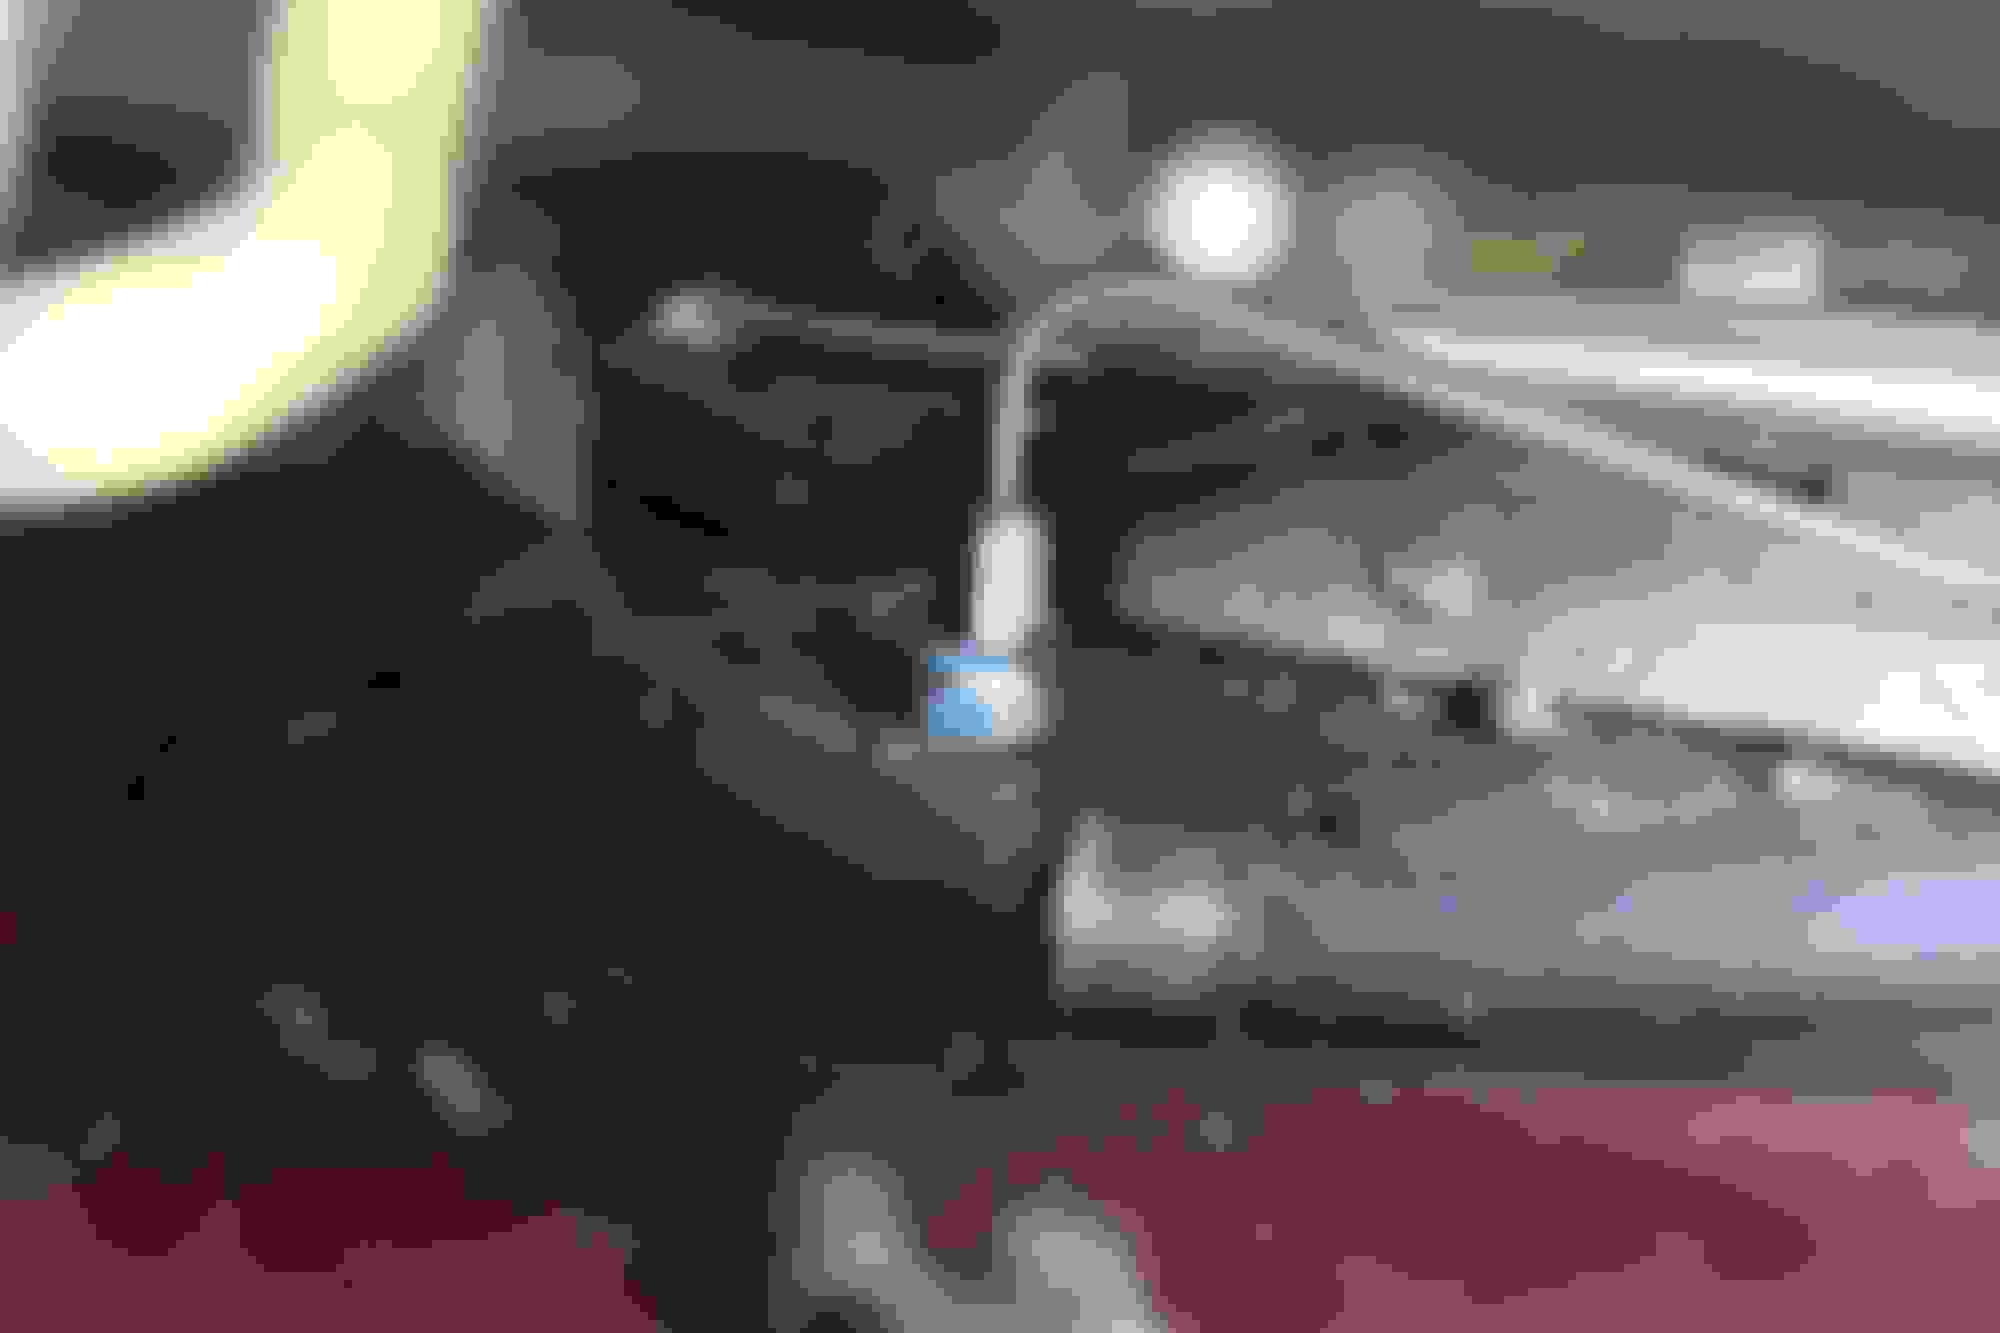
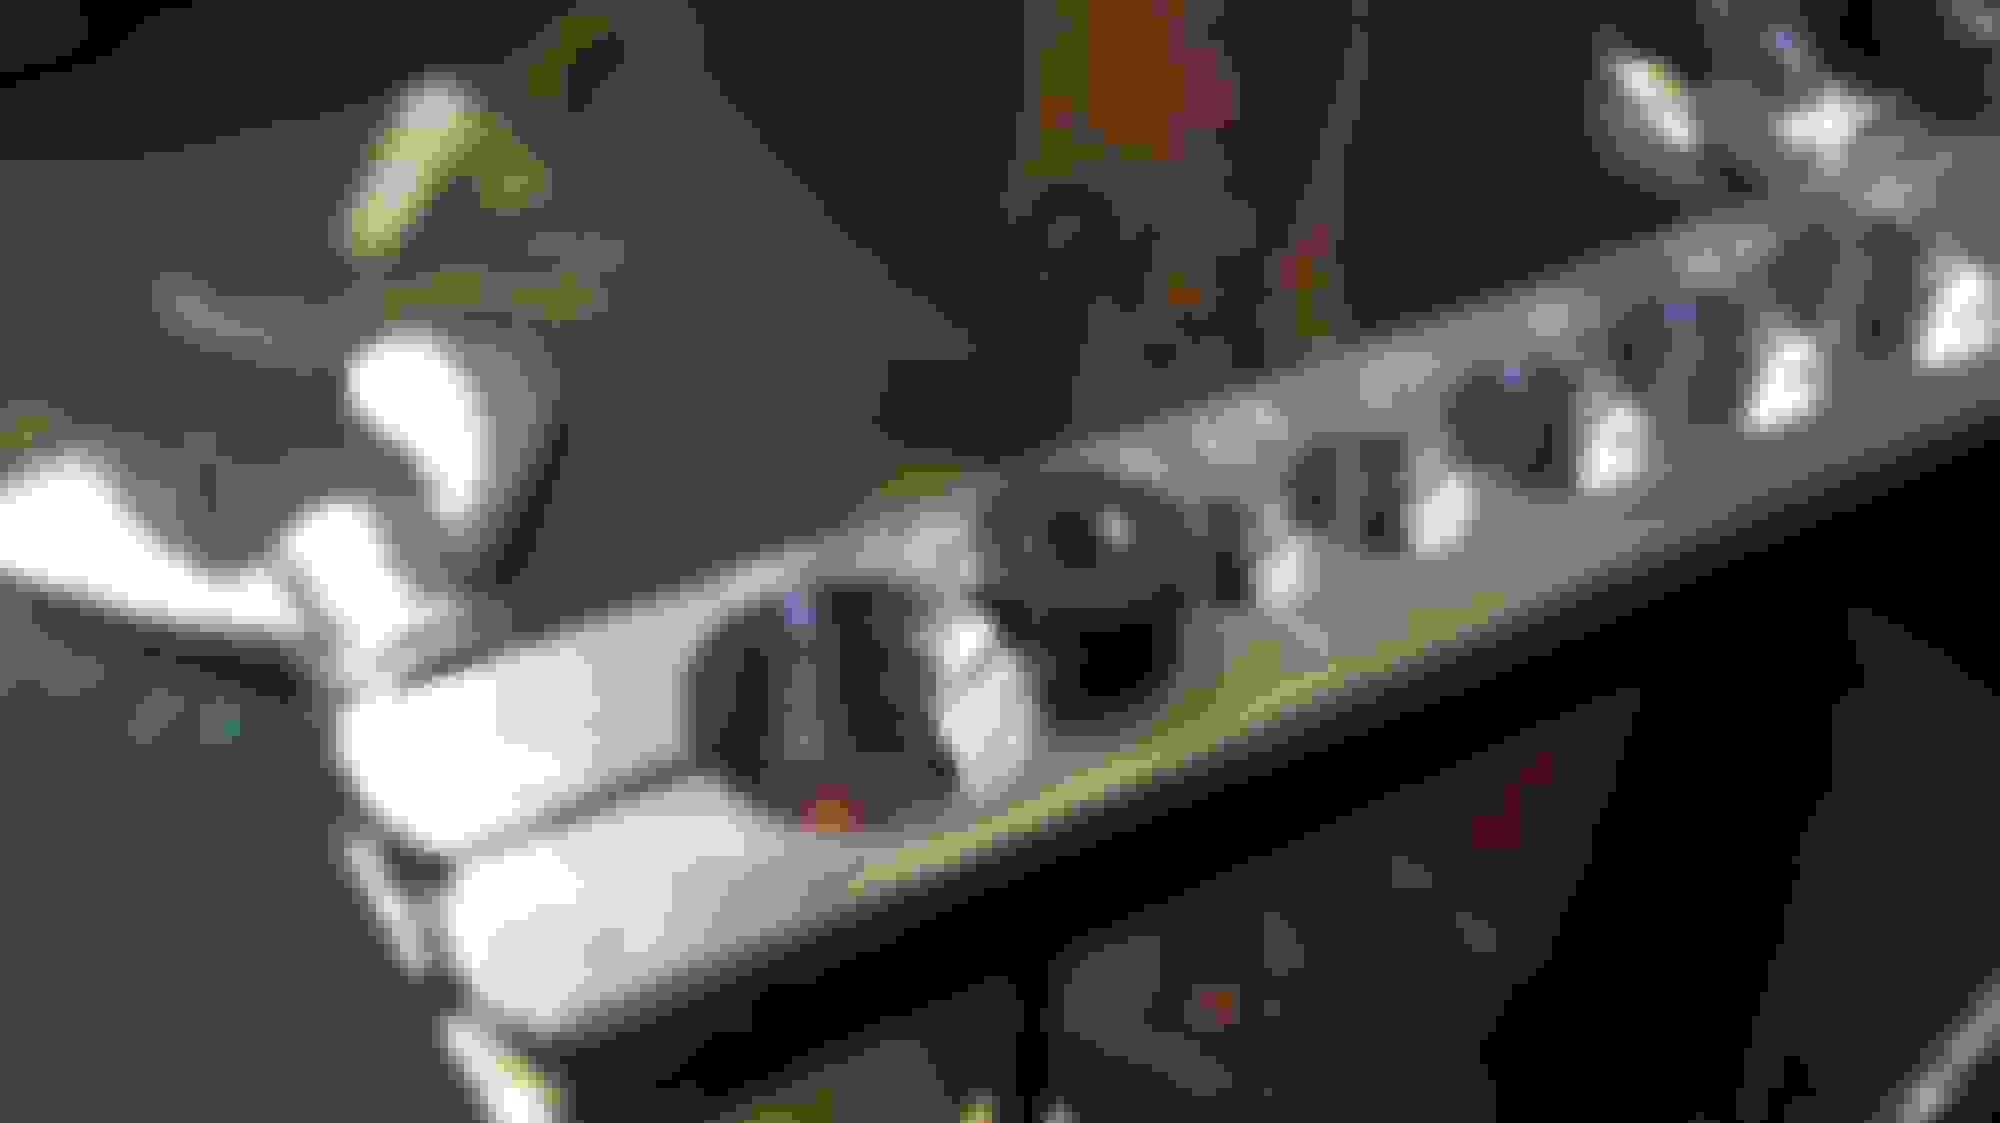
As it was really 'Touch and Go' if they would fit as they were, I decided to slim them down a 'Mil' with the Angle Grinder.
In the Foreground a 'Nylock' that was just too Tight for Comfort, so I slimmed them down about a bit using an Angle Grinder.
Using an Angle Grinder to Slim down the Nuts.
Now it will fit that much better
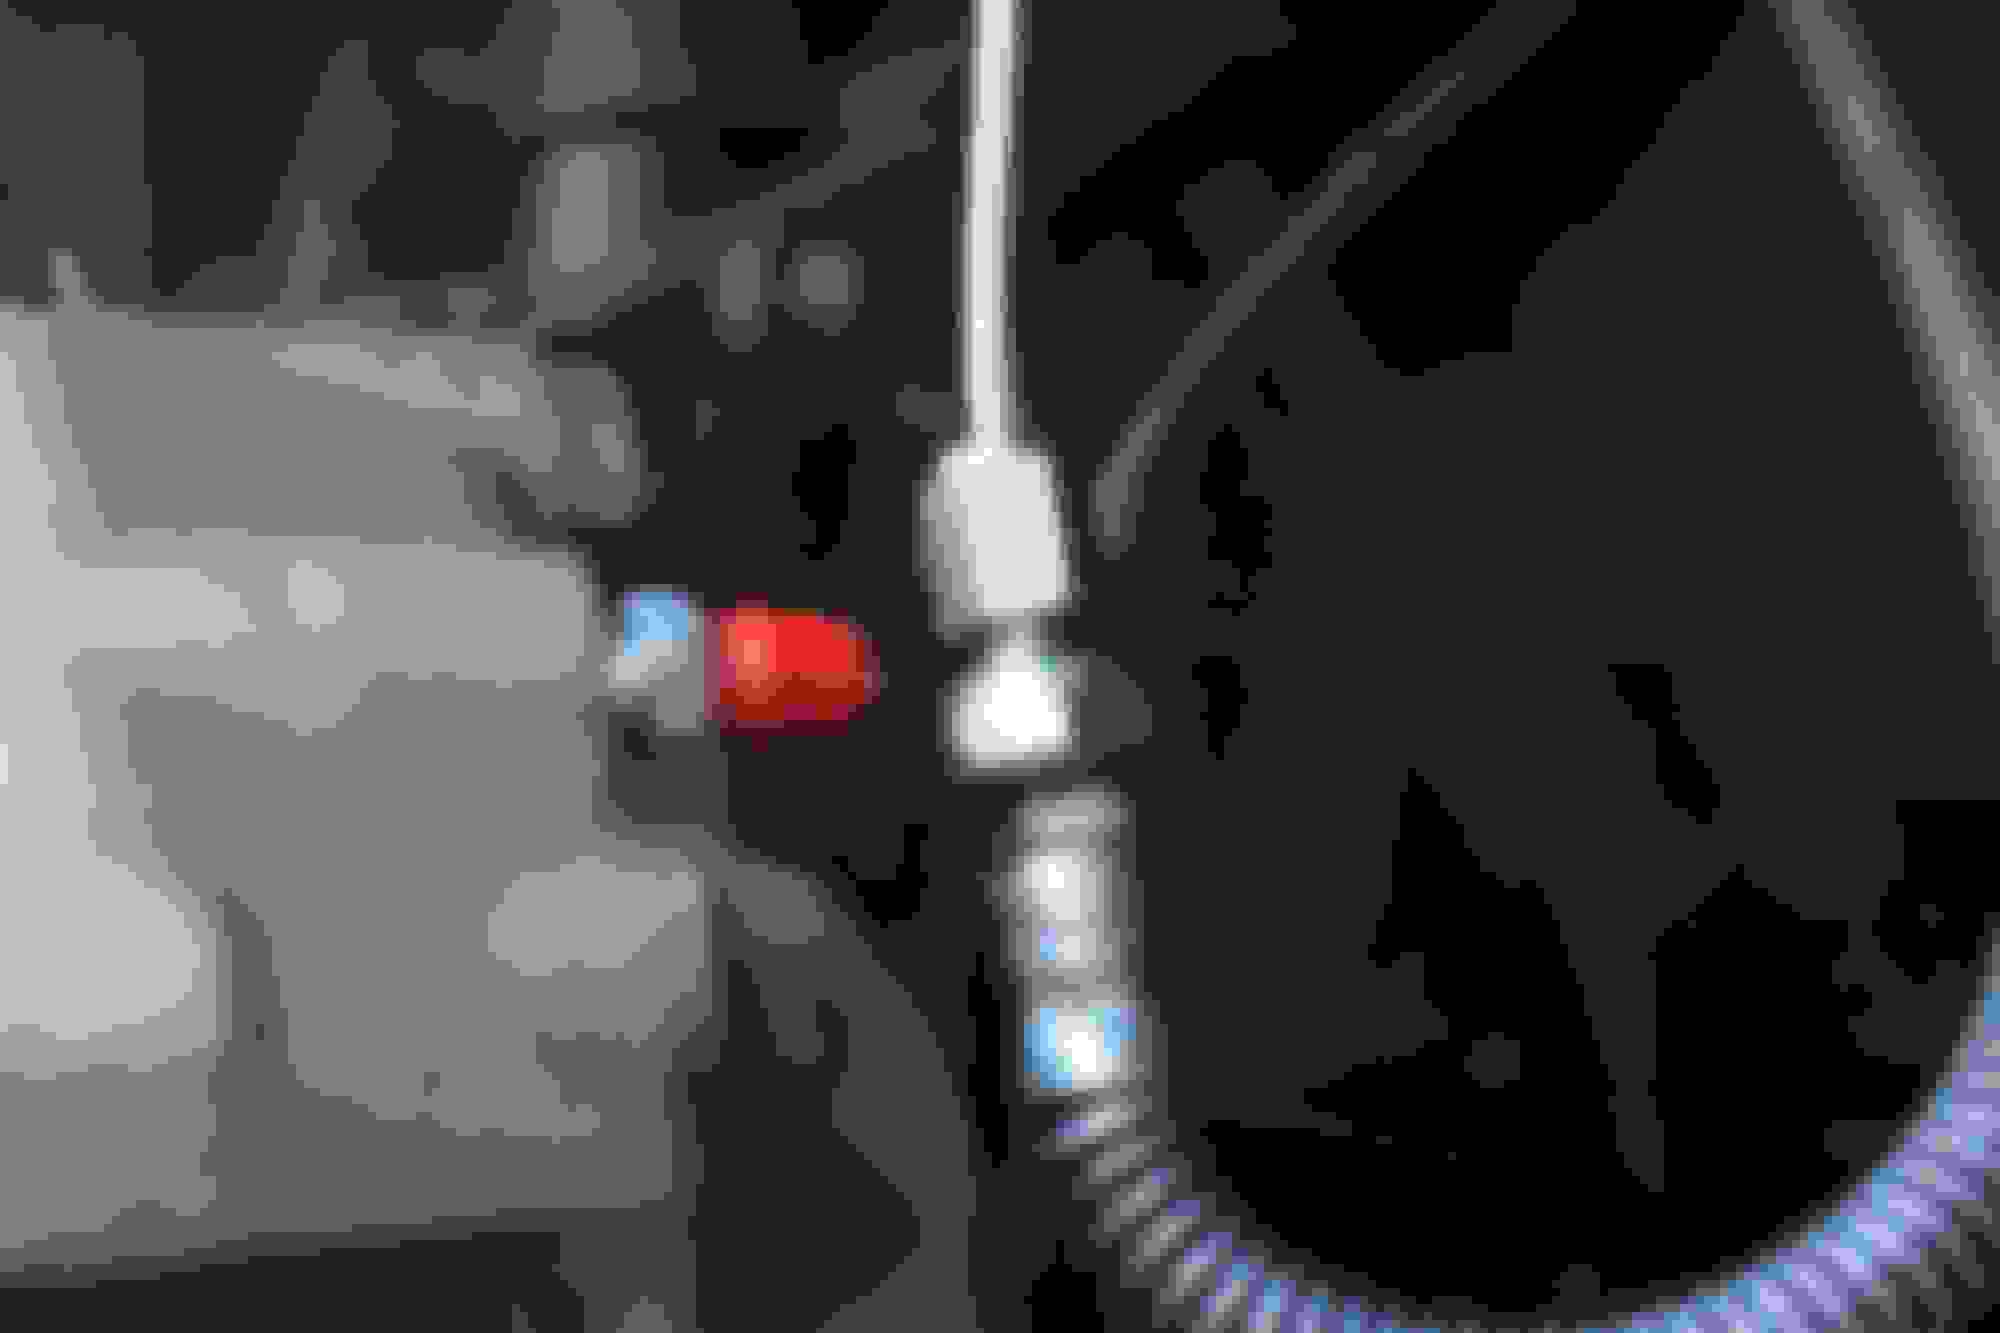
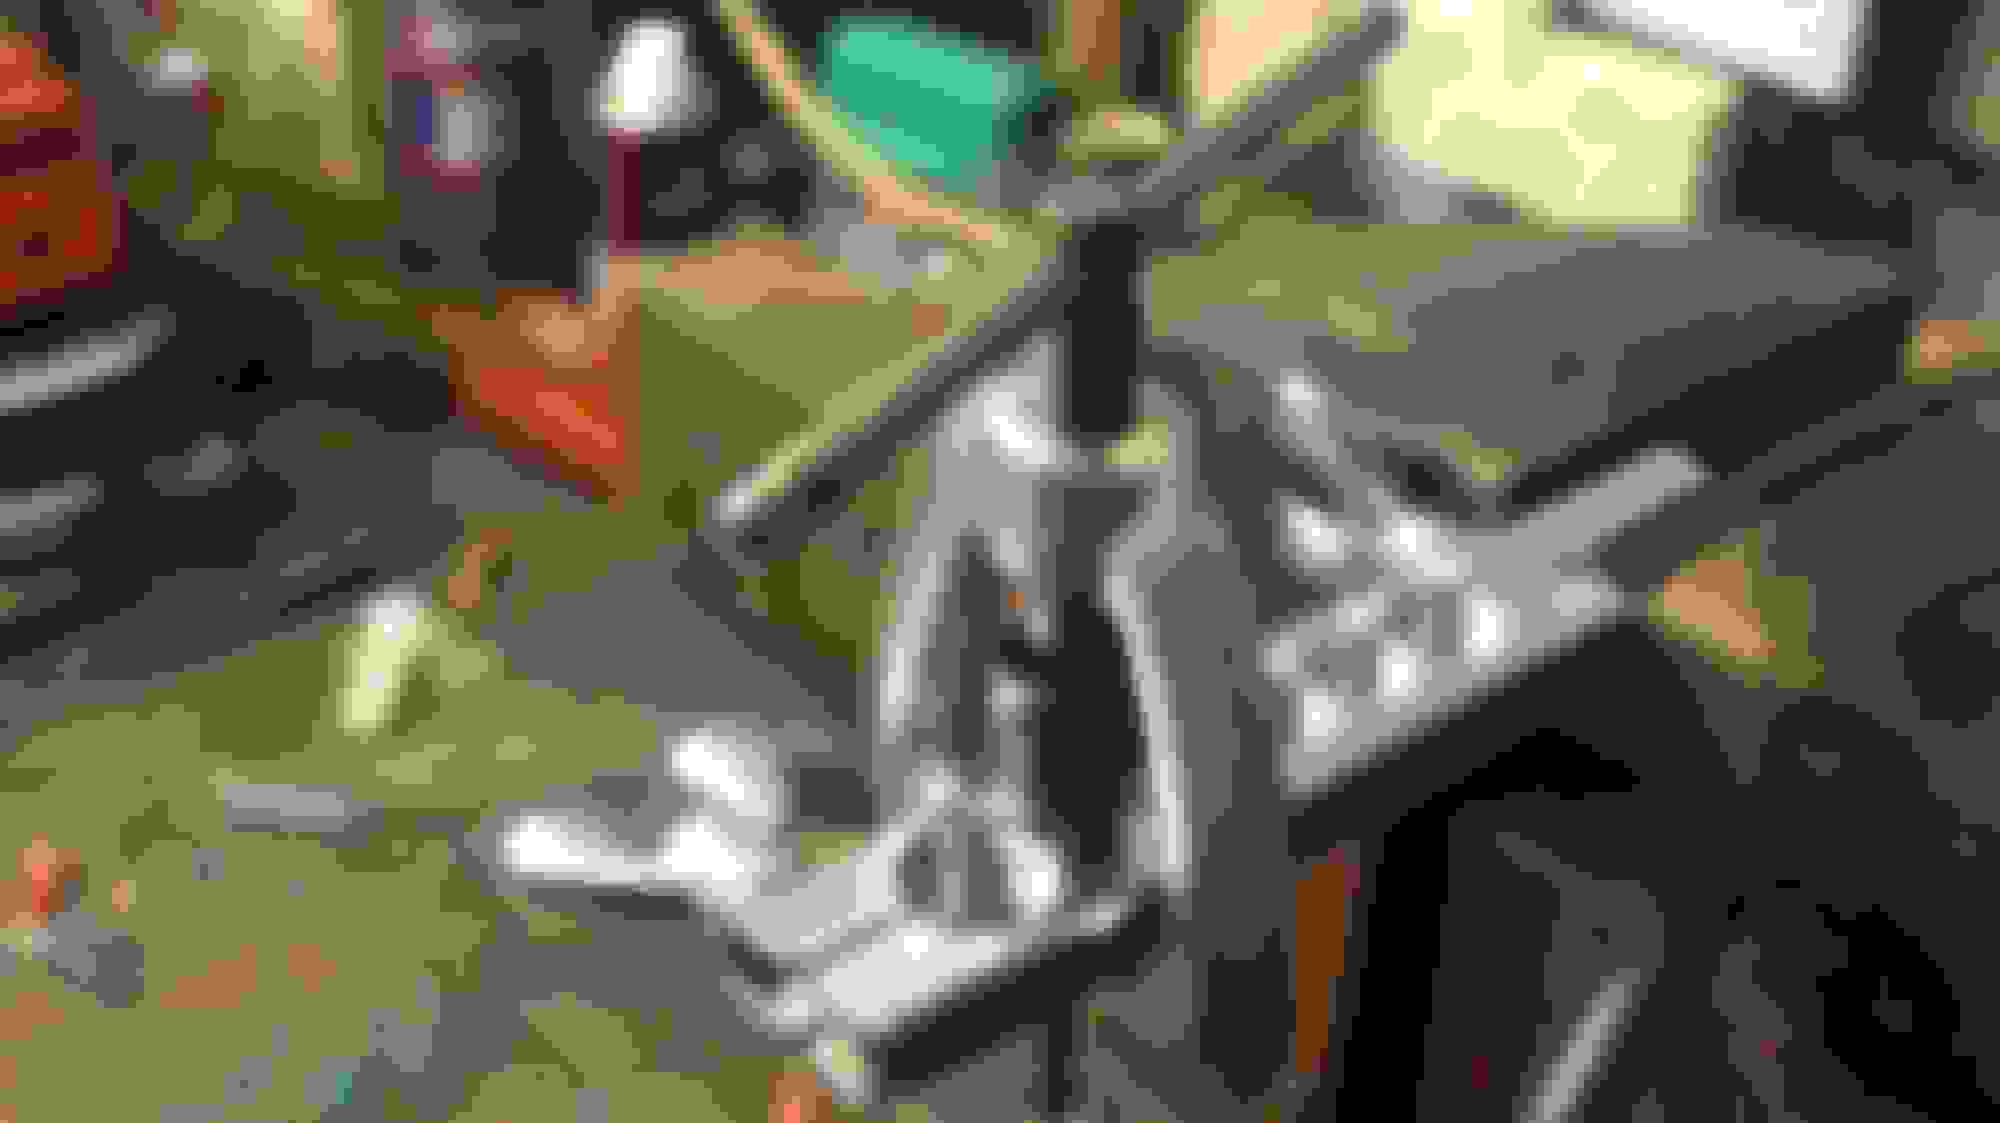
The Slimmed Down 'Nylock Nuts' were a Perfect fit both inside and out.
That Brake Pipe which I made about a couple of Years ago, sadly failed to pass 'Quality Control', is only on just to keep the dust out until I have made a New Set of 'Brake Pipes'
Last edited by orangeblossom; 11-07-2016 at 07:20 PM.
It looks absolutely fine in the picture but just make sure that when you tighten the brake pipe that there's enough thread available on the flexi to attache the rigid pipe (It looks like there's plenty). The reason for the nuts being so thin is to ensure that enough thread is available on different fitting brackets such that the rigid pipe can always be fully attached.
It looks absolutely fine in the picture but just make sure that when you tighten the brake pipe that there's enough thread available on the flexi to attache the rigid pipe (It looks like there's plenty). The reason for the nuts being so thin is to ensure that enough thread is available on different fitting brackets such that the rigid pipe can always be fully attached.
Cheers
Paul
Hi Paul
I did put a pipe on properly, just to be sure that there was enough thread and it was a perfect fit with a good bit to spare.
Those 'Star Washers' just seem to hold water and go rusty in no time at all, so hopefully with this type that won't happen.
I did put a pipe on properly, just to be sure that there was enough thread and it was a perfect fit with a good bit to spare.
Those 'Star Washers' just seem to hold water and go rusty in no time at all, so hopefully with this type that won't happen.
Brake Pads arriving Tomorrow with a bit of luck!
well a fix for the star washer is to give them a nice little rub down with clear silicone windshield adhesive... they work just the same but the silicone rubber sets after you torque them down and seals out any moisture getting in and rusting things... (just a little mind you so that the gaps are filled with silicone rubber...) wipe off the extra and no one even knows...
or replace them with Stainless steel... (I do)
Al you can get Nylock 1/2 nuts that are thinner for future reference. Saves you taking to them with the angle grinder.
Star washers are a must for grounding points, I use seam sealer liberally over the entire area to stop moisture.
Hi Warrjon
I was lucky to get these, as apparently this unusual Thread is very rarely asked for but in any event I wanted to keep the Nuts as deep as possible, while still allowing plenty of Thread for screwing the pipe on.
With the Flexible Brake Pipes now in place, it was time to make the Metal Brake Pipes to connect them to the Calipers.
About a couple of Years ago I had a Specialist Firm make some for me but they turned out to be rubbish a leaked like a sieve.
So I bought a DIY Kit and decided to make some myself.
The Kit was around �35 and a Coil of Cupro Nickel Pipe was about �10
Although I did have a few failures that never made it past 'Quality Control' its really not that difficult once you get the hang of it.
The Brake Pipe Kit was around �35
Basic Overview of how it works
The Pipe Clamp, The Press and The Die
The Brake Pipe in the Clamp with the Die in Place ready to Form the Male Flare
Forming the Male Flare with the Clamp, Die and Press.
Always Check the Finished Result in a Magnifying Glass and I'm very happy with the way that this one turned out.
Do not cut the Pipe to length until you've done the Flare for the First Fitting, then if it goes wrong you can chop off the end and start all over again, without wasting too much Pipe each time.
Before you do the Other End don't Forget to put the Fitting on FIRST!
Then Cut the Pipe to Size and while I like using a 9 inch length in my own Car, you may need something longer or shorter depending upon your own set up.
The Female end is Formed with a Double Flare, which means you Form a Male end with the Die and then remove the Die and Flare it using only the Cone of the Press.
The Die should always be Oiled before use but I found that Grease works best.
The Female Double Flare being Inspected under a Magnifying Glass and I'm also very pleased how it turned out.
The Brake Pipe now finished and ready to go on the Car.
There was a Time when some of the larger Car Accessory Shops used to make these for you while you waited.
But that seems to have disappeared as with all the Health and Safety, it doesn't seem that they want to take that kind of responsibility any more.
Last edited by orangeblossom; 11-11-2016 at 01:46 PM.
Great work, lovely flares OB. I could never make that sort of tool work, but you have and that is quite a result! One I could use cost me a fortune!
Greg

 11-07-2016, 01:10 AM

 .
.