When you click on links to various merchants on this site and make a purchase, this can result in this site earning a commission. Affiliate programs and affiliations include, but are not limited to, the eBay Partner Network.
Congratulations on the MOT, OB! Any idea why it was such a long and detailed inspection? But at least passing such a long and detailed inspection means you know she's in pretty good shape.
Now we need to see pics of you driving her with a huge silly grin on your face....
Congratulations on the MOT, OB! Any idea why it was such a long and detailed inspection? But at least passing such a long and detailed inspection means you know she's in pretty good shape.
Now we need to see pics of you driving her with a huge silly grin on your face....
Hi Someday
I thought it would be a 'Rubber Stamp Job' but the garage owner gave her a thorough going over.
Maybe he was trying to demonstrate a high degree of engineering excellence, though what he was actually doing was freaking me out.
But looking on the Plus Side, at least I know the Car is safe to drive.
Pics will be coming just as soon as I get my new Lens Hoods from Amazon.
Congratulations to you Orange Blossom!!! Great going now time to enjoy, you deserve it, can't wait for pictures, and love the story (description of your journey)
Congratulations to you Orange Blossom!!! Great going now time to enjoy, you deserve it, can't wait for pictures, and love the story (description of your journey)
Cheers Dave!
Although I've been driving my Grey XJS which is a 1989 V12
Since I've got 'Cherry' back on the Road (1990 XJS V12) I've suddenly started to realize just what I have been missing.
NOPE, nothing wrong with your computer skills. PhotoBucket changed their policy a few days ago and it now costs $400USD per year for people to see these pics.
NOPE, nothing wrong with your computer skills. PhotoBucket changed their policy a few days ago and it now costs $400USD per year for people to see these pics.
As a result all of OB's pics on this three year old thread are gone as well as other people's pics on many other threads.
New Stereo For 'Cherry Blossom' Having now got 'Cherry Blossom' back onto the Road
I am Installing a New Stereo
Which 'Should' Arrive Tomorrow Friday July 7th
Its almost the same as the one that I fitted in my Grey XJS
But has some extra Sockets in case I want to Connect it to an Aux Amp.
The Sound Quality is Absolutely Awesome!
Although it only cost me �18
So while I am waiting for it to arrive I decide to take the old Stereo
out in advance (which is the Original Pull Out Type)
Which I'm hanging on to
In the Very unlikely event that I ever want to re-install it
as unfortunately the Sound Quality
Just doesn't measure up to a modern Stereo
This is how I did it and what I've done so far
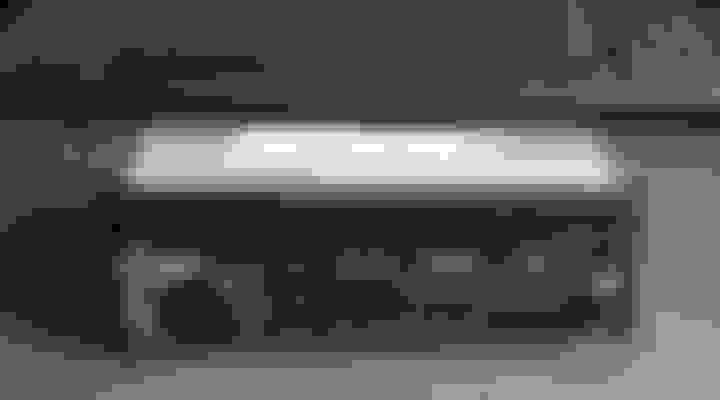
The Original Pull Out Stereo, which unfortunately doesn't sound as good as a modern Stereo, at least to my ears anyway.
The Original Pull Out Stereo is being replaced by something with better Sound Quality.
Step One: Pull out the Pull out Stereo.
Step One: Pull Out the Pull Out Stereo
Original Pull Out Stereo now removed
Step Two: Pull off the Air Conditioning Knobs, which were a 'Bar Steward' to get off.
Air Con Knobs Removed
Step Three: Undo the Lock Nuts on the Air Con Controls and Carefully fold down the Front Cover.
Undoing the Lock Nuts on the Air Con Controls with a Screw Driver, no need for Special Tools.
Having Removed the Locking Nuts 'Carefully' fold down the Front Cover.
Step Four: Drill out the 4 Rivets, which hold the Cage in place.
Drill out the 4 Rivets which hold the Cage in place.
Step Five: Carefully pull the Old Cage out, together with the Wiring which at this stage looks a bit like Spaghetti.
Old Cage out together with the Wiring, which at this stage looks like a plate of Spaghetti as there is so much of it.
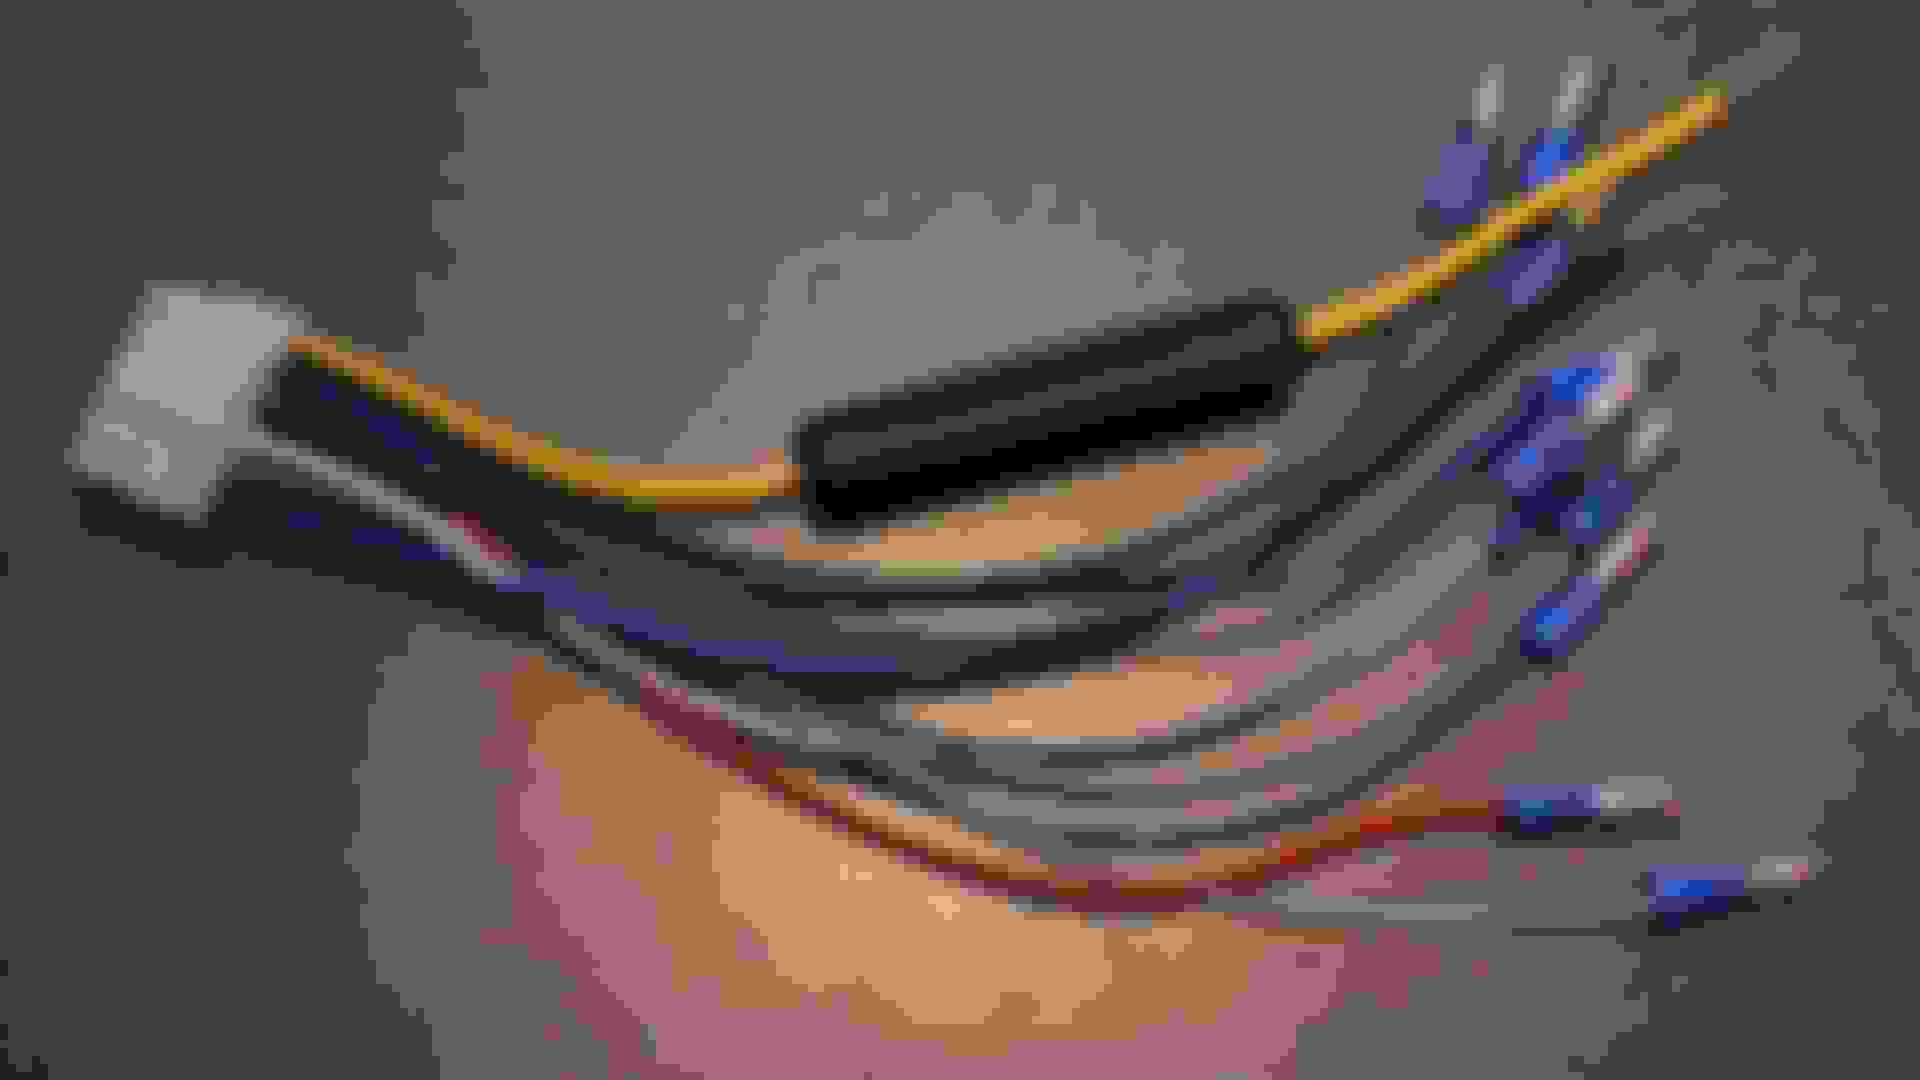
Step Six: Disconnect the Wiring from the Cage, where Jaguar very thoughtfully labeled all the wires.
With the Wires disconnected from the Original Cage, it really doesn't look that scary now.
Nothing more that I can do except wait for the New Stereo to arrive but having removed the Original one, I'm already to install it when it does.
Last edited by orangeblossom; 07-06-2017 at 11:25 AM.
This was almost the same as the one that I fitted in my Grey XJS last year, the only difference being that it is half as deep and has some extra outputs at the rear.
Which I 'think' is for an Aux Amp if you want to fit one.
Crimping Bullet Connectors on the Loom which is supplied
This Stereo weighs about as much as the Box it came in and only cost �18!
But don't let that put you off, it punches well above its weight and also delivers the kind of Sound that you would expect to get from a Premium System.
And also comes with all the 'Bells and Whistles'
Blue Tooth/Mp3/SD/Aux/Radio/Remote Control Keypad/Bass/Treble/Rock/Pop/Presets/Digital Clock and more......
For the money its Amazing and I just cannot praise it enough, when I fitted it in 'Cherry' the Sound just blew me away.
Wiring it up is a 'Walk in the Park' even if you have never fitted a Stereo before and is a really perfect fit in the old Jaguar Cage.
Unscrew the Block on the Back of the Cage and it comes off together with all the Wires that you see in the Photo which you no longer need.
The only Wire I had to cut was the White one (which I cut in half) in case one day I wanted to Retro Fit the Original Jaguar Pull Out Stereo.
I just unscrewed the Wiring Block and cut the White Wire in half (before that other Plastic Block) on the Side of the Cage, which is a noise suppressor.
The Bullet Connectors that I used made installation easy and the simple Wiring Diagram that comes with the Stereo is very easy to follow.
Fitted and Working in no time and the Sound just blew me away.
Although the Blue Tooth is Flawless and locks on every time, I much prefer to put my 'Tracks' on an SD Card.
Last edited by orangeblossom; 07-07-2017 at 06:20 PM.
 07-01-2017, 05:36 PM