When you click on links to various merchants on this site and make a purchase, this can result in this site earning a commission. Affiliate programs and affiliations include, but are not limited to, the eBay Partner Network.
Well done! I told you it would only take you 5 minutes!
If I had concerns as to my cluster and the PCB, I would do 3 things first:
- carefully remove all those corroded screws (has it been exposed to some moisture?) and replace them
- use a multimeter and check continuity from all the plug-in tabs of the PCB to their final points at each instrument / earth point
- refit the plugs and then re-check the continuity by back-probing each pin of the plugs and again its termination point at the relevant instrument or earth point
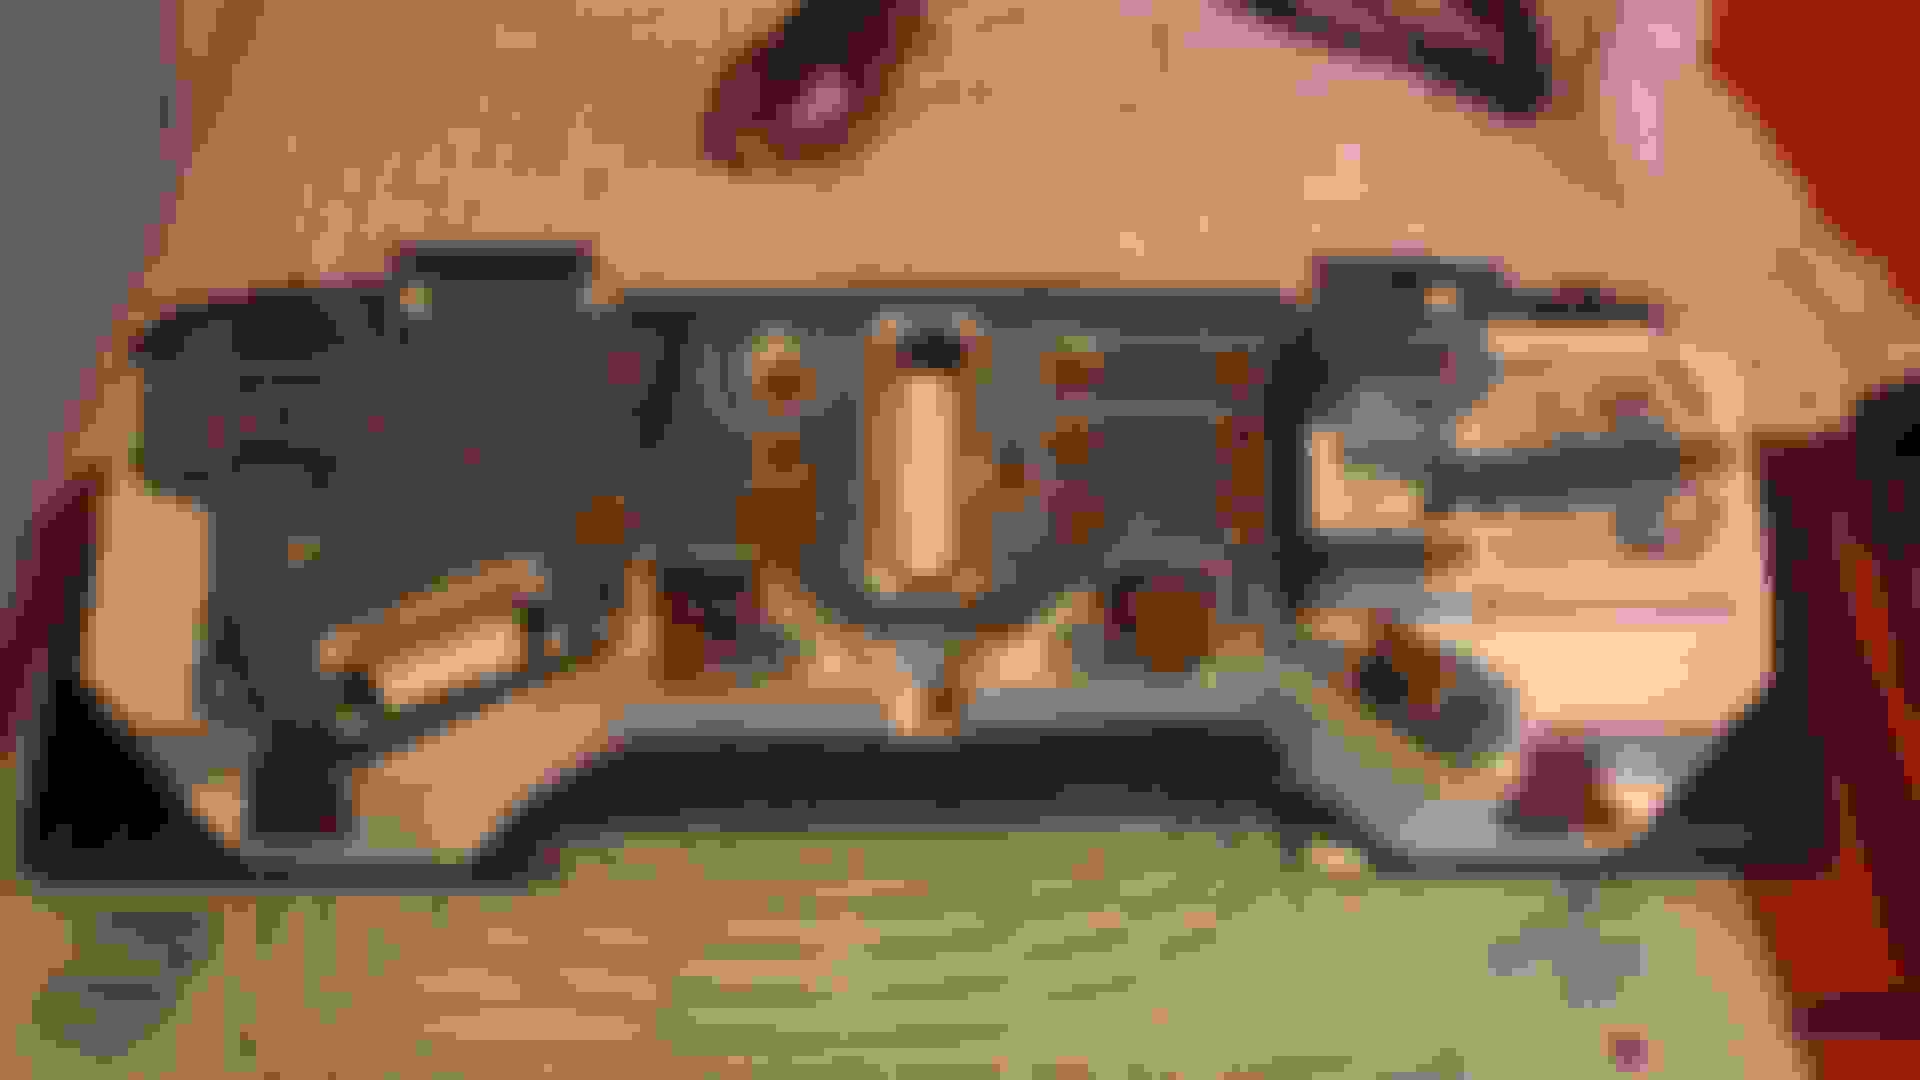
I wanted to get it fixed as soon as possible and so decided to
take it out of the Car to have a look
Apparently removing this is quite an easy job but even so I thought I'd have
a practice at removing it from my Parts Car first
Although you have to be careful not to damage the Printed Circuit
It only took five minutes to take out it including the two multi plugs in the back
Hopefully I can get some advice on what needs cleaning up and how to do it
YUK, remove all those screws and replace them with new ones, while you have them out clean the PCB with a pencil eraser then IPA (alcohol). I also notice some corrosion in the plugs do the same with these. THis should fix your problem.
OB
If I read your post correctly, this is a spare from the parts car? If so your actual one may not be nearly so bad from the corrosion point of view. Even so, on the troublesome rea one a few extra pointers to add to PTJS and Warrjon's lists:
Along the top of the back runs a steel strip about 1/2 inch wide. This is the common earth and it goes to one of the multiplug connectors. The connections to this strip need carefully cleaning up on the real one, and attaching a second earth, going directly to the car, not via the plug, is a goof idea. Also changing the dash illumination bulbs to 5 watt push fits does wonders. These are a in those small black holders that look like rusty half sugar lumps in your pic.
To get to the speedo you have to undo about 6 small self tappers that hold the white plastic shell to the black front piece. Then the white bits with the PCB comes away, and then, undoing the tiny bolts on the PCB behind the speedo and on the plastic, allows the speedo head to be removed. Changing it for a known good one is a good plan once it is out, or send it to an instrument mender for a full check.
But have you been able to check the loom to see if the signal is definitely arriving at the cluster?
Greg
You are correct, this is the old unit out of my 'Parts Car' as I wanted to have a dry run to see what was involved before I tackled the one on 'Cherry Blossom'
Which I am expecting to 'look' in 'as new condition' without any rust!
It was easy to take out and also put back in and the same with the Plugs.
Also on the 'Parts Car' the Steering Wheel was already off.
When I remove the one on 'Cherry Blossom' I will have to lower the Steering Column Column by unlatching the adjustment lever, which should give me enough room.
It could be something as simple as a clean of the Plugs and Sockets with Electric Contact Cleaner.
But now I know what that Steel Earth Strip is for, maybe I should run an Aux Wire from that Steel Strip to another Earth Point.
A piece of my rubber there broke off, but rather than bother with a full replacement, I just used some of my windscreen sealant to glue it back in place. Mind you, yours looks rather worse for wear than mine.
Frankly, I'd just like to remove the entire antenna--it's not as if I ever use it....
Step by step guide to replace the grommet? Heck, arieal out, grommet out, grommet in, arieal in. Done... I mean, that is probably the easiest job out there. To make the antenna slide in easier, a small smear of soapy washing up liquid onnthe inside...
Step by step guide to replace the grommet? Heck, arieal out, grommet out, grommet in, arieal in. Done... I mean, that is probably the easiest job out there. To make the antenna slide in easier, a small smear of soapy washing up liquid onnthe inside...
Hi Daim
When I did the last one, the rubber was so hard that it took me half a day to put it in, even when trying to lube it with washing up liquid.
Step by step guide to replace the grommet? Heck, arieal out, grommet out, grommet in, arieal in. Done... I mean, that is probably the easiest job out there. To make the antenna slide in easier, a small smear of soapy washing up liquid onnthe inside...
Hi Daim
There have been questions on the Forum on how to remove the Aerial, so a few Pics may be useful for those who've got an Aerial to replace.
A piece of my rubber there broke off, but rather than bother with a full replacement, I just used some of my windscreen sealant to glue it back in place. Mind you, yours looks rather worse for wear than mine.
Frankly, I'd just like to remove the entire antenna--it's not as if I ever use it....
Hi Someday
Same!
While I get great reception on my 'el-cheapo' Radio, I don't need the Aerial either as all my Tracks are on MP3
But on the assumption that most of the Wiring Colours are the same, if you disconnect the 'Blue' Wire on the back of your Stereo.
Then the Aerial should stay down, when you switch it on, if that's any help?
I use one these oil filter straps to remove rad hoses (and a variety of other tight cylindrical items!) Readily available for about �2.50. They also work really well on oil filters as intended! Much easier than stabbing it with a screwdriver and p*****g oil all over the driveway
 10-11-2017, 01:41 PM