Cherry Blossom - Restoration 1990 XJS V12
#1581
 12-24-2017, 08:27 PM

De-Frosting 'The Ice Princess'
Having now got 'Cherry Blossom' and '50 Shades' my Grey XJS back on the road again
It was time to start work on restoring 'The Ice Princess'
So the first thing I did was to make a list of some of the main jobs that I felt needed doing to act not only as 'goals' but motivation
Because as soon as Spring arrives, there's always a temptation to neglect the restoration and go out for a drive
But before I did any work on her, I felt it best to see if She would Start, as She's spent years just sitting in the Garage

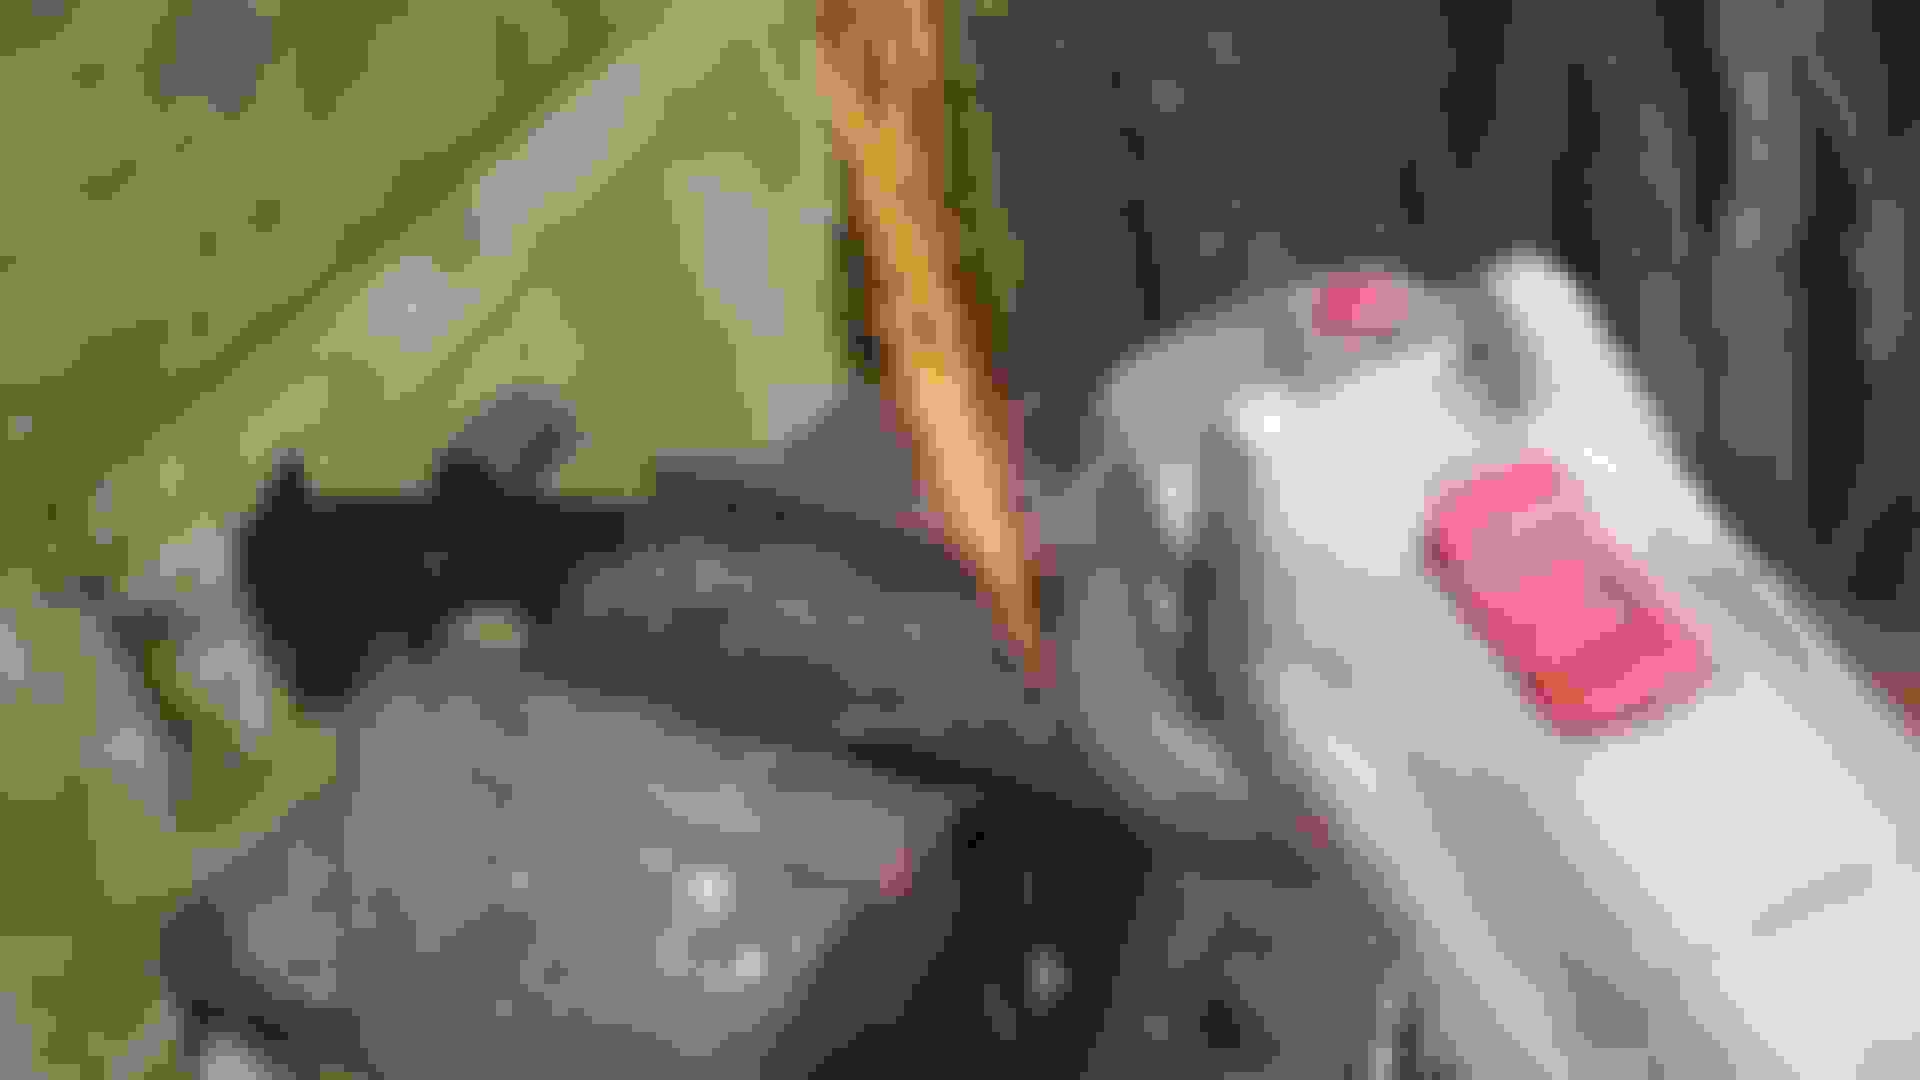
I think that 'The Ice Princess' is somewhere under here
Note to Self, must tidy up my Garage but having got all that stuff out of the way I'm pleased to say She looked as good as new
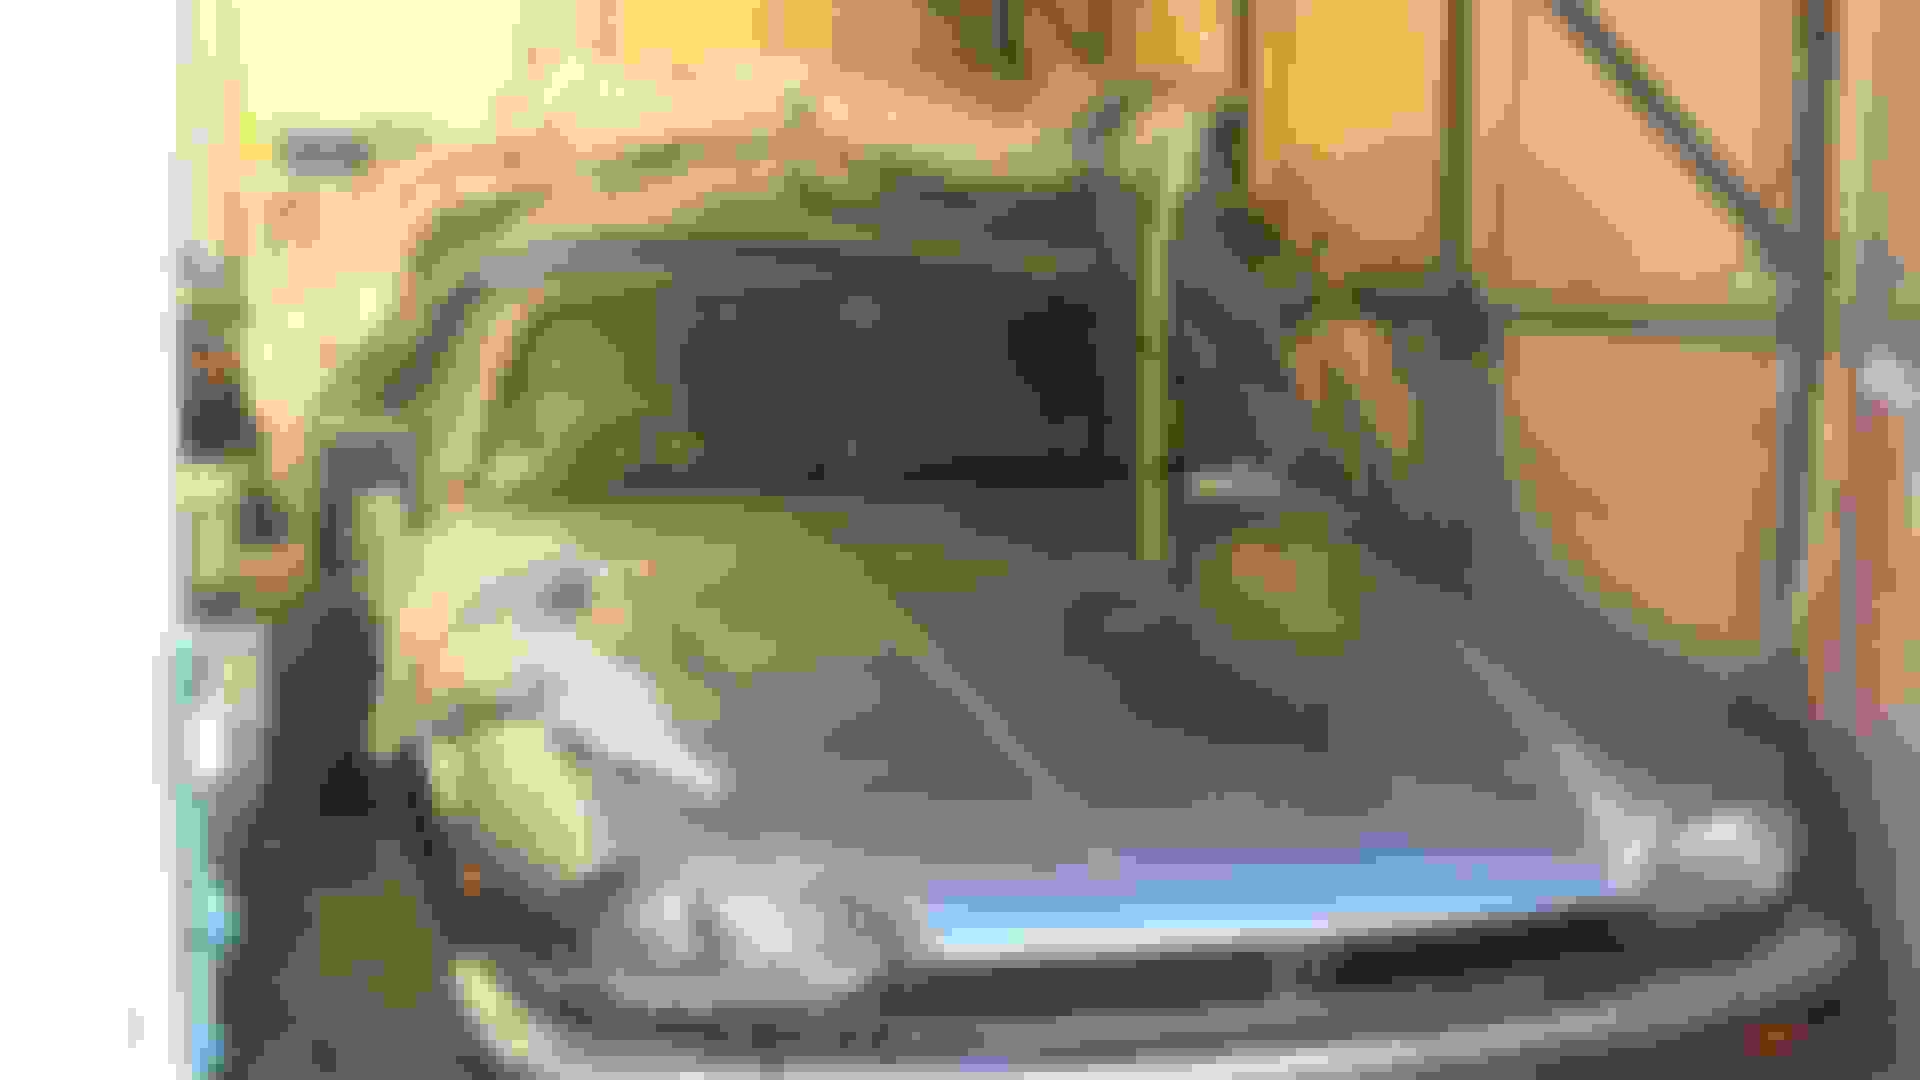
'The Ice Princess' but will She start after so many years of standing?
Time to lift up the Bonnet/Hood and Check the Engine over

I'd already removed the Master Cylinder Actuator that needed to be rebuilt as She started to pull to the Right when putting the Brakes on
Note to Self:
Before you attempt to Start her, pull the 30 Amp fuses that operate the ABS and the Brake Pump, or else it will run dry
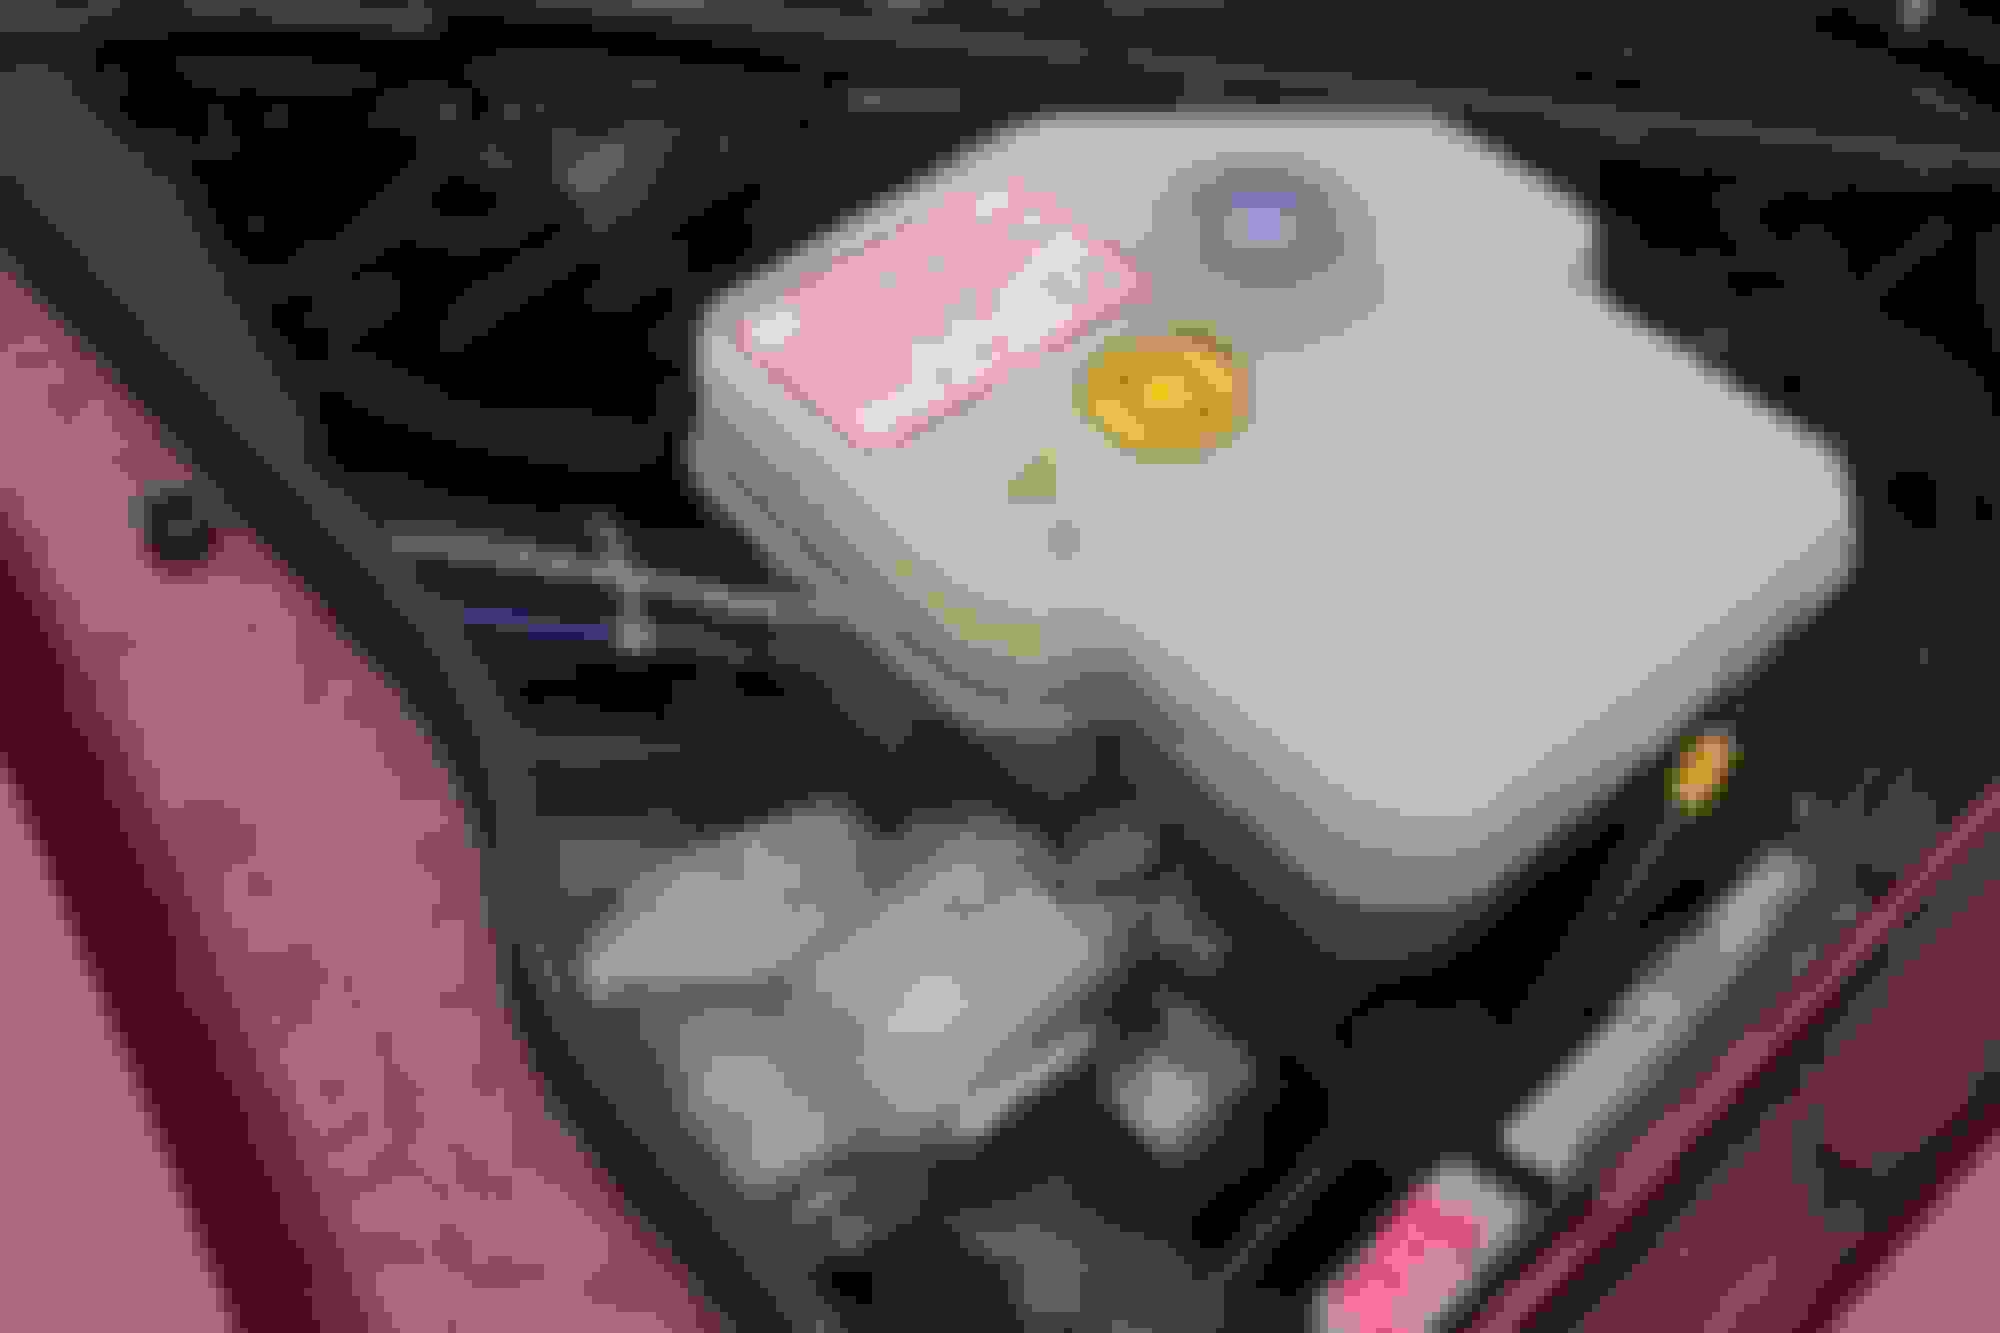
Oil and Water all Ok, so time to put a battery on and see if She will Start
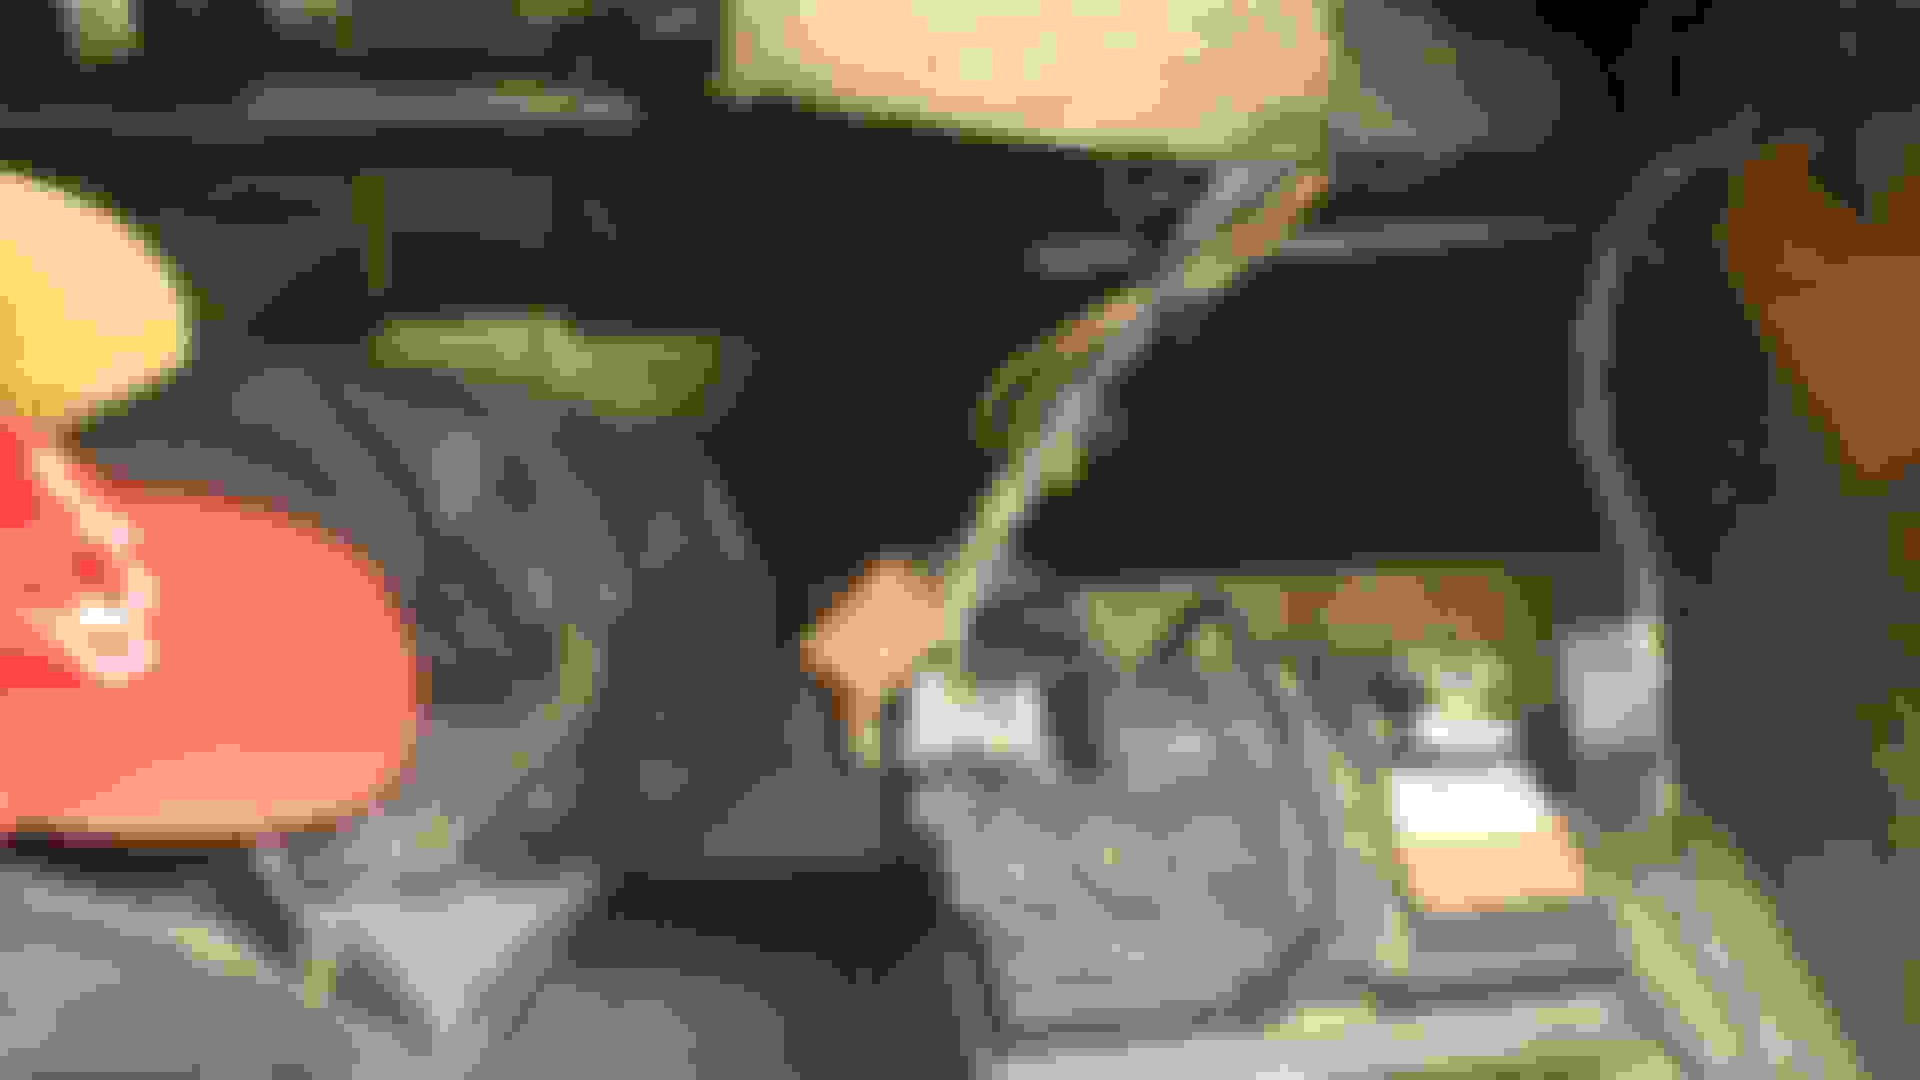
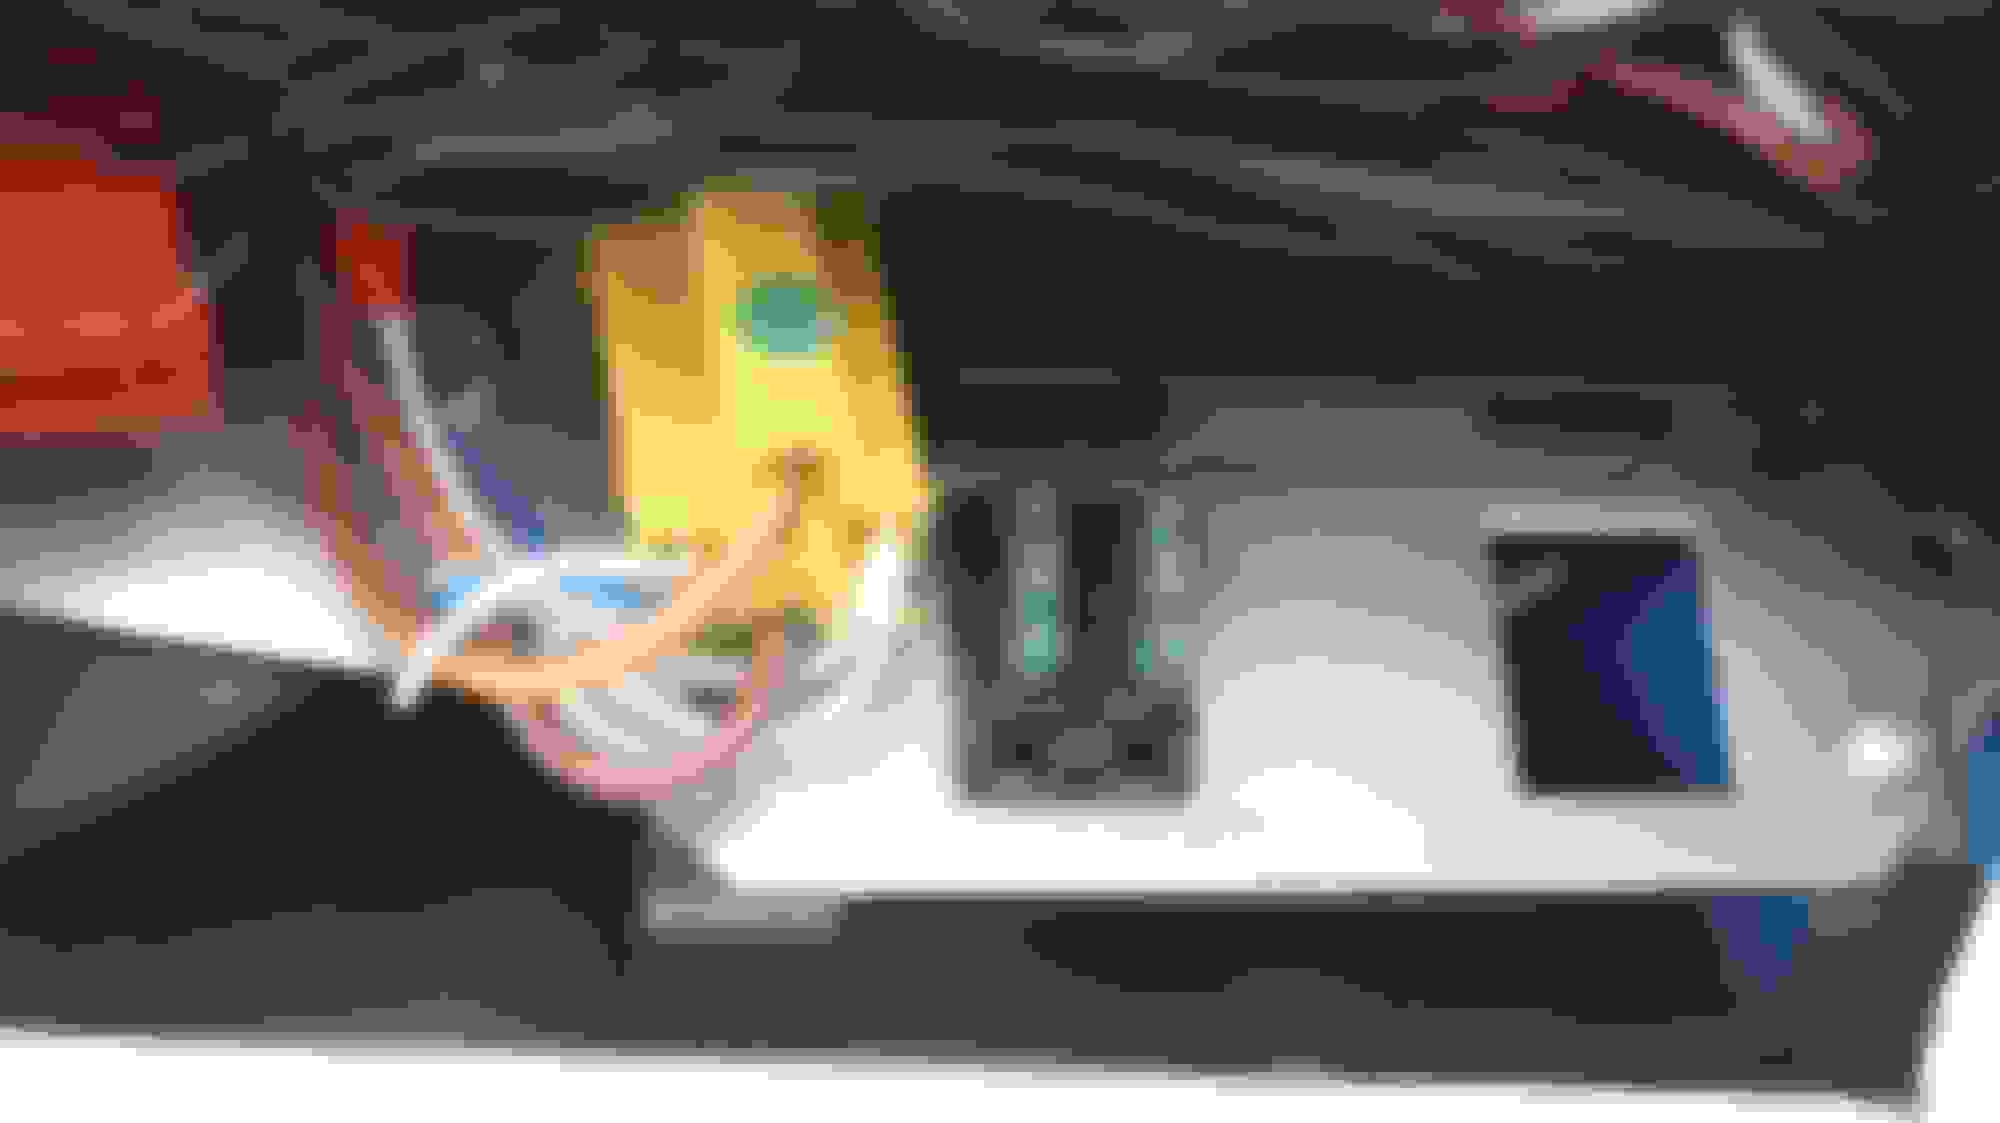
Jury rigging a Battery to try and Start 'The Ice Princess' so I borrowed the one off my Mower
I have to admit I was nervous, as I put the Key in the Ignition, so it was quite a big relief to see all the dash lights come on

'Lights are Flickering' Air Com Whooshing, looking good to go!
The Engine turned over a couple of times and sounded as if She was really trying to Start but also seemed to have some stuck injectors (let's try that again)
The Second time was better but sounded as if She was only running on Three
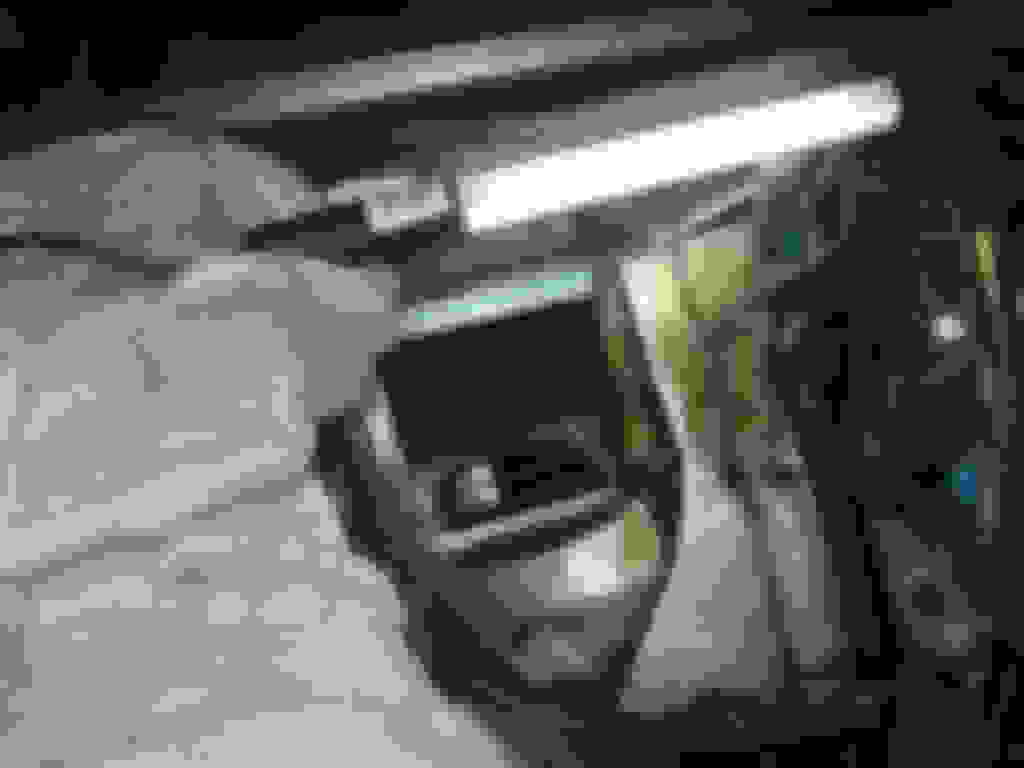
Third time lucky She Started and the Injectors seemed to be Clearing and so with my eyes focused on the Oil Pressure Gauge, I just let her run for 30 Seconds
OMG! No Oil pressure on the Barrel Gauge, so decided to put out an SOS on the Forum
Where Grant 'The Wizard of Oz' came to the rescue, so after cleaning up some wires that operate the Oil Pressure Gauge
It was 'Squeaky Bum Time' and time to try again
After some heart stopping moments, when She was very briefly running 'Lumpy' the Injectors cleared themselves and the Oil Pressure started to rise!
Where the Oil Pressure Barrel Gauge was now showing a constant 60 psi and 'The Ice Princess' was ticking over like a little Swiss Watch
So now that I know She runs Ok, I can now start getting on with all those other jobs

Started up and running great with no excessive smoking although, I did stay right out of the Garage
Having now got 'Cherry Blossom' and '50 Shades' my Grey XJS back on the road again
It was time to start work on restoring 'The Ice Princess'
So the first thing I did was to make a list of some of the main jobs that I felt needed doing to act not only as 'goals' but motivation
Because as soon as Spring arrives, there's always a temptation to neglect the restoration and go out for a drive
But before I did any work on her, I felt it best to see if She would Start, as She's spent years just sitting in the Garage

I think that 'The Ice Princess' is somewhere under here
Note to Self, must tidy up my Garage but having got all that stuff out of the way I'm pleased to say She looked as good as new

'The Ice Princess' but will She start after so many years of standing?
Time to lift up the Bonnet/Hood and Check the Engine over

I'd already removed the Master Cylinder Actuator that needed to be rebuilt as She started to pull to the Right when putting the Brakes on
Note to Self:
Before you attempt to Start her, pull the 30 Amp fuses that operate the ABS and the Brake Pump, or else it will run dry
Oil and Water all Ok, so time to put a battery on and see if She will Start

Jury rigging a Battery to try and Start 'The Ice Princess' so I borrowed the one off my Mower
I have to admit I was nervous, as I put the Key in the Ignition, so it was quite a big relief to see all the dash lights come on

'Lights are Flickering' Air Com Whooshing, looking good to go!
The Engine turned over a couple of times and sounded as if She was really trying to Start but also seemed to have some stuck injectors (let's try that again)
The Second time was better but sounded as if She was only running on Three
Third time lucky She Started and the Injectors seemed to be Clearing and so with my eyes focused on the Oil Pressure Gauge, I just let her run for 30 Seconds
OMG! No Oil pressure on the Barrel Gauge, so decided to put out an SOS on the Forum
Where Grant 'The Wizard of Oz' came to the rescue, so after cleaning up some wires that operate the Oil Pressure Gauge
It was 'Squeaky Bum Time' and time to try again
After some heart stopping moments, when She was very briefly running 'Lumpy' the Injectors cleared themselves and the Oil Pressure started to rise!
Where the Oil Pressure Barrel Gauge was now showing a constant 60 psi and 'The Ice Princess' was ticking over like a little Swiss Watch
So now that I know She runs Ok, I can now start getting on with all those other jobs

Started up and running great with no excessive smoking although, I did stay right out of the Garage
#1582
12-25-2017, 08:38 AM
The Night Before Christmas Mk11
Twas the night before Christmas and I couldn't sleep
As I thought my Power Steering was starting to leak
If I'd checked it more often then it would be fine
But you know how it is I just don't get the time
I'd Checked on the Dexron before I'd left home
But was now more than sure I could hear the Pump groan
So removing the Cap checked the fluid by eye
And then thought 'Bloody Hell' the Pumps gone and run dry
Which could mean I'd upset 'The Jaguar Gods'
As finding that leak is an 'Aerosol' job
And to make matters worse She won't Start up and go
So I'll contact 'The Wizard' as he's bound to know
Except it turns out that I'm now up '**** Creek'
As having had lunch he had fallen asleep
OMG I'm now thinking what do I do know
As these XJS's can be a real Cow
He'd probably tell me I need to have Faith
And that maybe a wire has just come out of place
With so many to choose from I'm not taking bets
As you may as well start playing Russian Roulette
So pulling a Plug Lead I checked for a Spark
But with 12 to choose from its so bloody hard
With no room to manoever its all pipes and wires
and all I've got with me is a pair of pliers!
Warrjon could fix it of that there's no doubt
And Daim might say why not take the Engine out
Though maybe the Fuel Pump has gone on the 'Blink'
On a Car that can easily drive you to Drink!
It could be a Relay or maybe the Coil
Or maybe the buggers just run low on Oil
Though with any luck it might just be a Fuse
So if I change them all I've got nothing to lose
But then I sat up and just let out a Scream
As the whole thing had just been one horrible Dream!
So just to be sure I then picked up the Keys
And walked out in the Snow that was starting to freeze
Then opened the door and then sat down inside
The plush seats all covered in Connelly Hide
Where having inserted the Ignition Key
Prayed 'The Jaguar Gods' were not out to get me
The Dash Lights then lit and the Self Starter Whirred
As my beautiful Kitten first roared and then purred
'The Wizard' was right I just needed more Faith
Have a Happy Christmas
And 'Good on Yer' Mate
Last edited by orangeblossom; 12-25-2017 at 09:08 AM.
#1583
12-27-2017, 02:43 PM
'The Ice Princess'
Repairing The ABS Master Cylinder Actuator
Repairing The ABS Master Cylinder Actuator
When 'The Ice Princess' was last on the road a good many Years ago, I went to put the Brakes on and nearly spun the Car
As without any Warning She violently pulled to the right and tried to ****** the Wheel out of my hand
Not the very first time this has happened, as I've had brake failure on nearly all of my XJS's
So the first thing I did was to take my foot off the Foot brake to regain control of the Car
Change down into 2nd Gear (Auto) and then re apply the Foot Brake as gently as I could
And would have used the hand brake if I'd needed to but managed to very slowly cruise to a stop
Having had this happen before on another XJS I knew what to do to get me home
Which was to pull out the 30 Amp Fuse which controls the ABS
There are Two 30 Amp Fuses and one controls the Brake Pump, so don't pull out the wrong one! or you won't have any Brakes!!
These Two Fuses are clearly marked, so I knew which one to pull out and they are under the knee pad on the passenger side of a 1990 XJS

The ABS Brake Fuses are behind this Knee Pad
One Fuse is for the ABS and the other one is for the Brake Pump both are very clearly marked don't pull the wrong one!
Having removed the ABS Fuse I just had normal braking without the ABS so I was able to drive home without any problem
But having got home I needed to fix the problem, so the Master Cylinder Actuator had to come out of the Car
This was a dead easy job that only took 30 minutes and I did it with the Reservoir in place
(1) Because it gives you something to get hold of to jiggle it about
(2) Because there are 3 outlets under the Reservoir where Brake Fluid will come flooding out

There are 3 outlets under the ABS Reservoir where Brake Fluid will come pouring out if you remove it
So in order to minimize the mess, I undid the Bleed Nipple of the Drivers Side Caliper and drained out as much Brake Fluid as I could
Its still going to make a mess though, so have plenty of rag handy to mop up the spills
Don't let it drip on the Paintwork or it will strip it!
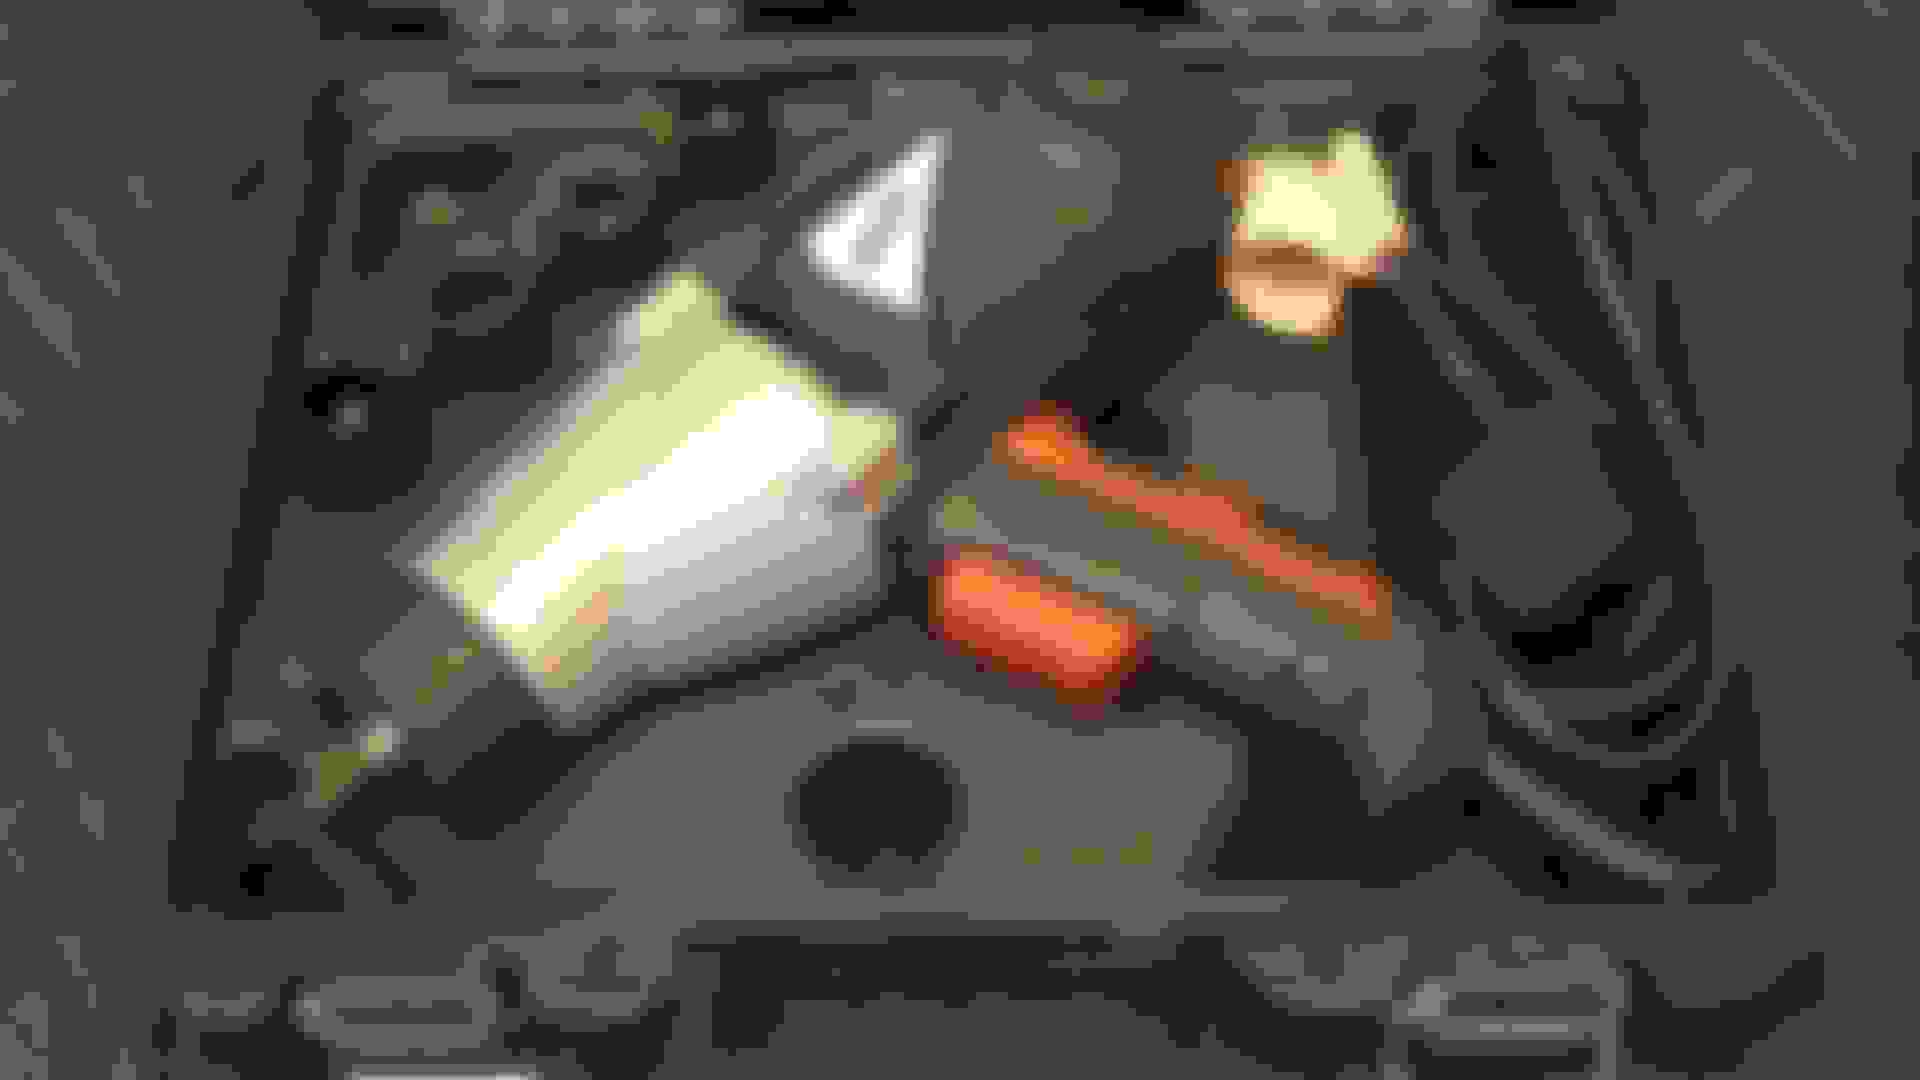
Removing the ABS Master Cylinder Actuator is relatively easy but don't drip any Brake Fluid on the Paintwork or it will strip it in a blink!
You can also see the Foot Brake Switch in this Photo
The Master Cylinder Actuator: This one is in 'Cherry' but its easy to take out all in one piece Watch out for dripping Brake Fluid! It's going to make a mess!

This is what is inside the ABS Valve Block and those Valves connect to the Plug with Fragile Ribbons and if one happens to Break your Car can suddenly take a dive to the left or right when you put the Brakes on

In this Old ABS Valve Block you can see the Ribbon Connectors which over time get Crispy with heat and can break through vibration and they can also get rusty if you don't change the Brake Fluid on a regular Basis

The Valves can very easily get blocked with rust or crud
Providing the Valves are in good condition you can easily repair it as Spare Parts are NLA
Unless they are blocked with rust or crud, in which case they would need cleaning in an ultrasonic cleaner
You may be able to get you local Jewelry Shop or Dentist! to do this for you, as the DIY ones are not always up to the job
Having removed the Master Cylinder Actuator, remove the Valve Block and then remove the Cover
Don't loose the 'O' rings or allow the Valves inside to drop out, as the weight of those alone will be enough to break the ribbons that aren't broken already
Next make a drawing of how the Valves are wired up to the Plug
Don't get this wrong, unless you have some sort of 'Death Wish!'
Then replace All the Ribbon Connectors with High Temp Silicone Wire
WARNING! unless you have been Trained in how to Solder, then don't do this Yourself!
Take the Valve Block to your local Radio/Shack/Shop with your drawing and pay them a few dollars to do this for You
Although I have done this myself, I'd rather pay my Radio Shop to do this Job for me and had mine rewired for �30 which gave me that extra piece of mind
Then for 'Family Reasons' 'The Ice Princess' got put on the 'Back Burner' and has been sitting in the Garage for a number of Years
Though since then I have been Restoring 'Cherry Blossom' and 50 Shades my Grey XJS
But now with those Cars back on the road, I can Fix 'The Ice Princess'
So having had the ABS Valve Block 'Professionally Rewired' (Recommended)
I wanted to give it a final Test before I put it back and will also Test it with my Meter Later in another Video
Warning! Don't drive your Car with the ABS Disconnected, as in the event of an Accident
Then your Insurance Company could throw out your Claim and Refuse to Pay out!
Testing the ABS Valve Block (you may need to turn up the Volume to hear the Valves Clicking)
As without any Warning She violently pulled to the right and tried to ****** the Wheel out of my hand
Not the very first time this has happened, as I've had brake failure on nearly all of my XJS's
So the first thing I did was to take my foot off the Foot brake to regain control of the Car
Change down into 2nd Gear (Auto) and then re apply the Foot Brake as gently as I could
And would have used the hand brake if I'd needed to but managed to very slowly cruise to a stop
Having had this happen before on another XJS I knew what to do to get me home
Which was to pull out the 30 Amp Fuse which controls the ABS
There are Two 30 Amp Fuses and one controls the Brake Pump, so don't pull out the wrong one! or you won't have any Brakes!!
These Two Fuses are clearly marked, so I knew which one to pull out and they are under the knee pad on the passenger side of a 1990 XJS

The ABS Brake Fuses are behind this Knee Pad

One Fuse is for the ABS and the other one is for the Brake Pump both are very clearly marked don't pull the wrong one!
Having removed the ABS Fuse I just had normal braking without the ABS so I was able to drive home without any problem
But having got home I needed to fix the problem, so the Master Cylinder Actuator had to come out of the Car
This was a dead easy job that only took 30 minutes and I did it with the Reservoir in place
(1) Because it gives you something to get hold of to jiggle it about
(2) Because there are 3 outlets under the Reservoir where Brake Fluid will come flooding out

There are 3 outlets under the ABS Reservoir where Brake Fluid will come pouring out if you remove it
So in order to minimize the mess, I undid the Bleed Nipple of the Drivers Side Caliper and drained out as much Brake Fluid as I could
Its still going to make a mess though, so have plenty of rag handy to mop up the spills
Don't let it drip on the Paintwork or it will strip it!

Removing the ABS Master Cylinder Actuator is relatively easy but don't drip any Brake Fluid on the Paintwork or it will strip it in a blink!
You can also see the Foot Brake Switch in this Photo

The Master Cylinder Actuator: This one is in 'Cherry' but its easy to take out all in one piece Watch out for dripping Brake Fluid! It's going to make a mess!

This is what is inside the ABS Valve Block and those Valves connect to the Plug with Fragile Ribbons and if one happens to Break your Car can suddenly take a dive to the left or right when you put the Brakes on

In this Old ABS Valve Block you can see the Ribbon Connectors which over time get Crispy with heat and can break through vibration and they can also get rusty if you don't change the Brake Fluid on a regular Basis

The Valves can very easily get blocked with rust or crud
Providing the Valves are in good condition you can easily repair it as Spare Parts are NLA
Unless they are blocked with rust or crud, in which case they would need cleaning in an ultrasonic cleaner
You may be able to get you local Jewelry Shop or Dentist! to do this for you, as the DIY ones are not always up to the job
Having removed the Master Cylinder Actuator, remove the Valve Block and then remove the Cover
Don't loose the 'O' rings or allow the Valves inside to drop out, as the weight of those alone will be enough to break the ribbons that aren't broken already
Next make a drawing of how the Valves are wired up to the Plug
Don't get this wrong, unless you have some sort of 'Death Wish!'
Then replace All the Ribbon Connectors with High Temp Silicone Wire
WARNING! unless you have been Trained in how to Solder, then don't do this Yourself!
Take the Valve Block to your local Radio/Shack/Shop with your drawing and pay them a few dollars to do this for You
Although I have done this myself, I'd rather pay my Radio Shop to do this Job for me and had mine rewired for �30 which gave me that extra piece of mind
Then for 'Family Reasons' 'The Ice Princess' got put on the 'Back Burner' and has been sitting in the Garage for a number of Years
Though since then I have been Restoring 'Cherry Blossom' and 50 Shades my Grey XJS
But now with those Cars back on the road, I can Fix 'The Ice Princess'
So having had the ABS Valve Block 'Professionally Rewired' (Recommended)
I wanted to give it a final Test before I put it back and will also Test it with my Meter Later in another Video
Warning! Don't drive your Car with the ABS Disconnected, as in the event of an Accident
Then your Insurance Company could throw out your Claim and Refuse to Pay out!
Testing the ABS Valve Block (you may need to turn up the Volume to hear the Valves Clicking)
Last edited by orangeblossom; 12-27-2017 at 02:47 PM.
#1584
12-27-2017, 04:17 PM
Veteran Member

#1585
12-27-2017, 04:22 PM
#1586
12-28-2017, 02:35 AM
Veteran Member
#1587
01-03-2018, 04:07 AM
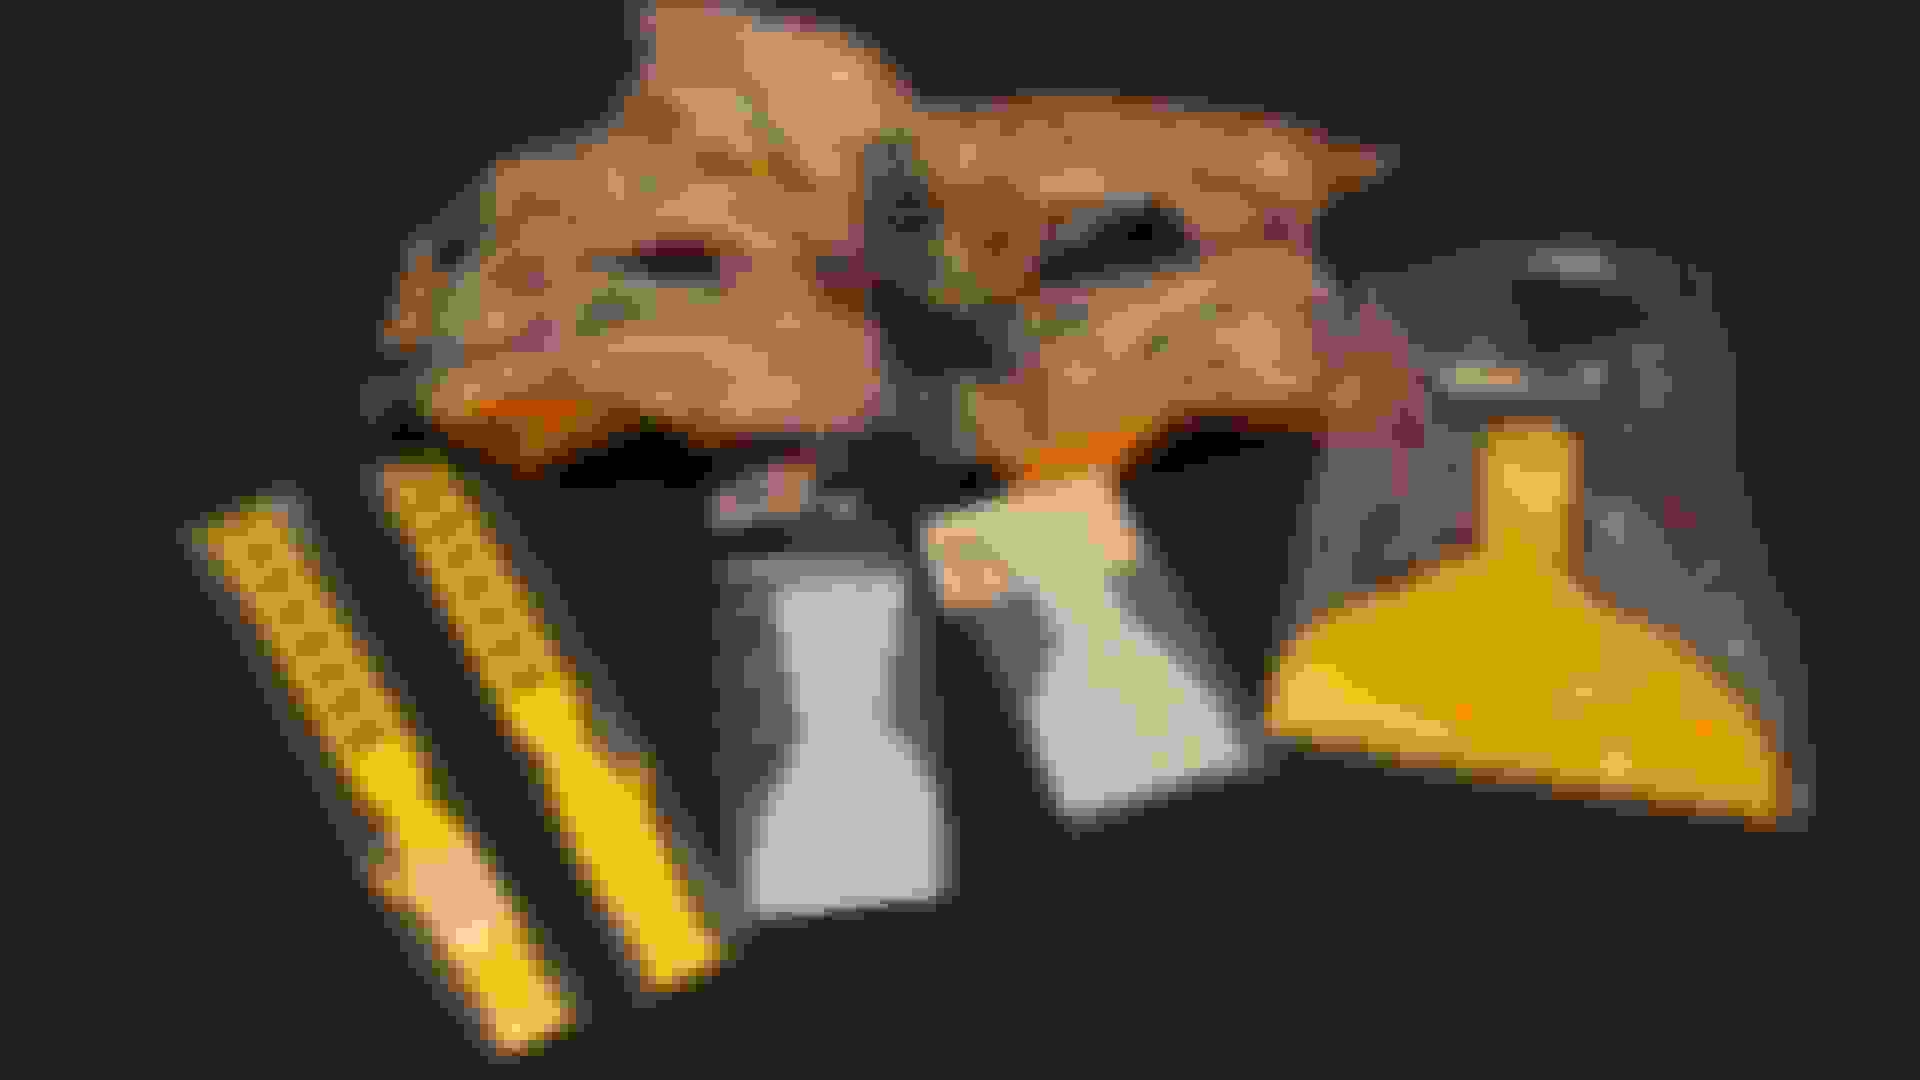
Just Picked Up Some Bargains In The January Sales For My XJS
First on my list are a couple of Strap Wrenches which are useful for removing the Oil Filter and breaking the Seal on the Rad Hose
These Two only cost �3 for the Pair! but all the same I'm gutted as the week before I paid �4 for an 'el cheapo' one
A pair of Strap Wrenches for removing Oil Filters and Breaking the Seal when removing the bottom Radiator Hose
Dust Mask only �1 Goggles 50p!!!!!
I'm always using Dust Masks and Goggles for things like cleaning the underside of my XJS
The Dust Masks were only �1 per pack and the Goggles were only an 'Eye watering' (pun intended) 50p So I bought every pair in the Store
Next was something that I really had no use for
An Angle Chuck for a Drill but seeing it was only �1-50 I thought I'd better buy it just in case
Angle Chuck for a drill only �1-50 and while I may never use it 'If you ever need one' then nothing else will do
I can't remember the last time I used a Ring Spanner
But this Set of 8 only cost �4 Only 50p each! Bargain or what!

8 Ring Spanners cost me �4 that's only 50p each!

8 Ring Spanners only 50p each and very good quality too!
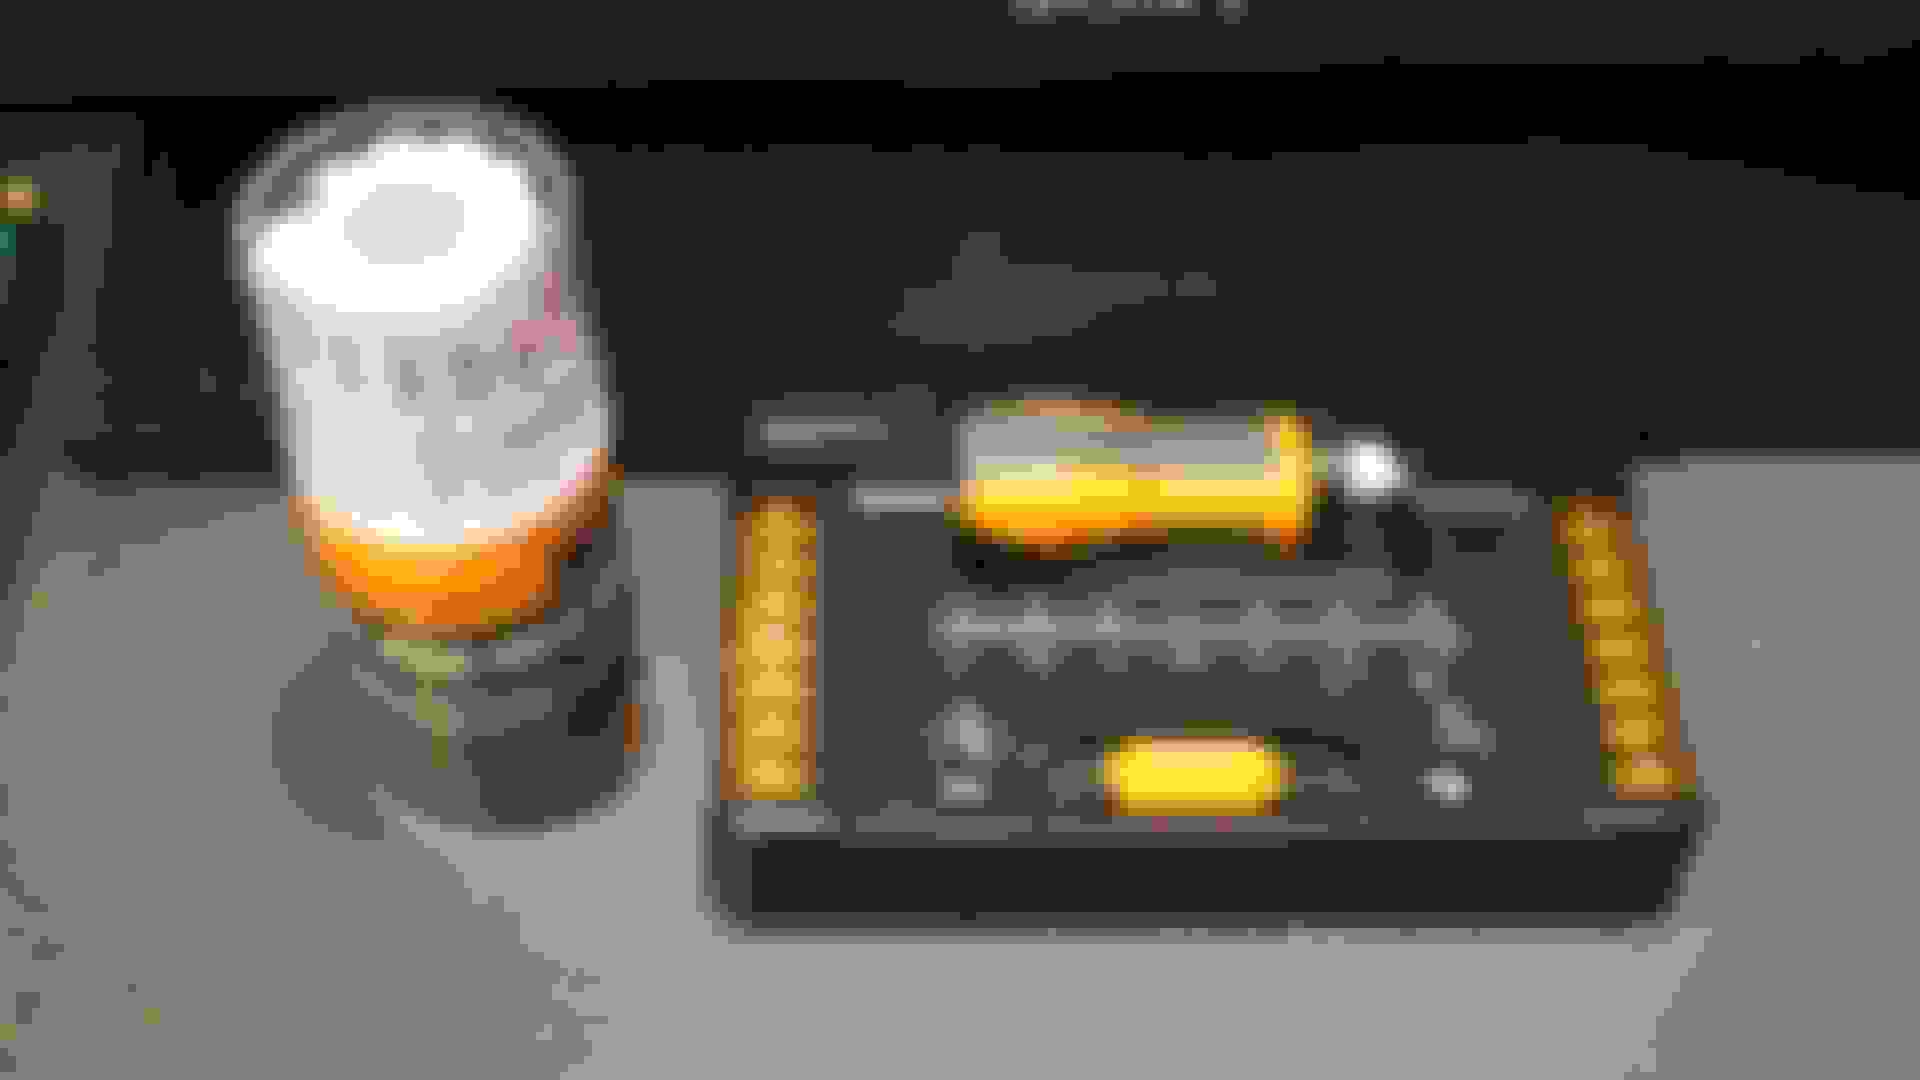
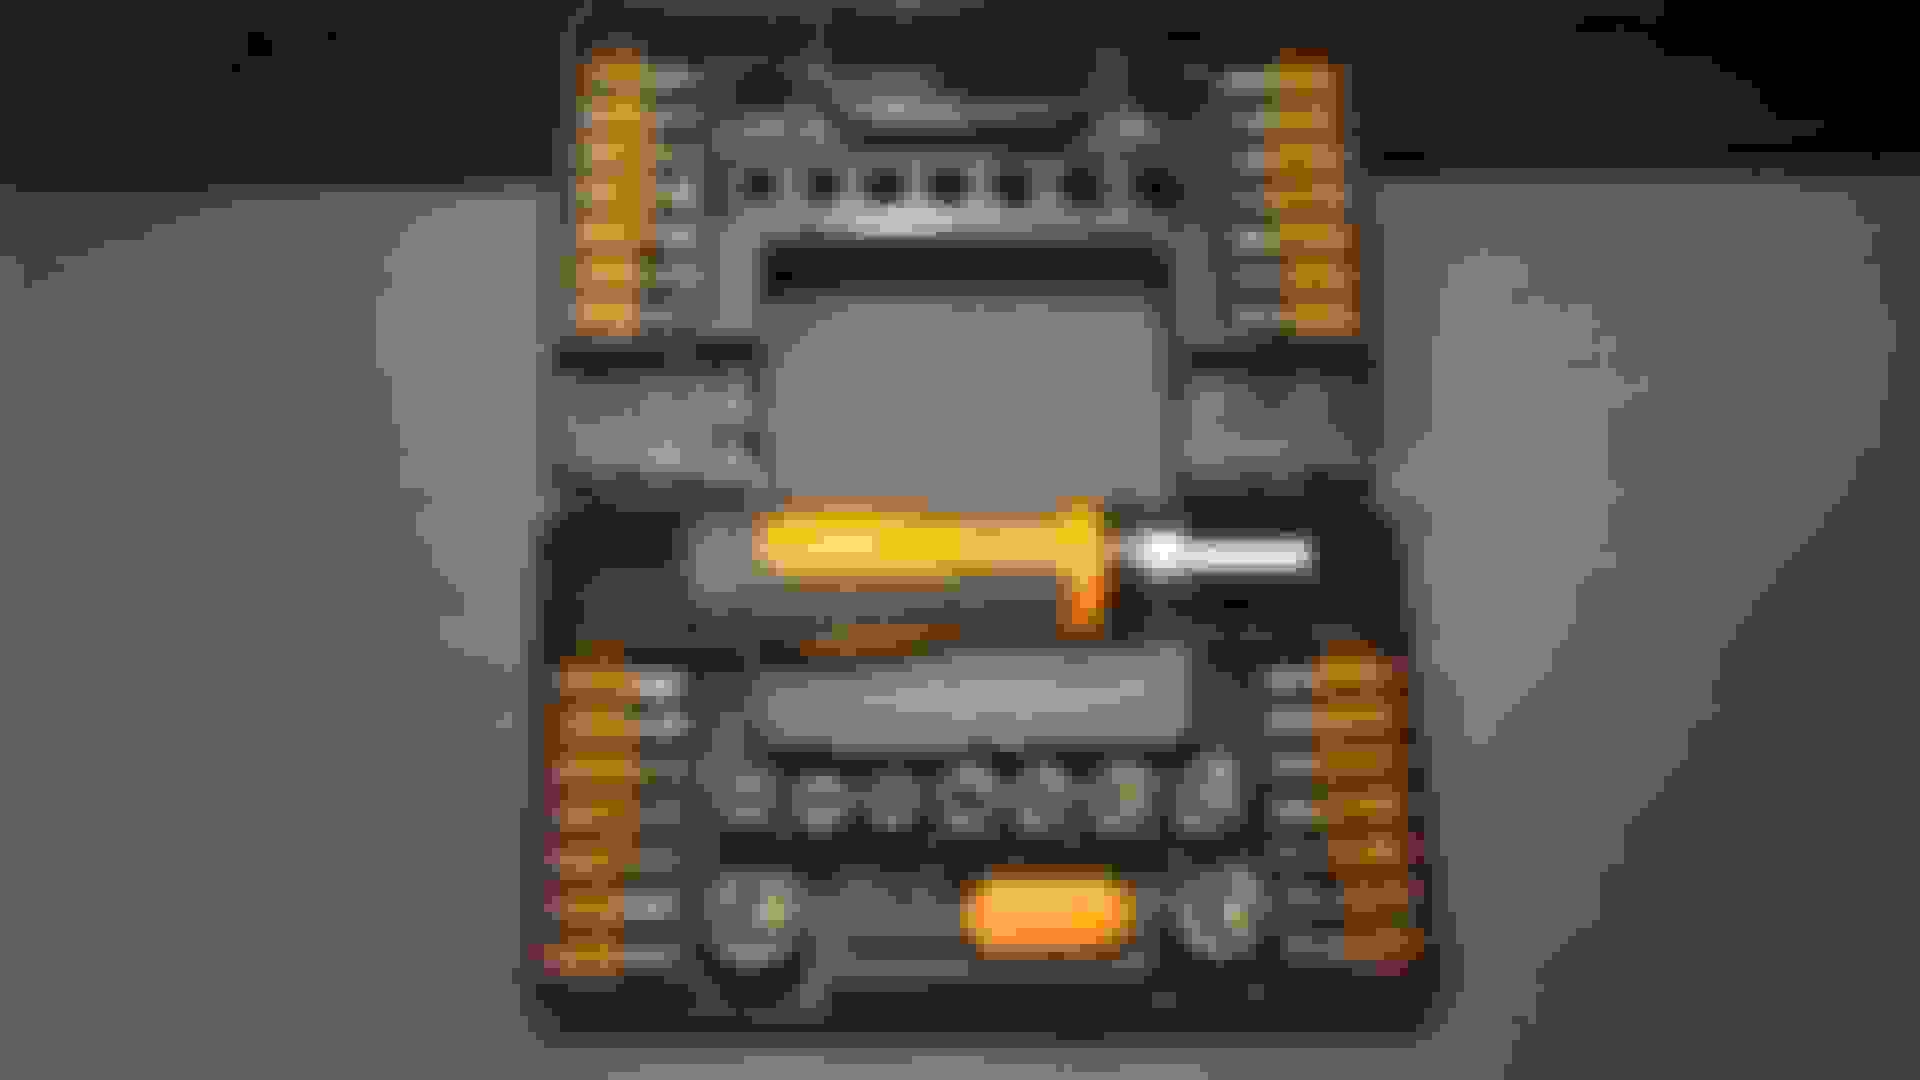
A very useful set of Sockets and Torx Bits �3
The set of High Speed Drills was only �1
Was this my biggest bargain? Probably not
But this set of 8 Pairs of Pliers and Cutters was only �4 only 50p each! OMG!
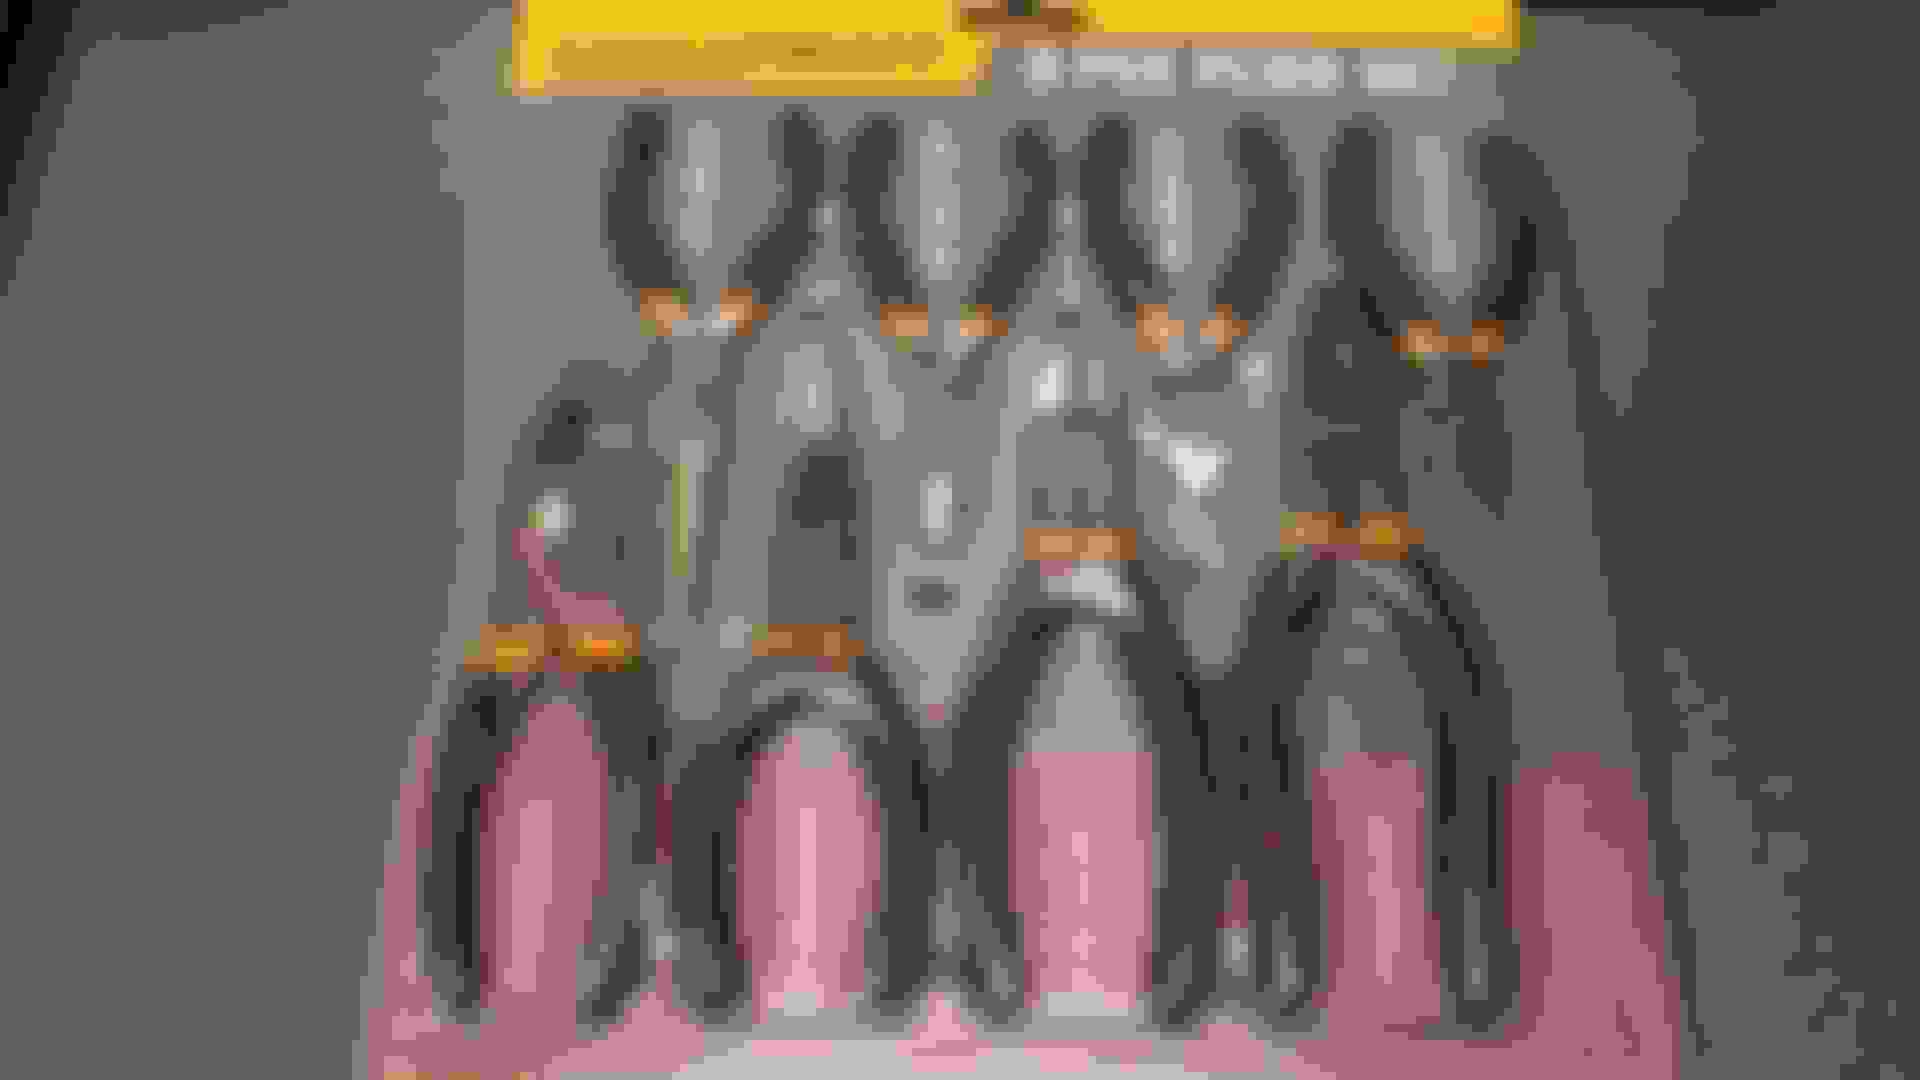
8 Pairs of assorted Pliers and Cutters �4 that's only an unbelievable 50p each!
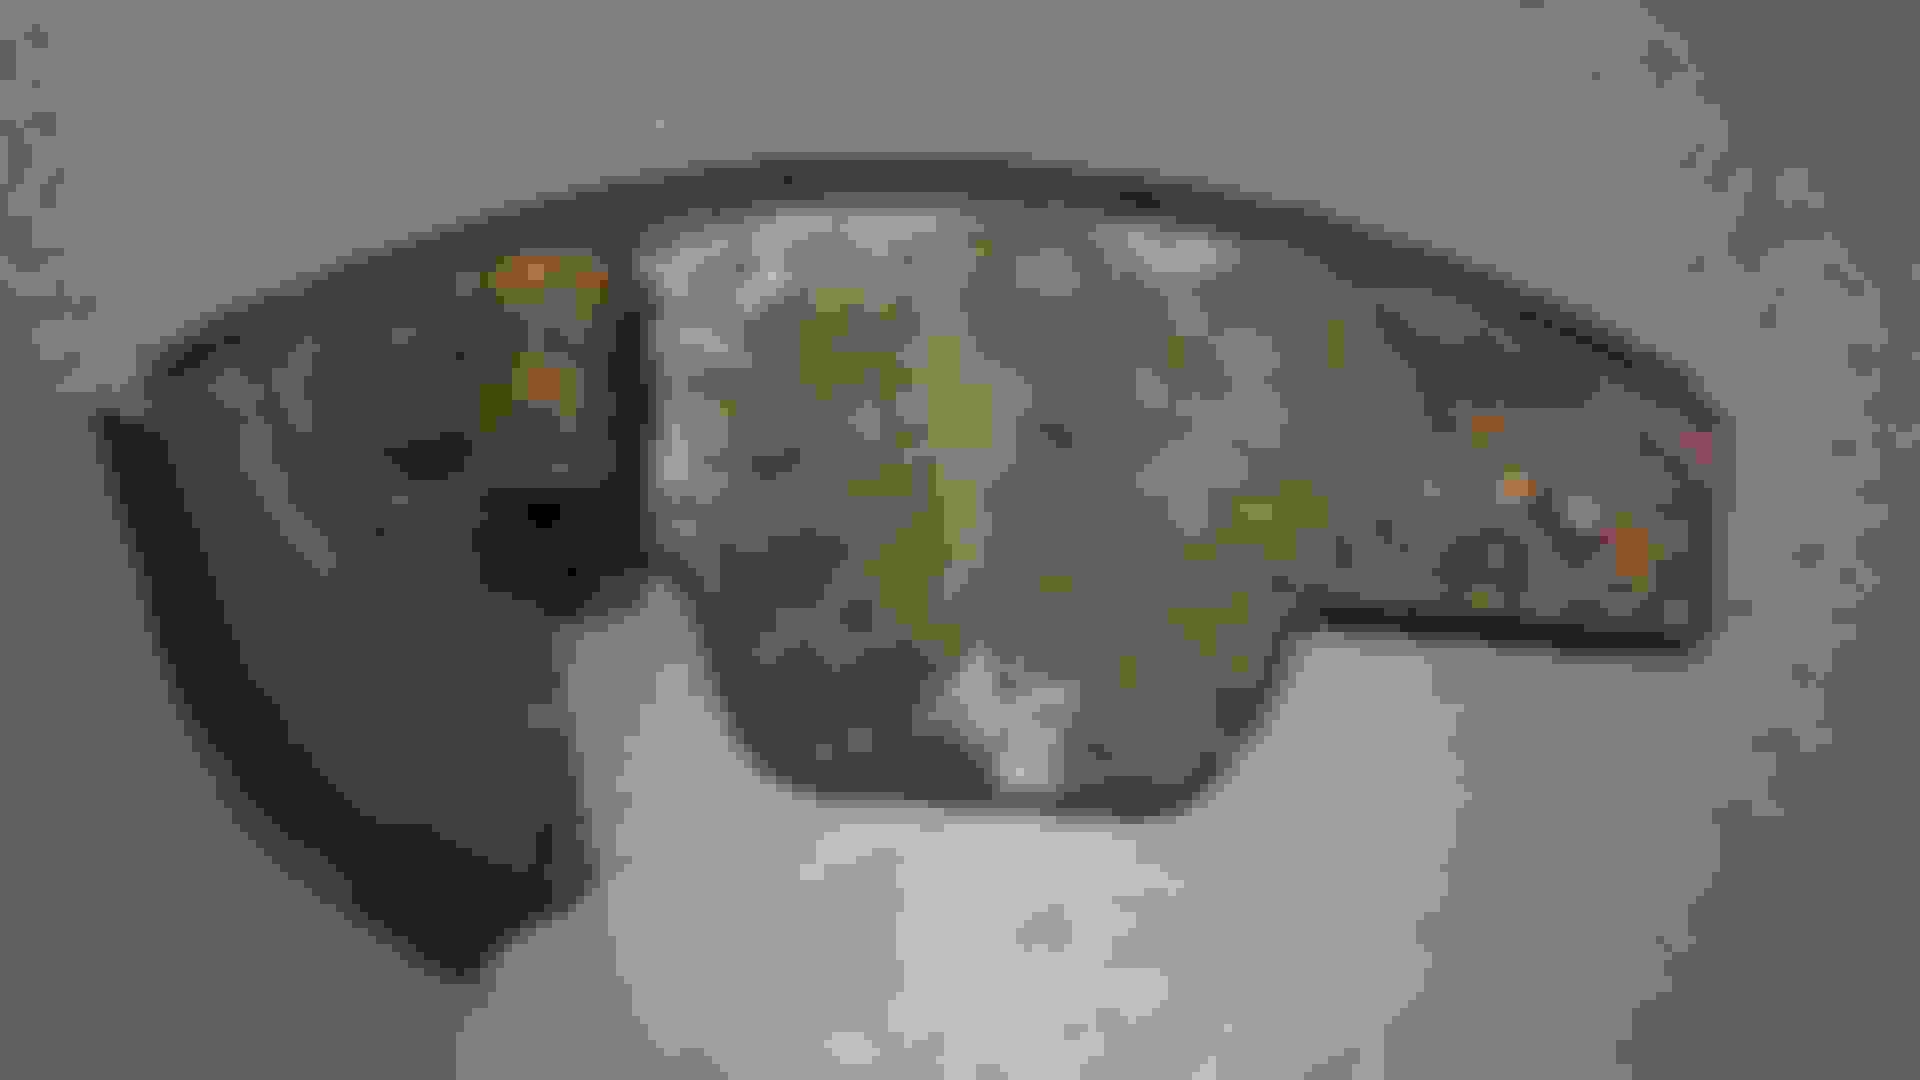
Next I bought some Protective Full Face Masks
Very useful for Grinding or when I'm using my Chainsaw only �2 each!

Protective Full Face Shields only �2 each!
One of my Favorite Bargains was this Pair of Wire Strippers and Crimpers at just �3

A very useful pair of Wire Strippers and Crimpers
Something I'll be using all the time only �3
Another Big Sale is Starting Today so I'd better get back to the Shops as they have a couple of Items that I've always wanted
First on my list are a couple of Strap Wrenches which are useful for removing the Oil Filter and breaking the Seal on the Rad Hose
These Two only cost �3 for the Pair! but all the same I'm gutted as the week before I paid �4 for an 'el cheapo' one

A pair of Strap Wrenches for removing Oil Filters and Breaking the Seal when removing the bottom Radiator Hose

Dust Mask only �1 Goggles 50p!!!!!
I'm always using Dust Masks and Goggles for things like cleaning the underside of my XJS
The Dust Masks were only �1 per pack and the Goggles were only an 'Eye watering' (pun intended) 50p So I bought every pair in the Store
Next was something that I really had no use for
An Angle Chuck for a Drill but seeing it was only �1-50 I thought I'd better buy it just in case

Angle Chuck for a drill only �1-50 and while I may never use it 'If you ever need one' then nothing else will do
I can't remember the last time I used a Ring Spanner
But this Set of 8 only cost �4 Only 50p each! Bargain or what!

8 Ring Spanners cost me �4 that's only 50p each!

8 Ring Spanners only 50p each and very good quality too!


A very useful set of Sockets and Torx Bits �3
The set of High Speed Drills was only �1
Was this my biggest bargain? Probably not
But this set of 8 Pairs of Pliers and Cutters was only �4 only 50p each! OMG!

8 Pairs of assorted Pliers and Cutters �4 that's only an unbelievable 50p each!
Next I bought some Protective Full Face Masks
Very useful for Grinding or when I'm using my Chainsaw only �2 each!

Protective Full Face Shields only �2 each!
One of my Favorite Bargains was this Pair of Wire Strippers and Crimpers at just �3

A very useful pair of Wire Strippers and Crimpers
Something I'll be using all the time only �3
Another Big Sale is Starting Today so I'd better get back to the Shops as they have a couple of Items that I've always wanted
#1588
01-04-2018, 02:06 PM
Storm Damage To My XJS
Well Almost!
We just got hit by Storm 'Eleanor'
Storm 'Eleanor' Tore the cover off the roof of my XJS 4.0L Celebration Convertible

Storm 'Eleanor' ripped the roof cover off my XJS 4.0L Celebration Convertible
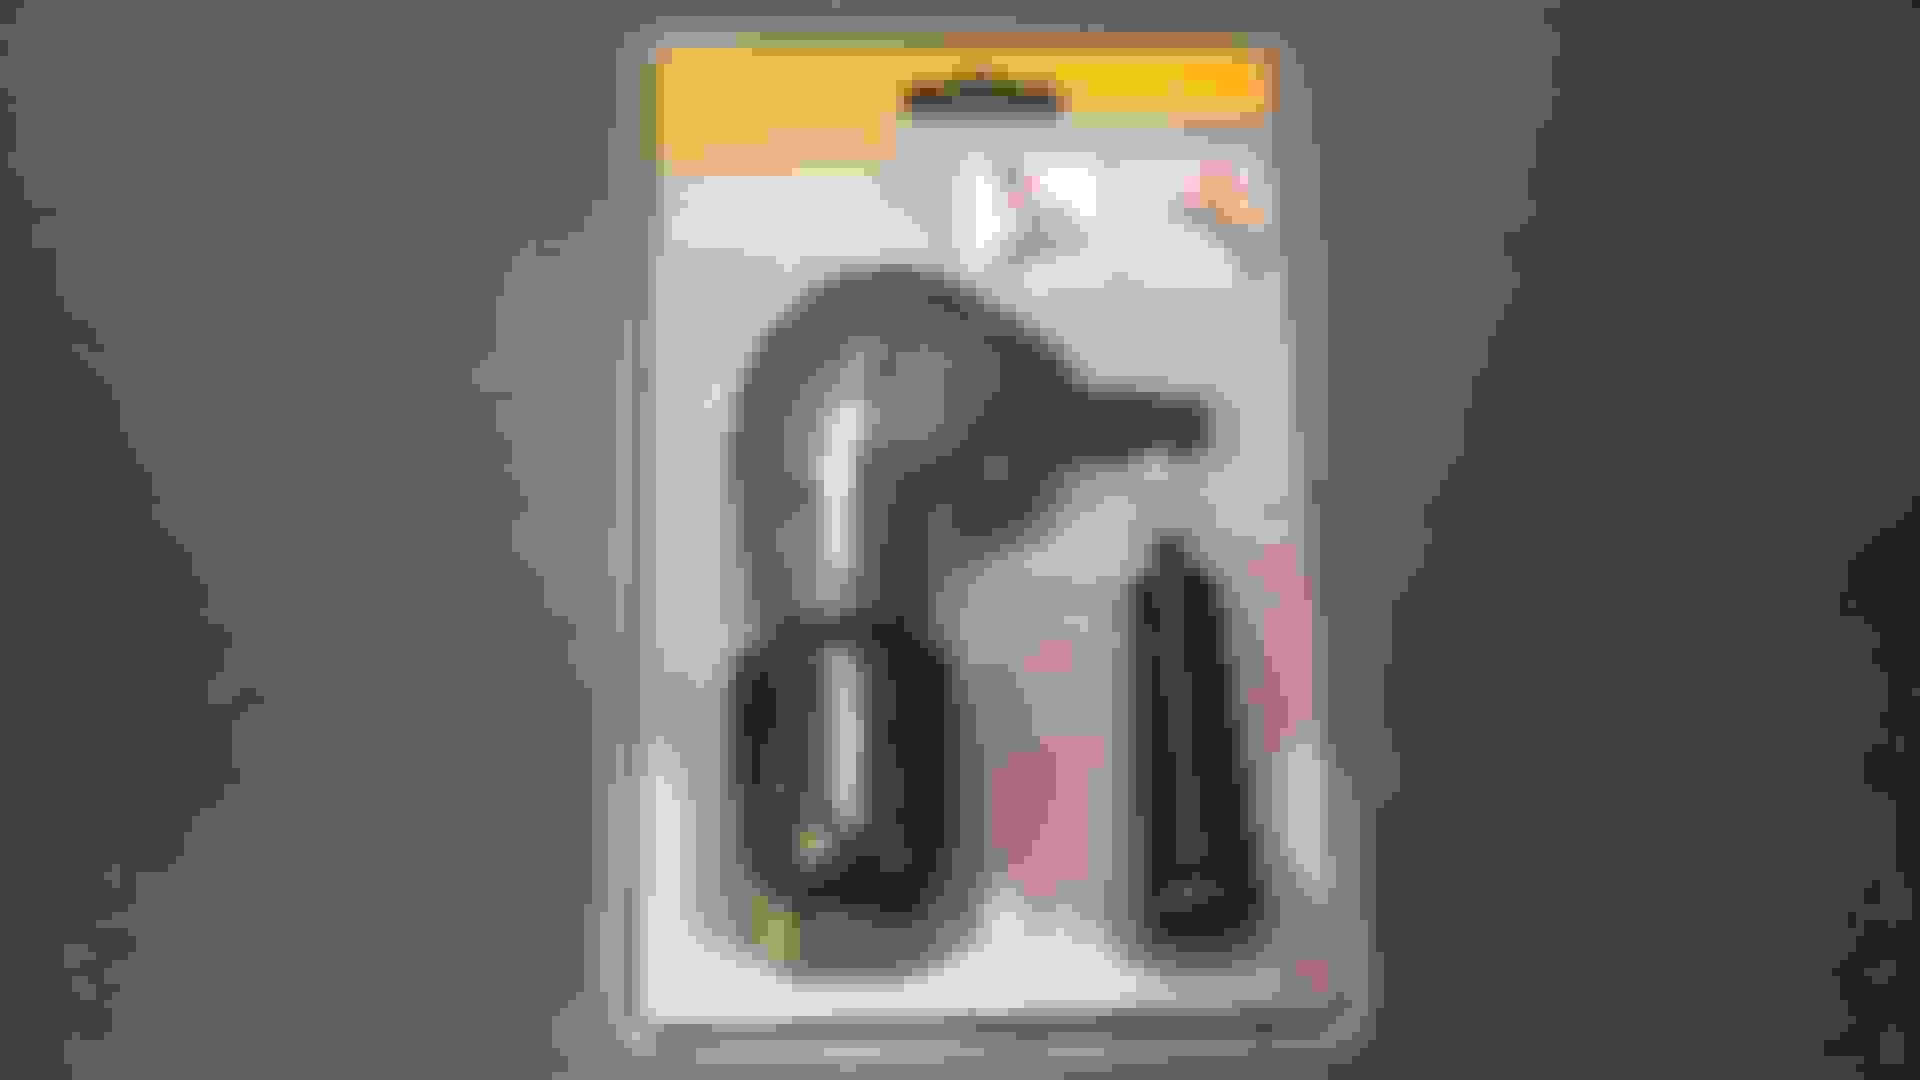
So it was very lucky that I picked these Ratchet Straps up in the 'January Sales'
These are really incredible and are a smaller version of those used on Big Trucks
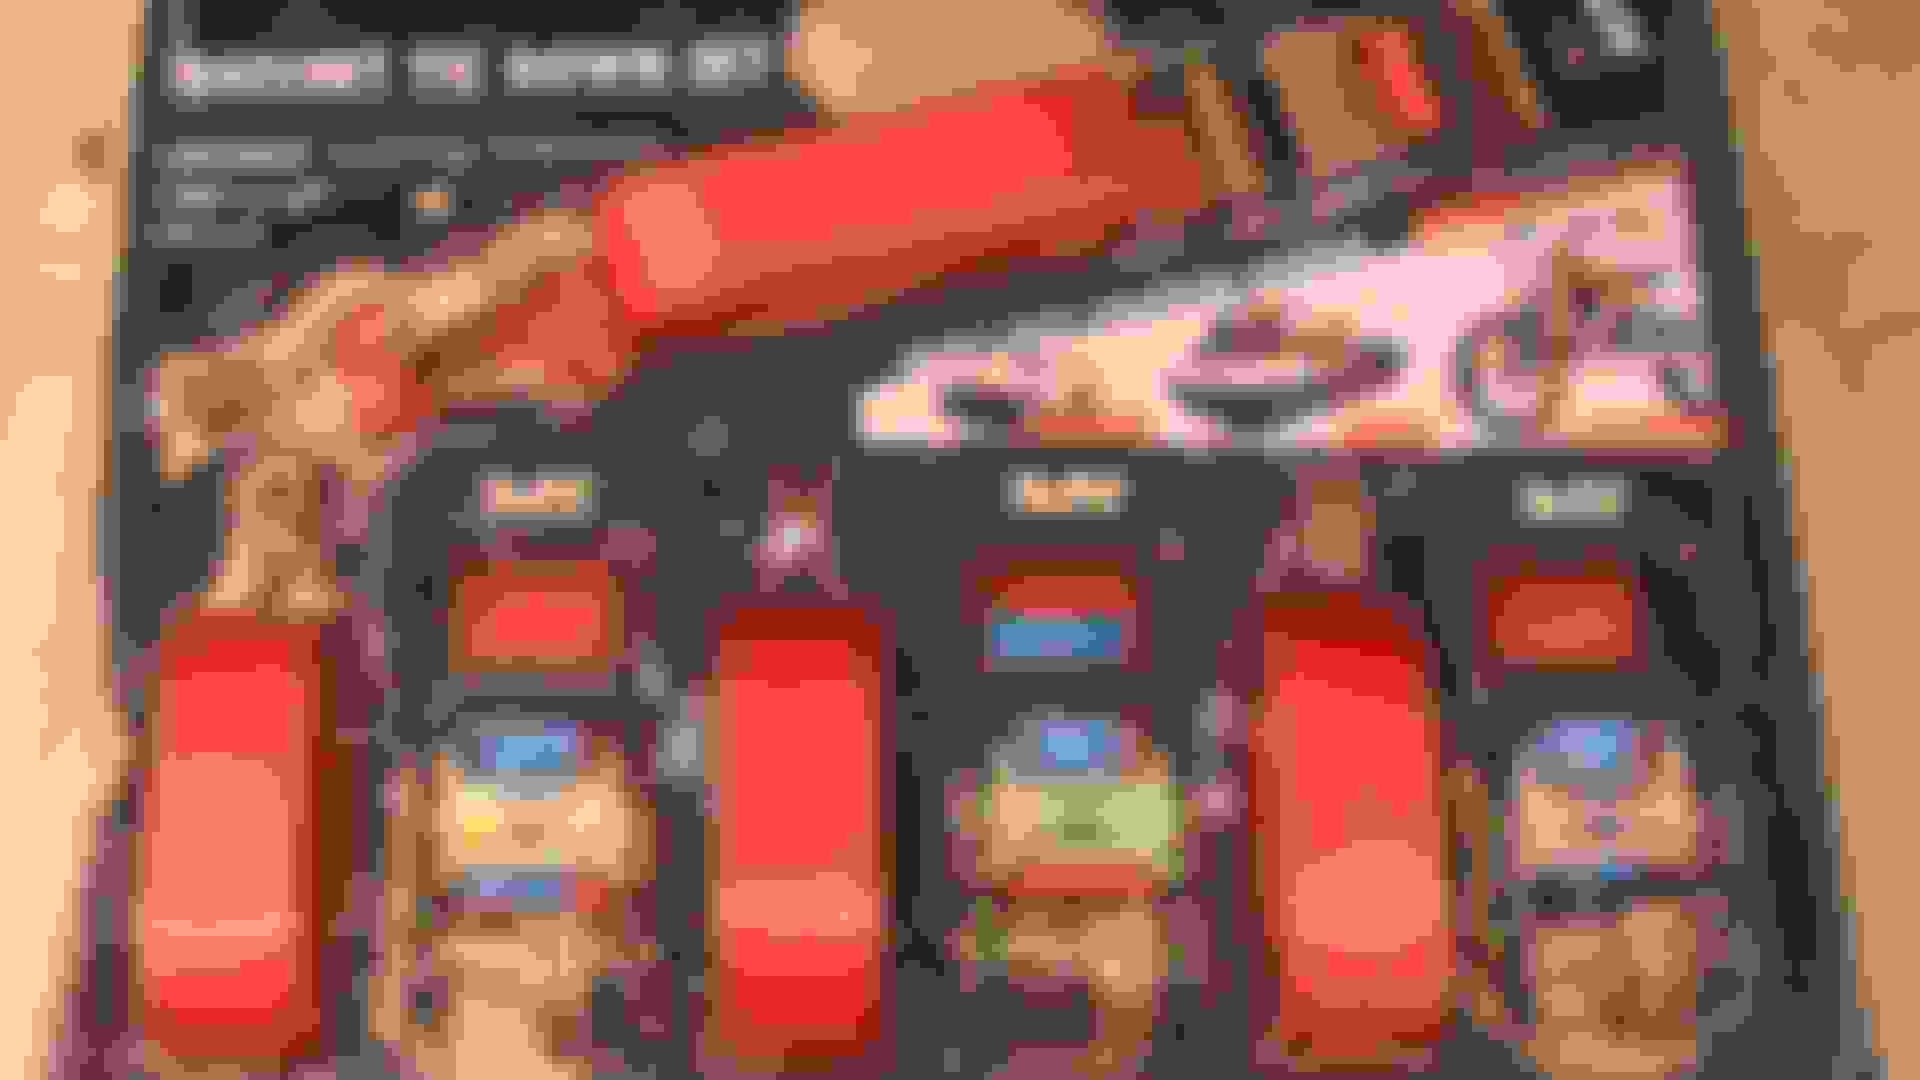
A smaller version of Ratchet Straps like those used on Big Trucks
These are normally quite expensive but I picked up Two Sets of these for �7 each!
It was far too Windy to put a new Cover on so as a Stop Gap measure I used the Straps to lash a Carpet over the Top of the Soft Top

As a Stop Gap measure I used the Straps to lash a Carpet over the Top of the Soft Top
Well Almost!
We just got hit by Storm 'Eleanor'
Storm 'Eleanor' Tore the cover off the roof of my XJS 4.0L Celebration Convertible

Storm 'Eleanor' ripped the roof cover off my XJS 4.0L Celebration Convertible
So it was very lucky that I picked these Ratchet Straps up in the 'January Sales'
These are really incredible and are a smaller version of those used on Big Trucks

A smaller version of Ratchet Straps like those used on Big Trucks
These are normally quite expensive but I picked up Two Sets of these for �7 each!
It was far too Windy to put a new Cover on so as a Stop Gap measure I used the Straps to lash a Carpet over the Top of the Soft Top

As a Stop Gap measure I used the Straps to lash a Carpet over the Top of the Soft Top
#1589
01-07-2018, 05:29 AM
The Sharpest Tool In The Box!
Or Should that be the Bluntest
Although I've got the 'Original Jaguar Tool Box' that came with the Car

Original Jaguar Tool Box for my XJS
Its never ceased to amaze me that one of the most essential Tools is missing
Which has now been rectified thanks to a recent purchase in the January Sales
'The Ubiquitous FBH'
Which every XJS Owner needs to have in their 'Shop' when quite simply nothing else will do

The 'FBH' which I have found is one of the most useful Tools that every XJS owner needs as much as a Fire Extinguisher

This 'FBH' can also split logs as well
Hard to believe but this 'FBH' only cost �3
And the Cold Chisel that I bought with it only cost �2
A Crazy Price for a Cold Chisel only �2 in the January Sales and the 'FBH' was only �3

Or Should that be the Bluntest
Although I've got the 'Original Jaguar Tool Box' that came with the Car

Original Jaguar Tool Box for my XJS
Its never ceased to amaze me that one of the most essential Tools is missing
Which has now been rectified thanks to a recent purchase in the January Sales
'The Ubiquitous FBH'
Which every XJS Owner needs to have in their 'Shop' when quite simply nothing else will do

The 'FBH' which I have found is one of the most useful Tools that every XJS owner needs as much as a Fire Extinguisher

This 'FBH' can also split logs as well
Hard to believe but this 'FBH' only cost �3
And the Cold Chisel that I bought with it only cost �2

A Crazy Price for a Cold Chisel only �2 in the January Sales and the 'FBH' was only �3
#1590
01-07-2018, 04:25 PM
I Just Can't Stop Shopping!
It not like I'm spending loads of money in fact it is quite the reverse
As I'm picking up lots of useful stuff to use on my XJS for almost next to nothing

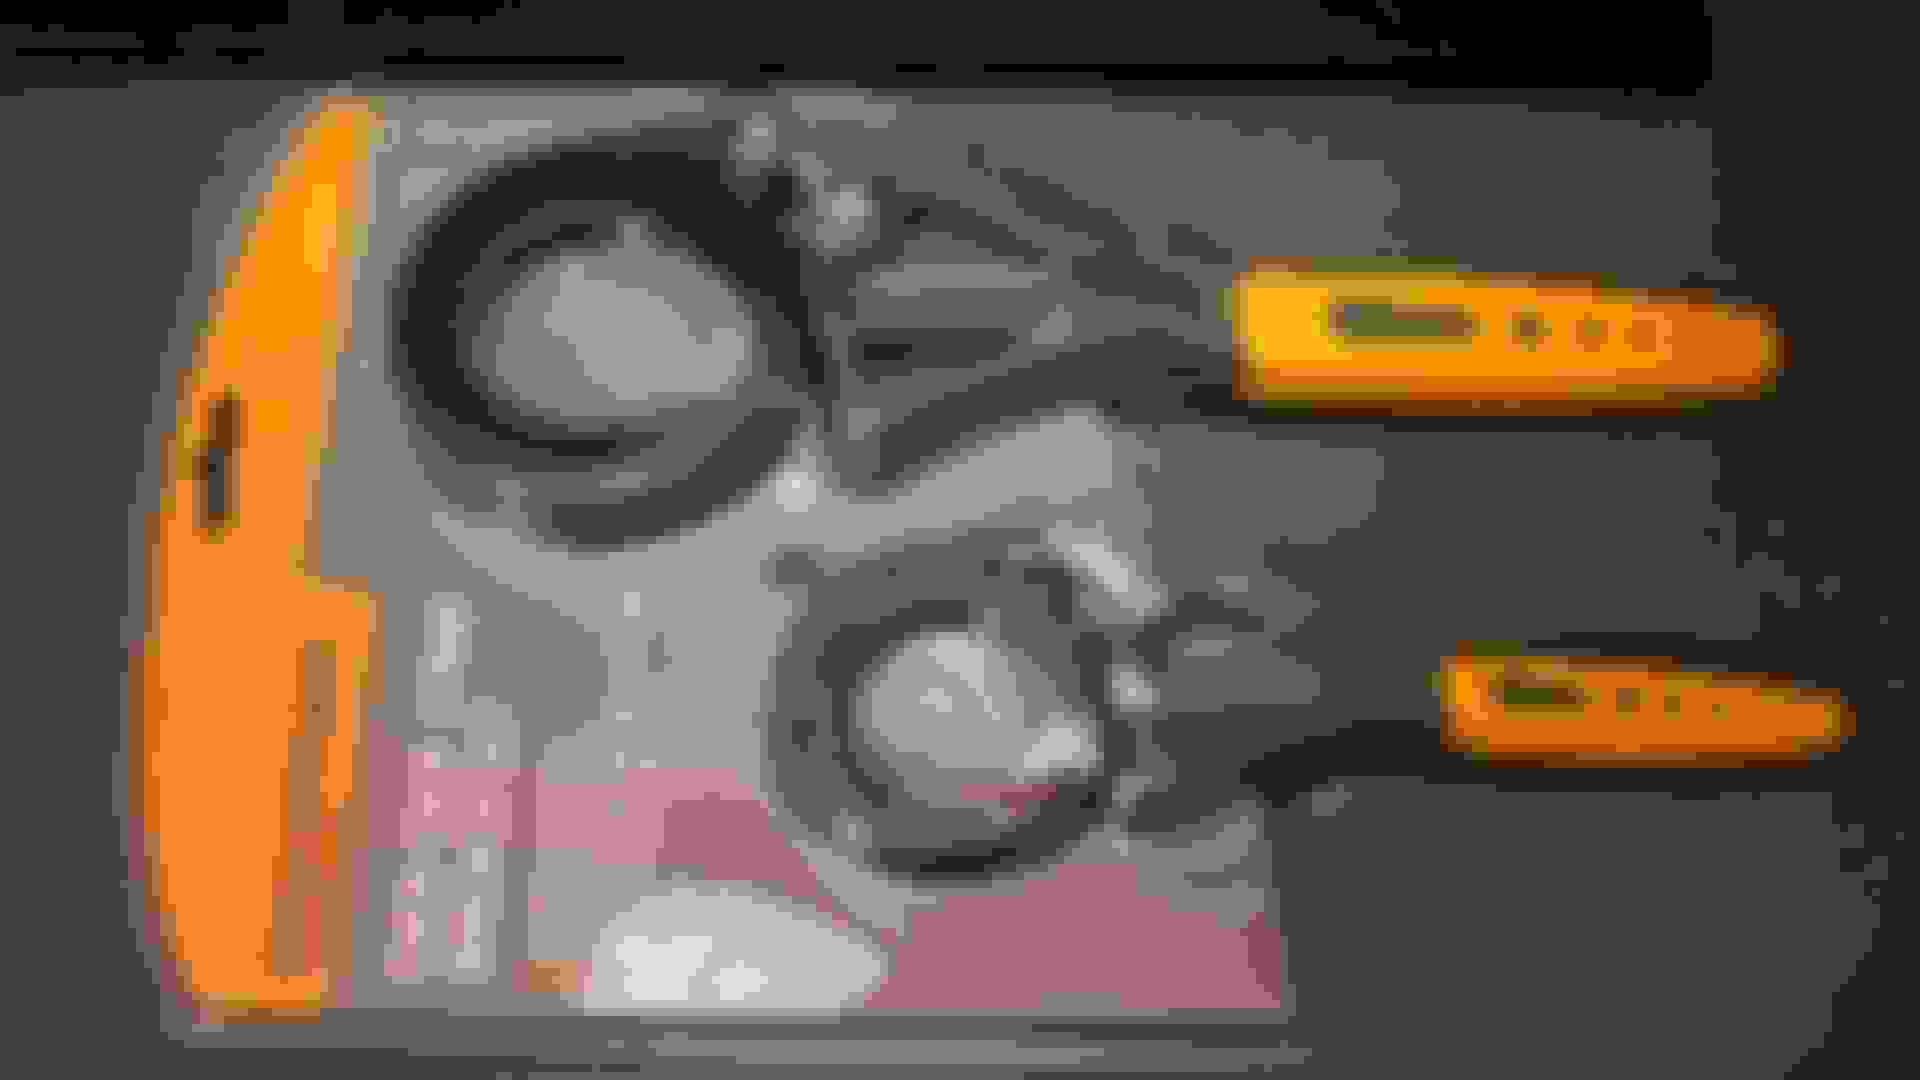
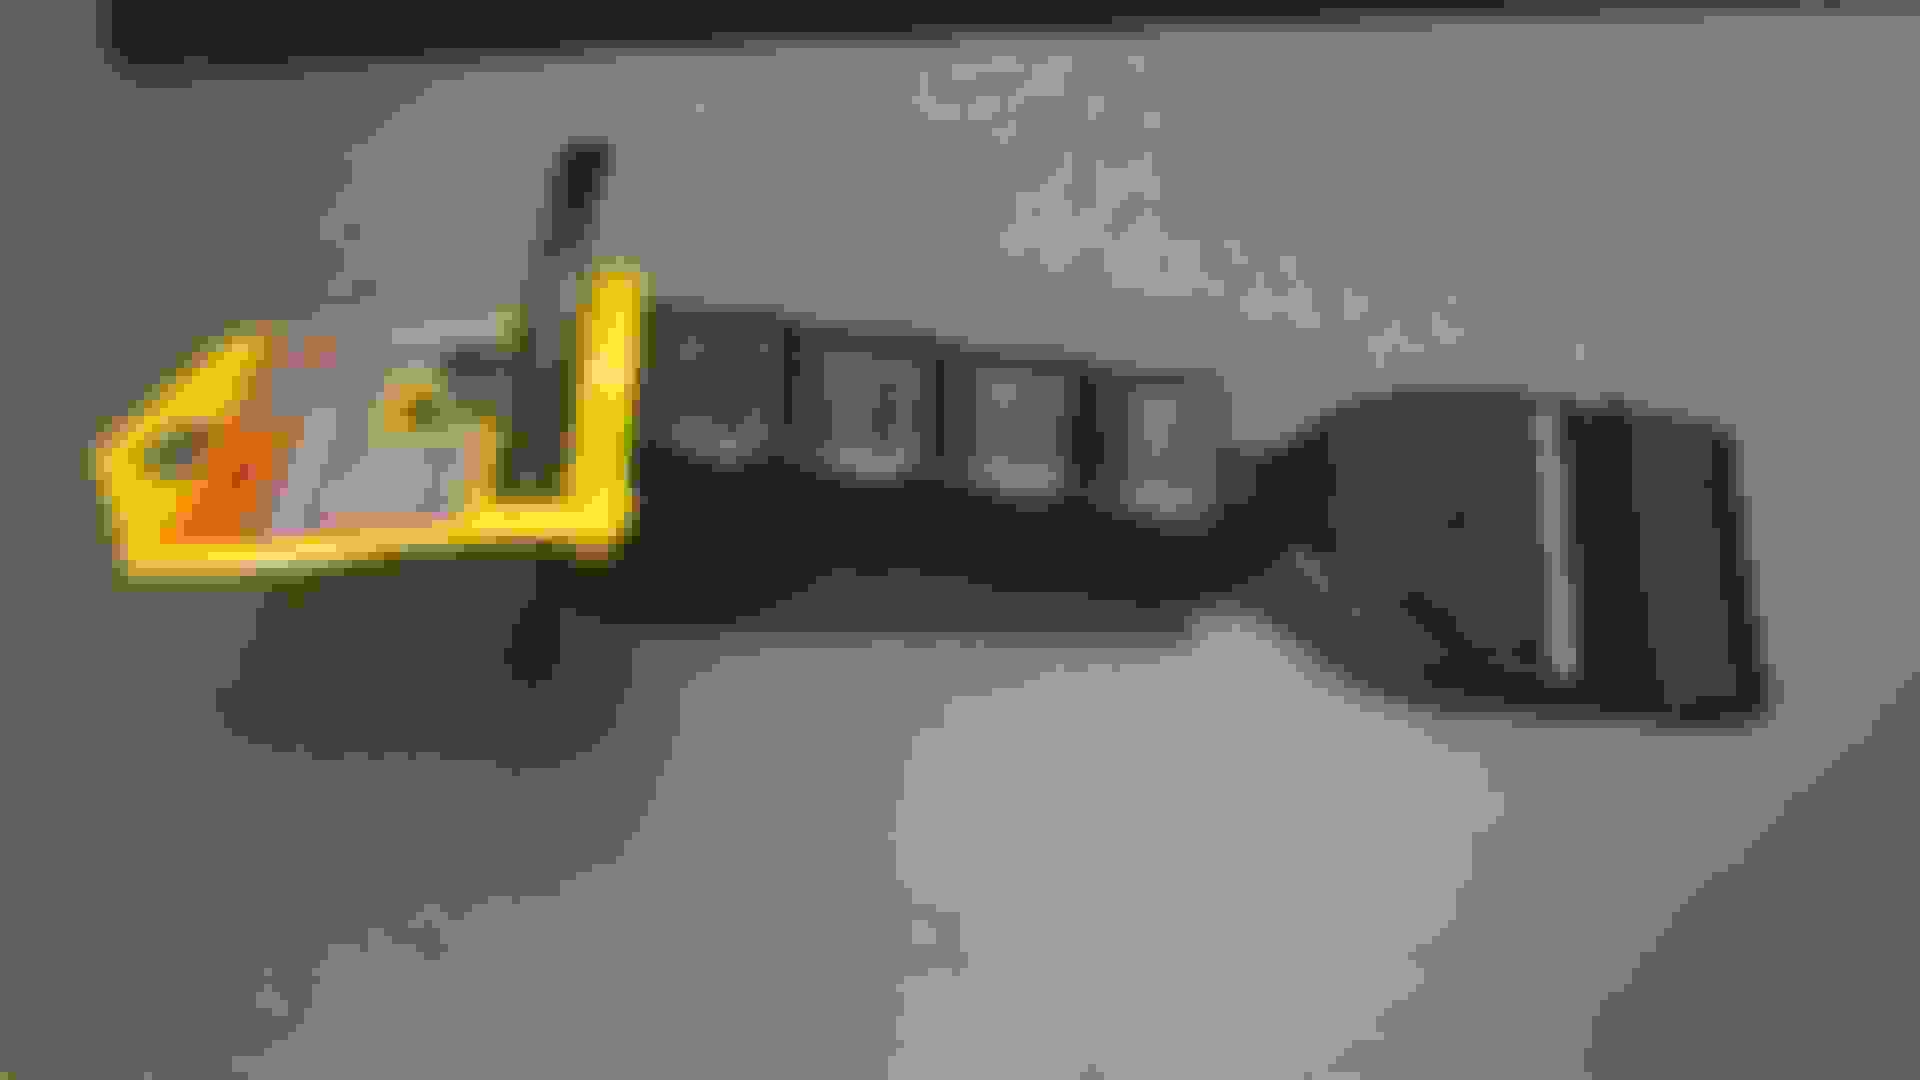
Hole Saws and a Nibbler
You just can't have too many Hole Saws, they were only �1 each! and it would cost you more than that just for the High Speed Drill Bit
The 'Gadget' on the right is a 'Nibbler' for cutting out Steel only �4
And the 'Thingy' they are laying on is a Quilted Car Cover which I didn't even know existed
Nobody seemed to know what it was so I made a silly offer of �3 and they said Yes! OMG!
Protective Goggles and Mixing Sticks 50p each!
Protective Goggles 50p each so I bought a couple of dozen
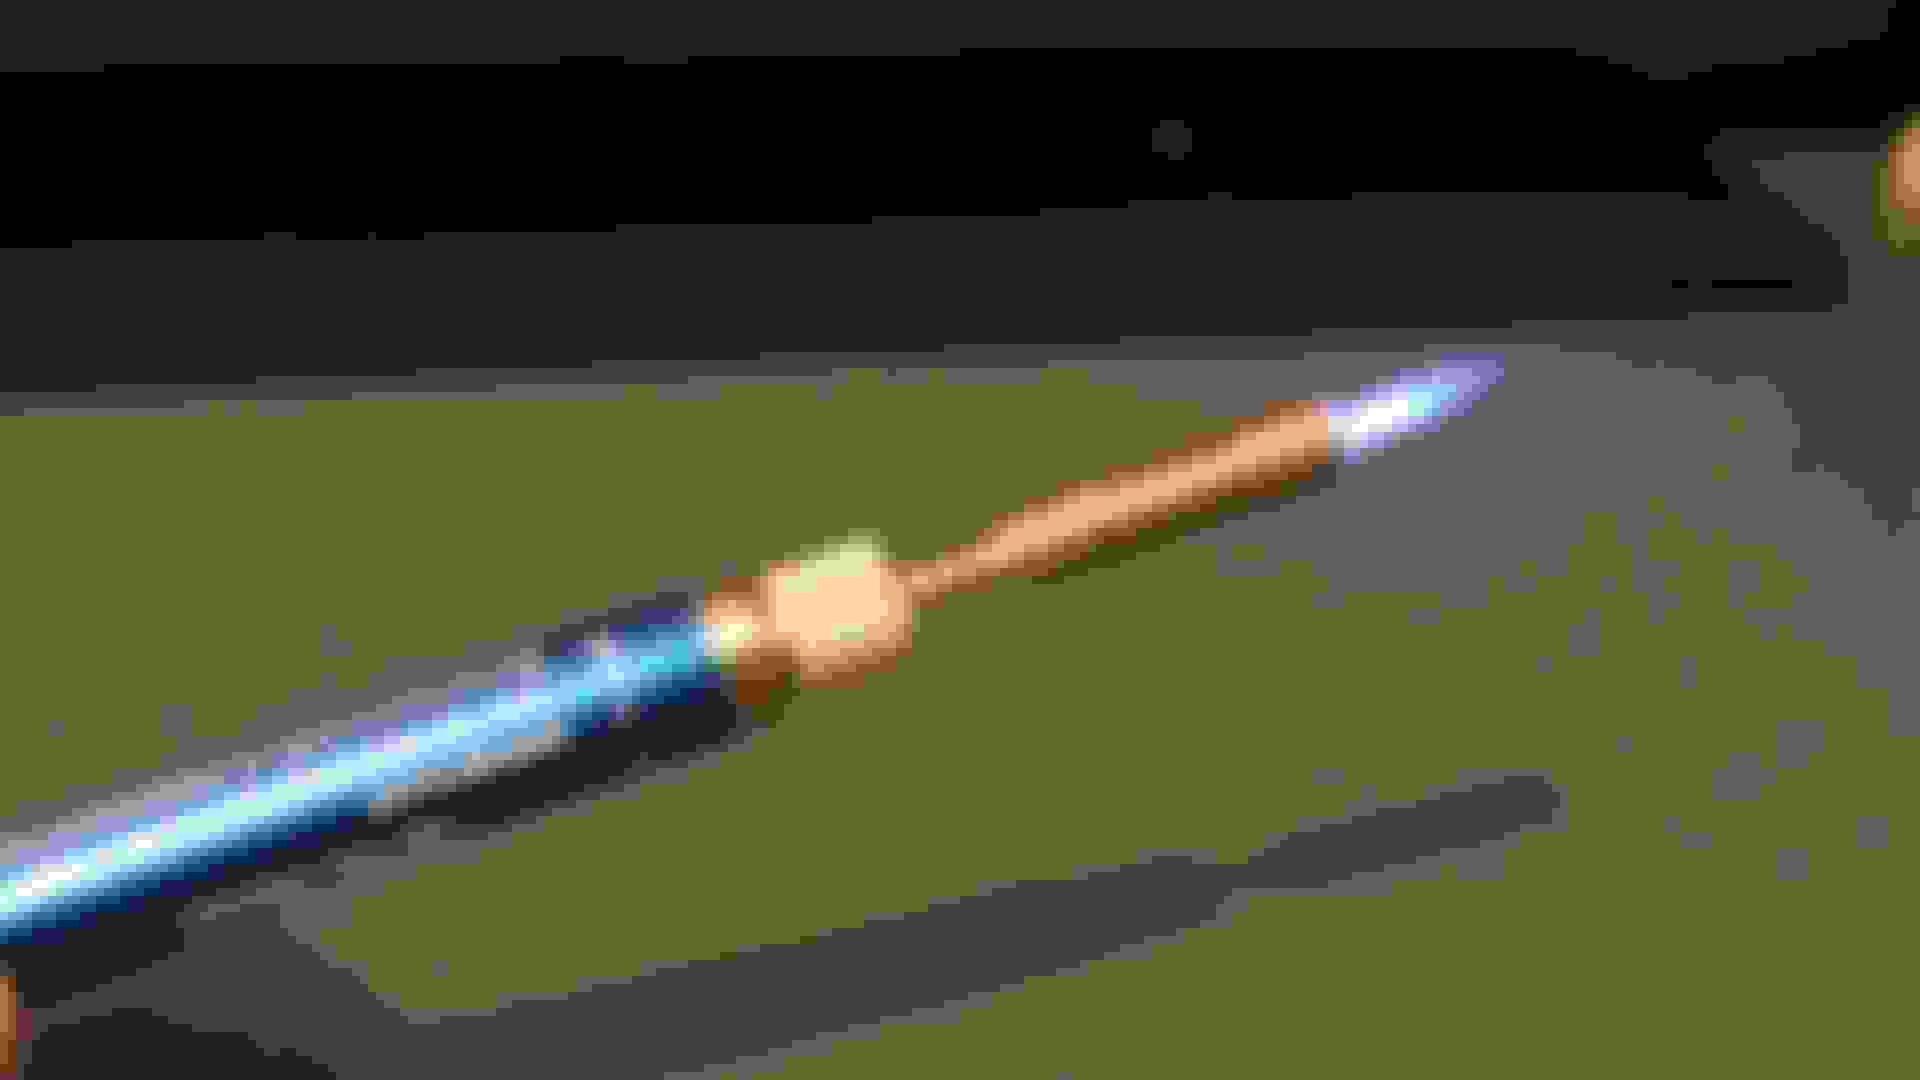
Miniature Blowlamp (presumably for Soldering?)
It not like I'm spending loads of money in fact it is quite the reverse
As I'm picking up lots of useful stuff to use on my XJS for almost next to nothing

Hole Saws and a Nibbler
You just can't have too many Hole Saws, they were only �1 each! and it would cost you more than that just for the High Speed Drill Bit
The 'Gadget' on the right is a 'Nibbler' for cutting out Steel only �4
And the 'Thingy' they are laying on is a Quilted Car Cover which I didn't even know existed
Nobody seemed to know what it was so I made a silly offer of �3 and they said Yes! OMG!

Protective Goggles and Mixing Sticks 50p each!
Protective Goggles 50p each so I bought a couple of dozen

Miniature Blowlamp (presumably for Soldering?)
Miniature Blowlamp �3
The following users liked this post:
Greg in France (01-08-2018)
#1591
01-08-2018, 11:05 AM
Repairing The Dust Shield On 'The Ice Princess'
Since it wasn't Too Cold Today! I thought I would do a bit more Work on 'The Ice Princess'
Where one of the Brake Dust Shields had a broken thread
Broken Bolt on the Dust Shield of 'The Ice Princess'

I wasn't sure how to repair it but got some ideas from 'The Forum'

This end seemed to be ok so no need to disturb it
So the first thing I did was to grind off what was left of the old Thread
Grinding off what was left of the Thread on the Dust Shield
Next I used a Blow Lamp to burn off the old under-seal and gave it a Wire Brushing

Using a Blow Lamp and a Wire Brush to get off the old Under-Seal and assorted Crud
Having done that I then drilled out what was left of the old Thread

Drilling out what was left of the old Thread
While I was tempted to replace this using a nut and bolt
I just got so into it that I decided to do a proper job and Tap the hole
Tapping the hole to replace the broken thread
Then I cut a piece of Thread from a Long Bolt and Screwed it into the Hole
And then 'Mig' Welded it in so it wouldn't spin round when putting the Nut on
I guess that I ought to Thank 'Brinny' for this!
As although I was going to do a quick fix after his encouragement I decided to try and repair it as well as I could
New Thread 'Migged' into the Dust Shield
Followed by a good clean down and coat of Matt Black Paint

Now I've got to Paint the one on the other side!
Since it wasn't Too Cold Today! I thought I would do a bit more Work on 'The Ice Princess'
Where one of the Brake Dust Shields had a broken thread

Broken Bolt on the Dust Shield of 'The Ice Princess'

I wasn't sure how to repair it but got some ideas from 'The Forum'

This end seemed to be ok so no need to disturb it
So the first thing I did was to grind off what was left of the old Thread

Grinding off what was left of the Thread on the Dust Shield
Next I used a Blow Lamp to burn off the old under-seal and gave it a Wire Brushing

Using a Blow Lamp and a Wire Brush to get off the old Under-Seal and assorted Crud
Having done that I then drilled out what was left of the old Thread

Drilling out what was left of the old Thread
While I was tempted to replace this using a nut and bolt
I just got so into it that I decided to do a proper job and Tap the hole

Tapping the hole to replace the broken thread
Then I cut a piece of Thread from a Long Bolt and Screwed it into the Hole
And then 'Mig' Welded it in so it wouldn't spin round when putting the Nut on
I guess that I ought to Thank 'Brinny' for this!
As although I was going to do a quick fix after his encouragement I decided to try and repair it as well as I could

New Thread 'Migged' into the Dust Shield
Followed by a good clean down and coat of Matt Black Paint

Now I've got to Paint the one on the other side!
Last edited by orangeblossom; 01-08-2018 at 03:31 PM.
#1592
01-08-2018, 01:07 PM

Veteran Member
Join Date: Jul 2012
Location: Walnut Creek, California
Posts: 6,796
Received 2,399 Likes
on
1,880 Posts
The following users liked this post:
orangeblossom (01-09-2018)
#1593
01-09-2018, 05:22 AM
Hi Carl
'Sorry about the mess' but apart from that being my epitaph, we are still in 'Chrimbo Limbo' at the moment
Anyway if you were thinking that the Garage looks bad, then I think you need to see our House, or maybe you don't!
As it's full of XJS parts as well as other projects that we are working on, as its just too darn Cold to work outside
Because if I do what I've done in the past and leave it all till Spring, then all I am going to want to do is to go 'Tripping' in the XJS's that are running
Instead of concentrating on getting 'The Ice Princess' back on the road
But you are absolutely right, the Garage needs a 'Big Time Tidy Up' so thanks for reminding me! Lol.
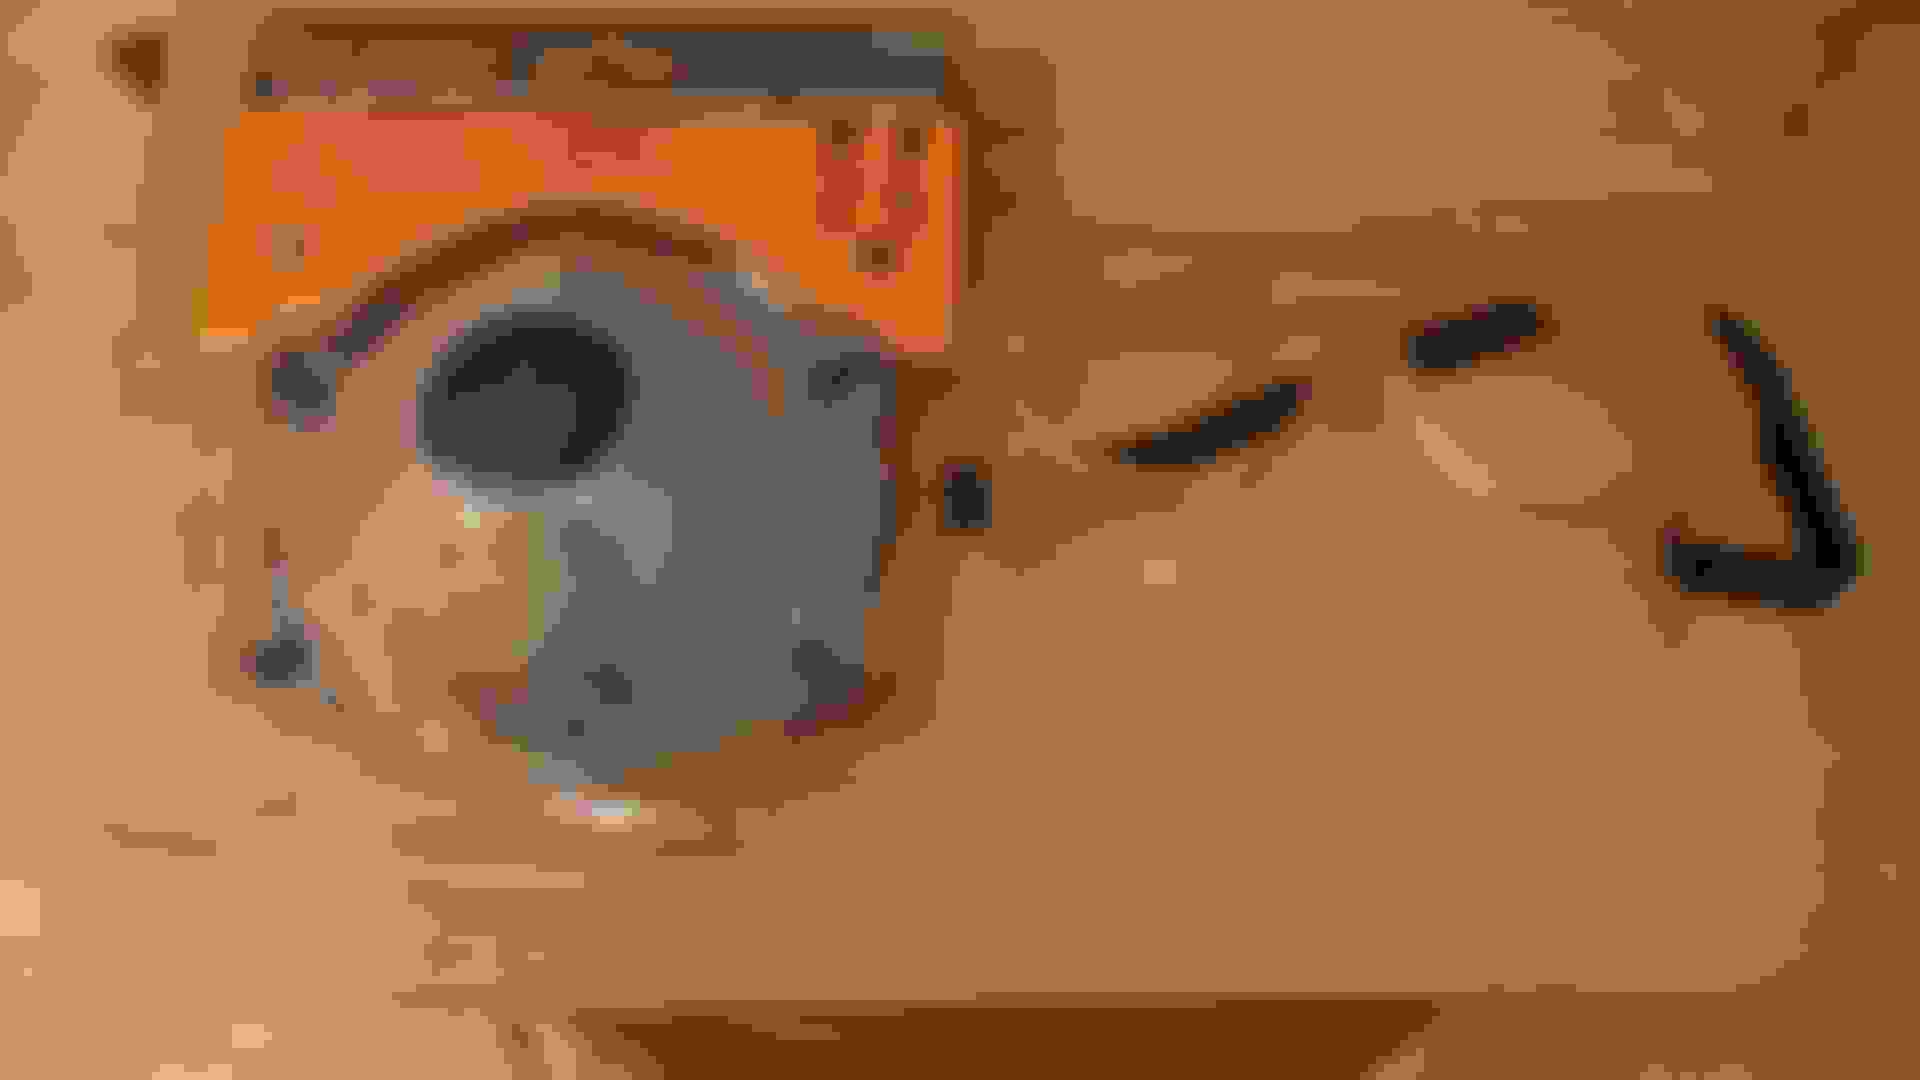
Lots more bargains coming up, as some of these Stores are practically giving the Stuff away, including this:
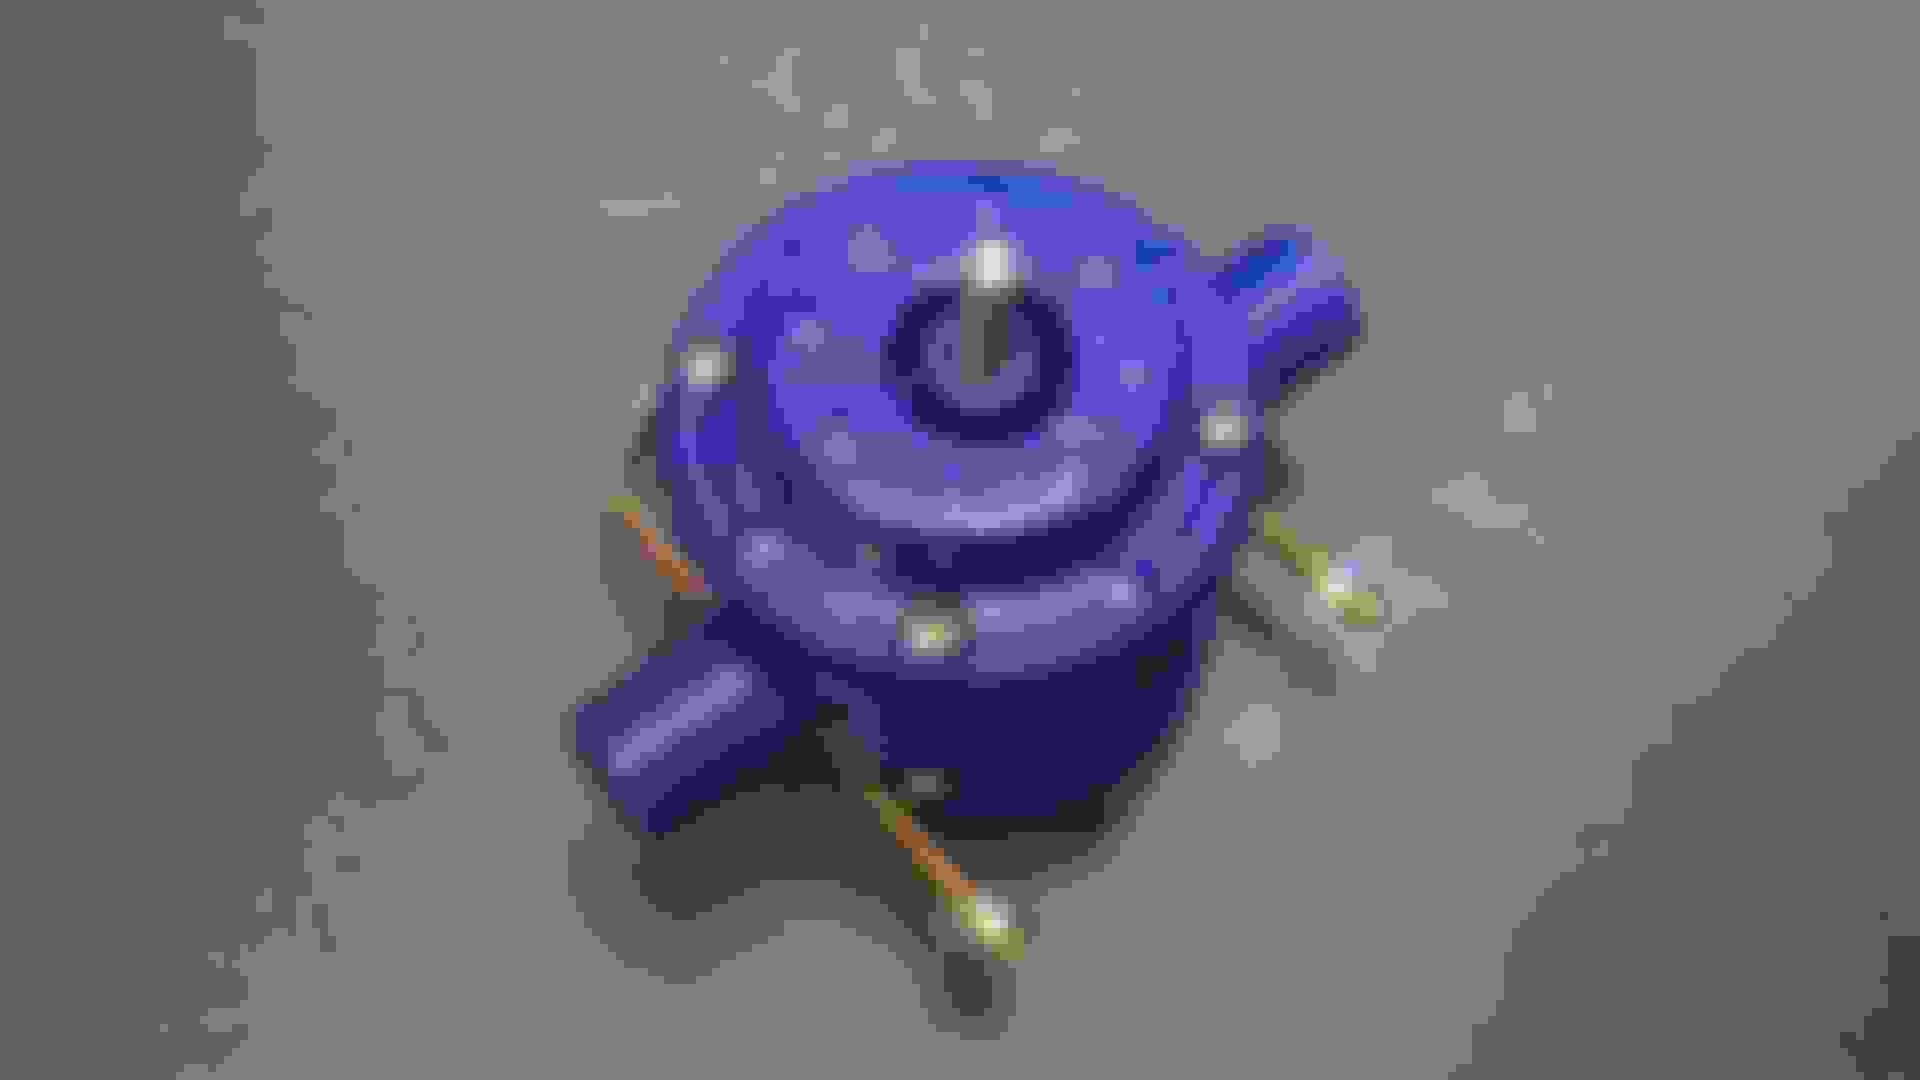
A Drill Powered Transfer Pump
Not quite sure what I'll use it for but as it was only just �3 it was much too hard to resist
Maybe I could use it to change water in the Rad of my XJS or something like that?
'Sorry about the mess' but apart from that being my epitaph, we are still in 'Chrimbo Limbo' at the moment
Anyway if you were thinking that the Garage looks bad, then I think you need to see our House, or maybe you don't!
As it's full of XJS parts as well as other projects that we are working on, as its just too darn Cold to work outside
Because if I do what I've done in the past and leave it all till Spring, then all I am going to want to do is to go 'Tripping' in the XJS's that are running
Instead of concentrating on getting 'The Ice Princess' back on the road
But you are absolutely right, the Garage needs a 'Big Time Tidy Up' so thanks for reminding me! Lol.
Lots more bargains coming up, as some of these Stores are practically giving the Stuff away, including this:

A Drill Powered Transfer Pump
Not quite sure what I'll use it for but as it was only just �3 it was much too hard to resist
Maybe I could use it to change water in the Rad of my XJS or something like that?
#1594
01-09-2018, 03:23 PM
Storm Cover For My 4.0L XJS Convertible
My 4.0L XJS Celebration Convertible
Storm 'Eleanor' Ripped the Cover off my XJS Convertible
Where in order to protect her I had to do a quick fix

Storm 'Eleanor' Ripped the Cover off my XJS Convertible
The 'Jaguar Gods' were with me as today I walked into a Store where they were selling Tarpaulins 6mtr X 4mtr for only Three Pounds Each!
Although they were made of Polythene the Quality was Amazing and so I bought all they had in the Store

6mtr X 4mtr Polythene Tarpaulins �3 each Bargain or what!

Absolutely Massive! and Tailor made for Covering a Car like an XJS

They even include a very long length of Polypropylene Cord so I'm sealing the ends with a Blowlamp aka the GF's Creme Brulee maker 'Thingy'

2 reels of Polypropylene Cord 60 Meters Long �1-50p
30 Meters of Blue Nylon Cord �2-50p
I also bought a few reels of Cord to tie the Cover on if it were needed

A perfect fit for my XJS

If the Cover lasts through the Winter then I will be happy with that
#1595
01-10-2018, 05:00 PM
Removing The Calipers On 'The Ice Princess'
Removing The Calipers On 'The Ice Princess' To Be Rebuilt
Removing The Calipers Can be a PIA Job
But it can also be dead easy providing you have the Tools to do the Job
Because more often than not the Caliper Bolts can be rusted solid to such an extent that they won't even budge when hit with a FBH
Ideally its handy to use an Impact Wrench but then you also need a Big Compressor to deliver enough CFM in order to do the Job
So since I didn't have one of those I tried every Trick in the Book in order to try and get those rusty Caliper Bolts undone
The Following Photo Shows you what an unsuccessful struggle I had to try and undo the Caliper Bolts that were on 'Cherry Blossom'
Spanners with 4ft Scaffolding Poles and even a FBH! absolutely nothing would get those Caliper Bolts undone

I unsuccessfully tried every Trick in the Book to get those Caliper Bolts undone but they were seized solid!
Exactly the same thing happened on 'The Ice Princess'
The only difference being that this time I had the Tool to do the Job
This is an Electric (Mains Powered) Impact Wrench
That has to be the best �35 that I have ever spent in my life
This Tool is so Amazing that I keep it in the Bedroom as I am so paranoid that it might get Stolen
Mains Powered Impact Wrench The Best Thing Since they Started Slicing Sliced Bread
I keep it in our Bedroom under the Desk as I am so Paranoid about it being Stolen
Its Really That Good!
When it comes to Rusty Nuts they don't get much worse than this

When it comes to Rusty Nuts they don't get much worse than this
Using my Mains Powered Impact Wrench it undid that nut in a blink!

Using my Mains Powered Impact Wrench it undid this nut in a blink!
Calipers off 'The Ice Princess' and ready for rebuilding

Calipers now off 'The Ice Princess' and ready for rebuilding
My Mains Powered Impact Wrench In Action
Removing the Caliper Bolts on 'Cherry Blossom'
Removing The Calipers On 'The Ice Princess' To Be Rebuilt
Removing The Calipers Can be a PIA Job
But it can also be dead easy providing you have the Tools to do the Job
Because more often than not the Caliper Bolts can be rusted solid to such an extent that they won't even budge when hit with a FBH
Ideally its handy to use an Impact Wrench but then you also need a Big Compressor to deliver enough CFM in order to do the Job
So since I didn't have one of those I tried every Trick in the Book in order to try and get those rusty Caliper Bolts undone
The Following Photo Shows you what an unsuccessful struggle I had to try and undo the Caliper Bolts that were on 'Cherry Blossom'
Spanners with 4ft Scaffolding Poles and even a FBH! absolutely nothing would get those Caliper Bolts undone

I unsuccessfully tried every Trick in the Book to get those Caliper Bolts undone but they were seized solid!
Exactly the same thing happened on 'The Ice Princess'
The only difference being that this time I had the Tool to do the Job
This is an Electric (Mains Powered) Impact Wrench
That has to be the best �35 that I have ever spent in my life
This Tool is so Amazing that I keep it in the Bedroom as I am so paranoid that it might get Stolen

Mains Powered Impact Wrench The Best Thing Since they Started Slicing Sliced Bread
I keep it in our Bedroom under the Desk as I am so Paranoid about it being Stolen
Its Really That Good!
When it comes to Rusty Nuts they don't get much worse than this

When it comes to Rusty Nuts they don't get much worse than this
Using my Mains Powered Impact Wrench it undid that nut in a blink!

Using my Mains Powered Impact Wrench it undid this nut in a blink!
Calipers off 'The Ice Princess' and ready for rebuilding

Calipers now off 'The Ice Princess' and ready for rebuilding
My Mains Powered Impact Wrench In Action
Removing the Caliper Bolts on 'Cherry Blossom'
#1596
01-11-2018, 07:03 PM
Removing The Caliper Bleed Nipples On 'The Ice Princess'
Although I could probably rebuild the Brake Calipers myself
This is a job that I'd rather leave to the experts
So I am going to send them away to a firm that will rebuild them for less than the price of Service Exchange (Type units)
As soon as I get a price for these then I will let you know together with the name of the place that I am sending them off to
But one of the things that they need you to do is to remove the old pipes and bleed nipples
Which in the case of the Calipers on 'The Ice Princess' wasn't to be as straight forward as I was hoping
Because both of them were very rusty
I managed to get the first one out without too much of a problem using an 11mm Ring Spanner

The first Bleed Nipple came out relatively easy using an 11mm Ring Spanner
No such luck with the Second one which was rusted solid!
Where the Ring Spanner rounded it off and so I had to go for the 'Nuclear Option'
By Hammering a 10mm Socket onto the Bleed Nipple and giving it some heat
Still no dice! so out with the FBH where one good whack on the Ratchet Bar Freed it off

I hammered a 10mm Socket onto the Bleed Nipple
Applied some Heat with the Blow Torch

Then gave it an almighty whack with my FBH!
A good whack with a Hammer freed it off so all I've got to do now is
find a very strong box to post them off in
Although I could probably rebuild the Brake Calipers myself
This is a job that I'd rather leave to the experts
So I am going to send them away to a firm that will rebuild them for less than the price of Service Exchange (Type units)
As soon as I get a price for these then I will let you know together with the name of the place that I am sending them off to
But one of the things that they need you to do is to remove the old pipes and bleed nipples
Which in the case of the Calipers on 'The Ice Princess' wasn't to be as straight forward as I was hoping
Because both of them were very rusty
I managed to get the first one out without too much of a problem using an 11mm Ring Spanner

The first Bleed Nipple came out relatively easy using an 11mm Ring Spanner
No such luck with the Second one which was rusted solid!
Where the Ring Spanner rounded it off and so I had to go for the 'Nuclear Option'
By Hammering a 10mm Socket onto the Bleed Nipple and giving it some heat
Still no dice! so out with the FBH where one good whack on the Ratchet Bar Freed it off

I hammered a 10mm Socket onto the Bleed Nipple

Applied some Heat with the Blow Torch

Then gave it an almighty whack with my FBH!

A good whack with a Hammer freed it off so all I've got to do now is
find a very strong box to post them off in
#1597
01-12-2018, 12:12 AM

The following users liked this post:
orangeblossom (01-12-2018)
#1598
01-12-2018, 05:58 PM
Now that's what I call a coincidence, as I was going to send my Calipers to the very same firm
But because they are so heavy I've got to find an old metal tool box from somewhere to post them in, which seem to be in short supply
As they are all made of plastic
#1599
01-13-2018, 01:58 AM
Don’t mess about like that. The cost of postage will be a fortune in a steel box. I got a small cardboard box , put the rears and the handbrake Calipers in and wrapped it in duct tape multiple times . Wrap it in all directions and it’s more than strong enough. Or you could put a white sack around the box then duct tape it if your not happy at that. I used bigg red for the fronts and rears on the 4.0 and this is how I posted them and they to me. It weighed 11 kgs at parcel force and cost me �20. Bit steep but I couldn’t be bothered to shop around. Better painting them yourself. I’m going to use some black epoxy mastic base coat with some silver heatproof stuff I acquired from work.
#1600
01-15-2018, 06:39 PM
Brake Master Cylinder Actuator Gasket
Clean Up-Making-Fitting
Having removed the Brake Master Cylinder Actuator for Rebuilding it needed to have a New Gasket before refitting
The first job was clean up the Base Plate with my Air Powered Sander

Cleaning Up the Base Plate of The Master Cylinder with my Air Powered Sander

My Air Powered Sander Cleaned all the Crud off
The Next Job was to make a Cardboard Template which was basically just a Square

Template made from Cardboard was basically just a Square
I could have been a 'hero' and Cut out the Gasket myself but a Shop near me will cut one out of Silicone material with a water jet
A Shop cut me a Gasket out of Silicone Rubber with a Water Jet
All I had to do was punch the Holes

I used this Hole Punch to make the holes in the Gasket

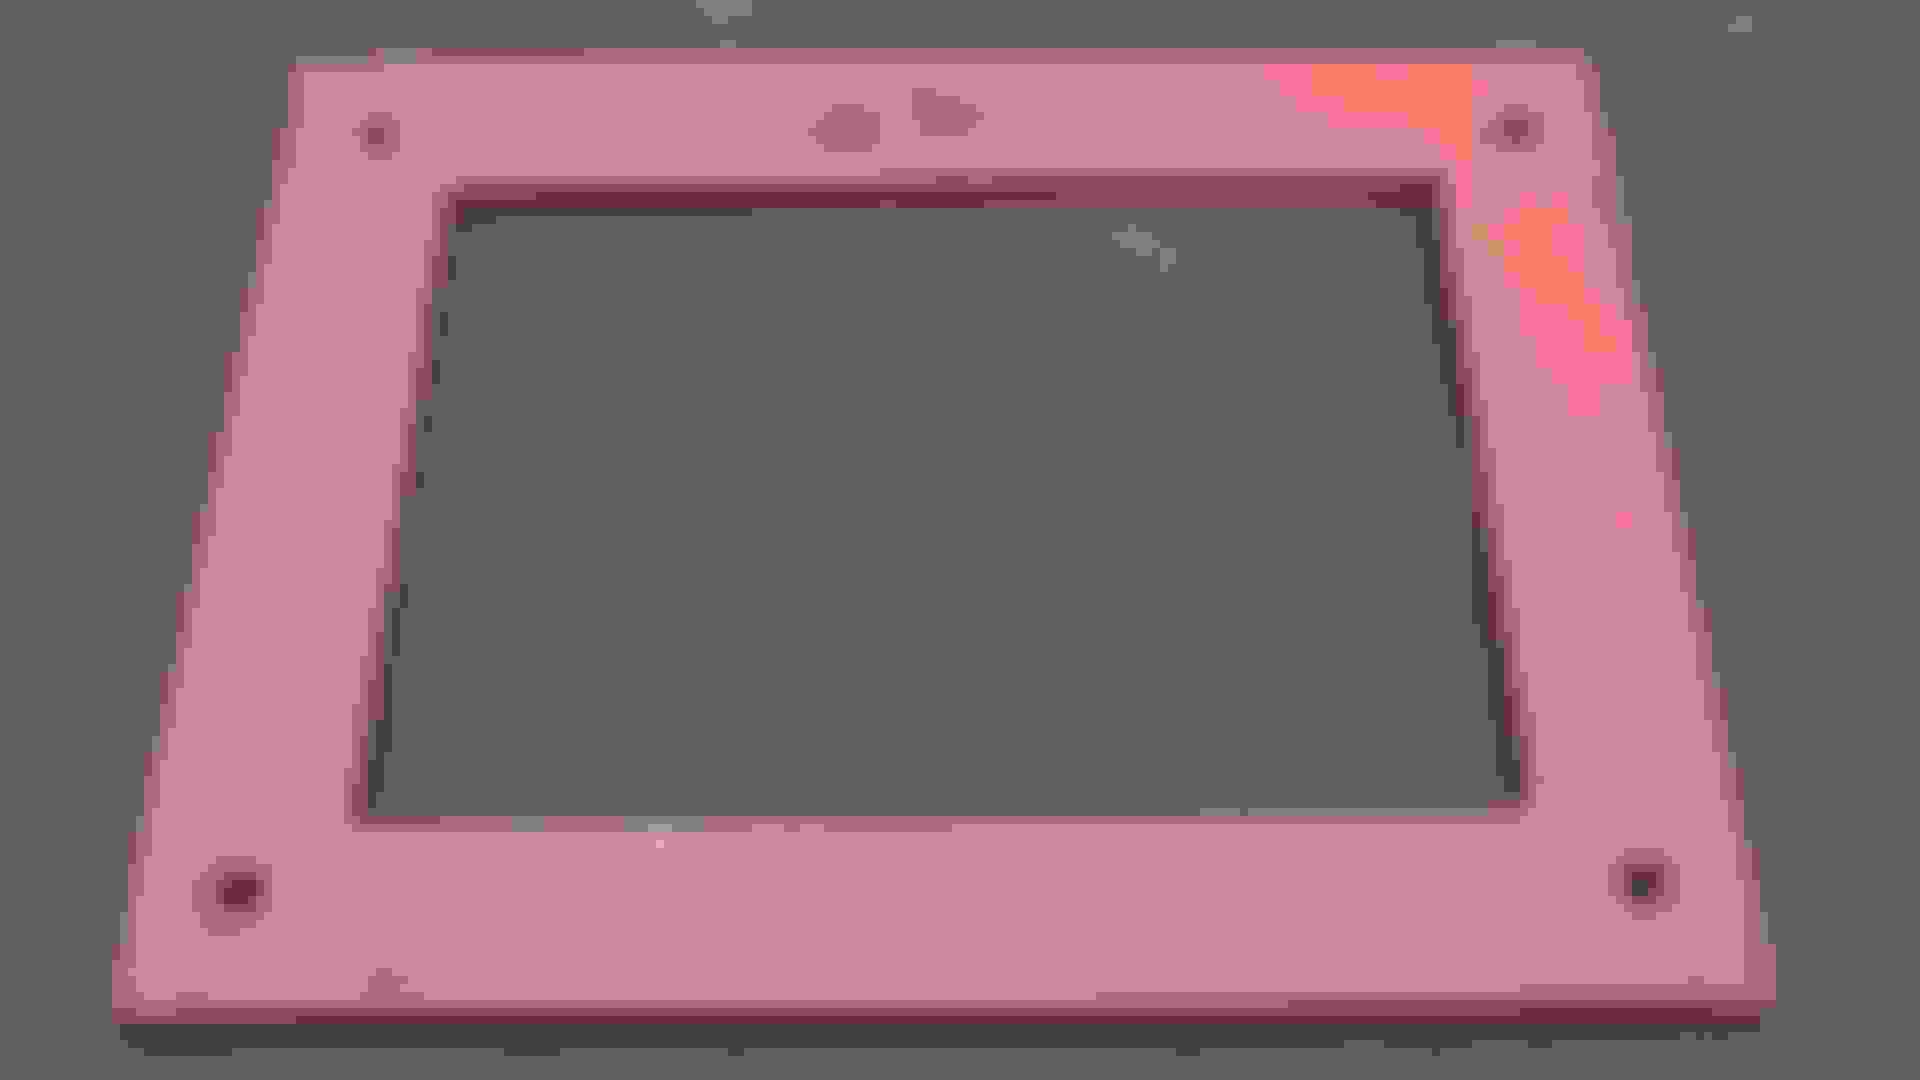
Trial Fitting the Gasket
Trial fitting the New Master Cylinder Gasket
Although the Master Cylinder is now ready for refitting there are one or two other jobs that need attending to first
Clean Up-Making-Fitting
Having removed the Brake Master Cylinder Actuator for Rebuilding it needed to have a New Gasket before refitting
The first job was clean up the Base Plate with my Air Powered Sander

Cleaning Up the Base Plate of The Master Cylinder with my Air Powered Sander

My Air Powered Sander Cleaned all the Crud off
The Next Job was to make a Cardboard Template which was basically just a Square

Template made from Cardboard was basically just a Square
I could have been a 'hero' and Cut out the Gasket myself but a Shop near me will cut one out of Silicone material with a water jet

A Shop cut me a Gasket out of Silicone Rubber with a Water Jet
All I had to do was punch the Holes

I used this Hole Punch to make the holes in the Gasket

Trial Fitting the Gasket

Trial fitting the New Master Cylinder Gasket
Although the Master Cylinder is now ready for refitting there are one or two other jobs that need attending to first
The following users liked this post:
Daim (01-15-2018)