When you click on links to various merchants on this site and make a purchase, this can result in this site earning a commission. Affiliate programs and affiliations include, but are not limited to, the eBay Partner Network.
I know nothing about these engines so please could we take this one step at a time, or I will get hopelessly lost (lol)
What I do know, is that this is a Six Cylinder 4.0L AJ16 Engine on a 1995 XJS Convertible, presumably with a Sensor although I wouldn't know what that looks like but will have a look for this on top of the power steering
It also has Coil over plugs and lots of fuel pressure at each end of the fuel rail and although I don't have a fuel pressure gauge, when I 'crack' a fitting at either end of the Fuel Rail, Petrol shoots out like a Fire Hose (so that's all good)
If I put a spoonful of Petrol down the Air Intake, then She will Start and Run for a few Seconds until the Petrol runs out, so presumably the ignition is ok?
Its looking like a 'Crank Position Sensor' which are only �50 all in, so what are your thoughts on that?
Thanks for your help as you know a lot more about engines than I do
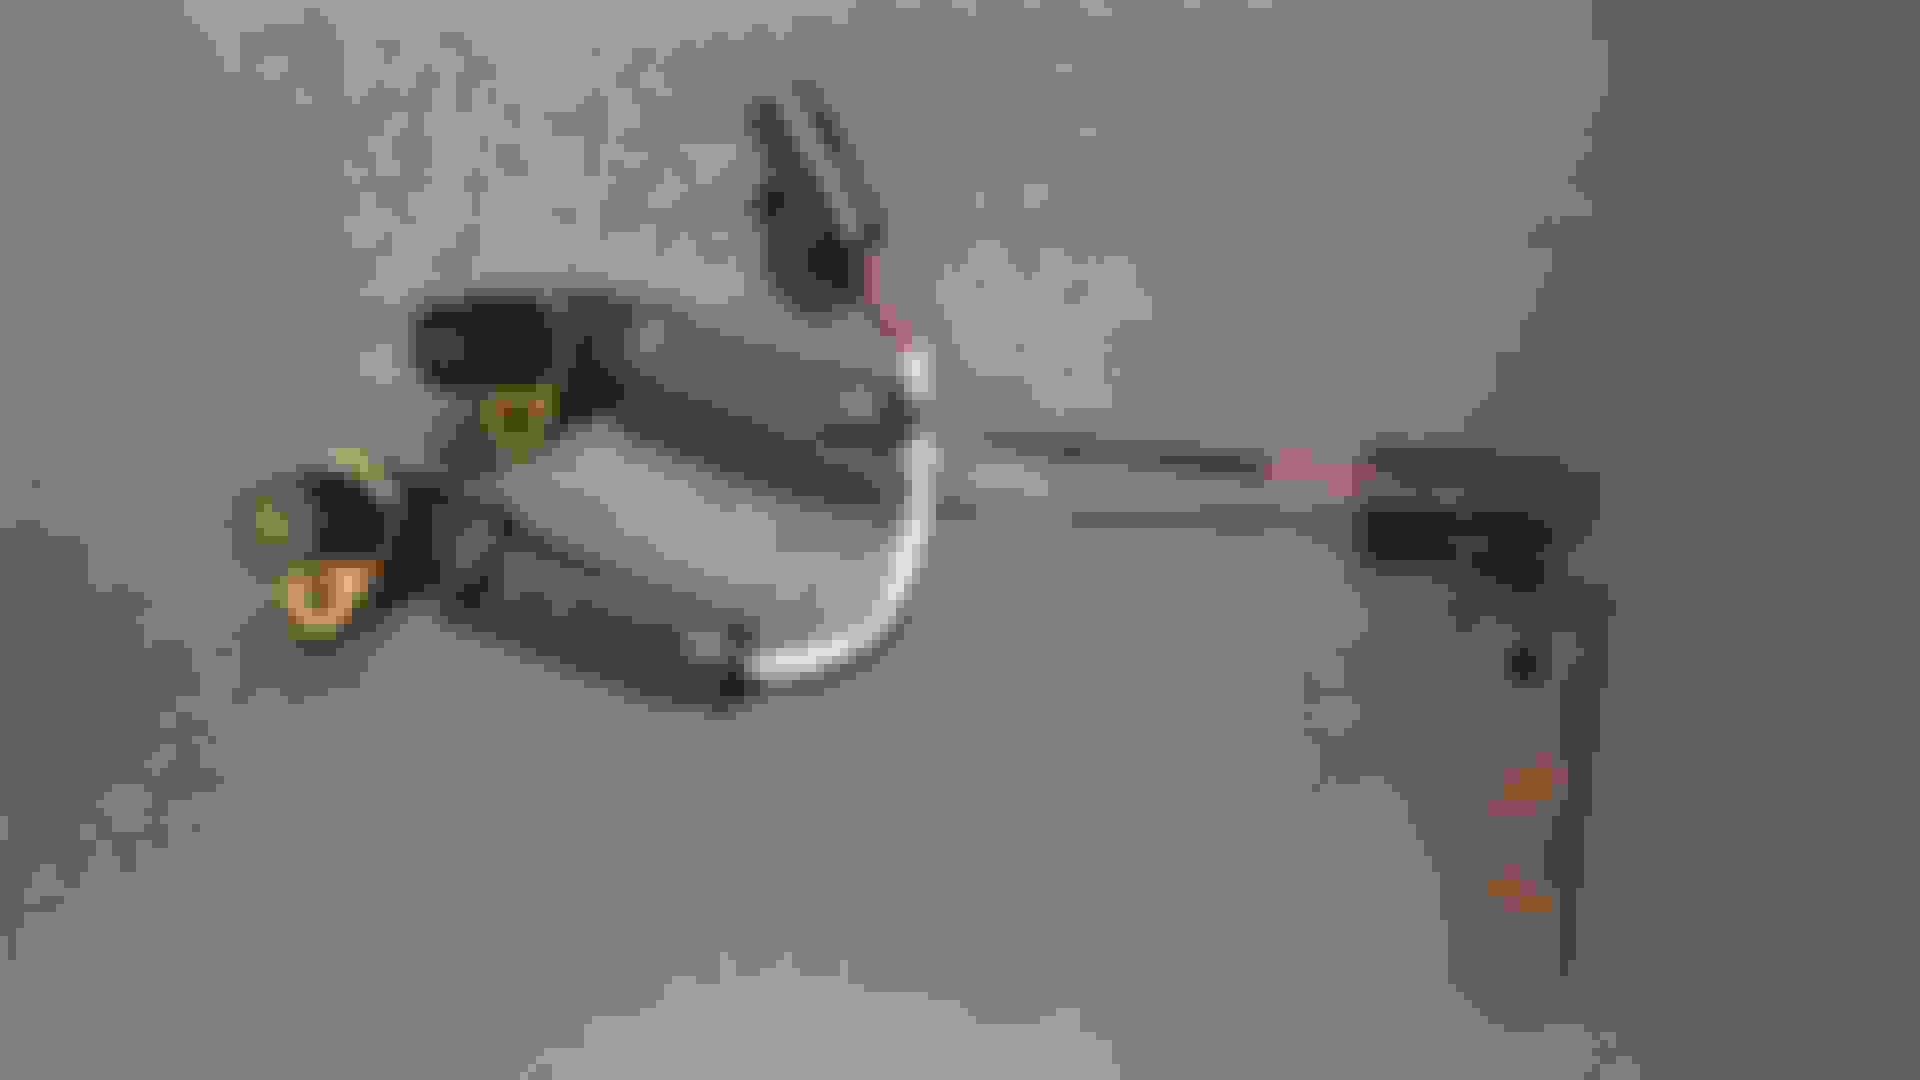
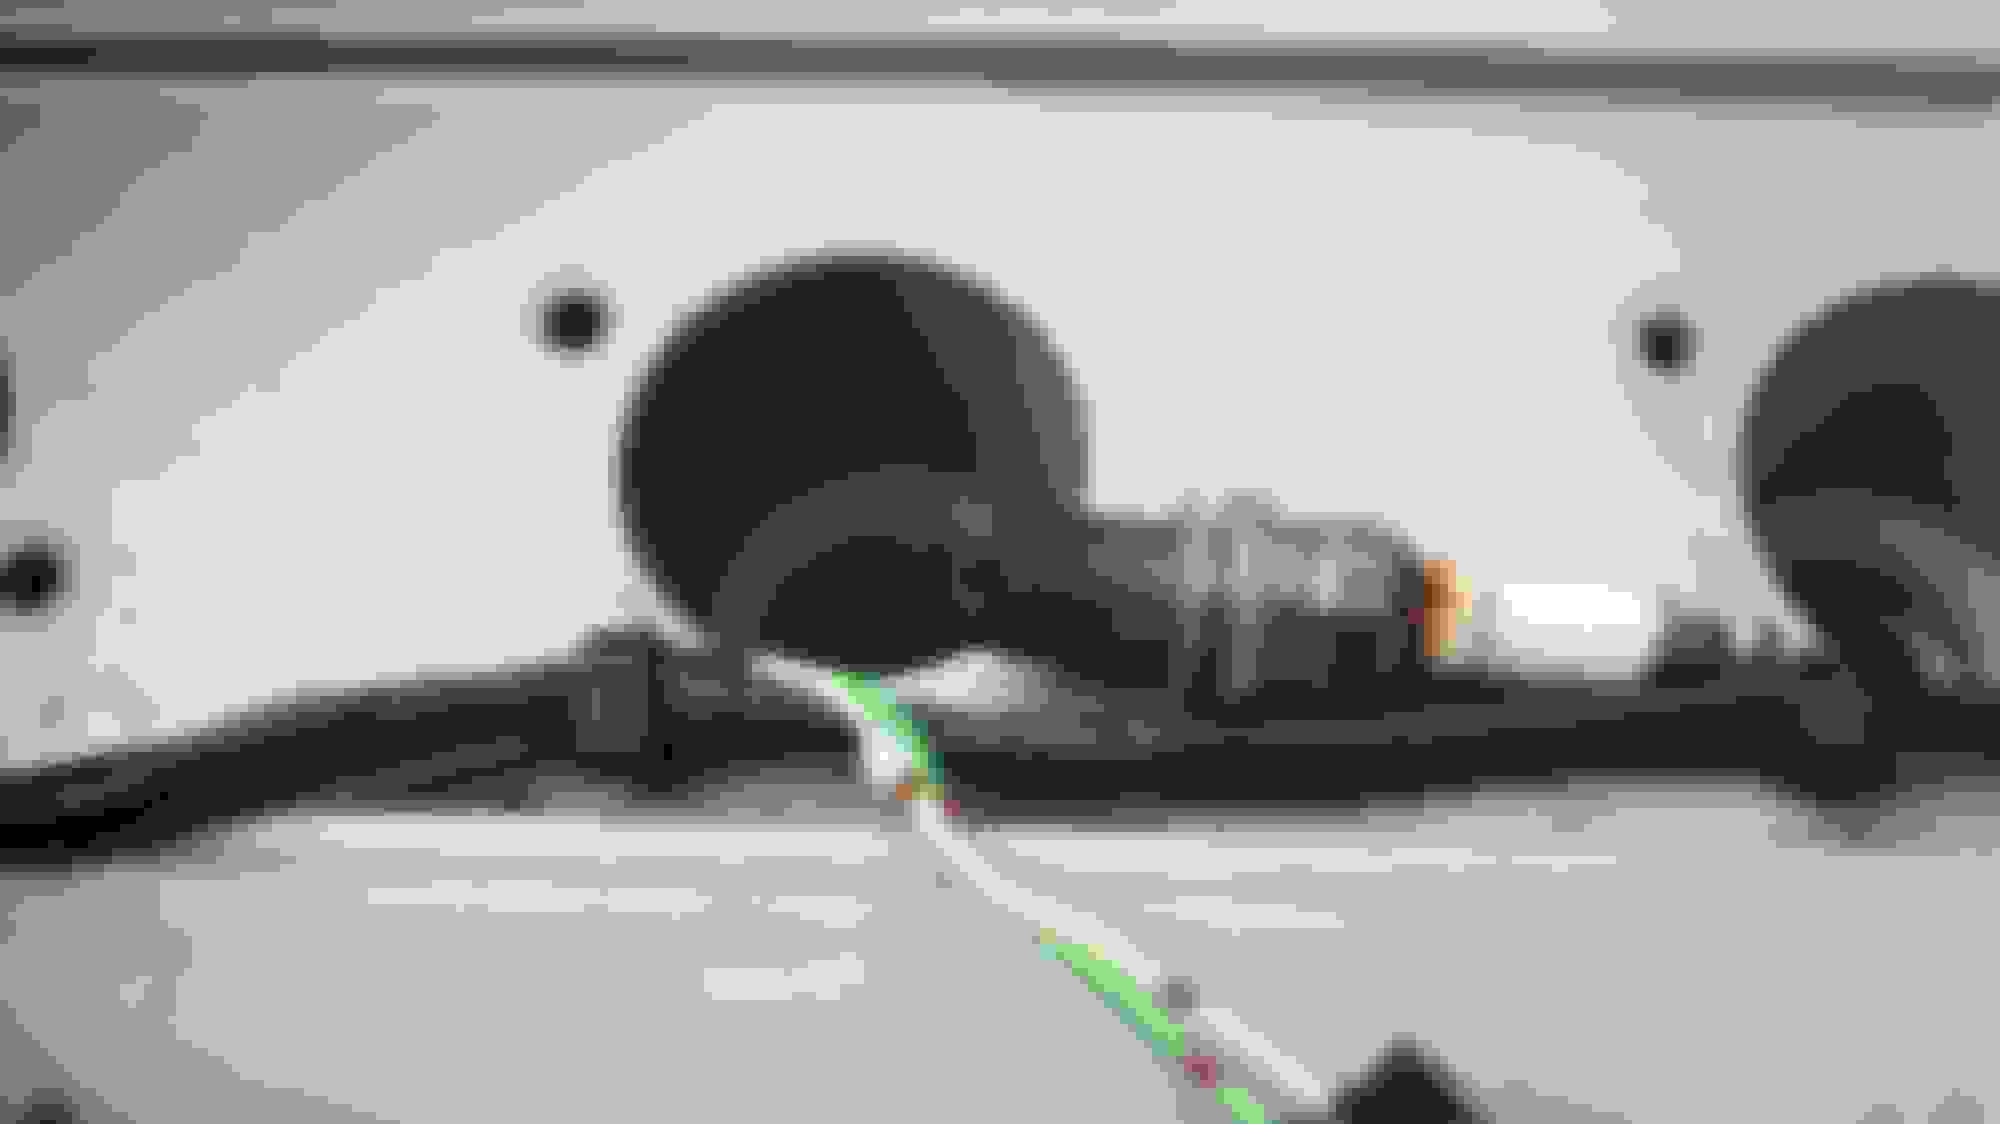
Removing the 'Crank Sensor' on 'Carmen' My 4.0L XJS With AJ16 Engine
'I'd Rather Climb Mount Everest In A Pair Of Carpet Slippers!'
This was the First 'Crank Sensor' that I have ever removed, which is only held in place with one little Bolt that plugs into Socket at the other end and just to make sure that I wasn't caught short, I splashed out on some Tools to do the Job!
Having heard that removing the CPS can be a bit of a 'Mongrel' (Grant Aka 'The Wizard of Oz') I splashed out some Tools to do the Job (none of which were needed except for a 'Bog Standard 8mm Spanner') which I already had in my collection
Although with only one Bolt to undo, I mean how hard can it be!
Well, before you can undo it first you've got to find it and for that you need a Crystal Ball or be a direct descendant of someone like 'Sherlock Holmes' as it took me an hour to find it and figure out what to do next
Except that by the time that I had got my Socket Set, when I looked again I found that it had disappeared!
'You're Joking!' No I'm Not!
The reason being the CPS (Crank Position Sensor) is hidden up in such an awkward place, that if you take your eyes of it then it will vanish faster than dew on the Steps on a really hot Summers day
But that is just for starters, as assuming you can find it and remember where it was, the next thing that you have to do is to try and get a Spanner on Nut which holds it on its Bracket
And for that you need some 'Z' Shaped wrists, which are no thicker than a thin 'Pipe Cleaner'
The reason being 'Everything' is right there in the way, with only just enough room to almost get your hand in, while your fingers have to sit on each side of the Alternator Belt, while your finger tips are trying to hold on to a Spanner
Which is especially difficult if you don't know the right size and if there was ever one bolt that you must never round off, then it has to be this one!
Where as such it took several aborted attempts before I finally figured out that I needed an 8mm which of course you have to hold nice and straight and level
Where to add icing on the Cake, there is simply no way that you can see what you're doing and as such the whole thing must be done by 'Feel' but only when you've managed to burn a picture in you mind of where everything is
And only when you've done that, can the real fun begin as on my Car that little Bolt just would not come undone, no doubt because you cannot get a good grip on the Spanner
Which to make matters even worse has a very narrow window of position and you're pulling on the Spanner with just your finger tips, where with the benefit of hindsight it could have been much easier to take the Engine out, of which I am half joking!
As doing this job was nothing short of a Nightmare! and puts this PIA job on another level, where just taking out that Bolt took easily 4 Hours!
After which there was just the Plug to undo, which was almost impossible, as I couldn't get it to come out of its Bracket, as you first have to un-clip its lock and then either pull it of push it and it just didn't want to come out
Which is maybe not surprising as you have to do all this while using only your fingers, as once again everything is right in the way and so after unsuccessfully trying to unplug this for 2 hours, the only way to get it out was to undo the Bracket
That I am still trying to remove from the Plug
Which makes this without question, the most difficult job that I have ever done on any Car
Where in comparison taking out the Tank, replacing the Fuel Pump and Putting it back now feels more like 'A Walk In The Park'
It took me all of Six Hours to remove this 'Crank Position Sensor' which in 'my book' was the most difficult job that I have ever done on any Car
Last edited by orangeblossom; 08-21-2018 at 06:26 PM.
If the CPS is scrap, OB, why bother about remove the plug correctly? Snap it off. And also, look at the tab on the bracket side. Push it in or, of on the outer side, pull it out. It isn't witch craft... And it won't need penetrating fluid as it is only plastic on metal. It can't rust in place
I don't think that the CPS is 'Scrap' as the Magnet is Strong enough to hold a heavy Spanner and unbolting the Bracket was easier than even trying to undo that little plastic Clip
Not sure if I really need a New 'Crank Position Sensor' as the Magnet on this CPS was Strong enough to hold a heavy Spanner clear of the ground
Having spent at least Six Hours trying to remove the remove the CPS (Crank Position Sensor) from underneath the Car, I thought I'd try it 'Katar's' way and do the job from underneath the Bonnet/Hood
I mean how hard can it be?
'On in 60 Seconds!'
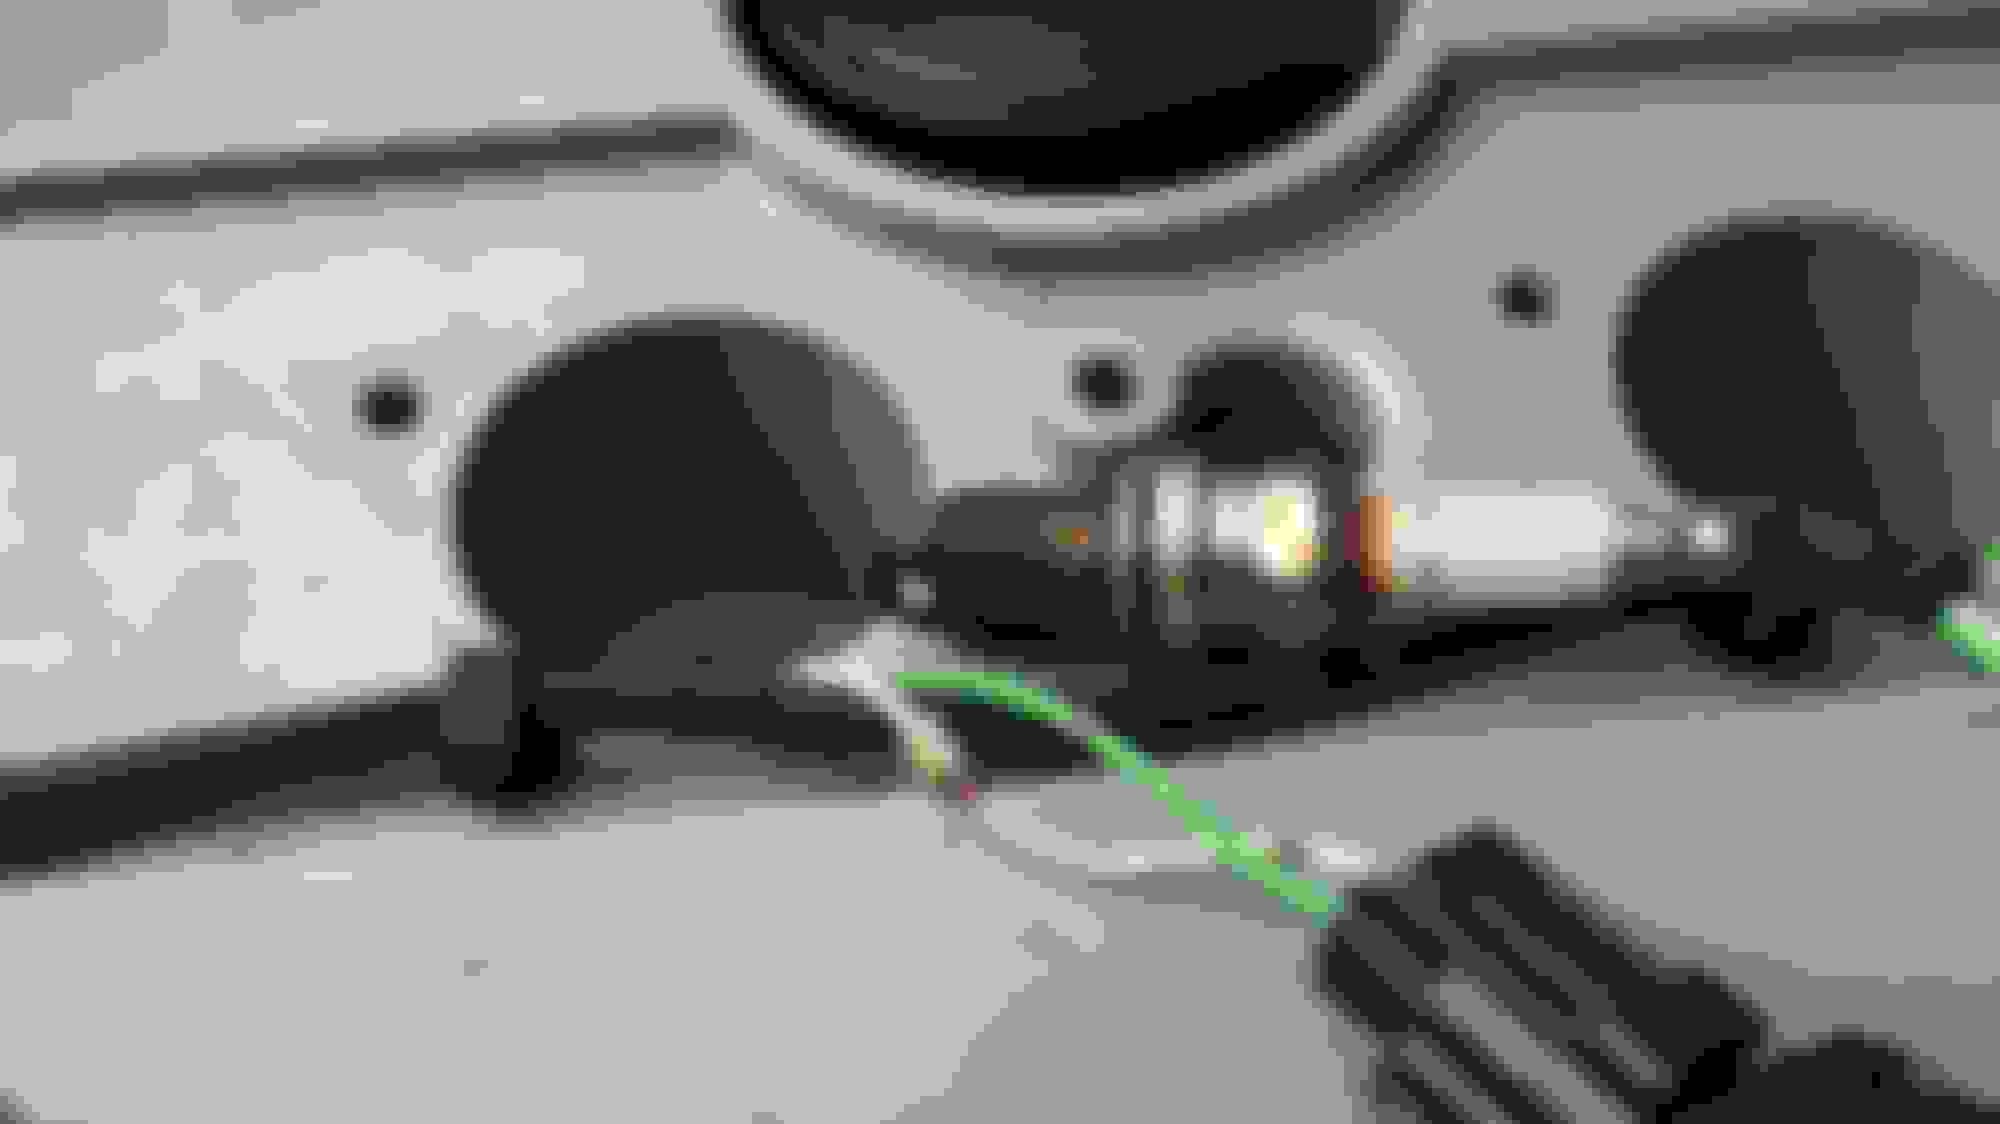
Yes! and that's not a misprint! 60 Seconds was really all it took, to bolt in the Brand New 'Crank Position Sensor' but this time from on top of the Car instead of from underneath it and then another 10 Minutes to bolt on the Bracket and sort out the wiring
No need to send for a Breakdown Truck, for as Katar says, this is a job that you could easily do by the side of the road, providing you've got a long extension socket and a bit of a rough idea of where the 'Crank Position Sensor' is
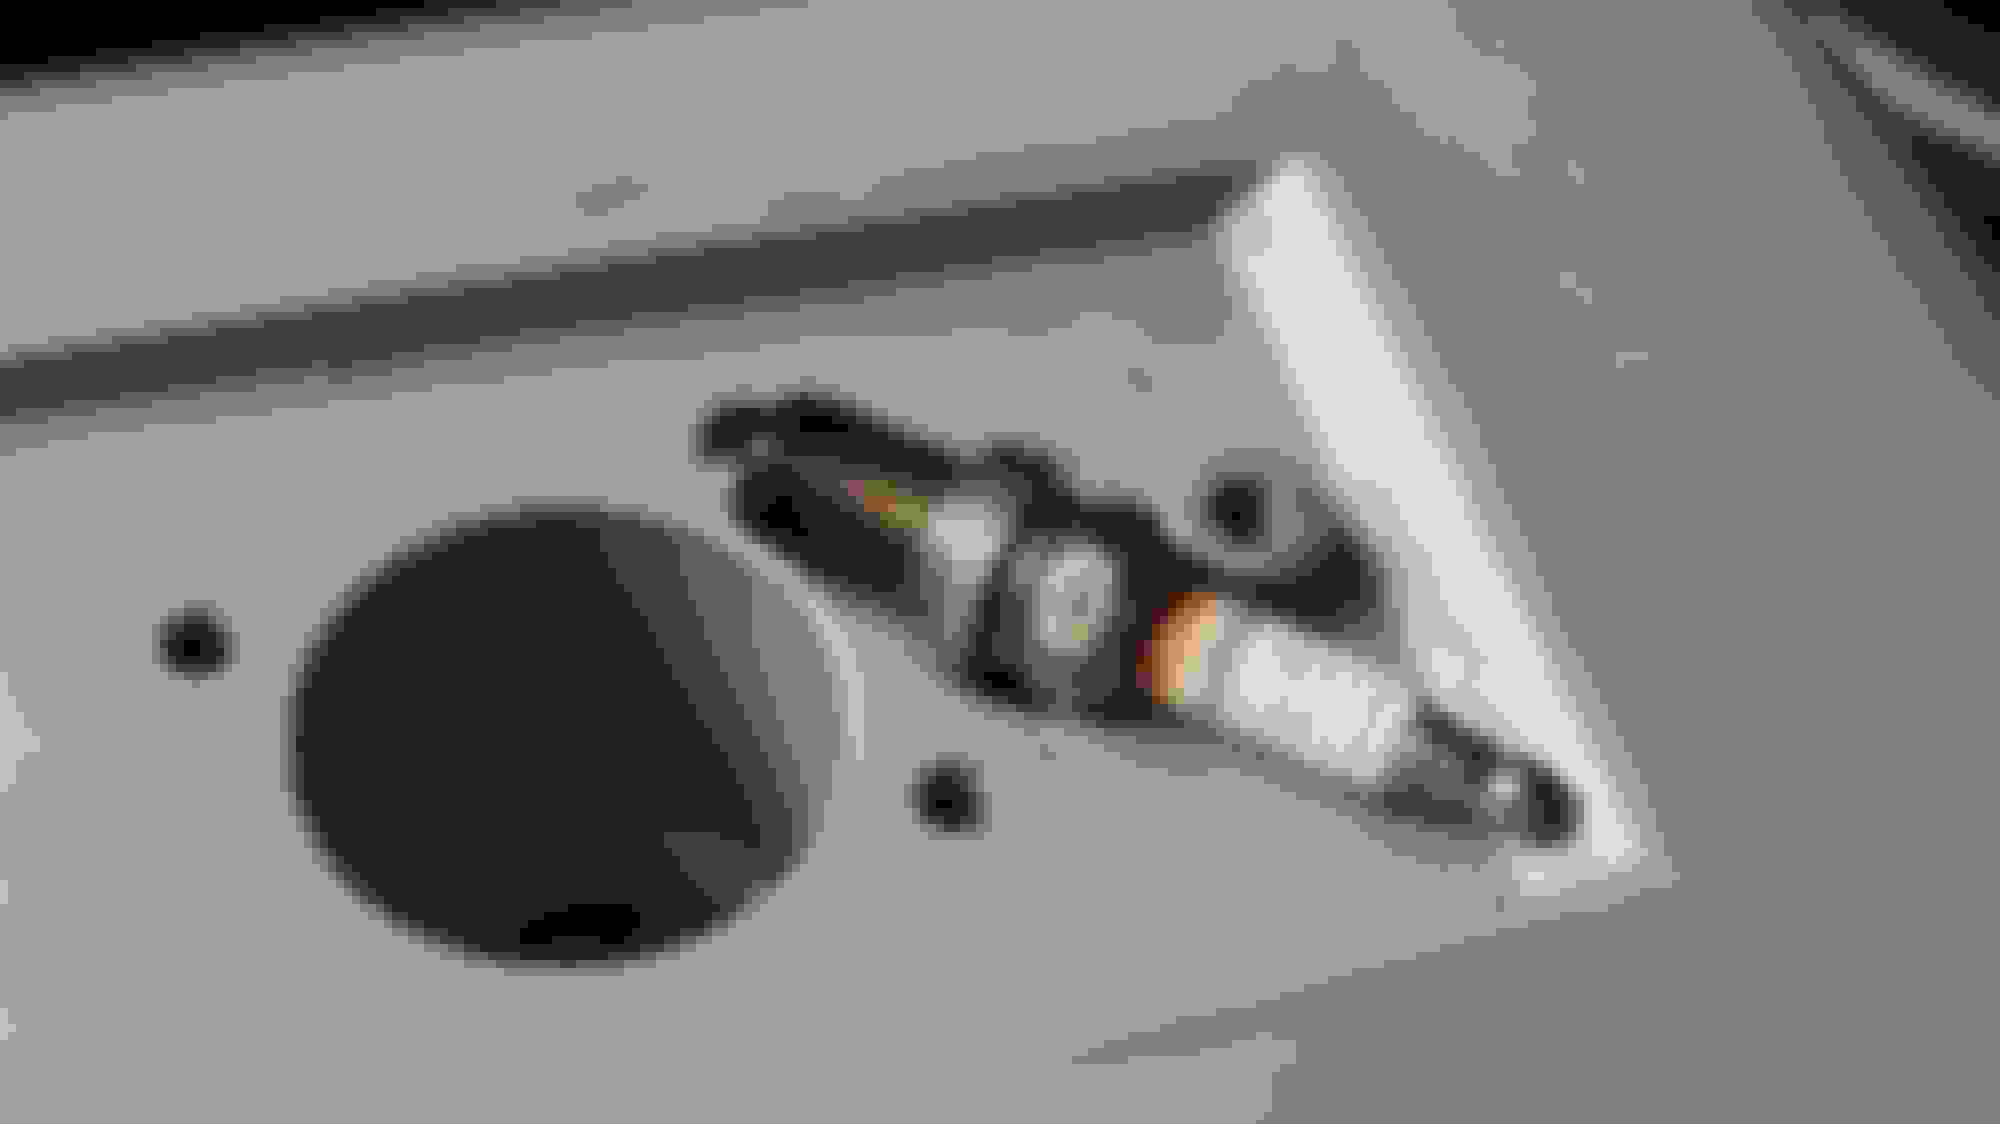
Working from on top this time instead of underneath the Car, at first glance it looks as if everything that you can see is going to get in your way
But this is really more of an illusion, as once you've found the Single Bolt that is holding the CPS in place it's very easy to do, even though you need to go by feel rather than eyesight and there is plenty of room for your hands
Once you've unplugged the Wiring, the only thing you are going to need is a long extension Socket to undo the Single Bolt that holds it in position (although it could be tight!)
In which case it may be easier to take out the whole bracket, which is held in place by Two bolts that could be a bit easier to undo, although I didn't have to do that as I had already loosened that Single Bolt from underneath the Car
The first time that I did this, I couldn't undo the Clip that holds the Wiring Plug in Place and so I removed the whole Bracket that held the Wiring Clip, which once again was just a couple of easy bolts to undo
As I couldn't undo this Wiring Clip, instead I decided to take out the whole bracket and then separate it on the bench
While the Wiring Bracket was out, I cleaned it up and gave it a coat of rust preventative paint
Before I put back the New CPS 'Crank Position Sensor' I gave the top of the Bolt that holds it in a 'dab' of glue, to help prevent the Bolt falling out, while I was locating it back into its bracket
I gave the top side of the CPS Bolt a little 'dab' of glue to try and prevent it from falling out when I was putting it back into its bracket above the Toothed Wheel (and that worked well)
Then I tightened up the Bolt with a long extension Socket and reconnected the Wiring, all extremely easy to do using Katar's method of doing it from underneath the Bonnet/Hood
Then I put the Battery on and tried to Start her up!
The New 'Crank Position Sensor' had made a definite difference, as She was firing at each revolution of the Self Starter, the only problem being that She wouldn't 'Catch' and run all on her own
She had 20L of Petrol going into an empty Fuel Tank, so maybe that was maybe not enough?
Or are there other tricks I should be trying?
A massive 'Shout out' of Thanks to 'Katar' (its easy when you know how!)
Last edited by orangeblossom; 08-26-2018 at 02:57 AM.
'A Little ***** Of Light At The End Of A Very Long Dark Tunnel'
As I've Never Worked On A Car With This Type Of Engine
The Story So Far:
In-Tank Fuel Pump packed up, so I had to fit a New One which meant taking out the Tank and this is a PIA Job if ever there was one! as I had to remove every piece of Trim in the Boot/Trunk, including the CD Player, which was only just in the way
And this of course means disconnecting the Fuel Pipes from the Tank which are under the Car and also removing a massive Steel Baffle which holds the Fuel Tank in
While you don't have to take the Fuel Tank out, at the very minimum you have to pull it back, as the In-Tank Pump is in the Tank underneath a big round locking ring
Where my reason for removing the Tank was to give it a thorough clean, in the hope that this would extend the life of the New In-Tank Fuel Pump that I'd just put in
And then of course I had to put the Tank back in the Car, which again is a PIA job that I really never ever want to do again, as it seems to rate in my mind as a Soul destroying job
As Changing the Fuel Pump on a V12 can be easily done in an hour or may be two if you've never done it before, in total contrast to this job which seems to take such a long time to do
This may be psychological but trust me when I tell you that it really ground me down, as to make matters worse if they could get worse, I'd somehow lost the Special Clips that hold the Fuel Pipes on
Although I eventually found them thanks to 'The Jaguar Gods'
After what seemed like for ever, She was all back together and so with 20L of Fresh Petrol in the Tank, I put the Battery on to Start Her Up!
The only problem being that She wouldn't Start and as I've never done any work on one of these Engines before, I didn't have a single clue on what I should do to get her running, unlike the V12 Engine which I know a little bit about
Thanks to 'Greg' and Thanks to 'Grant' aka 'The Wizard of Oz' who were kind enough to take me on as a sort of 'Sorcerers Apprentice'
Where thanks to them both I was able to get 'Cherry Blossom' up and running after a 14 year Lay Up
But this 4.0L AJ16 Engine was a different ball game altogether, what with its 6 Separate Coils that go on top of the Spark Plugs where the last time I checked the OEM Coils were somewhere in the region of �172 each! + Vat and delivery
Although you can get aftermarket ones a lot cheaper but in any event I was thinking or maybe I should say praying that it wasn't one or maybe more of those!
So why on earth was this Car simply refusing to Start?
There were quite a few suggestions that the Crank Position Sensor may have been on the Blink, that could cause a No Start Problem like I had and so I fitted a New One which took around 6 Hours!
As I was trying to do this from underneath the Car, as I didn't think that it could be done from underneath the Bonnet/Hood, up until 'Katar' showed me where I was going wrong, after which I was able to Change the CPS in less than a minute
And could easily do so at the side of the road but She Still wouldn't Start!
OMG! I'm thinking what on earth do I do now?
But that's when the 'Training Kicked In' as I checked for pressure in the Fuel Rail of which there was plenty and then following Greg's suggestion, I cleaned all the Plugs on both plugs of the ECU
But She Still wouldn't Start although She would run with a Spoonful of Petrol, down the Air Intake, which seemed to rule out any problems with the Spark Plugs
Which then left the prospect of some blocked Injectors and or maybe the Engine management system, including EGR Valves and other Stuff that I know nothing about and where taking out the Injectors did look a bit of a Nightmare!
Or should I say at least it did to me!
Though when I was Cranking her over, She really felt as if She was trying to Start during which time the Tacho war reading in the Region of 1000 rpm which seems to be a pointer that the Crank Position Sensor is ok
This was also happening with the Crank Position Sensor I took out, which then led me to believe that the Original CPS maybe didn't need changing at all, although I've heard they can be a bit 'flaky' so what could it be?
Blocked Injectors, Iffy Coils, I hadn't got a Clue!
And as for calling in a mechanic, that would be 'When Hell Had Frozen Over' although I know that at this point 'it was feeling a bit chilly'
Whenever I get a problem I always like to try and Start at the easy end and then work on from there, and so I decided to take out the Sender from the Fuel Tank, just so I could try and see just how much Fuel was in there
When that 20L of Petrol had been spread all over the Floor of a Totally Empty Bone Dry Tank
So very secure in the knowledge that when I removed the Sender, Petrol would Flood out I then got hold of every Fire Extinguisher I could lay my hands on and even took the Battery right out of the Car
Then using a Rubber Mallet and a piece of Hard Wood (to avoid any Sparks!) I started to gently tap the locking ring round
I decided to take out the Sender to see how much Petrol was inside, as after all I had already poured in 20Litres!
I used a Rubber Mallet and a Block of Hardwood to try and prevent any Sparks!
Very, Very gently tapping round the Locking Ring while preparing to stem the Flow of Petrol that could come Flooding Out!
Having removed the Sender nothing happened! not a Single drop of Petrol came out of the hole where I'd taken the Sender Out
Even now I don't know if I was pleased or disappointed, so I used a piece of Rubber Tube to try and find the depth of the Petrol Inside the Fuel Tank
Where my unscientific 'guesstimate' put the depth of the Petrol at around 1 to 1.5 inches Max
The Depth of the Petrol in the Tank was only 1 to 1.5 inches Max!
Where for those of you who may not know, the In-Tank Petrol Pump sits in its own little Swimming Pool inside the Tank, where Petrol come in through an opening in the side of a round metal Collar, or 'Swimming Pool' as I call it
Where the In-Tank Fuel Pump is held clear of the bottom of the Fuel Tank by a Bracket, to keep the Fuel Pump Strainer
that is attached to the Bottom of the In-Tank Fuel Pump, clear of picking up anything like sediment or rust
And so in other words it appears to be using the Base of the Fuel Tank, as a 'Sump Tank' instead of the Separate one you find on a V12 which unscientifically seems to mean, that the 20Litres of Fuel I put in, serves as nothing more than a 'make weight'
To make up the distance from the Bottom of the Fuel Tank to the Filter on the Bottom of the In-Tank Fuel Pump, which seems to mean that although She was trying to Start, She was also being Starved of Petrol
As the round Fuel 'Swimming Pool' seemed to be unable to replenish the Fuel Pump fast enough, because it would seem that in order to do so I am going to need at least another 20Litres on top of what's already in there
After which I'll try and Start Her and then We'll see what happens!
Me Thinks She Needs More Petrol! then We'll see if She will Start! and that would be about �50 of Petrol I've put in!
Erm, the tank has 90l IIRC. You should be able to use up to 85l of it. If it is not submerged, then it is an assembly mistake from you. If you didn't put the filtration sieve/sleeve on the base of the tank, then sure, 20l aren't enough...The sieve should to ich and sit on the floor.
While I get what you are saying, you cannot get the Fuel Pump Assembly wrong, because the bottom of the Fuel Pump has Two Rubber Pegs (Feet) sticking out of it, which locate in Two matching Slots in the Bottom of the Bracket which holds the Pump
These were a very tight fit, with no slack whatsoever for the Pump to come adrift or move up and down
How much Fuel do you think would be needed to cover the Fuel Sock on the Bottom of the Fuel Pump, assuming that the Fuel Pump is correctly installed?
I also think that you would need a bit of extra Fuel above a measured amount, to allow for cavitation when the Pump is sucking up fuel and while this is just a Theory would you agree with that?
My XJ8 had the same tank assembly. 80l would fit into it. I could use 79.2l of it... I know that exactly, because I had to push it about 15m to the next petrol station after it ran right out... So pick up is like very low.
Did you wire the pump up properly? Does it prime when you turn the key to 'II'?
With the Sender out of the Tank, I put another gallon in and then could just feel Petrol when I put a bent finger in the Sender hole, so then I went an added an extra gallon to be sure
But when I put the sender back the float on the end of it was only just floating and this was the New Type sender with the Solid Rubber Float and the Fuel Gauge registers Zero!
When I switched on the Ignition, I could hear the Fuel Pump run and then Switch off
So regardless of what the Gauge says, I think I must have enough fuel?
But She still won't Start, same as before She tries to start but won't pick up and run
Not looking good, maybe I need to do a compression Test or something like that?
Alex
You do not need a comp test. Next you must verify that the injectors are injecting; though how on your engine, I cannot help with. One thing at a time, one thing at a time.
Greg
Good advice as always but although there is plenty of Fuel in the Tank the Sender with an unsinkable Float is registering ZERO!
and the Fuel Gauge is also on ZERO and isn't moving
Removing The Spark Plugs For Testing XJS 4.0L AJ16 Engine
Although I'm not familiar with working on these Engines, I've Tested everything that I can think of, including checking every Fuse on the Car but still 'no dice'
So now its time to remove the Plugs to see if they are Sparking or all gummed up with Carbon but on the AJ16 Engine each Plug has its own Coil, at around �200 a piece and there are Six of those! so do the Math or is it Maths, I do not know
And though the Aftermarket ones are considerably cheaper, I am really hoping that these Coils are OK, although it wasn't immediately obvious where to look to find them, or at least it wasn't to me
But as it turned out they were under the Centre Cover of the Engine
Once I had taken that Cover off, I could see the Coils
In order to get the Coils out, you just undo those two nuts with an 8mm Socket and then pull them up and out
Once the Coils were out of the way, I undid them with a 16mm Socket, on a long extension bar as they are deep inside a 6inch Hole
As I was undoing the first Spark Plug what could possibly go Wrong!
The Rubber insert came away, so there was no way I could get the Spark Plug out, even with long nose pliers but 'The Jaguar Gods' were with me, as I suddenly remembered a Magnetic Pick-Up Tool that I got in a Christmas Cracker many years ago and what is more I knew where to find it, so glad I did as it was really useful for doing a job like this
Plug Number 1 at the Rad end was really full of Carbon, as were all the others
Plug Number2
Plug Number3
Plug Number4
Plug Number5
Plug Number6
Not looking good!
Looks like I need some New ones, although I'm going to Clean them up first just to see if she will Start
Just a little financial top mate, your ignition coils (coil over plug units) are the same as those fitted to the AJ26 V8. They cost about �40/piece as Denso/Lucas OEM parts... SHOULD one be faulty, you SHOULD be able to diagnose the faulty one via laptoo/code reader...
And a little tip... You have an impact wrench. Lowest etting, and use that for sticky plugs. DON'T use a longer lever aka torque wrench. The longer lever will apply more torque. Torque twists metals... That is what snaps plugs off. Impacts will loosen it and not exert any more force. It will just be applied in knocks. Just don't use an impact wrench to reinstall. As said, only on the lowest setting. Not the most powerful!
Many Thanks for that and also to you and Leo for your suggestion to use a 16mm Socket which did the job just perfect!
I only used a Torque Wrench for taking the Plugs out, as it is much easier for me to hold upright, without the risk of maybe cracking the porcelain, as anything falling down that hole could be a bit of a nightmare to get out
The Plugs came out dead easy as they were not in too tight and all the Services on this Car were Jaguar Main Dealer
Though when it comes to putting then back, I will use a much smaller wrench and nip them up quite lightly, like I do on my V12
Last edited by orangeblossom; 09-05-2018 at 01:35 PM.
I don't know why 'Carmen' won't Start but hopefully its something very simple, as She was running very well before I put in the New Fuel Pump and having done this job before a couple of years ago, I really don't think I got it wrong this time
Maybe its a Relay that I haven't been able to find, or maybe the Injectors are not working but one thing that I know for sure, is when I took the Spark Plugs out they were really 'Coked up' so maybe that was preventing her from Starting
There are lots of different ways of Cleaning Spark Plugs up but as I was passing a Charity/Thrift Shop, I noticed there was in the Window, a Brand New Ultrasonic Jewellery Cleaner only Five Pounds!
And so I thought I'd better buy it as I was sure that one day it might come in very useful for Cleaning small parts on the Car, with the only question being would it Clean those Spark Plugs
There was only one way to find out!
But just in case you were wondering, it took a little bit longer than my 30 Second Video, as the Ultrasonic Cleaner was running for most of the day, where it was filled with Vinegar which was changed about once an hour
Even though I say so myself the results were quite impressive and cleaned the Plugs up like New!
Though in the event that I am lucky enough to get her running, then I am going to treat her to a New Set of Spark Plugs, as going by how 'Coked up' they were, they must have been 'bogging her down' to much to give her a chance of Starting
OB, just a stupid question: when she turns over, she attempts to start but sounds like there is no fuel. Does it sound like a couple of ignition catch and then nothing?
IIRC, the AJ16 has a Schrader valve used to bleed the system with. The V8 does as well. IF I remember my former X300 3.2l AJ16 properly, air can be tappen in there and needs to be let out. See if you can find one and then prime the car and then pop it. Fuel should then squirt out.
Also, and I just want to be sure, did ypu make sure the Polarit�t of the fuel pump was correct? Not that you are sucking the fuel through the engine's feed line out of the tank rather than pumping it... I have had it on a Volvo before, that someone fitted the contacts wrong. The car would start for like 3 seconds and die. But it would only start if left for a couple of seconds after priming, as the vacume in the fuel lines would draw fuel through the pump. Not enough for the engine to run constantly but enough to start...
 08-18-2018, 05:06 PM