When you click on links to various merchants on this site and make a purchase, this can result in this site earning a commission. Affiliate programs and affiliations include, but are not limited to, the eBay Partner Network.
I measured the distance between the injector plate and bottom of my top rail measured about the same as yours, 2 3/8" which is equivalent to about 6 cm like yours.
I measured the distance between my CC plate surface and the bottom of my crossover pipe and I got about 1 1/8" (2.85 cm) without the thickness of the CC body in place because the rail is in the way of the solenoids if I try to put it under the pipe..
My crosspipe is cca 20 cm from the engine top and top of bracket for CC is cca 12 cm from the engine top.
Engine top is straight part in vee for compressor.
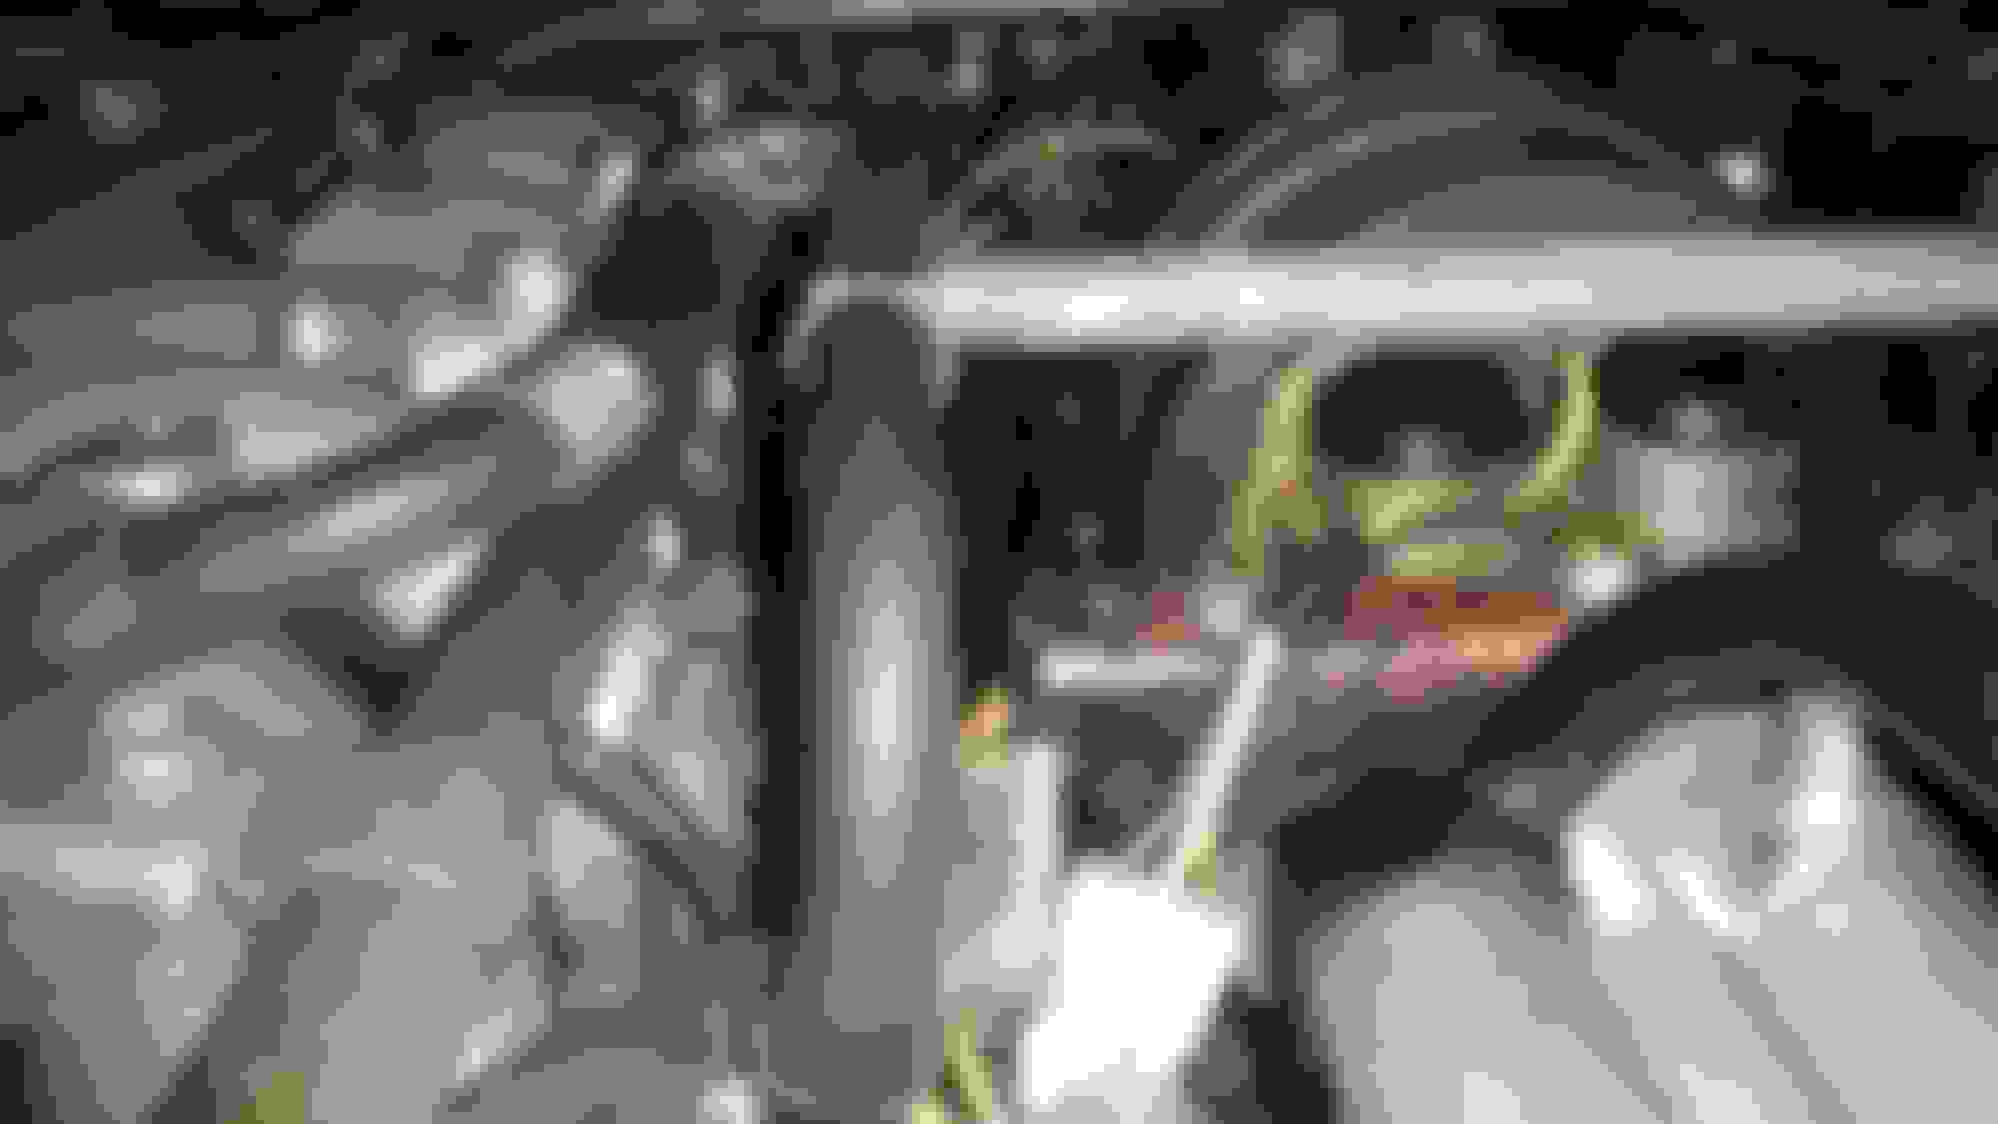
Bracket not parallel to cross rail, which is parallel to engine. Measured vertical height clearance is 1" when corrected for angled view. Overall view of what's underneath the bracket. Another view from behind the compressor. View from side elevation of where the Low side fill for the compressor is in relation to the engine main fuel rail.
I may have found my problem, but not for sure. I believe that when the AC compressor was replaced that they mounted it too high, which closes up the vertical gap for the Cruise Control such that it won't fit. The thickness of the CC body single bolt tab is about .3 inches thick and when you add the height of the solenoids to that it measures overall about 1.3" tall, which has to fit under the fuel cross rail but on top of the mounting bracket on the A/C compressor rear end. As the compressor is installed now that vertical height is about 1.0" in one of my pix here, which my correction for not being able to look straight at the scale being read.
Also, when I viewed the underside of the hood (bonnet) I found a bare rubbing mark at the point where my compressor Low side (blue cap) has been rubbing against the hood when closed. Is the compressor incorrectly mounted too high? If so, how could it be mounted too high?
Perhaps the belt is too long and the tension needed to make it work made the compressor adjustment too high. This is a strange problem to me.
I've included a few pix of what I took looking from one side of the engine bay to the other side so one can see the elevation of the compressor and Low side fill coupling in comparison to the fuel rail height.
Other than build a custom bracket next, I'm not sure what to do. ...........
If I understand what you did, .....drilled a new hole in the CC bracket to lower it's mount position on the back of the compressor, which means removing the bolt that holds the bracket mounted on the back of the AC compressor, which also holds the High and Low side pressure fitting on the back of the compressor. . That makes the CC problem much more simple but it also means opening up the AC refrigerant system and then recharging it again. Is this what you did?
No, I did not it. I have another construction of compressor, it is smaller and have a gap between CC and back of compressor. And high was all right. I wrote, what I mean as simply solution.
But I think that Your bolt for the bracket is only bolt nothing common with AC filling. But that's just my guess. I don�t know this construction.
Okay, so you definitely have a have a short body compressor compared to full length compressor, making our installations different. I'm almost done with building my new adapter plate that allows the CC to mount underneath the adapter flange rather than on top of it, effectively lowering the CC about 1/2" so that it clears the fuel cross rail. I'll post some pix once it's installed. I'm following the advice to seal my bellow too prior the final installation. .................thanks, Mike.
So I finally finished my cruise control modification that had to be done because the new A/C compressor that was installed made the cruise control mount bracket be too high, such that the bellows unit couldn't mount at all. I book a 1/8" thick x 3/4" wide steel flat bar and put it on top of the existing mounting surface. I traced the exact shape of the original mount plate on to the new plate, profiling the relief groove the bellows unit solenoids needed. The new mount was now exactly the same profile as the existing plate. I took the new plate and bolted it to the CC bellows unit and then mounted it about 1/2" below the original plate using drilled and tapped holes in my new plate. That now mounts the entire bellows unit (using spacers) about 3/4" lower and about where it should have been had the new compressor not been mounted too high. You can see in the pix attached that I drilled clearance holes in the original mount. The modified mount that lowers the CC unit to the correct height. Without this the solenoids won't fit underneath my fuel cross tube.
It works great now. Thanks for all the help here with suggestions. .........Mike
If you were to look straight down in either of the 2 original mount holes on each end of the the original plate in the pix you would see the heads of the original 2 bolts that now hold the bellows to the new plate down below.
Mr Rover... here are a couple of pictures of my 88.
My CC does not work, major air leaks on bellows, so i need to seal them up.
Question... should the red light on the CC button glow when you press it? I can only assume yes.
Even if there are air leaks it should try and work?
Your car must be newer/different than mine. Mine is an '88 titled model that was actually built in late '87, As such, mine has no light on the button that I know of. I don't even think there is a light on the instrument panel either but I may be wrong. If it does have a light I certainly can't see it during daylight hours. I'll check my wiring diagram for my MY and see if you have something that I have and mine doesn't work either. My cruise control has never worked in the entire time I've owned it but my work drive is short distance and CC wasn't needed until now.
As to the work on your CC that you are about to do I would suggest that if you pull your CC off the engine to seal it, think about replacing the bellows with a new one, simply because they're pretty cheap ($20-$35) and your effort in sealing the existing one may be short lived if it fails from age. I would have done that on mine too but my evaluation of what I had appeared to already be new. BTW, the people on this forum have all kinds of super documentation posted if you have to troubleshoot your CC system. Be sure you pay particular attention to the info on bellows sealing. It's helped me out immensely on everything I've had to work on so far. Good luck on your challenge and I'll be watching how you're doing when you post. ................Mike.
No indicator lights or switch lights on the cruise control, at least not on the pre-1992(ish) "AE" systems. The later system (made by Hella or Kiekert or some such) might have 'em. I'm not sure


 10-05-2018, 01:42 PM